

 Dallon Avery
Aniimo Tier List Quick Overview:
- Most Aniimos in the game have 3 stages, with the Nova stage being the final evolution step
- Aniimos have unique movesets and active abilities, which make them useful in combat
- Prismata is a special kind of Aniimo and is ranked separately
- Not all Aniimos have multiple choices for the final evolution step
- Some Aniimo are way better than the others in their final form
Need help collecting the rarest Aniimo? Buy Aniimo Creatures at Skycoach and pick any type missing from your collection for an affordable price!


Read closely 
Browse our hottest Aniimo Boosting services






Aniimo Tier List
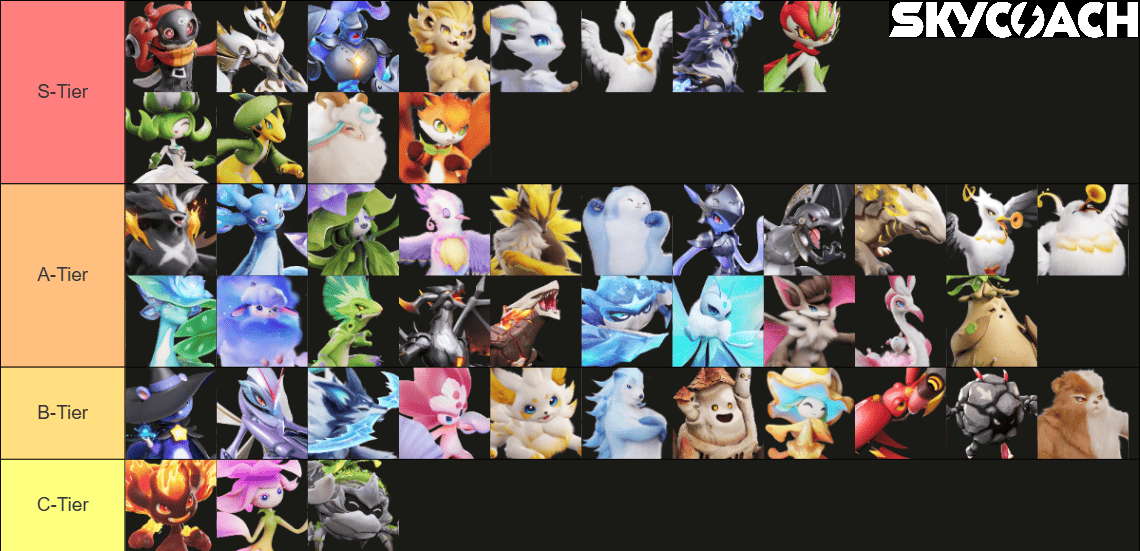
I ranked every standard final-evolution Aniimo from S to D based on how much value it brings in actual combat. Branching final evolutions are ranked separately, so Scorchhowl and Inferlupa, for example, receive their own placements even though both come from the Emberpup line. The official Aniimo Wiki shows that evolution trees vary between families, so I used the end of each individual evolution branch rather than assuming every final Aniimo has to be Nova Stage.
For this first ranking, I’m sticking to the Basic Form wherever one exists. I’m leaving Prismana-only Aniimo such as Irisalis and Somniwing for the separate Prismana ranking later.
|
Tier |
Aniimo |
|
S-Tier |
Besauce, Fulmintis, Rookey, Helion, Lunara, Thornblade, Inferlupa, Tromber, Melloblum, Dazmand, Turbo, Squashel |
|
A-Tier |
Scorchhowl, Glacy, Witchin, Fragrancier, Blazen, Panpanta, Pawney, Helgon, Minespine, Cornet, Tubster, Leafy, Dreaple, Pomawk, Infergon, Magmarex, Geoclaw, Gracewing, Eklue, Erlath, Tuckin |
|
B-Tier |
Stellarys, Ignitis, Glynsera, Sherro, Fenmane, Piopiota, Bailite, Luminelle, Waleetle, Bouldus, Grizbo |
|
C-Tier |
Irisal, Shrubclaw, Flamerion |
|
D-Tier |
None |
I’m keeping D-tier empty for now. There are weaker and more situational final evolutions, but I haven’t found one that feels genuinely bad enough to deserve that label. Even the Aniimo near the bottom can work with the right matchup or team.
How Our Aniimo Tier List Works
So, when you just start playing, everything seems kind of simple, but once you get past the tutorial, you immediately realize just how many creatures there are and how every one of them can be leveled up and evolved. Since this is a gacha game (if you know, it walks like one and talks like one, it’s that), you probably know that you can’t just max out every aniimo in the game. So, I’ve come up with this ranking system.
The ranking stems from their usefulness in combat rather than, I don’t know, cuteness or something else. Don’t get me wrong, a cuteness tier list would be nice to make, but cuteness doesn’t beat enemies. And neither do the damage numbers, actually. What I also think is important and therefore counts in my ranking is BREAK pressure, healing, EP generation, team buffs, and how much setup an Aniimo needs before it starts performing at its best.
BREAK is a mechanic that lets you stun enemies; you fill the gauge (or deplete it, depending on how you look at it), and the enemy becomes stunned and takes more damage. The cool thing is, your damage doesn’t really decide how fast you can “break” the enemy, there’s a specific stat that defines this and since its a very important mechanic, I had to take it into an account here.
Here is what each tier means:
|
Tier |
What It Means |
|
S-Tier |
The best of the best in terms of combat effectiveness. Worth all the resources or even money investment |
|
A-Tier |
Excellent Aniimo that can perform extremely well, but usually are slightly more dependent on other Aniimos in the team or require resources to actually be effective. |
|
B-Tier |
Strong and completely viable options, but usually for new players only |
|
C-Tier |
More situational Aniimo that can still work, but generally require considerably more effort. |
A lower placement also does not mean an Aniimo is unusable. Aniimo gives you enough freedom to build around favorites, and several B- or C-tier picks become much stronger inside the right team.
Best Aniimo in the Game
Now, let me actually explain the choices here. I looked at raw stats, but I didn't rank Aniimo by stat totals alone. Their skills, resource economy, BREAK pressure, team utility, setup requirements, and combat consistency mattered much more.
Besauce
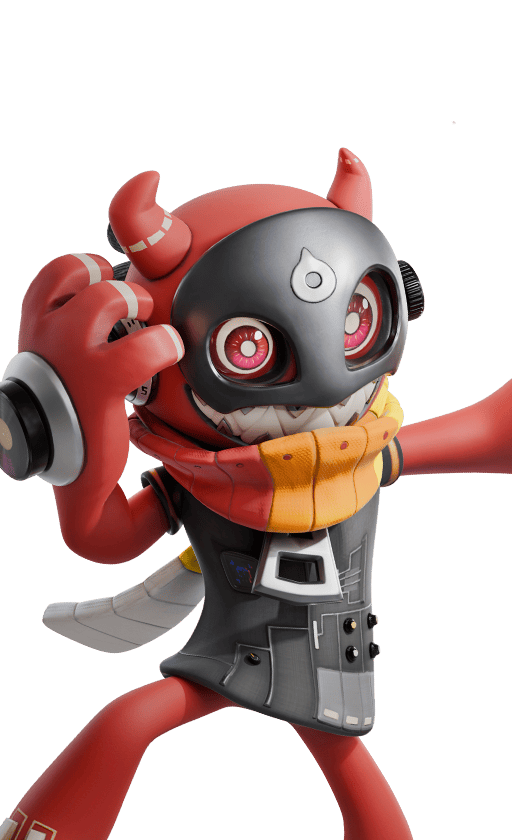
Role: REGEN | Attributes: 538 | HP: 88 | BREAK: 90 | ATK: 92 | REGEN: 118
I put Besauce in S tier because its entire kit is built around keeping the team’s resource economy moving. Its 118 REGEN is already one of its standout stats, but the real value comes from how consistently it can feed resources back into combat rotations. Power Surge restores 4 EP whenever Besauce casts a skill below 20 EP, while Charged Geyser immediately restores 15 Energy and continues restoring more over the next 12 seconds.
That is exactly why I rate it so highly. More EP means more skills, and more skills mean less downtime for the Aniimo that actually carry the team’s damage.
Besauce also brings offensive utility rather than functioning as a pure battery. Electric Dance Frenzy lowers enemy Lightning resistance by 24% for 30 seconds, which makes it especially strong alongside Electric DPS Aniimo.
That combination of EP support, high REGEN, and Lightning resistance reduction gives Besauce enormous team value. It might not be the Aniimo putting the biggest number on the screen, but it makes the rest of the team much better at doing exactly that.
Fulmintis
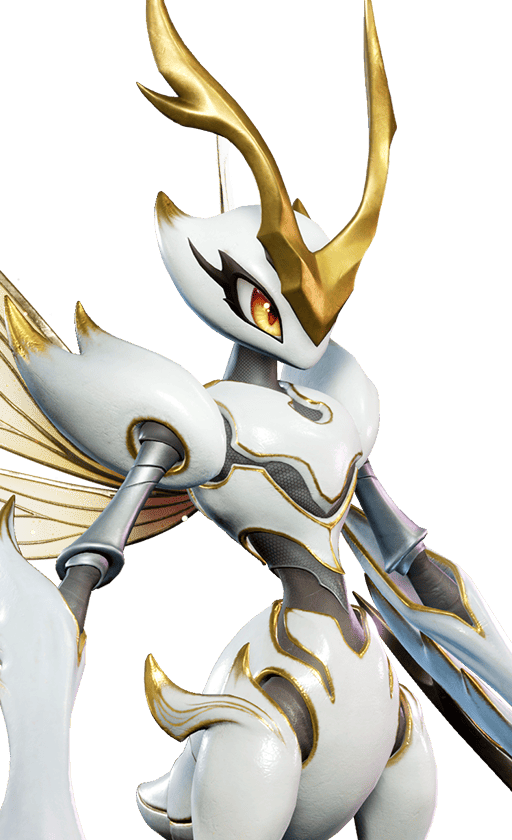
Role: DPS | Attributes: 520 | HP: 99 | BREAK: 50 | ATK: 130 | REGEN: 105
Fulmintis is one of my easiest S-tier DPS picks. Its 130 ATK is already excellent, but what really sells me on it is how naturally its resource loop works. Electro Stash restores EP whenever a skill crits, while its kit gives it ways to raise its own Crit Rate.
That creates a simple loop: crit, recover EP, cast more skills, then create more chances to crit again. There's very little wasted setup, and Fulmintis doesn't need special terrain or a specific teammate before it starts doing its job. That's also the core strength highlighted in the combat analysis I used while comparing the roster.
Rookey
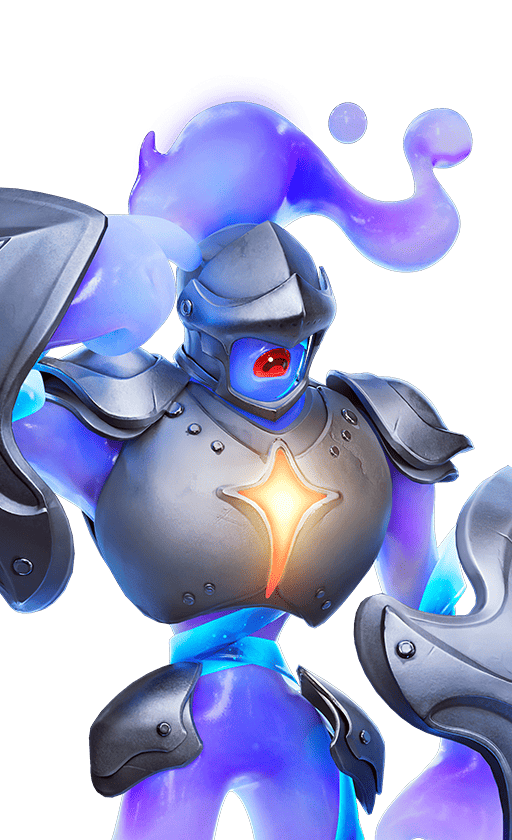
Role: BREAK | Attributes: 540 | HP: 100 | BREAK: 105 | ATK: 90 | P.DEF: 100
I put Rookey in S tier because it combines huge BREAK pressure with excellent durability. A 105 BREAK stat is already one of the first things that stands out, while 100 HP and 100 P.DEF make it much harder to punish than a fragile offensive breaker.
Its kit also rewards getting attacked rather than simply surviving hits. That defensive playstyle contributes directly to its BREAK pressure, so Rookey doesn't have to choose between staying alive and doing its job. I especially like that consistency in tougher encounters, where a breaker that dies while trying to create an opening isn't much use.
Thornblade
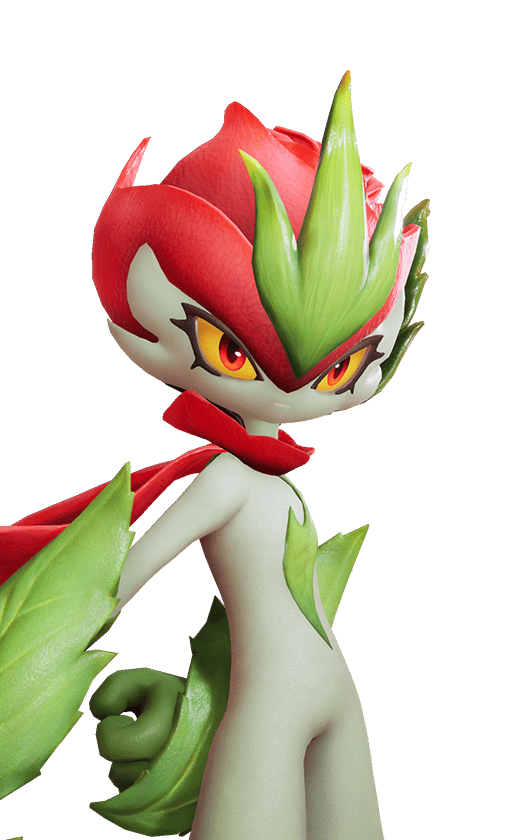
Role: DPS | Attributes: 509 | HP: 96 | BREAK: 53 | ATK: 121 | REGEN: 92
Thornblade is one of the more mechanically demanding Aniimo I put in S tier. Its 121 ATK gives it a strong starting point, but Sword Dance is what really defines the kit. Every skill generates a Sword Dance stack, and basic attacks consume those stacks to deal 180% additional damage.
Its defensive stance also reduces incoming damage by 20%, while good timing can increase its Crit Rate. That makes the rotation feel interconnected: use skills, generate stacks, empower basic attacks, then use defensive timing without completely giving up offensive momentum. The ceiling is high enough that I think the extra execution is worth it.
Browse our hottest Aniimo Boosting services








Inferlupa
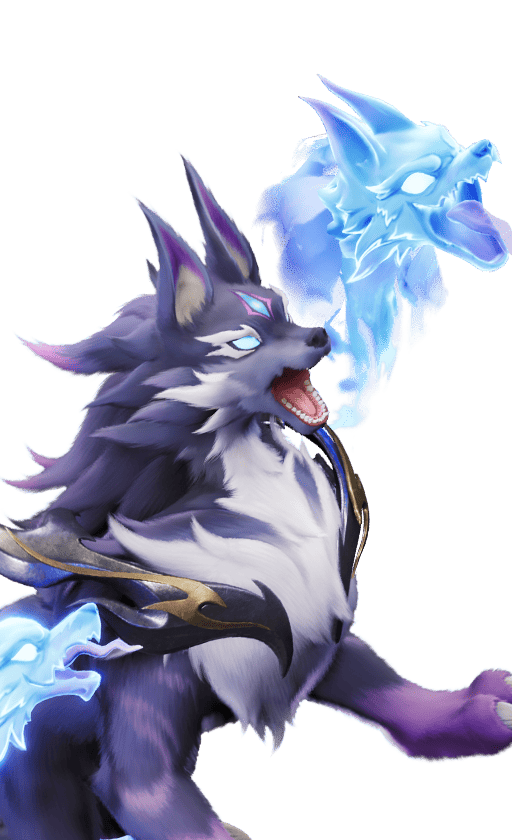
Role: BREAK | Attributes: 541 | HP: 95 | BREAK: 108 | ATK: 89 | REGEN: 99
Inferlupa earns S tier because its value goes beyond its already excellent 108 BREAK. Unbroken Flameruff Spirit can increase BREAK efficiency against affected enemies by 10% per stack, up to three stacks. That means Inferlupa doesn't just chew through the bar itself. It helps the rest of the team do it faster too.
Its Full Energy mechanic also rewards sustained basic attacks by empowering the next skill, while several abilities gain extra effects when the state is active. I like Inferlupa because its payoff isn't purely personal damage. Creating faster vulnerability windows makes everyone on the team more dangerous.
Tromber
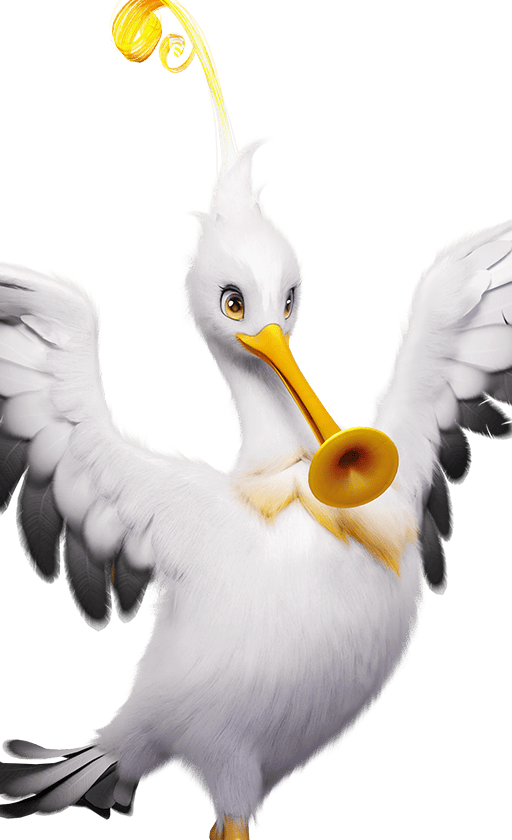
Role: Support | Attributes: 531 | HP: 113 | BREAK: 51 | ATK: 119 | REGEN: 88
Tromber is here because a strong offensive support can contribute more total damage than simply bringing another attacker. Its 113 HP also makes it surprisingly sturdy for a support, while its actual value comes from improving the damage output around it.
The big attraction is critical-damage support and Wind amplification. That naturally makes Tromber especially strong in teams built around Wind attackers, but I don't think its value is limited to its own personal numbers. When one support substantially raises the output of a properly built carry, I consider that S-tier contribution.
Melloblum

Role: Support | Attributes: 517 | HP: 95 | BREAK: 91 | ATK: 113 | REGEN: 78
Melloblum is one of the more specialized members of S tier, but its Grass-team ceiling is ridiculous. Its stats are already unusual for a support, including 113 ATK and 91 BREAK, but the kit brings much more than those numbers suggest.
Phantom Opening can reduce Melloblum's EP costs as teammates attack. Healing Rose provides sustain, Sparkling Rose removes negative effects, and Rose Garden gives allies inside it a massive 70% increase to Grass critical damage for 30 seconds.
So while I wouldn't call Melloblum universal, it does so many useful things inside its intended composition that I still think it deserves S-tier.
Dazmand
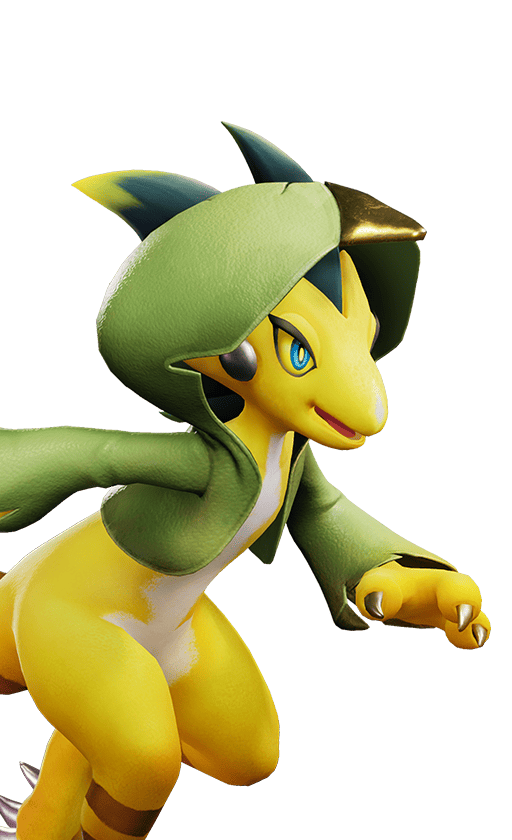
Role: Support | Attributes: 522 | HP: 100 | BREAK: 55 | ATK: 108 | REGEN: 88
Dazmand is my S-tier Electric support. Its first skill, shortly after entering combat, costs no EP, which makes switching it in immediately productive. More importantly, Thunder Sweep increases the team's Electric Crit Rate by 20% for 20 seconds.
It can also apply Electric Debuff stacks and Paralysis, giving it control utility alongside its offensive support. I rate elemental specialists more cautiously than universal supports, but Electric already has several powerful damage options. Dazmand gives those teams exactly the kind of Crit support they want without needing a complicated setup.
Turbo

Role: Support | Attributes: 518 | HP: 95 | BREAK: 50 | ATK: 110 | REGEN: 87
Turbo gets S tier because its buffs are useful in an unusually wide range of teams. After four basic attacks, it enters Shrouded in Mist, which enhances the next skill.
Nimbi Burst is the standout. It increases both team damage and BREAK efficiency, with the effect becoming substantially stronger when Shrouded in Mist is active. Turbo can also create a shield and reduce stamina consumption, so it isn't purely an offensive buff bot.
That's what separates Turbo from many narrower supports for me. Damage, BREAK efficiency, and defensive utility are useful almost everywhere. It doesn't need one specific DPS partner before the kit starts making sense.


You got -20% OFF 
Prismana Aniimo Tier List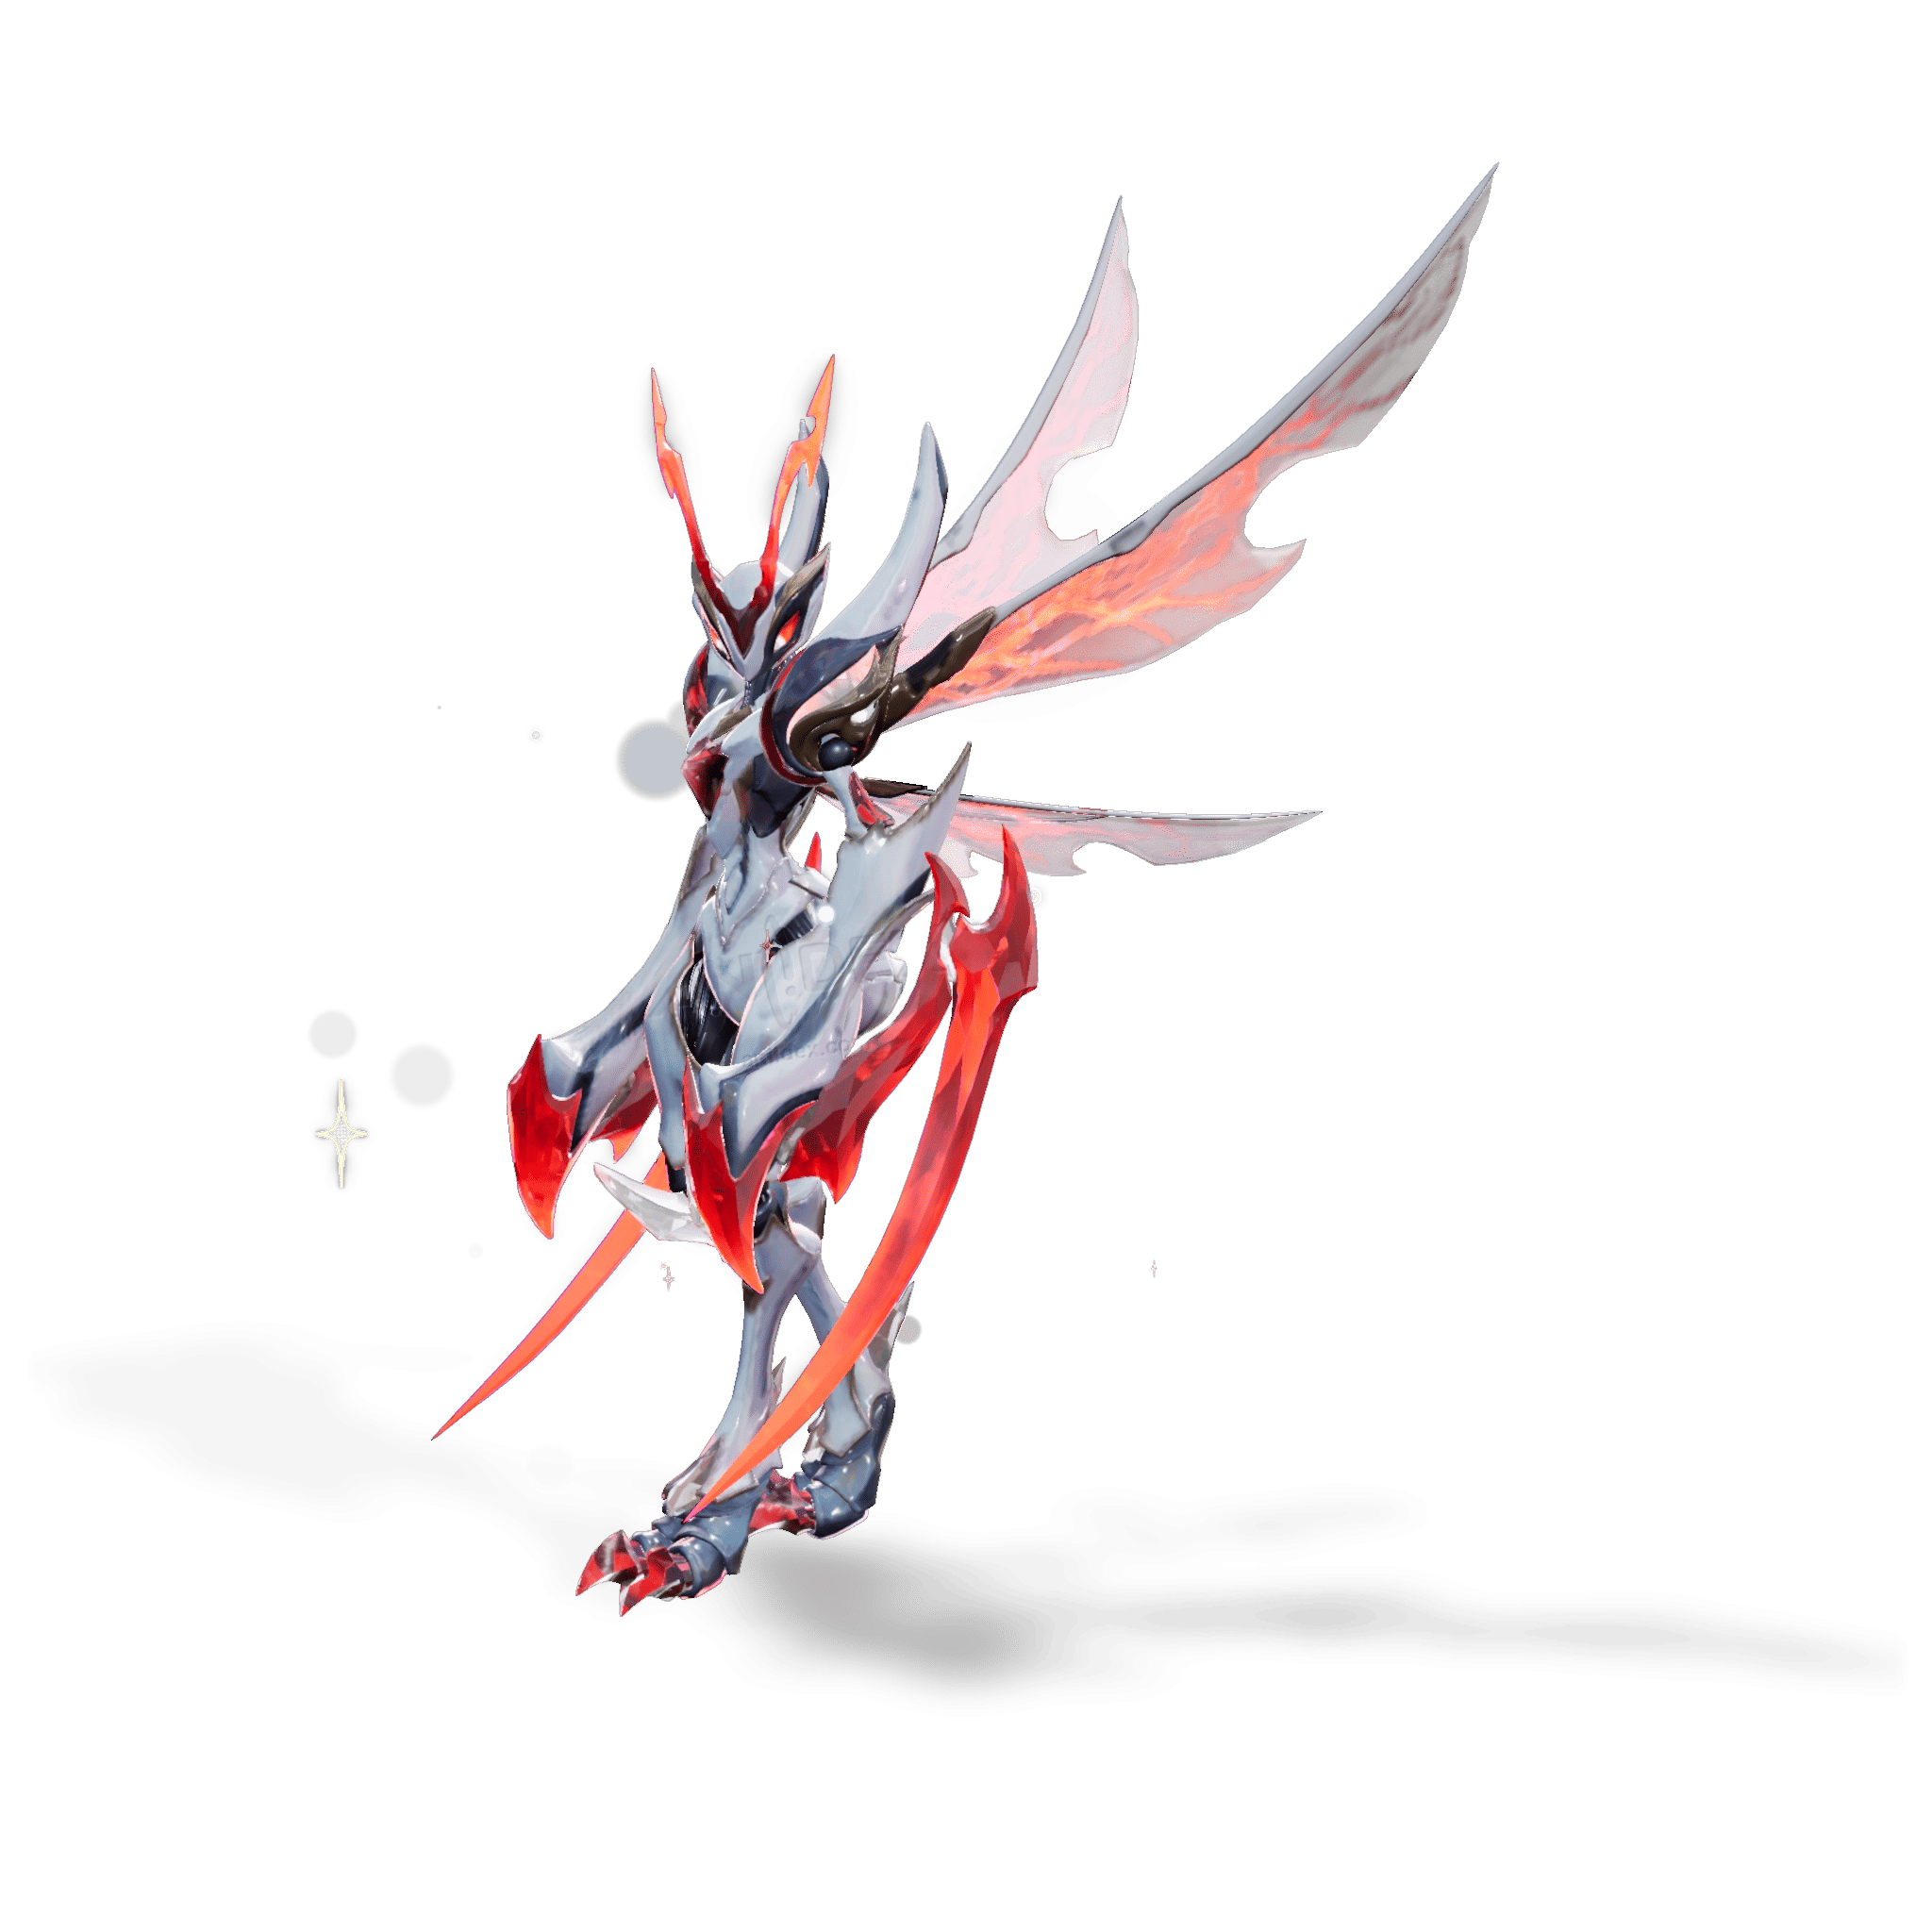
Now, Prismana is a bit different. It looks like something that you would get from banners. As of right now, there are 27 Prismana forms in the game. And you can basically apply the same criteria to Prismana, although I gotta admit these Aniimo are much harder to get, they’re more exclusive and potentially something you can only get for real money, except for a few of them.
|
Tier |
Prismana Aniimo |
|
S-Tier |
Fulmintis, Fenmane, Glacy, Irisalis, Somniwing |
|
A-Tier |
Stellarys, Luminelle, Melloblum, Turbo |
|
B-Tier |
Blazen, Glynsera, Hexxin, Thornblade, Sherro, Inferlupa, Infergon |
|
C-Tier |
Grizbo, Panpanta, Cornet, Ignitis, Waleetle |
|
D-Tier |
Magmarex, Pawney, Scorchhowl, Iris, Irisal, Little Fire Spirit |
Fulmintis, Fenmane, and Glacy are considered pretty OP judging by what I saw in the community. Irisalis and Somniwing are unusual cases because Prismana is their published form rather than an optional upgrade to a normal version.
F.A.Q.
What are the best Prismana in Aniimo?
The best ones are Fulmintis, Fenmane, Glacy, Irisalis, and Somniwing. Fulmintis is often mentioned as the best one in the game as of release.
How many Aniimo are in the game?
There are currently 90 Aniimo and 120 alternate forms, including 27 Prismana forms. That gives the game 210 collectible forms in total.
Is Prismana the final form of Aniimo?
No. Prismana is an alternate form, not an evolution stage. It can change an Aniimo’s appearance, elemental typing, resistances, and sometimes its available skills.
Can Aniimo have multiple final forms?
Yes. Some evolution lines branch into several different final evolutions. For example, Flameruff can evolve into either Scorchhowl or Inferlupa, and both count as separate final-stage Aniimo.
How many elements are in Aniimo?
Aniimo has nine elements:
- Holy
- Fire
- Ice
- Dark
- Electric
- Grass
- Water
- Rock
- Wind
Some forms can also give an Aniimo two elements at once.
What is better - Prismana or Nova Stage Aniimo?
Neither is automatically better because they describe different systems. Nova Stage is an evolution stage, while Prismana is an alternate form, so a Nova Stage Aniimo can also have a Prismana form.