 Dallon Avery

Modern Warfare 4 DMZ Quick Overview:
- Release date: October 20, 2026, for digital pre-order Early Access; October 23 for the full release.
- What is DMZ: It’s a PvPvE extraction shooter like EFT, the successor to MW 2’s DMZ.
- Map: Set in Korean Hajin Island
- Deployments: You can choose between 3 different types of deployments
- FOB: basically your DMZ version of a hideout with crafting stations, mission board, etc.
Need more cash in DMZ to buy a shiny new weapon or bigger backpack? Buy DMZ Cash at Skycoach and get any amount you want! No headache, no farming. Supplied by verified and trustworthy players around the world, this is you fastest way to enjoy MW4 DMZ!


Read closely 
Browse our hottest Call of Duty Boosting services
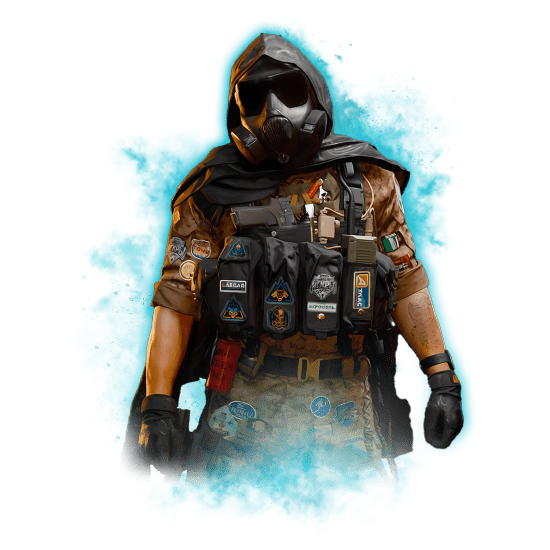





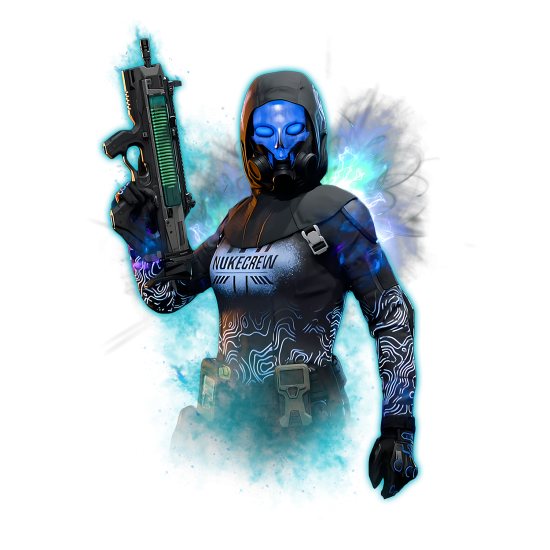

What Is DMZ in Modern Warfare 4?
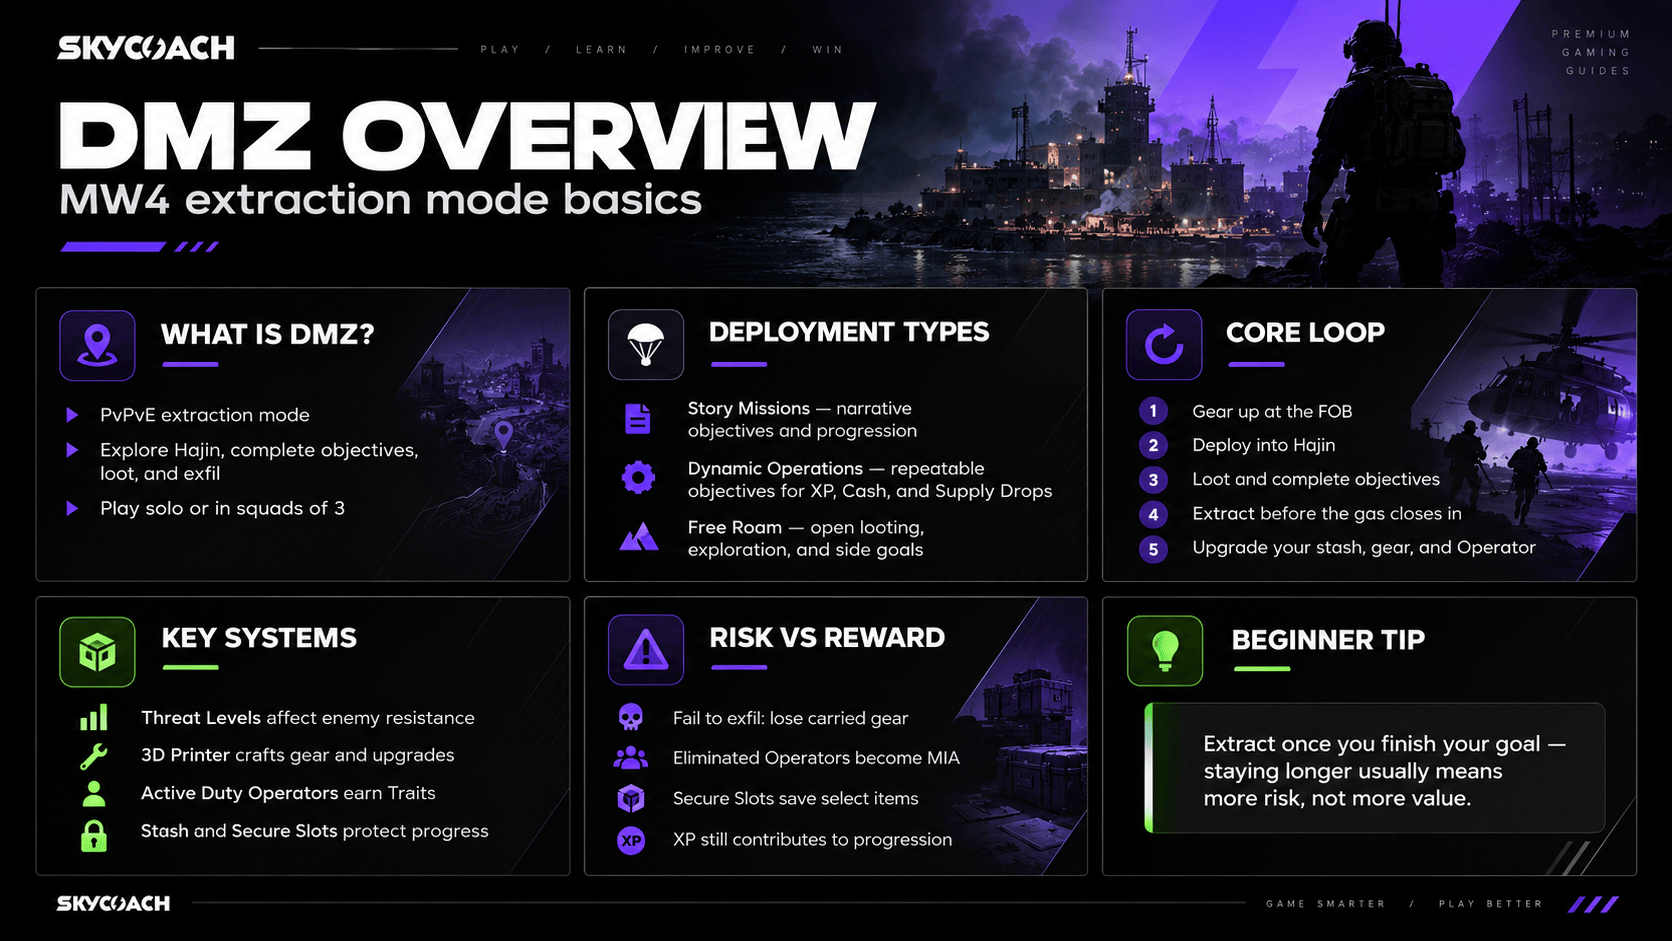
If you missed the DMZ mode back in Modern Warfare 2 (2022), this is basically another extraction shooter but from Call of Duty. With Escape from Tarkov, ARC Raiders, Marathon, Hunt: Showdown, and others, I bet you’ve played at least one of those. But in case you didn’t, here’s what an extraction shooter is: you deploy on an open map filled with AI enemies, and you can go wherever you want, do whichever missions you like, loot what you want, all while other players do the same. This means that you may encounter and fight other players, but by no means is this the "requirement to win” in DMZ. On death, you lose whatever you looted, unless you put something in your “safe pocket”. And to exit the map, you must access one of the EXFIL points on the map. That’s the gist. Now, this particular DMZ introduces a bunch of new things that may not be really new to the genre as a whole, but are definitely new to CoD DMZ.
According to PC Gamer's coverage, the developers rebuilt DMZ around a much deeper extraction shooter experience, with independent progression, more dangerous AI, bosses, and a persistent inventory system.
Once again, despite the fact that this is a new game, I want you to think of this year’s DMZ as a successor to the original DMZ mode, because that’s how I see this, and I wrote this guide from this perspective.
Here's what you can do in MW4 DMZ:
- Complete Story Missions that continue the narrative following MW4's Campaign.
- Take on Dynamic Operations to earn XP, DMZ Cash, and increasingly valuable Supply Drops.
- Explore Hajin to discover hidden rooms, valuable equipment, crafting ingredients, and secrets.
- Fight AI enemies ranging from ordinary soldiers to powerful Commanders.
- Hunt other Operators for valuable loot, Dog Tags, and Bounty rewards.
- Upgrade your FOB with equipment, crafting recipes, additional storage, and permanent improvements.
- Develop individual Operators by unlocking Traits and eventually Prestiging them.
Unlike the free-to-play DMZ beta from Modern Warfare 2, the new mode is part of the paid Modern Warfare 4 experience. So, unfortunately, this time around, you have to buy the full game just to play DMZ. Also, this year, CoD is not in the Game Pass, which double-sucks.
How to Play DMZ in Modern Warfare 4
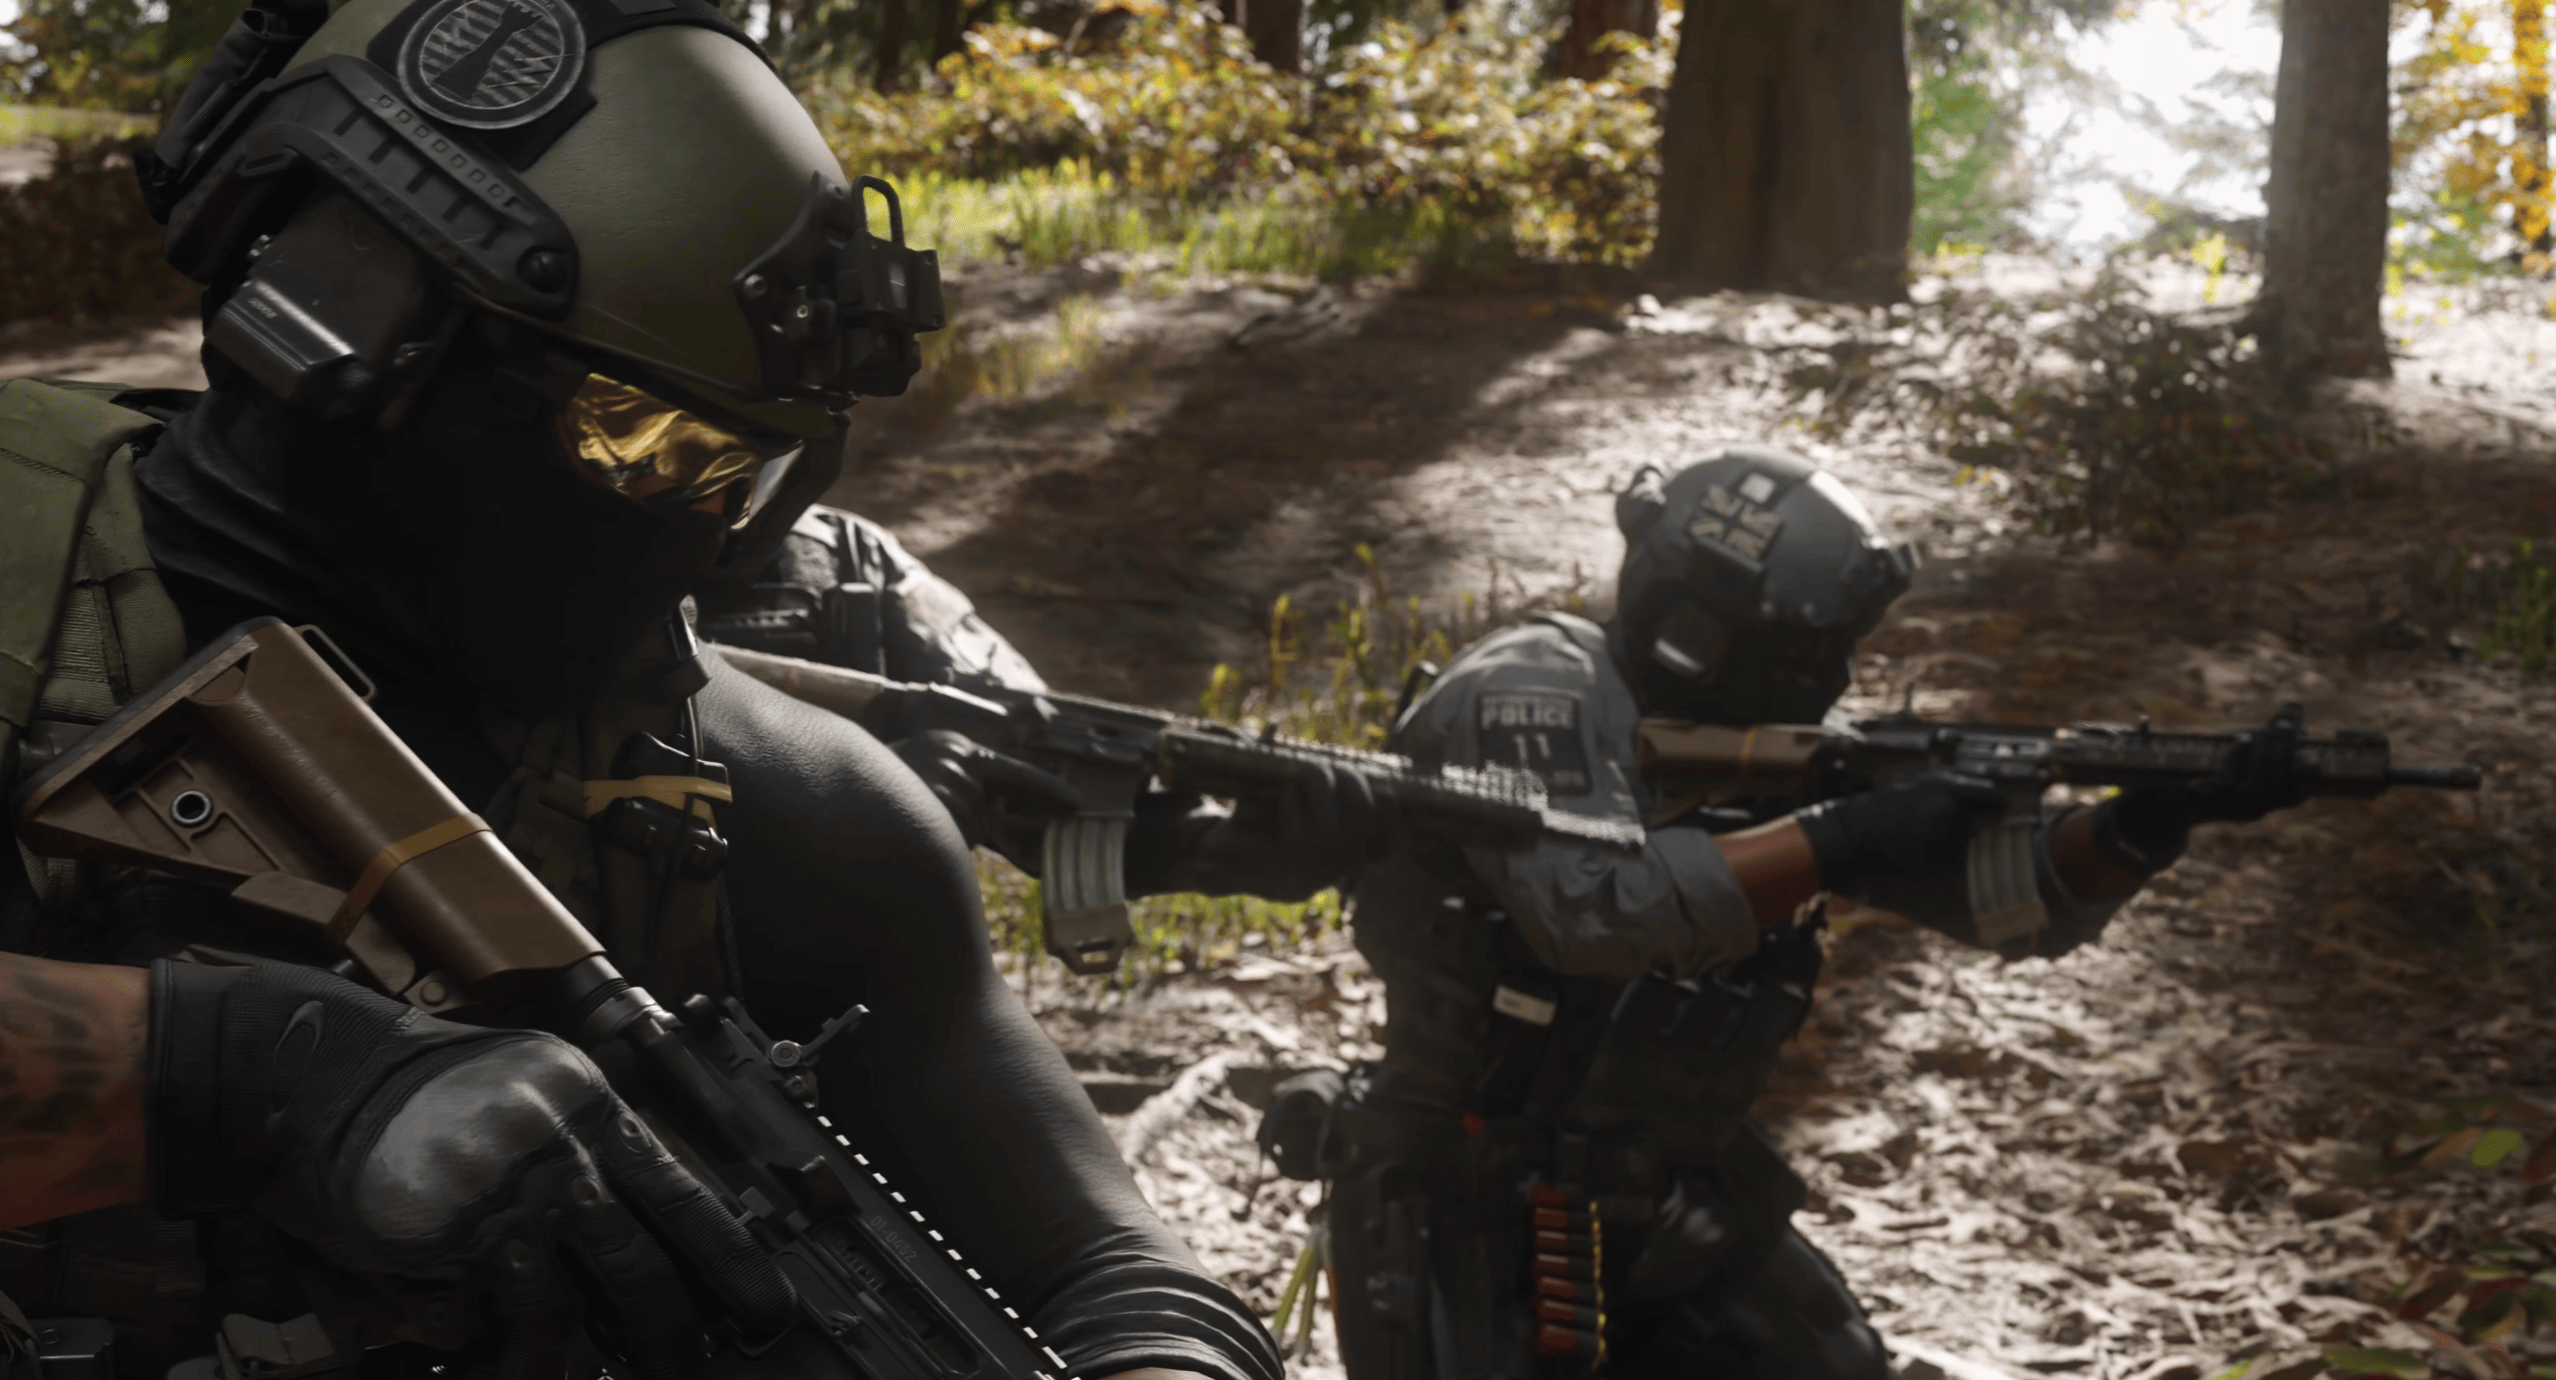
DMZ is available as soon as the game comes out. You don’t have to unlock it by completing the campaign, although story-wise, the DMZ takes place after the events of the campaign. So, if that’s something you’re interested in, play the campaign first. But you don’t have to.
So, the basic gameplay loop is very simple - you live, you die, you live again.
Ok, if we’re being serious, you start the game in the DMZ, you pick your operator, fill your backpack and loadout with the things you need, pick a weapon, select the missions, and deploy. If you made it back alive through extraction, you can unload your loot into storage, do some crafting, and generally prepare for the next raid.
Here's how I would prepare:
- Choose an Active Duty Operator. Each Operator has individual progression and Traits, so select one suited to your objective.
- Prepare your Loadout. Bring a weapon, Plate Carrier, Backpack, and medical supplies. A Free Loadout is available if you don't want to risk expensive equipment.
- Select a deployment. Choose between Story Missions, Dynamic Operations, and Free Roam.
- Enter Hajin. Check your Tac-Map, nearby Threat Levels, and current objectives before moving.
- Collect loot and complete objectives. Search containers, fight enemies, gather crafting materials, and complete your DMZ Orders.
- Find an extraction point. Watch the remaining time and spreading radiation, then leave before conditions become too dangerous.
- Return to your FOB. Store your loot, spend DMZ Cash, craft gear, and review your progression.
For the first time, I would take it slow and possibly even avoid other players if I could help it. Just do a mission or two, and then try to exfil. Just see how tough the AI is, where you can go, what you can do in terms of traversing, get the feel for the size of the map and how often you meet other players. So that the next time you deploy, you’re better prepared.
MW4 DMZ Deployment Types
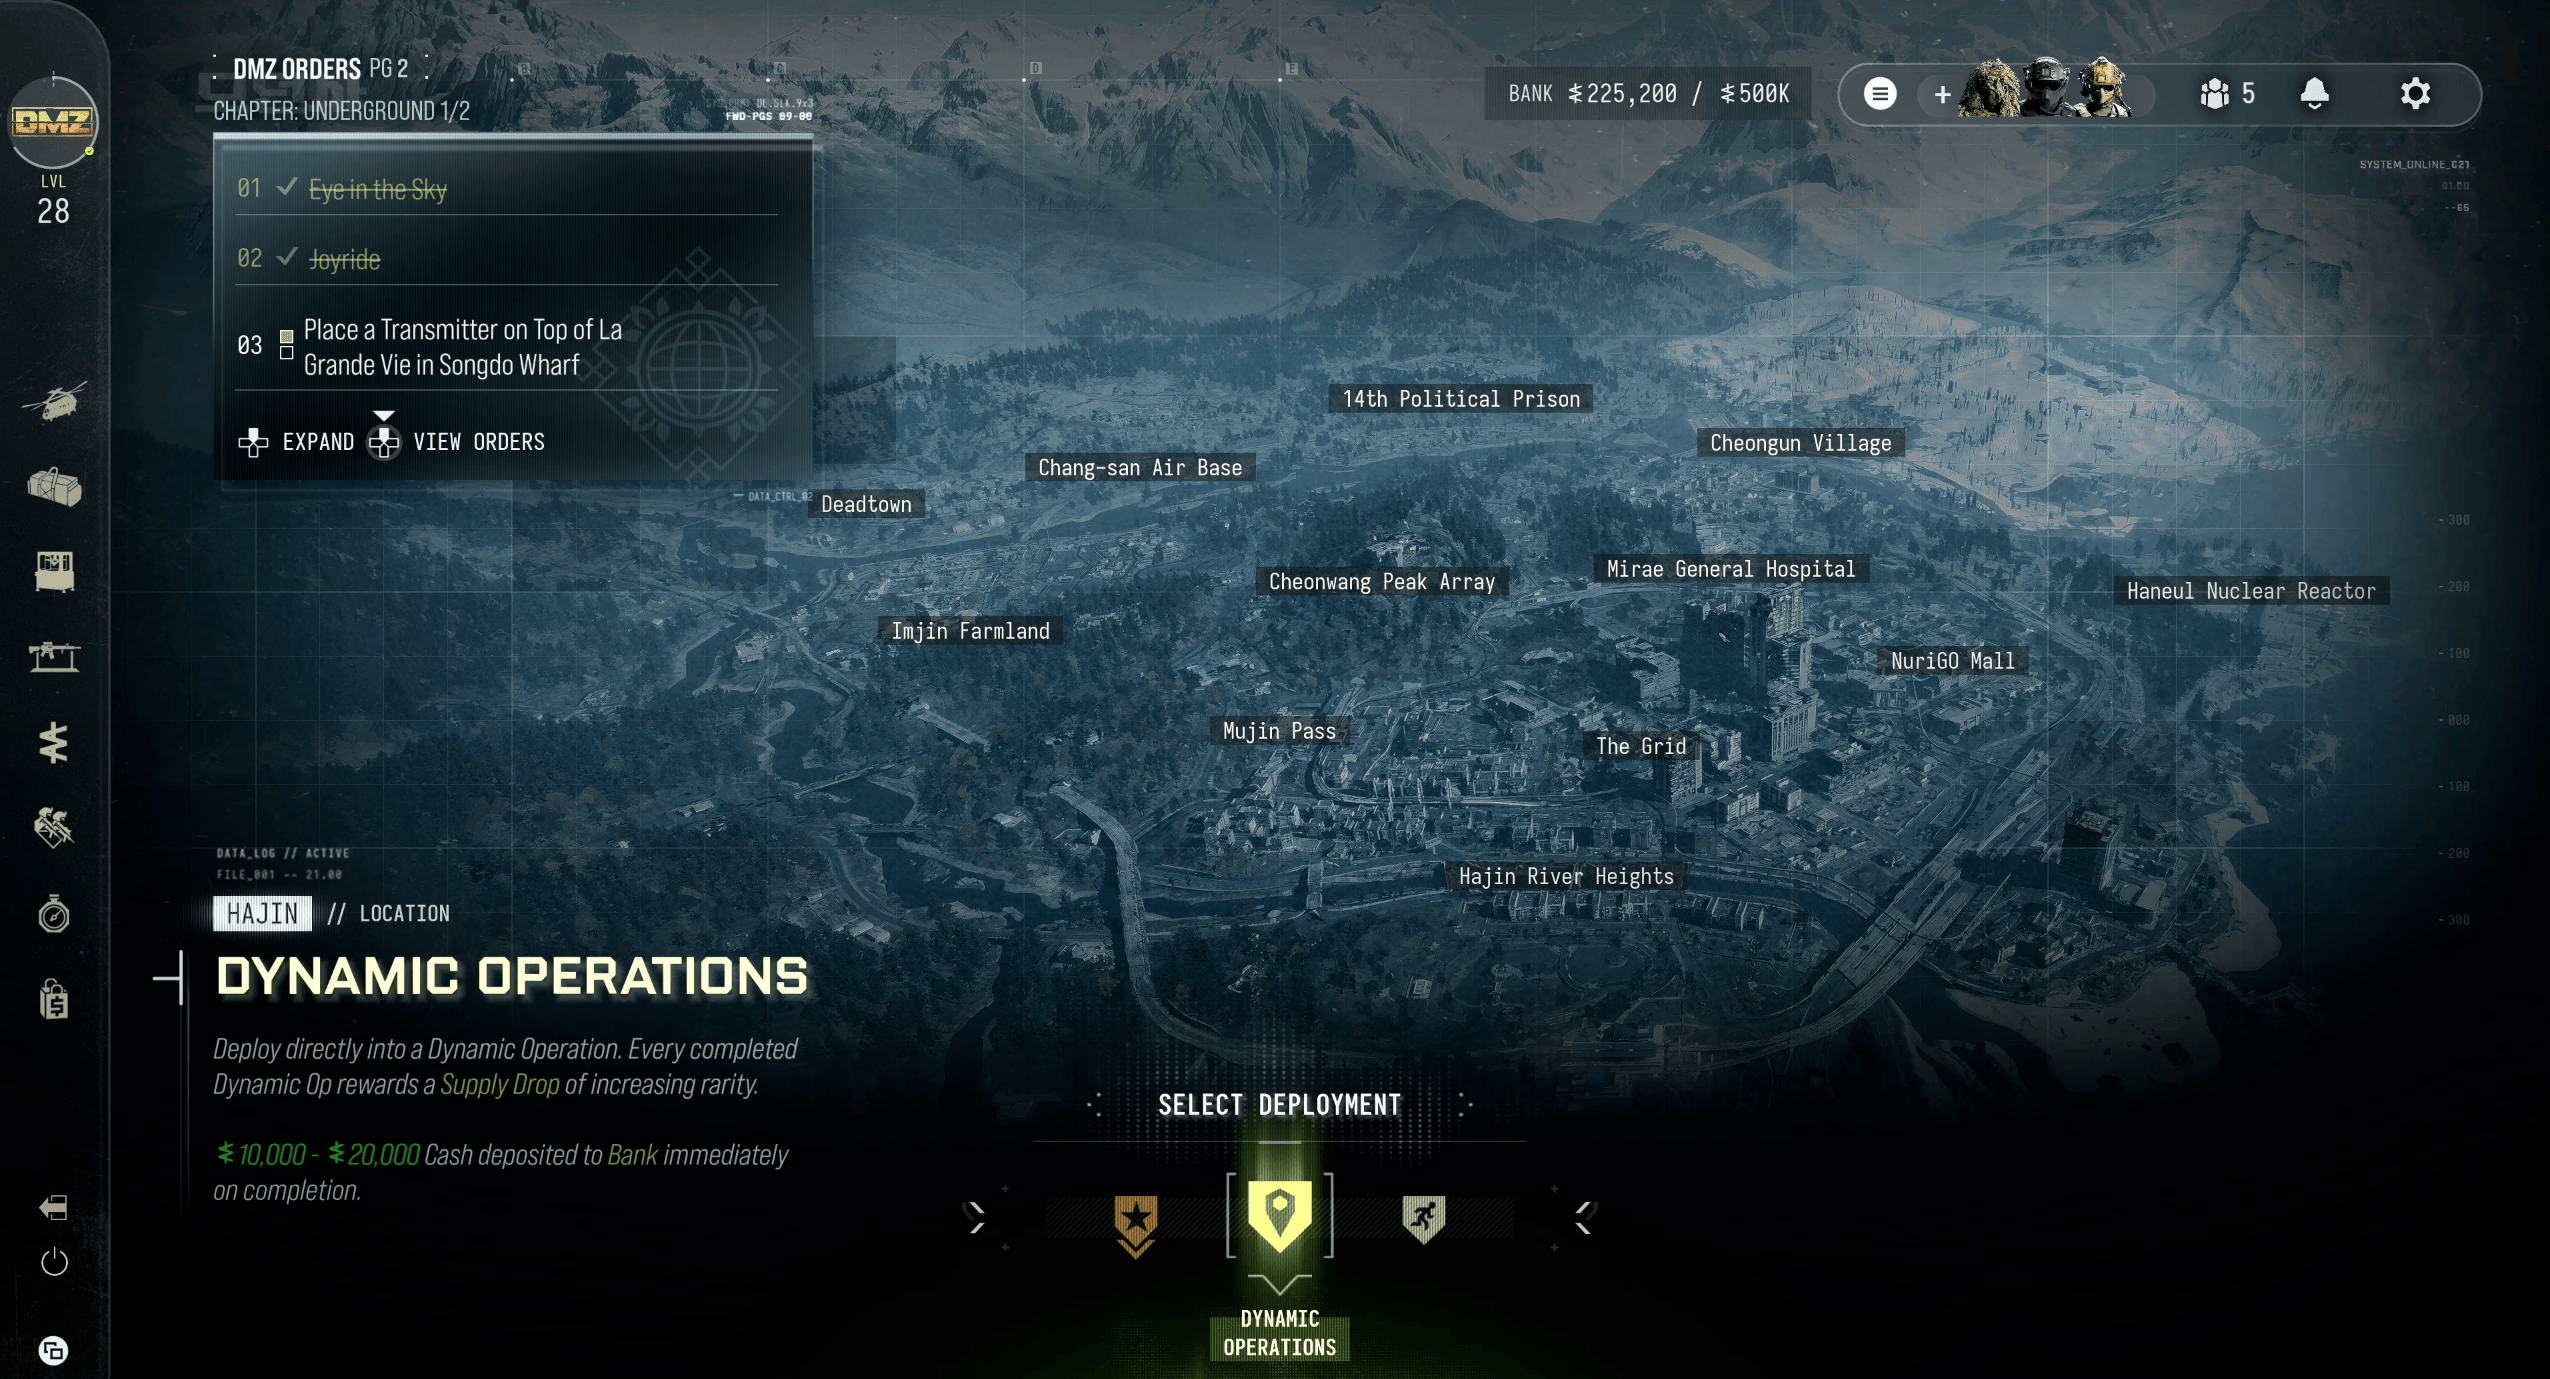
What’s interesting in this DMZ is that you have different deployment types. You can actually pick how your experience will go. Normally, you’d just deploy and do whatever you planned, but with these types, you get the types of experiences you want first.
You got 3 different types of deployments:
|
Deployment Type |
What You Do |
Best For |
|
Story Missions |
Complete narrative objectives with mission briefings and rewards |
Story progression and structured gameplay |
|
Dynamic Operations |
Complete repeatable objectives for XP, Cash, and Supply Drops |
Farming rewards and leveling |
|
Free Roam |
Explore Hajin without a selected primary mission |
Looting, completing Orders, and hunting targets |
As GameSpot reported, Modern Warfare 4 expands the original DMZ formula with narrative-driven Story Missions and Dynamic Operations, giving players more structured objectives to complete.
Dynamic Operations have another useful feature: completed Operations award Supply Drops that increase in rarity as you continue progressing through them. This makes completing multiple Operations worthwhile if your squad has enough supplies to keep going.
That’s actually a pretty cool concept if you don’t want to wander aimlessly until you get to a mission or a contract.
You can also choose how to enter Hajin when playing Dynamic Operations or Free Roam. Some options cost DMZ Cash but basically give you different advantages. For example, you can start the raid in a vehicle, or drop from a plane to quickly get to a specific location on the map. Or maybe you want to start with a helicopter! That’s actually an insane novelty if you ask me! It surely going to save me lots of time, provided I have the cash to spend on this better deployment method.
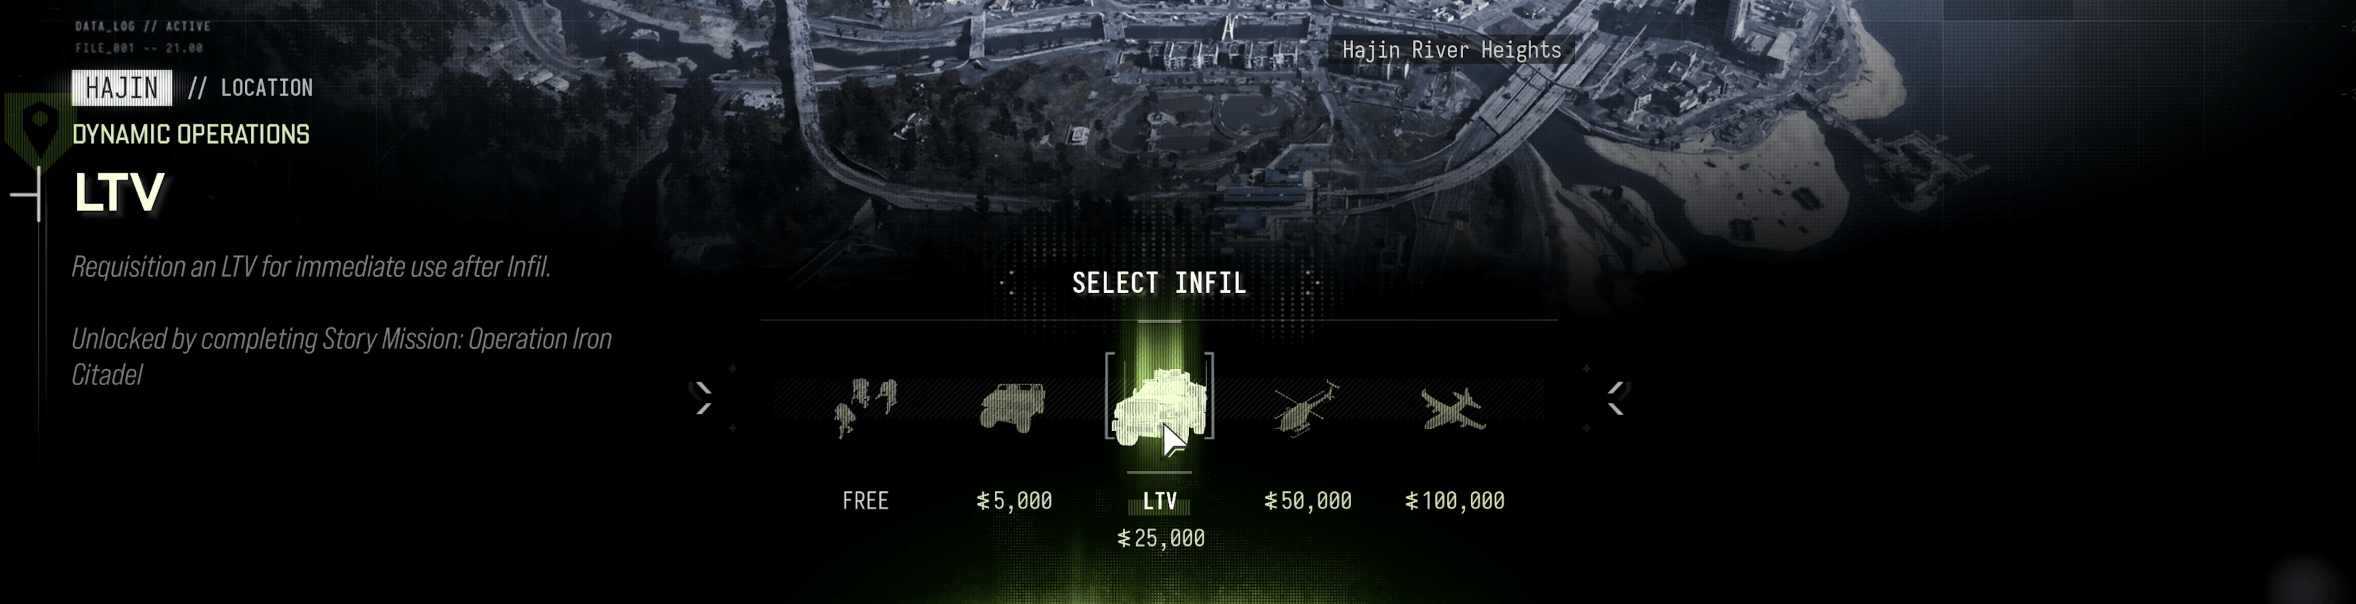
|
Infil Method |
Cost |
Benefit |
|
Ground |
Free |
Start on foot at a random location |
|
Polaris Dagor A1 |
5,000 |
Receive a light tactical vehicle |
|
LTV |
25,000 |
Deploy with an armored vehicle |
|
Helicopter |
50,000 |
Enter Hajin in a pilotable helicopter |
|
Cargo Plane |
100,000 |
Choose a precise drop location |
The vehicle and airborne options require the corresponding Story Mission unlocks, so you won't necessarily have access to all five immediately. If you're entering by air, remember to bring a Parachute. For beginners, Ground deployment is perfectly fine. I wouldn't spend 100,000 Cash on a Cargo Plane unless I had a specific reason to reach a particular location. It’s just the normal way to play DMZ, not something like a disadvantage.
How to Extract in MW4 DMZ

Extraction is obviously super important. This isn’t the mode where you have to complete an objective to win; you can leave at any point. Or die.
Something that I forgot to mention when explaining what DMZ is is the time limit on raids. It’s not like you can stay in a raid for 5 hours of non-stop gameplay and extract whenever you feel like it. No, that’s not how that works. To make sure that you take bathroom breaks and wash your face every now and then, there’s a time limit. I don’t have the exact number for you yet, but it’s going to be around 30 minutes.
The timer is justified by a chemical weapon, which gradually spreads across the map, eventually covering it all. That’s actually how it used to work in the original DMZ. You can still survive inside the gas for a while, especially if you have a gas mask, but once it starts spreading, that’s your signal to haul ass and extract. And here’s the fun part: every other player who hasn’t extracted yet will be doing the same thing. And that leads to a bunch of hilarious situations.
So, always remember:
- Check the Tac-Map regularly for extraction options and the spreading radiation.
- Don't wait until your last few minutes to begin moving toward exfil.
- Bring medical supplies and enough armor to survive an unexpected fight.
- Avoid unnecessary combat when your backpack is already full of valuable items.
- Watch your surroundings while waiting for the extraction helicopter.
The best time to extract is often when you've completed your objective, not when you've run out of things to shoot.
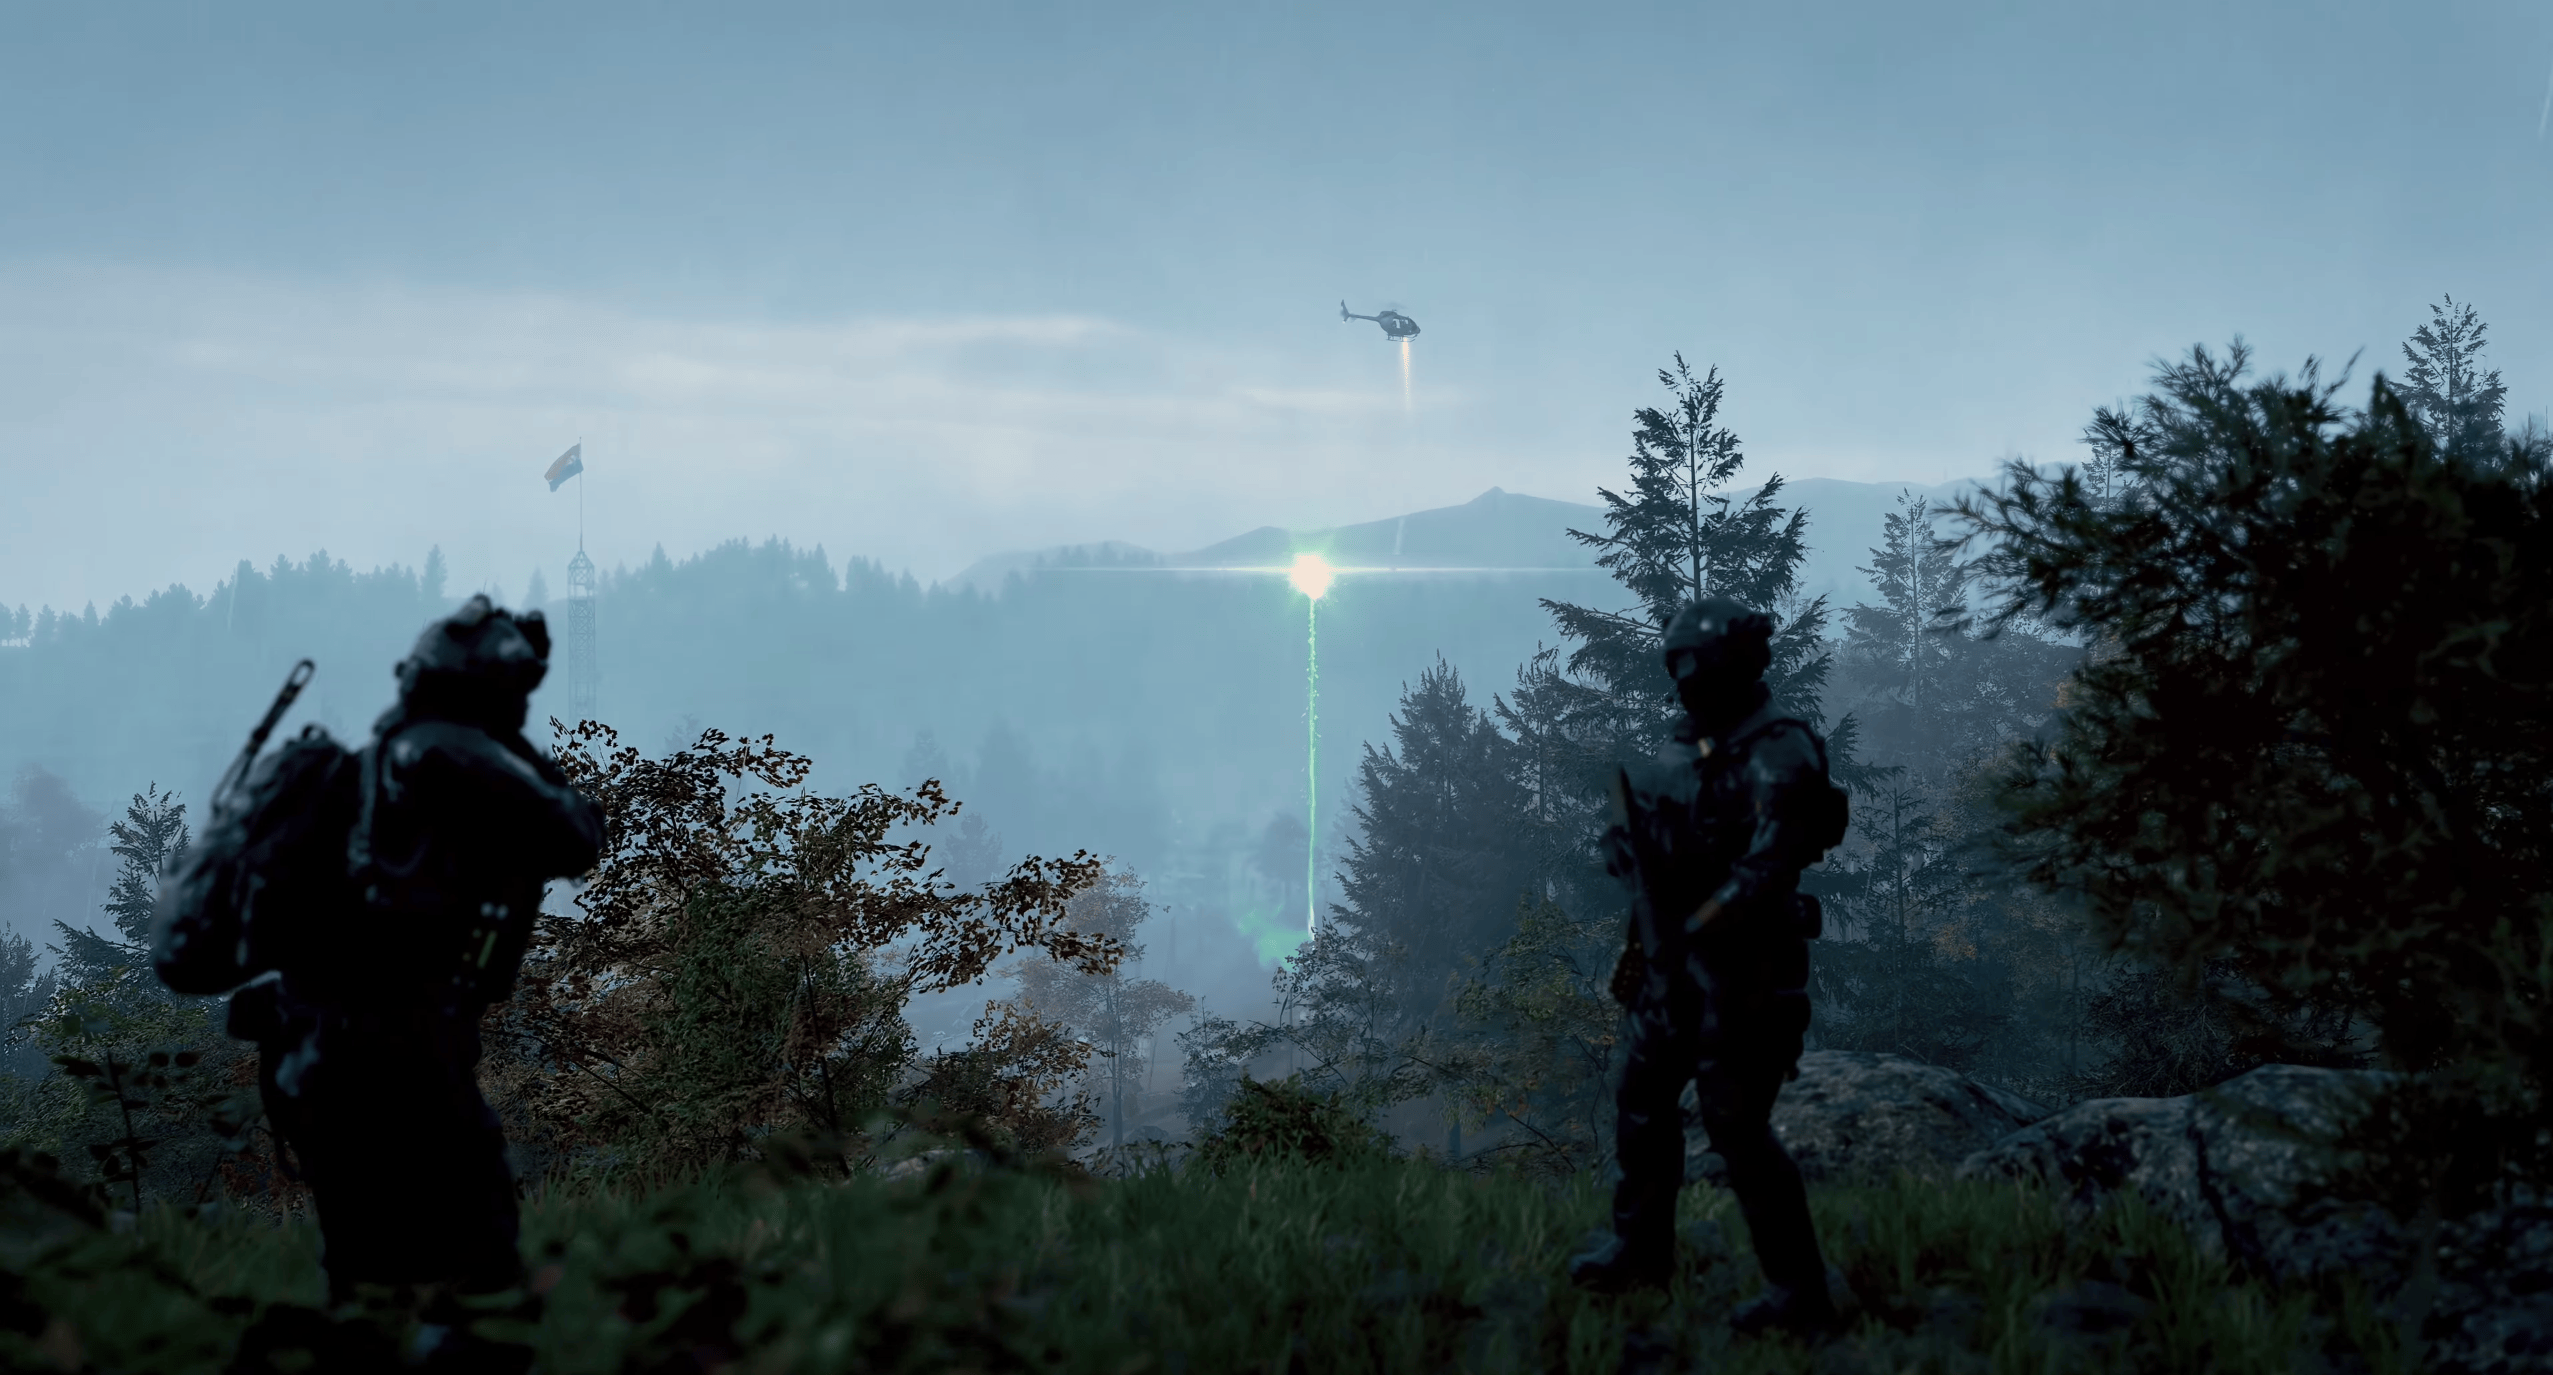
To extract in MW4 DMZ, open your Tac-Map and look for an active extraction point marked by green smoke. Head there, call in the Twin Heli helicopter, and wait for it to arrive. Sounds simple enough, except the enemy AI gets more aggressive while you're waiting, and other players might have the exact same idea. Once the helicopter arrives, board it to leave Hajin with your loot. There are also Skyhook extractions, although we'll need to see how those work in actual gameplay.
What Happens If You Die in DMZ?
If your Operator dies and fails to extract, you lose the gear and loot carried during that deployment, except for eligible items protected in Secure Slots. Your Operator also receives MIA status, meaning they can't deploy again until you recover or replace them.
Should you die, which you will at some point (as we all will), you’re going to lose everything you had in your backpack and your loadout. Also, the Operator you used becomes MIA, meaning you can’t deploy as this Operator again, so you have to wait or pay DMZ cash to rescue them. Since every operator is leveled up separately, dying as one is pretty serious. At least their levels don’t get reset. That’s something.
One more time: if you die, you have two choices:
- Recover your Operator: Spend DMZ Cash to bring them back with their unlocked Traits intact, but without their lost equipment.
- Dismiss your Operator: Replace them with another character and begin their progression again.
You need to decide that because you have a limited number of slots for operators. By default, you have only 2, but it's possible to increase the number of slots as you progress in DMZ. Recovery becomes more expensive as your Operator gains additional Trait Points. It's worth keeping some money in your Bank instead of spending everything on weapons. Thankfully, your earned DMZ Player XP still counts even if you fail to extract. A bad deployment hurts your inventory, but it doesn't completely erase your progress.
MW4 DMZ Map - Hajin

Hajin is a huge Exclusion Zone located around the Korean peninsula, near the Russian border. The region is filled with military installations, abandoned towns, industrial facilities, forests, and large urban districts. Different locations have different enemy Threat Levels, so deciding where to explore matters quite a lot. A quiet farming area is obviously a better starting point than a heavily fortified underground bunker.
The map is also packed with smaller locations such as Clinics, Police Stations, Gas Stations, and secured buildings. These are important for gathering specific supplies, completing Orders, and finding useful equipment.
Some of the main Hajin locations include:
|
Location |
Starting Threat Level |
What to Expect |
|
14th Political Prison |
High to Critical |
Fortified prison complex with dangerous interior areas |
|
Chang-san Air Base |
Critical to Extreme |
Military installation and heavily guarded underground bunker |
|
Deadtown |
Low to Medium |
Abandoned settlement with military patrols and accessible facilities |
|
Imjin Farmland |
Low to Medium |
Open agricultural terrain, warehouses, and a Rice Mill |
|
Cheongun Village |
Low, with High-threat Casino |
Residential areas, border crossings, and Heavenly Luck Casino |
|
Mirae General Hospital |
Low |
Large hospital with medical facilities and indoor combat |
|
Cheonwang Peak Array |
Medium |
Elevated communications installation and long sightlines |
|
Haneul Nuclear Reactor |
High, with radiation |
Hazardous industrial facility requiring special preparation |
Personally, I'd look toward Deadtown, Imjin Farmland, and other lower-threat locations for early resource gathering. They're not completely safe, especially with rival players around, but you have a better chance of getting familiar with the systems without immediately facing heavily armored enemies.
The map will also expand in Season 2, when the currently inaccessible Russian region becomes available.
Important Buildings and Loot Locations
Not every valuable item is found inside a military compound. Hajin has plenty of ordinary buildings that are worth visiting because they contain supplies needed for crafting and objectives. The Tac-Map marks useful building types, so you don't have to memorize every street before your first deployment.
Here are some locations worth checking:
- Clinics and Hospitals: Useful places to look for medical equipment and complete healing-related Orders.
- Police Stations: Potential sources of equipment and secured loot.
- Gas Stations: Allow you to repair and refuel vehicles.
- Ammo and Armor Caches: Useful when you need to restock before another engagement.
- Locked rooms: Require Keys and can contain valuable loot.
- Underground entrances: May lead to hidden areas and additional resources.
Another useful detail is that Keys include map grid coordinates in their descriptions. If you find a Key mentioning D7, for example, you can locate the corresponding area on your Tac-Map rather than wandering around Hajin hoping to find the correct door.
How DMZ Threat Levels Work
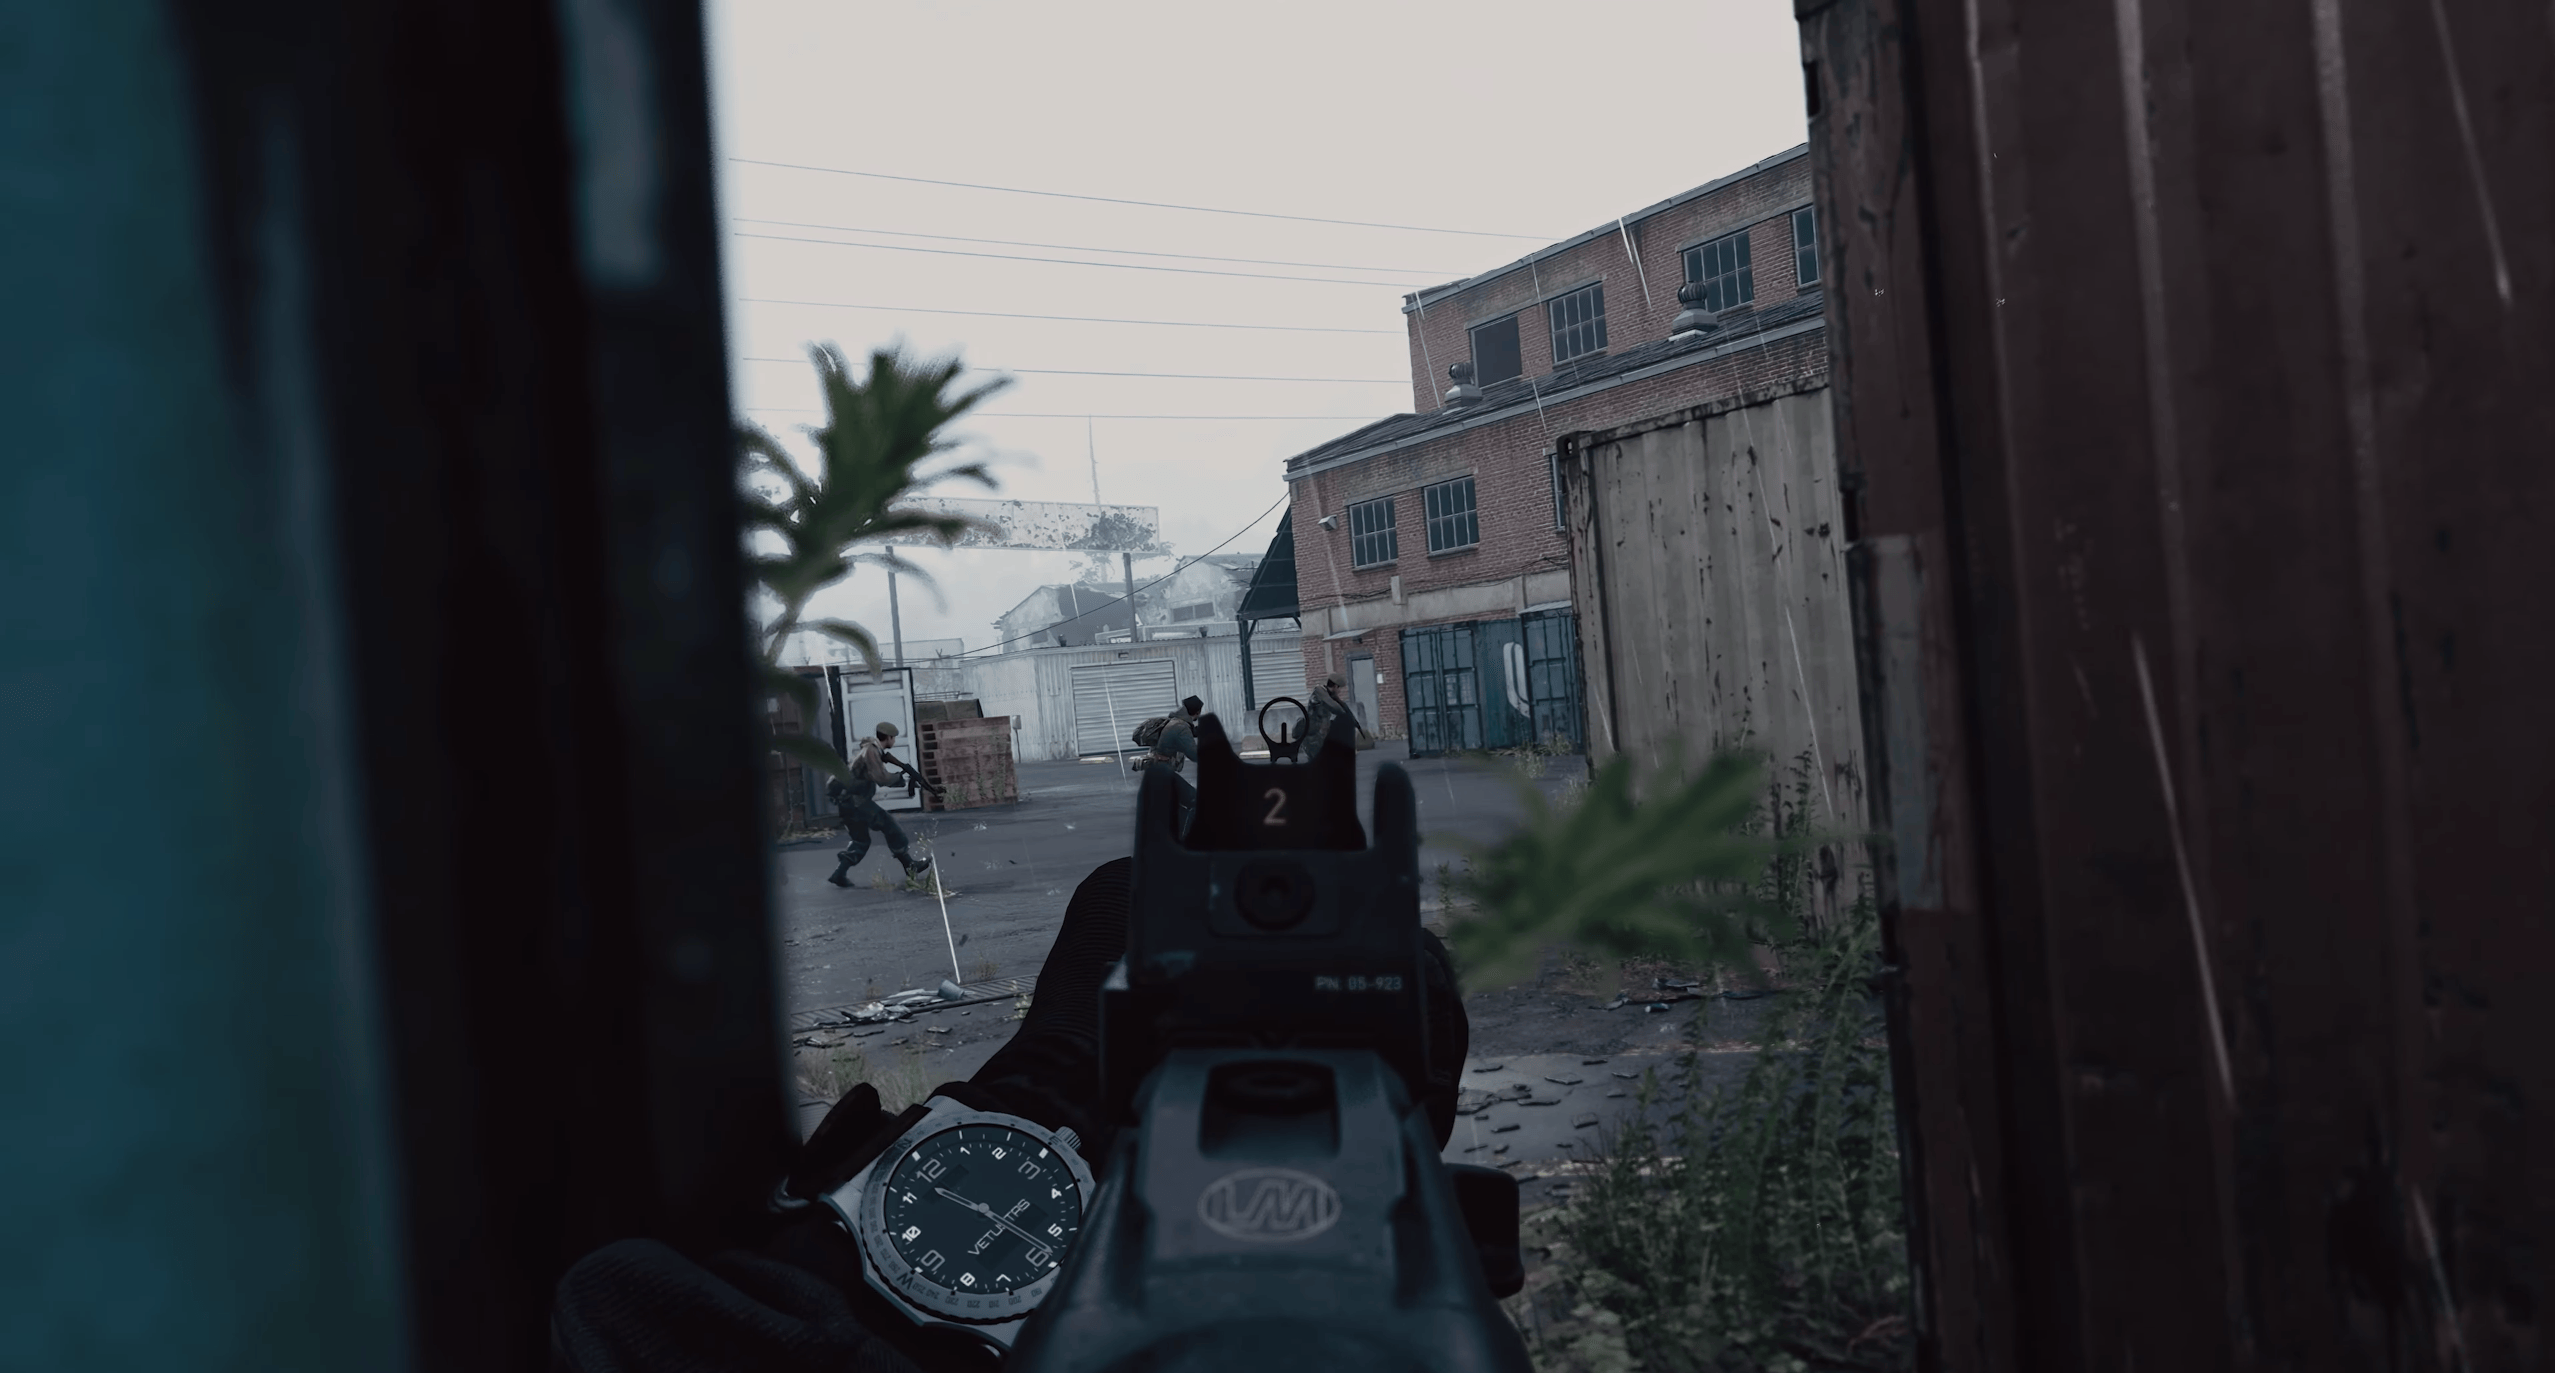
The Threat system is one of the more interesting mechanics in MW4 DMZ. Every major location has an initial danger rating that tells you how dangerous the enemy presence is likely to be. However, the situation can become much worse depending on what you do. Fighting large numbers of AI soldiers, making noise, and continuing to engage reinforcements can escalate the response.
The official Hajin intel guide explains how different locations have their own Threat Levels and how combat can escalate the enemy response during deployments.
There are five general Threat Levels to recognize:
|
Threat Level |
What It Means |
|
Low |
Relatively light enemy presence |
|
Medium |
More dangerous resistance |
|
High |
Heavier enemy presence and tougher defenses |
|
Critical |
Very dangerous area requiring good equipment and preparation |
|
Extreme |
Among the most dangerous locations in Hajin |
One thing worth knowing is that Threat Levels don't account for enemy players. A Low-threat location can still have a fully equipped rival squad waiting around the corner.
If you're attracting too much attention, you can reduce the pressure by disengaging. Move away from enemies, break their line of sight, find cover, and stop creating noise. Suppressed weapons, throwing knives, and melee eliminations can also help you avoid unnecessary escalation.
Marked for Death and Hunt Squads
There is also a Hostiles Kill Count displayed on your HUD. This tracks how many AI combatants you've eliminated during the current deployment. If the meter fills, an enemy Hunt Squad is sent after you, and your Operator becomes Marked for Death.
This gives you another reason not to shoot everything that moves. Killing enemies awards XP, sure, but a long firefight can leave you dealing with a growing number of reinforcements when you really just wanted to loot a building.
I'd pay particular attention to this mechanic when playing solo. Fighting a Hunt Squad without teammates to cover you sounds like a pretty terrible way to lose an expensive Loadout.
MW4 DMZ Enemies and Bosses
Hajin has several enemy types, ranging from lightly equipped North Korean soldiers to armored troops, robotic units, and powerful bosses. The stronger enemies aren't limited to high-level missions, either. Depending on where you explore and how much trouble you cause, you might encounter threats that your current equipment isn't prepared to handle.
Regular hostile forces include:
- Tier 1 North Korean Grunts
- Tier 2 Armored Soldiers
- Tier 3 Armored Soldiers with Gas Masks
- Tier 4 Faceless Armored Soldiers
- Autonomous Combat Drone Swarms
- Autonomous LMG Combat Drones
- K9 robotic quadrupeds, often found underground
- Attack Helicopter Patrols
- Road Convoys
On top of these enemies, Hajin features Lieutenants and Commanders.
How to Find Lieutenants
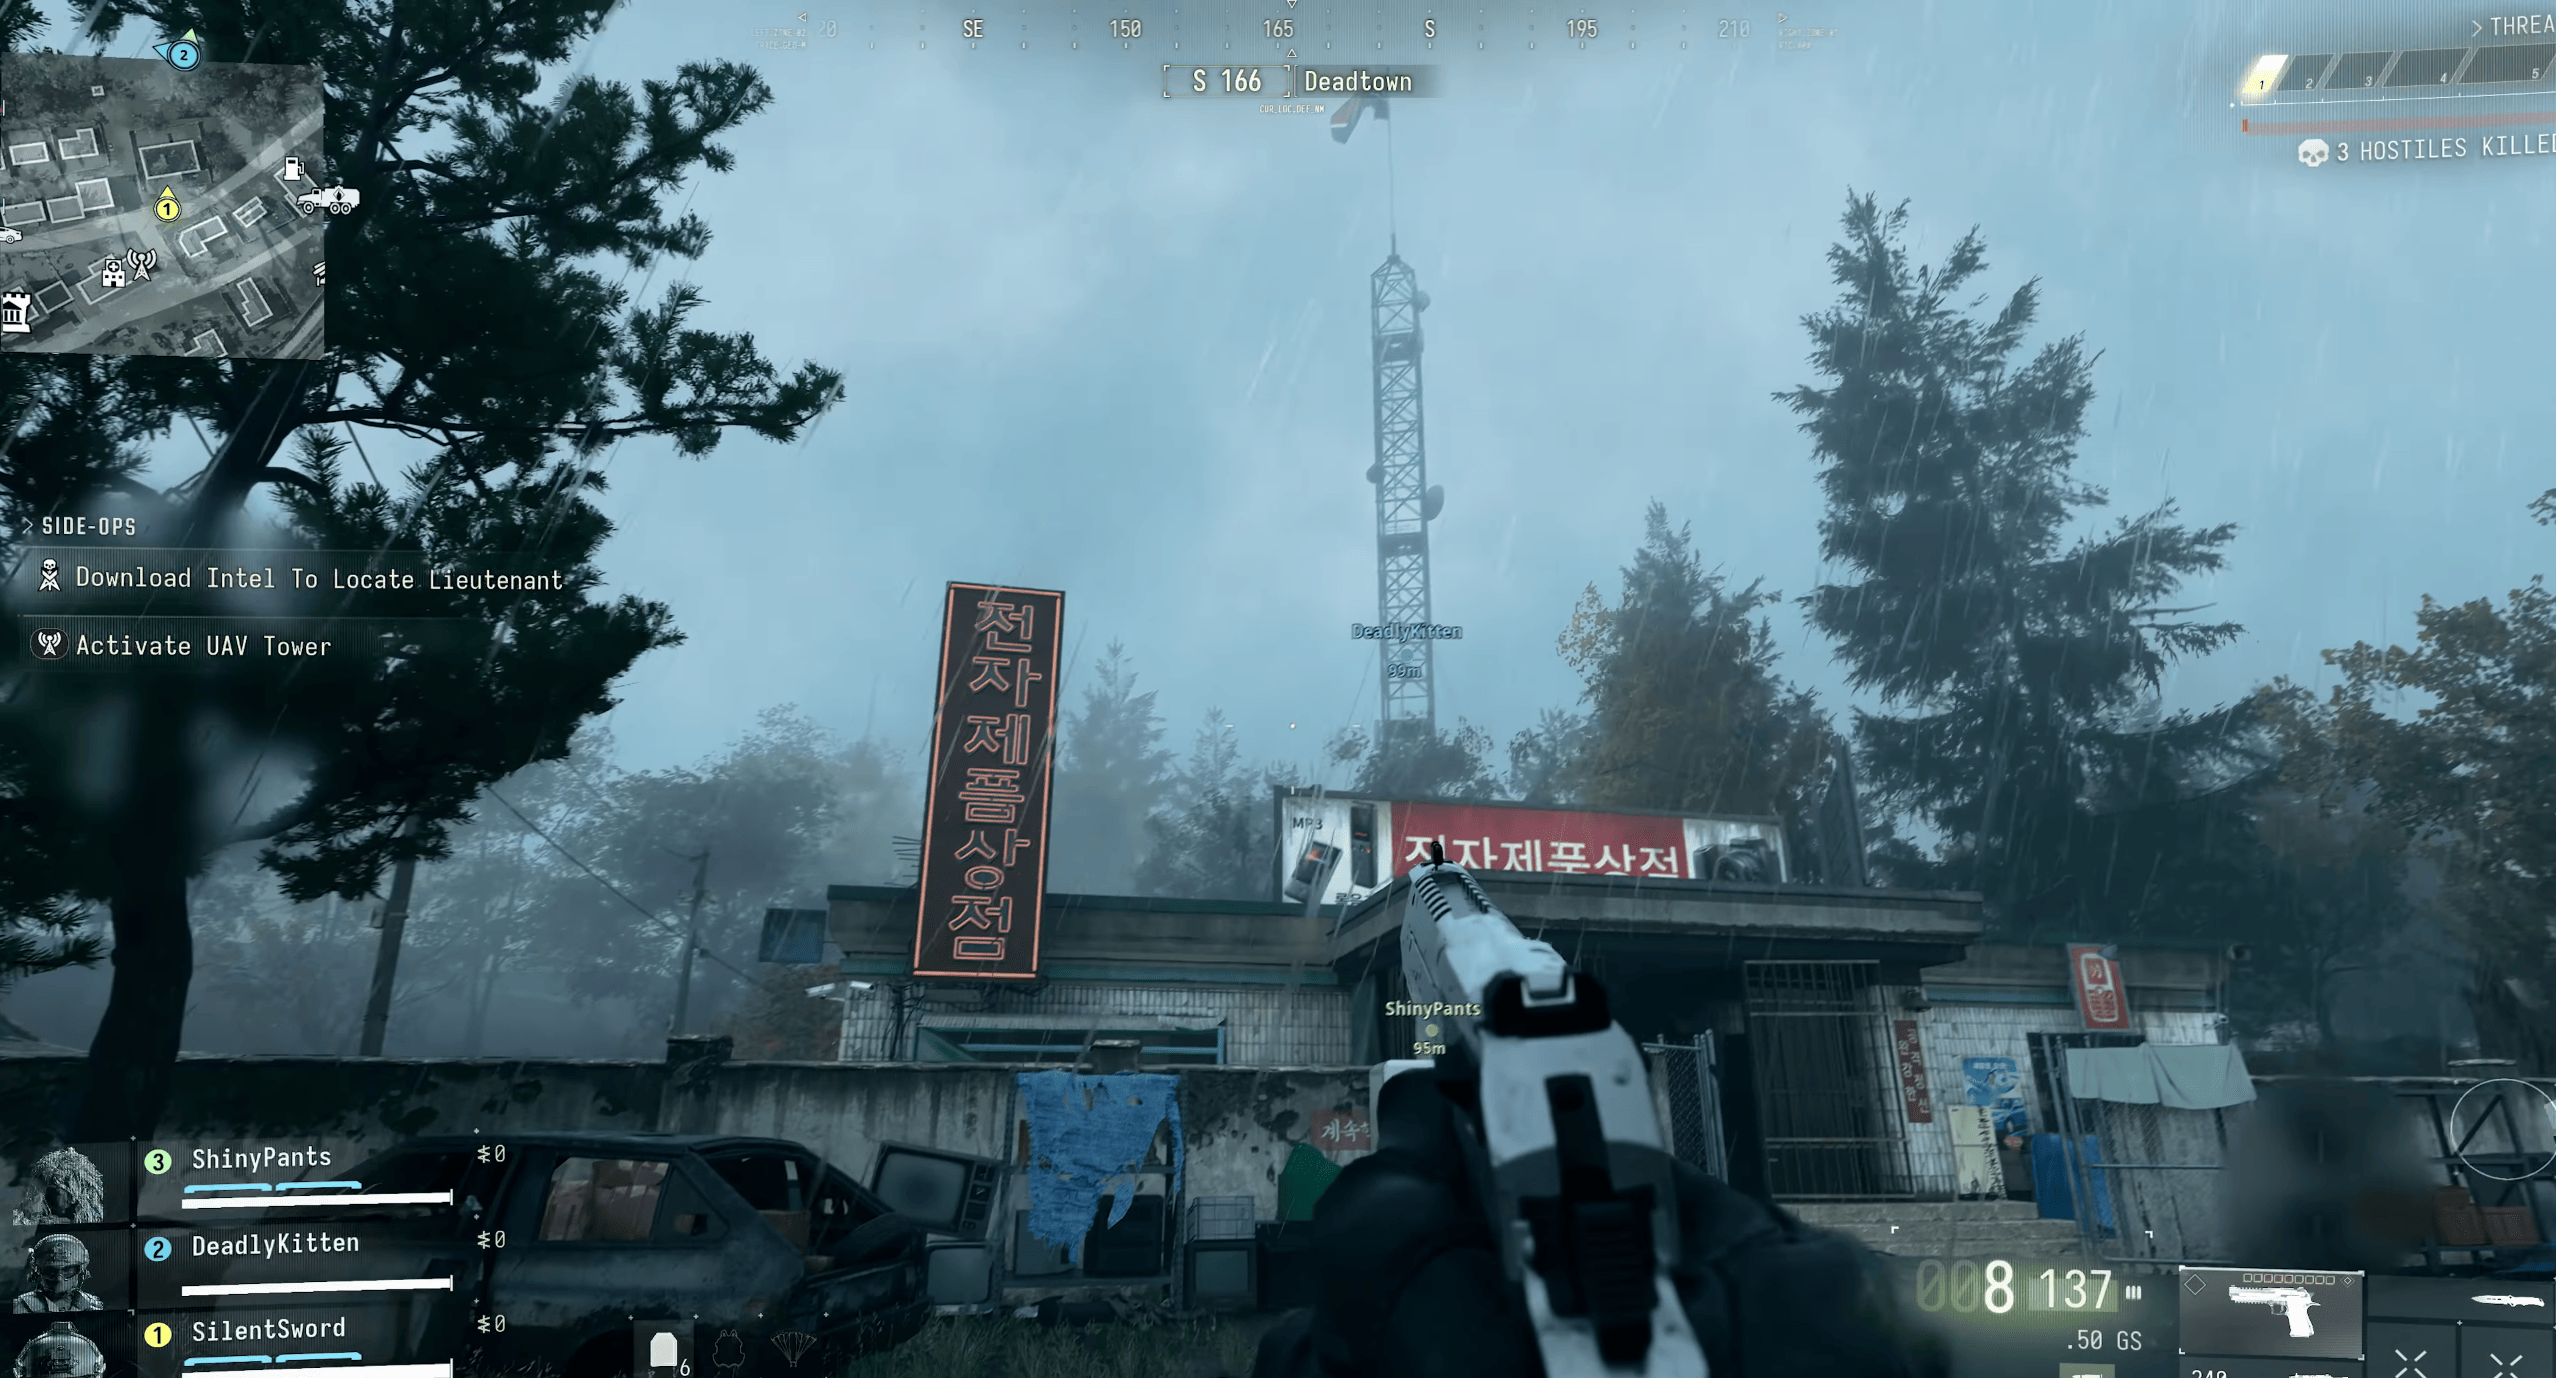
Lieutenants are special enemies with their own equipment, combat behavior, and valuable rewards. They're much tougher than ordinary soldiers, but defeating them can earn DMZ XP, Cash, and potentially a Key to a special loot room.
There are two main ways to find them. You can purchase intel through the Boss Board at your FOB or locate a Lieutenant Hunt tower in Hajin. Climbing the tower and accessing its terminal reveals the general location of a nearby target.
Purchasing intel has an advantage: it guarantees that the selected Lieutenant will be active in your next deployment. Without purchased intel, you're hunting a randomly available boss.
Defeating a Lieutenant allows you to collect their weapon and Dog Tag Case. However, picking up their Dog Tag Case broadcasts your position to other Operators on the map.
That's quite a nasty trade-off. You get a valuable reward, but other players know where you are. If you decide to take a Lieutenant's Dog Tag, I'd recommend planning an extraction route before picking it up.
MW4 DMZ Commanders
Commanders are even more dangerous than Lieutenants. These powerful enemies can appear across different parts of Hajin and may require specialized tactics to defeat. They're also worth hunting for rare 3D Printer Ingredients, DMZ Cash, XP, and Boss Board progression.
The confirmed Commander types include:
|
Commander |
Description |
|
Colossus |
Heavily armored soldier armed with a Minigun |
|
Deathstalker |
Autonomous combat drone with twin machine-gun turrets |
|
Main NK Battle Tank |
Heavily armored military vehicle |
I wouldn't recommend deliberately hunting Commanders with beginner equipment. You'll want good weapons, medical supplies, armor, and ideally some teammates. You also need to consider that fighting one could attract rival Operators looking to steal the rewards.
Forward Operating Base Explained
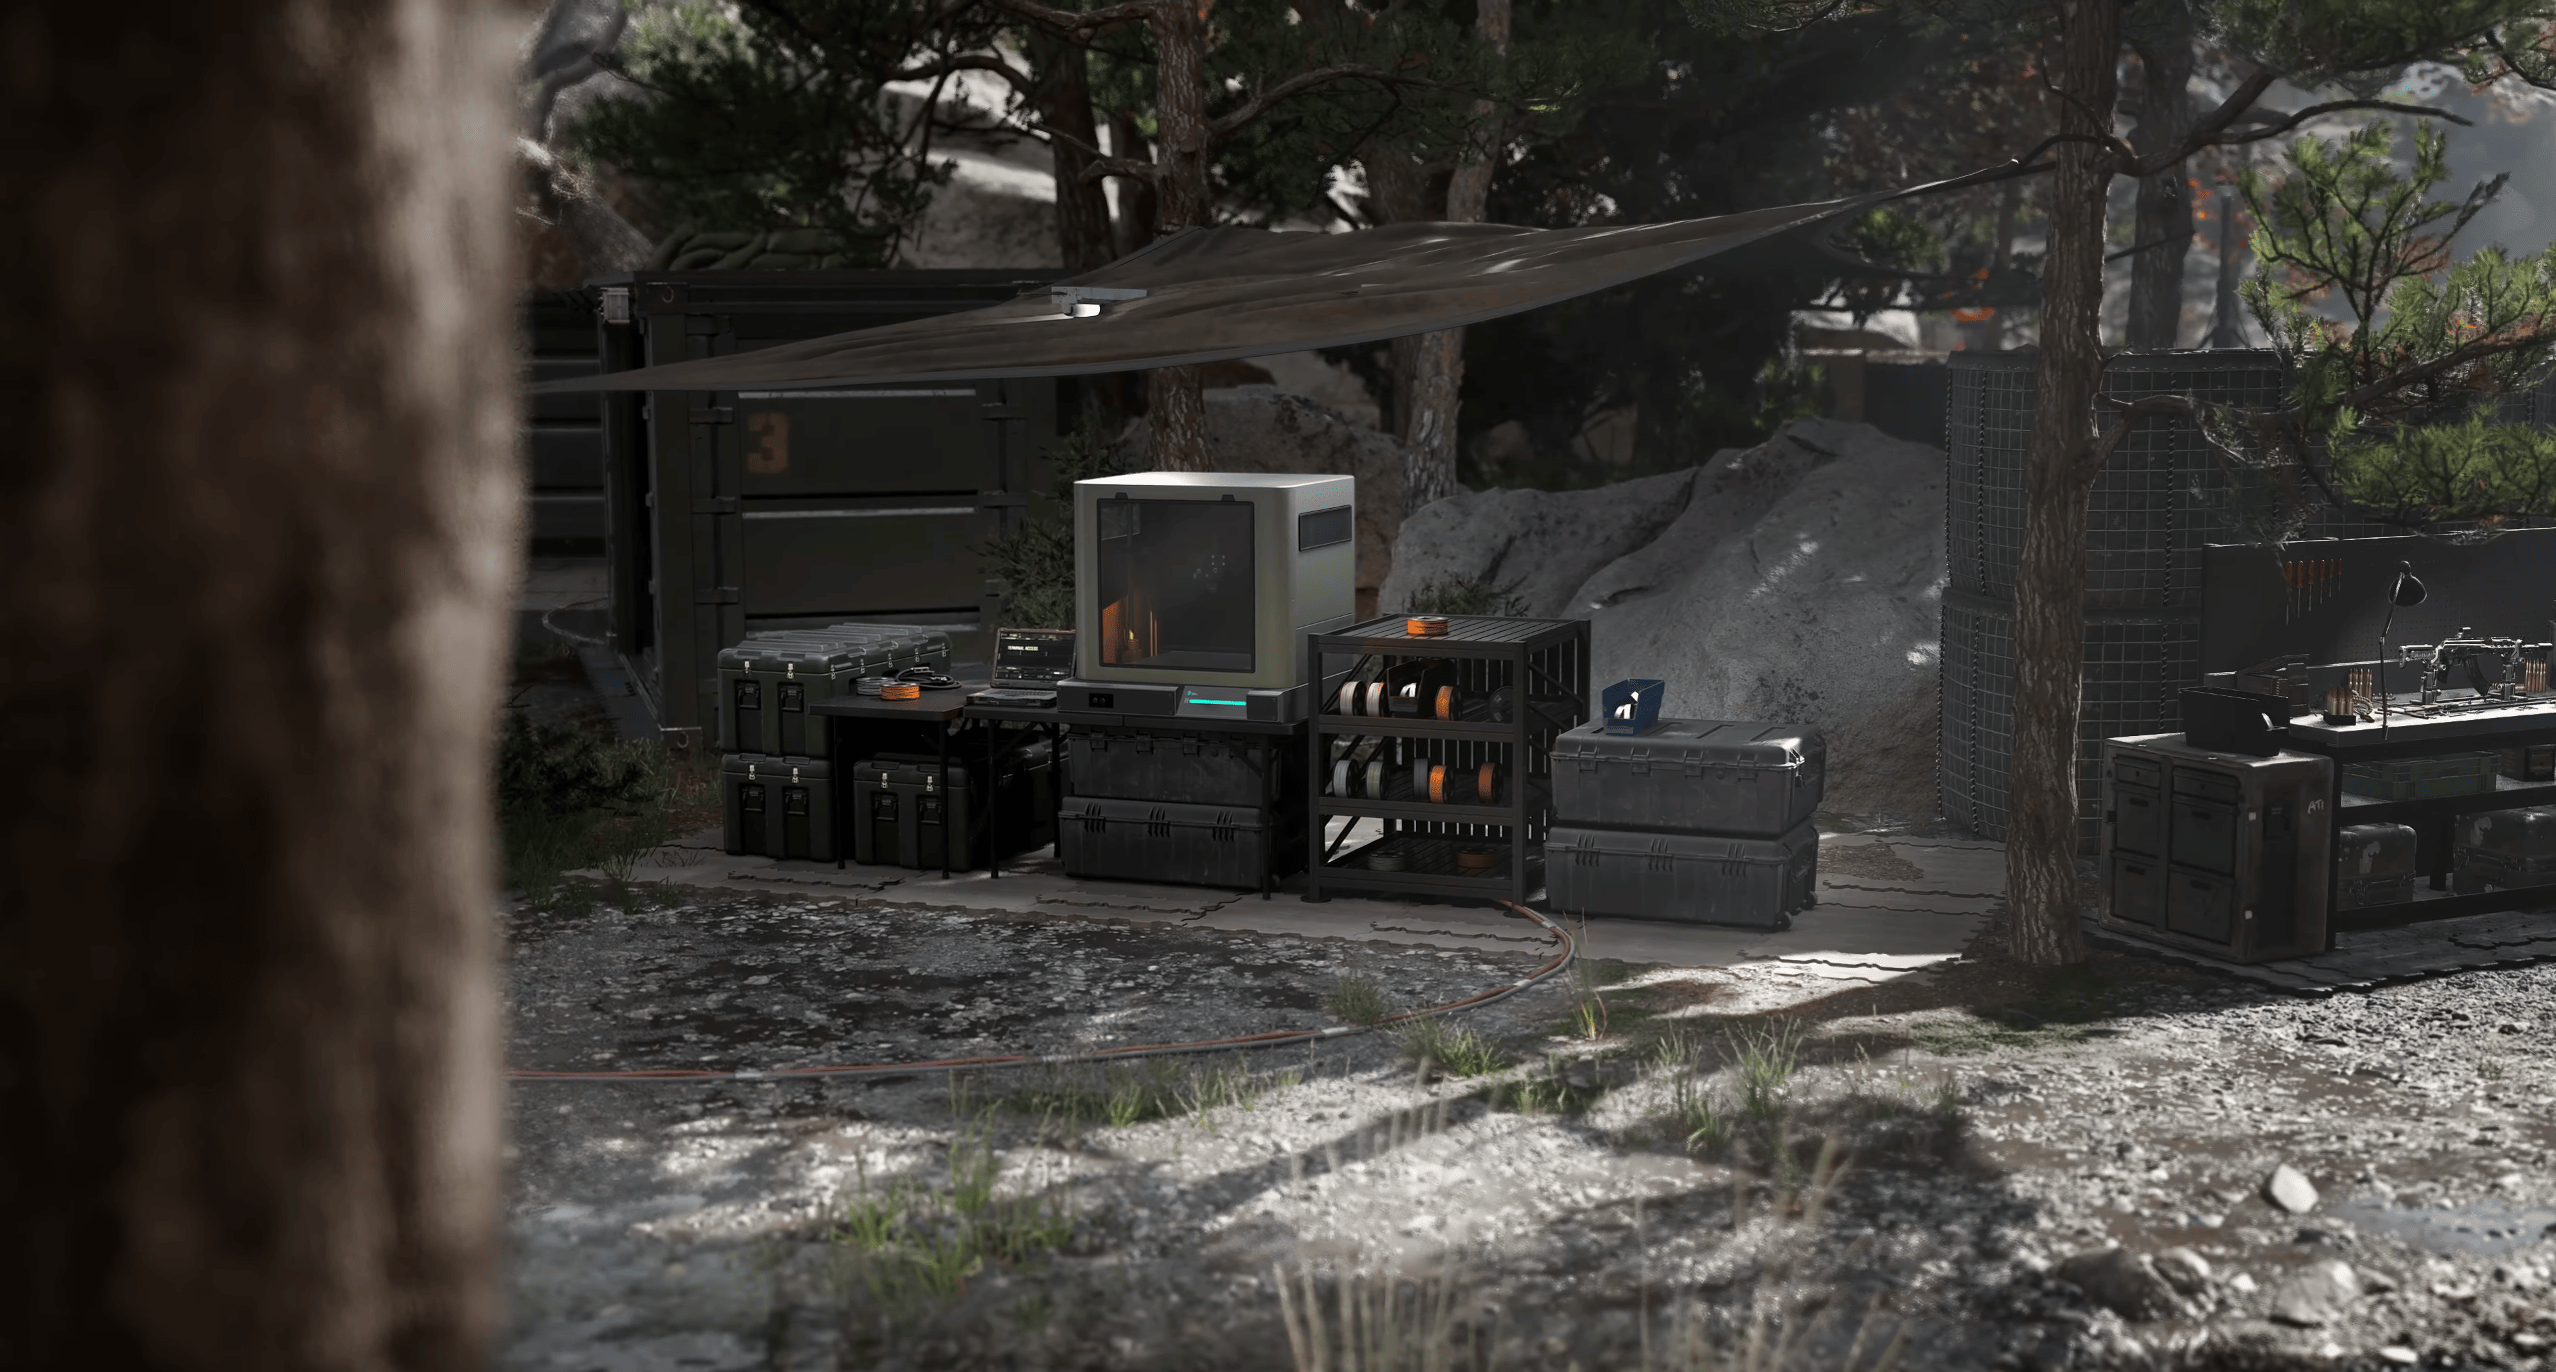
The Forward Operating Base, or FOB, is your headquarters between deployments. This is where you organize your inventory, recover Operators, craft equipment, purchase weapons, and track your overall DMZ progression. Unlike a regular loadout menu, the FOB is a physical area you can explore, with stations dedicated to different activities.
Not everything is unlocked immediately. As you complete Orders and level up, your FOB gradually expands, giving you access to better equipment and permanent upgrades.
Here's a quick overview:
|
FOB Station |
Unlock |
Purpose |
|
Operators |
Immediately |
Manage Active Duty Operators and Traits |
|
DMZ Orders |
Immediately |
Track objectives and rewards |
|
Stash/Loadout |
Immediately |
Store loot and prepare equipment |
|
Firing Range |
Immediately |
Test weapons and attachments |
|
Survival Kits |
Immediately |
Open equipment and resource packs |
|
Bounty Leaderboard |
Immediately |
Track Wanted players and bounty hunters |
|
3D Printer |
DMZ Level 2 |
Craft equipment and upgrade FOB systems |
|
Boss Board |
Complete second DMZ Order |
Purchase Lieutenant intel and track bosses |
|
Vendor |
DMZ Level 5 |
Buy rotating weapons and equipment |
|
Gunsmith |
DMZ Level 10 |
Customize weapons and purchase attachments |
|
Dog Tag Case |
DMZ Level 20 |
Display collected enemy Operator Dog Tags |
|
DMZ Progression |
Immediately |
Check Player Level rewards and unlocks |
|
Events |
Station accessible immediately |
Check limited-time objectives when events become active |
|
Deploy |
Immediately |
Prepare missions and enter Hajin |
The FOB is where long-term progression really starts to matter. A better Stash lets you store more supplies, an upgraded 3D Printer opens additional crafting options, and better Operators make future deployments easier.
DMZ Orders
DMZ Orders are a series of objectives designed to teach you different mechanics and guide your progression. They can involve exploring locations, collecting resources, clearing enemy compounds, or using specific equipment. They're organized into pages, with each page awarding XP and a collection of useful rewards.
Some of the early Human Intel Orders shown in the available gameplay footage include:
- Locate and climb a Lieutenant Hunt tower.
- Use its terminal to locate the nearest Lieutenant.
- Visit a Clinic.
- Loot a Bandage.
- Collect 30 Chemicals.
- Clear an enemy Compound.
- Recover dropped Medical Extraction Intel.
There's also a progression system behind these Orders. Completing a page can trigger a new Caller interaction when you return to the FOB, and the next page becomes available after successfully extracting. At certain points, you can even choose which chapter to tackle next.
Orders can be tracked at your FOB or during deployments through the Tac-Map. I'd make checking them part of your usual preparation. You can often complete Orders while doing Story Missions or gathering crafting materials, so there's no reason to ignore them.
Stash and Loadout
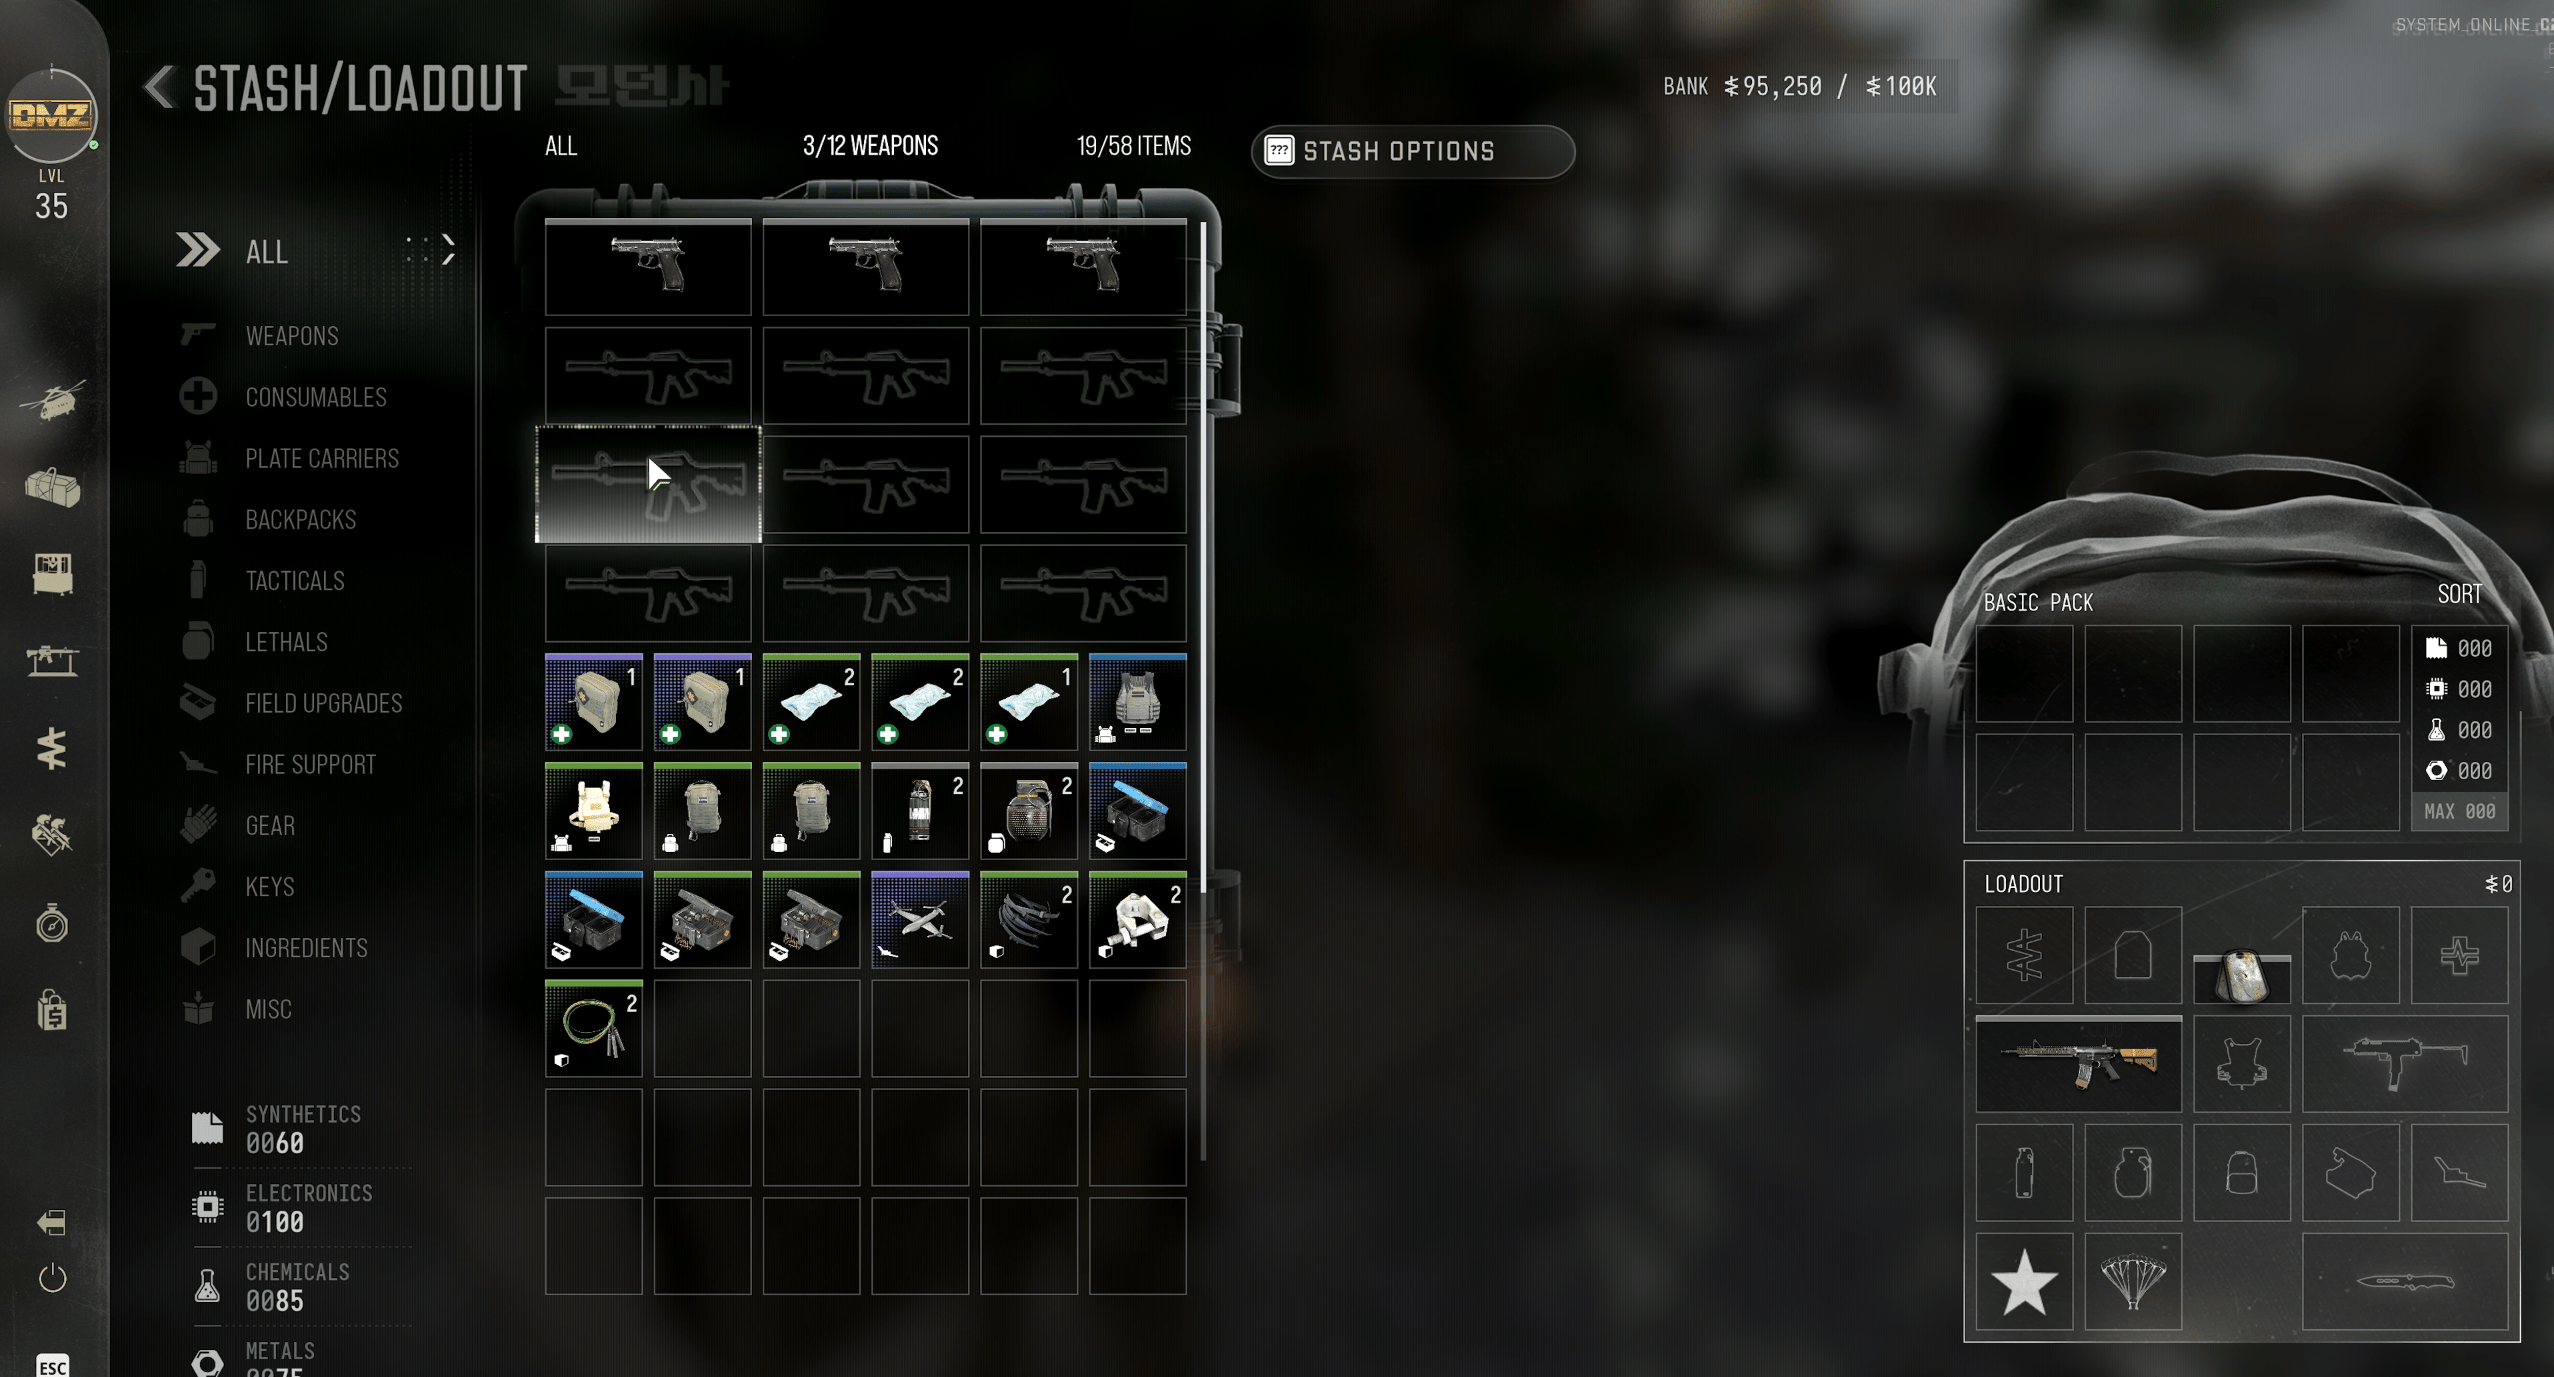
Your Stash stores the weapons, consumables, crafting ingredients, and other items you've successfully extracted. Your Loadout is the equipment you actually bring into Hajin.
The starting storage capacity is 40 general items and 12 weapons, although these limits can be increased with FOB progression and crafting upgrades. Your Stash is also shared between all Active Duty Operators, which is particularly useful if you want one character to gather resources for another.
You can organize stored items by type or rarity, merge identical item stacks, and transfer equipment between your Stash and current Loadout. Items also have six rarity categories, from Common (gray) to Ultra (red).
The important distinction is that equipment in your Stash remains safely at the FOB, while anything in your Loadout is at risk during deployment.
Certain Backpacks also provide Secure Slots. These protect selected items even when you fail to extract, while specialized Weapon Backpacks can let you carry additional guns.
For beginners, I would keep valuable equipment in storage until there's a good reason to use it. Losing a common weapon isn't a big deal. Losing your best Plate Carrier and a fully upgraded gun because you decided to investigate random gunfire is considerably more annoying.
Browse our hottest Call of Duty Boosting services







MW4 DMZ Crafting and 3D Printer
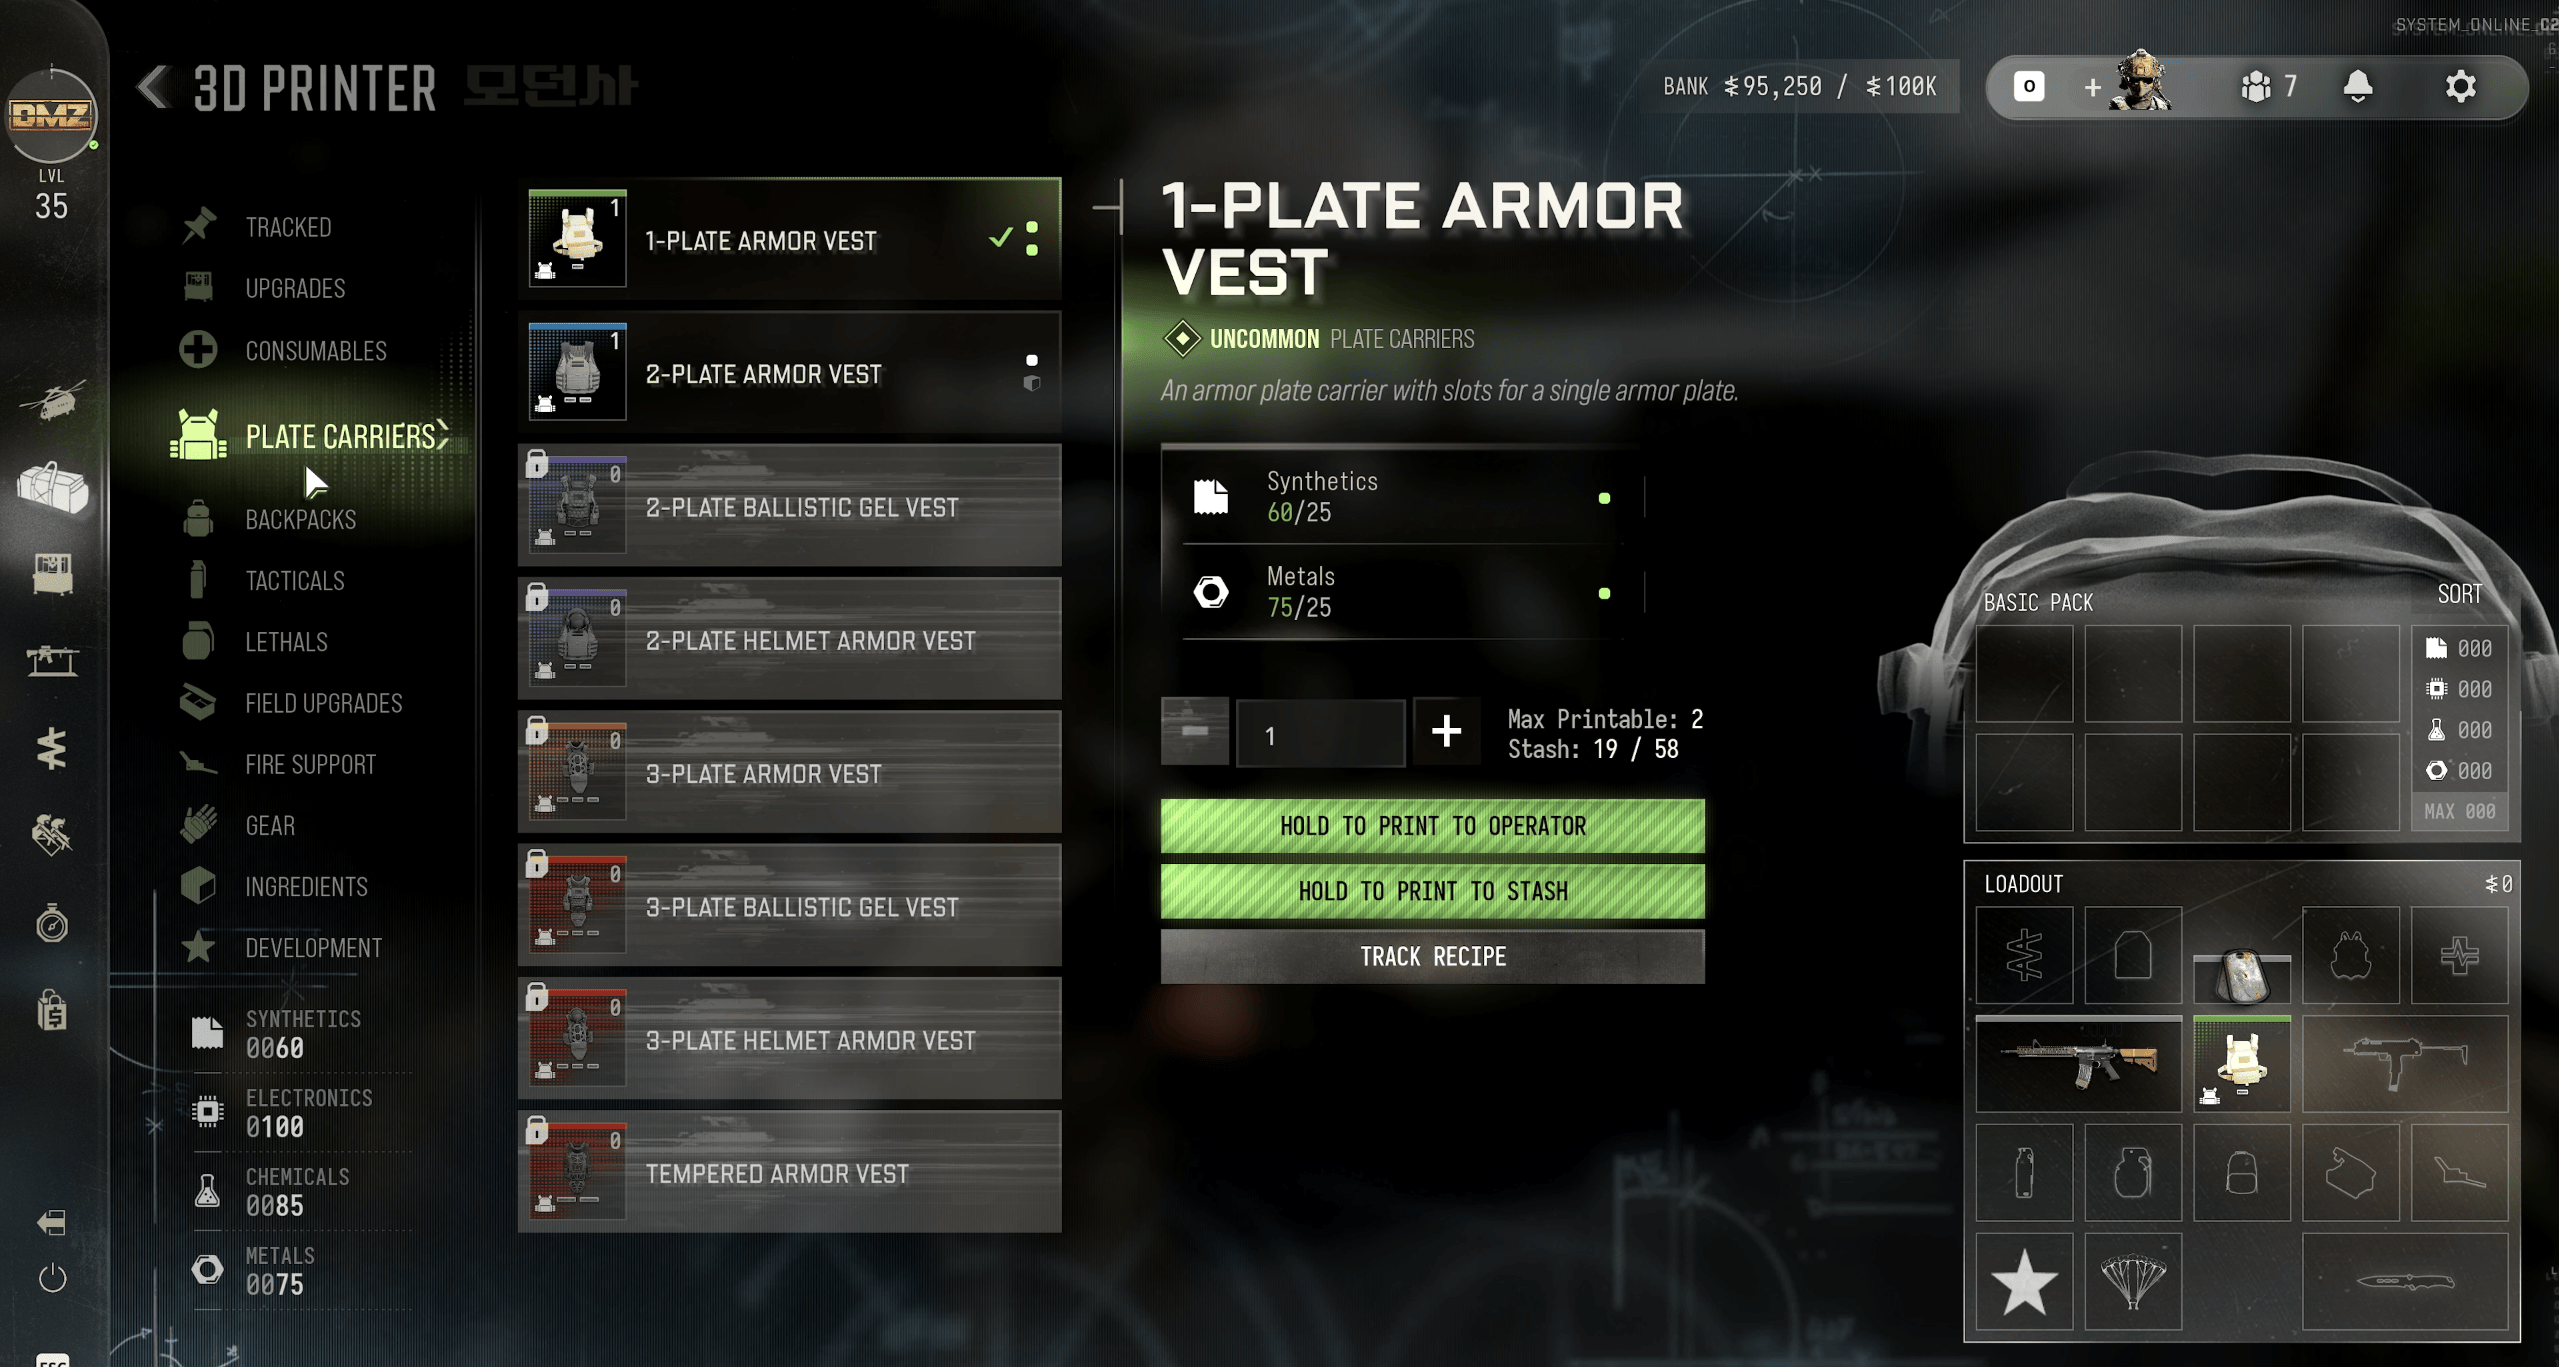
Crafting is a major part of MW4 DMZ progression. Once you reach DMZ Level 2, you unlock the 3D Printer, which allows you to manufacture equipment and improve different FOB stations. There are over 100 craftable items available through its different categories, although you'll need to unlock Recipes and collect the necessary materials.
Crafting relies on three things:
- Recipes: Unlock the ability to manufacture specific items.
- Resources: Synthetics, Electronics, Chemicals, and Metals, which are broken down automatically when looted.
- 3D Printer Ingredients: Special items such as Biomaterials, Binding Catalysts, and Control Units that need to be extracted intact.
You can unlock Recipes by increasing your DMZ Level, completing Orders, or finding and extracting them. Extracted Recipes are automatically added to your 3D Printer and award 5,000 DMZ Cash.
Some of your earliest crafting options are:
|
Crafted Item |
Required Materials |
|
Bandage |
15 Synthetics, 15 Chemicals |
|
Medkit |
30 Chemicals, 1 Binding Catalyst, 5 Biomaterials |
|
1-Plate Armor Vest |
25 Synthetics, 25 Metals |
|
2-Plate Armor Vest |
50 Synthetics, 5 Reactive Metals |
|
Small Backpack |
25 Synthetics, 25 Metals |
|
Medium Backpack |
50 Synthetics, 5 Rigid Synthetics |
The Medium Backpack is a particularly good early target because it provides additional inventory space and Secure Slots. Items placed in Secure Slots are protected from being lost after a failed extraction.
You can also track Recipes and specific ingredients through the 3D Printer menu. Tracked items appear when looted, while the crafting menu provides suggestions about where particular ingredients can be found.
Another useful feature is the ability to print equipment directly to your Operator or send finished items to your Stash. That means you can gather materials on a secondary Operator, craft equipment, and leave it safely stored for your main character.
Best FOB Upgrades to Get First
The 3D Printer isn't just for crafting equipment. It also offers permanent upgrades that improve your FOB, although some require several crafting stages to complete.
I'd prioritize these:
- Stash Capacity: More room for extracted loot and crafting ingredients.
- Weapon Stash Capacity: Extra storage for weapons you don't want to risk yet.
- MIA Recovery Discounts: Reduces the cost of rescuing experienced Operators.
- Bank Capacity: Allows you to store more DMZ Cash.
- Better Ingredient Crafting: Unlocks additional options for producing rare materials.
There are also Gunsmith discounts, Vendor improvements, and Dog Tag Case upgrades. The Case can receive up to four upgrades, allowing you to store additional collected Dog Tags and receive better Bounty payouts.
Which upgrade is best depends on what you're doing. If you're constantly filling your Stash, extra inventory space is probably more useful than saving money on Operator recovery.
Active Duty Operators, Traits, and Prestige
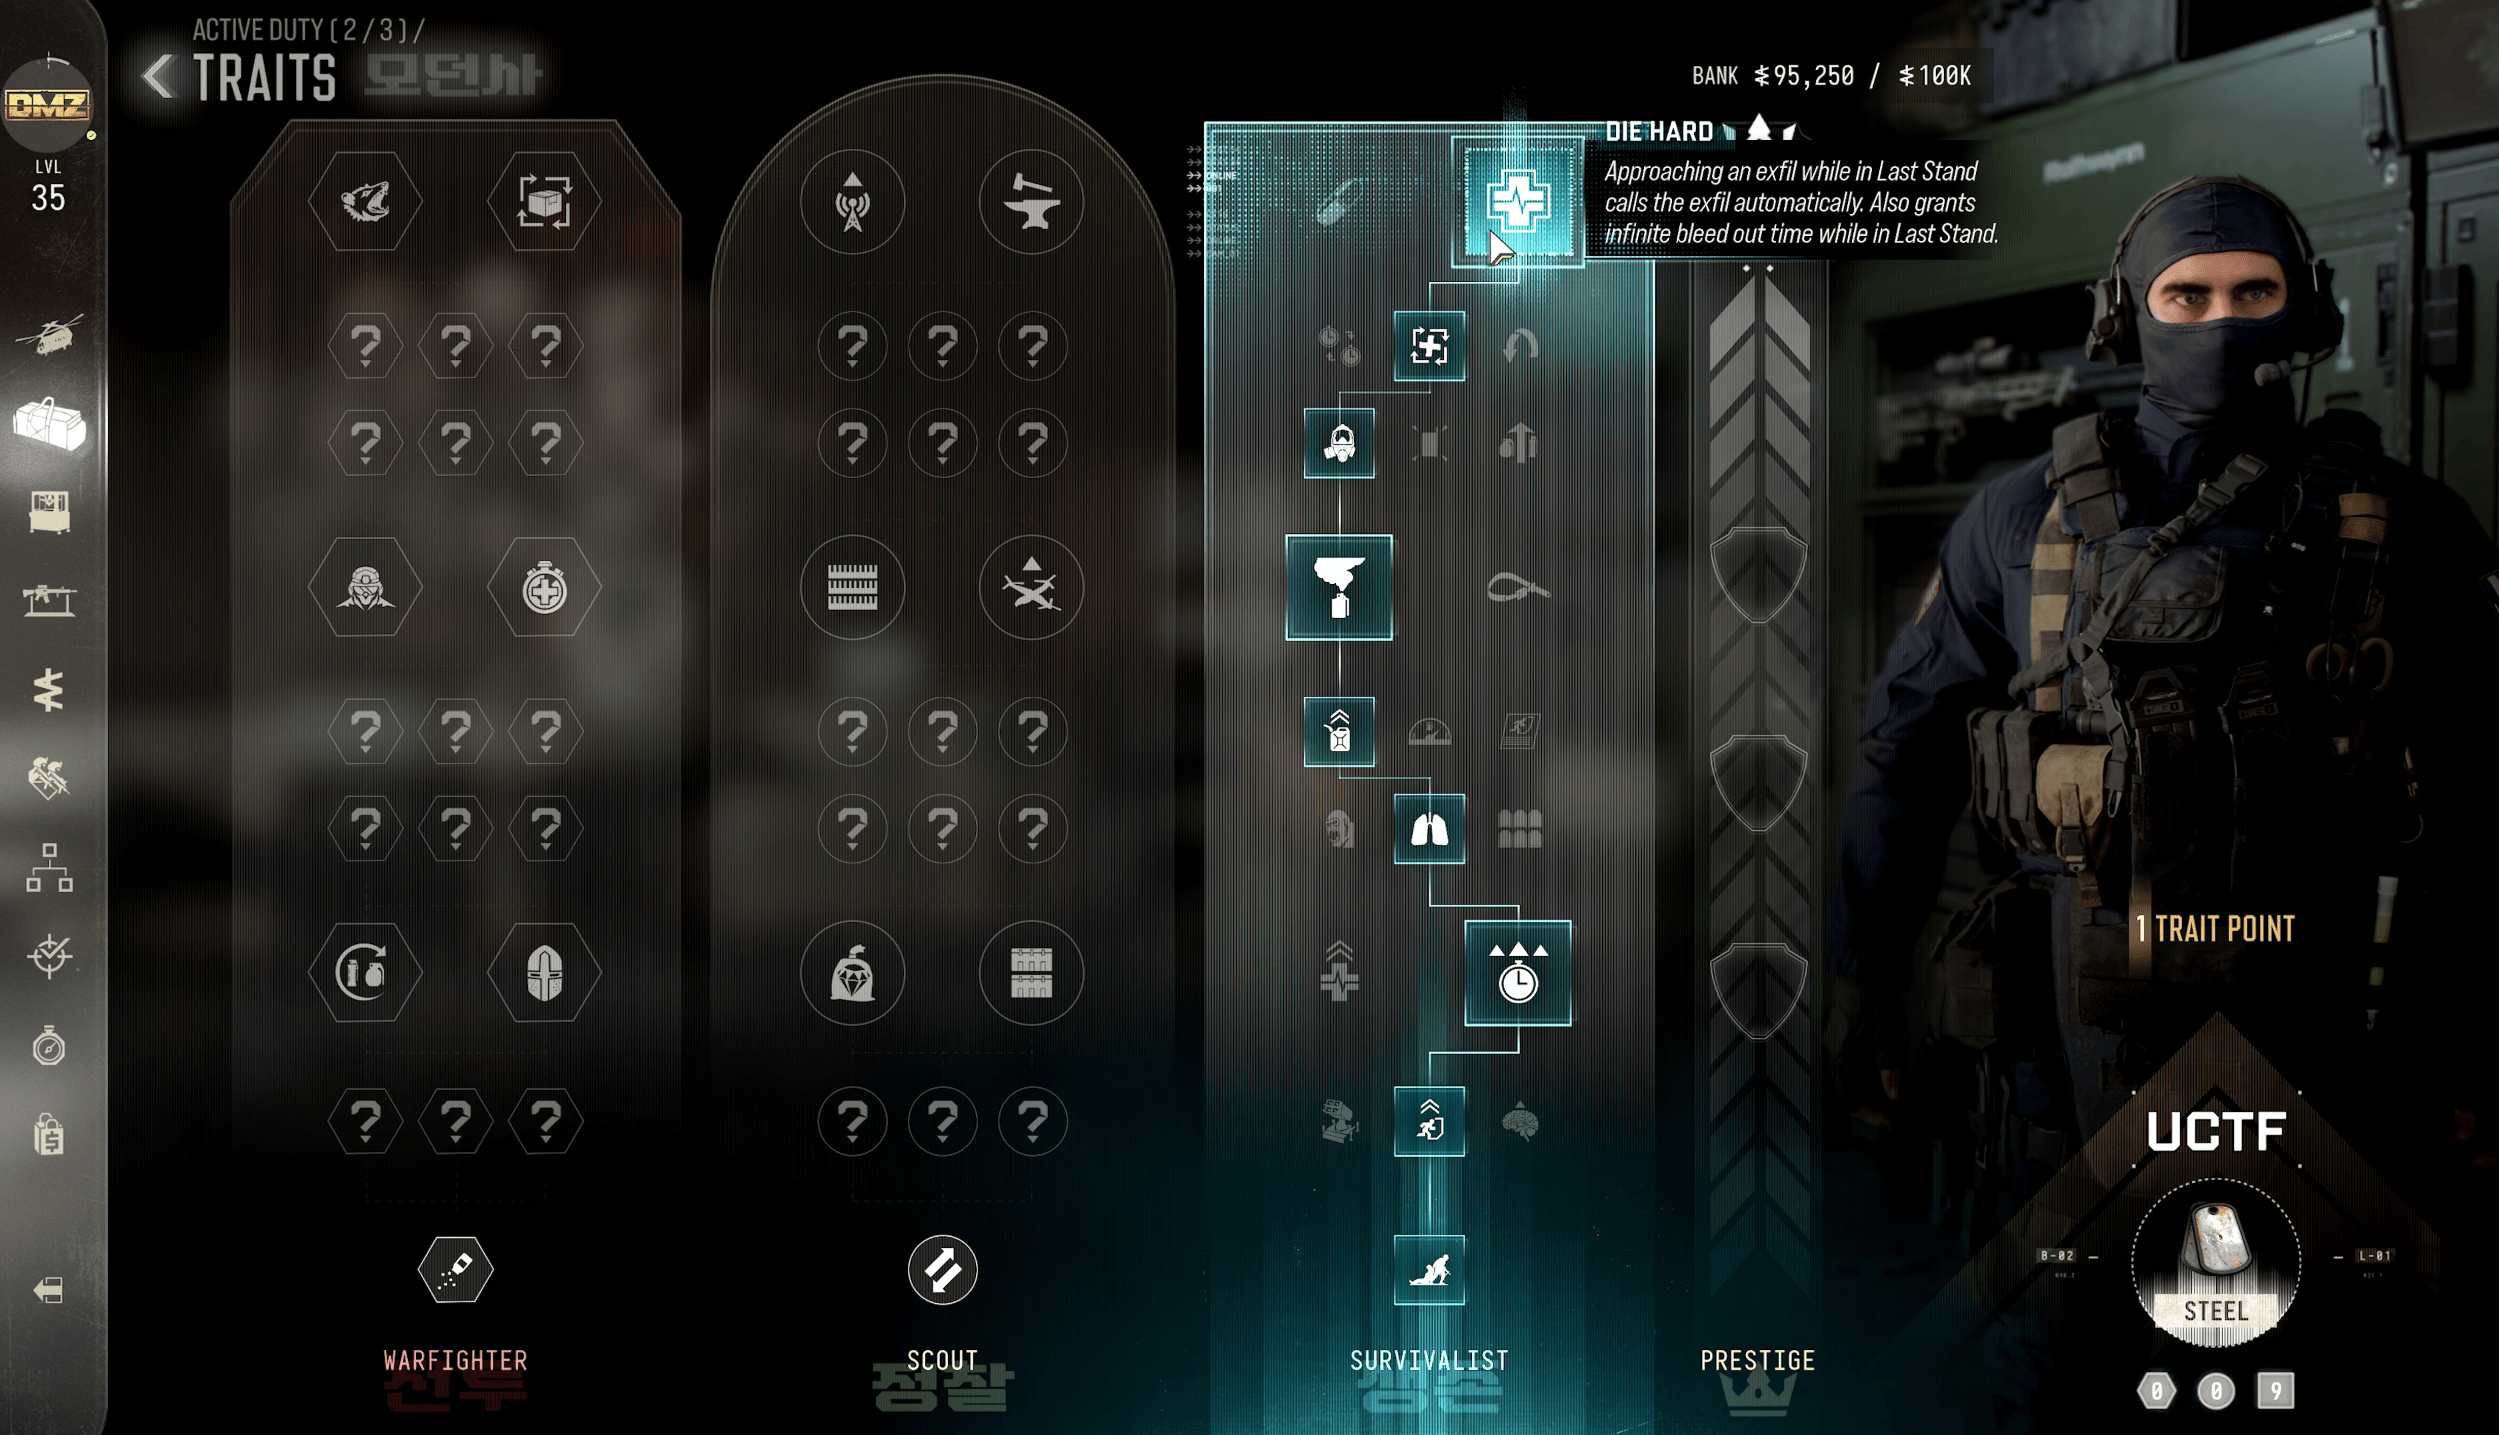
Active Duty Operators have their own progression systems in MW4 DMZ. Instead of choosing a character only for their appearance, you can develop different Operators with Traits that improve their performance in specific situations.
You initially receive two Active Duty Operator slots, while Vault Edition owners start with three. Additional slots become available through DMZ progression.
Once you recruit a particular Operator into a slot, they're locked to that slot until dismissed. You can change their skin, but you can't simply swap the character for someone else without dismissing them.
As you successfully extract and earn DMZ XP, your Operator's Dog Tag improves in quality. There are 18 Dog Tag levels, from Steel I to Onyx III, with each level awarding one Trait Point.
|
Trait Tree |
Specialization |
|
Warfighter |
Offensive combat, weapon handling, and fighting efficiency |
|
Scout |
Reconnaissance, looting, and detecting threats |
|
Survivalist |
Healing, revives, and general survivability |
The Trait system is a little more complicated than simply picking whichever bonuses you want. There are 22 available Traits per Tree, including six visible Major Traits and 16 randomized Minor Traits. However, each Tree has nine progression branches, and you can only select one Trait from each branch.
Your first Trait Point in a Tree unlocks a random Minor Trait. From there, you progress through the branches, choosing one available Trait at a time. Once selected, that Trait is locked in and can't be replaced.
This means you can:
- Fully develop two Trait Trees with nine points invested in each.
- Spread all 18 points across three Trees for a more flexible build.
- Focus on a particular specialization without committing every point to it.
Personally, I'd rather have a couple of specialized Operators than try to make one character good at everything. You could develop a Scout for resource farming, a Warfighter for PvP, and a Survivalist for more dangerous missions.
Just remember that investing more Trait Points also increases the DMZ Cash required to recover an MIA Operator. More advanced characters are better equipped for difficult deployments, but losing them is considerably more expensive.
How Operator Prestige Works
Once an Operator earns all 18 Trait Points, they become eligible for Prestige. This is an optional progression reset that removes their regular Traits and rewards them with a random Permanent Prestige Trait. To Prestige, you must have the required DMZ Cash and equip certain high-rarity items in your Operator's Loadout and Backpack. Your Operator also needs to be available rather than MIA.
|
Prestige |
Equipment Requirements |
Cash Cost |
|
First |
Two 3-slot weapons, Rare Plate Carrier and Backpack, four Rare ingredients |
200,000 |
|
Second |
Two 4-slot weapons, Epic Plate Carrier and Backpack, four Epic ingredients |
300,000 |
|
Third and later |
Two 4-slot weapons, Legendary Plate Carrier and Backpack, four Legendary ingredients |
500,000 |
Important: Everything left in your Operator's Backpack and Loadout is consumed when you Prestige, not just the equipment listed in the requirements. Move anything valuable into your Stash beforehand.
Your regular Traits and unspent Trait Points are also reset. However, Permanent Prestige Traits remain tied to that Operator, even if you later dismiss them or change their skin.
You can have up to three Permanent Prestige Traits. From your fourth Prestige onward, you can continue earning new random Permanent Traits, but you'll need to decide whether to replace one of your existing three or discard the new one.
This is clearly designed as a long-term progression system rather than something you should rush during the first few days.
Weapons and Gunsmith in MW4 DMZ
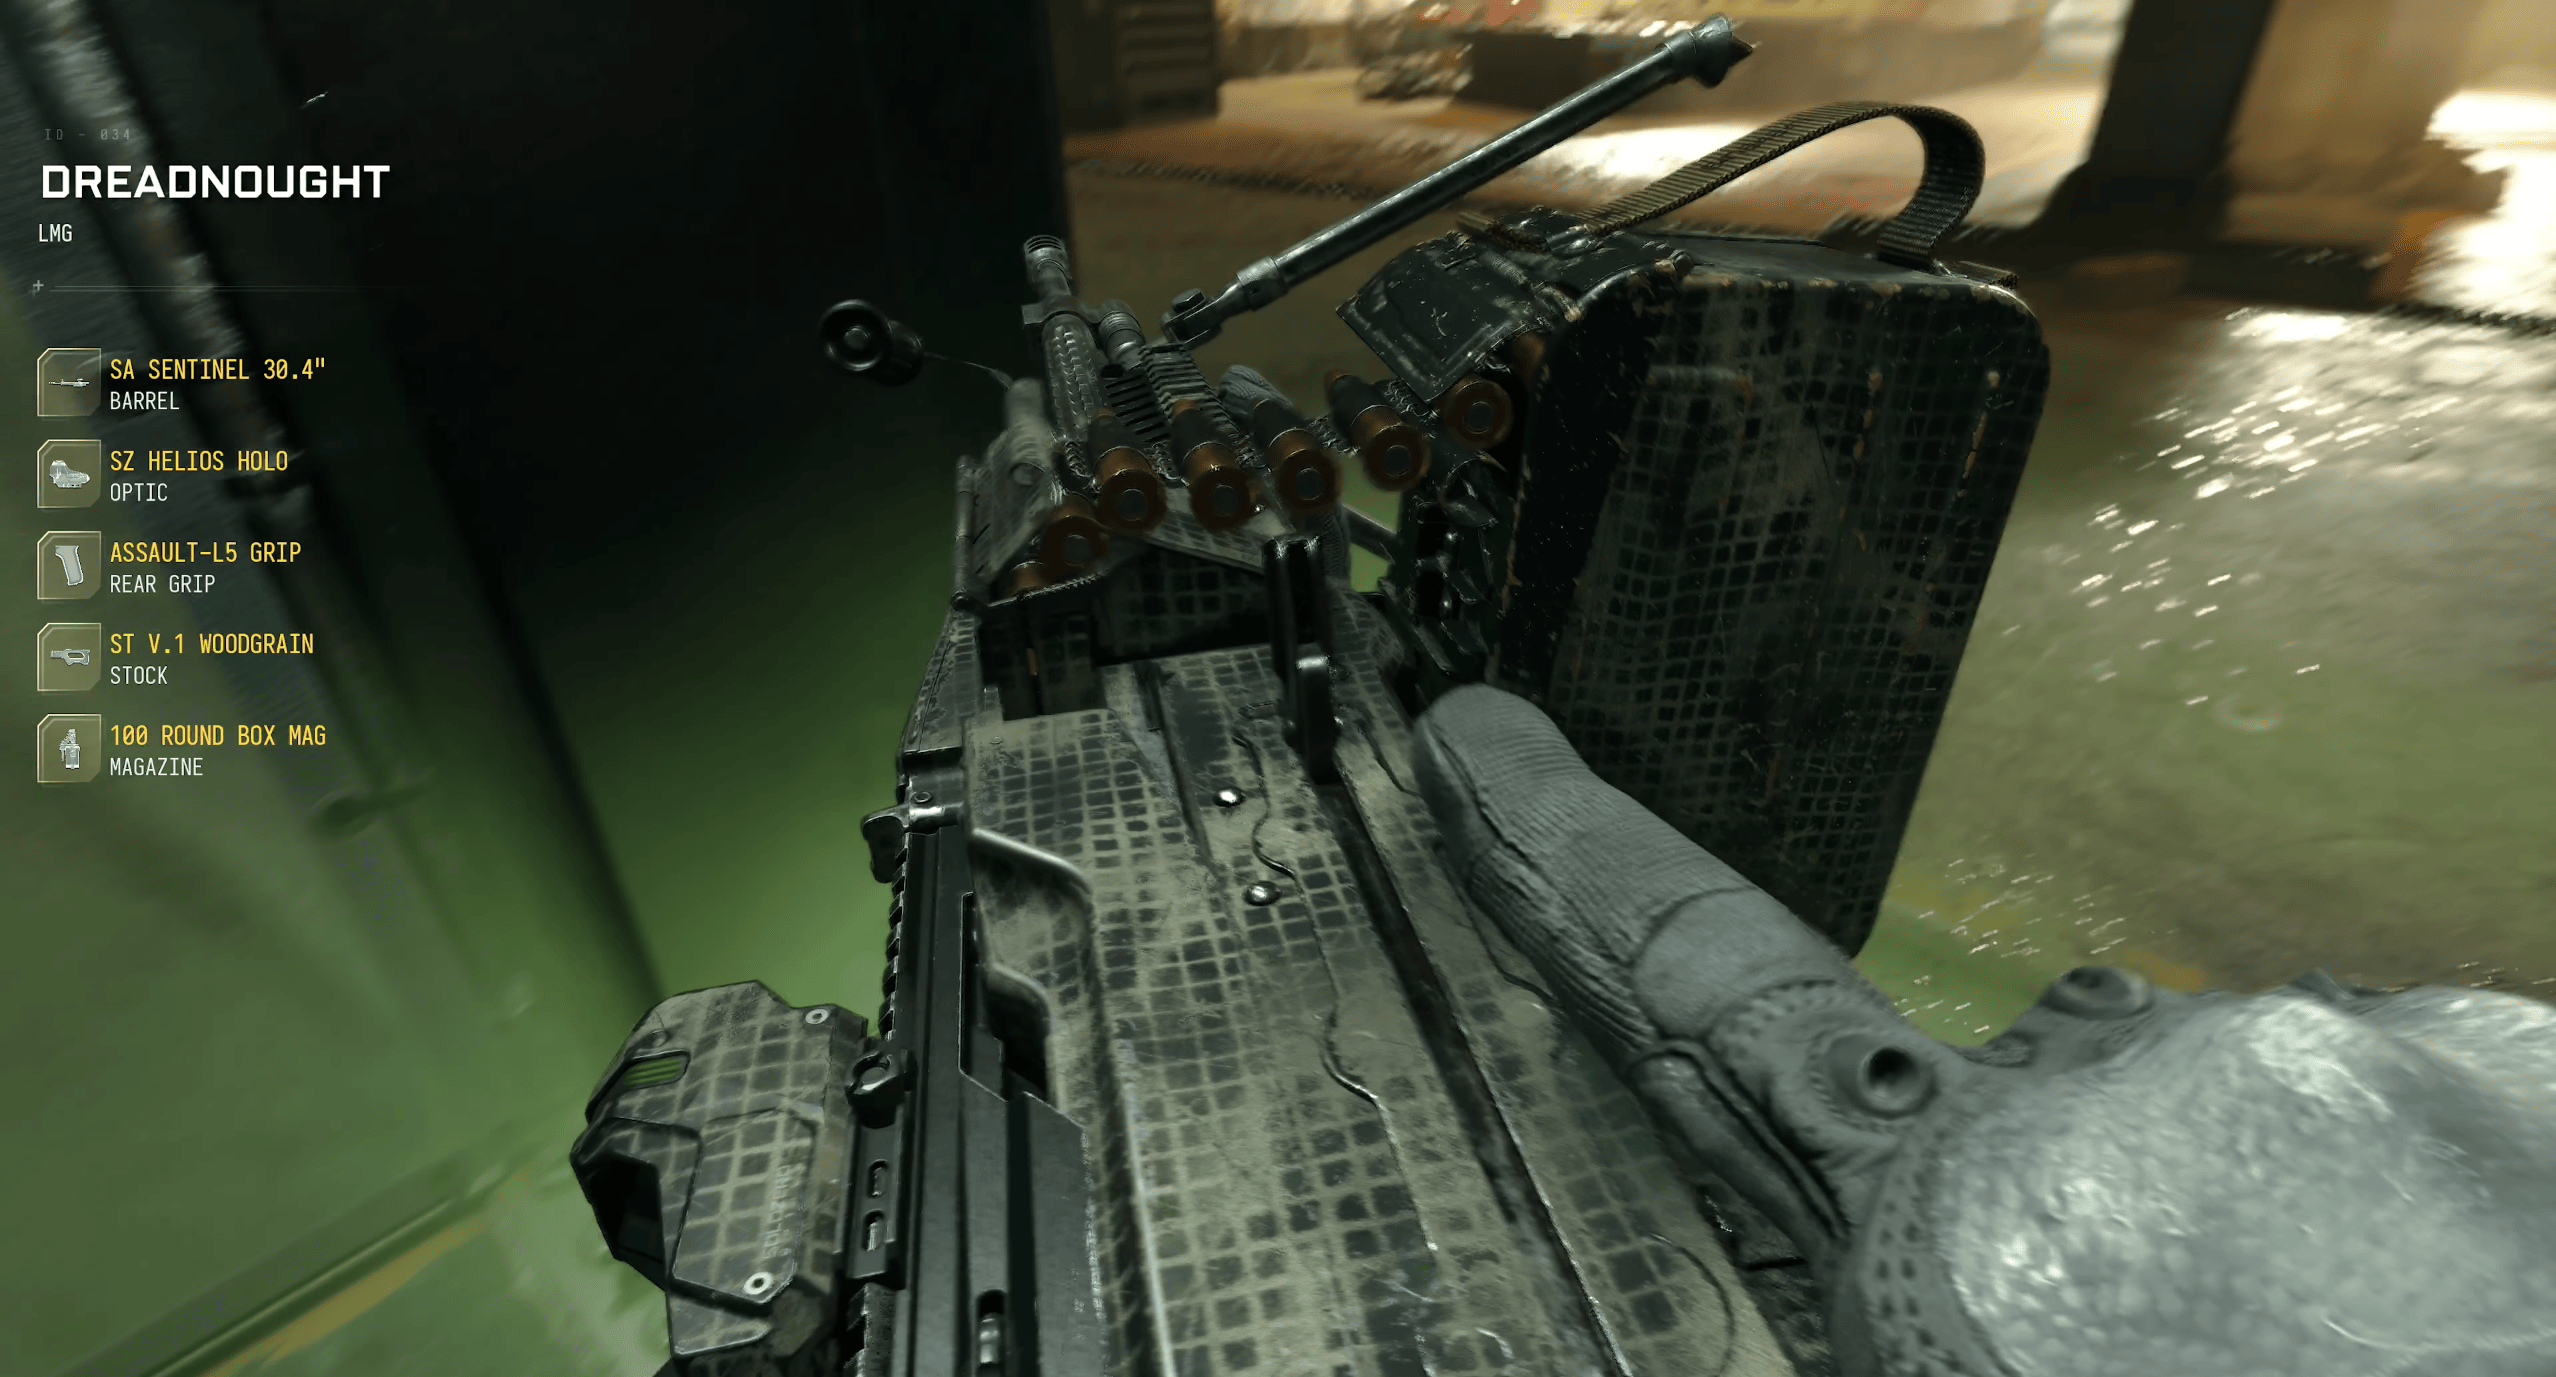
The Gunsmith unlocks at DMZ Level 10 and allows you to purchase weapons, equip attachments, and customize your loadout using DMZ Cash. However, unlocking a weapon for repeat purchases requires more than simply finding it during a deployment.
You'll need to locate the corresponding Weapon Manual and successfully extract with it. Once you've done that, the weapon becomes available for future purchases through the Gunsmith.
Here's how the system works:
- Extracted weapons can be stored and used during future deployments.
- Weapon Manuals unlock the corresponding base weapons for Gunsmith purchases.
- Attachments become available through weapon leveling.
- Base weapons start without attachments, and individual attachments and additional slots cost DMZ Cash.
- Standard Gunsmith-built weapons support up to five normal attachments, along with an Apex Attachment.
- Weapons found in Hajin can feature up to eight attachment slots.
- Weapon XP and attachment progression are shared with Multiplayer.
There are 32 weapons available at launch across eight categories. The Gunsmith also lets you add Camos, Charms, Gun Screens, Decals, and Stickers without paying additional DMZ Cash for those cosmetic changes.
Weapon Blueprints have a slightly different system. Each owned Blueprint provides one free use in DMZ. If you lose that weapon during a failed deployment, you can purchase another copy at a discounted price rather than receiving unlimited free replacements.
You also have access to a Free Loadout, which is useful when you're running low on equipment or don't want to risk a particularly expensive weapon.
My advice is to extract Weapon Manuals whenever you find them. Being able to purchase a reliable gun repeatedly is a big improvement over depending entirely on random loot.
Vendor and Firing Range
The Vendor unlocks at DMZ Level 5 and offers another way to obtain weapons and equipment without having to find everything during deployments. Its inventory refreshes periodically, and progressing through DMZ unlocks better items for purchase.
You can also improve the Vendor through FOB upgrades. Eventually, you'll have access to more valuable weapons and equipment, which is useful when you need to replace something quickly.
Purchased items don't need to be equipped immediately. You can buy them and move them to your Stash for future deployments.
The Firing Range is available from the beginning and lets you test weapons at distances ranging from under 10 meters to over 100 meters. I'd recommend trying out unfamiliar attachments here before spending money on a full Gunsmith build.
MW4 DMZ Bounties and PvP
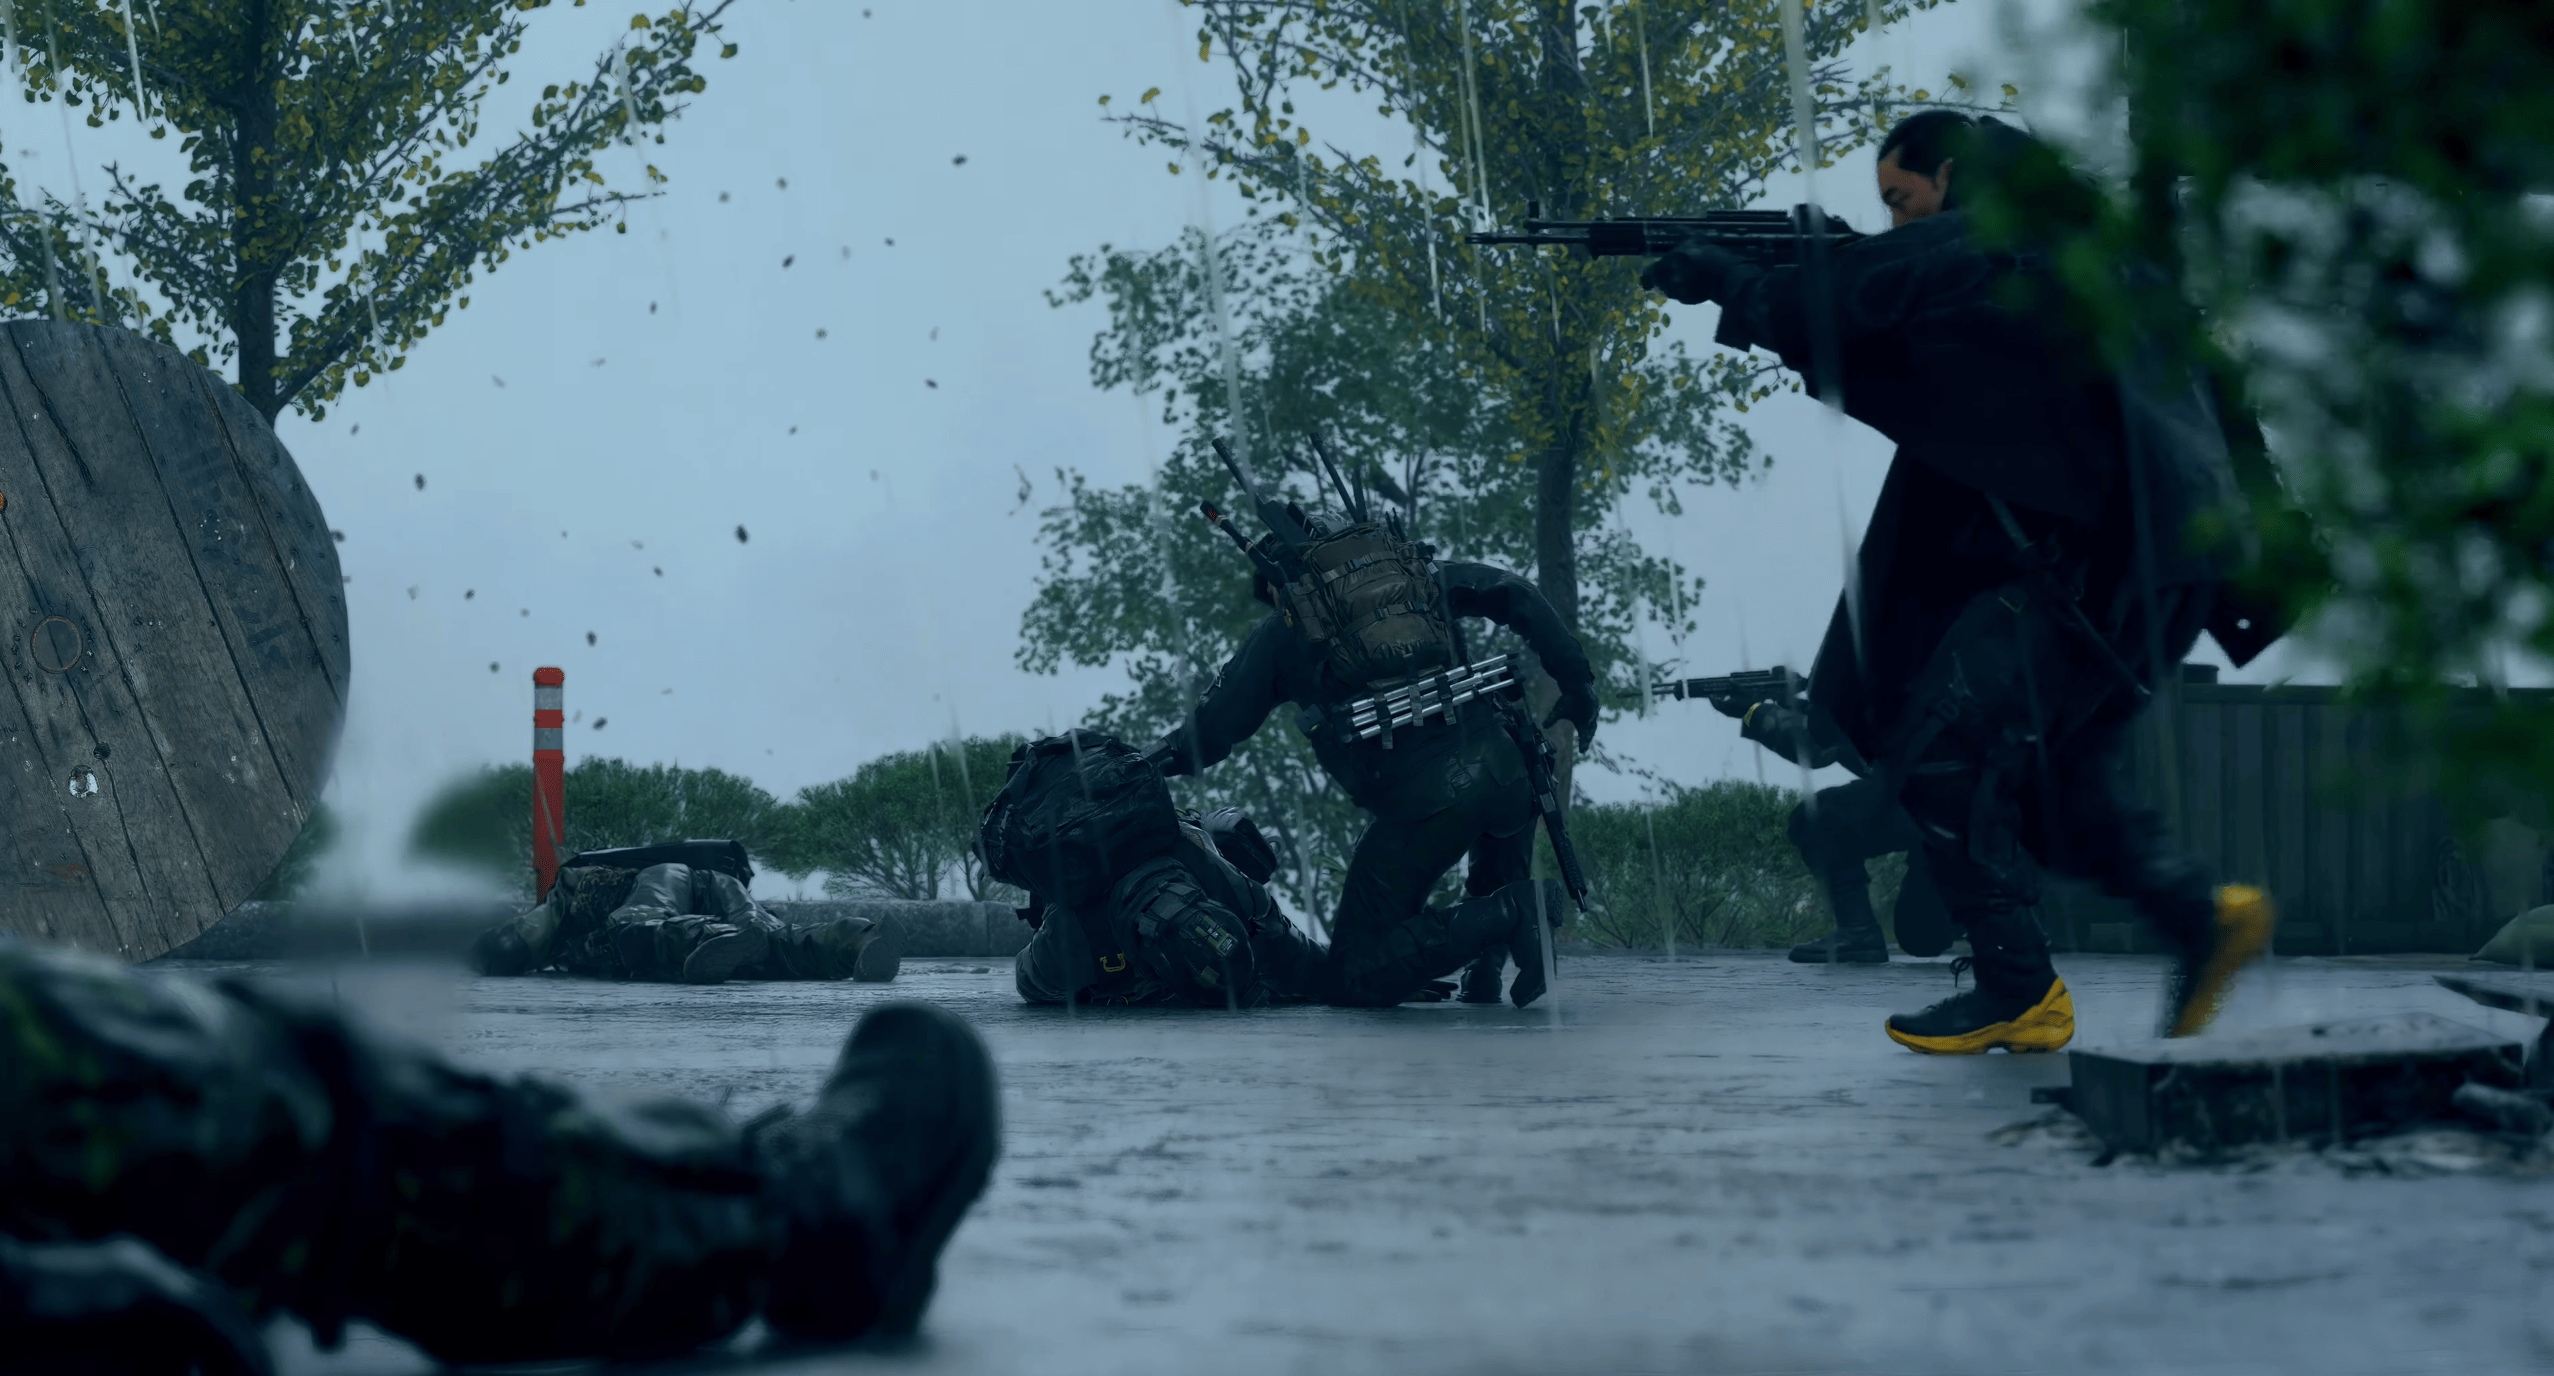
PvP is optional in the sense that you don't have to actively hunt other players, but you can't avoid the possibility of encountering them. DMZ also has a Bounty system designed around players who repeatedly eliminate rival Operators.
When you kill another Operator, you begin accumulating a Bounty. After four player kills across deployments, your Operator becomes Wanted. Continue eliminating players and your Bounty increases, making you a more valuable target.
Other players can use Bounty Stations to purchase intel on Wanted Operators and attempt to claim rewards by eliminating them and extracting with their Dog Tags.
The system has a few interesting details:
- Bounties persist across deployments until cleared.
- Wanted Operators can alert nearby players to their presence.
- Higher Wanted Levels make targets easier to locate.
- Bounty Hunters receive DMZ Cash for extracting with eligible Dog Tags.
- Players can pay off their own Bounty at Bounty Stations.
There are also leaderboards tracking the top 50 Most Wanted players and Bounty Hunters. These rankings track the most notorious Operators and successful bounty hunters over the previous week.
If you enjoy PvP, this gives you something to work toward beyond simply collecting other players' equipment. Just keep in mind that becoming Wanted means other squads have a pretty good reason to come looking for you.
MW4 DMZ Vehicles
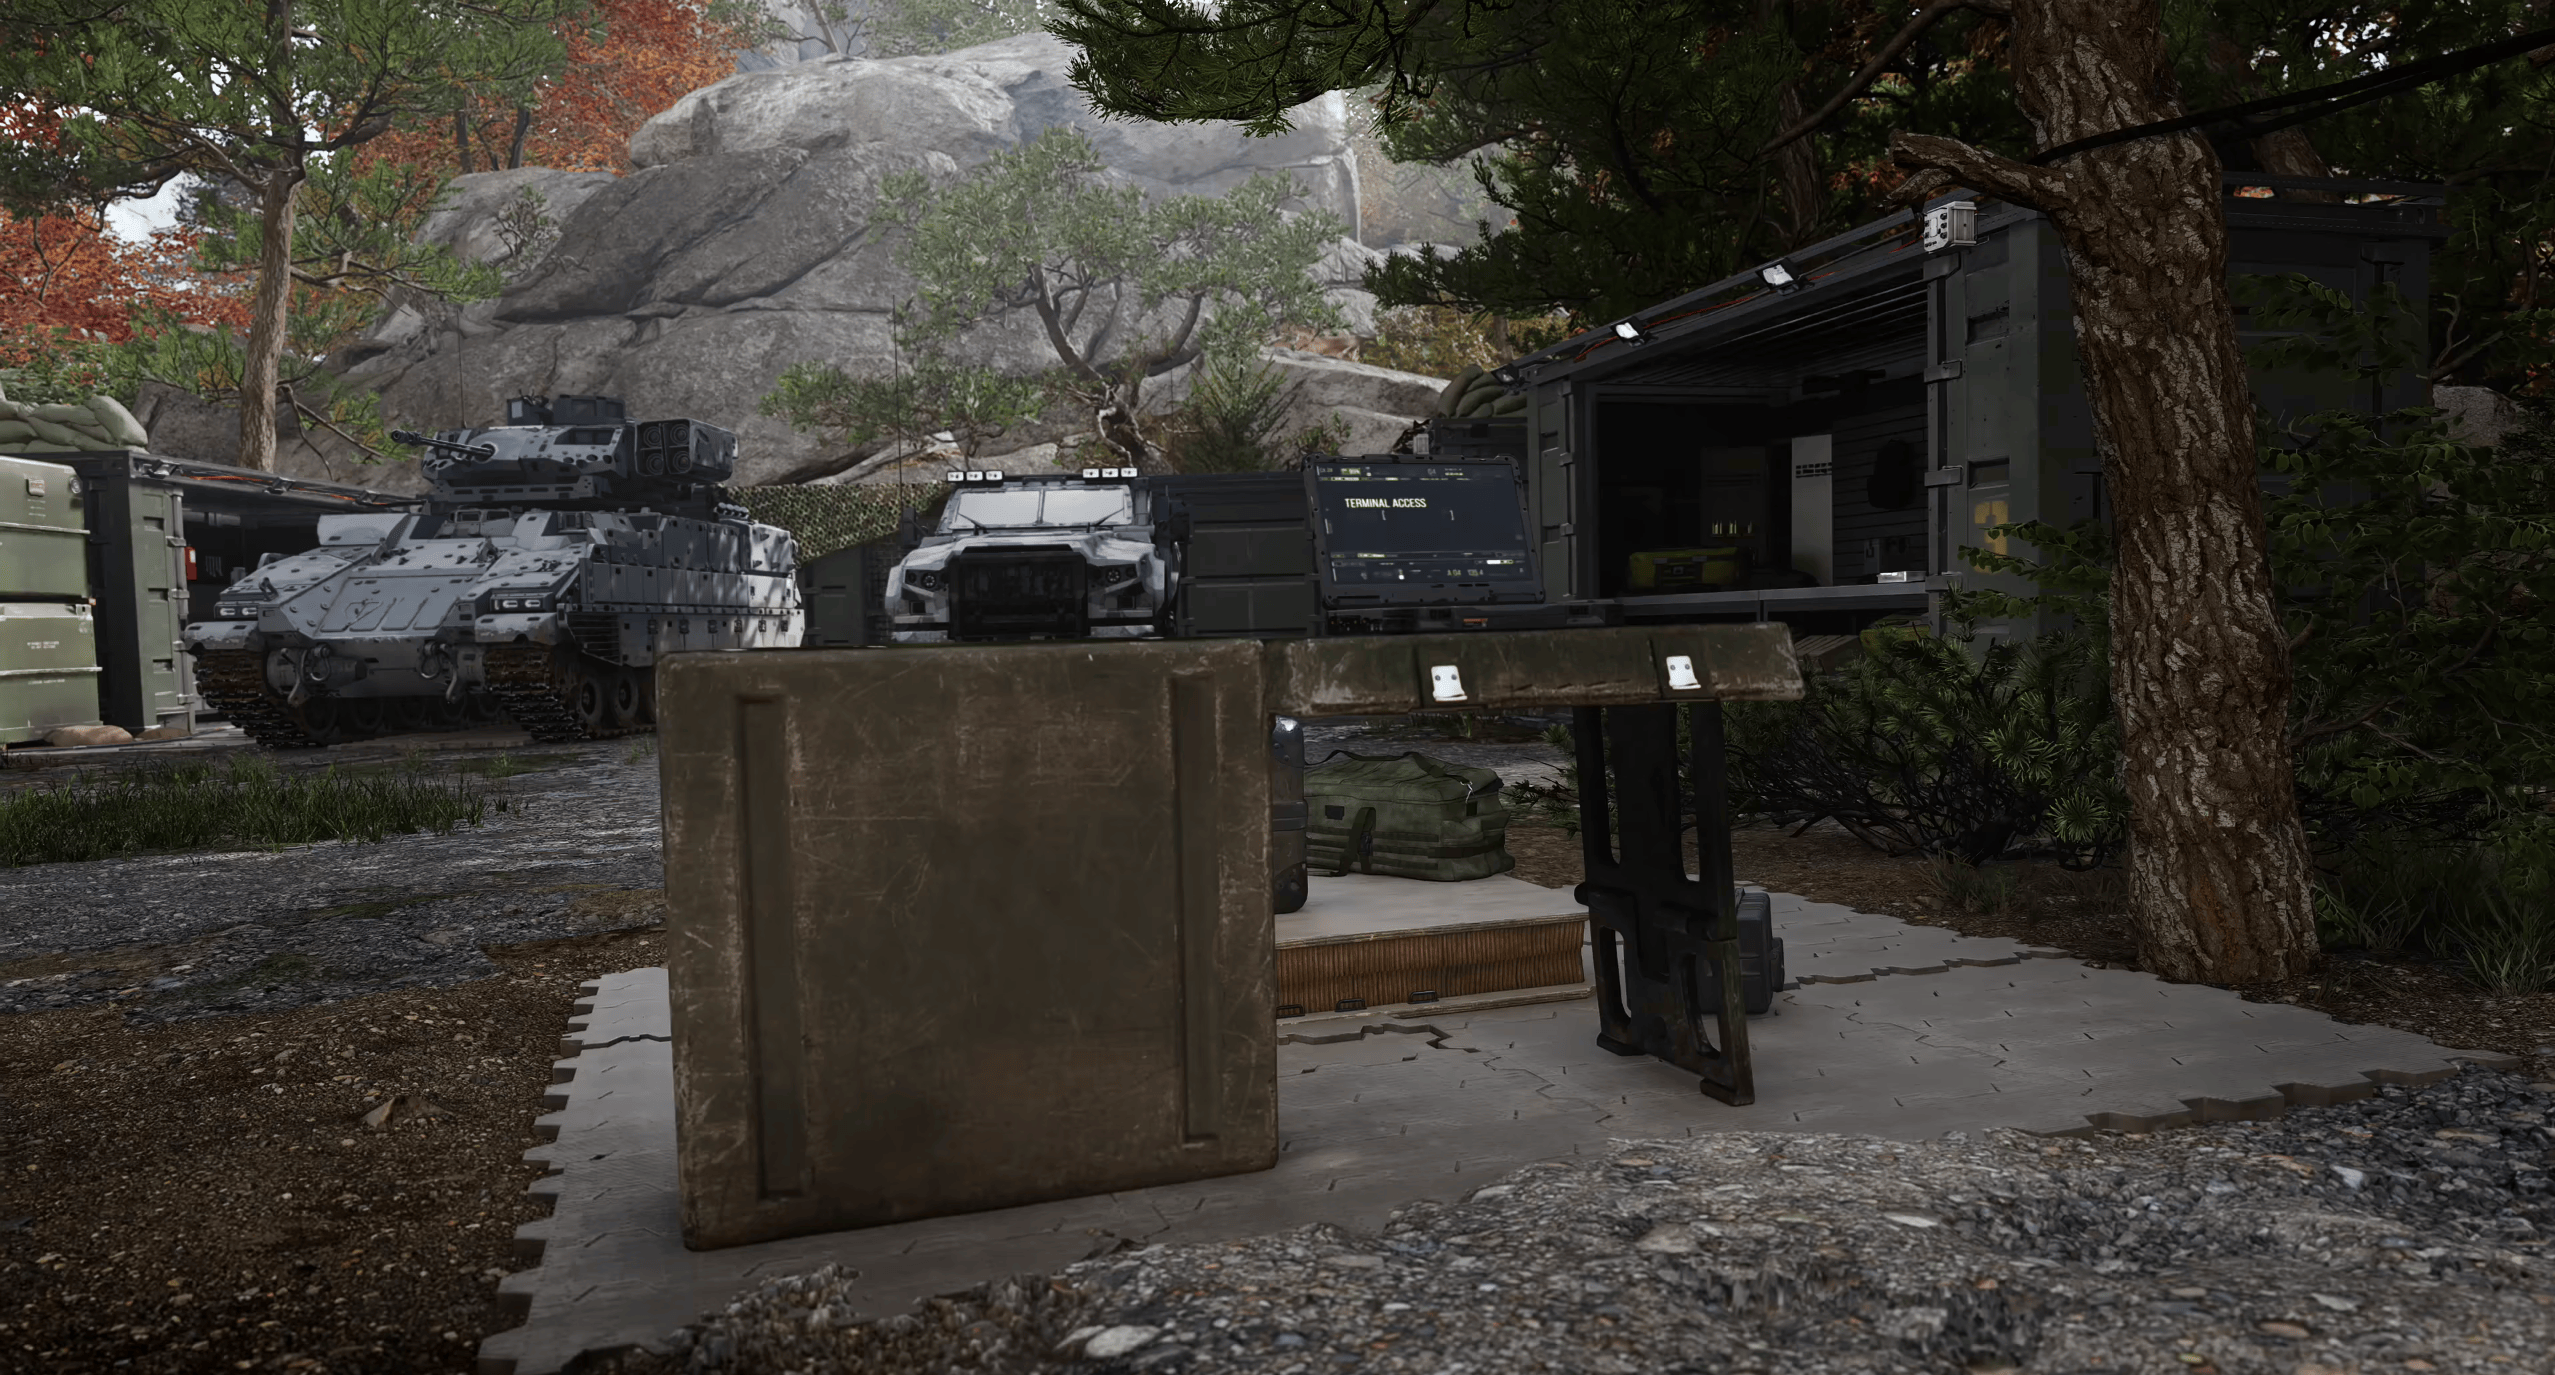
Hajin is a large map, so vehicles are important for moving between objectives. You can find several land vehicles, boats, helicopters, and even functioning public transportation systems.
Unlike Warzone, vehicles in DMZ have limited fuel and durability. You'll need to visit Gas Stations to repair or refuel them.
Here are some of the available options:
|
Vehicle |
Type |
Best Use |
|
Sedan |
Civilian car |
Quick transportation |
|
Grizzly |
Light tactical vehicle |
Fast movement and hit-and-run travel |
|
Dreadnought |
Armored SUV |
Protected transportation |
|
Polaris Dagor A1 |
Tactical vehicle |
Squad mobility |
|
LTV |
Armored vehicle |
Traveling through dangerous areas |
|
RHIB |
Boat |
Moving across waterways |
|
Helicopter |
Aircraft |
Rapid travel across Hajin |
|
Train |
Automated rail transport |
Traveling between connected locations |
|
Tram |
Automated monorail |
Moving around Hajin City |
One useful distinction is that the Train and Tram follow fixed routes rather than being controlled directly by players.
I'd also avoid assuming vehicles are always safer than traveling on foot. A car gets you somewhere faster, but it can attract attention, and running out of fuel near a hostile compound is hardly ideal.


You got -20% OFF 
MW4 DMZ Progression and Rewards
DMZ has its own Player Progression track consisting of 70 levels. Each level can unlock additional FOB features, Recipes, equipment, Operator slots, and other rewards. This system is separate from the main MW4 career progression, which runs from Level 1 to 55 before its own Prestige progression.
The good news is that DMZ XP also contributes toward your overall MW4 career progression. Weapon XP and Camo progression earned in DMZ carry over as well.
There are several progression systems to understand:
|
Progression |
Maximum or Purpose |
|
DMZ Player Level |
70 levels unlocking FOB upgrades and rewards |
|
MW4 Career Level |
Separate Level 1-55 progression, with Prestige afterward |
|
Operator Dog Tags |
18 levels awarding Trait Points |
|
Operator Prestige |
Permanent Traits earned through individual Operator progression |
|
Weapon Levels |
Unlock attachments, Camos, and additional weapon progression |
|
FOB Upgrades |
Permanent improvements to crafting, storage, and other systems |
DMZ Player XP can be earned from Story Missions, Dynamic Operations, Side Operations, and other activities. Double XP Tokens also affect DMZ Player XP, and you'll keep earned XP even if your deployment ends unsuccessfully.
You also receive an After Action Report after every deployment, whether you successfully extract or not. This includes a breakdown of your collected loot, XP, completed objectives, and performance rating.
Your rating ranges from F to S++ and considers three categories: Objectives, Combat, and Looting.
If you're looking to level up efficiently, try to balance all three instead of spending every run killing AI soldiers. Completing Orders, opening loot containers, and finishing Operations can all contribute toward better overall results.
Events and Limited-Time Rewards
MW4 DMZ also has an Events Station that lets you track seasonal activities, limited-time objectives, and Challenges. The station is accessible through the FOB or the side menu, although event activities themselves are scheduled to arrive after launch.
Events can provide rewards such as:
- DMZ XP
- Equipment
- Crafting Recipes
- Weapon Camos
- Other limited-time unlocks
These activities can focus on particular DMZ mechanics, deployment goals, or seasonal themes. Once events become available, I'd recommend checking their requirements before deploying so you can complete them alongside your regular Orders.
Modern Warfare 4 DMZ Beginner Tips
MW4 DMZ has enough systems that it's easy to waste your first few deployments doing things that don't really help your progression. I think the best approach is to gradually build up your FOB, learn a few reliable locations, and only start taking bigger risks once you have enough equipment and Cash to recover from a bad run.
Here are my recommendations for beginners:
- Complete your first DMZ Orders. They introduce important mechanics, unlock features, and eventually open new Order pages.
- Unlock the 3D Printer at Level 2. Crafting becomes important surprisingly early, especially for better Backpacks and armor.
- Learn Low-threat areas first. Deadtown and Imjin Farmland are more reasonable starting points than Chang-san Air Base.
- Use the Free Loadout when necessary. You don't need expensive equipment for every resource-gathering deployment.
- Keep an eye on the Threat meter. Excessive combat can attract reinforcements and eventually Hunt Squads.
- Craft a Medium Backpack. The extra storage and Secure Slots are useful for protecting valuable items.
- Extract Weapon Manuals. They give you reliable access to weapons through the Gunsmith.
- Combine Orders with Operations. Completing multiple objectives in the same deployment is an efficient way to progress.
- Don't immediately pick up Lieutenant Dog Tags. Doing so reveals your position, so make sure you can extract afterward.
- Save DMZ Cash for Operator recovery. Losing your favorite character is bad enough without discovering you can't afford to bring them back.
- Use different Operators for different activities. Having specialized builds gives you more flexibility.
- Know when to leave. Extracting with useful loot is generally better than risking everything for one additional objective.
One final thing: don't overlook the Tac-Map. It shows useful buildings, enemy compounds, current objectives, Threat information, and the spreading radiation. The more you use it, the less time you'll spend wandering around without a plan.
Modern Warfare 4 DMZ Early Access and Release Date
Modern Warfare 4 DMZ Early Access launches globally on October 20, 2026, at 10 AM PT / 1 PM ET / 6 PM BST. Players who digitally pre-order or pre-purchase an eligible edition of MW4 receive access before the full game's release on October 23. The update required for DMZ Early Access is scheduled to be available across platforms by 9 AM PT on October 19. Early Access supports progression carryover, meaning XP, Weapon XP, and Weapon Camo progress earned during the three-day window will count toward your full Modern Warfare 4 experience. Unlike the region-based full game launch, DMZ Early Access goes live at the same moment worldwide.
F.A.Q.
Is Modern Warfare 4 DMZ free to play?
No, MW4 DMZ is currently part of the paid Modern Warfare 4 package. The developers haven't announced a standalone free-to-play release for this version of the mode.
Can you play MW4 DMZ solo?
Yes, you can deploy solo or with a squad of up to three players. If you don't have teammates, you can enable Squad Fill to get matched with two other players, although playing solo is also an option.
What happens if you die in MW4 DMZ?
Failing to extract means losing your carried equipment and having your Operator marked MIA. You can recover them using DMZ Cash to preserve their unlocked Traits, but their lost equipment won't be returned.
What is the max level in MW4 DMZ?
The maximum DMZ Player Level is 70. Individual Operators have separate Dog Tag progression with 18 levels and can earn permanent Traits through Prestige, so reaching Level 70 doesn't mean you've finished all the available progression.
Does MW4 DMZ progression carry over to Multiplayer?
Yes, XP, Weapon XP, and Camo progression earned in DMZ contribute to the wider MW4 experience. However, XP earned in Multiplayer or Warzone doesn't increase your separate DMZ Player Level.
How do you unlock the Gunsmith in MW4 DMZ?
The Gunsmith becomes available at DMZ Player Level 10. You can customize looted weapons, buy attachments, and build new weapons, provided you've unlocked the corresponding Weapon Manuals.
Can you lose all your loot in DMZ?
Yes, failing to extract can cost you the weapons, equipment, and loot you're carrying. However, items stored in your FOB Stash are safe, and Secure Slots in compatible Backpacks can protect selected items during a failed extraction.
What should you upgrade first in MW4 DMZ?
I'd focus on the 3D Printer, additional Stash capacity, and a better Backpack. These upgrades help you collect and preserve more loot, which makes progressing through the rest of DMZ considerably easier.