 Dallon Avery
The Eye: Tempest Keep Raid Guide Quick Overview:
- You need to complete a pretty extensive attunement questline to get access to the raid
- The raid has 4 boss encounters. The first and final bosses are the same.
- The second and third bosses are pretty simple and should not be too difficult
- The final boss has 5 distinctly different phases
- The loot in this raid includes tier 5 tokes for chest and shoulders, as well as epics up to ilvl 138
Do you want to get those Tier 5 tokens right now? WoW TBC Classic Anniversary The Eye service at Skycoach and enjoy the raid rewards delivered by professional gamers.


Read closely 
Browse our hottest TBC Anniversary Boosting services


The Eye: Tempest Keep Overview
The Eye: Tempest Keep is a 4-boss raid available in TBC Classic Anniversary’s Phase 2, which comes out on May 14th. Your goal is to defeat Kael'thas Sunstrider, who has taken the Tempest Keep by force after the Naaru left. Blood Elves now use the technology of the structure to create more manaforges, whereas its original function is to travel between dimensions by navigating the Twisting Nether.
The Eye: Tempest Keep Attunement Guide
Just like the Serpentshrine Cavern, Tempest Keep requires an attunement. You can’t simply waltz into the raid. There’s a pretty long questline that you need to complete, but I’ll try to keep things short here.
Start by picking up the quest called The Hand of Gul’dan in Shadowmoon Valley. It’s the same for both factions. It's given by Earthmender Splinthoof. This questline eventually leads you to Oronok Torn-heart and the long Cipher of Damnation chain. You will help Oronok and his three sons recover the three fragments of the Cipher, then finish the final quest called The Cipher of Damnation.
The first shared part of the chain goes like this:
- The Hand of Gul’dan
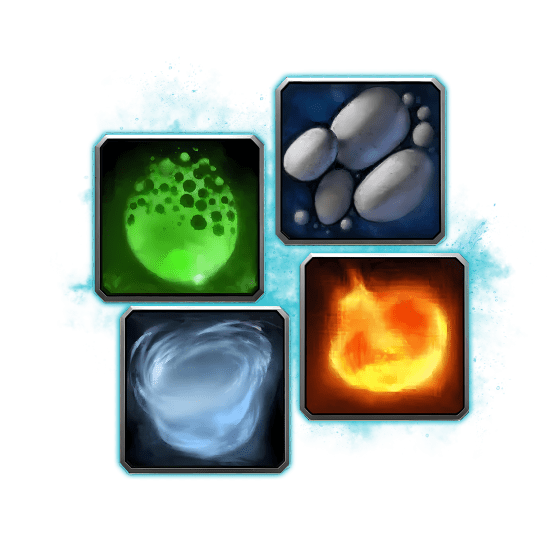
- Enraged Spirits of Fire and Earth
- Enraged Spirits of Water
- Enraged Spirits of Air
- Oronok Torn-heart
- I Was A Lot Of Things...
- A Lesson Learned
- The Cipher of Damnation: Truth and History
After this, the questline splits into three smaller chains. Each one is tied to one of Oronok’s sons and rewards one fragment of the Cipher of Damnation. These three parts can be completed in any order.
After that, Khadgar in Shattrath gives you the quest called The Tempest Key. This sends you into the next part of the attunement, where you must complete several Trial of the Naaru quests. These require killing the final bosses in Heroic Shattered Halls, Heroic Steamvault, Heroic Arcatraz, and Heroic Shadow Labyrinth.
The final step is defeating Magtheridon in Magtheridon’s Lair. Once that is done, you complete the attunement and receive The Tempest Key, which allows you to enter The Eye in Tempest Keep.
Just a reminder, the attunement is account-wide, so you only have to do it once for all characters.
The Eye: Tempest Keep Location and Map
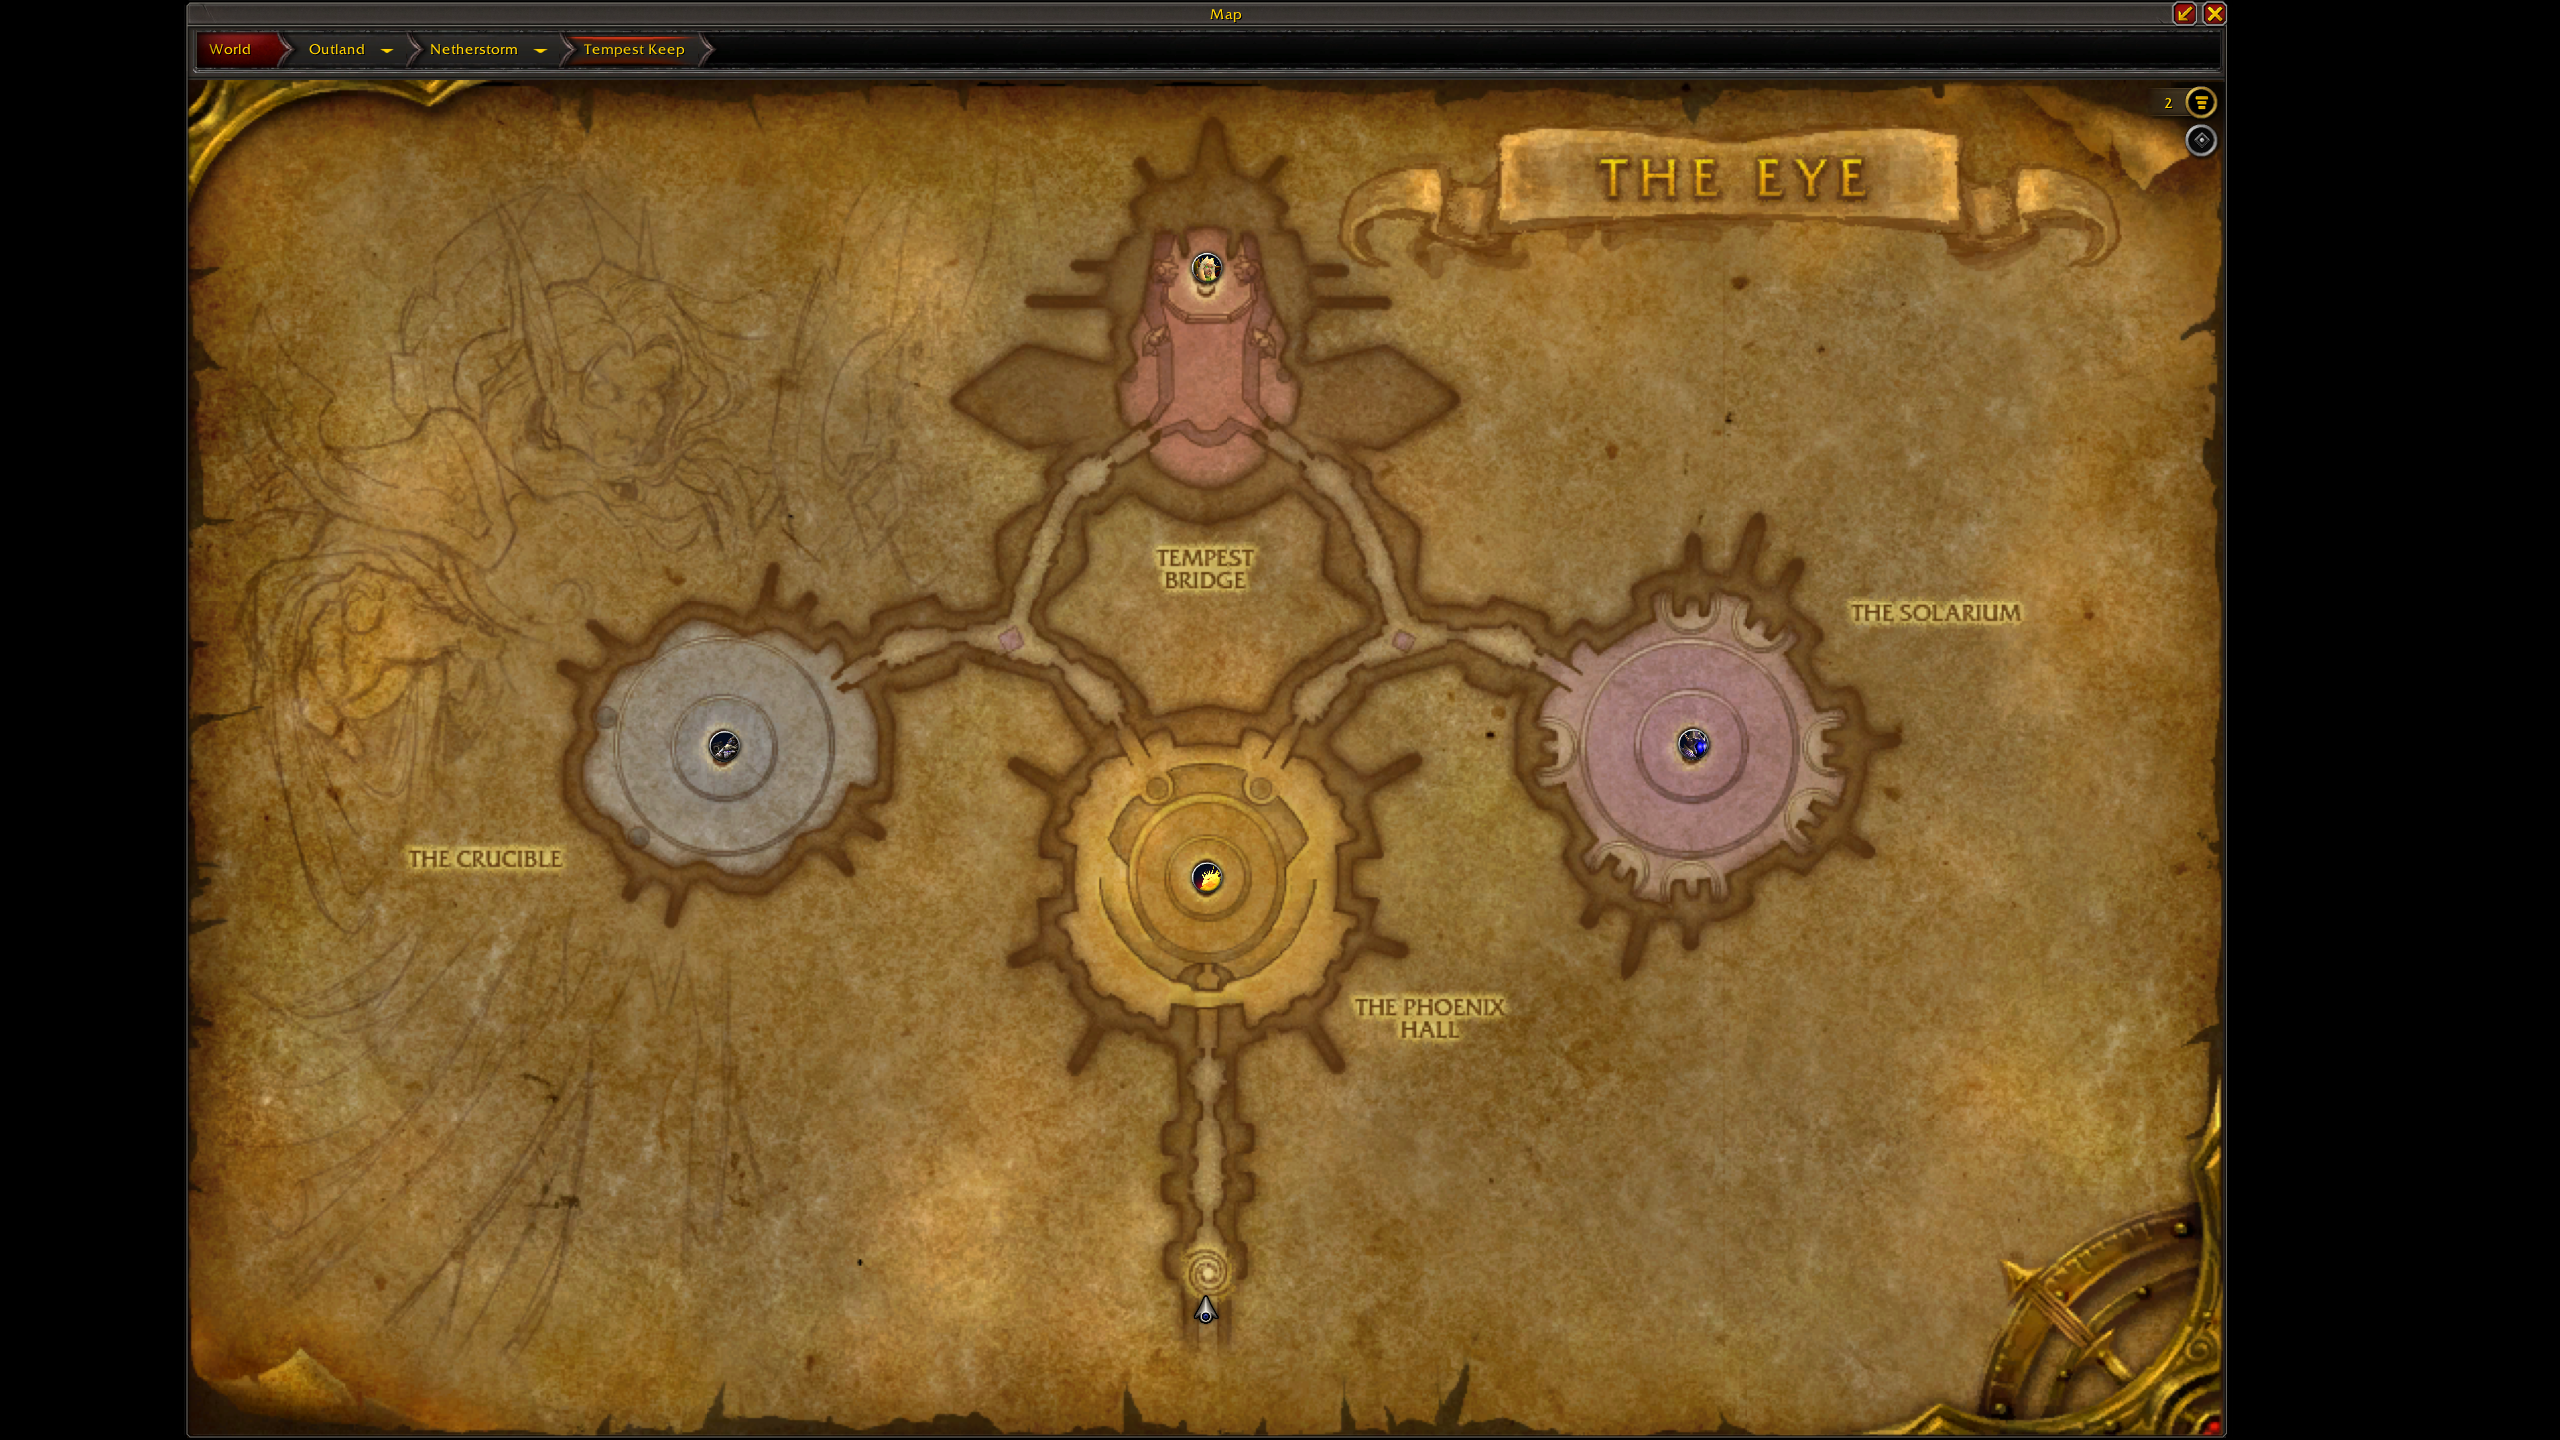
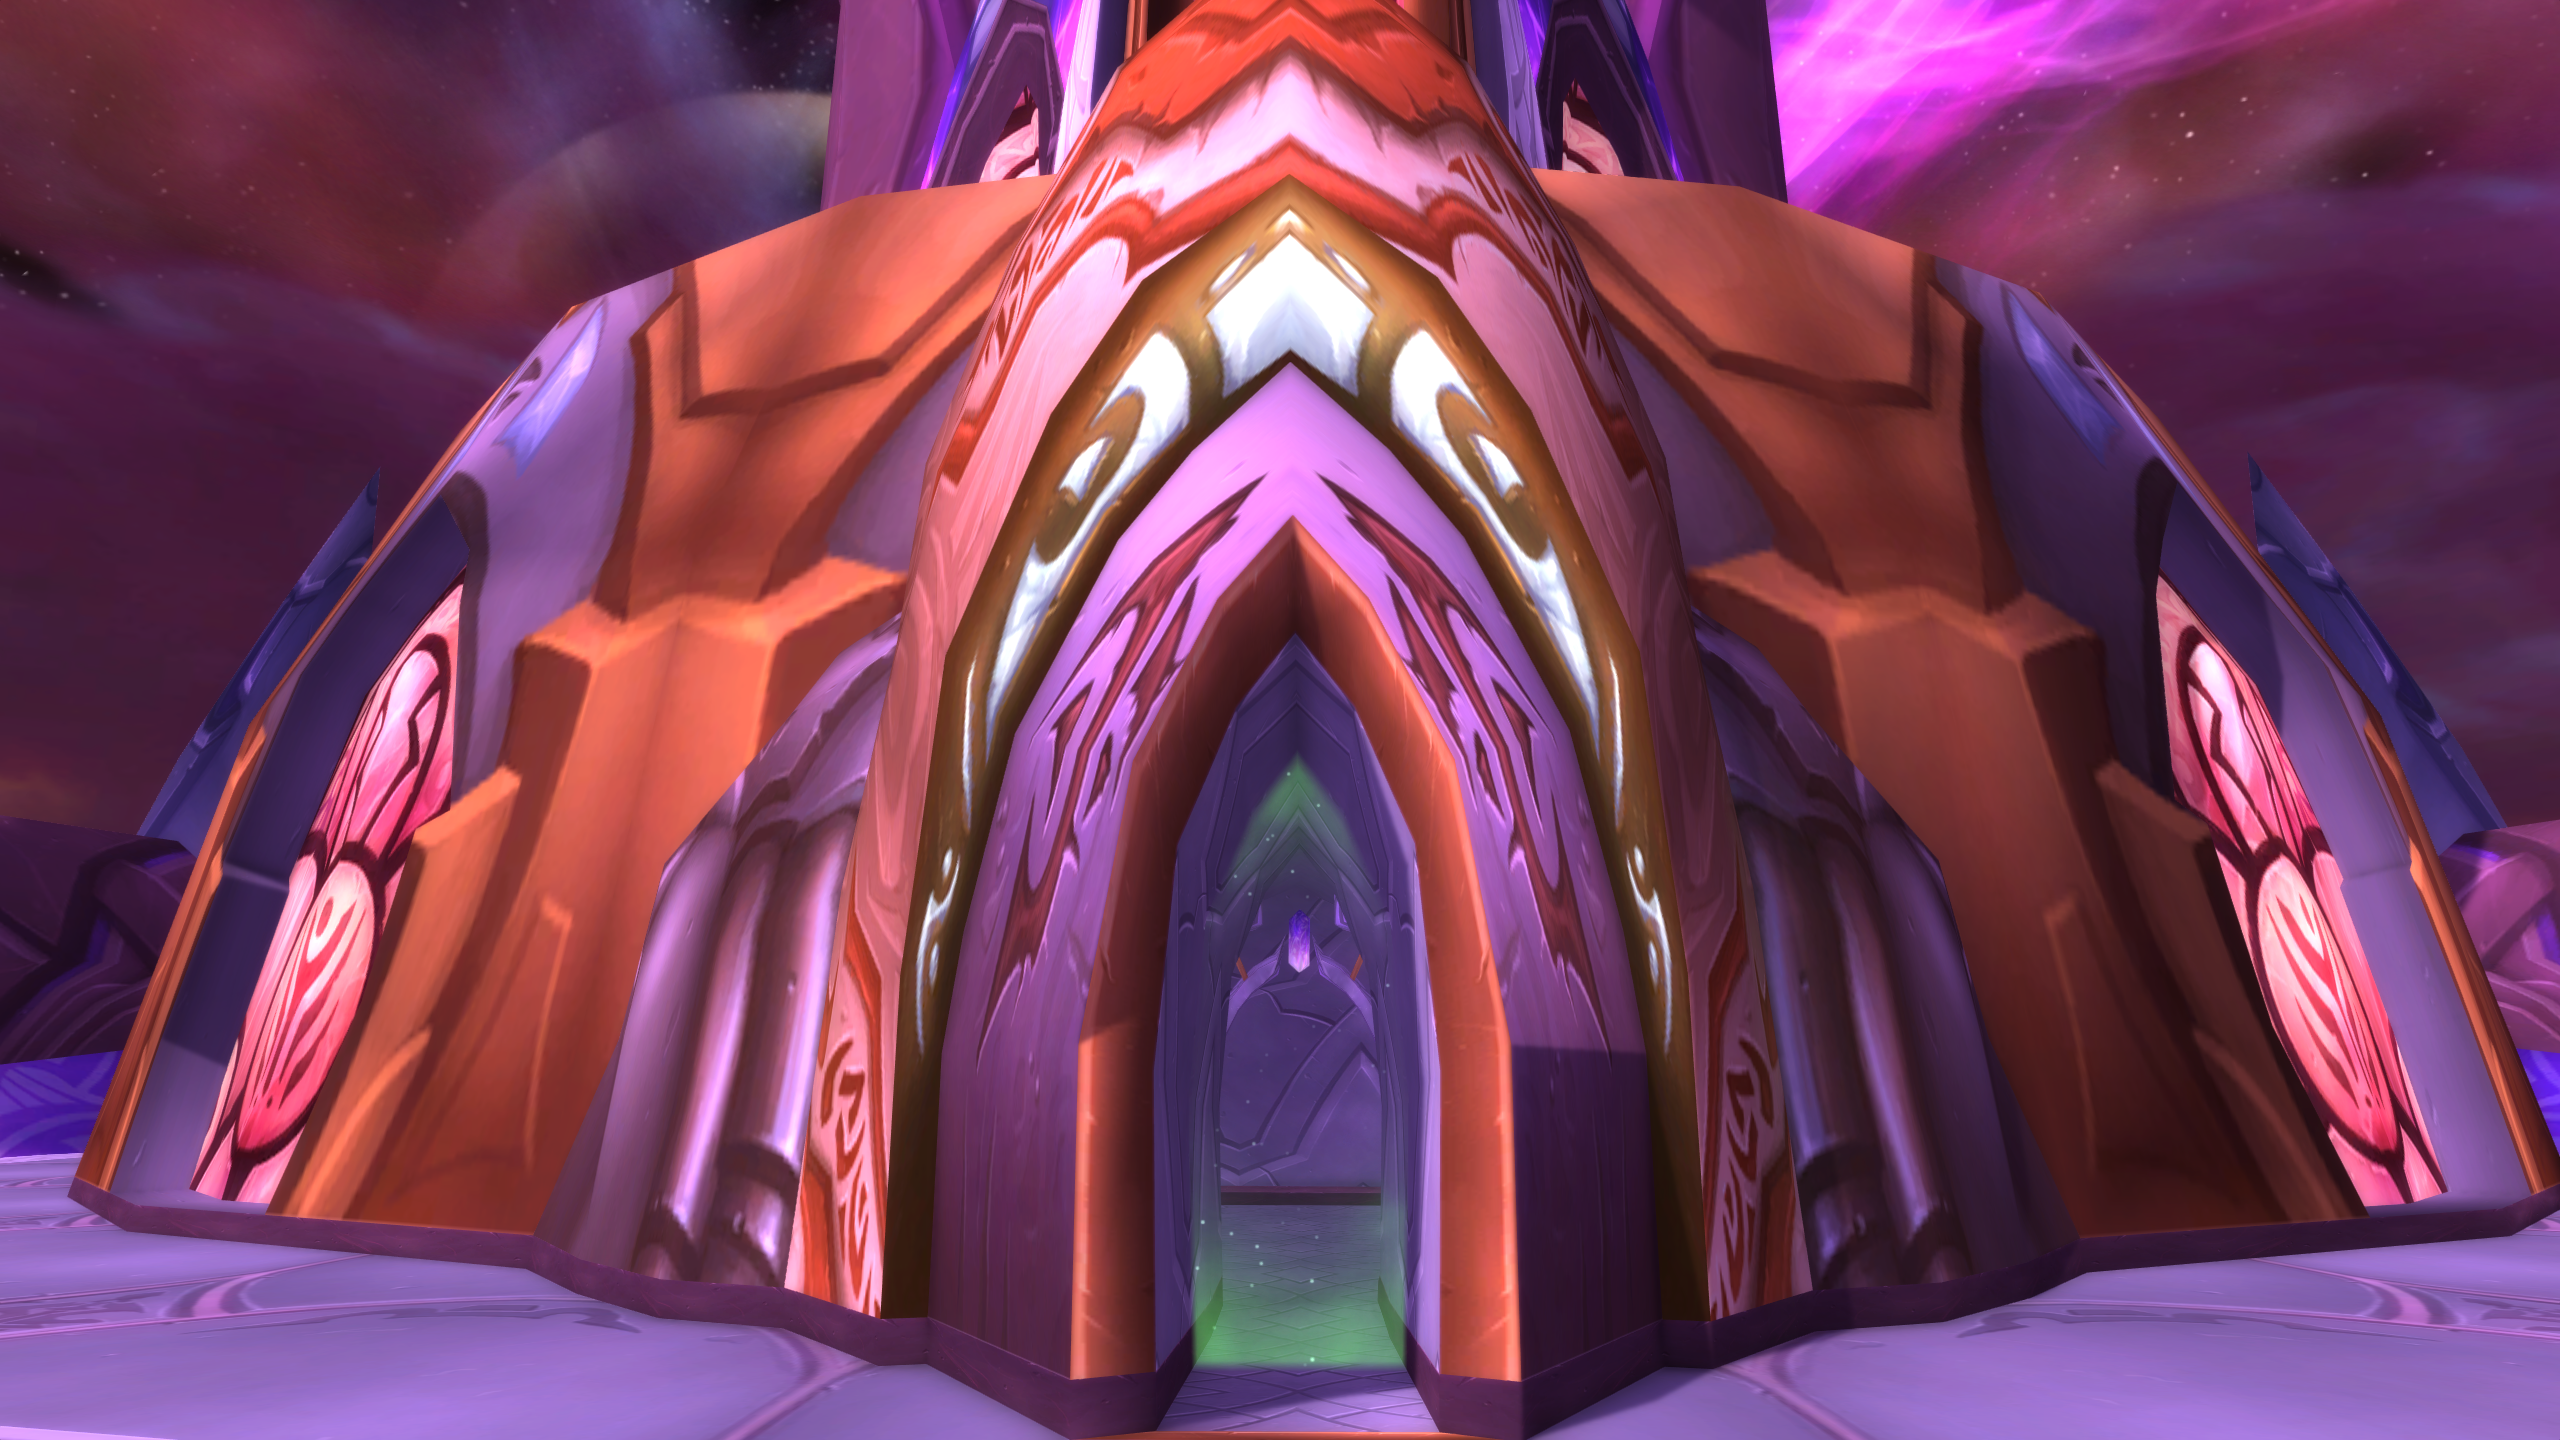
Finding the raid entrance is the easy part. This keep is such a massive structure, you can’t miss it. Tempest Keep is located on the eastern edge of the Netherstorm. The nearest Flight Master is the goblin named Harpax, who resides in a small camp called Cosmowrench at 65.2, 66.8.
One of the pipes of the Manaforge Duro connects it to the Tempest Keep. Follow that pipe and enter through the central archway. Inside, you’ll find the raid entrance.
The instance is made up of 4 key locations:
- Phoenix Hall - contains the Al’ar boss arena, the first boss fight.
- The Crucible - to the left, contains the Void Reaver arena
- The Solarium - to the right, contains the High Astromancer Solarian arena
- Tempest Bridge - in the middle, leads to the Kael’thas Sunstrider arena, the final boss fight.
You will enter the raid facing the Phoenix Hall, and so your first boss will always be Al’ar
The Eye: Tempest Keep Bosses
As I said earlier, The Eye: Tempest Keep has four boss encounters, none of which are optional. There’s also no strict order in which you fight them, except for the first and final boss fights. Here’s a short overview of each encounter:
- Al’ar - This encounter is about fighting the phoenix in two phases.
- Void Reaver - This is a simple one-phase fight focused on positioning, aggro, and movement.
- High Astromancer Solarian - This fight revolves around Arcane damage, add waves, and a final Voidwalker phase.
- Kael’thas Sunstrider - This is a long five-phase encounter built around advisor control, legendary weapons, and Kael’thas’ dangerous spell casts.
Next, I’ll explain how to beat each boss in more detail. You learn how the fight goes, the mechanics, boss abilities, and placements.
The Eye: Tempest Keep Tactics
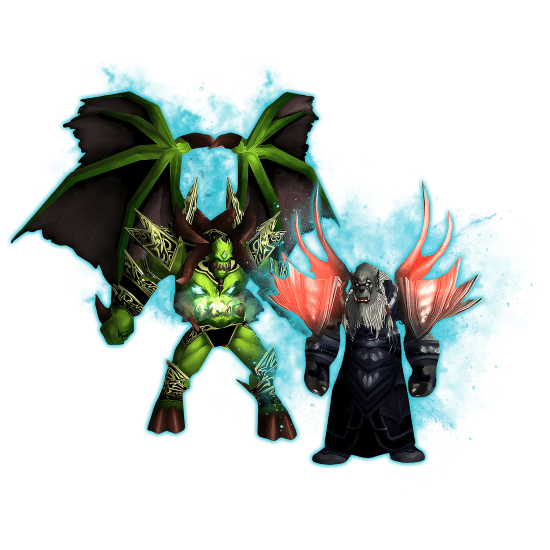
Al'ar Strategy
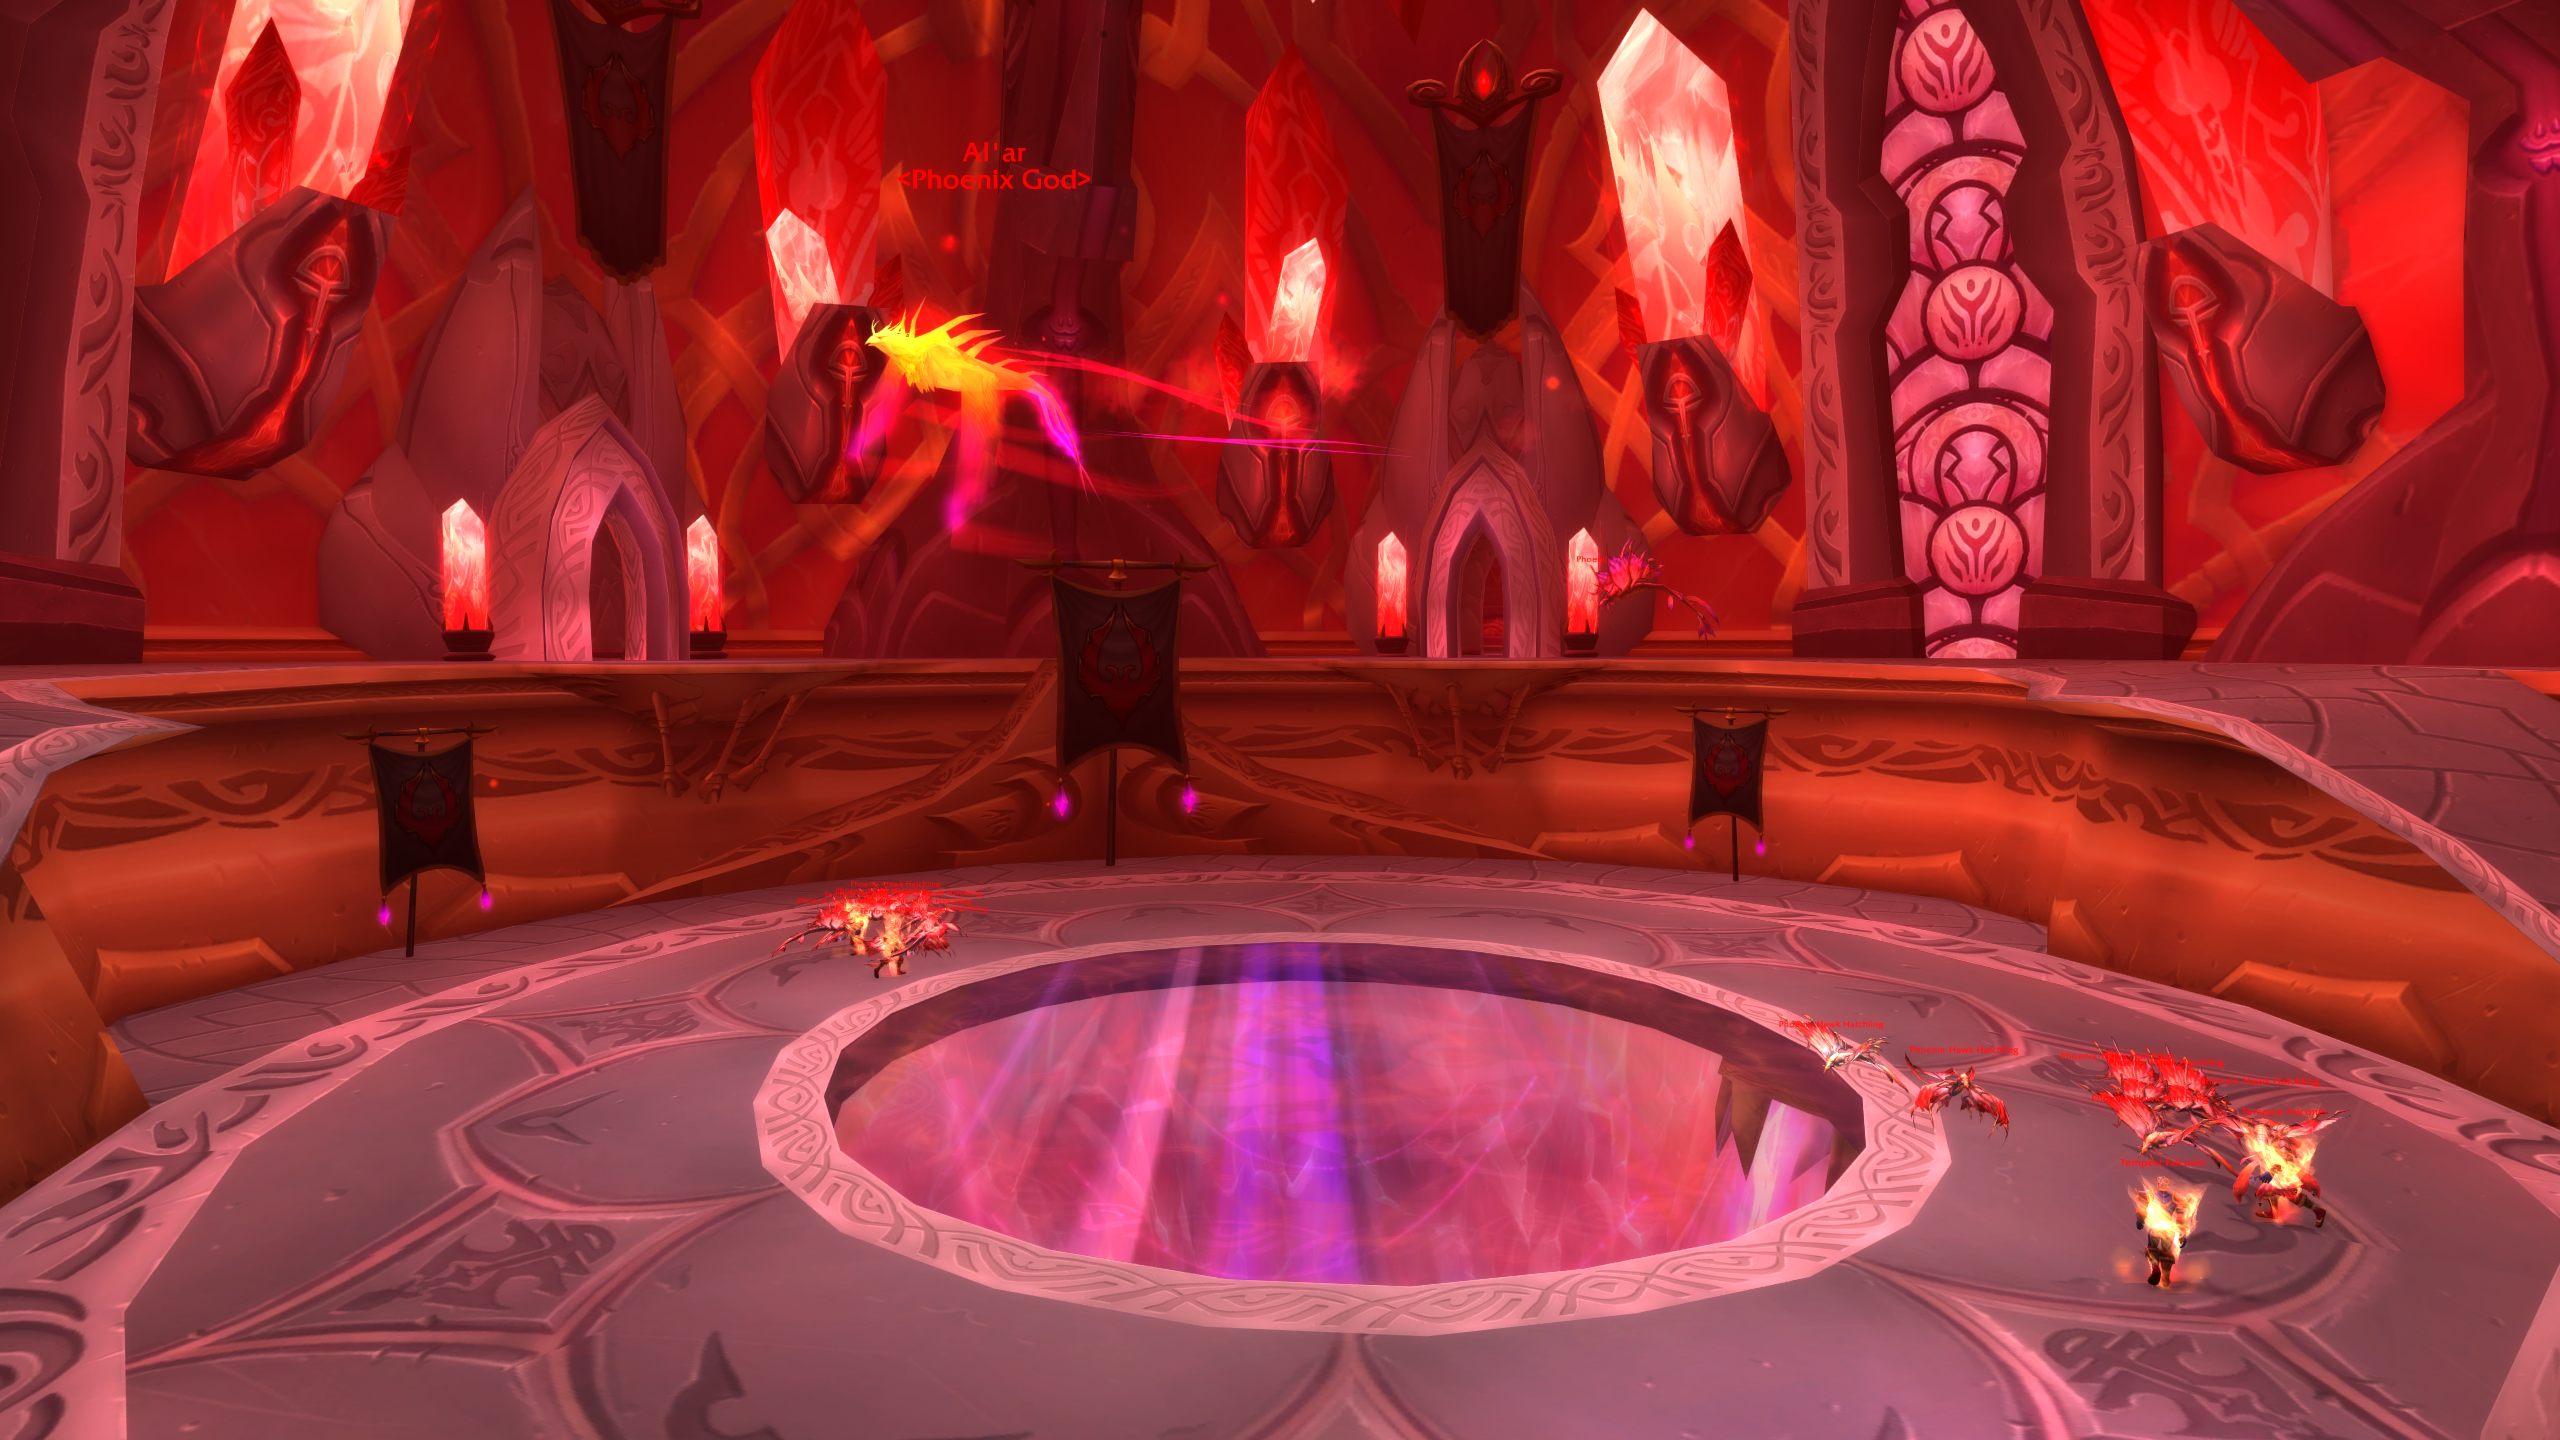
Al’ar is a phoenix boss with two main phases and a rebirth transition between them. Phase 1 is about platform control, tank positioning, and killing Ember adds. Phase 2 moves the fight to the ground, where tanks need to swap on Melt Armor while the raid avoids fire patches and reacts to Dive Bomb.
The most important rule across the whole fight is simple: Al’ar must always have someone in melee range. If there is no valid melee target, the boss starts casting Flame Buffet, which deals raidwide Fire damage and adds a stacking Fire damage taken debuff. If this happens several times in a row, the pull can fall apart very quickly.
Here’s a quick look at the main abilities used during the encounter:
|
Enemy |
Ability |
Description |
|
Al’ar |
Raidwide Fire damage and stacking Fire damage taken debuff. Cast when no player is in melee range. |
|
|
Spawns an Ember of Al’ar when Al’ar moves between platforms in Phase 1. |
||
|
Al’ar flies to the middle and damages players on the upper platforms. Everyone on top must jump down. |
||
|
Fire burst and knockback when Al’ar dies at the end of Phase 1. |
||
|
Starts Phase 2 with Fire damage and a knockback near the center. |
||
|
Reduces the current tank’s armor by 80%. Another tank must taunt quickly. |
||
|
Al’ar flies up, dives on a player, then respawns at that location. Two Ember adds also appear. |
||
|
Creates fire on the ground that deals heavy damage and increases Fire damage taken. |
||
|
Charges a random raid member and follows it with a Flame Buffet. |
||
|
Enrage timer after Phase 2 begins. This usually leads to a wipe. |
||
|
Ember of Al’ar |
Fire explosion and knockback when the add dies. Melee should move out before it dies. |
Phase 1: Platform Phase
The arena is round and features two sets of stairs on each side leading to an upper level. It’s going to be easier if you mentally divide the upper level into separate platforms.
At the start of the fight, Al’ar will land on the left platform. From there, the boss moves between platforms in a clockwise pattern. I would say she changes the platform every 30 seconds, but don’t quote me on that.
Place tanks on the upper platforms, with the next tank ready to receive Al’ar as soon as the boss moves. The boss keeps aggro between platform moves, so the tank waiting on the next platform should taunt immediately. This is especially important if melee players have been attacking the boss, since they can easily be higher on aggro than the new tank when Al’ar lands.
If Al’ar lands and no tank is in melee range, she casts Flame Buffet. Only a few casts of that and your party will wipe, so it's absolutely crucial to always have someone in melee range.
Every time the boss leaves a platform, an add called Ember of Al’ar spawns there. To be specific, the add spawns under the platform that the boss just left.
These adds do not have much health, but they explode when they die. Usually, what you wanna do is to keep an off-tank and a small damage group near the middle or bottom area so they can pick up and kill the Embers away from the raid.
Melee players can help kill the adds, but they need to move away before the add dies. The explosion can knock players back and deal enough damage to punish anyone standing too close. If your raid has enough damage, a Protection Paladin or another off-tank can handle most of the add control while the rest of the raid focuses on the boss.
Sometimes, Al’ar casts Flame Quills. Instead of moving to another platform, Al’ar flies to the middle of the room and starts damaging players who are still on the upper platforms. When this happens, everyone on the platforms needs to jump down right away.
After this cast, Al’ar can land near either set of stairs, so your raid should have tanks ready on each set of stairs. The goal is still the same: get a tank into melee range before Flame Buffet starts stacking.
Once Al’ar reaches 0% health in Phase 1, the boss triggers a knockback and transitions into the rebirth sequence.
Phase 2: Rebirth Phase
Phase 2 begins when Al’ar revives in the middle of the room. Do not stand too close to the center as the phase starts, because Rebirth deals Fire damage and knocks nearby players back. Right after Rebirth, your tanks can aggro the boss and turn her away from the rest of the party.
The main tank mechanic in this phase is Melt Armor. This debuff reduces the tank’s armor by 80%, which makes Al’ar’s melee attacks way more dangerous. When Melt Armor lands, another tank needs to taunt right away.
Tanks should be ready for taunt resists as well. If the first taunt fails, use backup options like Challenging Shout, Challenging Roar, or Mocking Blow, depending on your class. A tank holding Al’ar with Melt Armor can die very quickly, so the tanks gotta change fast.
The raid also needs to watch the ground for Flame Patch. These fire circles are more dangerous than they look, and standing in one for only a few seconds can kill a player. I mean, it should be pretty self-explanatory - don’t stand in fire. At the same time, I understand why some players step into those. They can be visually easy to miss, depending on the camera angle.
The biggest movement mechanic in Phase 2 is Dive Bomb. Al’ar flies into the air, targets a player, then crashes down at that location. The raid should stay spread and move away from the impact point. After the Dive Bomb, Al’ar respawns where it landed, so the tank needs to be ready to taunt and get back into melee range fast.
Two Ember adds also spawn after Dive Bomb. The boss flies up in the air, targets a random player, and then crashes down where they stand, dealing AoE damage. Make sure that the rest of the party spreads out to avoid that AoE damage. On top of that, when the boss flies up, two more Embers spawn. Either kill them as soon as they spawn, or have an off-tank aggro them, while the rest of you keep dealing damage to the boss.
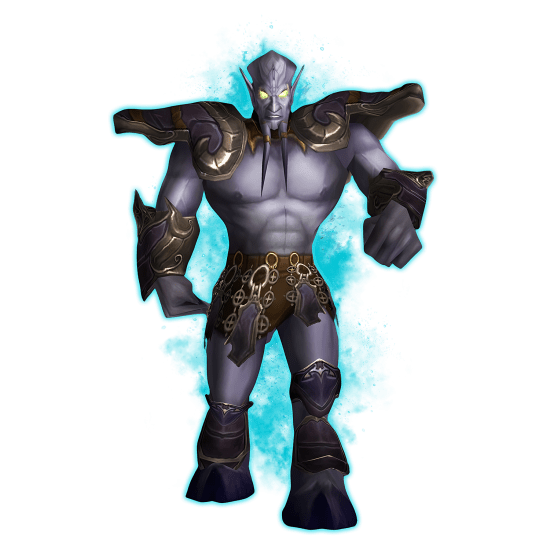
Void Reaver Strategy
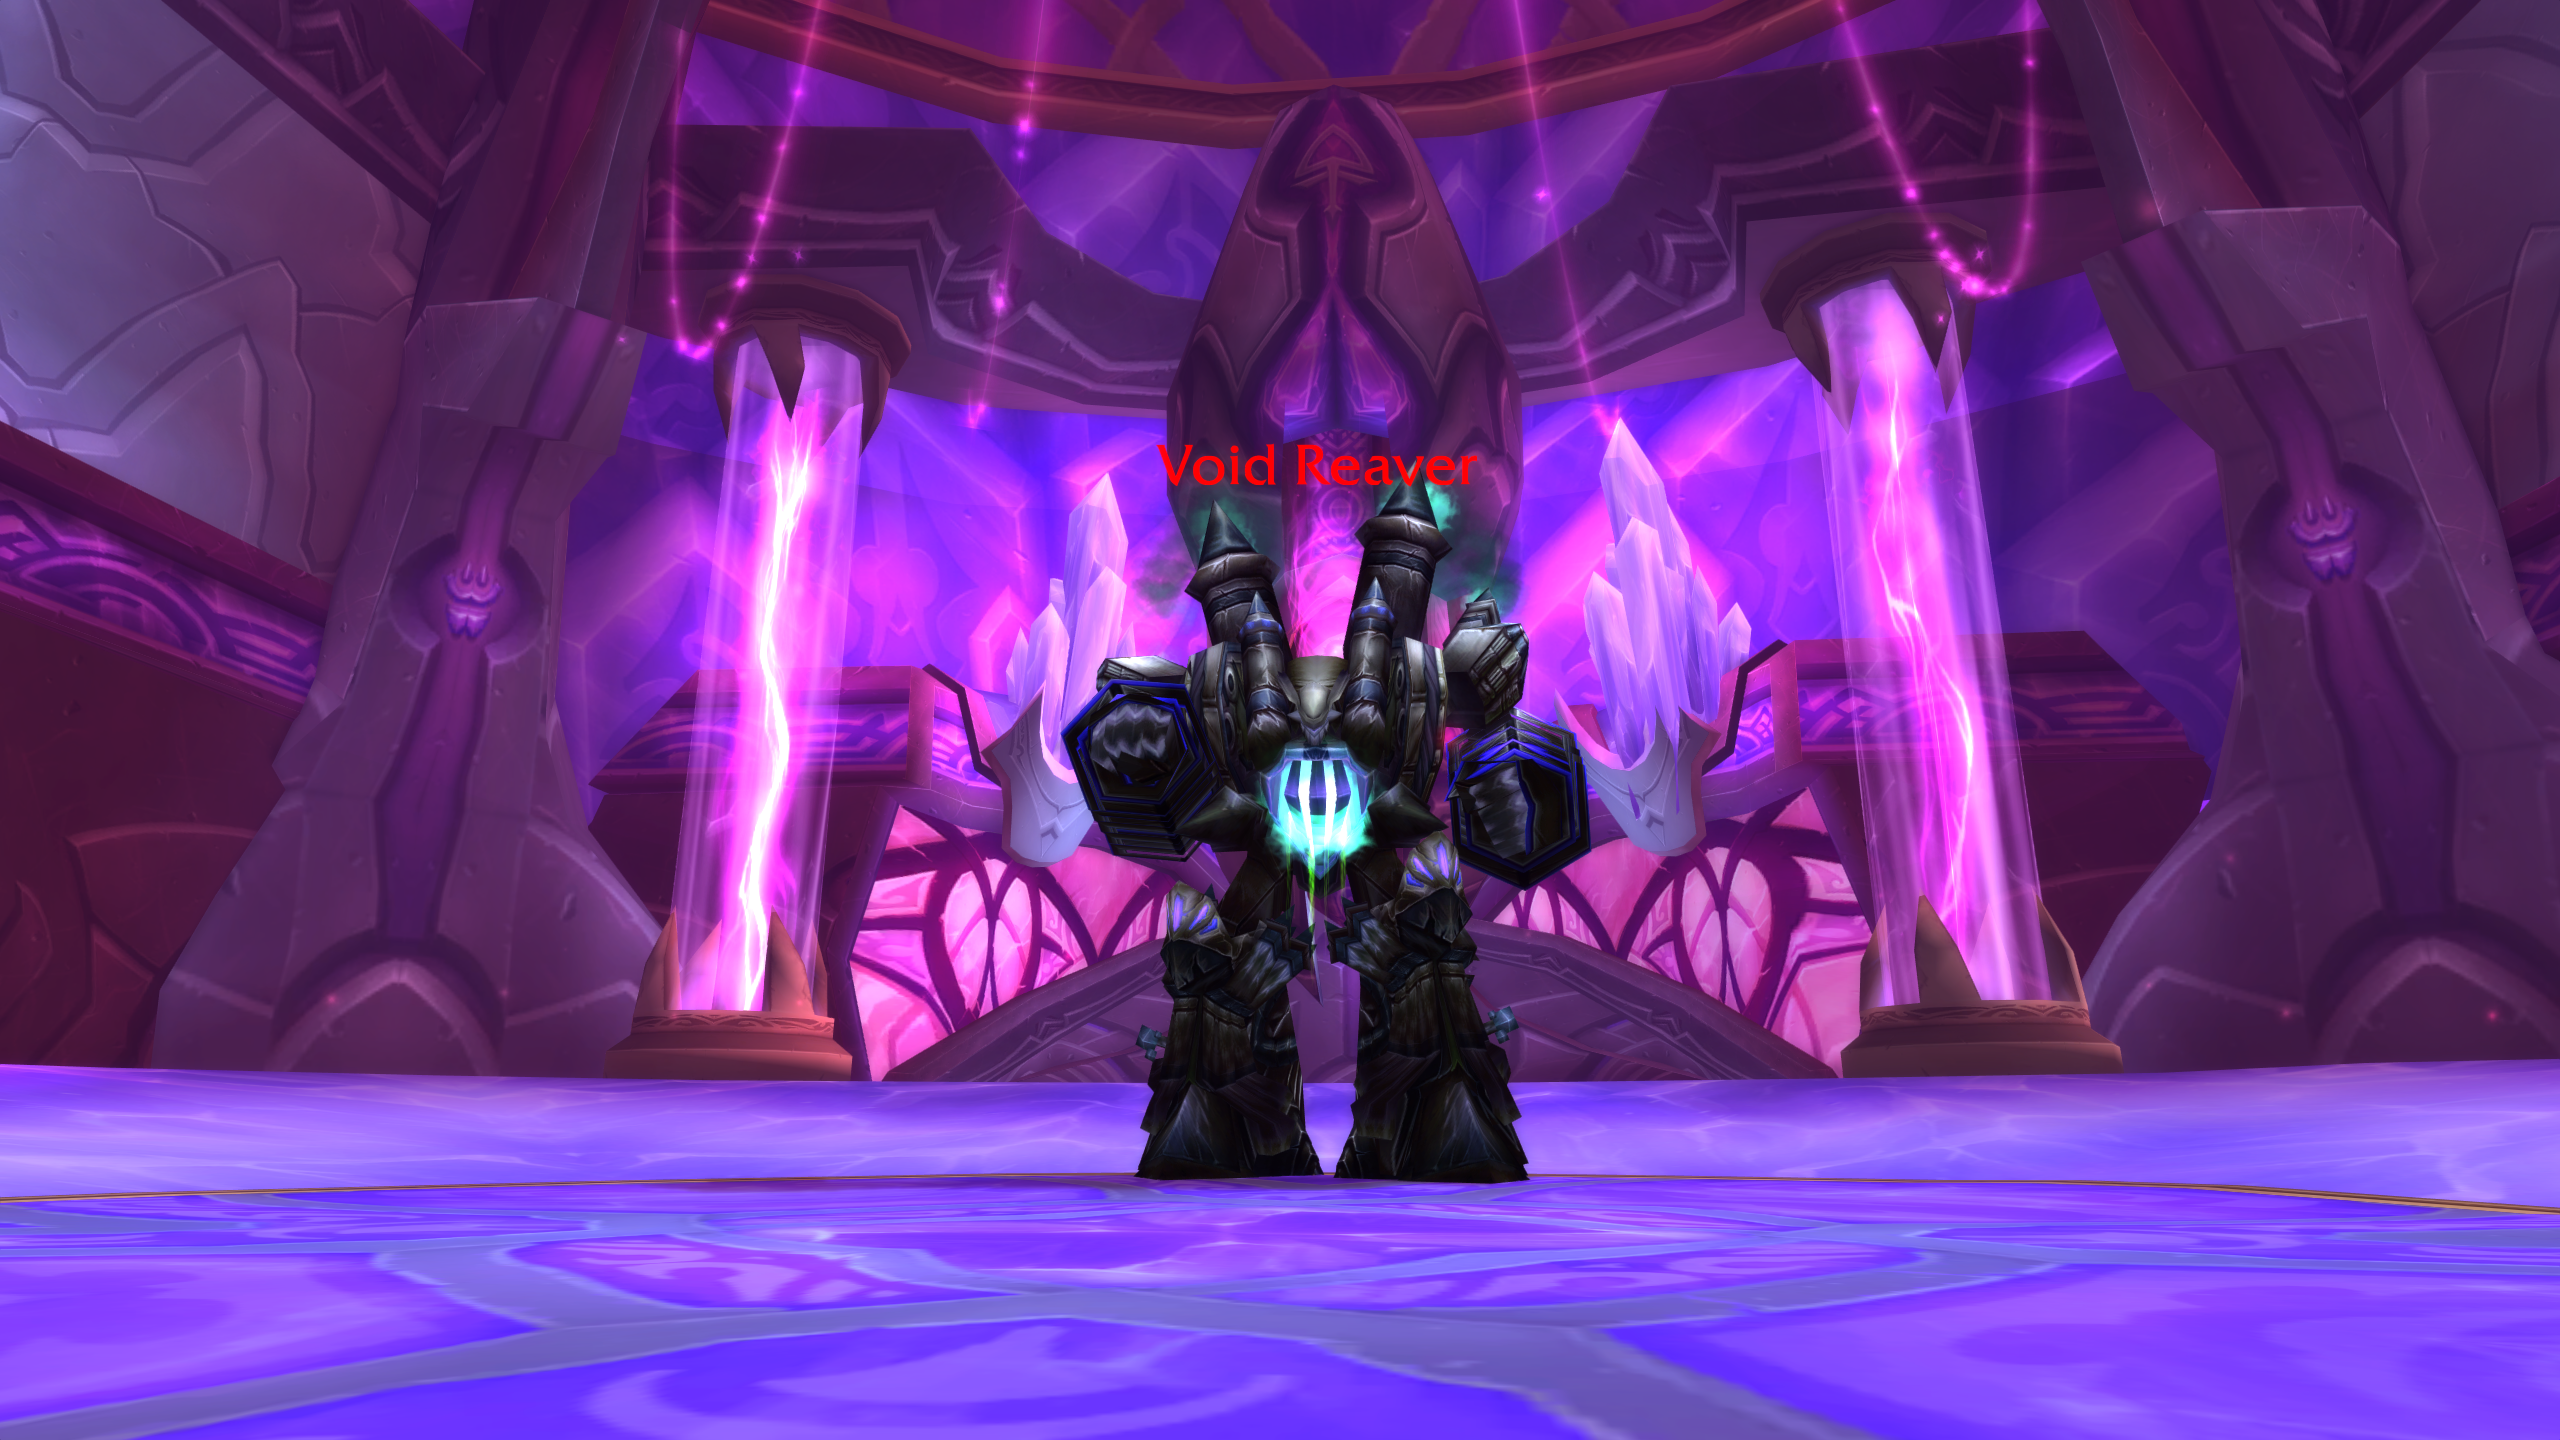
Void Reaver is one of the simplest encounters in The Eye, but it can still punish sloppy aggro control. The fight has only one phase, no add waves, and no major transition, so the whole fight comes down to three things: tanks staying ahead on aggro, healers covering repeated raid damage, and ranged players handling Arcane Orbs correctly.
The boss should be tanked in the center of the room. This gives everyone enough space to move and makes Arcane Orb easier to manage. Void Reaver is also immune to taunt, so tanks cannot quickly fix a bad aggro situation. Because of that, multiple tanks need to build aggro from the start and stay near the top for the entire fight.
Here’s a quick look at the boss's abilities:
|
Ability |
Description |
|
Fires a slow orb at a random player outside melee range. The impact deals Arcane damage and silences anyone hit. |
|
|
Repeated AoE Arcane damage around the boss. Melee and anyone stacked near the boss need steady healing. |
|
|
Knocks back the player highest on aggro and reduces their aggro. Void Reaver cannot be taunted. |
|
|
Hard enrage after 10 minutes, greatly increasing damage and attack speed. |
All tanks should keep aggro on the boss, because once the Void Reaver casts Knock Away, a targeted player loses aggro. If the other tanks still have aggro on him, the damage dealers won’t be at risk.
Arcane Orb is the main ranged mechanic. Void Reaver launches a slow-moving orb at a random player outside melee range. The orb has travel time, so it is not hard to dodge, but players still need to react. Anyone hit takes Arcane damage and gets silenced for 6 seconds, which is especially bad for healers. That’s all there is to this boss fight.
Browse our hottest TBC Anniversary Boosting services


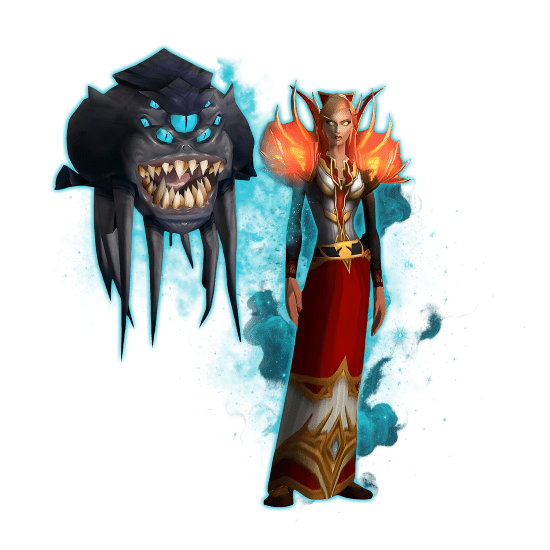


High Astromancer Solarian Strategy
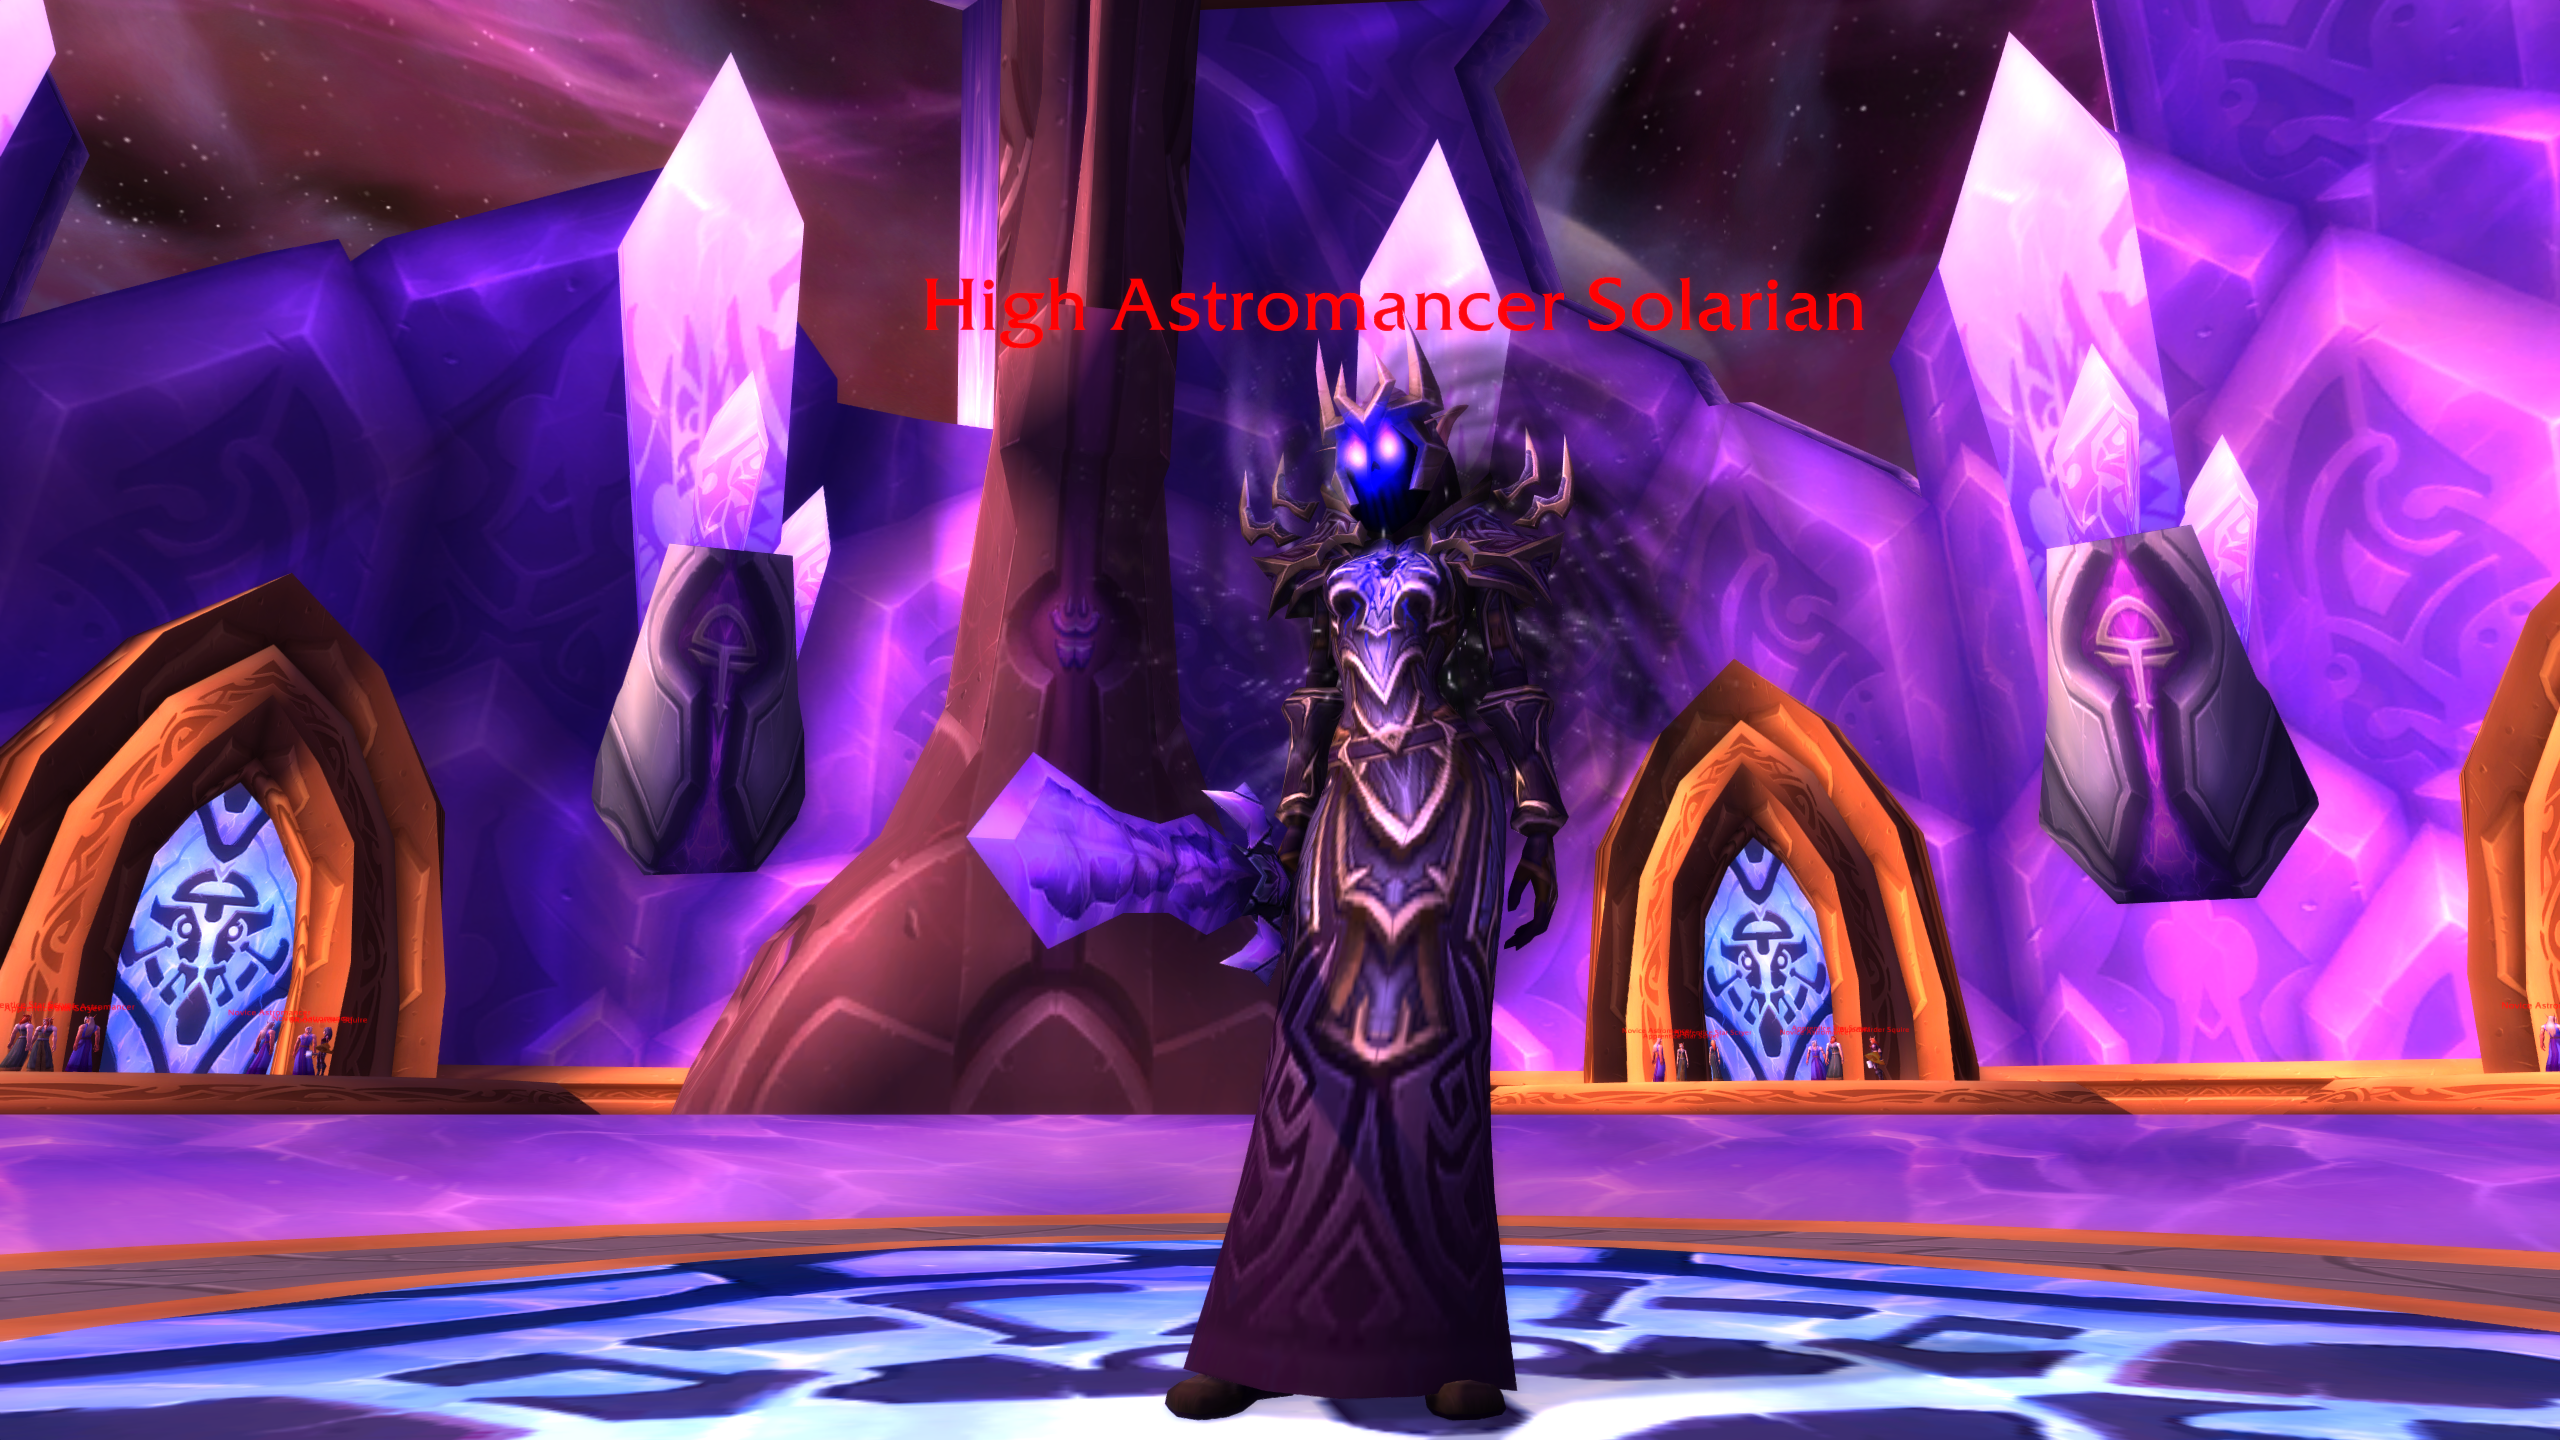
So, before I begin, it’s a good idea to get an increased arcane resistance (ideally around 300) for this boss fight. Just trust me. Anyway, throughout the whole fight, there’s only one interesting mechanic that you need to learn: Wrath of the Astromancer. When a player gets this debuff, they need to leave the fight quickly before it expires. If they stay stacked, nearby players can get launched and take heavy damage with them. The rest of the fight is much easier once everyone understands that one rule.
Here’s a quick look at the main abilities used during the encounter:
|
Enemy |
Ability |
Description |
|
High Astromancer Solarian |
Stacking debuff that reduces Arcane Resistance. This makes later Arcane damage more dangerous. |
|
|
Debuff on a random player. The targeted player must move away from the raid before it expires. |
||
|
Raidwide Arcane damage used throughout the fight. |
||
|
Channels heavy Arcane damage into a random player. This cannot be interrupted. |
||
|
Solarian Portals |
Makes the boss disappear and summons waves of Solarium Agents. |
|
|
At 20% health, Solarian turns into a large Voidwalker. |
||
|
Add Wave |
Non-elite adds that spawn during the portal phase and should be gathered for AoE. |
|
|
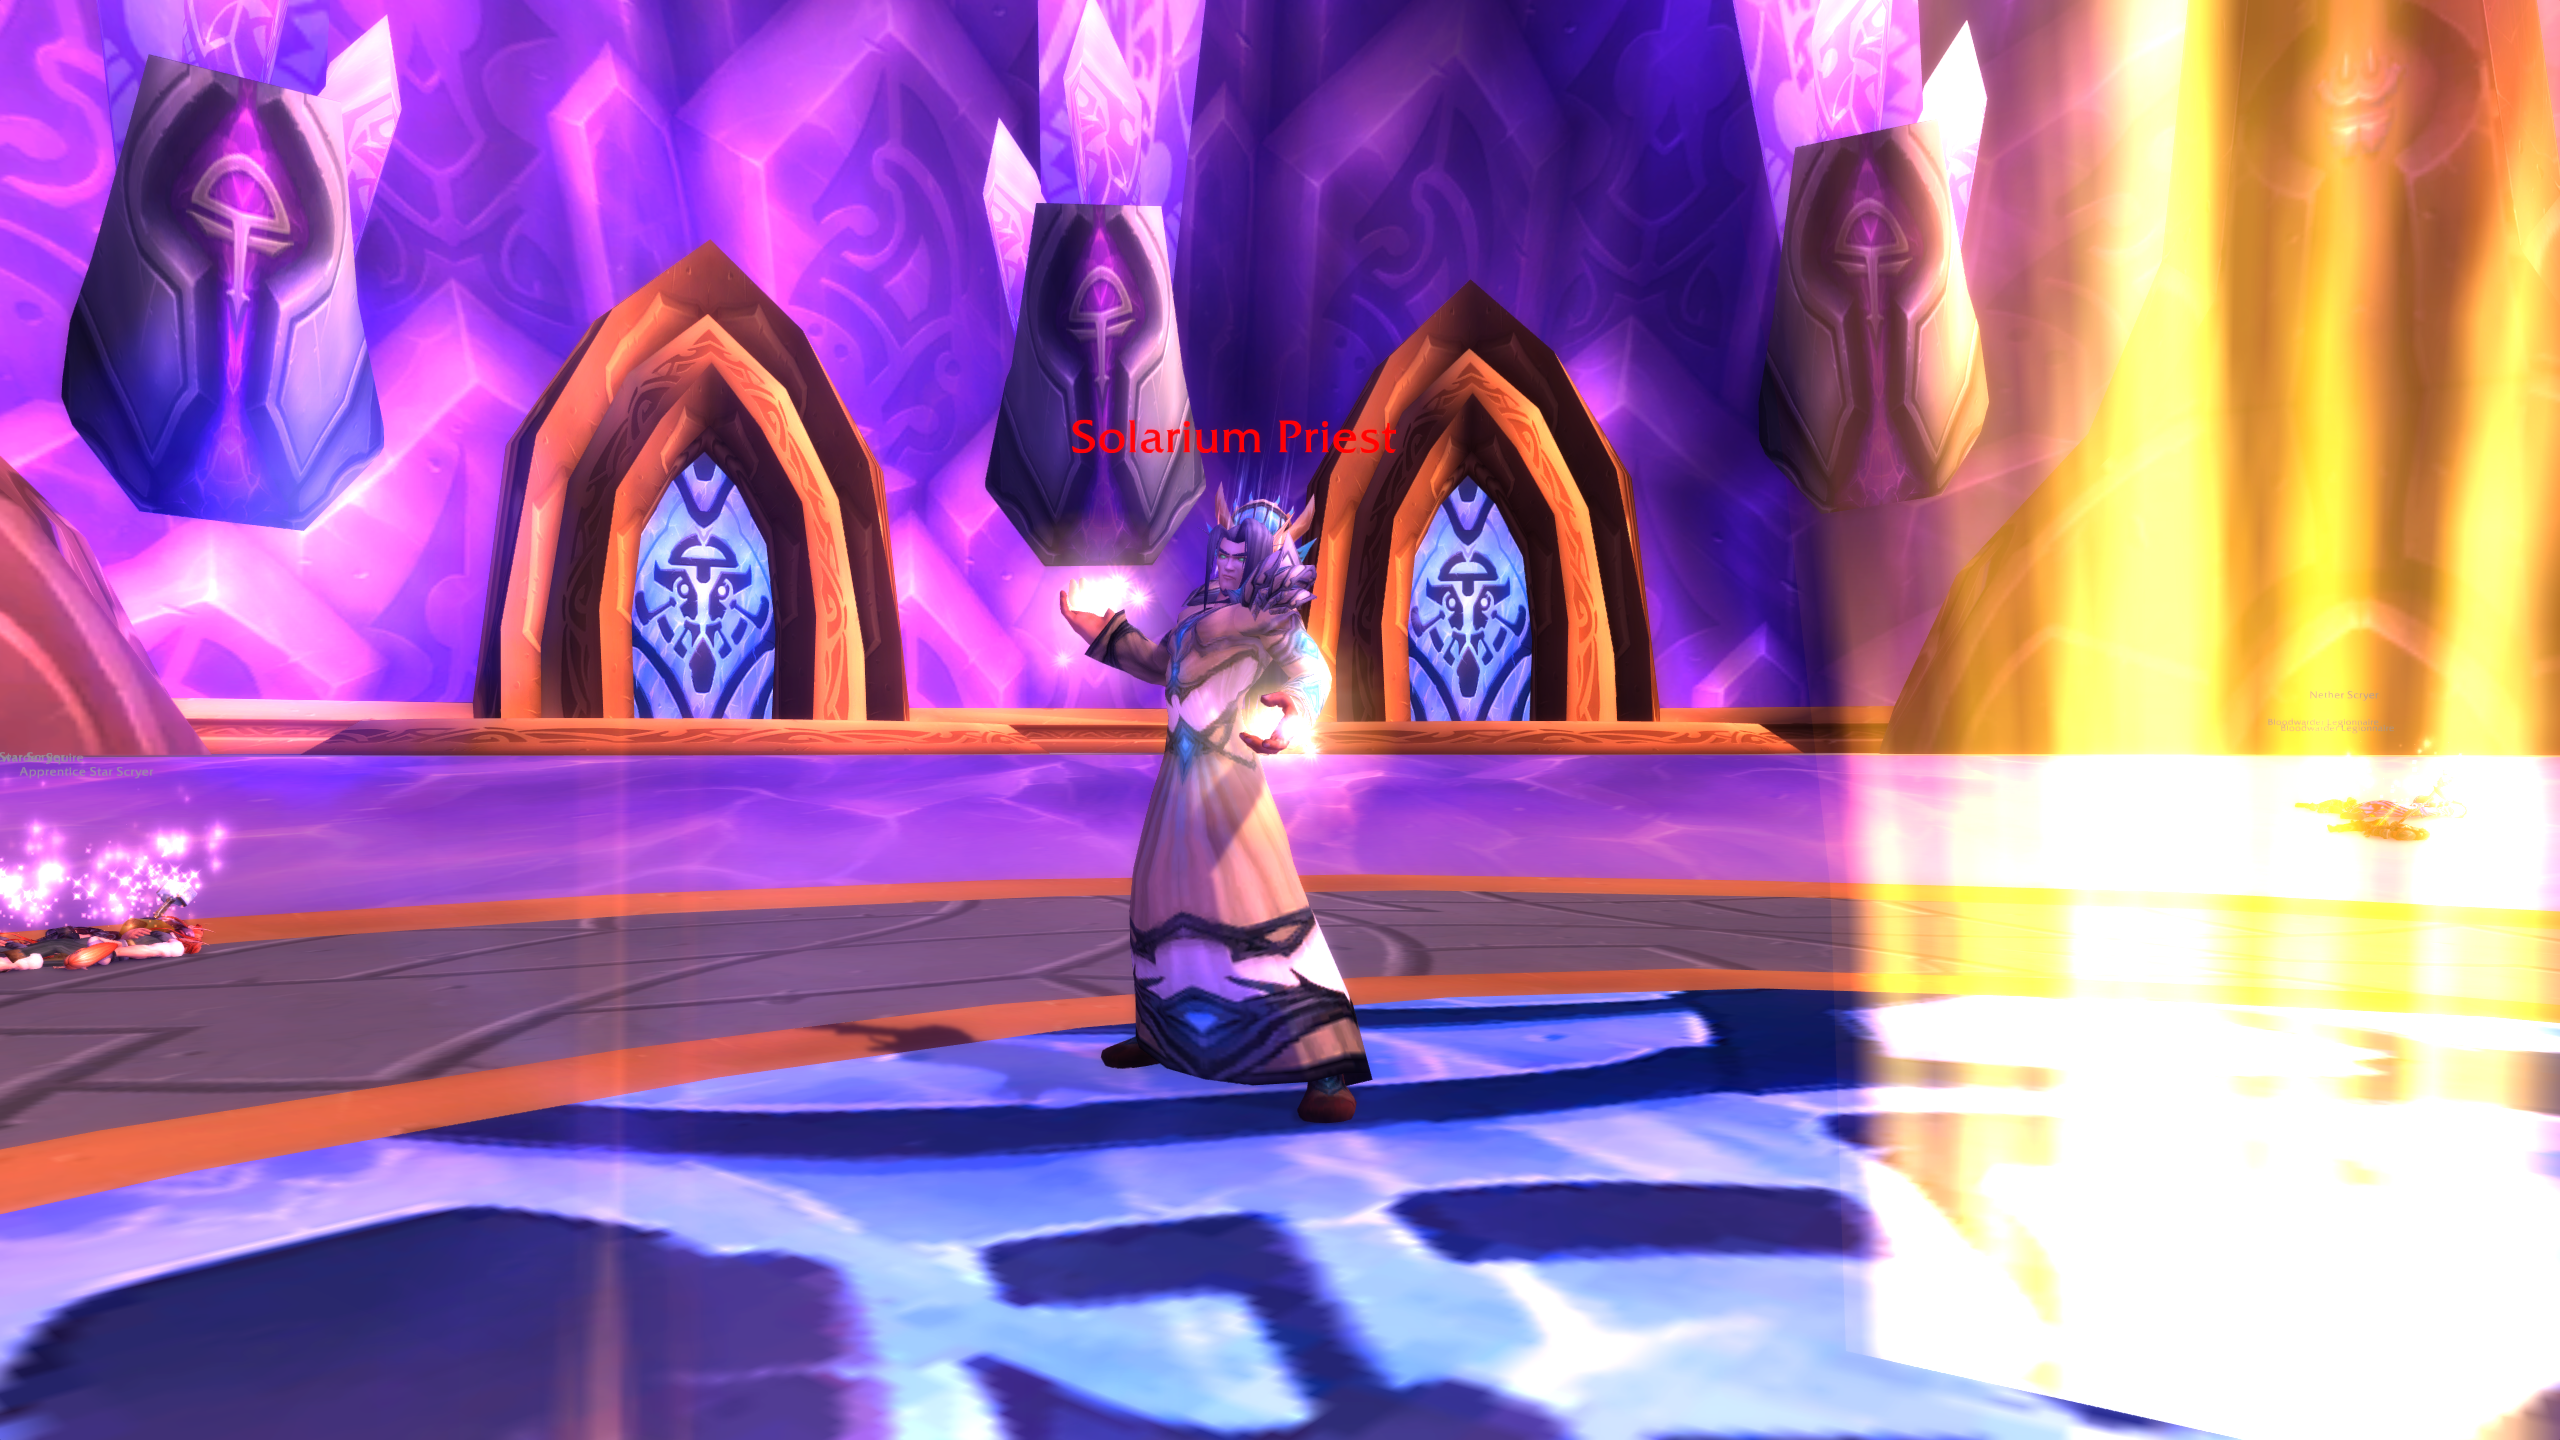
Holy Smite |
Elite priests that spawn when Solarian returns. They should be stunned, interrupted, and killed quickly. |
|
|
Voidwalker Form |
Heavy Arcane damage on the tank during the final phase. |
|
|
Fear effect used during the final phase. Fear Ward and Tremor Totem help control it. |
Phase 1: Arcane Phase
At the start of the fight, the raid should stack together near the boss. This makes it easier to see who gets Wrath of the Astromancer. You can use Bloodlust early here, since this is one of the best damage windows in the fight.
Solarian will cast Arcane Missiles on random players during this phase. Since the boss ignores normal aggro here, tanks do not need to build aggro on her yet. Healers should watch Solarian’s target frame and quickly heal whoever gets Arcane Missiles. A Power Word: Shield, Renew, or fast direct heal can save someone who gets hit at a bad time.
Blinding Light also deals raidwide Arcane damage every so often. This is usually not deadly by itself, but it becomes dangerous when combined with Arcane Missiles. That’s where increased Arcane Resistance really comes in handy.
So, back to the Wrath of the Astromancer. The targeted player turns blue and gets a short debuff, having to move at least 10 yards away from the raid before it expires. The debuff increases the Arcane damage dealt to the player, and after a 6-second delay, this debuff is transferred to another player. Also, when that timer expires, the targeted player gets knocked up into the air and takes heavy arcane damage. Nearby players get up in the air too and can die from fall damage. So, it’s not just about transferring a debuff that makes you take more arcane damage.
That’s why the player with Wrath should immediately separate themselves from the rest of the group, survive the hit, then return after the effect is over. If they are low health while being launched, they should use a Healthstone or other defensive tool. The raid should not chase the marked player unless your group is using a specific soaker plan.
After about 50 seconds, Solarian disappears, and the portal phase begins.
Phase 2: Portal Phase
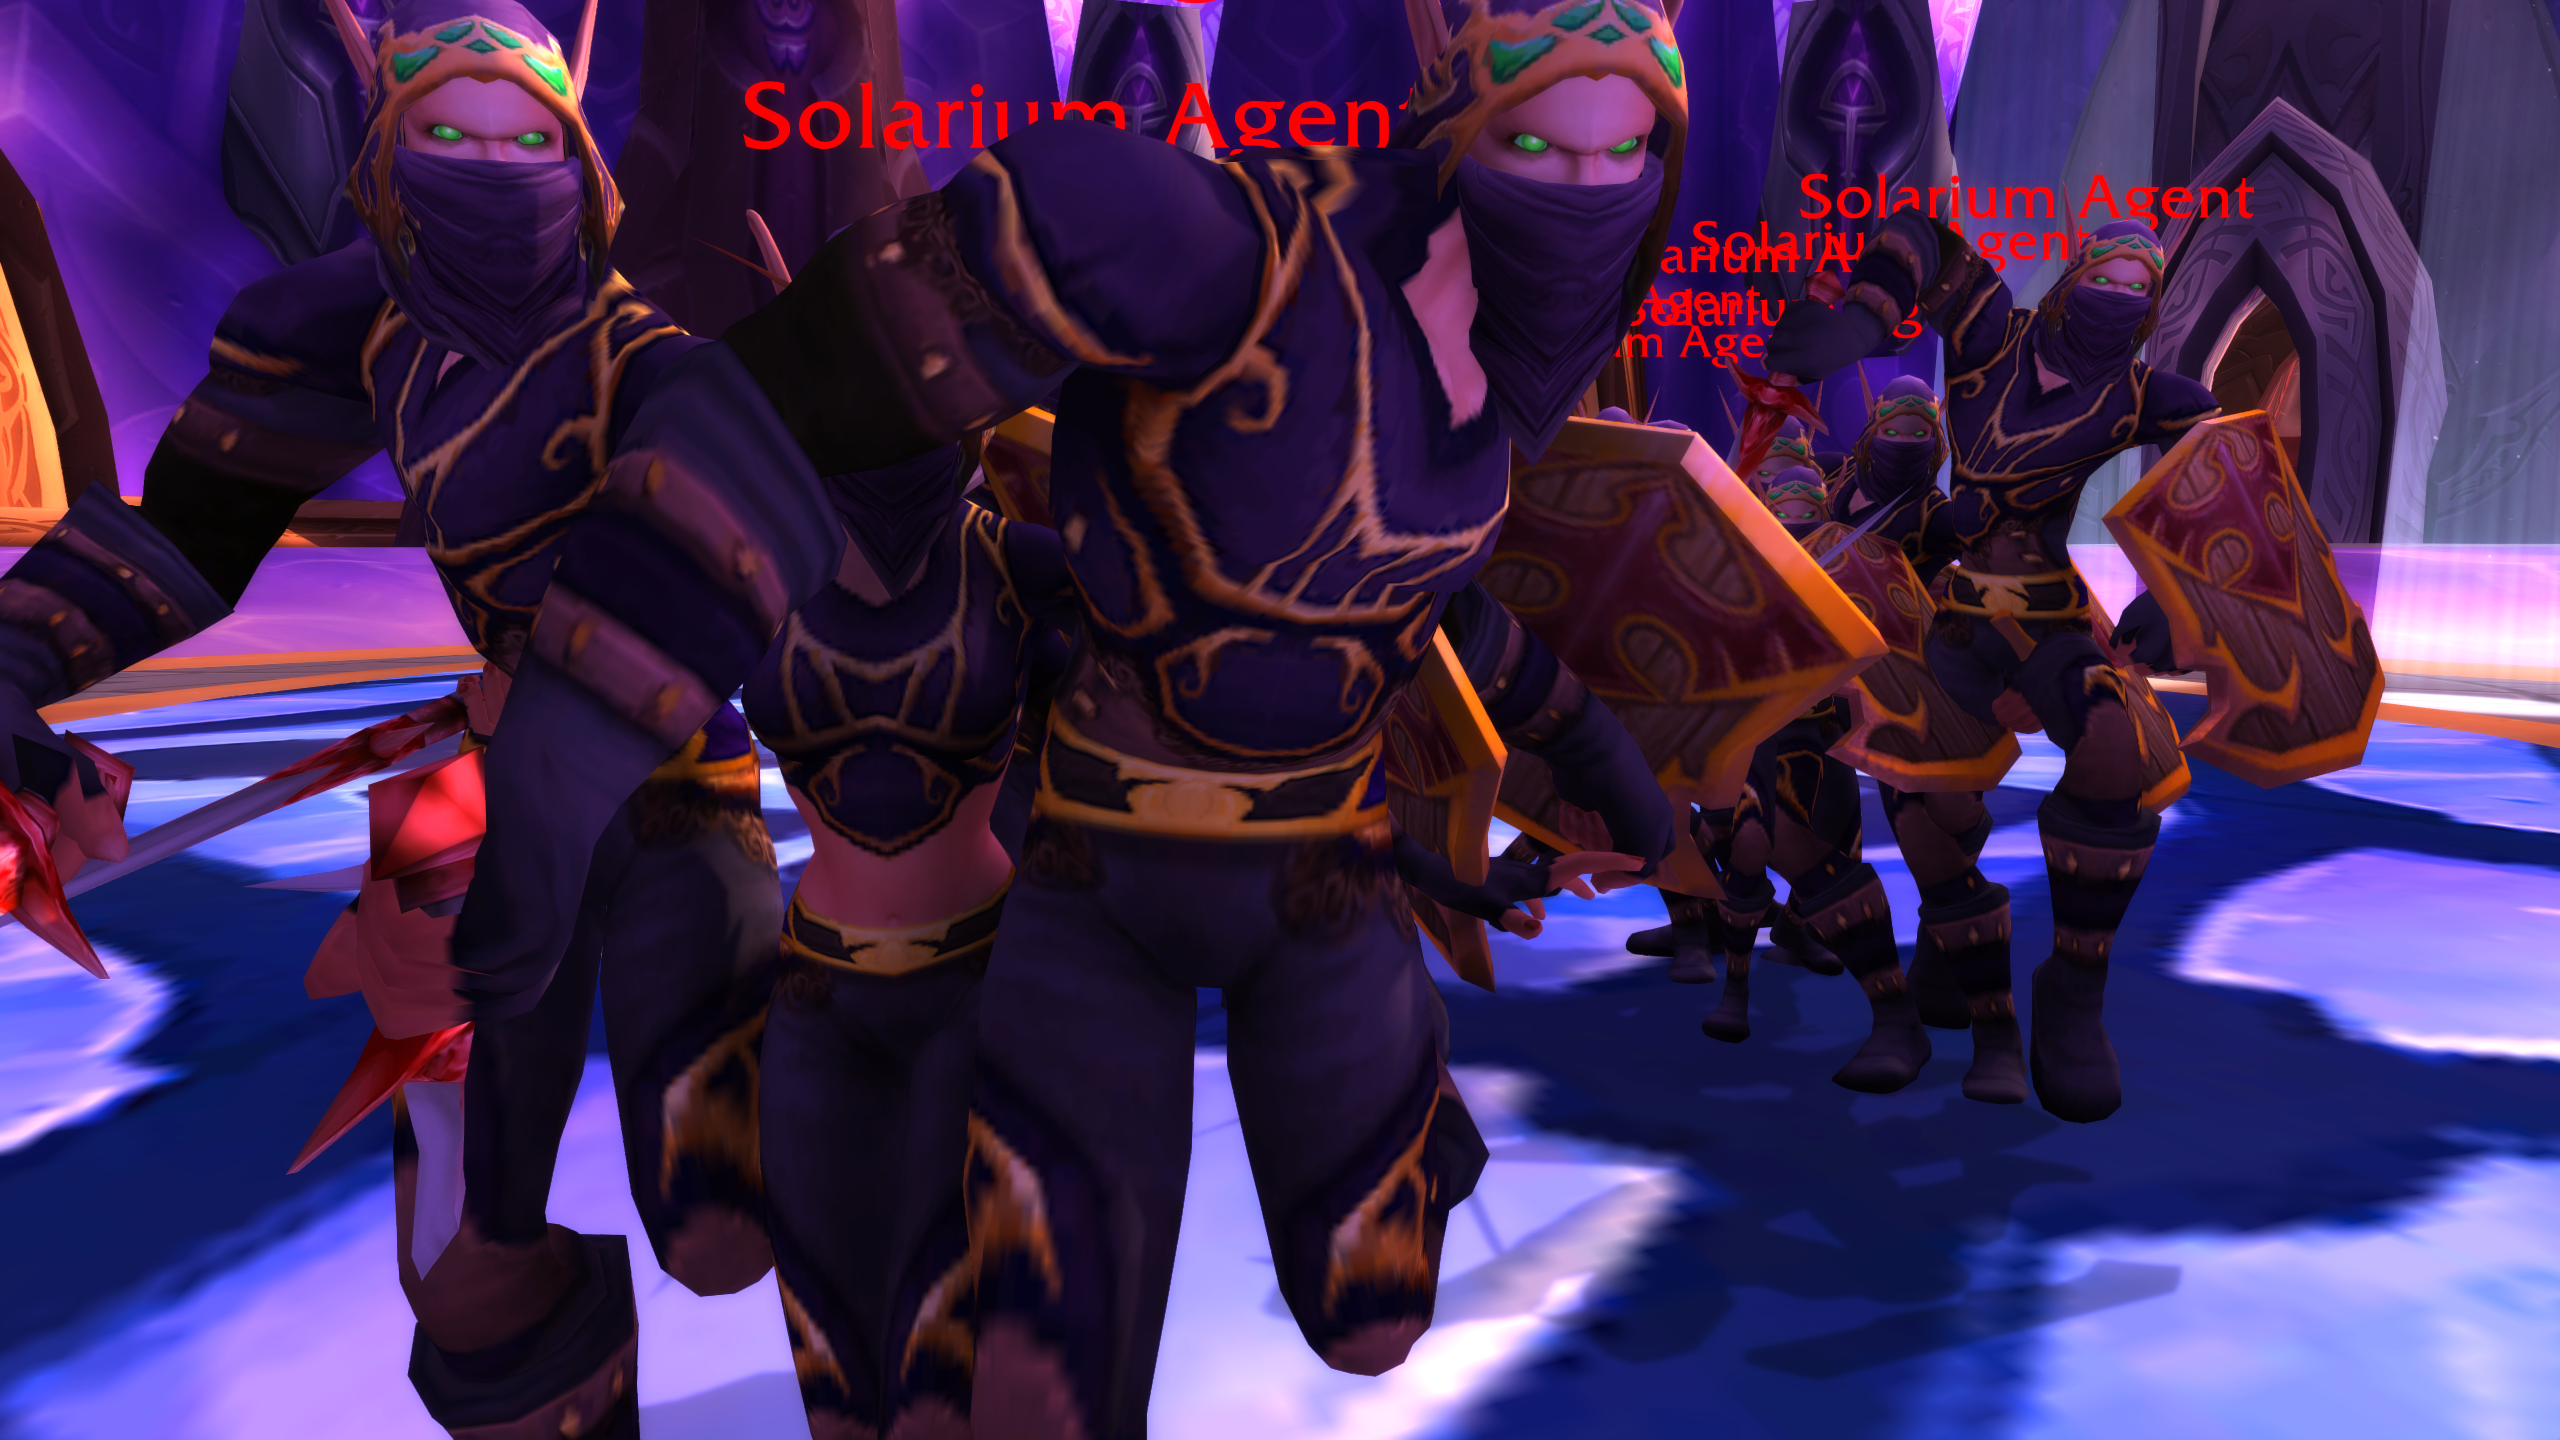
When Solarian disappears, beams of light appear around the room, and Solarium Agents start spawning. These adds are not elite, so the goal is to gather them quickly and AoE them down before the next part begins.
After the first add wave, Solarian returns with two Solarium Priests. These are the important adds in the phase. They can be stunned and interrupted, so melee should switch to them right away. Bring them near the boss if possible, interrupt their casts, and kill them before going back to Solarian.
Once the priests are dead, the fight returns to the Arcane phase. The same rules apply again: heal Arcane Missiles, survive Blinding Light, and move out fast with Wrath of the Astromancer.
Phase 3: Voidwalker Phase
At 20% health, Solarian transforms into a large Voidwalker. This is the easiest part of the encounter if enough players are still alive. From this point on, the fight becomes much closer to a normal tank and damage phase.
The tank should aggro the boss immediately. The main things to watch are Arcane Bolt and Psychic Scream. Arcane Bolt hits the tank hard, so healers should focus on tank healing, obviously. Psychic Scream can fear nearby players, which is dangerous if the tank gets feared.
Priests should keep Fear Ward on the tank if available, and Shamans should keep Tremor Totem down for melee groups. Once the fear is controlled, there is not much else happening in this phase.
The fight is mostly decided before this point. If the raid handled Wrath properly, killed Agents cleanly, and interrupted the Priests, the Voidwalker phase should be a simple finish.
Kael'thas Sunstrider Strategy
Kael’thas is the final boss of The Eye and easily the most complex fight in the raid. The encounter has five phases and starts before you even fight Kael’thas himself. First, the raid kills his four advisors one by one. Then, you kill the legendary weapons, loot them, fight all advisors at the same time, and only then start fighting Kael’thas directly.
Here’s a quick look at the main enemies and abilities used during the encounter:
|
Enemy |
Ability |
Description |
|
Gaze / Fixate |
Follows a random player instead of using normal aggro. The targeted player must run away. |
|
|
Long-range knockback that can kill players who let him get too close. |
||
|
Silences players near him. Stay away from him whenever possible. |
||
|
AoE fear around the boss. Fear Ward, Tremor Totem, or fear immunity helps the tank. |
||
|
Can trigger extra melee attacks. |
||
|
Hits the player with the highest aggro. Usually handled by a Warlock tank. |
||
|
Damages and knocks back players in melee range. No one should stand near her. |
||
|
Disorients and damages a random player within 30 yards and nearby allies. Stay spread and at max range. |
||
|
Fire damage around the target. Players near Telonicus should stay spread. |
||
|
Random stun debuff. Staff of Disintegration can remove or prevent the problem later. |
||
|
Heavy Fire damage cast on the tank. Usually interrupted for safety. |
||
|
Large ground effect. Move out before it explodes. |
||
|
Summon Phoenix |
Summons a Phoenix that damages itself and nearby players, then turns into an egg on death. |
|
|
Must be killed quickly, or the Phoenix respawns. |
||
|
Absorb shield that prevents interrupts while active. Burn it down quickly. |
||
|
Massive Fire cast after Shock Barrier. The tank uses Phaseshift Bulwark for the first one. |
||
|
Raidwide Arcane damage and disorient effect. Staff of Disintegration helps counter it. |
||
|
Controls several raid members. Infinity Blade can break the effect with weapon attacks. |
||
|
Phase 5 ability that launches the raid into the air and allows flying. |
||
|
Arcane beam that chains to nearby players. Spread out while flying. |
||
|
Dark clouds that reduce maximum health. Avoid them during Gravity Lapse. |
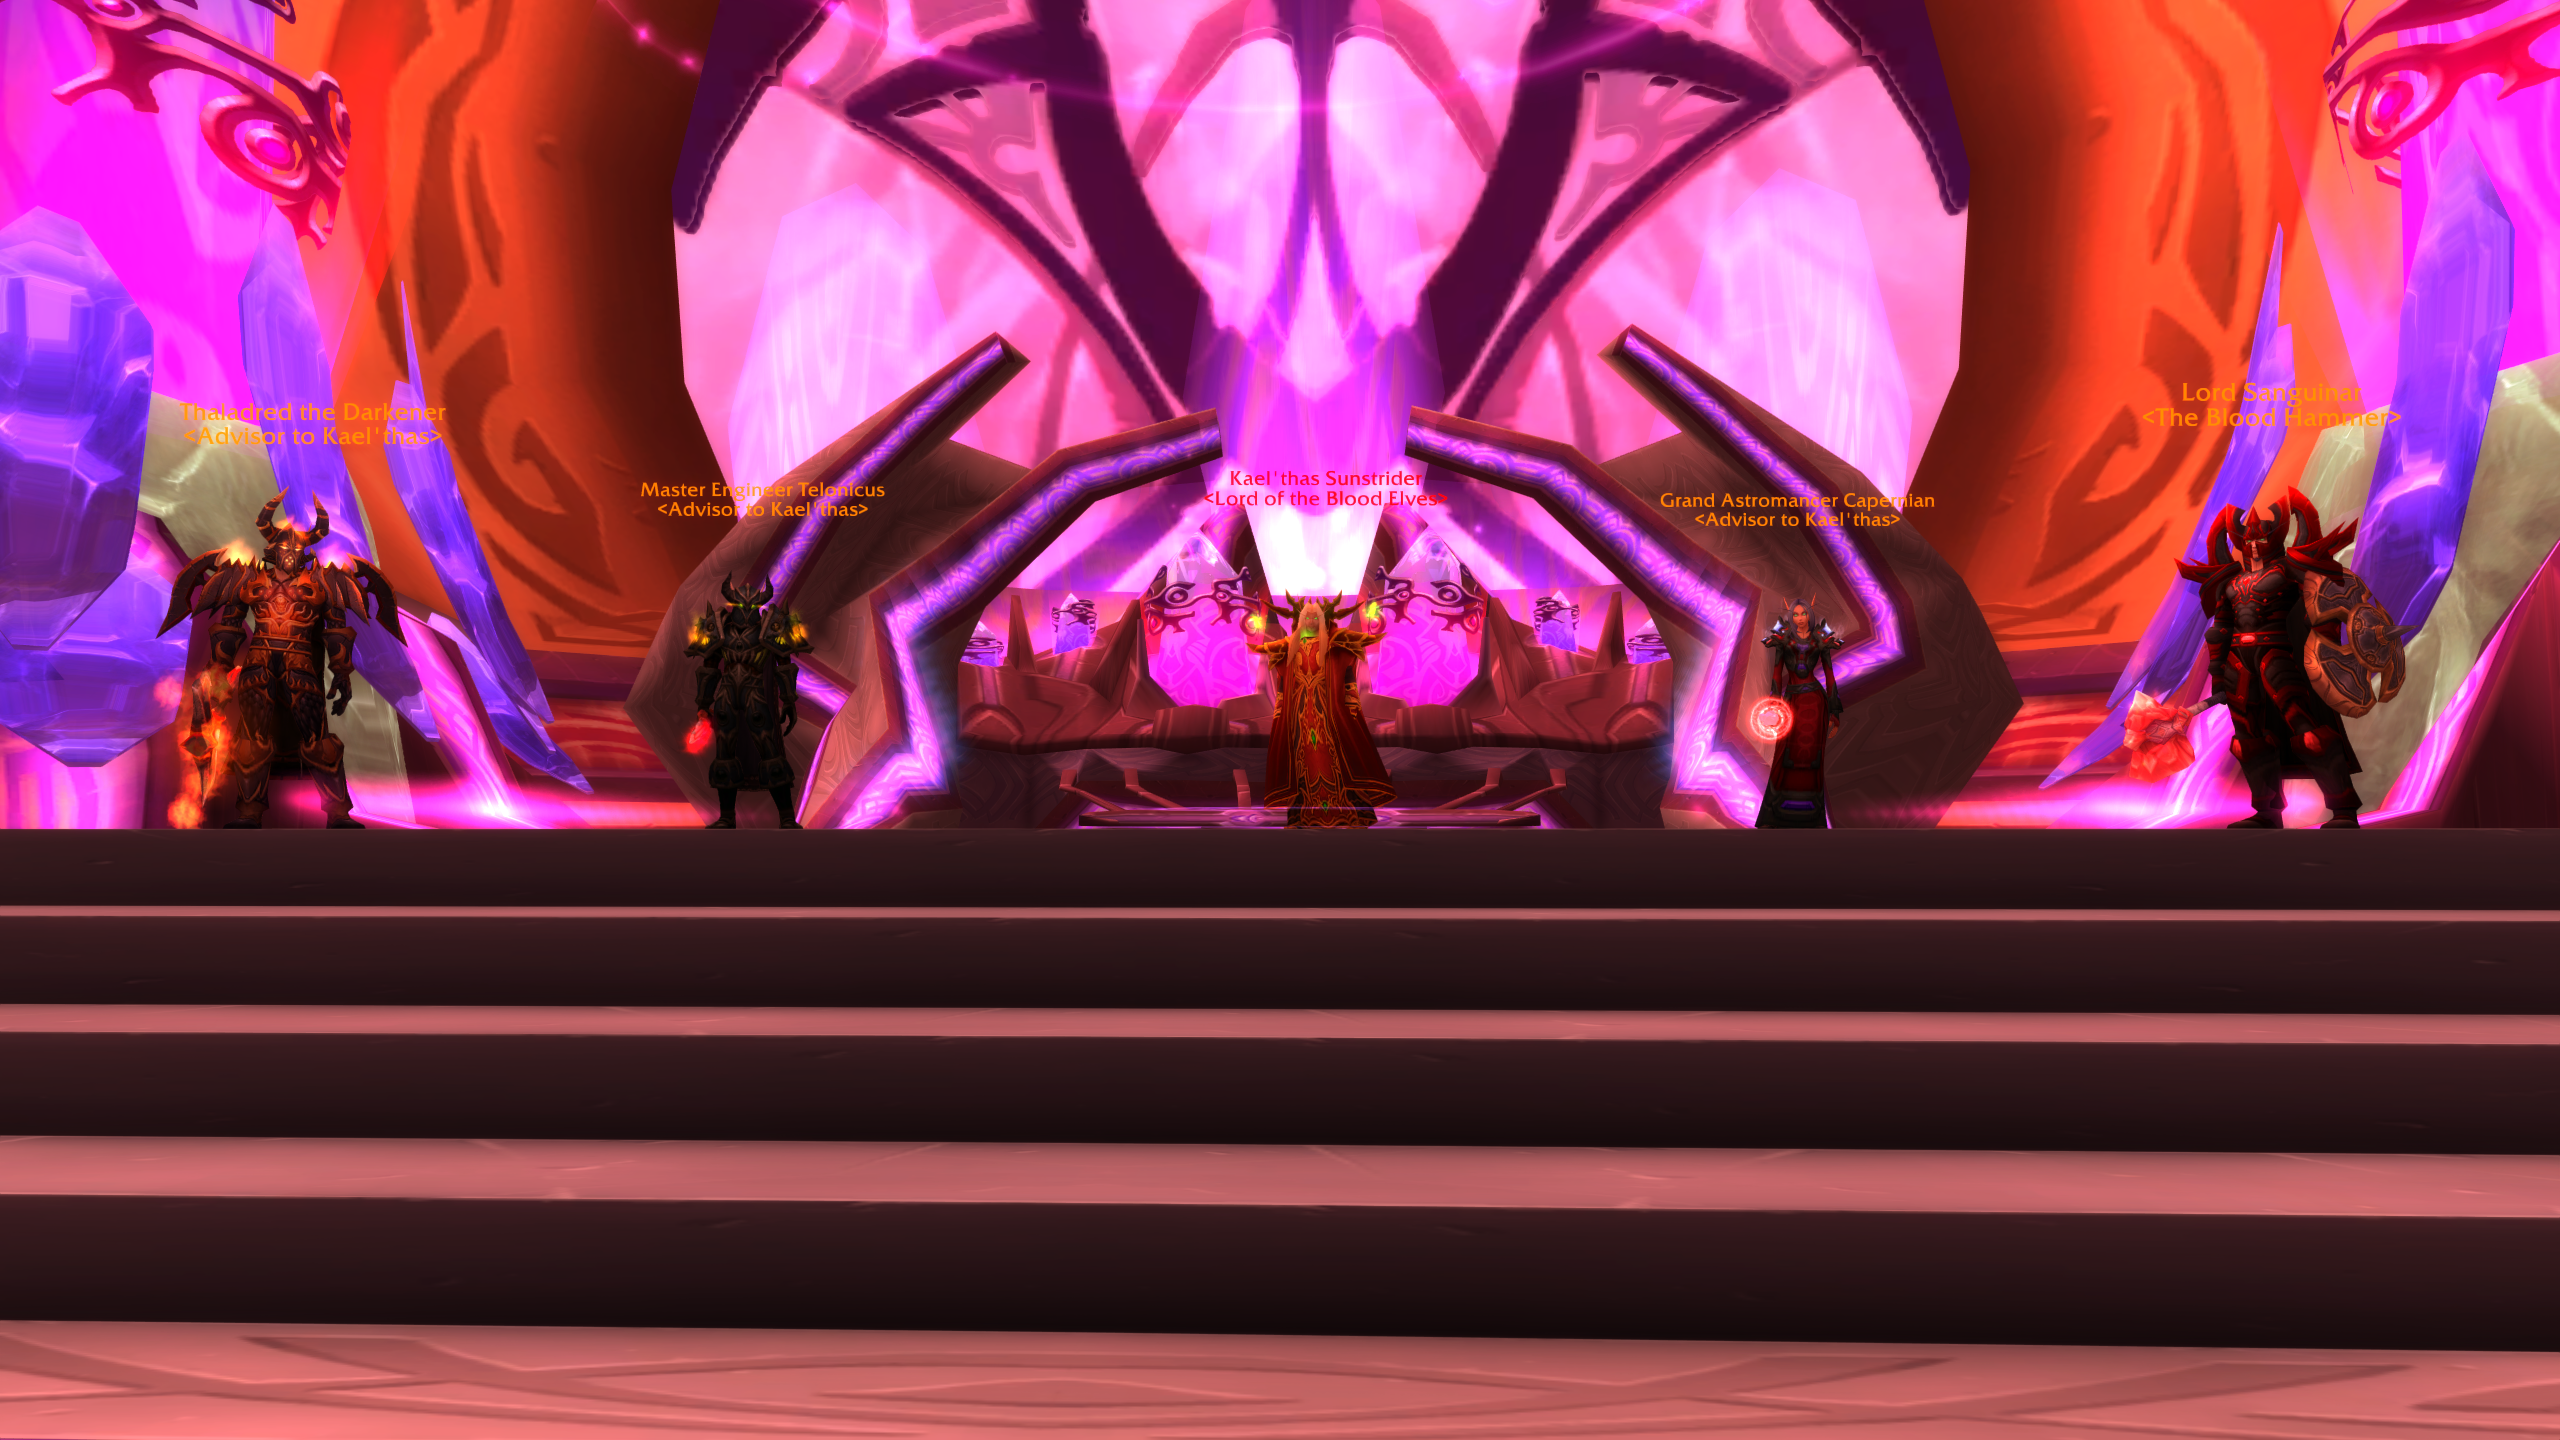
Phase 1: Advisors
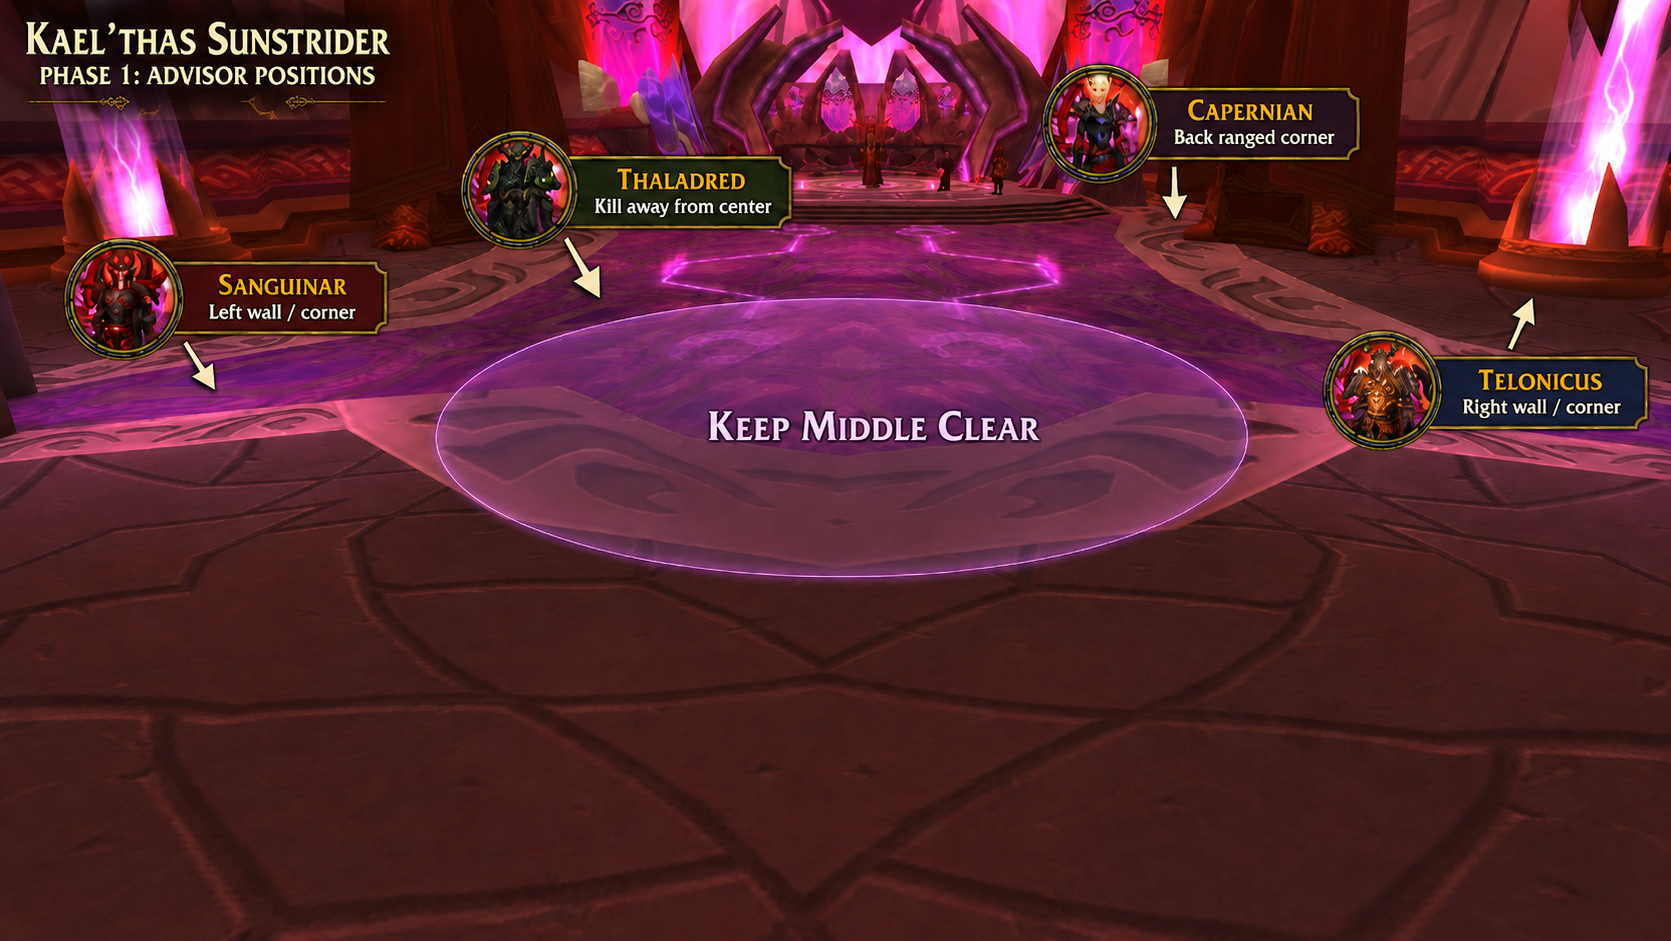
The fight starts with Kael’thas sending out his advisors one at a time. The location where each advisor dies is super important because they will resurrect in the same spots during Phase 3. If the advisors die in bad places, Phase 3 becomes much harder to control.
Thaladred the Darkener comes first. He does not use a normal aggro table and instead targets random players. The targeted player must run away from him immediately. Melee should usually stay off this advisor because getting targeted while standing close can lead to a quick death. Ranged should kill him while staying away from the middle of the room if possible.
Lord Sanguinar comes next and should be tanked near a side wall or corner. His main mechanic is Bellowing Roar, a 30-yard fear around him. The tank should use Fear Ward, Tremor Totem, Berserker Rage, or another answer to avoid losing control. Kill him in a clean side position so he is easier to pick up when he resurrects.
Grand Astromancer Capernian is usually tanked by a Warlock using Searing Pain. No one should stand in melee range of her because Arcane Burst will punish anyone too close. Players also need to stay at least 30 yards away if possible, since Conflagration can disorient the target and splash nearby players. Melee should not attack her and should wait for the next advisor.
Master Engineer Telonicus is the final advisor. He should die on the opposite side from Lord Sanguinar, giving the raid more room in Phase 3. His Bomb deals heavy Fire damage around the target, so players near him should not stack too tightly. Remote Toy can also stun random players, which becomes more annoying if it lands on a tank near a transition.
The top-down view you see in the image is meant to give you an idea of where each advisor should die. Yes, I’m aware that the shape of the arena is different, but the positions are the same.
Phase 2: Legendary Weapons
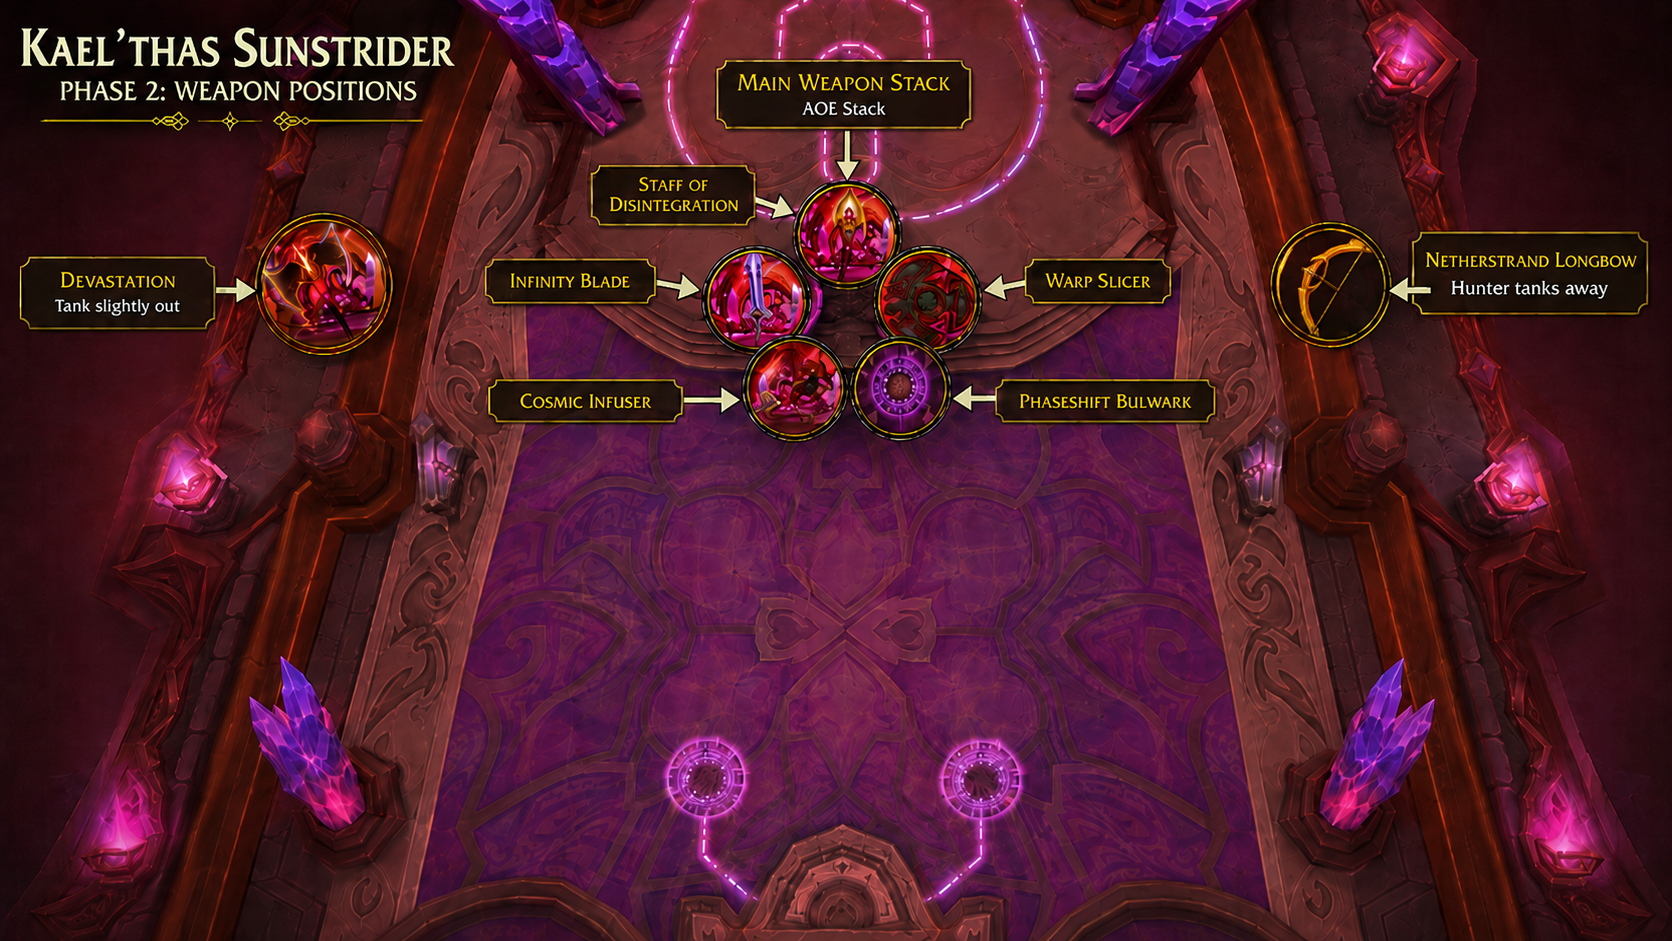
After all four advisors die, Kael’thas summons seven legendary weapons. These weapons are enemies first, but once they die, players will need to loot temporary legendary versions from the ground. These weapons are not optional. They are used to counter several important mechanics later in the fight.
The weapon phase can get tricky if you just decide to group them up and use AoE on these weapons. Devastation, the two-handed axe, should be tanked slightly away from the raid because its Whirlwind is too dangerous for melee DPS players. The Netherstrand Longbow should be handled by a Hunter or ranged player and faced away from the raid because of Multi-Shot. The remaining weapons can be gathered together and burned with AoE.
Once the weapons die, players need to loot the correct ones quickly. Here’s what attacks those weapons have:
|
Weapon |
Who Wants It |
Why It Matters |
|
Casters and useful support players |
Helps protect against control effects, including dangerous disorient and stun mechanics. |
|
|
Healers |
Healing a player gives them a buff that reduces Fire and Shadow damage taken. This is huge for the tank. |
|
|
Melee and Hunters |
Weapon attacks can break Mind Control during the Kael’thas phase. |
|
|
Main tank |
On-use shield absorbs massive damage and is used for Pyroblast. |
|
|
Hunters |
Increases physical damage taken by the target. |
|
|
Two-handed melee users |
Strong damage weapon. |
|
|
One-handed melee users |
Strong melee option with attack and movement speed value. |
There should be enough time to take the right positions and lead the two weapons away from the rest.
Phase 3: All Advisors
In Phase 3, all four advisors resurrect at their Phase 1 death spots. This is one of the most chaotic parts of the fight, especially during the first few seconds. Tanks need to be in position before the phase begins, healers need assignments, and the raid needs a clear kill order.
- Thaladred is usually the first priority for ranged players because he causes the most disruption. He will keep targeting random players, and anyone targeted must run away. Do not stand near him, since his silence and knockback can create extra problems.
- Lord Sanguinar should be picked up by the main tank or another assigned tank. Fear control is still important here. The tank needs Fear Ward, Tremor Totem, Berserker Rage, or another answer so he does not run loose.
- Capernian should again be handled by the Warlock tank at range. Everyone else must respect her range rules. Do not run close to her, and do not bring Conflagration into the raid. Healers assigned to the Warlock tank should also stay at max range.
- Telonicus should be held by an off-tank away from the other targets. Melee can usually focus Sanguinar first, then Telonicus, since they should not be near Thaladred or Capernian. Ranged can kill Thaladred first, then help clean up the other dangerous targets.
This is a good phase for Bloodlust. It is one of the hardest parts of the fight, and using it here also avoids the risk of a Shaman being Mind Controlled later and wasting it on Kael’thas. Once the advisors are dead, Kael’thas enters the fight.
Phase 4: Kael’thas
When Kael’thas becomes active, the main tank picks him up, and the raid starts dealing with his core mechanics. He casts Fireball, Flamestrike, Mind Control, Phoenixes, Shock Barrier, Pyroblast, and Arcane Disruption during this phase.
For a safe progression strategy, interrupt Fireball whenever possible. Some groups allow the tank to eat Fireballs if the Cosmic Infuser buff is maintained, but interrupting is safer for most raids. The important part is that the tank must keep the Cosmic Infuser buff up, because it greatly reduces Fire and Shadow damage taken. Healers should keep refreshing it with heals, even if the tank is already near full health.
Flamestrike is a ground effect with a clear visual. Move out before it explodes. The initial hit is the deadly part, so players need to react quickly and not wait until the fire is already active.
Mind Control affects several raid members. When this happens, the raid should stop careless cleave and control the affected players. Melee or Hunters with Infinity Blade should hit Mind Controlled players with weapon-based attacks to break them out. Warriors can use Hamstring, Hunters can use Wing Clip, and Rogues can use Shiv if they are set up for it. Do not rely only on the blade effect if the controlled player is about to cause trouble; stuns, slows, and crowd control still help.
Phoenixes will spawn during this phase. A tank or ranged player should kite them away from the raid, since they deal constant Fire damage around themselves. The Phoenix also damages itself over time. When it dies, it leaves an egg that must be killed quickly, or the Phoenix respawns at full health.
In most cases, you’re going to want to kill the Phoenix Eggs as soon as they appear. If an egg is up during Shock Barrier into Pyroblast, the raid must prioritize breaking the barrier and stopping Pyroblast first. A live Phoenix is annoying. A dead main tank usually ends the attempt.
The most dangerous sequence in this phase is Shock Barrier into Pyroblast. Kael’thas puts a shield on himself, making him immune to interrupts while the shield is active. Then he starts casting Pyroblast. The main tank should use Phaseshift Bulwark to absorb the first Pyroblast while the raid burns through the shield.
Once the Shock Barrier breaks, the next Pyroblast must be interrupted. If the raid breaks the shield quickly and lands the interrupt, Kael’thas stops that Pyroblast combo and moves on. If the shield stays up too long, the tank may be forced to eat more Pyroblasts, which is extremely risky.
Arcane Disruption can disorient the raid. Staff of Disintegration helps prevent this from ruining the attempt, so casters using the staff should keep the protection active. This is especially important for the tank, because a disoriented tank can lose control of Kael’thas at the worst possible time.
Phase 5: True Power
At 50% health, Kael’thas begins the final phase. He stops using some of the most dangerous Phase 4 mechanics, like Mind Control and Pyroblast, and starts using Gravity Lapse instead.
When Gravity Lapse starts, the entire raid is pulled to Kael’thas and launched into the air. Players can fly for a short time. The first rule is to spread out quickly. Kael’thas casts Netherbeam during this phase, and it will chain between nearby players. If the raid stacks in the air, the beam can bounce through the group and kill everyone.
The second rule is to avoid Nether Vapor. These dark clouds reduce maximum health with a stacking debuff. If someone gets several stacks, they may come out of Gravity Lapse with very low maximum health and die to the next hit.
Do not fly too high. When Gravity Lapse ends, players fall. If you are too high, fall damage will kill you. Staying at a medium height is safer, since touching the ground too early can also bounce you back up and create another fall problem. So, just use flying to slowly come down.
Melee should not damage the boss during Gravity Lapse at all. Staying alive, spreading, and avoiding clouds matter more. Ranged classes can keep some damage going if they are safe, but no one should drift into other players just to keep casting.
After Gravity Lapse ends, the raid returns to a more normal fight pattern similar to the previous phase. The tank still needs the Cosmic Infuser buff before Kael’thas resumes casting Fireball. Staff protection also matters after each air phase, so players with Staff of Disintegration should refresh it before control effects become a problem.
From here, repeat the Gravity Lapse handling until Kael’thas dies.


You got -20% OFF 
The Eye: Tempest Keep Loot
In Tempest Keep, you’re going to get loot up to ilvl 138. Most boss and trash epic quality drops will have an ilvl 128. The tier 5 tokens for the chest and shoulder slots are going to be ilvl 133. The final boss will drop items with an ilvl 138.
The tokens can be exchanged for a piece of tier set at one of two vendors:
- Kelara for the Aldor members at 23.6 32.6
- Veynna Dawnstar for The Scryers members at 43.6 90.4
Both can be found in Shattrath City. Here’s the full loot table that includes all drops from each of the bosses:
|
Item |
Slot |
Type |
Boss |
|
Band of Al'ar |
Finger |
Ring |
Al'ar |
|
Phoenix-Ring of Rebirth |
Finger |
Ring |
Al'ar |
|
Phoenix-Wing Cloak |
Back |
Cloak |
Al'ar |
|
Mindstorm Wristbands |
Wrist |
Cloth Armor |
Al'ar |
|
Gloves of the Searing Grip |
Hands |
Leather Armor |
Al'ar |
|
Fire Crest Breastplate |
Chest |
Mail Armor |
Al'ar |
|
Netherbane |
One-Hand |
One-Handed Axe |
Al'ar |
|
Claw of the Phoenix |
Off Hand |
Fist Weapon |
Al'ar |
|
Talon of the Phoenix |
Main Hand |
Fist Weapon |
Al'ar |
|
Arcanite Steam-Pistol |
Ranged |
Gun |
Al'ar |
|
Talisman of the Sun King |
Held In Off-hand |
Off-hand Frill |
Al'ar |
|
Talon of Al'ar |
Trinket |
Trinket |
Al'ar |
|
Tome of Fiery Redemption |
Trinket |
Trinket |
Al'ar |
|
Pauldrons of the Vanquished Champion |
No slot |
Armor Token |
Void Reaver |
|
Pauldrons of the Vanquished Defender |
No slot |
Armor Token |
Void Reaver |
|
Pauldrons of the Vanquished Hero |
No slot |
Armor Token |
Void Reaver |
|
Cowl of the Grand Engineer |
Head |
Cloth Armor |
Void Reaver |
|
Girdle of Zaetar |
Waist |
Leather Armor |
Void Reaver |
|
Void Reaver Greaves |
Legs |
Mail Armor |
Void Reaver |
|
Fel-Steel Warhelm |
Head |
Plate Armor |
Void Reaver |
|
Wristguards of Determination |
Wrist |
Plate Armor |
Void Reaver |
|
Warp-Spring Coil |
Trinket |
Trinket |
Void Reaver |
|
Fel Reaver's Piston |
Trinket |
Trinket |
Void Reaver |
|
Trousers of the Astromancer |
Legs |
Cloth Armor |
High Astromancer Solarian |
|
Star-Soul Breeches |
Legs |
Cloth Armor |
High Astromancer Solarian |
|
Vambraces of Ending |
Wrist |
Leather Armor |
High Astromancer Solarian |
|
Star-Strider Boots |
Feet |
Mail Armor |
High Astromancer Solarian |
|
Worldstorm Gauntlets |
Hands |
Mail Armor |
High Astromancer Solarian |
|
Boots of the Resilient |
Feet |
Plate Armor |
High Astromancer Solarian |
|
Greaves of the Bloodwarder |
Legs |
Plate Armor |
High Astromancer Solarian |
|
Girdle of the Righteous Path |
Waist |
Plate Armor |
High Astromancer Solarian |
|
Heartrazor |
One-Hand |
Dagger |
High Astromancer Solarian |
|
Ethereum Life-Staff |
Two-Hand |
Staff |
High Astromancer Solarian |
|
Wand of the Forgotten Star |
Ranged |
Wand |
High Astromancer Solarian |
|
Solarian's Sapphire |
Trinket |
Trinket |
High Astromancer Solarian |
|
Void Star Talisman |
Trinket |
Trinket |
High Astromancer Solarian |
|
Ashes of Al'ar |
No slot |
Mount |
Kael'thas Sunstrider |
|
Chestguard of the Vanquished Champion |
No slot |
Armor Token |
Kael'thas Sunstrider |
|
Chestguard of the Vanquished Defender |
No slot |
Armor Token |
Kael'thas Sunstrider |
|
Chestguard of the Vanquished Hero |
No slot |
Armor Token |
Kael'thas Sunstrider |
|
Band of the Ranger-General |
Finger |
Ring |
Kael'thas Sunstrider |
|
Sunshower Light Cloak |
Back |
Cloak |
Kael'thas Sunstrider |
|
Royal Cloak of the Sunstriders |
Back |
Cloak |
Kael'thas Sunstrider |
|
Thalassian Wildercloak |
Back |
Cloak |
Kael'thas Sunstrider |
|
Gauntlets of the Sun King |
Hands |
Cloth Armor |
Kael'thas Sunstrider |
|
Crown of the Sun |
Head |
Cloth Armor |
Kael'thas Sunstrider |
|
Leggings of Murderous Intent |
Legs |
Leather Armor |
Kael'thas Sunstrider |
|
Sunhawk Leggings |
Legs |
Mail Armor |
Kael'thas Sunstrider |
|
Royal Gauntlets of Silvermoon |
Hands |
Plate Armor |
Kael'thas Sunstrider |
|
Rod of the Sun King |
One-Hand |
One-Handed Mace |
Kael'thas Sunstrider |
|
The Nexus Key |
Two-Hand |
Staff |
Kael'thas Sunstrider |
|
Twinblade of the Phoenix |
Two-Hand |
Two-Handed Sword |
Kael'thas Sunstrider |
|
Verdant Sphere |
No slot |
Quest Item |
Kael'thas Sunstrider |
|
Kael's Vial Remnant |
No slot |
Quest Item |
Kael'thas Sunstrider |
Plans and Patterns for Blacksmithing, Leatherworking, and Tailoring also drop from various bosses. These require profession level 375 to use.
F.A.Q.
How to unlock The Eye: Tempest Keep raid in TBC Anniversary?
You need to complete the Tempest Keep attunement questline. It starts with The Hand of Gul’dan in Shadowmoon Valley, continues through The Cipher of Damnation, then sends you through Heroic dungeons and Magtheridon’s Lair to earn The Tempest Key.
At what level can I do The Eye: Tempest Keep raid in TBC Anniversary?
The Eye is a level 70 raid. You should be level 70 and attuned before entering.
Who is the final boss in The Eye: Tempest Keep?
The final boss is Kael’thas Sunstrider. He is the fourth and last encounter in the raid.
What is the boss order in The Eye: Tempest Keep?
The first and final boss fights are the same; the other two can be fought in any order due to how the raid instance is structured:
- Al’ar
- Void Reaver
- High Astromancer Solarian
- Kael’thas Sunstrider
How many bosses are in The Eye: Tempest Keep?
The Eye has 4 bosses. These are Al’ar, Void Reaver, High Astromancer Solarian, and Kael’thas Sunstrider.


