 Dallon Avery
MoP Classic Siege of Orgrimmar Guide Quick Overview:
- Siege of Orgrimmar is the final raid of Mists of Pandaria Classic.
- The raid entrance is located in the Vale of Eternal Blossoms.
- The raid has 14 boss encounters, ending with Garrosh Hellscream.
- Siege of Orgrimmar is available on Normal and Heroic difficulty.
- The raid drops Tier 16 gear, Warforged items, and Garrosh heirloom weapons.
Want to beat the raid and get that Warforged loot? Buy Siege of Orgrimmar Heroic service at Skycoach and get the team of professional WoW players raid with you!


Read closely 
Browse our hottest MoP Classic Boosting services


Siege of Orgrimmar Raid Overview
Siege of Orgrimmar in Mists of Pandaria Classic has to be one of the most iconic raids in the entire game. It certainly takes the cake for the scale and epicness if you ask me. Here’s a quick reminder of what it is about.
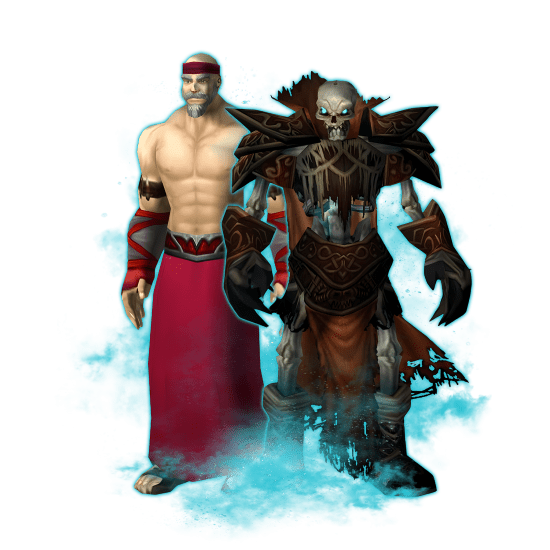
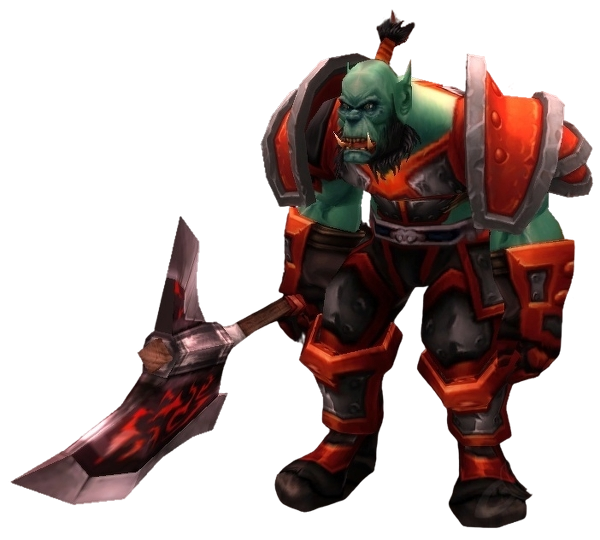
The raid marks the end of Garrosh Hellscream’s reign as Warchief. After using the Heart of Y’Shaarj to corrupt the Vale of Eternal Blossoms, Garrosh retreats to Orgrimmar and prepares his True Horde for war, backed by Kor’kron loyalists, Blackfuse war machines, Dragonmaw forces, Klaxxi allies, Sha corruption, and Old God power. His actions turn both the Alliance and many Horde leaders against him, leading to a rare joint assault on the Horde capital by Alliance forces and the Darkspear Rebellion. The raid begins in the ruined Vale, then moves through Bladefist Bay, Orgrimmar’s gates, Ragefire Chasm, and the Underhold before ending in a final battle against Garrosh himself. His defeat ends the True Horde, places Vol’jin in power, and brings the Alliance-Horde war of MoP to a temporary close.
Normal difficulty requires 10 players; Heroic requires 25. Flexible Raid difficulty from the original patch does not exist in MoP Classic.
Siege of Orgrimmar Raid Location and Map
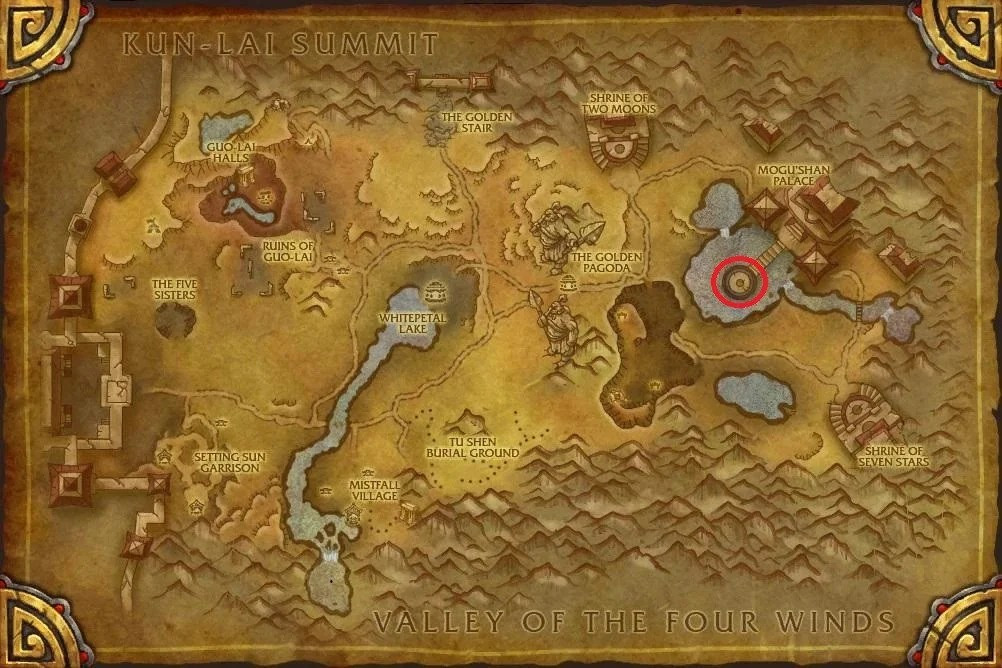
If you’ve never played this raid before, it isn’t actually in Orgrimmar as you may have thought from the name. The raid starts in the Vale of Eternal Blossoms because that is where Garrosh uses the Heart of Y’Shaarj.
You need to go to the Mogu’shan Palace; the entrance will be near the pillar surrounded by water. There are two close flight masters, one for each faction:
- Horde: Shrine of Two Moons at 62 23
- Alliance: Shrine of Seven Stars at 84 61
From there, it’s a pretty close ride to the entrance.
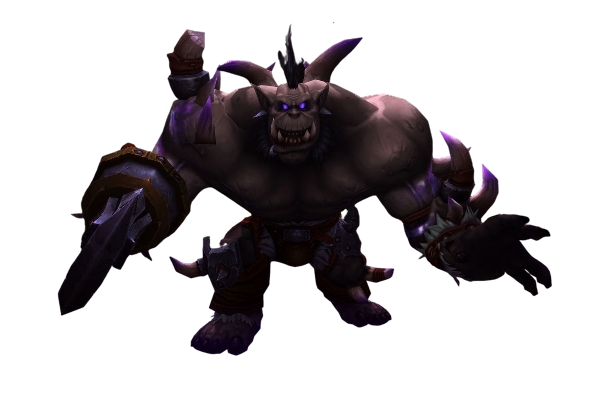
Siege of Orgrimmar Raid Bosses
The raid has an absolutely crazy amount of boss encounters. There are 14 Siege of Orgrimmar Raid Bosses. 11 of these encounters come one after the other, with 3 bosses whose order can be decided by the party:
- Immerseus
- The Fallen Protectors (Rook, He, and Sun)
- Norushen
- Sha of Pride
- Galakras
- Iron Juggernaut
- Kor'kron Dark Shaman
- General Nazgrim
- Malkorok
- Spoils of Pandaria (player choice)
- Thok the Bloodthirsty (only available after Spoils)
- Siegecrafter Blackfuse (player choice)
- Paragons of the Klaxxi
- Garrosh Hellscream
The raid will start in the Veil and then naturally progress into Orgrimmar as you defeat one boss after the other.
Siege of Orgrimmar Raid Tactics
Immerseus Strategy
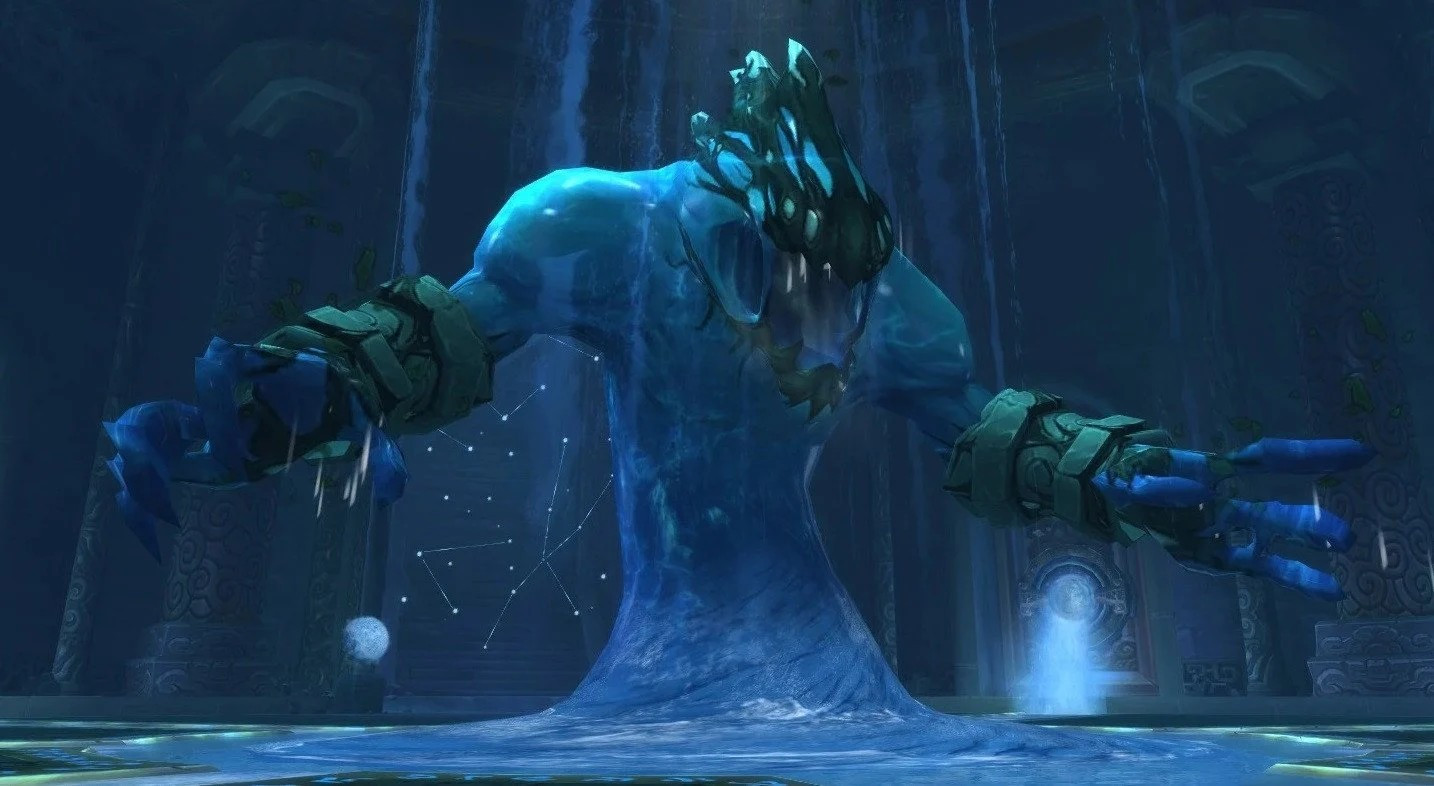
Immerseus is a repeating two-phase fight. In the main phase, tanks swap on Corrosive Blast and keep the frontal away from the raid.
Everyone else spreads the hell out because that Sha Bolt deals mad AoE damage and also leaves nasty puddles under each player. During Swirl, Immerseus sends a large rotating wave around the room. Move out of its path early and avoid the smaller moving Sha lines on the ground. Getting hit knocks you back and adds extra damage, so keep moving until the cast ends.
When Immerseus reaches 0 health, he splits into puddles. DPS kill the dark Sha puddles, while healers top up the friendly Contaminated Puddles. Each puddle handled correctly removes corruption from the boss, which makes the next main phase shorter.
On Heroic, be careful with Swelling Corruption. Hitting the boss removes stacks but also spawns adds, so 10-player raids may want to pace damage instead of spawning everything at once. The main idea is simple: spread during the boss phase, handle as many puddles as possible during the split, and keep repeating until his corruption is gone.
The Fallen Protectors Strategy
The Fallen Protectors is actually another council-like boss fight. You’ll be fighting 3 enemies - Rook Stonetoe, He Softfoot, and Sun Tenderheart. When one of them reaches 66% and 33% health, they initiate the Desperate Measures state and start throwing more stuff at you. So what you wanna do is reduce their health sort of equally but still let them go into that state one by one.
Rook should be faced away because of his frontal stun. Dodge Keg Toss, move out of his spinning charge, and kill his Desperate Measures adds when he phases. He Softfoot puts bleeds on the tank and uses Gouge, so the tank should turn away during the cast, then taunt back after the aggro drop. His Desperate Measures add fixates a player, so pass the mark carefully or let a tank handle it on Normal.
Sun is the most healer-focused boss. Dispel Shadow Word: Bane carefully, top the raid before Calamity, and stack inside the barrier during her Desperate Measures phase. Kill the small adds and big adds quickly so the raid damage does not get out of control. The safest plan is to phase one boss at a time, clear each Desperate Measures phase cleanly, then use Bloodlust/Heroism near the end and finish all three together.
Norushen Strategy
Norushen is a one-phase fight with a corruption system. Everyone starts corrupted, which lowers damage done to the boss. Players can click the golden orb to enter a solo trial based on their role. Finish the trial, come back purified, and you will perform much better.
Do not send too many DPS into the trials at once. When DPS players finish their trial, adds spawn in the main room, and the raid needs to kill them quickly. Essences fire bolts at the boss, so players should soak those bolts before they land. Manifestations need to be tanked and killed, then someone has to pick up the corruption pool they leave behind.
Tanks swap around Unleashed Anger and watch the beam so they do not get clipped. Raid damage ramps up as the boss gets lower, especially from Icy Fear. A good approach is to cleanse enough DPS before 50%, then slow or stop DPS cleansing and focus on burning the boss while handling the remaining adds.
Sha of Pride Strategy
Sha of Pride is all about managing Pride. Mechanics in this boss fight add to a Pride meter on each player. When the time comes, Swelling Pride is cast by the boss, which triggers different effects based on how much of that Pride a player has. Pretty cool, right?
On Normal, the raid usually stacks while tanks stay away from the group. Move out of Self-Reflection pools, cleave the adds, and break players out of Corrupted Prison by standing on the orange locks. Adds at the edge of the room need interrupts or grips, since they throw bolts that increase Pride.
Gift of the Titans is a major buff. Players with it should stack together to trigger the damage, healing, and haste bonus. Mark of Arrogance should only be dispelled safely, ideally by someone protected from gaining Pride. At 30%, the boss resets everyone’s Pride and starts heavy raid-wide damage, so use Bloodlust/Heroism, rotate healer cooldowns, and kill him before Pride gets out of hand.
Browse our hottest MoP Classic Boosting services


Galakras Strategy
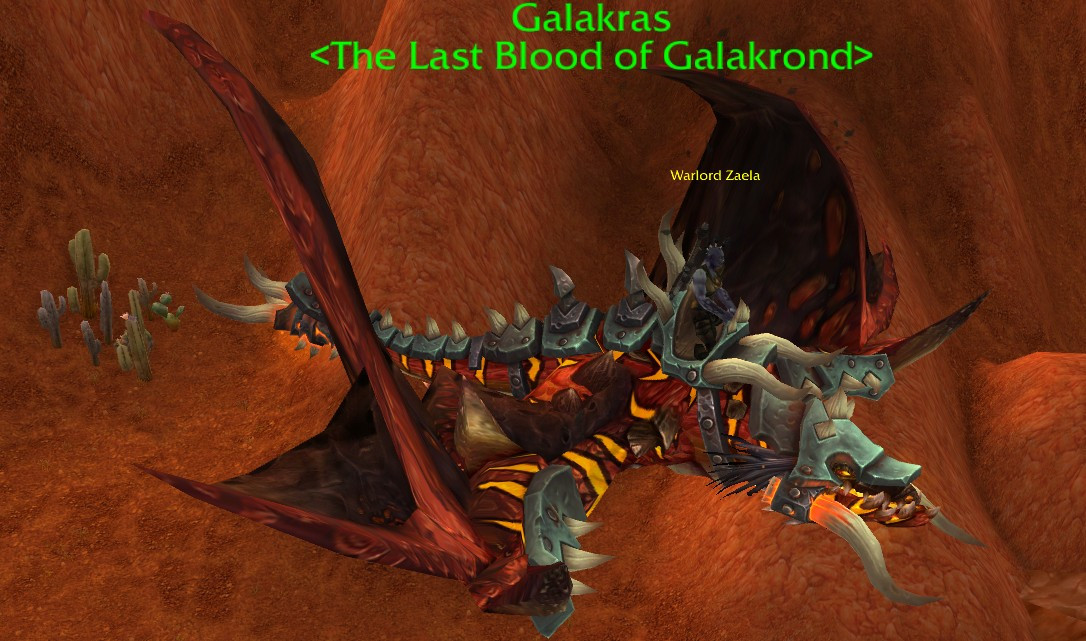
Galakras starts as a tower-defense fight and ends as a boss burn. In phase one, your raid deals with waves of adds while waiting for towers to open. Shamans need interrupts, healing totems need to die fast, banners need to be killed, and Bonecrushers must be stunned before they hit friendly NPCs.
Each tower has trash and a mini-boss at the top. Clear the tower, use the turret to shoot down proto-drakes, then return to the ground and handle more waves. Demolishers must die before players go up the tower, or they can ruin the climb.
Once both towers are cleared, players use the turrets to bring Galakras down. In phase two, the boss deals increasing raid damage until he dies. Flames of Galakrond targets a player and deals less damage if it passes through raid members, so split the raid into two groups and have the targeted player move behind their group. Tanks swap because the fireball also stacks on the active tank. Save healer cooldowns for the later part of the burn.
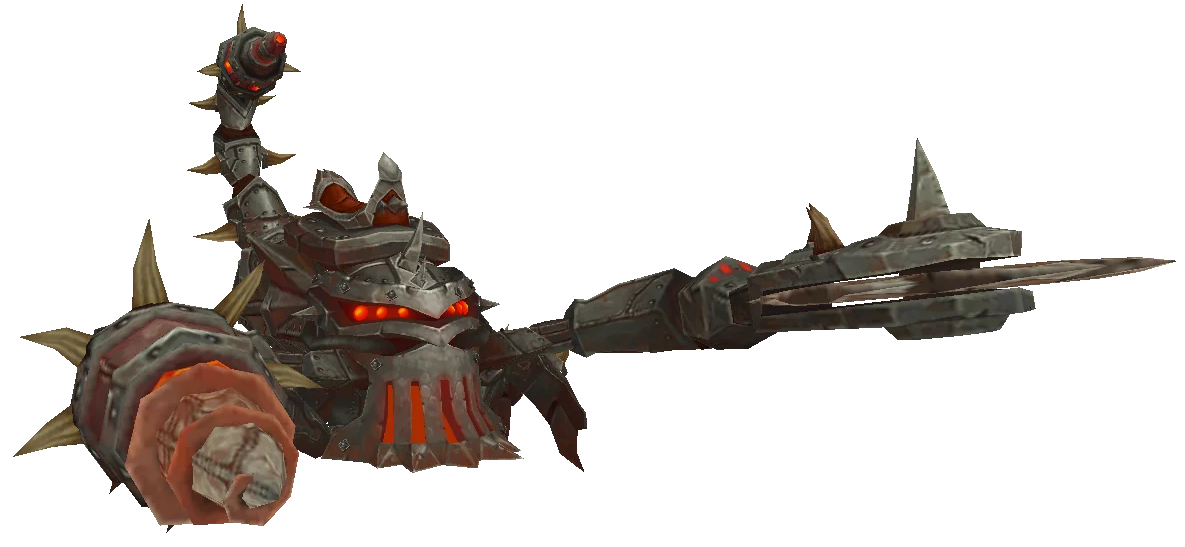
Iron Juggernaut Strategy
Iron Juggernaut is a two-phase single-target fight. In phase one, tanks face the boss away and swap around Flame Vents. Players dodge Mortar Cannon circles, healers spot-heal Laser Burn, and the off-tank handles Crawler Mines with defensives.
The mines are one of the main raid checks. If they are left alone, they explode for raid-wide damage. Tanks should clear them, but sturdy DPS can help with personals if needed. Bore Drill spikes also chase players, so move away and do not drag them through the raid.
In phase two, the boss stops moving and starts throwing out heavy raid damage. Shock Pulse knocks players back, so keep your back near a wall or you will lose uptime. Spread for Demolisher Cannons, avoid tar pools, and kite Cutter Laser away from Explosive Tar. Healer cooldowns should be assigned for this phase because the damage stacks up quickly.
Kor’kron Dark Shaman Strategy
Kor’kron Dark Shaman is a two-boss fight against Earthbreaker Haromm and Wavebinder Kardris. They share health, and each boss gains new mechanics at 85%, 65%, and 45%. At 25%, they use Bloodlust, so the final stretch gets intense.
On Normal, the raid can stack the bosses and move around the edge of the room as mechanics drop. Tanks swap Haromm because of Froststorm Strike stacks. Toxic Mist needs heavy healing, Foul Stream should be dodged, and Ashen Wall should be placed away from the group. Kardris adds more movement with Toxic Storm, Foul Geyser adds, and Falling Ash.
On Heroic, it is much safer to split the bosses. Melee stay with Haromm, ranged stay with Kardris, and each group handles its own mechanics. Haromm’s group keeps his back near a wall for Ashen Wall placement, while Kardris’ group kills Foul Geyser adds fast and moves away from Toxic Storm. At 25%, use Bloodlust/Heroism and burn them before the room becomes unplayable.
General Nazgrim Strategy
General Nazgrim is an add-control fight with a Rage system. He uses abilities based on how much Rage he has, so the raid’s job is to avoid feeding him extra Rage. Tanks swap on Sundering Blow, since extra stacks generate more Rage.
Nazgrim changes stances during the fight. Battle Stance is normal, Berserker Stance makes him take and deal more damage, and Defensive Stance is where everyone needs discipline. Do not attack him in Defensive Stance, because it gives him Rage. Use that time to clean up adds instead.
Add priority is mad important:
- War Banners
- Healing Tide Totems
- Kor’kron Shamans
- Arcweavers
- Assassins
- Nazgrim during Berserker Stance
- Snipers on Heroic
- Ironblades
Kill banners and totems instantly. Interrupt Shamans and Arcweavers, face Snipers away, and do not turn your back to Assassins. At 10%, Nazgrim spawns extra adds, so the off-tank should grab them while the raid burns the boss. Use Bloodlust/Heroism either for the final push or during a Berserker Stance if your raid wants a faster kill.
Malkorok Strategy
 Malkorok is a two-phase fight built around Ancient Miasma. During the main phase, normal healing does not restore health directly. Instead, it creates absorb shields, so healers need to keep shields high and players need to avoid wasting them on bad damage.
Tanks swap on Fatal Strike and keep the boss stable. The raid should spread for Seismic Slam, soak every Imploding Energy pool, and track Arcing Smash zones. After three Arcing Smashes, Malkorok hits those same areas again with Breath of Y’Shaarj, so mark the zones or call them clearly.
During Blood Rage, Malkorok removes the shields and deals huge split damage in front of him. Most raids stack on the active tank and rotate healer cooldowns. If your raid uses a solo-soak tank strategy, everyone else stays out while that tank takes the hit with major defensives. The main wipe points are missed Imploding Energy soaks, players standing in old Arcing Smash zones, and weak cooldown usage during Blood Rage.
Spoils of Pandaria Strategy
Spoils of Pandaria is not a normal boss fight. Your raid splits into two groups, opens crates, kills the enemies inside, and fills the energy bar before the timer ends. Each side has Mogu and Mantid rooms, and both groups need to manage their own pace.
The basic rule is to open crates steadily, not randomly. Small crates spawn easier enemies, medium crates spawn more dangerous mobs, and large crates spawn mini-boss-style enemies. Kill what you open before pulling too much, especially on Heroic.
On the Mogu side, interrupt dangerous casts, dispel key debuffs, soak beams, and move enemies out of buff zones. On the Mantid side, dodge bombs, tornadoes, pools, and keep dangerous buffs removed from enemies. Pandaren crates give helpful role-based buffs, so open them early.
On Heroic, killing enemies can spawn Unstable Sparks for the other group. These need to die fast, because their cast can wipe the raid. Once each side fills its bar, click the lever to finish the encounter.
Thok the Bloodthirsty Strategy
Thok is a two-phase fight where the raid controls when the boss transitions. In phase one, tanks keep the boss faced away from the raid and no one stands behind him because of the tail swipe. Tanks swap before the frontal stacks get too high.
The main raid damage comes from Deafening Screech. It starts manageable, then gets faster and faster. On Normal, the raid can stack, use healer cooldowns, and let the phase end naturally when enough players drop low. On Heroic, raids usually extend this phase longer to push more damage.
In phase two, Thok fixates players and runs after them. Do not stand in front of him. A jailer spawns, and killing it gives a key to open one of the cages. Each prisoner changes Thok’s phase one mechanics slightly, adding poison, frost, or fire effects.
The fight is mostly about timing. Stay in phase one as long as healers can handle it, kite properly in phase two, open cages in the right order, and burn the boss before the later phase one mechanics overwhelm the raid.
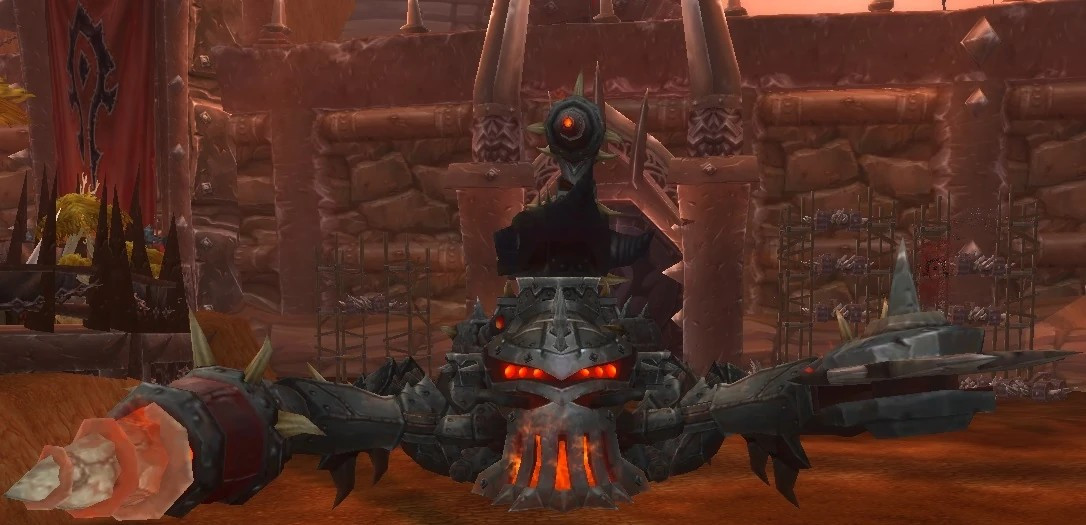
Siegecrafter Blackfuse Strategy
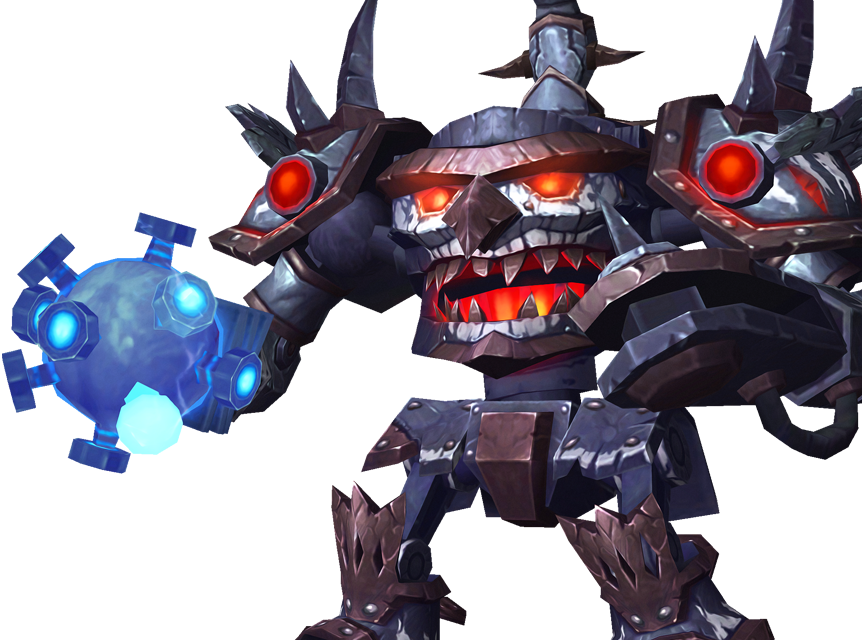
Siegecrafter Blackfuse is a one-phase fight with constant machine pressure. The boss throws Sawblades at players, so drop them away from the raid. Tanks swap around Electrostatic Charge, which also lets them deal much more damage to Automated Shredders.
Shredders need to be killed by the tank with Electrostatic Charge stacks. Keep them away from the boss, dodge their Death from Above, and use the damage bonus to finish them quickly.
The conveyor belt is the main mechanic. Machines spawn there, and your raid can kill one per wave to stop that weapon from joining the fight. Use two mobile DPS teams and rotate them, since players cannot go up every wave.
The normal priority is usually Crawler Mines first, then magnets, lasers, and missiles depending on your raid’s comfort. Mines need slows, stuns, and hard swaps if they get through. Lasers should be kited away from the group. Missiles create rings to dodge. Magnets pull sawblades across the room, so keep the blade side organized.
On Heroic, one surviving machine becomes Overcharged, making the fight much more punishing. The key is to keep the room controlled, drop sawblades and lasers in assigned spots, and kill the boss before the later waves stack too many mechanics.
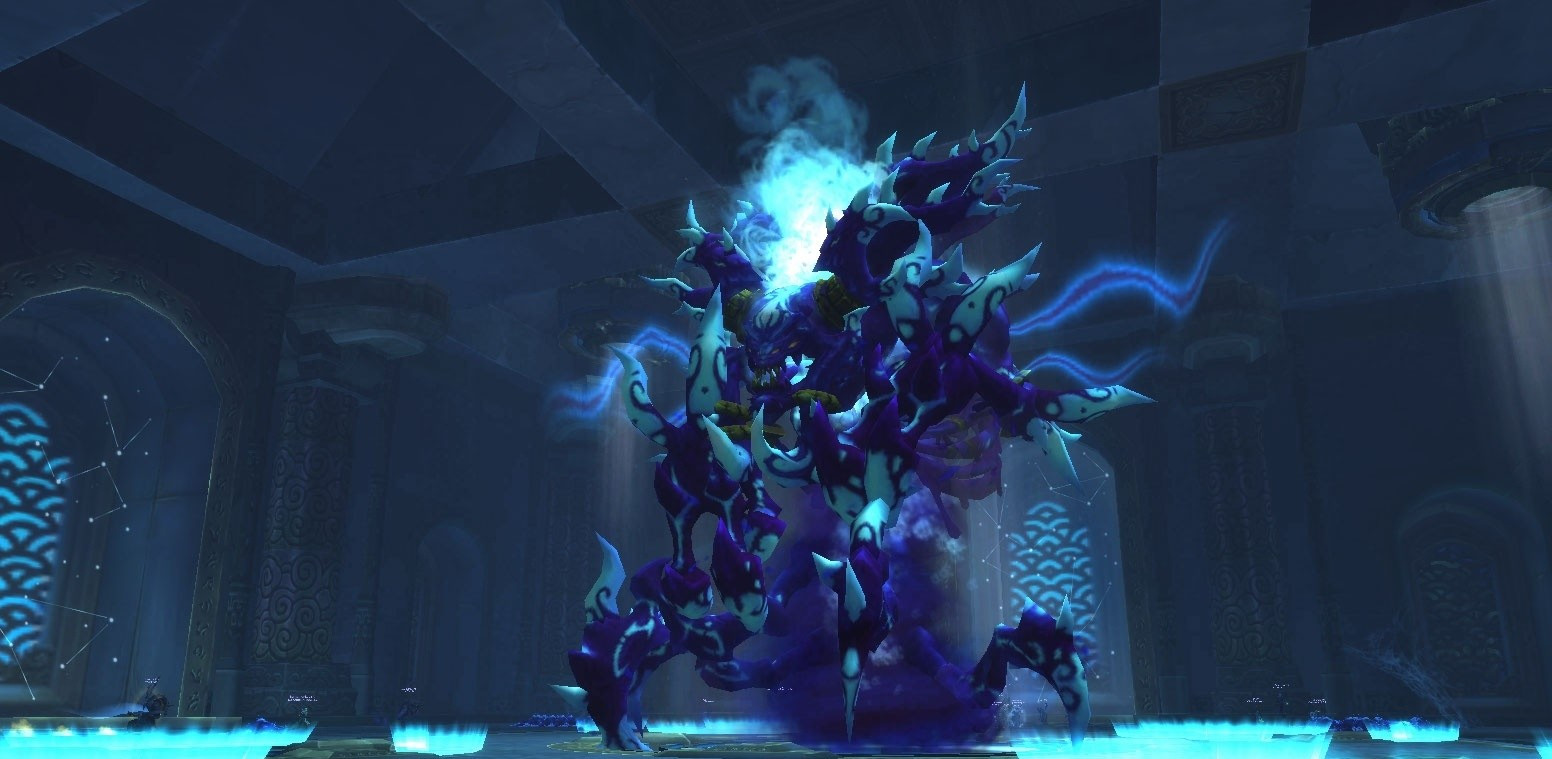
Paragons of the Klaxxi Strategy

Paragons is a long council fight with nine bosses, but only three are active at once. They do not share health. When one dies, the others heal and gain a damage buff, then another Paragon joins the fight.
The hard part is remembering what the heck each Paragon does. Korven the Prime has a tank stun and can protect another Paragon at low health. Rik’kal the Dissector applies parasite-related tank pressure. Skeer the Bloodseeker spawns bloods that heal wounded bosses. Hisek the Swarmkeeper uses Aim, which needs players to stand in the line and split the damage.
Xaril the Poisoned Mind does a bunch of color-based mechanics that change how players spread, soak, or move. Kaz’tik the Manipulator summons Kunchongs that mesmerize players and must be controlled. Iyyokuk the Lucid uses Fiery Edge, so spread out before the beams appear. Kil’ruk the Wind-Reaver jumps to players and needs movement. Ka’roz the Locust jumps around the room and drops dangerous amber pools.
You gotta figure out the priority in this fight. Kill the most dangerous active Paragon, handle that set of mechanics, then get ready for when the next one joins. On Heroic, the order is fixed, which makes planning easier, but if your group is too slow, you’ll definitely wipe.
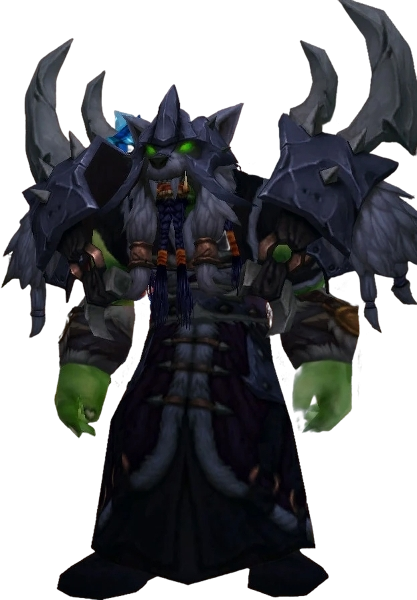
Garrosh Hellscream Strategy
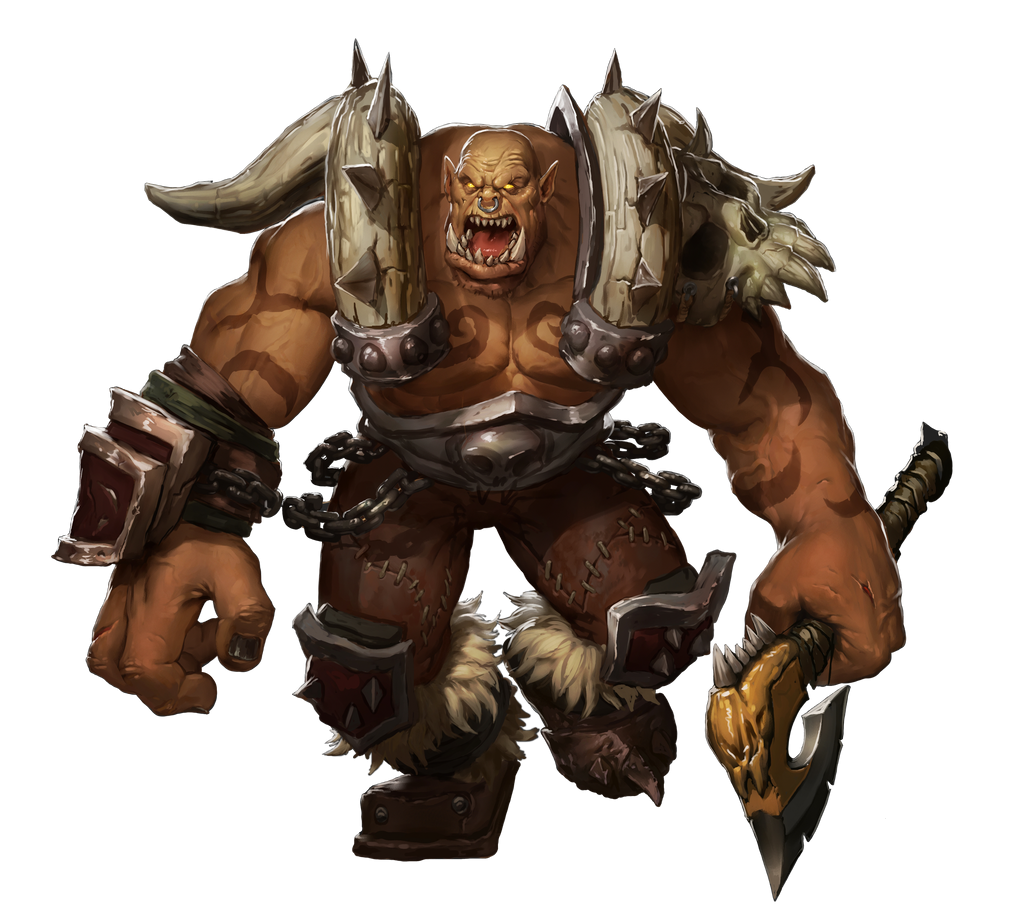 Garrosh is a multi-phase final boss with adds, intermissions, mind controls, weapon placement, and a Heroic-only final phase. In phase one, stack near the middle but stay in the safe half of the room. Kill Warbringers, control Farseers, and stop Siege Engineers from activating the Iron Stars unless your raid is using one to kill adds.
Garrosh also throws Desecrated Weapon at ranged players. Bait it near the edge and damage the weapon to shrink the void zone. At 10%, he transitions into phase two.
During intermissions, the raid is pulled into another realm. Kill the adds quickly, dodge Garrosh’s frontal attacks, and reach him before he gains too much energy. Once phase two begins properly, the raid handles Whirling Corruption, Touch of Y’Shaarj mind controls, Desecrated Weapon, and tank swaps on Gripping Despair.
Empowered mechanics are the real danger. Empowered Touch of Y’Shaarj must be interrupted before it spreads. Empowered Desecrated Weapons cannot be killed, so place them carefully near old ones. Empowered Gripping Despair creates dangerous tank explosions, so rotate cooldowns.
At low health, Garrosh enters phase three, heals back up, and uses empowered mechanics right away. Use Bloodlust/Heroism here for most groups, break mind controls fast, avoid killing empowered adds in bad spots, and push the boss before tank damage gets out of control.
On Heroic, Garrosh has an extra final phase in Stormwind Harbor. Malice needs enough players soaking it, Bombardment forces the raid to spread, and an Iron Star must be used to interrupt Manifest Rage at 100 energy. This phase is all about assigned soaks, careful Iron Star control, and finishing the boss before the second major cycle gets out of hand.
Siege of Orgrimmar Loot
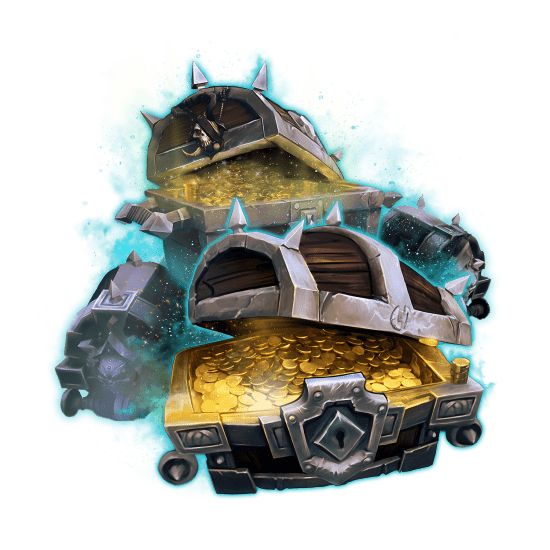
Siege of Orgrimmar drops Tier 16 gear, raid weapons, trinkets, armor pieces, battle pets, and Garrosh heirloom weapons. Normal bosses drop ilvl 553 loot, while Heroic bosses drop ilvl 566 loot. Warforged versions can also drop, which are 6 item levels higher. Garrosh’s heirloom weapons are the highest ilvl rewards in the raid, with ilvl 569 on Normal and ilvl 582 on Heroic.
|
Difficulty |
Standard Loot |
Warforged Loot |
Garrosh Heirloom Weapons |
|
Normal |
553 |
559 |
569 |
|
Heroic |
566 |
572 |
582 |
Tier 16 is fully available inside Siege of Orgrimmar. Each main set slot drops from a specific boss, while Garrosh can drop an Essence token that can be exchanged for any Tier 16 item. The full list of loot by boss can be found here.
|
Tier Slot |
Boss |
|
Chest |
Sha of Pride |
|
Gloves |
General Nazgrim |
|
Helm |
Thok the Bloodthirsty |
|
Shoulders |
Siegecrafter Blackfuse |
|
Legs |
Paragons of the Klaxxi |
|
Any Tier 16 Piece |
Garrosh Hellscream |
Tokens are used by class role.
- Vanquisher tokens are used by Death Knights, Druids, Mages, and Rogues.
- Conqueror tokens are used by Paladins, Priests, and Warlocks.
- Protector tokens are used by Hunters, Monks, Shamans, and Warriors.
These tokens are exchanged at vendors in the Shrine of Seven Stars for Alliance players and the Shrine of Two Moons for Horde players.


You got -20% OFF 
The most important non-tier rewards are the trinkets, Garrosh heirloom weapons, Tusks of Mannoroth, and the raid’s battle pets. Sha of Pride can drop Droplet of Y’Shaarj, Siegecrafter Blackfuse can drop Blackfuse Bombling, and Paragons of the Klaxxi can drop Kovok. Garrosh has the most valuable loot pool overall, with heirloom weapons, Tier 16 Essences, Black Blood of Y’Shaarj, Curse of Hubris, and Tusks of Mannoroth.
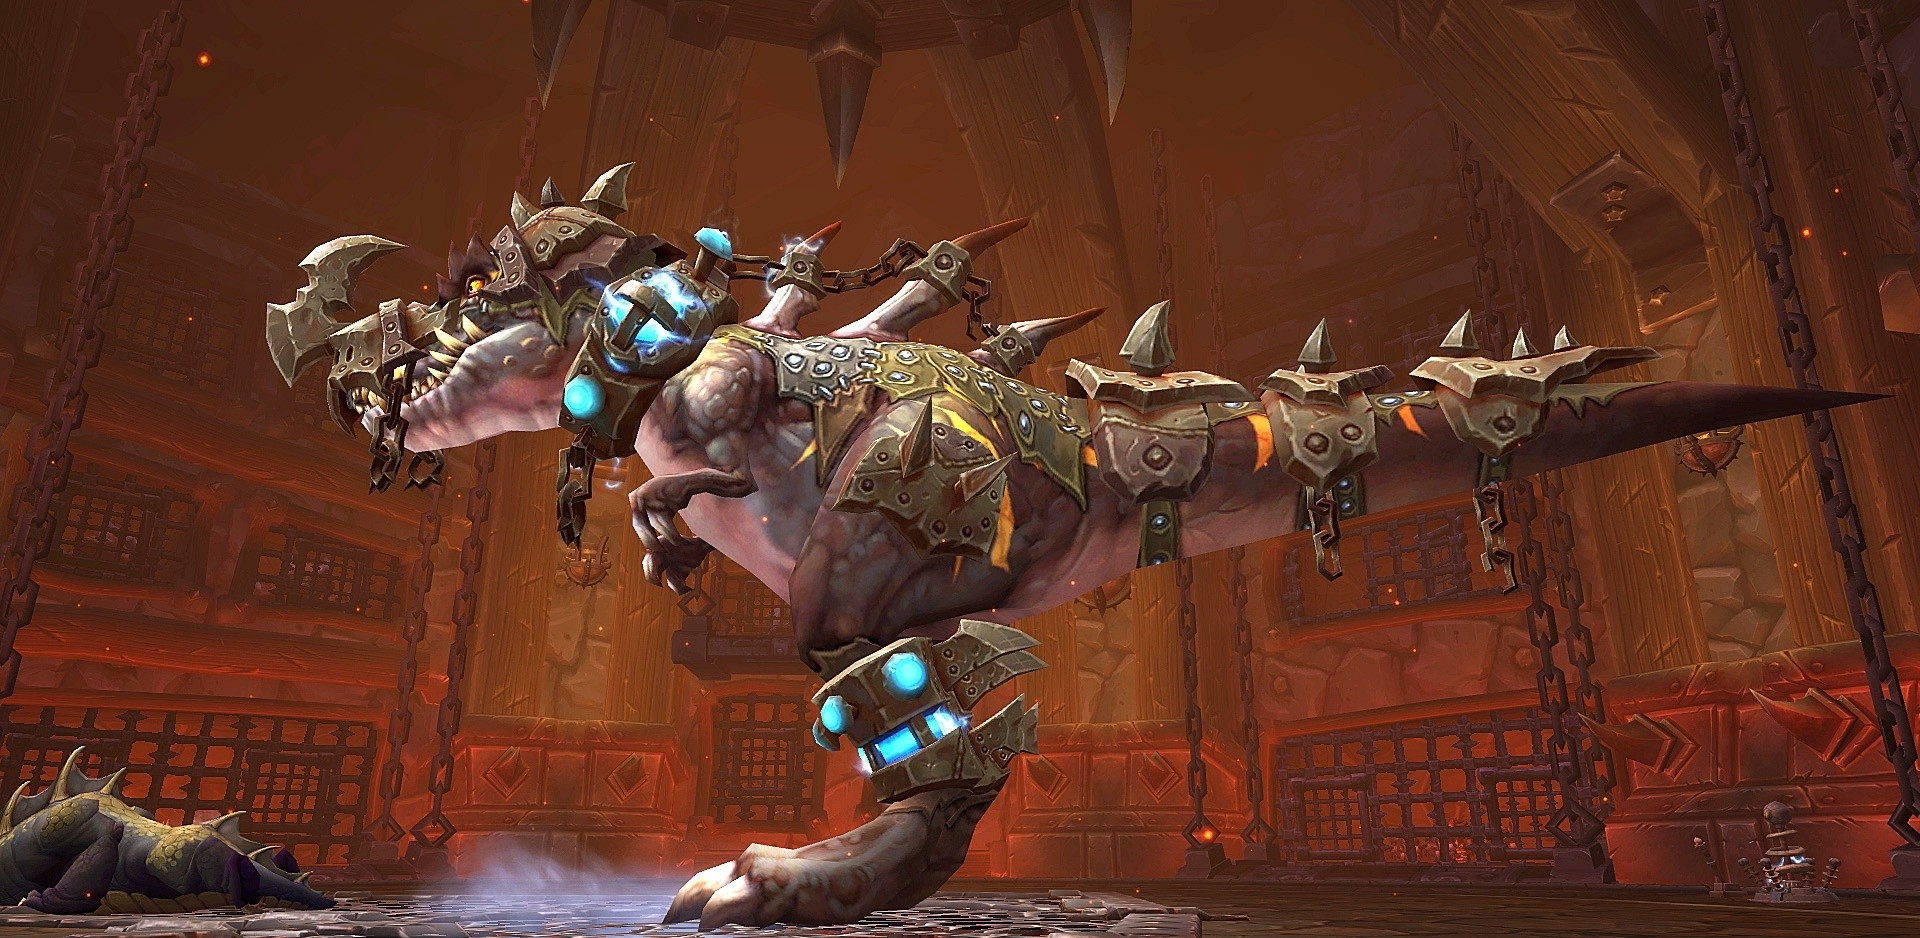
One more thing about Heroic Garrosh - he drops the Kor'kron Juggernaut mount at 100% while Phase 5 is active. When the phase ends, that drops to ~1%. This is the only time-limited reward in the raid, and the main reason serious guilds go for Heroic.
Check out other MoP Classic guides:
- Legendary Cloak Guide
- Mogu'shan Vaults Raid Guide
- Stormstout Brewery Challenge Mode Guide
- Shado-Pan Monastery Challenge Mode Guide
- Scholomance Challenge Mode Guide
F.A.Q.
How to unlock the Siege of Orgrimmar raid in MoP Classic?
Siege of Orgrimmar doesn’t need an attunement. Reach level 90, join a raid group, and enter the raid.
At what level can I do the Siege of Orgrimmar raid in MoP Classic?
To start Siege of Orgrimmar, you need to be level 90. This is the max level in Mists of Pandaria Classic.
Who is the final boss in Siege of Orgrimmar?
The final boss is Garrosh Hellscream. He drops some of the raid’s most valuable rewards, including heirloom weapons and Tier 16 Essence tokens.
How many bosses are in Siege of Orgrimmar?
Siege of Orgrimmar has 14 boss encounters. The raid starts with Immerseus and ends with Garrosh Hellscream.
How to get Warforged items in Siege of Orgrimmar?
Warforged items can randomly drop from bosses on Normal and Heroic difficulty. They are 6 item levels higher than standard loot from the same difficulty.


