 Rick Flair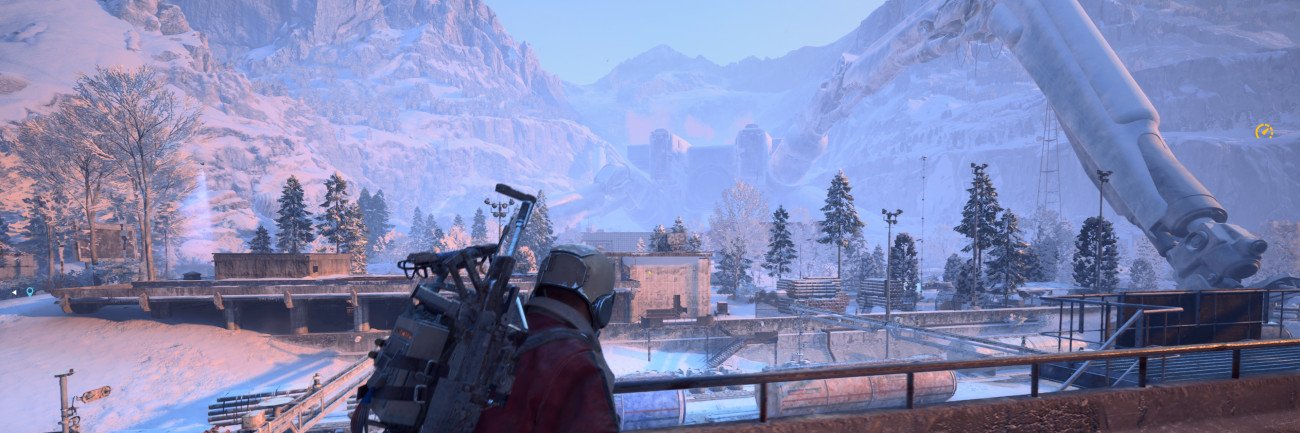
ARC Raiders Fallen Emperor Quick Summary:
- Fallen Emperor is located on Pendola Pass and requires an Emperor Gateway Conduit to enter.
- The Conduit is crafted from Conductive, Insulated, and Plated ARC Couplers after learning its Blueprint.
- The dungeon uses a set of randomized puzzle rooms, so the exact order changes between runs.
- Grappling Hook/Snap Hook, Hullcracker, healing, and plenty of free backpack space make the run much easier.
- The main rewards are Amplification Modules and the Emperor Modulator needed for Gunsmith Level 4.
A new season is here, and with the character reset, all your blueprints are gone. You know what that means. It's time to get your favorite ARC Raiders Blueprints back.


Read closely 
Browse our hottest ARC Raiders Boosting services







ARC Raiders Fallen Emperor Explained
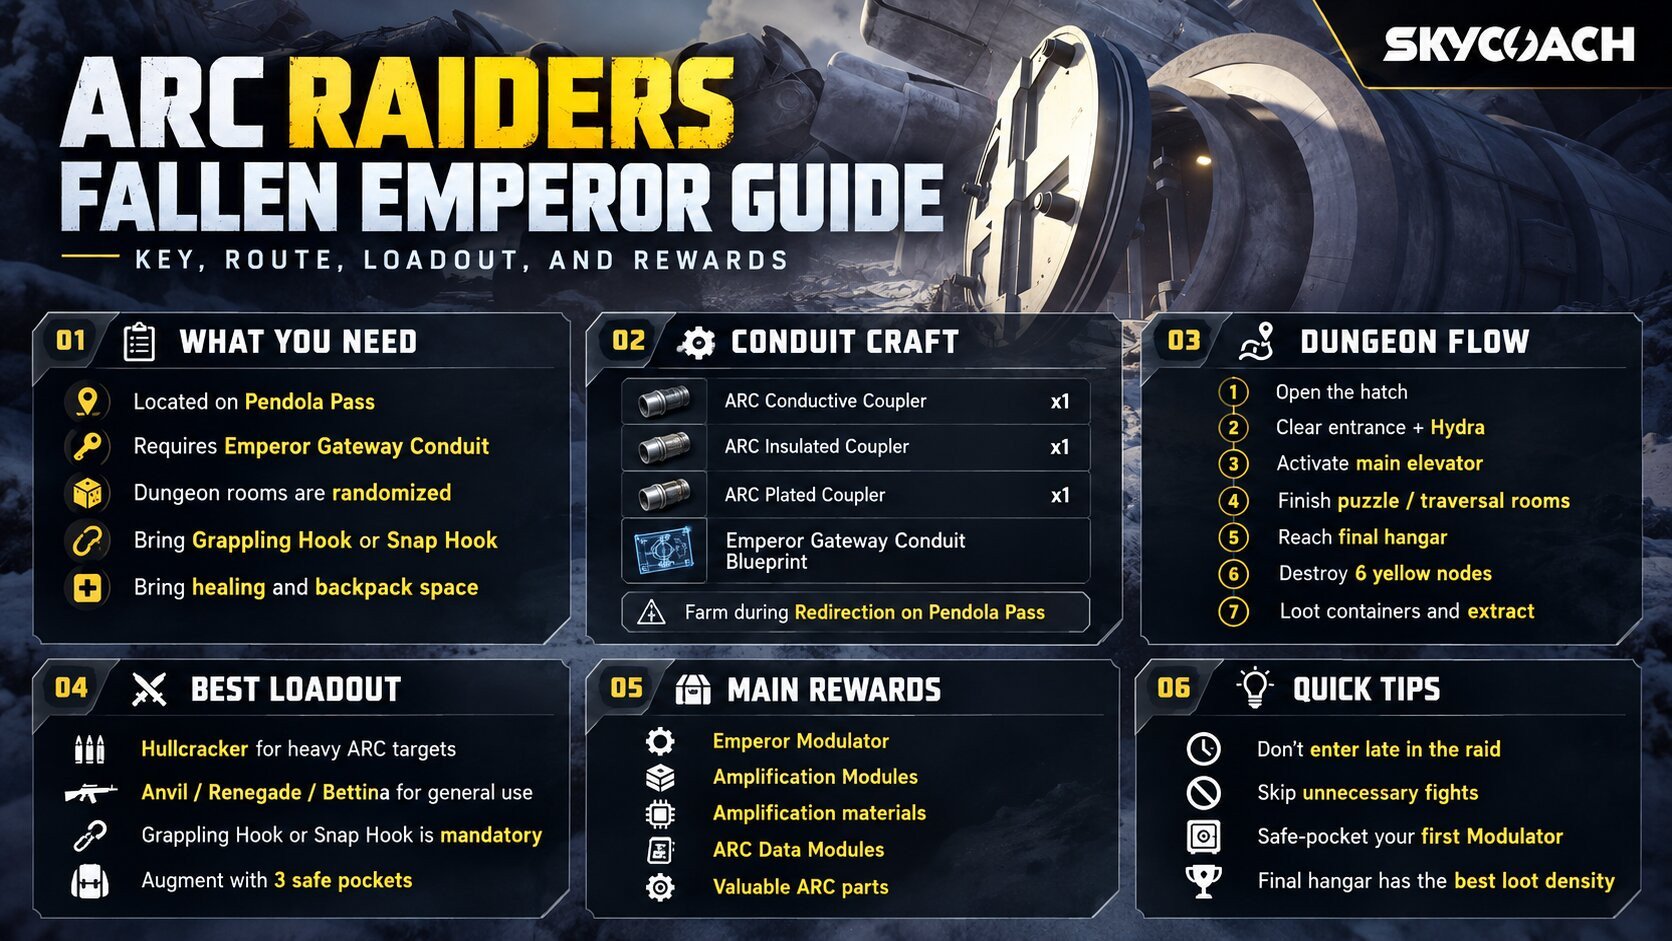
The Fallen Emperor is one of the biggest additions in Frozen Trail and probably the closest thing ARC Raiders has to a dungeon right now. It’s not overly complex and far less dangerous than Frigate, as most of the dungeon is about navigation and jump puzzles. The dungeon is situated right on the Pendola Pass map and isn’t tied to any of the events. Your main enemy when doing this dungeon is the ticking clock. The reason to do it is quite simple - it contains all the late-game loot that allows you to amplify weapons. I’d argue that getting into the dungeon is the hardest part, and is a test on its own. The dungeon works roughly like this:
|
Steps |
What You Need to Do |
|
Get Access |
Obtain materials and craft an Emperor Gateway Conduit |
|
Open the Emperor |
Use the Conduit to open the round hatch near the Emperor’s base |
|
First Section |
Shoot electrical blocks and use the piston elevator |
|
Dungeon Trials |
Complete randomized puzzle and traversal rooms. That’s the main part of the dungeon |
|
Final Hangar |
Destroy six yellow nodes and open the loot containers |
|
Main Reward |
Amplification Modules and Emperor Modulator |
|
Exit |
Leave through the dungeon exit and extract from Pendola Pass |
The main reward for this dungeon, apart from the obvious amplification modules, is the Emperor Modulator. It’s a part required to upgrade your gunsmith to level 4. One thing that makes it hard to write this guide is that the room order changes from run to run. To be more precise, the challenges you face change. Generally, you get the same rooms but with modifiers. Since it’s still early and not all rooms are discovered, I’ll describe a few of them that I’ve taken from Arekkz's video. You’ll be quick to find out that most of the time, you just wanna find a way up, but how you do it will change from run to run.
How to Get the Emperor Gateway Conduit
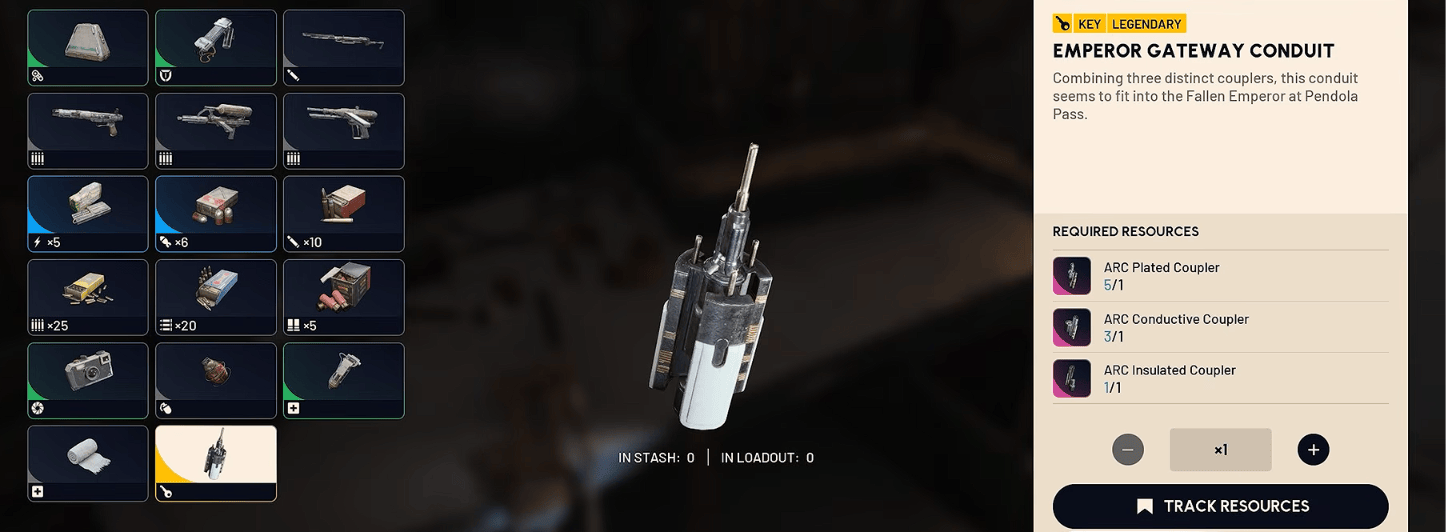
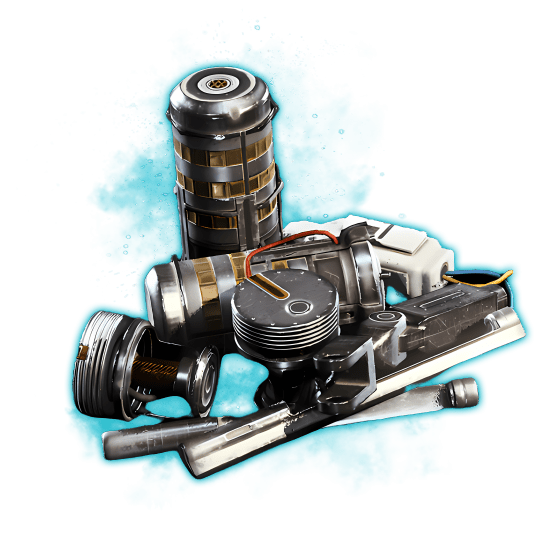
The first challenge is getting inside the Emperor ARC. You can’t simply walk in. The entrance at its base needs a legendary-tier key called Emperor Gateway Conduit. It’s craftable at a normal workbench. You can get the blueprint recipe from the Redirection Map Condition on Pendola Pass. During it, the Emperor Payloads contain ARC parts, as well as ARC Couplers needed to craft the Conduit. Plus, with a fairly low chance, you can get the blueprint for the Gateway Conduit. Though, as it is completely random, you might as well never get it, so don’t forget to check out the Conduit blueprint. To craft the Emperor Gateway Conduit in ARC Raiders, you need:
|
Item |
Amount |
|
ARC Conductive Coupler |
1 |
|
ARC Insulated Coupler |
1 |
|
ARC Plated Coupler |
1 |
|
Emperor Gateway Conduit Blueprint |
- |
Getting one of each type of coupler is enough to craft one key, and despite being an Epic rarity item, you’re almost guaranteed to find at least one of each in the drop pod called in by Emperor Beacon. Here’s how to farm Emperor Gateway Conduit:
- Go to Pendola Pass during the Redirection map condition
- Wait for a Damaged Emperor Relay to activate. Active relays emit a large red beam and appear as an icon on the map
- Loot an Emperor Beacon from the Relay
- Deploy the Beacon somewhere in the open. Roofs are the default choice in the community. Also, get away from the landing area while ARC debris rains down
- Breach & loot the Emperor Payload after it lands
Note that the Emperor Beacon needs to be used during the same raid you got it. Extracting with it turns it into a useless Ruined Emperor Beacon, so there’s no reason to save it. You won’t be able to call them in a different raid. If you don’t want to risk sending everyone in the lobby a signal that you’re farming the Conduit, there are reports of players finding the blueprint in Surveyor Vaults and even general ARC machinery, so this is nice. The Couplers, though, are only available during Redirection, and you won’t get them anywhere else. Once you fulfill all the prerequisites, it’s time to go into the Emperor dungeon for sweet loot and challenges.
ARC Raiders Best Fallen Emperor Loadout
Even though the Emperor is nowhere near Frigate in its number of ARC enemies, going in on a cheap loadout is a dubious idea. There are Hydras, Shredders, and flying ARCs teamed with Vaporizer after the final vault room. In addition, multiple rooms become a cakewalk if you take a Grappling Hook or a Snap Hook, since there are many traversal puzzles in the Emperor. Here’s the best Fallen Emperor dungeon loadout for ARC Raiders:
|
Slot |
Recommendation |
Why |
|
Main anti-ARC Weapon |
Hullcracker |
Excellent against Hydras and a Vaporizer in the end |
|
General Weapon |
Anvil/Renegade/Bettina |
You’ll need to shoot lots of yellow nodes and clear smaller ARCs in some rooms, so medium or heavy ammo weapons are perfect |
|
Traversal |
Grappling Hook or Snap Hook |
The most important loadout part. Makes all jumping rooms much easier. If you can take one thing, take this |
|
Augment |
Looting Mk. 3 |
Or any augment with three safe pockets |
Healing items come as granted, but you can also take defibs just in case. A Grappling Hook or Snap Hook is mandatory for this raid. Several rooms involve climbing electrified platforms or jumping across the gaps. Hooks make those parts much safer and faster.
ARC Raiders Fallen Emperor Dungeon Walkthrough
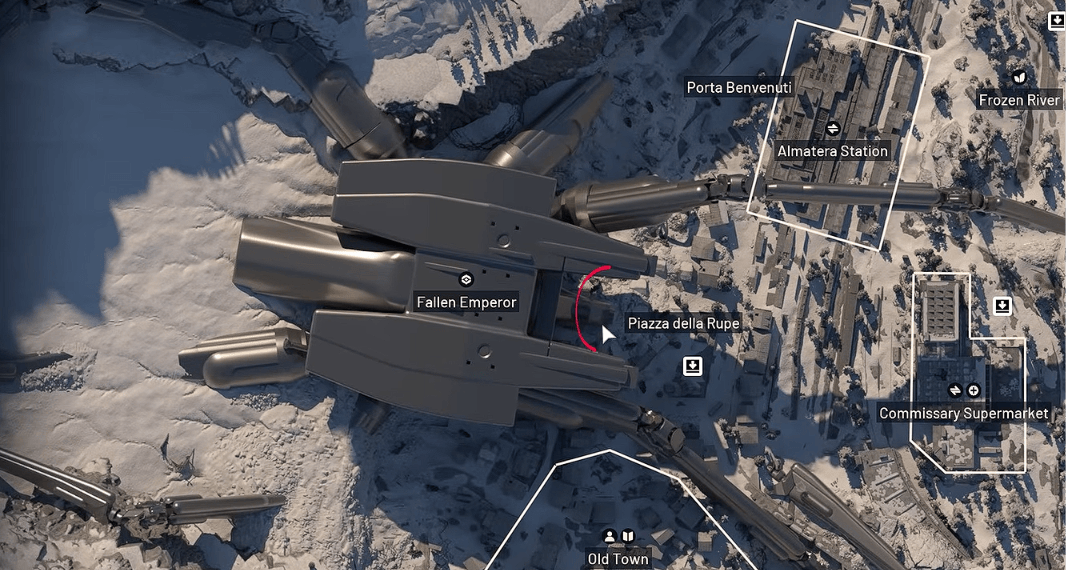
The first and final parts of the Fallen Emperor are pretty much always the same, while the rooms between them appear in a different order and variation each run. Most rooms boil down to one of three things: shoot yellow nodes like in the Harvester event, avoid environmental hazards like lasers or electrocuting boxes, or climb to the next section. Also remember that white-lit doors move you deeper into the dungeon, while yellow-lit exits can take you back down or outside. Below are the known Emperor dungeon room types:
|
Room |
How to Complete It |
|
Entrance |
Shoot electrified boxes to disable them temporarily and deal with the Hydra blocking the path at the end of the hallway. Boxes don’t deal damage, just stun you. |
|
Main Elevator |
Shoot the yellow nodes at the top of the central elevator that looks like a piston. Then shoot the nodes on the outer walls. Ride the platform upward |
|
Maze |
Either destroy the yellow nodes or search for the one unlocked exit, depending on the version. Be careful, as sometimes this room has Shredders. |
|
Platform Climb |
Shoot electrified platforms before jumping on them. Using a Grappling Hook allows you to trivialize this section |
|
Crusher Room |
Remember that scene in Star Wars? Same idea. The walls are closing in on you, trying to turn you into a PBJ. You can either run to the end of the hallway to a circular entrance, or you can hide in a recess right outside the hole you’ve just climbed up |
|
Upper Machinery Room |
Right above the Crusher room. Kill Hydras and cross moving machinery or debris to reach the next exit |
|
Laser Room |
Time your movement through the beam patterns or use floor indentations for cover. Alternatively, just put barricades and block the lasers altogether. Timing the beams is really hard, if not impossible. |
|
Moving Container Shaft |
Ride the moving container and jump onto the nearby ledges before climbing further |
|
Final Loot Room |
Destroy six yellow nodes, survive the ARC attack, then loot the wall containers |
Forgot to mention that you can find the entrance to the Fallen Emperor west of Piazza della Rupe. You can see the entrance on the screenshot above.
Fallen Emperor Entrance and Elevator
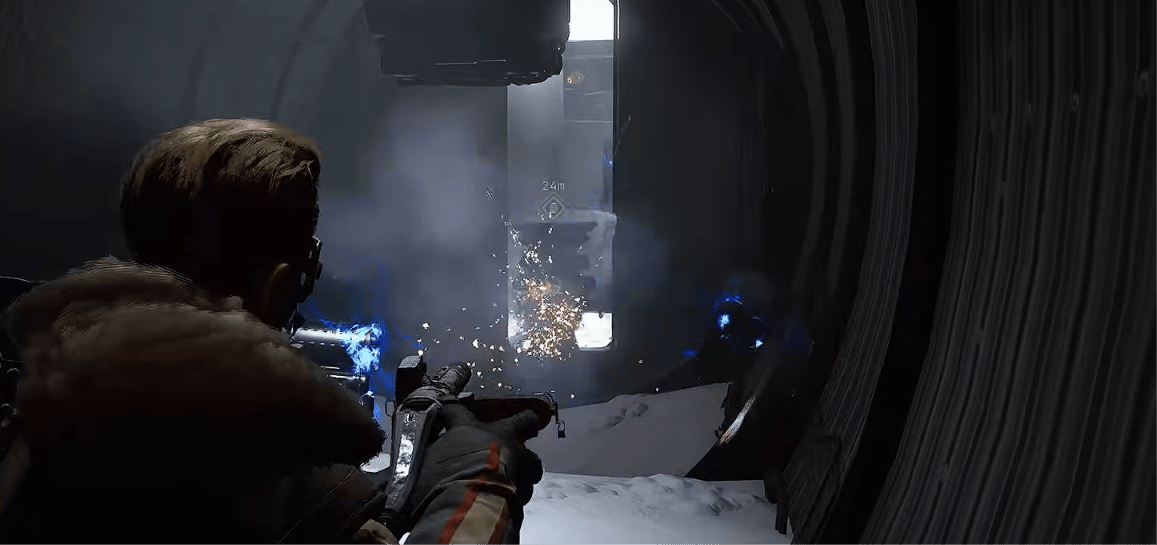
The first section teaches you one of the dungeon’s recurring mechanics: electrified boxes can be disabled by shooting them. They only stay safe temporarily, so try to walk past them as soon as they trigger. They’re not very dangerous and are more of an obstacle than a direct threat. At the end of the hallway is the Hydra that will shoot you. Here, these boxes stun you on the regular, so watch out.
Once you get past the Hydra, you’ll see an elevator room with the elevator similar to some sort of piston. Break four yellow nodes at the top of the central cylinder, then on the walls of this room. Now you can go up and down. Usually, you want to go up. This dungeon is very vertical. You can also find breachable containers around the elevator areas, and they drop Amplification loot, so don’t miss out.
Maze and Platform Rooms
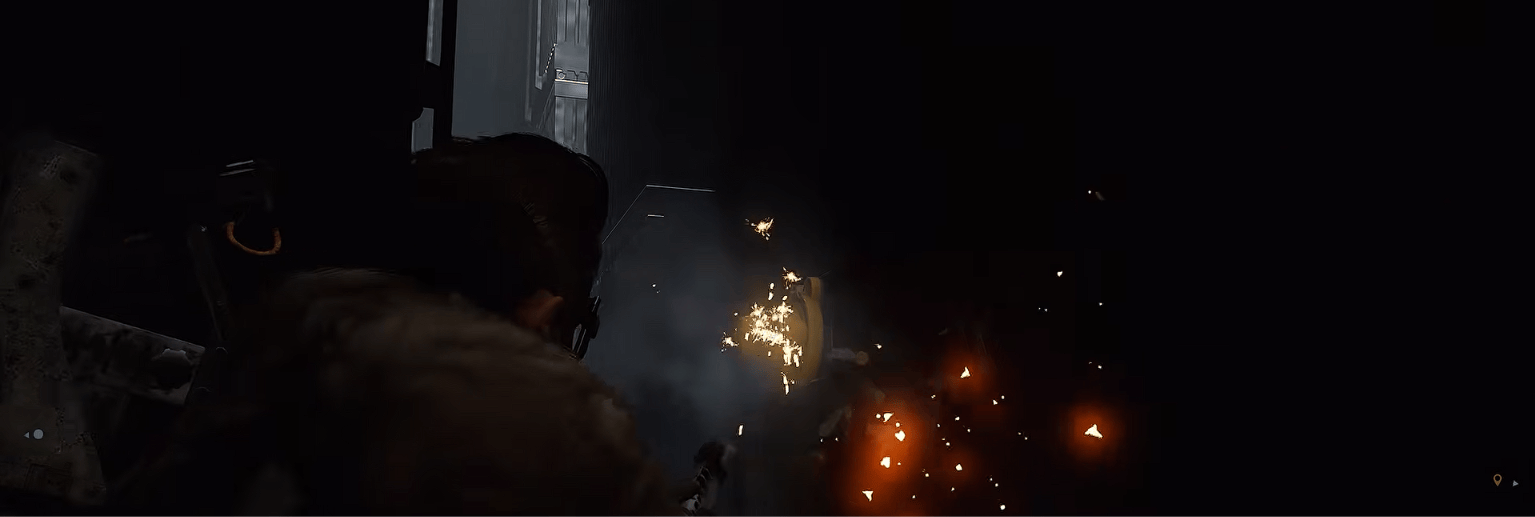
There appear to be different Maze variants. One has yellow nodes on the hanging walls, or whatever that is, that need to be destroyed before the route opens, while another simply has one accessible exit hidden among the partitions. It’s either gonna have Shredders or Pops getting in the way. Once you get past the Maze, the hooks are gonna do the heavy lifting part of the dungeon. You’ll have to jump from one electrified box to another. Shooting one of them causes a chain reaction, so shoot them before jumping, as your electrified Raider is likely to fall down, leading to your death. Or you know, just attach your hook to the wall and ignore this section.
Fallen Emperor Crusher Room and Machinery Room
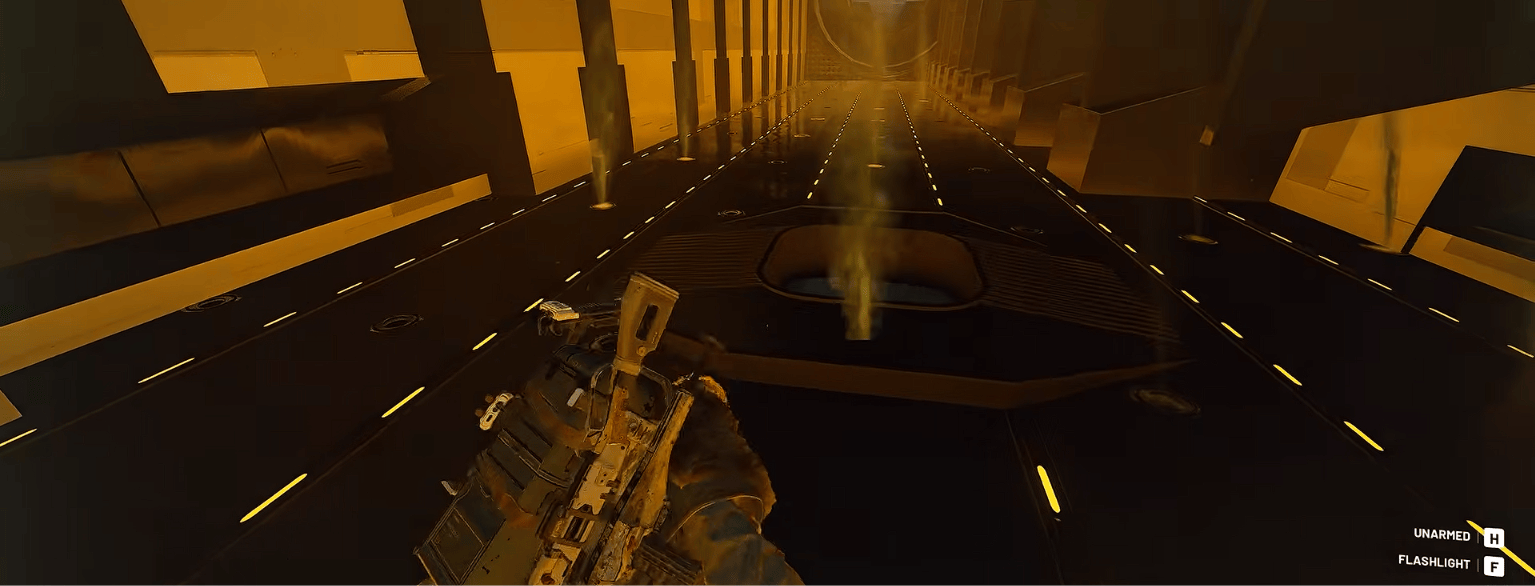
This room is gonna be harsh if you don’t know what to do. This room is filled with gas that drains your stamina, making it hard to cross. Plus, the walls of this room are closing in, and if you’re not fast enough, you’re dead. The solution is to either sprint to the end of this room, to the side that has a round door in the wall, or to hide in a recess outside the hole you’ve climbed up. It’s a good idea to take a few stims if you’re worried about not making it to the end of this hallway at once.
Right above it is a room filled with moving platforms and a couple of Hydras. The floor also moves here, as it’s the upper part of the Crusher room, and the floor is actually the walls that were trying to kill you before that. Deal with Hydras and start climbing up to the next door.
Fallen Emperor Laser Rooms
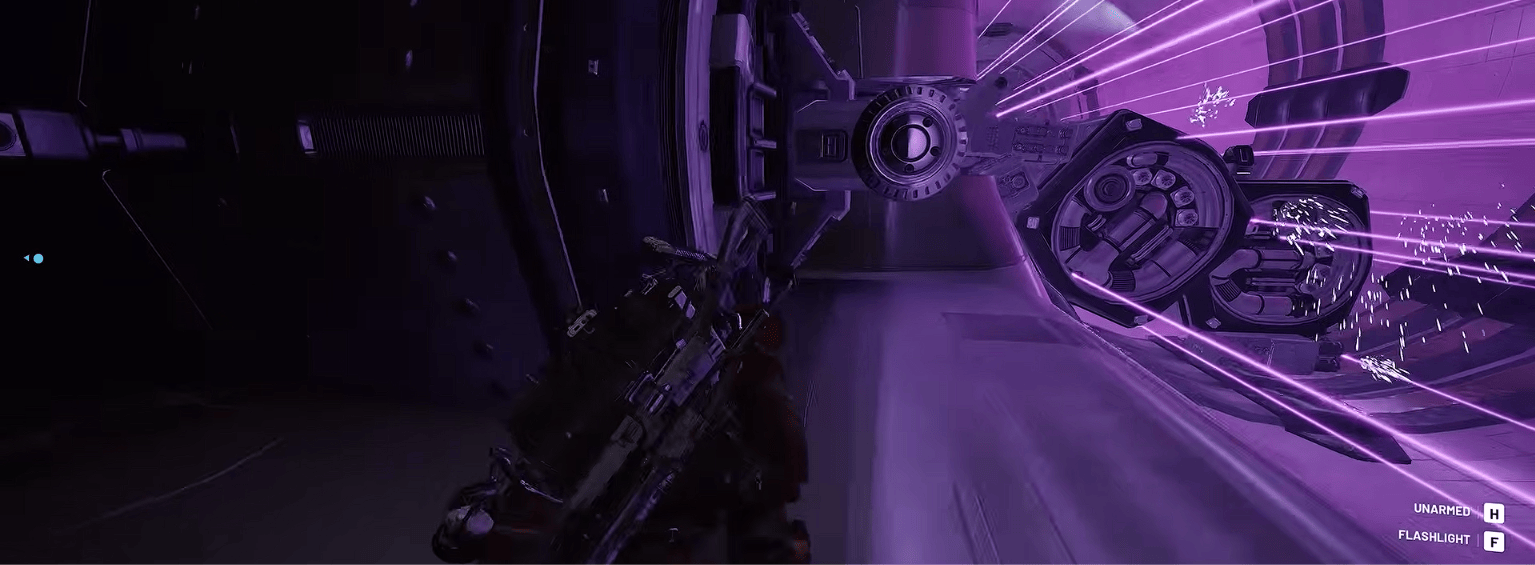
The laser sections have several layouts, but the rule stays the same: rush through all the lasers to the cover. I’m just kidding. There’s gotta be a safer way to do that, but so far I’ve only been able to put barricades as a safe protection from the beams. Otherwise, they will damage you. Some variants have objects and floor indentations to hide behind while the laser pattern passes, while others are more about timing a quick run between moving beams. Barricades aren’t a panacea, though, as they can only take so much damage before breaking. Your goal here is to just reach the furthest end of the room. After that, you’ll find two ways: one of them leads to the central elevator and lets you escape the dungeon with all the loot that you’ve gathered along the way; the other lets you continue on deeper into the dungeon to reach the final loot room.
Fallen Emperor Final Loot Room
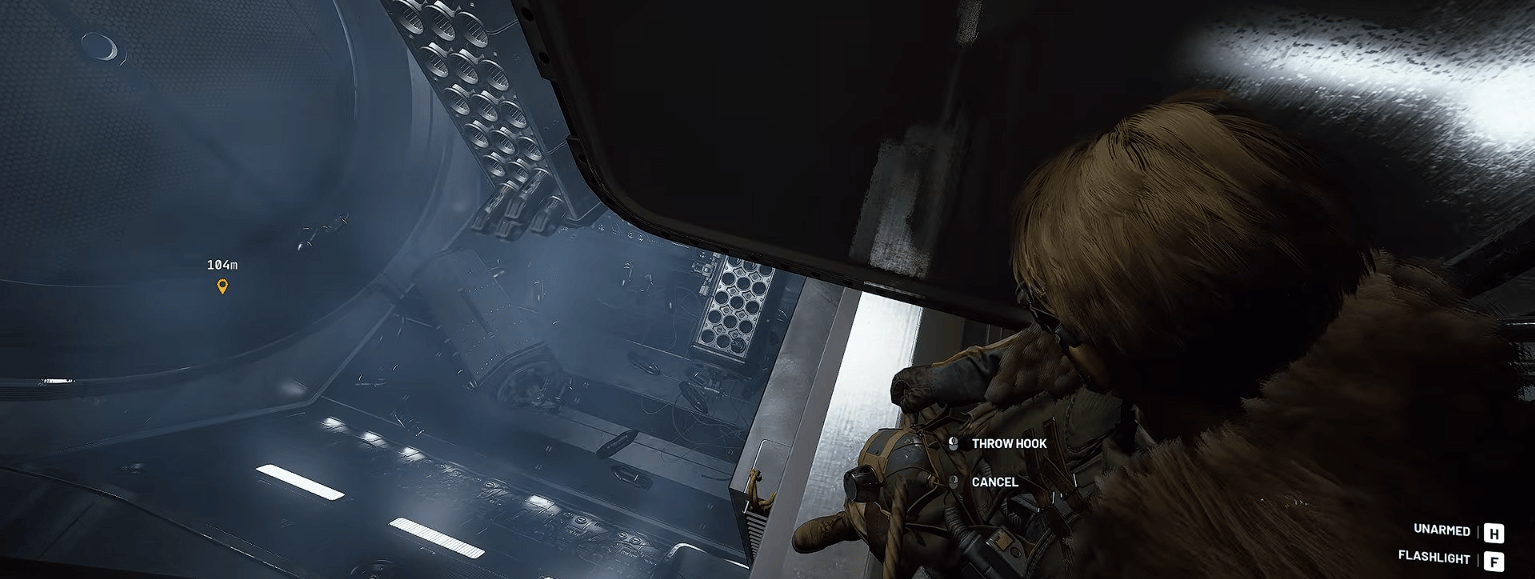
The final hangar is the reason you went through all of this if you need the Emperor Modulator. Technically, the Modulator can drop anywhere in the dungeon, but this room has the biggest concentration of lootable containers, so you just increase your chances. If you’re here for the weapon amp loot, you don’t have to loot this room, as the rest of the dungeon is as rich with it as this room. When you reach the huge chamber, it’ll have moving platforms, similar to the Machinery room before that. You’ll need to drop down, so the best way to do it is either with hooks or just moving along the wall, cause there will be a few ladders letting you safely reach the bottom of the area. Break six yellow nodes, three on the sides of the walls. Destroying all six opens a way out, but if you rush to it, you’ll quickly realize it’s a trap. You’ll be ambushed with flying ARCs and the Vaporizer, and that’s where the Hullcracker saves the day. Breaking all six nodes will also open additional loot containers that initially glow red in this room. These containers drop the Emperor Modulator, which is a legendary ARC loot that you need for upgrading your Gunsmith to level 4. Loot as much as you can and get rid of the ARC threat. It’s time to ditch.
Browse our hottest ARC Raiders Boosting services








ARC Raiders Fallen Emperor Rewards
The Emperor is one of the main endgame farms because its loot is directly tied to the new Weapon Amplification system. The most important drop is the Emperor Modulator, which is required to upgrade the Gunsmith from Level 3 to Level 4. You can also find Amplification Modules of different Marks, rare amplification crafting materials, ARC parts, and valuable Data items throughout the dungeon. Notable ARC Raiders Fallen Emperor rewards include:
- Emperor Modulator: Required for Gunsmith Level 4
- Amplification Modules: Used for the new Amplified Weapon progression
- Amplification crafting materials: Additional high-end weapon upgrade components
- ARC Data Modules: Valuable technological loot
- ARC parts and materials: Found throughout the dungeon and its containers
The Emperor Modulator can drop before the last room, but the final hangar has the highest concentration of special containers. If you find your first Modulator early, safe-pocket it immediately. You only need one for the Gunsmith upgrade, and there’s no reason to gamble the piece that unlocks a whole workstation level.


You got -20% OFF 
ARC Raiders Fallen Emperor Tips
The Emperor becomes much less intimidating after you’ve tried each room once. The puzzles themselves aren’t hard at all. Most failed runs are because of the timer running out or platforming sections. While you can meet other Raiders inside the Fallen Emperor, for now it doesn’t happen that frequently. The problem is usually that there might be rats around the Gondola beacons. To successfully complete the Fallen Emperor dungeon, here are some tips:
- Bring a Grappling Hook or Snap Hook: It makes every traversal section dramatically easier and can save a lot of time
- Don’t enter late unless you know the dungeon: After the 20-minute mark, it’s pointless to try this dungeon
- Push to the final room if the timer is running out: Earlier containers are good, but the last hangar has the highest concentration of valuable loot, so it can be wise to ignore every other loot zone to get there asap
- Bring stamina recovery: The gas/crusher room specifically punishes you by draining stamina, not to mention the jumping sections if you don’t take any of the hooks
- Don’t overfight ARC: Don’t start the fight if you can just ignore it. Lots of the ARCs in the Fallen Emperor are completely skippable
- Take Augment with lots of safe pockets: Any Augment with three safe pockets is great
- Watch for other squads outside: The Reckless Transceiver is the closest Gondola summoning point, which makes it predictable to prepare an ambush. I think it’s wise to drag the time till 2 or so minutes remain and only then run for the Gondola beacon
Before Update 2.1, you could cheese the room and enter it without doing the dungeon, which led to some unpleasant discoveries for the squads that did the run fair and square. Now, you should actually beat the dungeon to get inside. I mean, until there’s another way to cheese it is discovered.
F.A.Q
How to enter the Fallen Emperor in ARC Raiders?
You need an Emperor Gateway Conduit, which is crafted at Workbench I using one ARC Conductive Coupler, one ARC Insulated Coupler, and one ARC Plated Coupler after learning the Blueprint. Bring the finished Conduit to the circular entrance at the base of the Fallen Emperor on Pendola Pass and interact with the socket beside the door.
Where to get the Emperor Gateway Conduit Blueprint?
The main repeatable source is the large Emperor Payload dropped during the Redirection Map Condition on Pendola Pass. The Blueprint is random and can take several payloads to appear; current player testing also confirms it can appear in other loot sources such as Surveyor Vaults, although Redirection remains the most practical farm because it also gives the three required Couplers.
Is the Fallen Emperor dungeon randomized in ARC Raiders?
Yes, the dungeon uses a set of puzzle and traversal rooms that can appear in different orders between runs. The starting area and final loot hangar are consistent, so it’s better to learn each room mechanic individually instead of memorizing one fixed route.
Can you solo the Fallen Emperor dungeon in ARC Raiders?
Yes, the Fallen Emperor can be completed solo, and current creator walkthroughs have demonstrated full solo clears. I’d strongly recommend bringing a Grappling Hook or Snap Hook, plenty of healing and stamina recovery, and a strong ARC weapon because there is nobody to revive you if a trap or Hydra downs you.
Where to find the Emperor Modulator in ARC Raiders?
The Emperor Modulator drops from special loot containers inside the Fallen Emperor, including the final loot hangar and some breachable containers earlier in the dungeon. It is required to upgrade the Gunsmith to Level 4, so put the first one you find into your safe pocket immediately.
What loot drops in the Fallen Emperor dungeon in ARC Raiders?
The main rewards are Emperor Modulators, Amplification Modules, amplification materials, ARC Data Modules, and other valuable ARC parts. Amplification Modules can appear in wall panels and containers throughout the dungeon, so the run is profitable even before you reach the final hangar.