 Dallon Avery
Midnight Dungeons Guide Quick Summary:
- There are 8 dungeons in Midnight as of Season 1, 5 of which are unlocked as you level up, and 3 more available only at max level 90.
- Each dungeon features a questline tied to it, with the final quest sending you into the dungeon and rewarding you with one of 3 gear items from the dungeon pool.
- Mythic+ difficulty unlocks on March 24th with its own host of additional affixes and rewards.
- Each dungeon features 3-4 boss encounters with unique mechanics
- Completing dungeons is great for lore reasons, but also as a source of gear when leveling your main or alts.
Need help farming dungeons? Buy WoW Gold at Skycoach and make sure you come prepared for every dungeon on any difficulty with all the consumables and gear you need. Join millions of players who are already buying gold on our platform.


Read closely 
Browse our hottest WoW Boosting services


Midnight Dungeons Overview
WoW Midnight has come out with 8 dungeons in Season 1, with more planned in future updates. They’re great extensions of the main story surrounding the invasion of Xal'atath and her army of the Void, and they serve as self-contained stories accompanied by their own short quest chains. Here’s a quick list of all dungeons in the game so far:
- Windrunner Spire unlocks at level 81.
- Murder Row unlocks at level 83.
- Maisara Caverns unlock at level 85.
- Den of Nalorakk unlocks at level 88.
- The Blinding Vale unlocks at level 88.
- Magisters' Terrace unlocks at level 90.
- Nexus-Point Xenas unlocks at level 90.
- Voidscar Arena unlocks at level 90.
The level requirements are true for the normal difficulty only. Heroic, Mythic, and, of course, M+ all require level 90 for all dungeons. Speaking of the difficulties. Heroic and Mythic dungeon pool doesn’t just include Midnight dungeons, but older dungeons scaled to the current player power. The current rotation includes the following dungeons:
- Magisters' Terrace
- Maisara Caverns
- Nexus Point Xenas
- Windrunner Spire
- Algeth'ar Academy
- Pit of Saron
- Seat of the Triumvirate
- Skyreach
I’ll update this list next season when the dungeon rotation changes. In the following sections, I’ll give you a rundown of each dungeon, including the zone, the entrance coordinates (just in case you want to RP-walk into the dungeon), the quest to get more loot for completing it, a list of bosses, and tips against them, as well as a complete loot table.
If you need help getting access to those dungeon quests, use an addon called BtWQuests. Just open it and type the name of the quest into the search bar. The results will point you towards the quest chain it belongs to and show you your current progress on it.
Windrunner Spire

Once the hallowed home of the Windrunner family, Windrunner Spire now mirrors the scarred relationship between Alleria, Sylvanas, and Vereesa. Animosity during a reunion at the home drove suffering and grief into a haunted manifestation that binds the spirits there, unable to find peace.
Windrunner Spire is located in Eversong Woods, toward the southwest part of the zone.
If you want to walk into the dungeon instead of queueing for it, head to the following entrance coordinates - 64.4 61.8
The bosses in Windrunner Spire appear in this order, and each one has one main tip worth keeping in mind as you move through the dungeon.
- Emberdawn: Place Flaming Updrafts near the edges of the room.
- Derelict Duo (Kalis and Latch): Keep both bosses even and kill them at the same time.
- Commander Kroluk: Kill the summoned adds quickly because the boss takes 99% less damage until they die.
- The Restless Heart: Step into an arrow during Bullseye Windblast to launch over the expanding ring.
Here is the full Windrunner Spire loot table, including regular gear, profession recipes, and the housing decor drop tied to the final boss.
|
Item Name |
Item Type |
Source |
|
2H Sword |
||
|
Staff |
||
|
Cloth Head |
||
|
Mail Wrist |
||
|
Plate Hands |
||
|
Leather Waist |
||
|
Trinket |
||
|
1H Mace |
Derelict Duo |
|
|
Cloth Shoulder |
Derelict Duo |
|
|
Plate Waist |
Derelict Duo |
|
|
Leather Legs |
Derelict Duo |
|
|
Mail Boots |
Derelict Duo |
|
|
Trinket |
Derelict Duo |
|
|
1H Axe |
||
|
Leather Shoulder |
||
|
Mail Hands |
||
|
Cloth Legs |
||
|
Plate Boots |
||
|
Trinket |
||
|
Bow |
||
|
Off-Hand |
||
|
Plate Head |
||
|
Neck |
||
|
Mail Shoulder |
||
|
Leather Chest |
||
|
Trinket |
||
|
Leatherworking Recipe |
||
|
Tailoring Recipe |
||
|
Housing Decor |
Murder Row
Although a bustling part of Silvermoon City, Murder Row hides a darker side beneath its polished surface. Smuggling operations, fel corruption, and dangerous alliances thrive here, turning this district into one of the most volatile locations in Midnight.
The dungeon quest tied to Murder Row is Murder Row: One Fel Swoop, which becomes available at level 83 and rewards additional loot for your first completion.
Murder Row is located in Silvermoon City, just outside the Horde-designated area.
If you want to walk into the dungeon instead of queueing for it, head to the following entrance coordinates - 56.2 61.1
The bosses in Murder Row appear in this order, and each one has one key mechanic to focus on during the fight.
- Kystia Manaheart: Remove Illicit Infusion to free Nibbles and avoid Fel Spray.
- Zaen Bladesorrow: Take cover when he casts Murder in a Row at full energy.
- Xathuux the Annihilator: Avoid standing in Burning Steps and prepare for Demonic Rage.
- Lithiel Cinderfury: Use her Demonic Gateway to safely pass through Malefic Wave.
Here is the full Murder Row loot table, including gear, profession recipes, and housing decor.
|
Item Name |
Item Type |
Source |
|
Neck |
||
|
Ring |
||
|
Back |
||
|
Cloth Wrist |
||
|
Cloth Hands |
||
|
Cloth Chest |
||
|
Cloth Feet |
||
|
Leather Helm |
||
|
Leather Wrist |
||
|
Leather Hands |
||
|
Leather Legs |
||
|
Mail Shoulder |
||
|
Mail Legs |
||
|
Mail Feet |
||
|
Plate Helm |
||
|
Plate Shoulder |
||
|
Plate Wrist |
||
|
Trinket |
||
|
Trinket |
||
|
Trinket |
||
|
Trinket |
||
|
Dagger |
||
|
Staff |
||
|
2H Axe |
||
|
Blacksmithing Recipe |
||
|
Blacksmithing Recipe |
||
|
Enchanting Recipe |
||
|
Leatherworking Recipe |
||
|
Housing Decor |
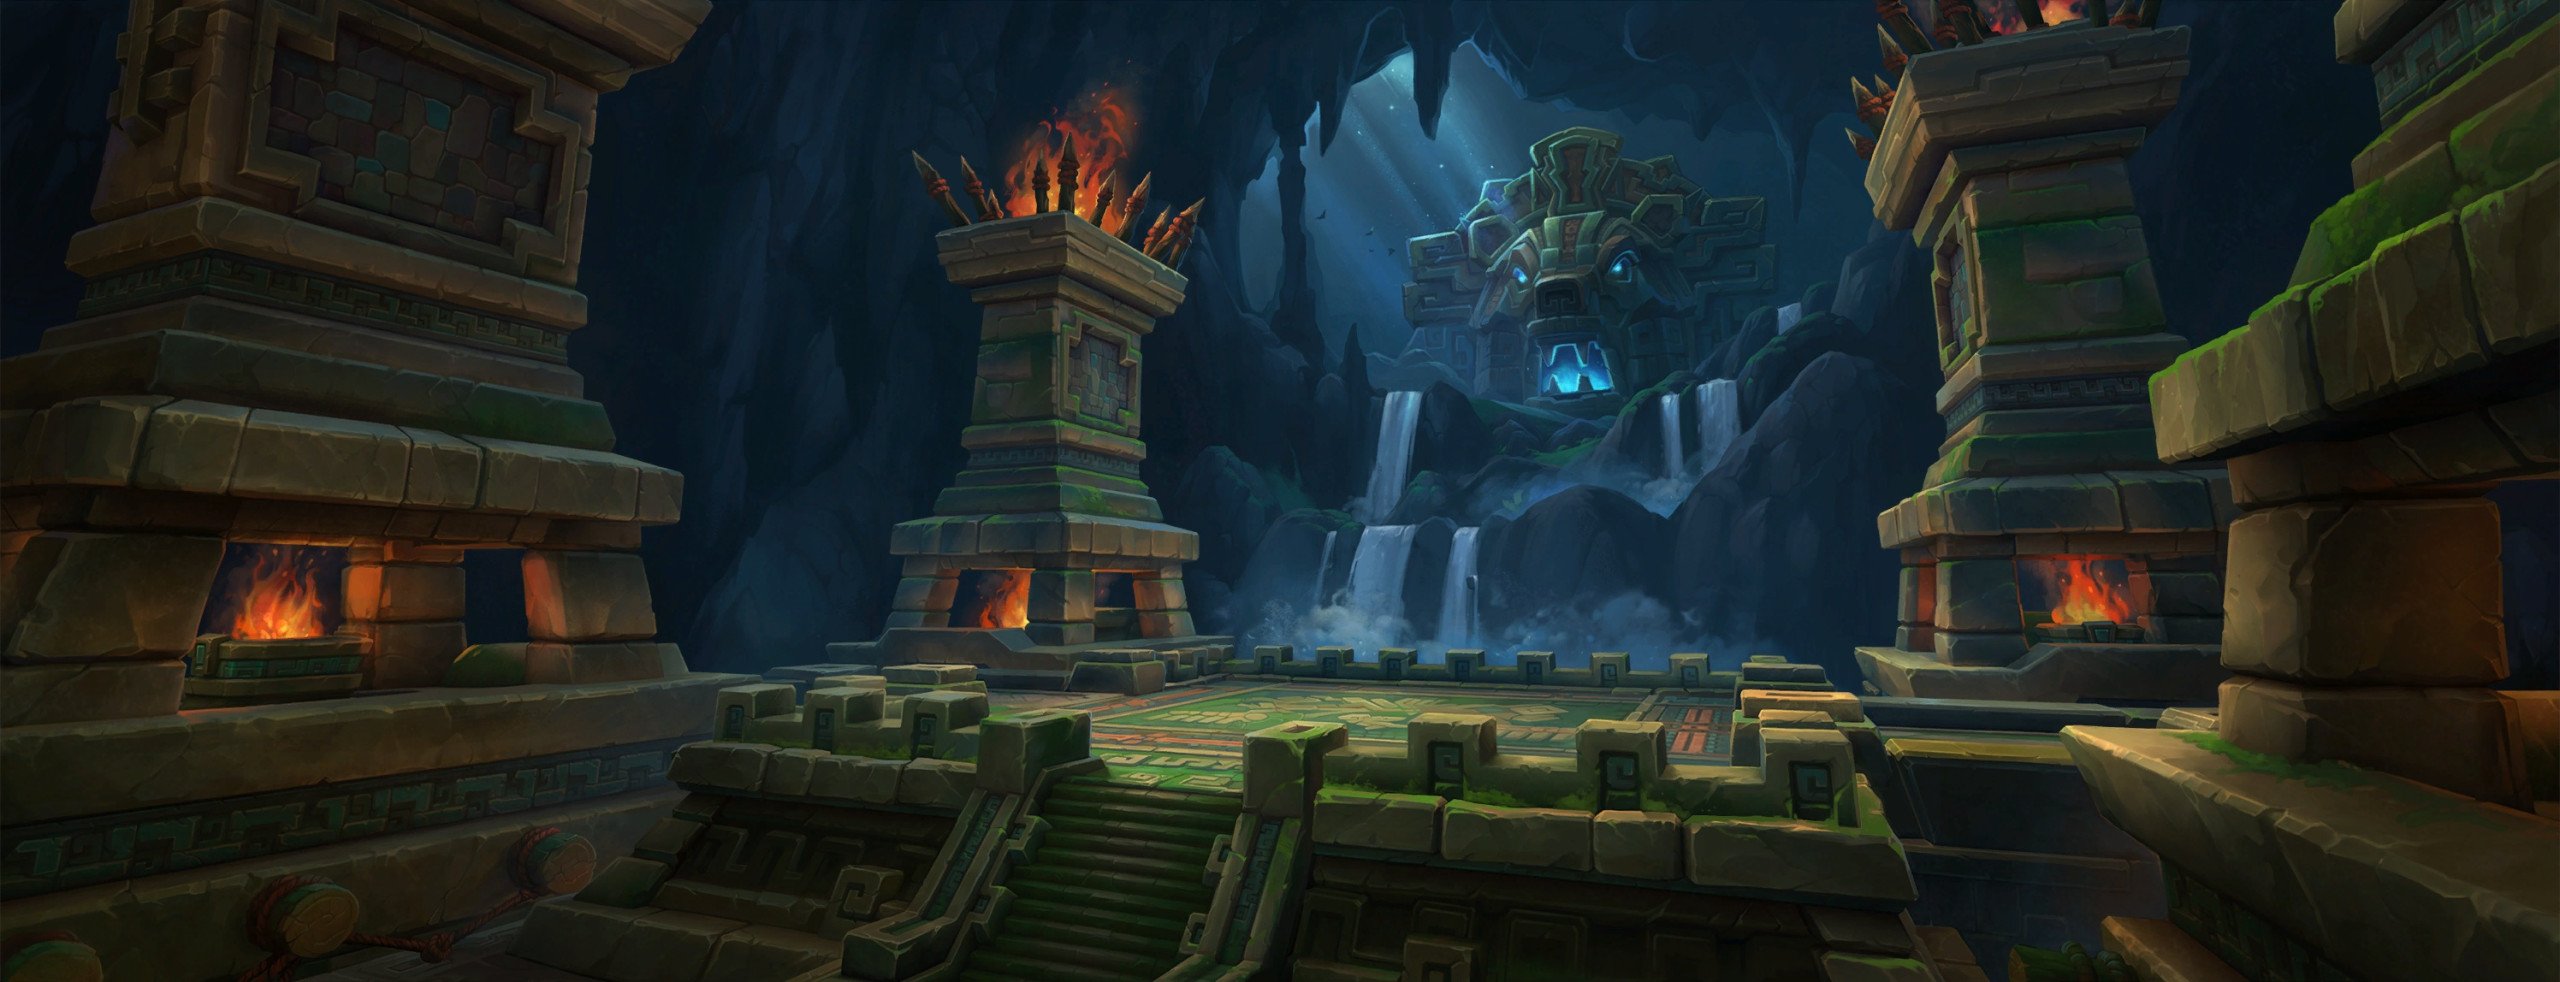
Maisara Caverns
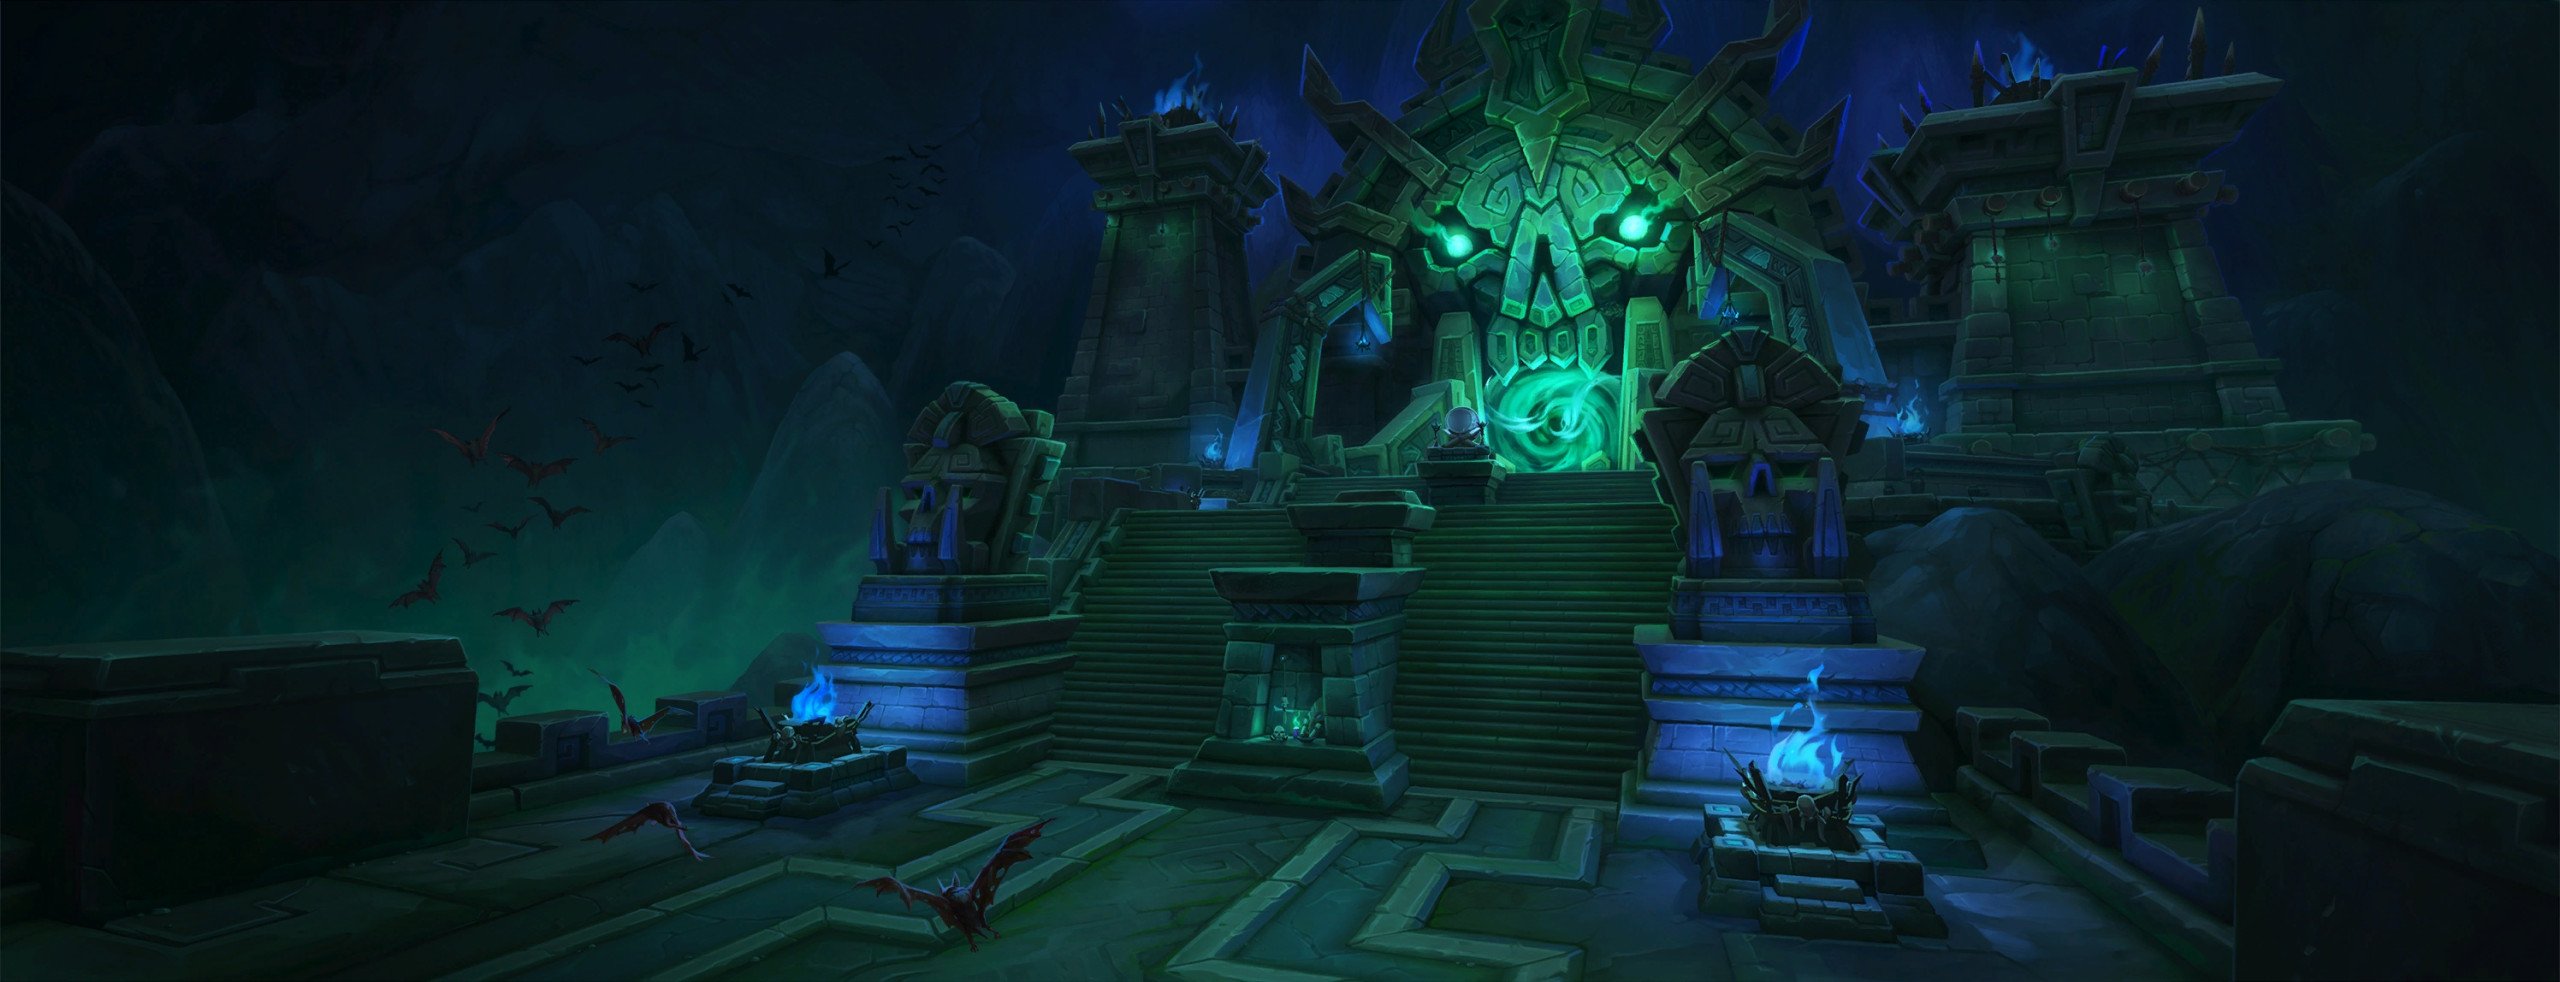
Deep beneath Zul’Aman, the Maisara Caverns twist through ancient troll ruins now corrupted by dark rituals and soulbinding magic. What was once sacred ground has been transformed into a place where spirits are harvested and reshaped into weapons.
The dungeon quest tied to Maisara Caverns is Maisara Caverns: Maisara Hungers, which becomes available at level 85 and rewards additional loot for your first completion.
Maisara Caverns is located in Zul’Aman, in the underground sections toward the northeast.
If you want to walk into the dungeon instead of queueing for it, head to the following entrance coordinates - 44.4 40.3
The bosses in Maisara Caverns appear in this order, and each one has one key tip to keep in mind during the fight.
- Muro'jin and Nekraxx: Keep both targets controlled and avoid letting one overpower the group.
- Vordaza: Watch positioning and avoid standing in overlapping effects during the fight.
- Rak'tul, Vessel of Souls: Save cooldowns for high damage phases and avoid lingering effects.
Here is the full Maisara Caverns loot table, including gear, profession recipes, and housing decor.
|
Item Name |
Item Type |
Source |
|
Polearm |
||
|
Bow |
||
|
Mail Shoulder |
||
|
Plate Wrist |
||
|
Leather Waist |
||
|
Cloth Boots |
||
|
Dagger |
||
|
Leather Shoulder |
||
|
Back |
||
|
Cloth Hands |
||
|
Mail Legs |
||
|
Plate Boots |
||
|
Trinket |
||
|
2H Sword |
||
|
Fist Weapon |
||
|
1H Axe |
||
|
Leather Head |
||
|
Plate Shoulder |
||
|
Mail Chest |
||
|
Trinket |
||
|
Leatherworking Recipe |
||
|
Housing Decor |
The Blinding Vale
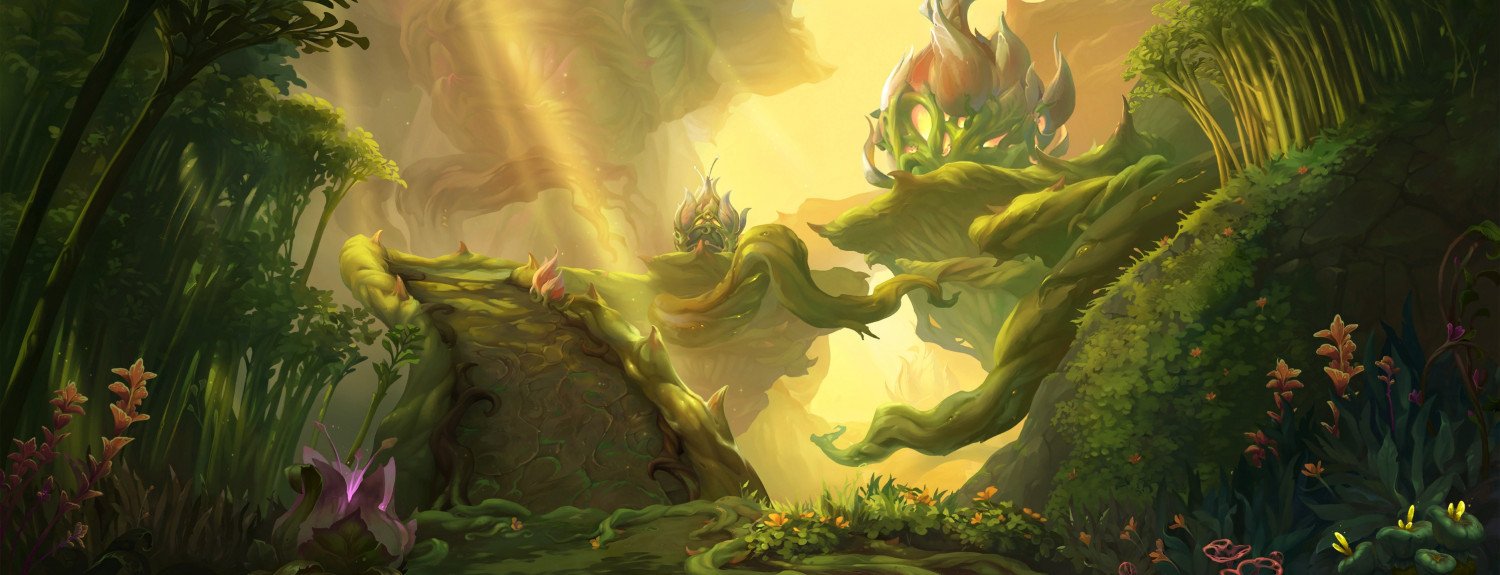
The Blinding Vale is a once-thriving ecosystem now overtaken by the invasive Lightbloom. What began as a natural force has spiraled into a relentless expansion, twisting creatures and guardians alike into agents of its growth.
The dungeon quest tied to The Blinding Vale is The Blinding Vale: Lightbloom Roots, which becomes available at level 88 and rewards additional loot for your first completion.
The Blinding Vale is located in Harandar, toward the southwest part of the zone.
If you want to walk into the dungeon instead of queueing for it, head to the following entrance coordinates - 27.8 77.9
The bosses in The Blinding Vale appear in this order, and each one has one key tip to keep in mind during the fight.
- Lightblossom Trinity (Meittik, Lekshi, Kezkitt): Block Lightblossom Beam to prevent stacks from building.
- Ikuzz the Light Hunter: Break Bloodthorn Roots quickly and avoid being caught during Bloodthirsty Gaze.
- Lightwarden Ruia: Avoid frontal damage and prepare for a heavy burst phase at low health.
- Ziekket: Destroy Lashers efficiently and avoid standing in Concentrated Lightbeam.
Here is the full The Blinding Vale loot table, including gear, profession recipes, and housing decor.
|
Item Name |
Item Type |
Source |
|
Ring |
||
|
Back |
||
|
Cloth Helm |
||
|
Cloth Waist |
||
|
Leather Wrist |
||
|
Leather Waist |
||
|
Leather Legs |
||
|
Mail Wrist |
||
|
Mail Hands |
||
|
Mail Shoulder |
||
|
Plate Hands |
||
|
Plate Chest |
||
|
Plate Legs |
||
|
Trinket |
||
|
Trinket |
||
|
Trinket |
||
|
Trinket |
||
|
Dagger |
||
|
Fist Weapon |
||
|
1H Sword |
||
|
Polearm |
||
|
Staff |
||
|
Crossbow |
||
|
Wand |
||
|
Off-Hand |
||
|
Shield |
||
|
Leatherworking Recipe |
||
|
Leatherworking Recipe |
||
|
Housing Decor |
Browse our hottest WoW Boosting services


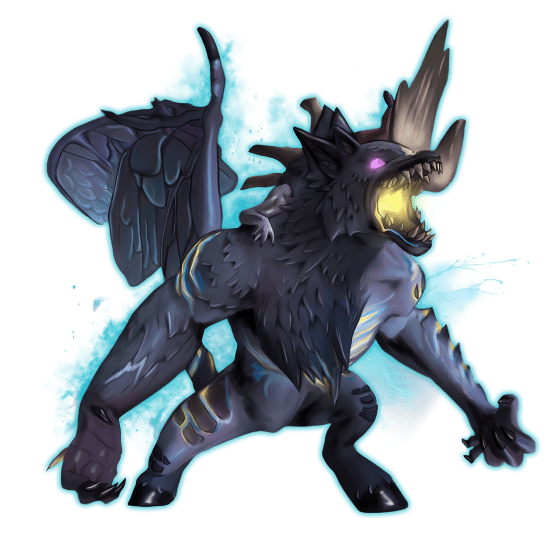

Den of Nalorakk
Deep within Zul’Aman, the Den of Nalorakk serves as a brutal proving ground. Those who enter must endure a series of trials set by the loa of war, facing both primal forces and relentless combat to prove their worth.
The dungeon quest tied to Den of Nalorakk is Den of Nalorakk: Unforgiven, which becomes available at level 88 and rewards additional loot for your first completion.
Den of Nalorakk is located in Zul’Aman, toward the southern part of the zone.
If you want to walk into the dungeon instead of queueing for it, head to the following entrance coordinates - 31.4 83.9
The bosses in Den of Nalorakk appear in this order, and each one has one key tip to keep in mind during the fight.
- The Hoardmonger: Destroy Rotten Mushrooms quickly to reduce group-wide damage.
- Sentinel of Winter: Avoid Raging Squalls and prepare for heavy damage during Eternal Winter.
- Nalorakk: Watch for charges during Fury of the War God and avoid echo impacts.
Here is the full Den of Nalorakk loot table, including gear, profession recipes, and housing decor.
|
Item Name |
Item Type |
Source |
|
Neck |
||
|
Ring |
||
|
Cloth Wrist |
||
|
Cloth Chest |
||
|
Cloth Legs |
||
|
Leather Shoulder |
||
|
Leather Chest |
||
|
Leather Feet |
||
|
Mail Helm |
||
|
Mail Hands |
||
|
Mail Waist |
||
|
Mail Feet |
||
|
Plate Hands |
||
|
Plate Chest |
||
|
Plate Waist |
||
|
Trinket |
||
|
Trinket |
||
|
Trinket |
||
|
Fist Weapon |
||
|
Polearm |
||
|
Staff |
||
|
Shield |
||
|
Enchanting Recipe |
||
|
Housing Decor |
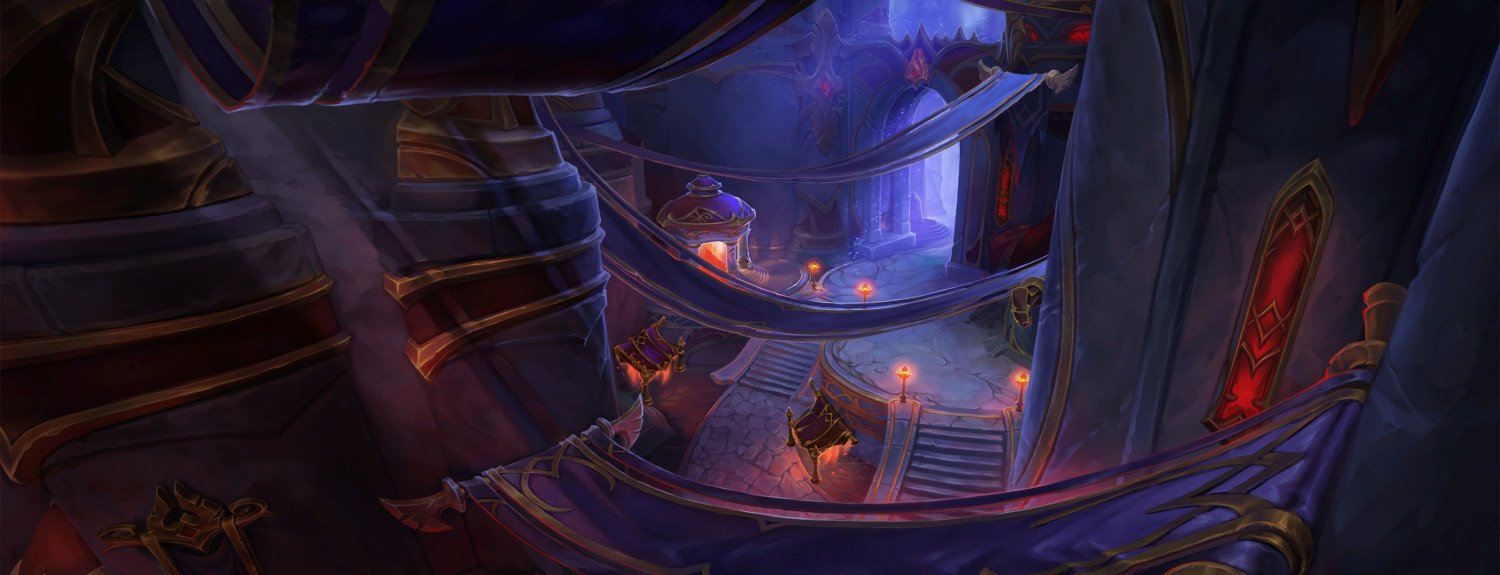
Magisters' Terrace

Once a symbol of arcane mastery on the Isle of Quel'Danas, Magisters' Terrace now stands as a volatile nexus of unstable magic and void corruption. Its halls are filled with constructs, spellbreakers, and entities twisted by unchecked power.
The dungeon quest tied to Magisters' Terrace is Magisters' Terrace: Homecoming, which becomes available at level 90 and rewards additional loot for your first completion.
Magisters' Terrace is located on the Isle of Quel'Danas, toward the northeastern part of the zone.
If you want to walk into the dungeon instead of queueing for it, head to the following entrance coordinates - 63.4 15.3
The bosses in Magisters' Terrace appear in this order, and each one has one key tip to keep in mind during the fight.
- Arcanotron Custos: Interrupt key casts and avoid standing in overlapping arcane effects.
- Seranel Sunlash: Stay mobile and avoid frontal or targeted damage abilities.
- Gemellus: Watch for split mechanics and manage positioning carefully.
- Degentrius: Save cooldowns for high damage phases and avoid void-based ground effects.
Here is the full Magisters' Terrace loot table, including gear, profession recipes, and housing decor.
|
Item Name |
Item Type |
Source |
|
1H Mace |
||
|
Plate Chest |
||
|
Leather Wrist |
||
|
Cloth Waist |
||
|
Mail Legs |
||
|
Trinket |
||
|
Warglaives |
||
|
Shield |
||
|
Leather Head |
||
|
Back |
||
|
Cloth Wrist |
||
|
Mail Waist |
||
|
Plate Boots |
||
|
Dagger |
||
|
Mail Chest |
||
|
Leather Hands |
||
|
Plate Waist |
||
|
Ring |
||
|
Trinket |
||
|
2H Axe |
||
|
1H Sword |
||
|
Mail Head |
||
|
Cloth Chest |
||
|
Plate Legs |
||
|
Leather Boots |
||
|
Trinket |
||
|
Enchanting Recipe |
||
|
Enchanting Recipe |
||
|
Tailoring Recipe |
||
|
Housing Decor |
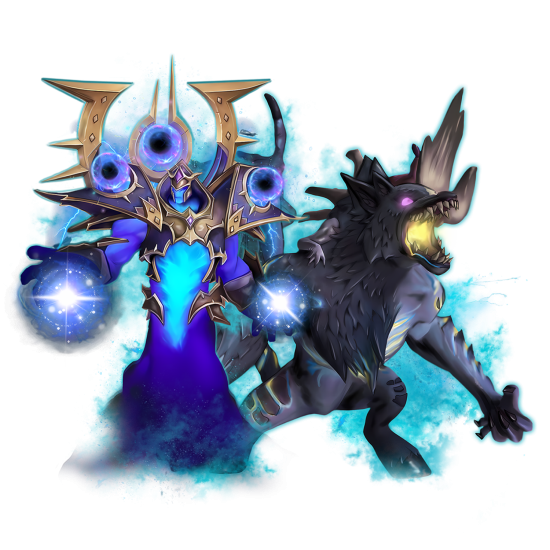
Nexus-Point Xenas
Deep within the Voidstorm, Nexus-Point Xenas acts as a critical hub where unstable energies of Light and Void collide. The facility is guarded by powerful constructs and agents tasked with maintaining control over forces that are constantly threatening to spiral out of control.
The dungeon quest tied to Nexus-Point Xenas is Nexus-Point Xenas: Eclipse, which becomes available at level 90 and rewards additional loot for your first completion.
Nexus-Point Xenas is located in the Voidstorm, toward the eastern part of the zone.
If you want to walk into the dungeon instead of queueing for it, head to the following entrance coordinates - 64.4 61.8
The bosses in Nexus-Point Xenas appear in this order, and each one has one key tip to keep in mind during the fight.
- Chief Corewright Kasreth: Avoid standing in overlapping energy zones and interrupt key abilities.
- Corewarden Nysarra: Stay mobile and manage incoming damage spikes carefully.
- Lothraxion: Save cooldowns for high damage phases and avoid lingering effects.
Here is the full Nexus-Point Xenas loot table, including gear, profession recipes, and housing decor.
|
Item Name |
Item Type |
Source |
|
Staff |
||
|
Shield |
||
|
Back |
||
|
Plate Wrist |
||
|
Leather Hands |
||
|
Cloth Legs |
||
|
1H Mace |
||
|
Cloth Shoulder |
||
|
Mail Wrist |
||
|
Plate Legs |
||
|
Leather Feet |
||
|
Ring |
||
|
Trinket |
||
|
Dagger |
||
|
Plate Shoulder |
||
|
Leather Chest |
||
|
Cloth Hands |
||
|
Mail Legs |
||
|
Ring |
||
|
Trinket |
||
|
Jewelcrafting Recipe |
||
|
Housing Decor |


You got -20% OFF 
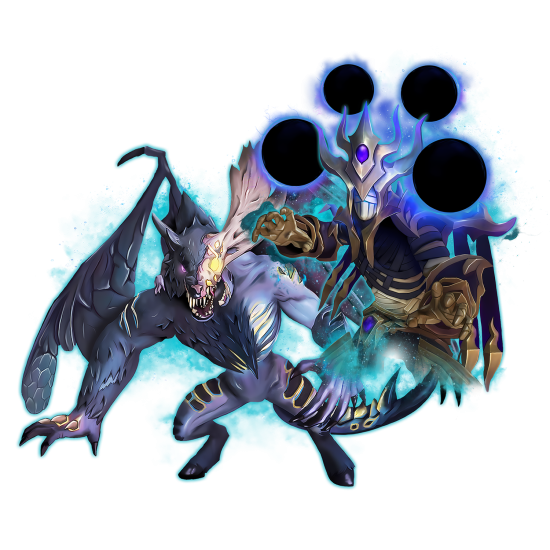
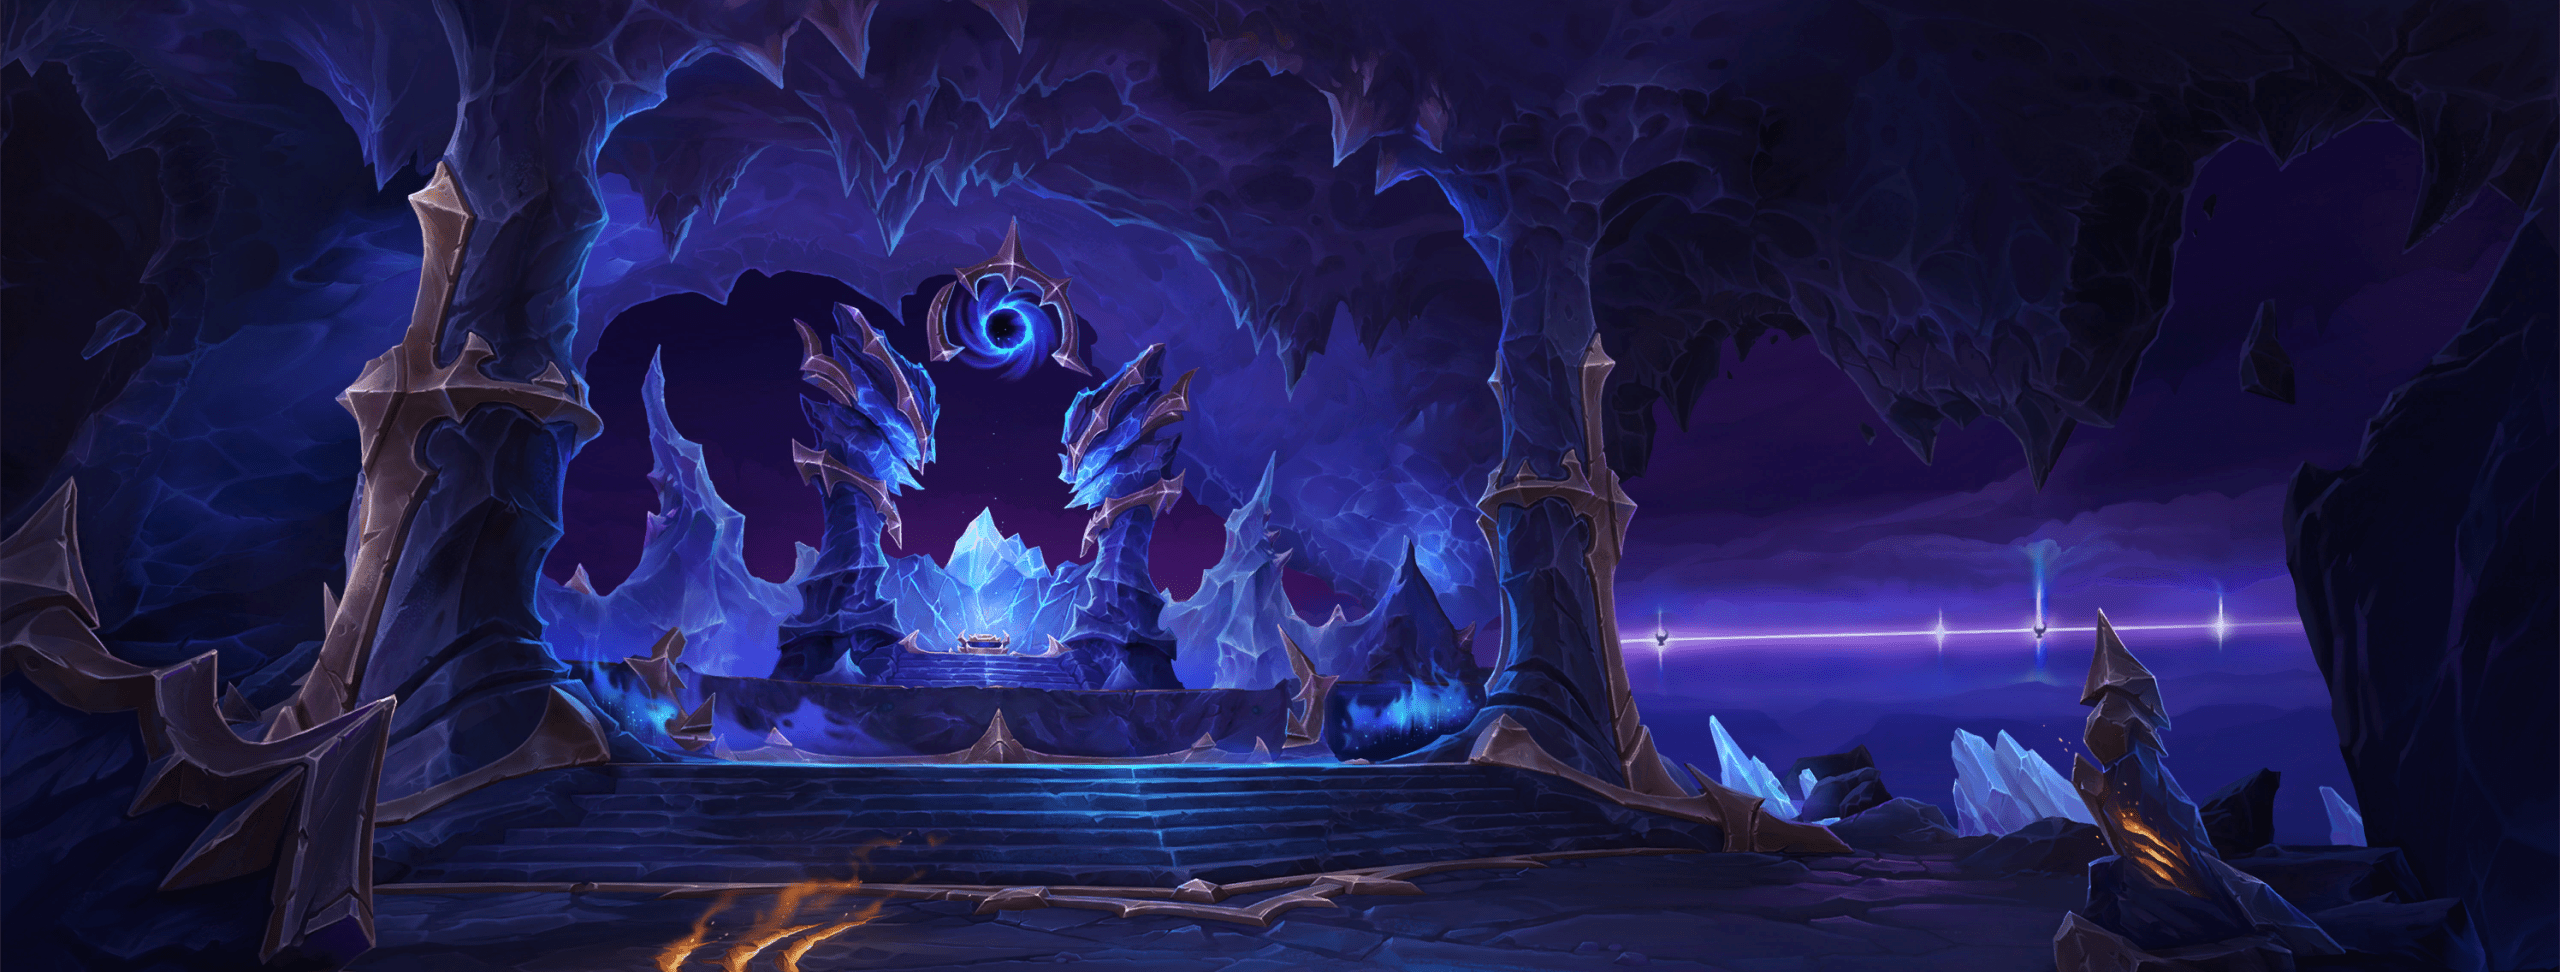
Voidscar Arena
Hidden within the Voidstorm, the Voidscar Arena is a brutal proving ground where champions face off against deadly void-infused foes. Each encounter tests positioning, awareness, and survival against overwhelming cosmic forces.
The dungeon quest tied to Voidscar Arena is Voidscar Arena: Breaking the Triad, which becomes available at level 90 and rewards additional loot for your first completion.
Voidscar Arena is located in the Voidstorm, toward the northern part of the zone.
If you want to walk into the dungeon instead of queueing for it, head to the following entrance coordinates - 53.7 34.8
The bosses in Voidscar Arena appear in this order, and each one has one key tip to keep in mind during the fight.
- Taz'Rah: Stay away from Dark Rift and avoid getting pulled into it.
- Atroxus: Avoid Noxious Breath and do not stand in poison pools.
- Charonus: Use Unstable Singularity to clear dangerous void effects.
Here is the full Voidscar Arena loot table, including gear, profession recipes, and housing decor.
|
Item Name |
Item Type |
Source |
|
Neck |
||
|
Ring |
||
|
Cloth Helm |
||
|
Cloth Shoulders |
||
|
Cloth Waist |
||
|
Leather Waist |
||
|
Leather Shoulders |
||
|
Leather Chest |
||
|
Mail Helm |
||
|
Mail Chest |
||
|
Mail Waist |
||
|
Plate Helm |
||
|
Plate Hands |
||
|
Trinket |
||
|
Trinket |
||
|
Trinket |
||
|
1H Axe |
||
|
1H Sword |
||
|
Warglaives |
||
|
Dagger |
||
|
Polearm |
||
|
Jewelcrafting Recipe |
||
|
Housing Decor |
Read our other WoW guides:
F.A.Q.
How many dungeons are in WoW Midnight?
There are a total of 8 brand-new dungeons in WoW Midnight:
- Windrunner Spire
- Murder Row
- Maisara Caverns
- Den of Nalorakk
- The Blinding Vale
- Magisters' Terrace
- Nexus-Point Xenas
- Voidscar Arena
Can I complete dungeons before hitting max level in Midnight?
Yes, the first five dungeons are unlocked before level 90. You can do those as soon as you hit the required level on Normal difficulty.
How to get guaranteed loot from dungeons in Midnight?
Each dungeon has a quest tied to it. If you complete the dungeon for the first time with the related quest active, you’ll get guaranteed gear from the dungeon pool.
How many bosses are in Midnight dungeons?
Every dungeon in Midnight has at least 3 and sometimes 4 boss encounters. The actual number of elite enemies varies by the instance.
What ilvl gear can I get from dungeons in Midnight?
Depending on the difficulty, you complete the dungeons, you can get the gear with the following ilvl brackets:
- Normal - ilvl 214
- Heroic - ilvl 230
- Mythic - ilvl 246


