 Dallon Avery
WARDOGS Flying Guide Quick Overview:
- Helicopter mechanics in WARDOGS are simulated and are close to how helis behave in real life.
- In the game settings, you can change helicopter controls and enable mouse steering.
- J-hook is a helicopter landing move designed to land in dangerous zones under enemy fire.
- Ascending and descending is called Collective.
- The Firing Range is an excellent map to practice flying helicopters.
Enjoying WARDOGS but don't have enough free time to grind money? Buy


Read closely 
Browse our hottest WARDOGS Boosting services





Why Flying in Helicopters in WARDOGS is Important to Learn
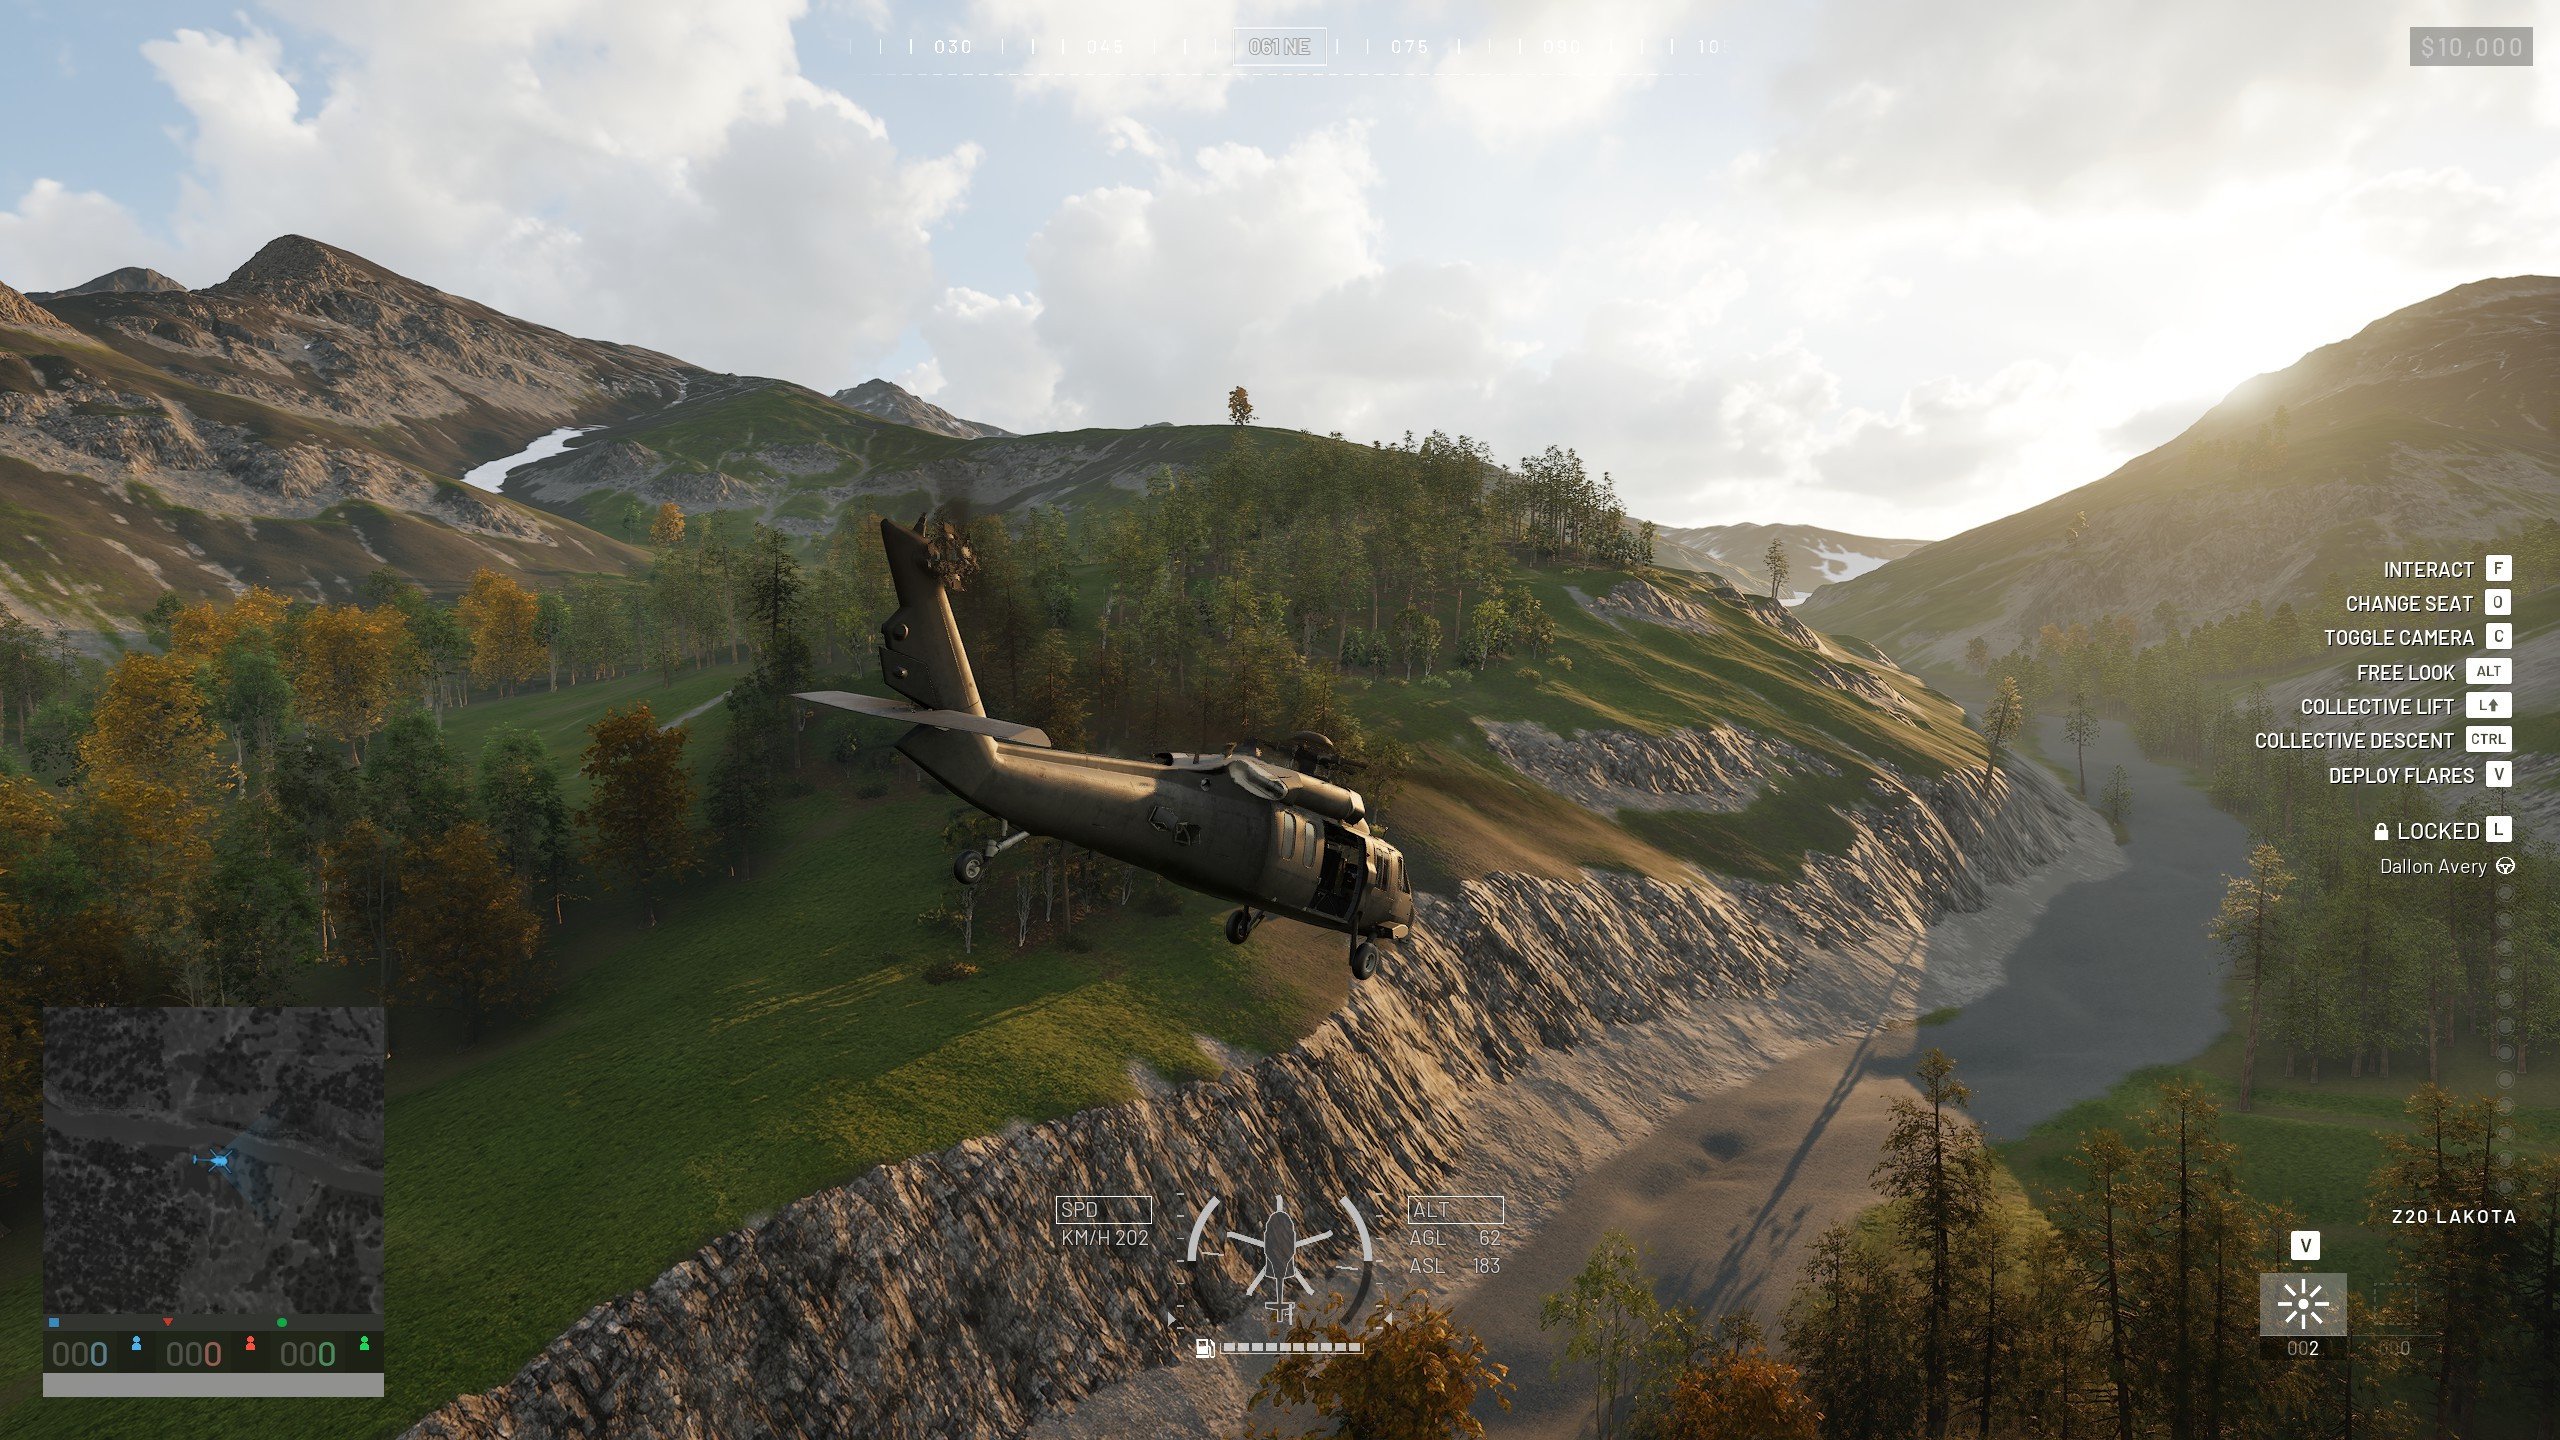
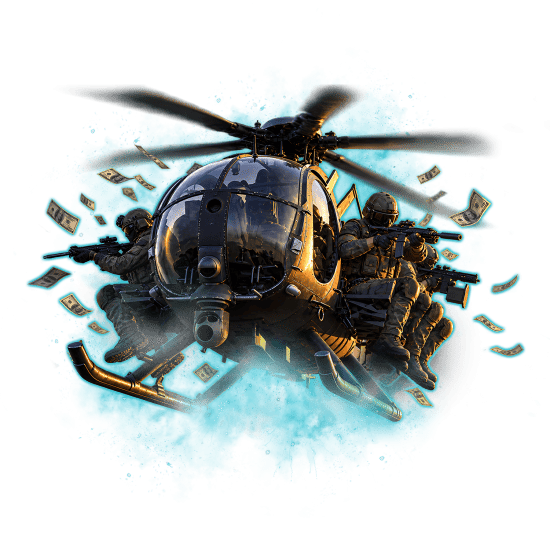
If you played during the betas, you must have seen a bunch of players buying the helicopter at the start of the game to transport other players to the control zone faster than any ground vehicle. It’s also one of the fastest ways to earn cash; players who safely exit the helicopter each produce more cash for the pilot as they continue to eliminate enemies. So, there’s a lot of incentive to be a good pilot. Sadly, pilots in the game seem to come in two types: those who can actually fly and those who are learning as they go.
Even despite the amount of anti-air defenses that the enemy teams can set up, helicopters are still the best way to move around the map. It has so many uses; it's difficult to underestimate it. During the beta, they were also actually pretty cheap, and the first AH-6M Little Bird was available to all players by default. But it all comes down to your ability to fly one. So, in this guide, I’ve outlined how you can learn how to fly. This includes: control settings, taking off, flying and controlling the helicopter, and accelerating, decelerating, landing, and performing one of the most useful moves every pilot should know - the J-hook. So, let’s dive into it.
WARDOGS Best Helicopter Controls
Now, I expect this to be somewhat controversial, but I’m going to go ahead and say this right off the gate: the default controls for rotary vehicles are the best setup to learn how to fly on. And I’ve tried a different set of settings. I’ll list both, as well as the most commonly used HOTAS (Hands-On Throttle-And-Stick), and you decide which one you want to use. I’d actually advise you to check out how it feels to use different controls to find the one that feels more natural to you.
These are not the keybind settings; these are flying settings that change control behavior:
|
Setting |
Value |
Description |
|
Freelook On By Default |
Enabled |
When enabled, free look will persist through camera perspective changes. If false, it will always default to off. |
|
First Person Free Cam Sensitivity |
100 |
The sensitivity of the first person free camera in a vehicle |
|
Third Person Free Cam Sensitivity |
100 |
The sensitivity of the third person free camera in a vehicle |
|
Vehicle Weapon Sensitivity |
1.00 |
The mouse sensitivity of the vehicle weapon extension |
|
Ground Vehicle Multiplier |
2.00 |
Multiplies the sensitivity of ground vehicles |
|
Air Vehicle Multiplier |
0.50 |
Multiplies the sensitivity of air vehicles |
|
Rotary Vehicle Mouse Control |
Disabled |
Alter the ability to control a rotary vehicle using mouse input |
|
Invert Y Axis – Ground Vehicle |
Disabled |
Whether to invert the up/down directions when driving a ground vehicle |
|
Invert Y Axis – Air Vehicle |
Disabled |
Whether to invert the up/down directions when piloting an air vehicle |
|
Flight Assists |
Enabled |
Master switch for helicopter flight assists. Turn off for a fully manual, harder-to-fly experience; this disables all assist categories below. |
|
Stability Assist |
Enabled |
Dampers pitch, roll and yaw to keep the helicopter steady. Turn off for looser, more manual handling. |
|
Auto-Hover Assist |
Enabled |
Automatically helps maintain a hover when the collective returns to neutral, reducing unwanted movement at low speed. |
|
Envelope Limits |
Enabled |
Restricts extreme helicopter inputs and attitudes to keep the aircraft within a safer flight envelope. Disabling it allows steeper and more aggressive maneuvers. |
|
Turn Coordination |
Disabled |
Automatically applies yaw during banked turns, helping keep the helicopter coordinated and reducing sideways wobble. |
|
Missile Mouse Control |
Enabled |
Allows mouse input to steer controllable missiles instead of relying only on the dedicated missile cyclic keybinds. |
|
Invert Y Axis – Missile |
Enabled |
Reverses the vertical control direction when steering a missile, swapping its up and down input. |
You can probably see why these are the best settings to learn on - most of the assists are on by default. You might ask - why would I want to learn on settings that have assists that clearly limit how much control I have over the helicopter? First of all, these are the settings I saw used by players who are heli pilots in real life. Second of all, having these on does not feel restrictive at all, which you’ll see as soon as you start flying. It’s very easy to crash your heli if you don’t know the basic physics of rotary vehicles, and these assistants will not save you if you do too much yaw and do a barrel roll 30 feet off the ground.
Another thing to highlight is the fact that you’ll be controlling all helicopter movement with the keyboard, and your mouse just controls the camera, like when using ground vehicles. This is actually pretty useful because using the mouse to look around comes in super handy when you’re deciding where to land in a zone with enemy presence. It will also help you avoid any other helis that might be angling to take a shot at you.
Helicopter Mouse Control (Alternative Control Scheme)
I’ve seen tutorials where the author suggests turning on the “Rotary Vehicle Mouse Control” to make it so that you control the heli with your mouse. While I tried this and it didn’t feel comfortable for me, you might find it more natural, so here are the settings.
|
Setting |
Value |
Description |
|
Rotary Vehicle Mouse Control |
Enabled |
Enables mouse input for helicopter flight. The mouse is mainly used for finer corrections while keyboard inputs handle larger movements. |
|
Helicopter Mouse Swipe Left/Right |
Yaw |
Horizontal mouse movement rotates the helicopter left or right. Useful for precise directional adjustments. |
|
Helicopter Mouse Swipe Up/Down |
Pitch |
Vertical mouse movement controls the helicopter’s nose-up and nose-down pitch. |
|
Helicopter Mouse Pitch Sensitivity |
100% |
Makes vertical mouse input fully responsive for precise pitch adjustments. |
|
Helicopter Mouse Yaw Sensitivity |
100% |
Makes horizontal mouse input fully responsive for precise yaw adjustments. |
|
Helicopter Mouse Axis Isolation |
100% |
Keeps pitch and yaw mouse inputs separated as much as possible, preventing diagonal mouse movement from unnecessarily mixing both controls. |
|
Air Vehicle Multiplier |
0.50 |
Reduces overall mouse sensitivity for aircraft, making fine helicopter corrections easier. |
|
Invert Y Axis – Air Vehicle |
Enabled |
Uses traditional aircraft-style vertical input: moving down pitches the nose up, while moving up pitches it down. |
With these settings, you can control the helicopter with the keyboard and mouse for more precise movement while airborne. Here’s how that works:
|
Input |
Helicopter Action |
|
Left Shift |
Increase collective / climb |
|
Left Ctrl |
Decrease collective / descend |
|
W |
Pitch forward |
|
S |
Pitch backward |
|
A / D |
Turn or maneuver left/right |
|
Mouse Left / Right |
Fine yaw adjustments |
|
Mouse Up / Down |
Fine pitch adjustments |
And now let’s talk about the default control scheme and what buttons do something while you’re a helicopter pilot.
Default Helicopter Keybindings
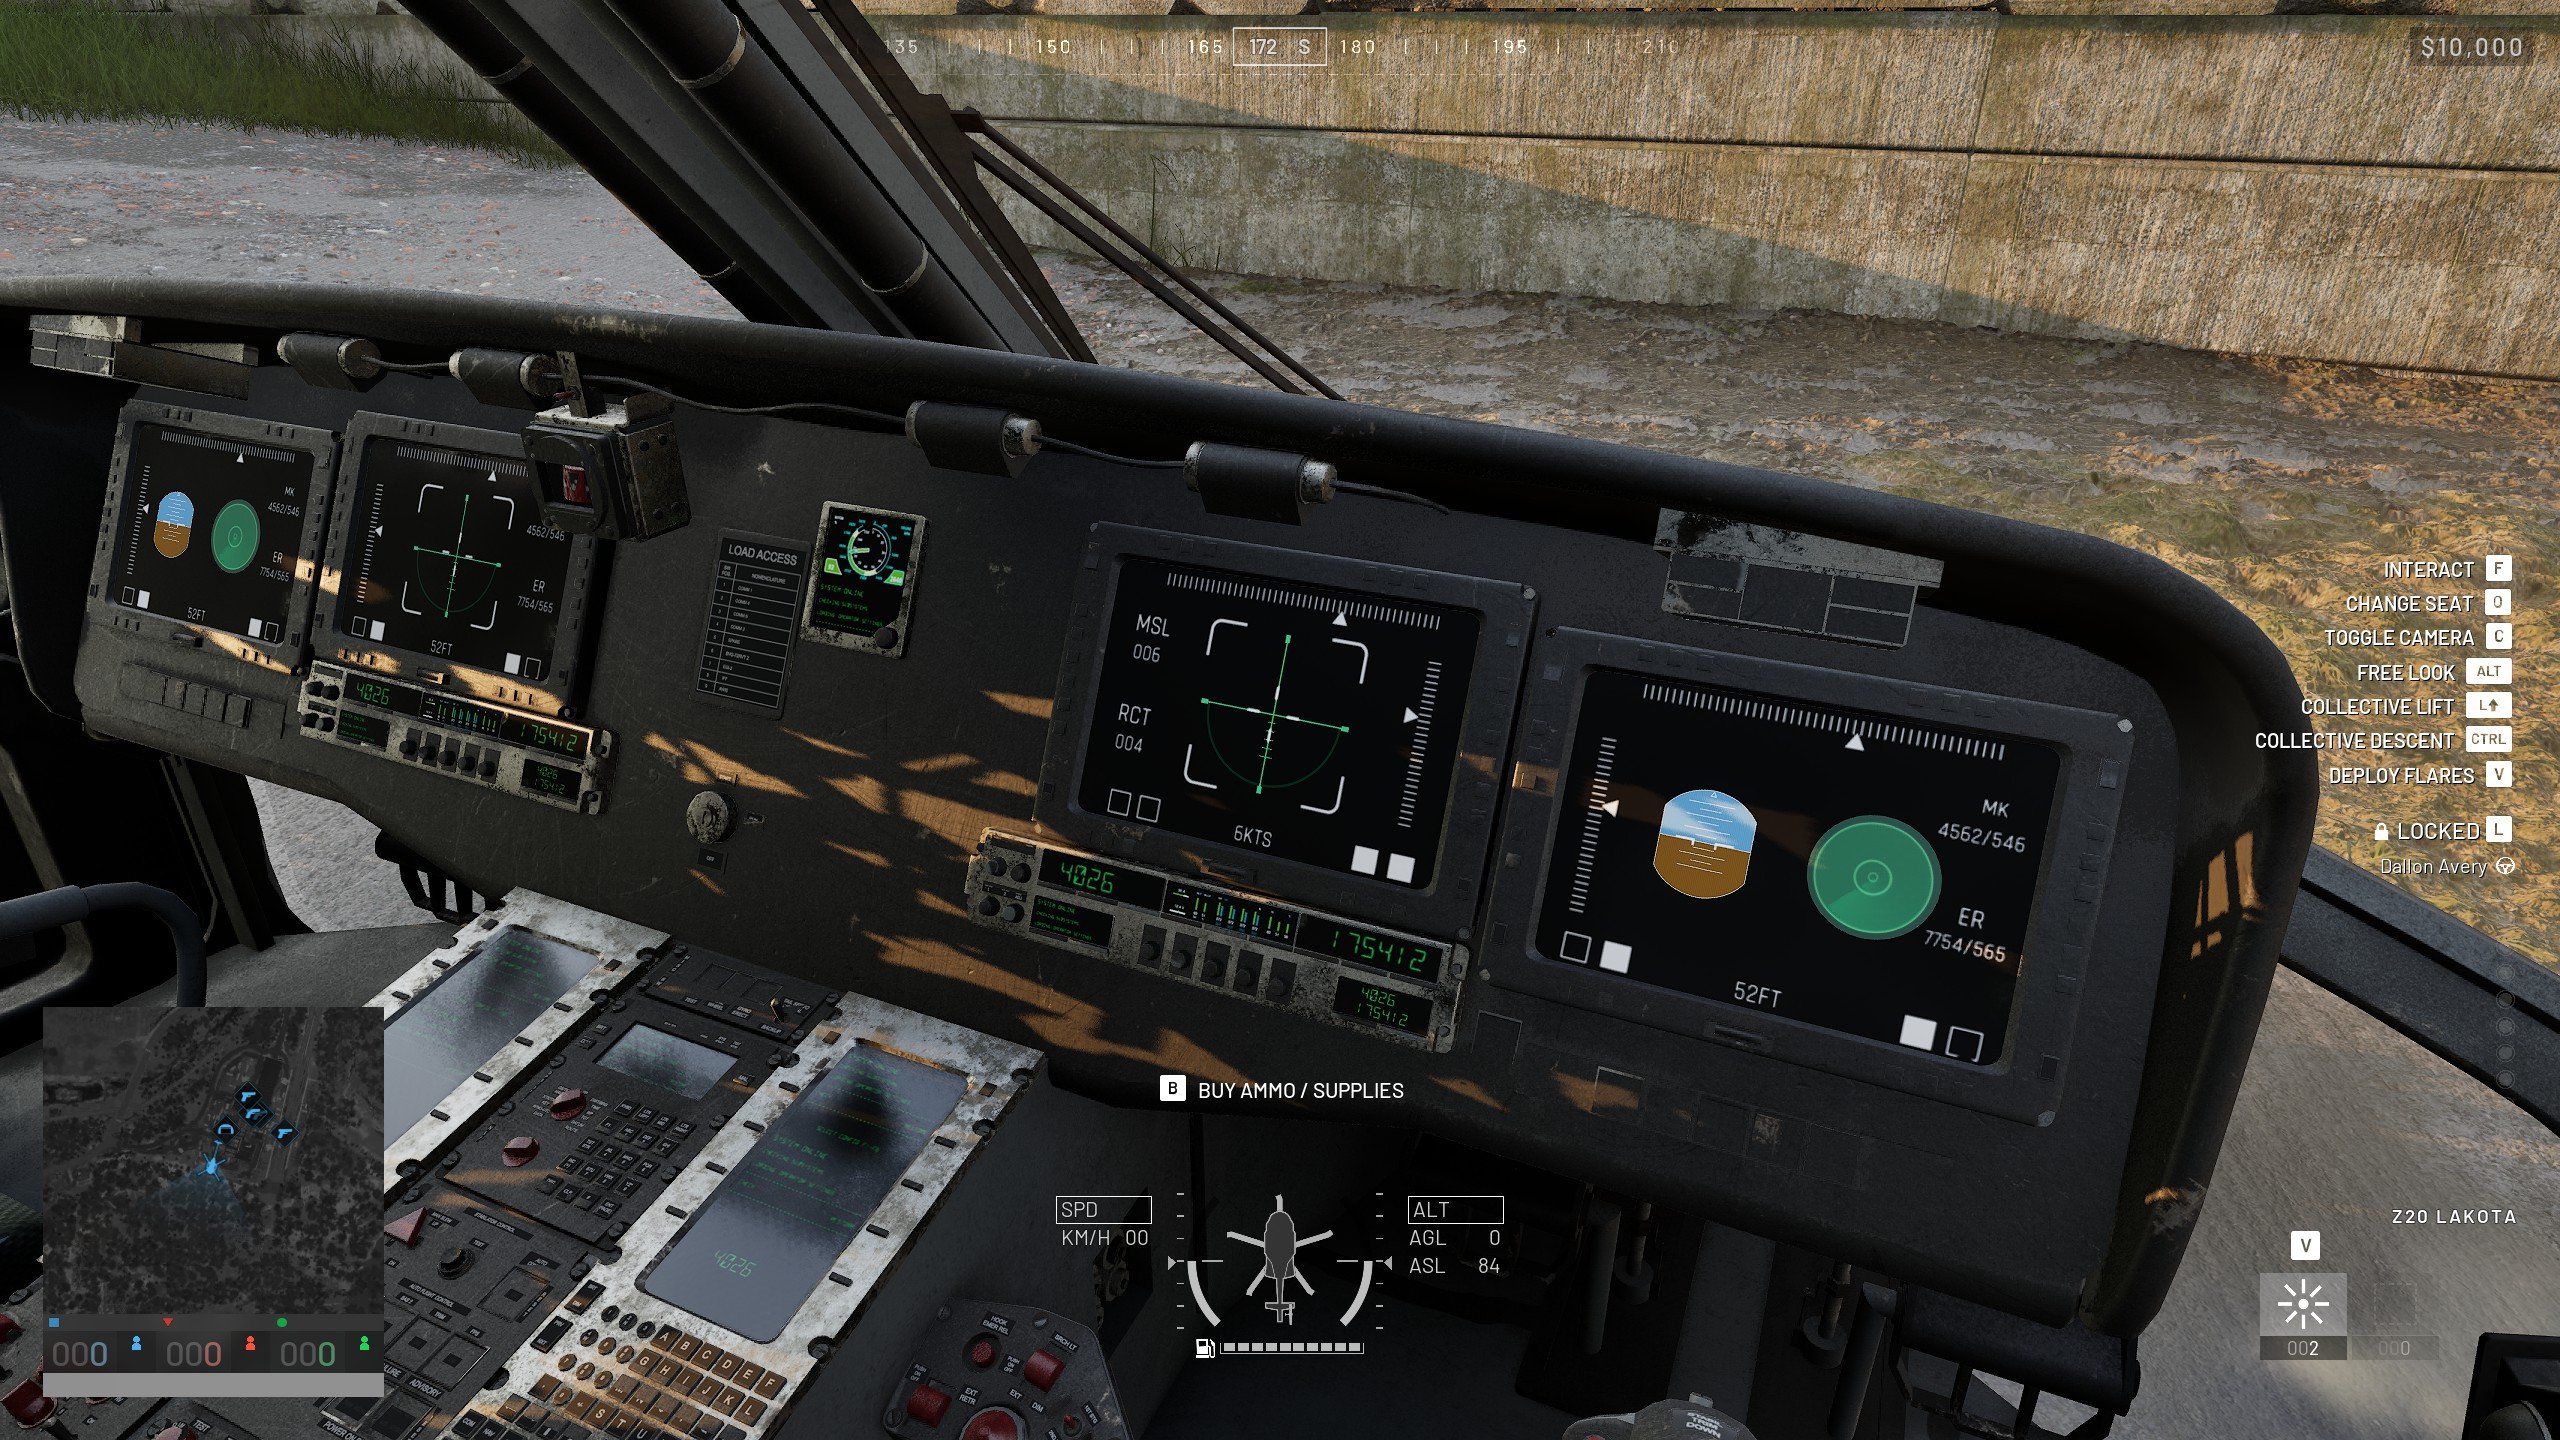
While in the helicopter, you’ll see the following keybindings by default:
|
Action |
Key |
What It Does |
|
Interact |
F |
Interacts with the helicopter to access the menu for turning on the engine or accessing the inventory |
|
Change Seat |
0 |
Cycles to another seat in the helicopter. |
|
Toggle Camera |
C |
Switches between helicopter camera perspectives. |
|
Free Look |
Alt |
Lets you look around without changing the helicopter's direction. |
|
Collective Lift |
Left Shift |
Increases collective, making the helicopter climb. |
|
Collective Descent |
Left Ctrl |
Decreases collective, making the helicopter descend. |
|
Deploy Flares |
V |
Deploys defensive flares against incoming missiles. |
|
Lock / Unlock Vehicle |
L |
Locks or unlocks the helicopter. |
Also, you’ll see the main helicopter UI at the bottom center of your screen that contains some useful information that will help you better understand what a helicopter does when you’re piloting it. The UI includes:
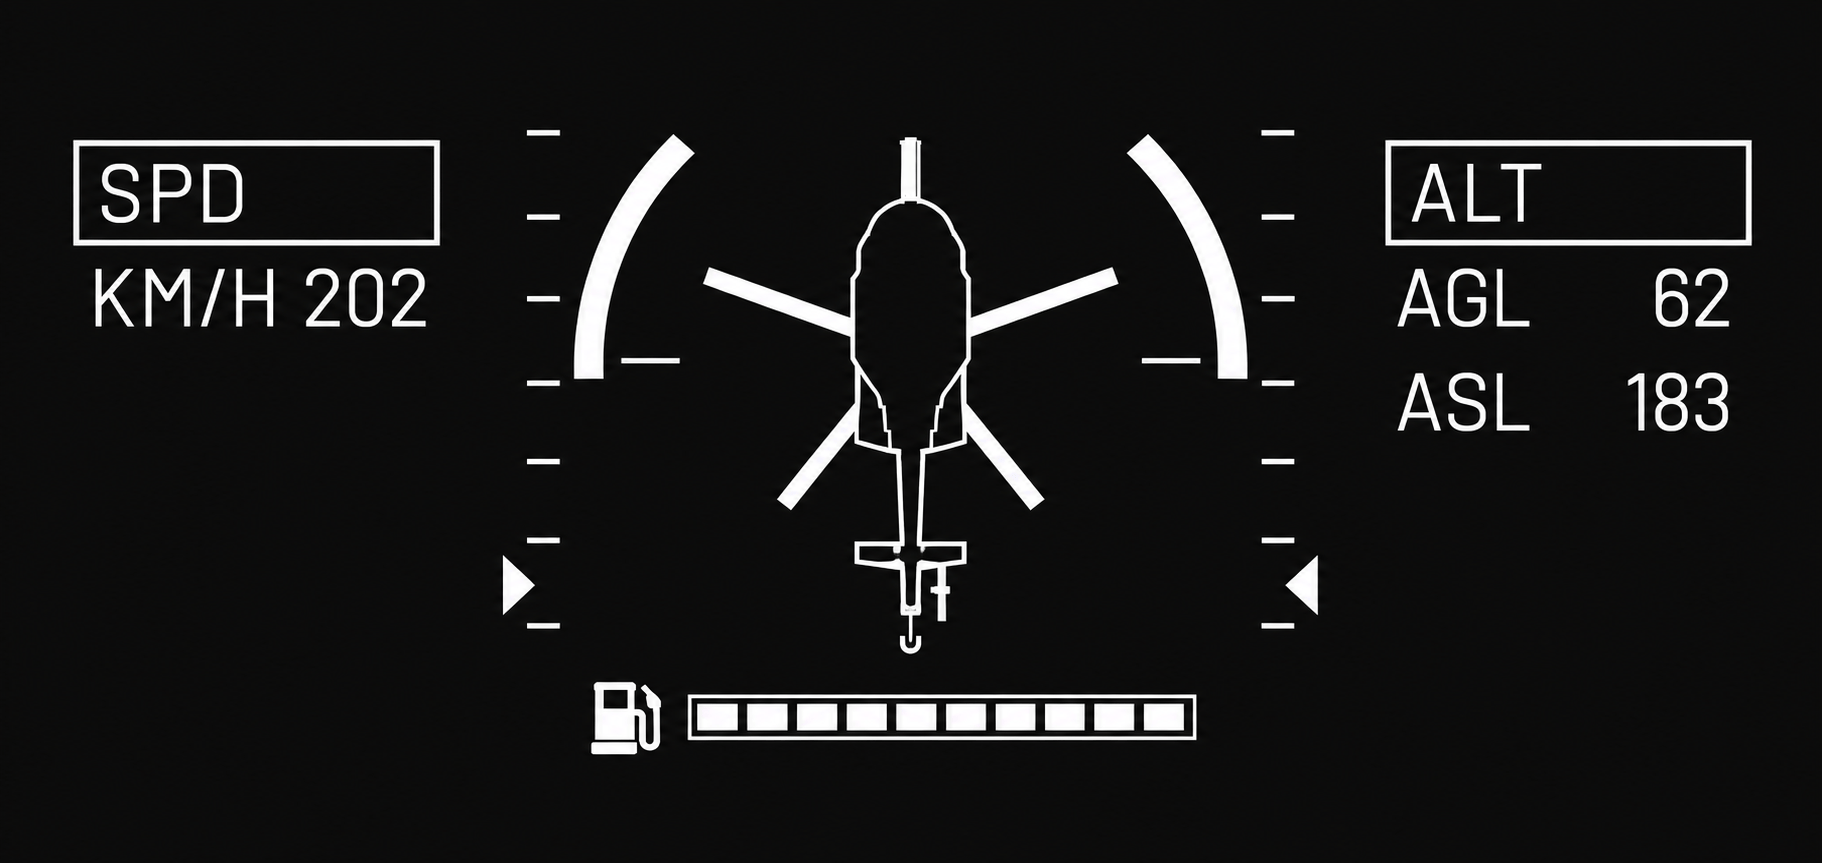
|
HUD Element |
Meaning |
|
Central vertical bar |
Collective input |
|
Center of collective bar |
Neutral collective |
|
Side bars beside helicopter |
Roll / bank angle |
|
Outer arrows |
Pitch attitude, nose high or nose low |
|
SPD |
Airspeed in km/h |
|
ALT AGL |
Height above the terrain |
|
ALT ASL |
Height above sea level |
You don’t have to keep your eyes glued to this piece of UI, but it’s sometimes useful, especially when you’re trying to level your heli relative to the ground when landing.
WARDOGS HOTAS Controls
If you’re using the flying stick (which you absolutely can), here are the most popular settings that fit most brands and models:
|
WARDOGS HOTAS Setting |
Recommended Setting |
Notes |
|
Enable HOTAS |
On |
Required for joystick/HOTAS input |
|
Roll |
Stick Left/Right |
Standard cyclic control |
|
Pitch |
Stick Forward/Back |
Standard cyclic control |
|
Yaw |
Stick Twist or Rudder Pedals |
Pedals are preferable if available |
|
Collective |
Throttle/Lever Axis |
Push/pull direction depends on hardware |
|
Roll Sensitivity |
0.75 / 75% |
Good universal starting point |
|
Pitch Sensitivity |
0.75 / 75% |
Good universal starting point |
|
Yaw Sensitivity |
0.75 / 75% |
Good universal starting point |
|
Collective Sensitivity |
0.75 / 75% |
Start here and adjust if needed |
|
Roll Deadzone |
0 |
Increase only if the stick drifts |
|
Pitch Deadzone |
0 |
Increase only if the stick drifts |
|
Yaw Deadzone |
0 |
Increase only if twist/pedals drift |
|
Collective Deadzone |
0 |
Usually unnecessary with a throttle |
|
Invert Pitch |
Off |
Unless the axis binds backwards |
|
Invert Yaw |
Off / As Needed |
Some devices bind yaw backwards |
|
Invert Collective |
As Needed |
Set so pushing the throttle raises collective |
|
Self-Centering Collective |
Off |
Standard throttle/HOTAS |
|
Self-Centering Collective |
On for HOSAS |
Only when collective uses a spring-centered stick |
|
Stability Assist |
On |
Makes small corrections smoother |
|
Auto-Hover Assist |
On |
Helps settle the helicopter during approaches |
|
Turn Coordination |
On |
Especially useful without rudder pedals |
|
Envelope Limits |
Off |
Allows full maneuvering range |
|
Free Look |
POV/Hat Switch |
If the particular stick is recognized correctly |
|
Fire |
Trigger |
Natural universal bind |
|
Flares |
Accessible Thumb Button |
Keep it reachable without releasing the stick |
WARDOGS sensitivity doesn't simply act like a hard maximum turning-speed limiter. Higher sensitivity makes relatively small physical stick movements produce stronger aircraft input. At 0.75, you retain the ability to make hard banks with full stick travel, but small movements around center become much easier to control.
Early HOTAS players commonly recommended simply switching every assist off, especially players coming from Arma or flight sims. One fairly popular WARDOGS thread explicitly recommended turning all assists off for unrestricted control.
Helicopter Flying Basics
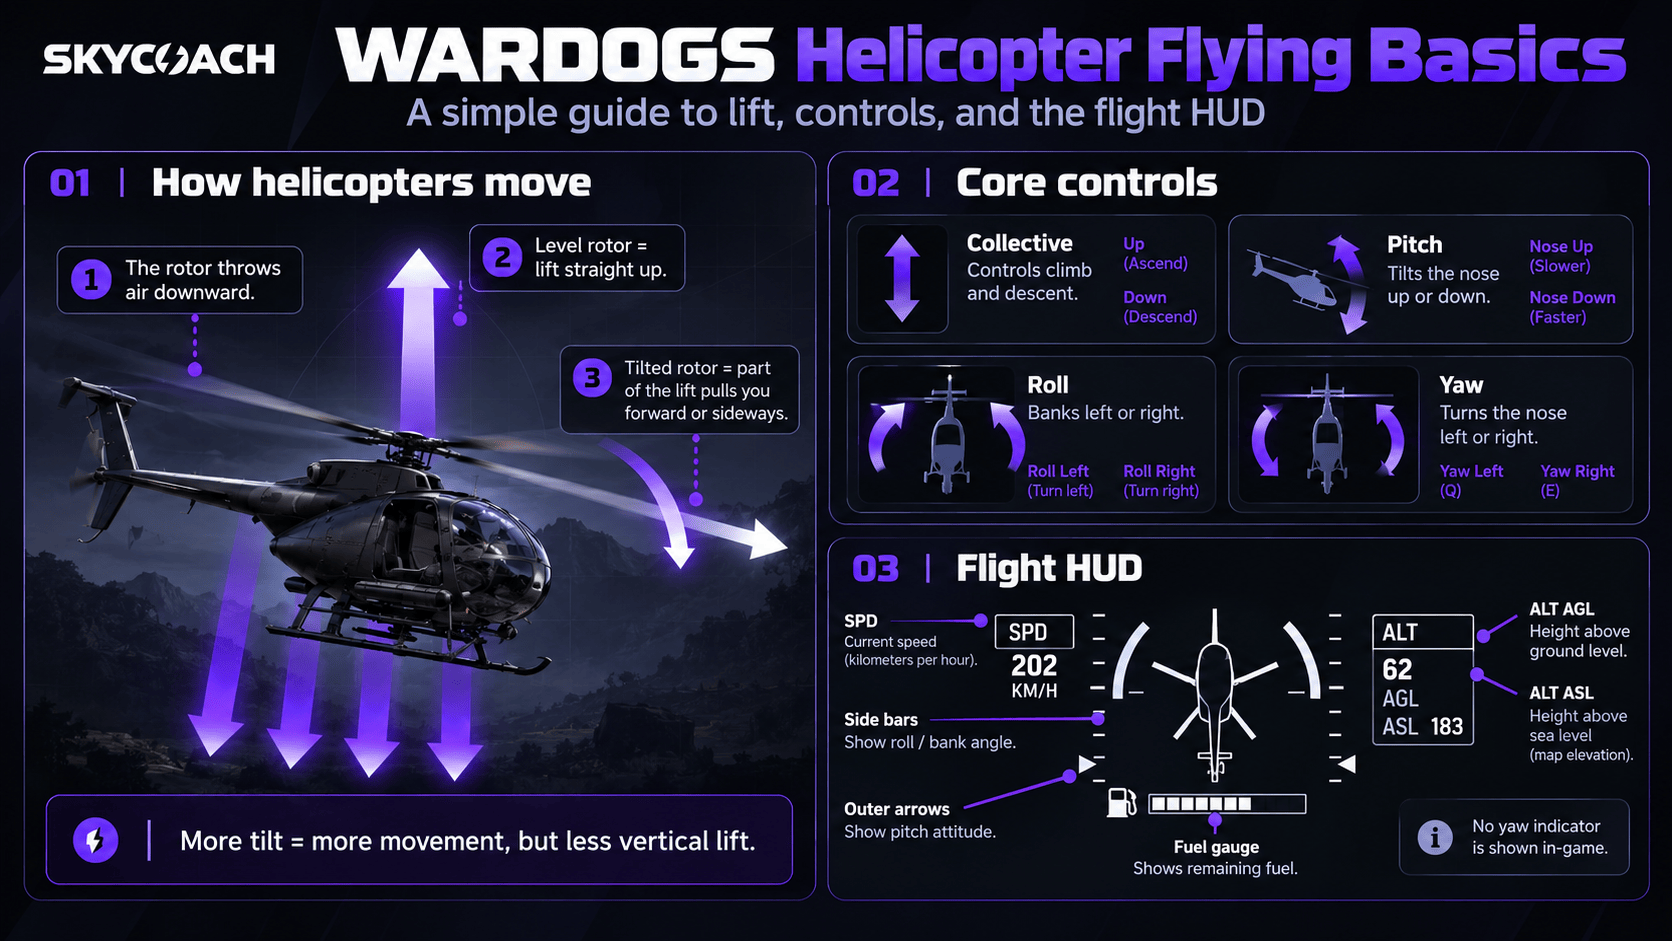
Not all of us have flown helicopters in Battlefield or ARMA games. If you decided to finally teach yourself how to fly helicopters in this game, I found it best to start by understanding how helicopters fly. That’s going to help you see how to control the thing and what could go wrong and why.
Flying a helicopter in WARDOGS means constantly balancing several inputs at once. Unlike a ground vehicle, a helicopter rarely stays stable after a single input. Pitch, roll, yaw, and collective are constantly interacting.
- Pitch is a movement with the helicopter’s nose tilted down or up (Y-axis).
- Roll is a movement that tilts the helicopter body left or right (X-axis).
- Yaw is a movement that makes the helicopter’s nose turn left or right (Z-axis).
- Collective (throttle) - speeds the blades up or down, which causes the helicopter to climb or descend when it is horizontal to the earth.
The easiest way to understand helicopters in WARDOGS is to imagine the rotor constantly throwing air downward.
When the helicopter is level, most of that force is directed straight down. The reaction pushes the helicopter upward and keeps it in the air.
Tilt the rotor disc, however, and that force tilts with it.
Pitch forward, and part of the lift starts pulling the helicopter forward. Roll right and part of it pulls the helicopter right. The tradeoff is that less of the available lift is now holding the helicopter up.
|
Control |
What It Does |
Typical Input |
|
Collective Up |
Increases lift and makes the helicopter climb |
Left Shift |
|
Collective Down |
Reduces lift and makes the helicopter descend |
Left Ctrl |
|
Pitch Forward/Back |
Tilts the rotor disc forward or backward |
W / S |
|
Roll Left/Right |
Tilts the helicopter sideways |
A / D or assigned controls |
|
Yaw Left/Right |
Rotates the helicopter's nose |
E / Q or assigned controls |
The important part is that these controls are almost never used independently. A turn may require roll to move the helicopter sideways, yaw to bring the nose around, and collective to prevent altitude loss. Good flying is mostly about constantly balancing those inputs.
Lesson 1: How to Take Off
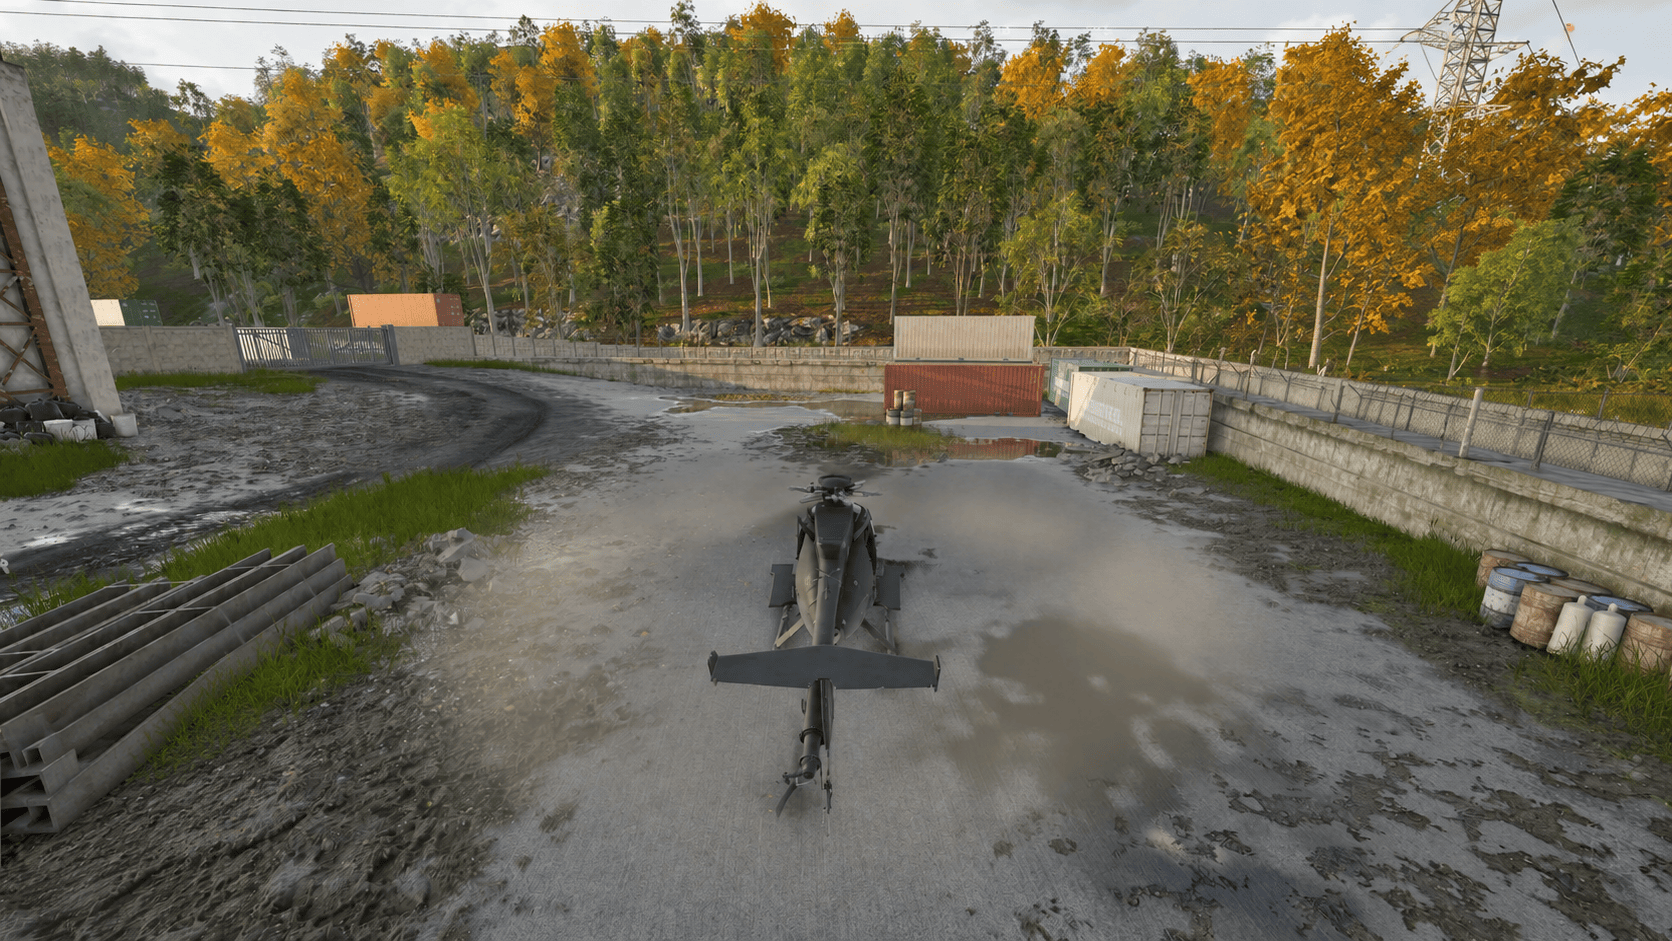
Before actually taking off, start spinning the blades by pressing L-Shift and wait till the blades reach maximum RPM. This will ensure that you will take off immediately without wasting time.
Also, a good habit to have when you’re actually using the heli to transport other players is to press “L” to unlock the heli so that others can get in. This is the same thing that you have to do on ground vehicles.
For a controlled takeoff, avoid immediately throwing the helicopter forward.
First, increase collective with Left Shift until the helicopter lifts clear of the ground. Once airborne, use small pitch and yaw inputs to point the aircraft toward the intended direction.
Then begin pitching forward gradually.
As the rotor disc tilts forward, some of the helicopter's lift becomes forward thrust. The aircraft starts accelerating, but it may also begin losing altitude. Counter that loss with additional collective when needed.
Here’s a recap:
- Increase collective until the helicopter clears the ground.
- Gain a little altitude before tilting the nose.
- Use yaw to point the nose toward the intended direction.
- Apply gentle forward pitch.
- Add collective if the helicopter begins losing altitude.
Do not immediately push the helicopter into a steep forward angle. Remember the lift-vector rule: pitching forward redirects some lift away from the vertical direction. That makes the helicopter accelerate, but it can also make it sink. The goal during takeoff is not maximum speed. It is entering stable forward flight without constantly correcting the aircraft.
Lesson 2: How to Fly Straight Without Wobbling
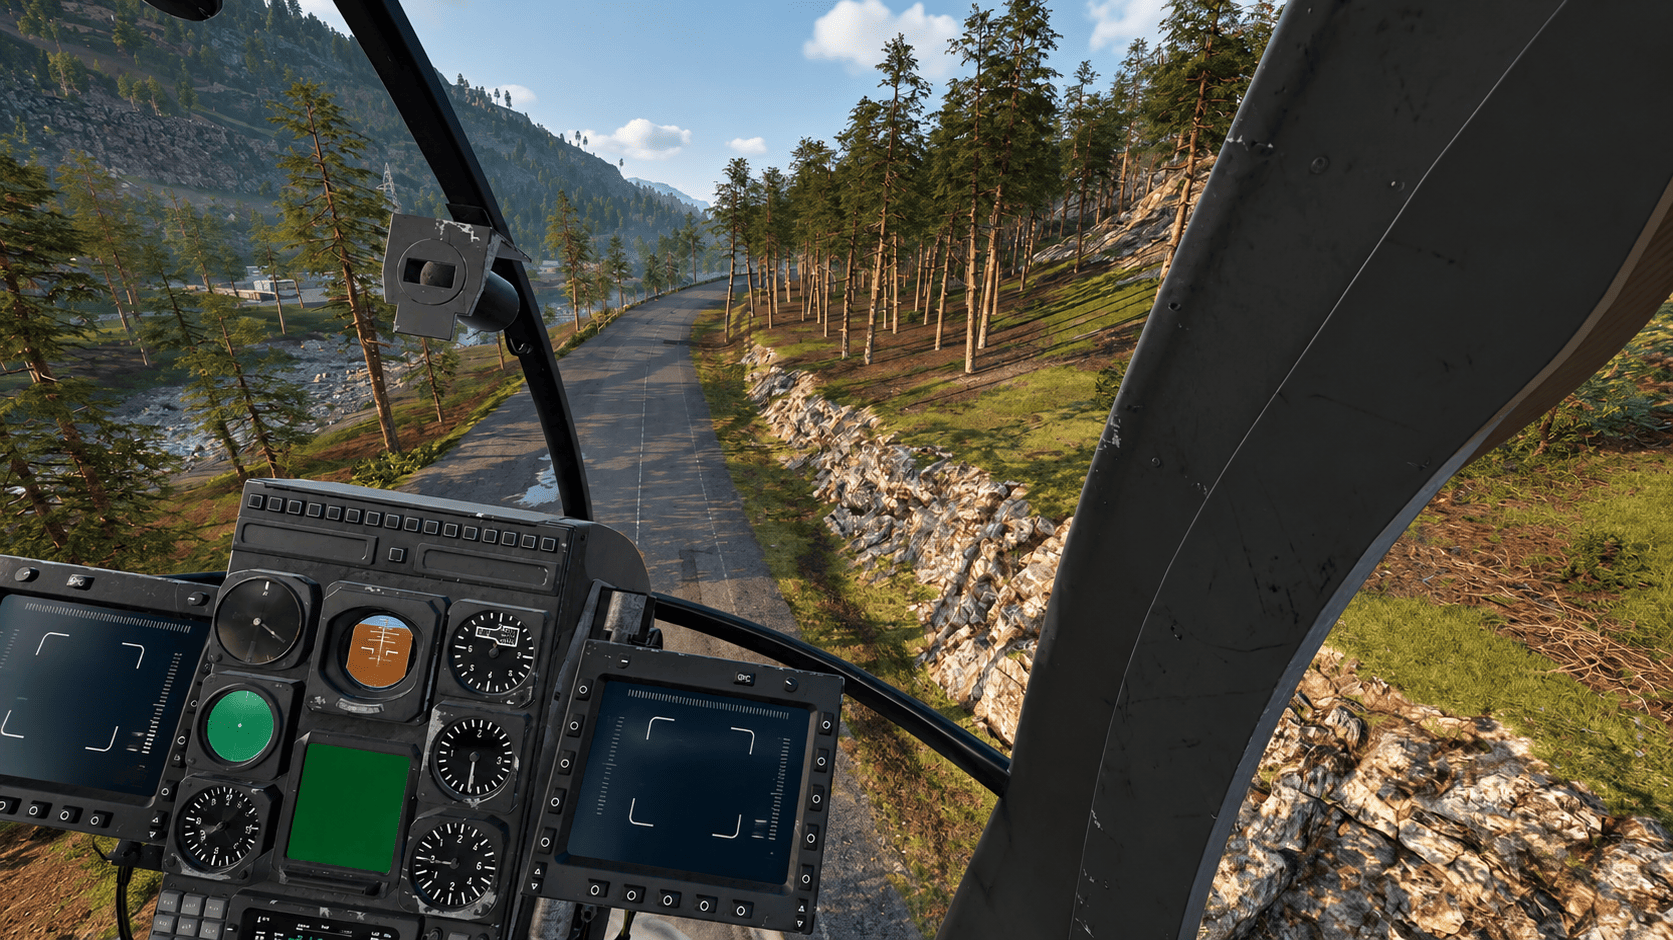
Once the helicopter is airborne, the next challenge is keeping it moving in the direction you actually want. Most beginner wobbling comes from making too many corrections. Like if the helicopter starts drifting right, it is tempting to push hard left. That usually sends it too far in the opposite direction, which then creates another correction. The result is a constant side-to-side wobble. Instead, make small adjustments and give the helicopter time to react. The controls are always working together, so one input can affect more than one part of the flight.
During normal forward flight, pitch mainly controls forward speed, roll corrects sideways movement, yaw controls where the nose points, and collective helps maintain altitude. If the helicopter begins losing altitude during a turn, the problem may simply be that too much lift is being redirected sideways. Level the aircraft slightly and add collective rather than making another large cyclic correction.
So just pitch the heli ever so slightly down to make the heli move forward. If you put the nose down too much, it’ll start diving and losing altitude. I hope that makes sense.
Use Roll and Yaw Together
Yaw becomes especially important when turning. If you bank left, the helicopter starts moving into the turn, but the nose does not automatically follow perfectly. Adding some left yaw brings the nose around with the bank and makes the turn much cleaner.
The same applies in the opposite direction:
- Left roll + left yaw = smoother left turn.
- Right roll + right yaw = smoother right turn.
This is also what the Turn Coordination assist helps with. It automatically adds some yaw while you bank, which can make turning easier for new pilots. Once manual control feels comfortable, it can be turned off for more direct handling.
Lesson 3: How to Slow Down and Land Safely
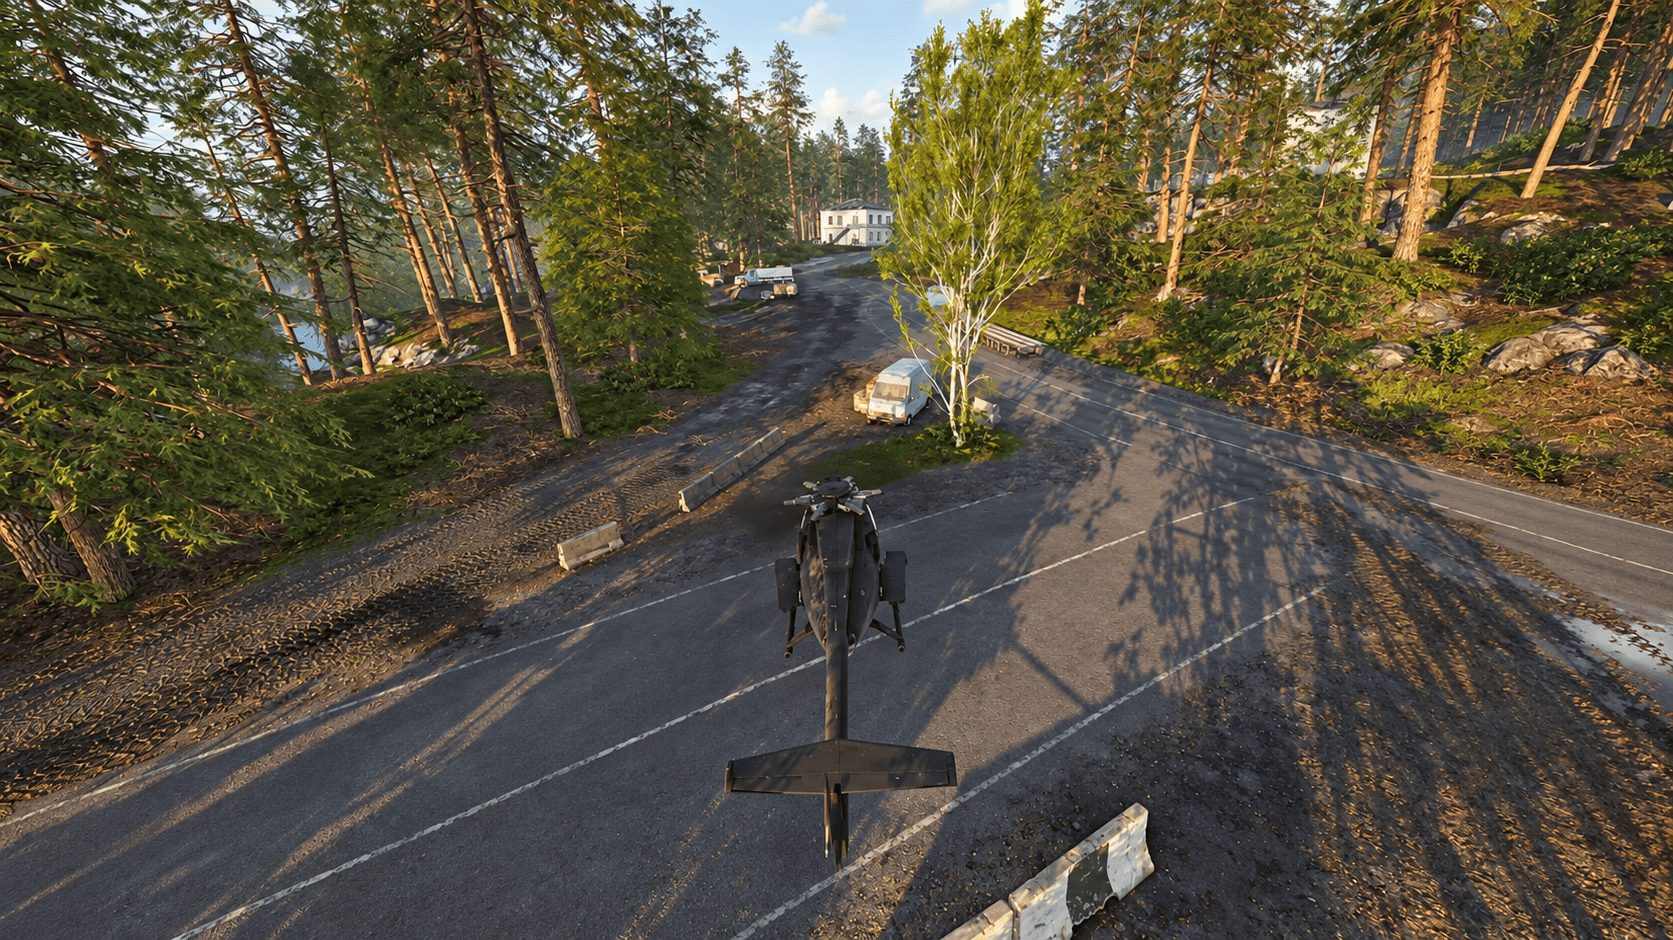
Start slowing down several seconds before the landing zone. Reduce collective and begin pitching the nose upward to decrease forward speed. This is the basic flare maneuver. The goal is to lose speed without gaining or losing too much altitude. Pull back too hard, and the helicopter can balloon upward. Reduce too much lift, and it will start dropping toward the ground. Keep balancing pitch and collective until your forward speed is low enough for the final descent.
Level the Helicopter
As speed drops, gradually bring the helicopter back toward a horizontal position. Use small roll and yaw corrections to line up with the landing area. By the time you are directly over the landing zone, the helicopter should be moving slowly, sitting relatively level, and facing the direction you want.
Control the Descent
Once the helicopter is positioned correctly, lower the collective and begin descending. Do not simply hold the control down and hope to stop at the last second. WARDOGS helicopters carry momentum, so a fast descent can take time to arrest. Instead, feather the collective with small adjustments. Let the helicopter descend, add a little collective if the rate becomes too high, then reduce it again as needed. Watch your AGL altitude, speed, and the collective indicator while also judging the terrain visually. The goal is to arrive just above the ground with very little vertical or horizontal speed.
Touch Down
As the first skid touches the ground, reduce collective fully. This helps settle the helicopter onto both skids and reduces the chance of it rolling over while the rotor is still producing lift. If the helicopter reaches the ground at a bad angle, do not force the landing. Increase collective, lift away, level the aircraft, and try again.
So, here’s a recap:
- Start slowing down before the landing zone.
- Flare by pitching backward while reducing collective.
- Level the helicopter as you slow down.
- Align with the landing area using small roll and yaw corrections.
- Descend by feathering the collective.
- Reduce collective fully once the skids touch the ground. Slamming is okay at this point.
The biggest mistake is trying to fix everything at the last second. Slow down early, arrive over the landing zone already under control, and the touchdown itself becomes much easier.
Essential Helicopter Skills to Practice
Basic takeoff, straight flight, and landing are enough for transport runs. If you want to take part in combat and help the ground troops, you gotta be comfortable controlling the heli at slow speed and low altitude, while remaining nimble. These drills help build that precision. The goal is to utilize each input with the helicopter’s response. Practice slowly at first. Increase speed only when you got used to the controls and the helicopter does what you want it to do.
Flying Sideways
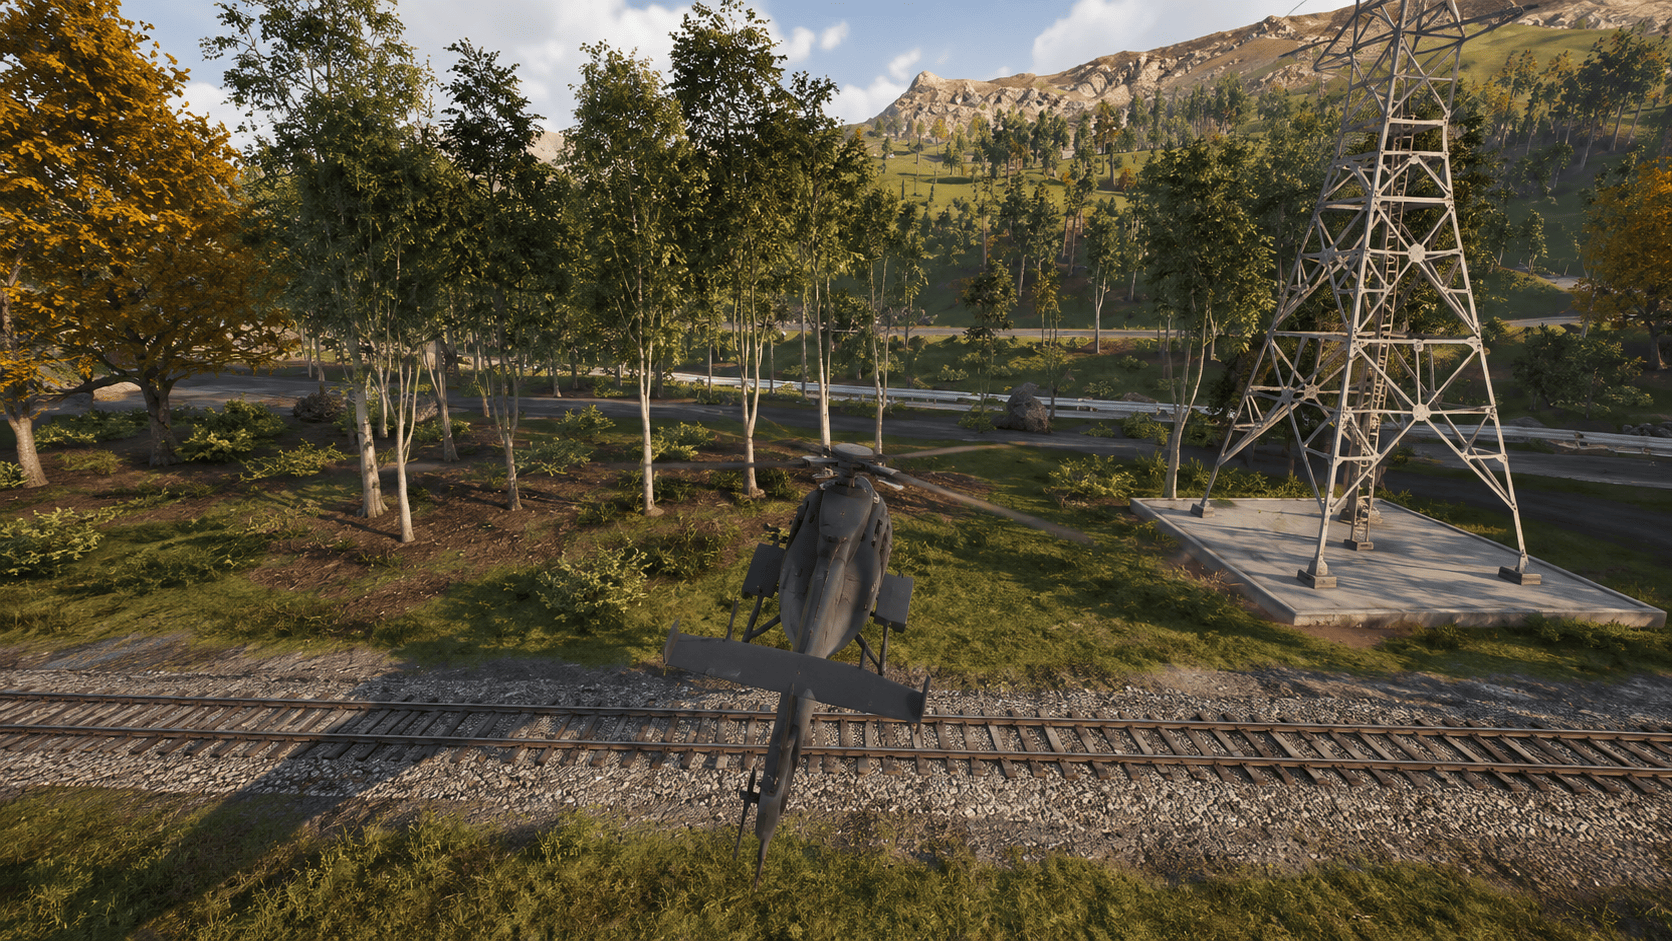
The train tracks are perfect for practicing controlled forward flight while sideways. It’s going to teach you flying close to the ground and maintaining direction while your nose is not facing it.
- Start moving along the tracks at low speed. Stay directly above them without drifting left or right.
- Use small roll inputs to stay centered, yaw to keep the nose aligned, pitch to manage forward speed, and collective to hold altitude. Try not to bounce from one side of the tracks to the other. The goal is to make increasingly smaller corrections as you fly.
- Once you can follow the tracks comfortably, start increasing your speed. The faster you go, the earlier you have to notice and correct mistakes.
This drill is useful because it develops several basic skills at once: maintaining a heading, controlling sideways drift, keeping altitude, and learning how much input the helicopter actually needs. It is also a good way to break the habit of constantly overcorrecting.
This drill teaches you to:
- Maintain a steady heading.
- Correct sideways drift.
- Control altitude while moving.
- Combine several inputs at once.
- Avoid overcorrecting.
The faster you fly, the harder the exercise becomes. Keep increasing speed as your control improves.
Turning Around a Point
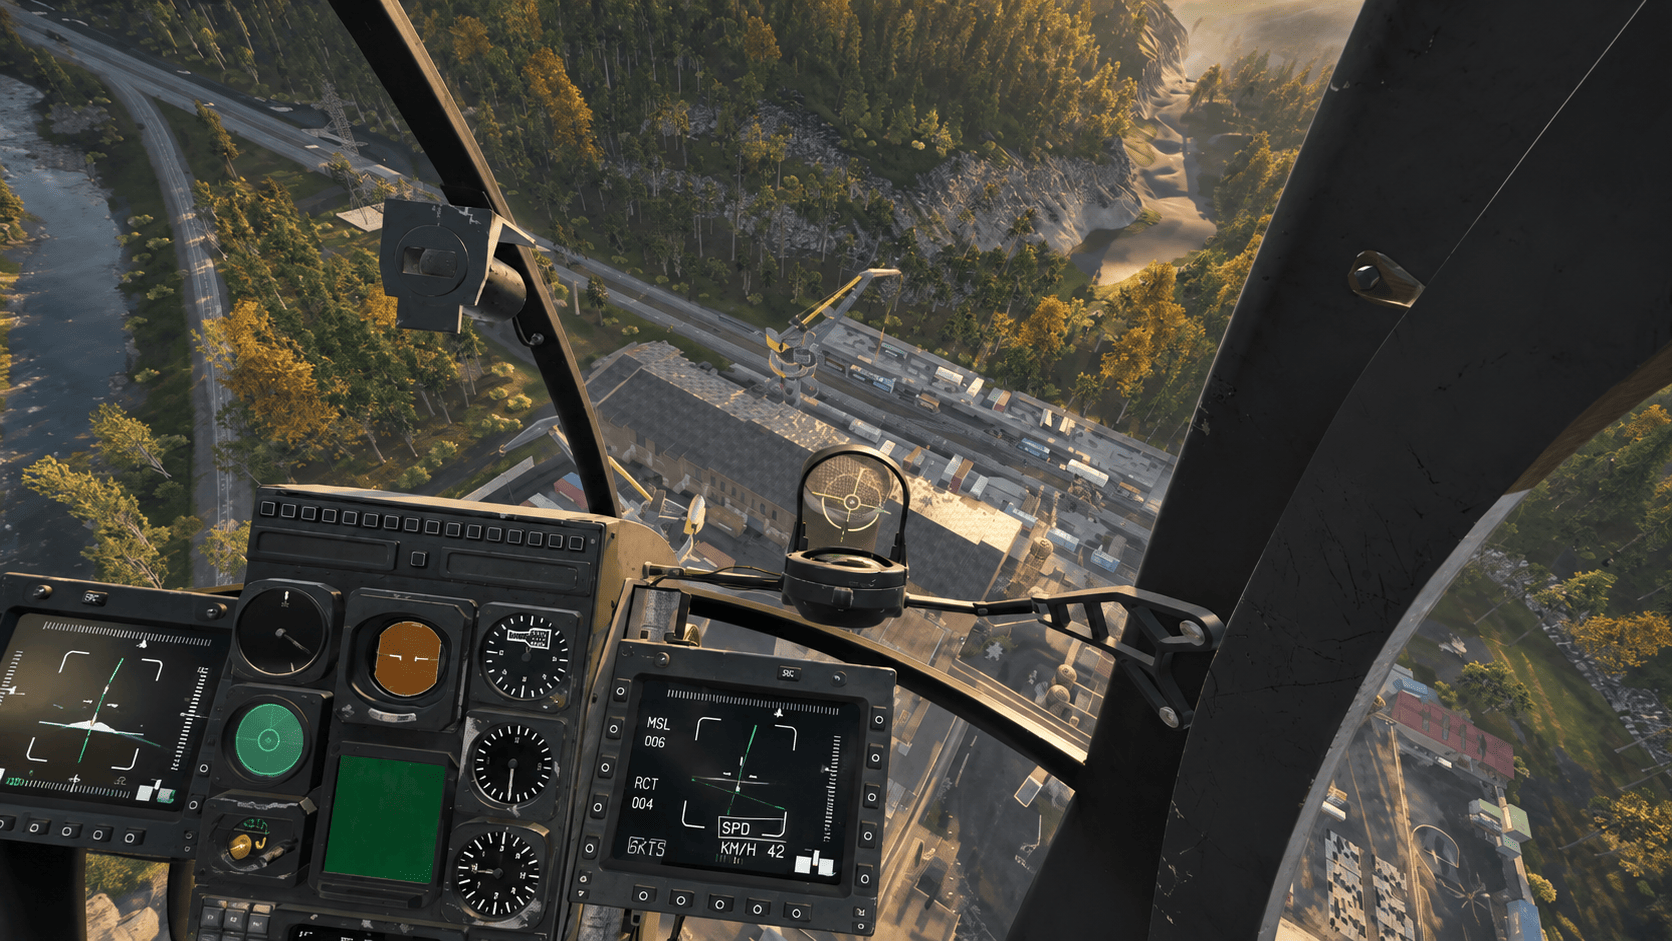
The second exercise is harder, but much more useful for combat flying. Pick a fixed object in the firing range, such as a tower, and fly a circle around it while keeping the helicopter's nose pointed toward the target. Roll the helicopter to begin moving sideways around the point, then use yaw to keep the nose facing inward. Adjust pitch to manage your speed and distance, while using collective to maintain altitude throughout the turn. Try to keep three things consistent: your altitude, your distance from the target, and your speed around the circle. If you start drifting toward the object, correct outward. If the circle becomes too wide, gently work your way back in.
Start slowly. Once you can complete a clean orbit, increase your speed and try again. At higher speeds, the helicopter needs a stronger bank and much more precise coordination between roll, yaw, pitch, and collective.
Try to maintain the same:
- Altitude.
- Speed.
- Distance from the target.
- Nose direction toward the target.
This is one of the best exercises for learning overall helicopter control because nearly every input is being used at the same time. It also translates directly into combat. An armed helicopter can orbit a target while keeping its miniguns or rockets pointed toward it instead of hovering in one place as an easy target.
The goal with both drills is not simply to complete them once. Practice until the helicopter starts going where you expect without having to consciously think about every individual correction.
How to do a J-Hook in WARDOGS
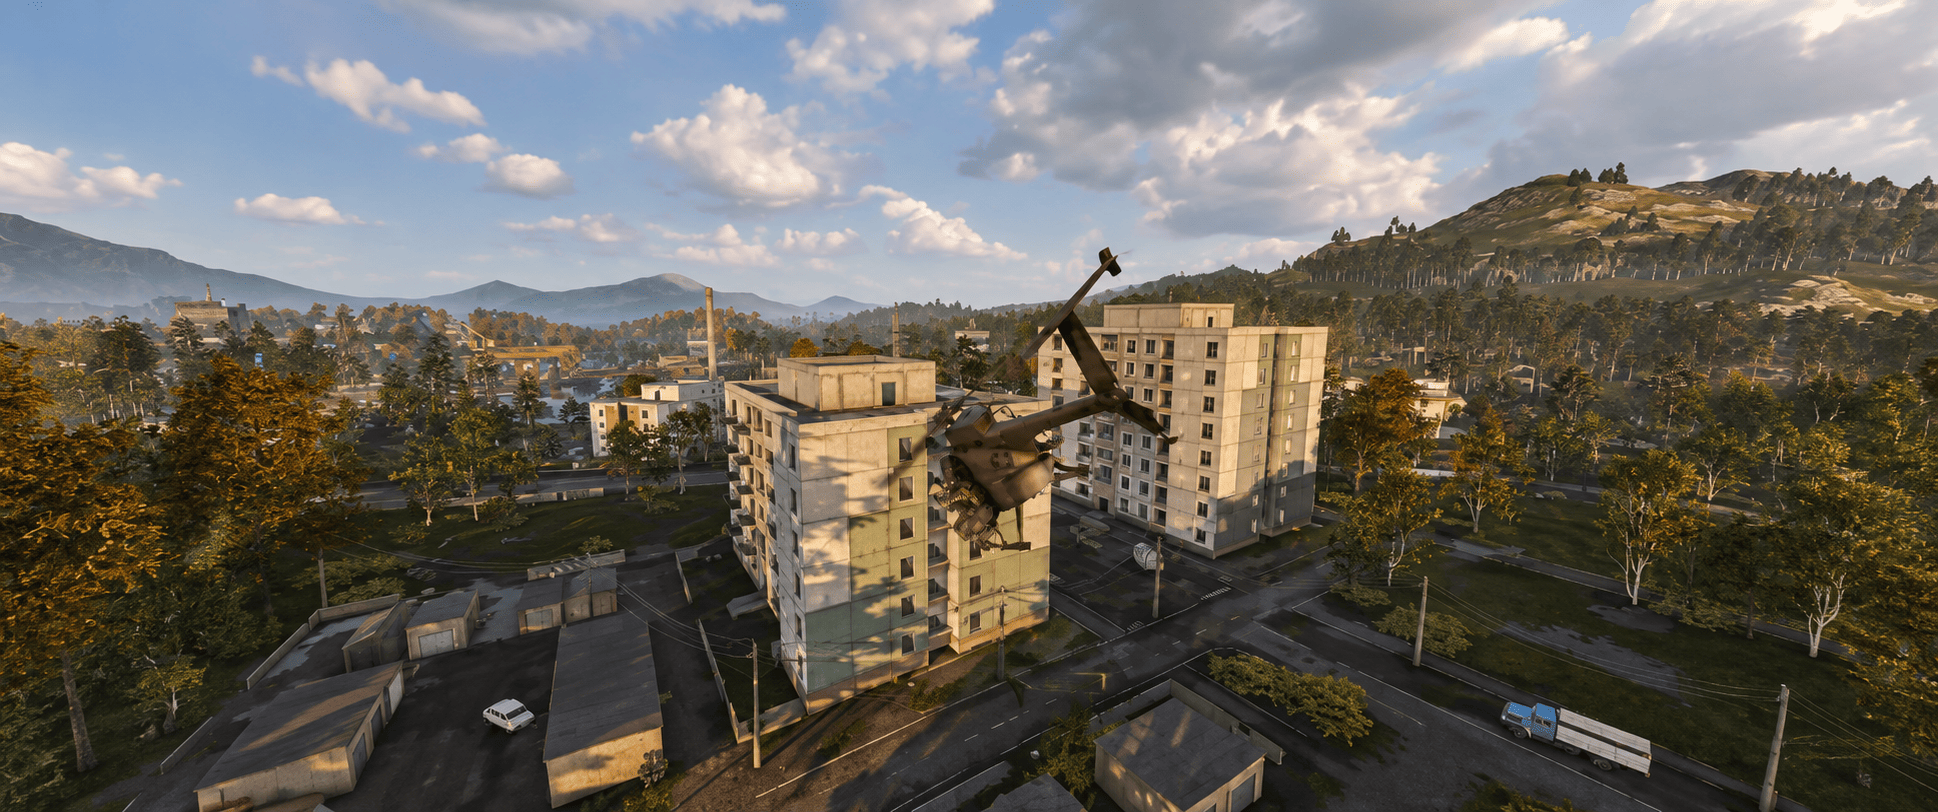
The J-hook is one of the most useful landing maneuvers to learn in WARDOGS. Instead of approaching a landing zone slowly and exposing the helicopter for several seconds, the maneuver lets you arrive at high speed, rapidly bleed that speed during the turn, and touch down before enemies have much time to react.
During a normal, beginner-friendly landing, your heli is hovering in the air for too long, which makes it easy for the enemy players to take aim and bring you down by either sniping you out of the pilot seat, which will coincidentally kill everyone on board, or using an RPG to blow you up!
The basic idea of a J-hook is simple: approach the landing zone quickly, fly toward or slightly past it, then combine collective, roll, and yaw to swing the helicopter around while losing speed. If done correctly, the aircraft finishes the turn almost stationary and positioned for landing. This makes the landing much faster as you slow down, turn, and land all at the same time.
Performing the J-Hook
For this technique, enter the maneuver with plenty of forward speed. Once you have selected the landing zone, begin the J-hook:
- Lower collective completely and keep it down during the turn.
- Roll toward the landing zone. If the LZ is on your left, bank left.
- Apply yaw in the same direction to keep the helicopter's nose pointed toward the LZ.
- Continue combining roll and yaw as the helicopter swings around the landing point.
- As forward speed approaches zero, begin leveling the helicopter.
- Add collective to cushion the remaining descent and transition into a hover (when low to the ground) or soft touchdown.
The key is keeping the nose pointed toward the landing zone throughout the maneuver. Roll creates the turning movement, while yaw keeps the aircraft oriented toward where you intend to land. At the same time, keeping collective down helps the helicopter descend and shed the energy it carried into the maneuver.
The faster the entry speed, the more room the J-hook needs. Higher speed creates a larger turning radius and takes longer to bleed away, so leave yourself enough space when approaching smaller landing zones.
Choose the Landing Zone Before You Turn
The maneuver itself is only half of a good J-hook. The other half is choosing somewhere worth landing.
Avoid dropping the helicopter into an exposed field whenever nearby structures can provide cover. Check the map while approaching and pay attention to where friendly players have already moved through. An area your team has just cleared is usually a safer option than an unknown position ahead of them.
Ideally, select the LZ before beginning the turn. During the J-hook, use the free camera to quickly check the area for enemies and make small corrections if the original landing point no longer looks safe. This is why I said that I prefer having the mouse control the free camera look.
Structures can also protect the helicopter immediately after touchdown. Landing between buildings, containers, or on the protected side of a tower can leave far less of the aircraft exposed than setting down in the open.


You got -20% OFF 
WARDOGS Pilot Tips and Tricks
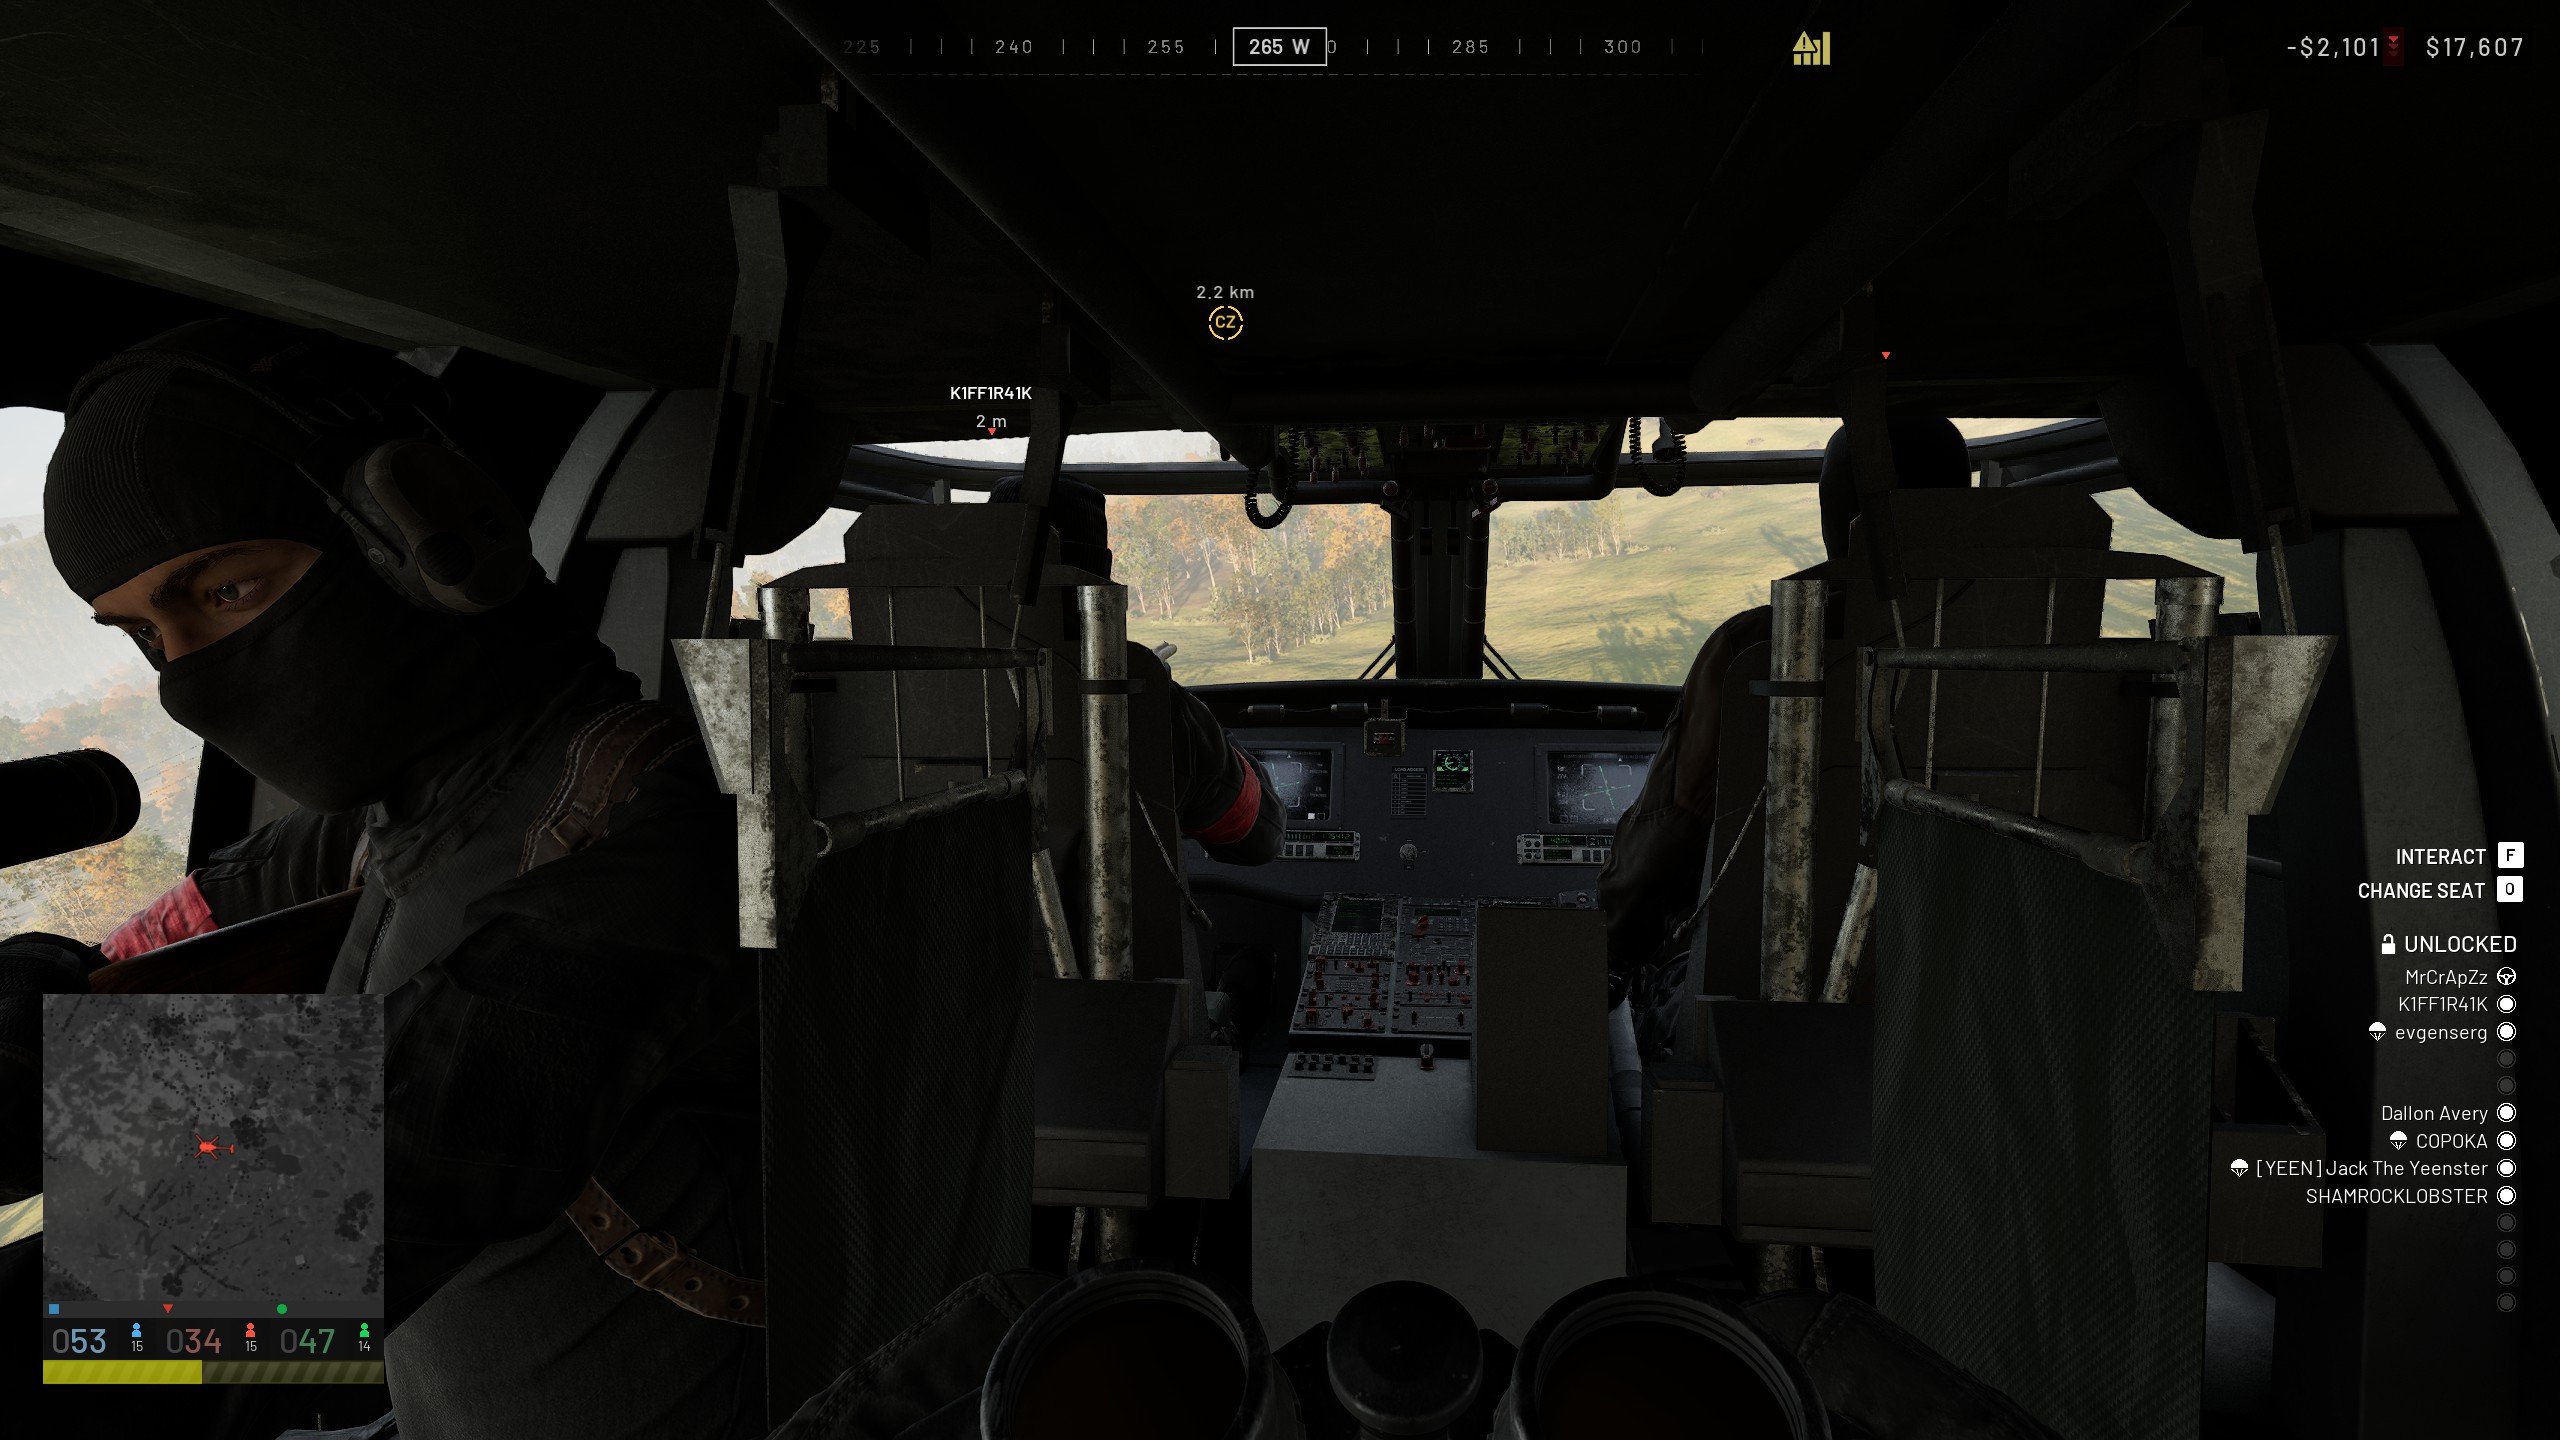
Here are a few things you should keep in mind regardless of your flying skills.
- Drop passengers inside the Hot Zone for double cash. Passenger drops count as actions performed inside the Hot Zone, so delivering teammates there rewards 2x cash.
- Use terrain masking when approaching combat areas. Flying low behind hills, ridges, buildings, and other terrain makes the helicopter harder for enemies to spot and engage. It is better used during the final approach to a dangerous area rather than for the entire trip from base, since flying that low reduces visibility and gives you less time to react.
- Use confined landing spots as protection. Landing between buildings or inside other tight spaces can provide both cover and concealment for the helicopter while putting passengers closer to useful positions. The main thing to watch is tail and rotor clearance, since a landing zone that fits the cockpit may still be too tight for the rest of the aircraft.
- Tree canopies currently have forgiving collision. Large portions of some tree tops do not have collision, meaning the helicopter can sometimes descend partially through the canopy instead of immediately crashing.
- Learn to either stop before an obstacle or hop over it. When approaching trees, buildings, walls, or terrain, do not commit to one reaction every time. If there is enough room, bleed speed and stop before the obstacle. If stopping would be riskier, add collective and clear it vertically.
- Your speed determines how much room a J-hook needs. The faster you approach the landing zone, the larger your turning radius and the longer it takes to bleed off speed. A fast J-hook therefore needs much more space than a slow one.
- You can perform run-on landings instead of reaching a perfect hover. A helicopter does not always have to stop completely before touching down. If forward or backward speed is low enough, you can let the skids slide along the ground during touchdown. It is less elegant than a hover landing, but useful when you need to get down quickly and do not have time to stabilize perfectly.
- Pedestal landings are harder than they look because height perception gets worse. Landing on towers, rooftops, and other raised platforms removes many of the visual references normally used to judge height. That makes it easy to overshoot or undershoot the surface. Approach more slowly than usual and rely on AGL, aircraft attitude, and small collective changes instead of judging everything by eye.
- Keep spare parachutes onboard for passengers. Buy parachutes and store them in the helicopter inventory before leaving base. Passengers who forgot theirs can equip one from the aircraft, which means you can drop them from the air instead of forcing a landing you are not comfortable making.
- Use low-level flight near the fight, not necessarily during the entire trip. Staying extremely low is useful when approaching an active combat zone because terrain can hide the helicopter. During longer transit, however, more altitude gives you better visibility, more information about the battlefield, and considerably more room to recover from mistakes.
Read our other WARDOGS guides:
F.A.Q.
How to fly helicopters in WARDOGS?
Try the default controls first with the assists turned on, and then try different versions until you find what feels natural to you. Teach yourself to take off, move in one direction, and land slowly at first. Then increase the speed, learn to fly low to the ground, and other advanced moves.
How to do a J-hook in WARDOGS?
To do a J-hook in WARDOGS, approach the landing zone at high speed, then drop collective, roll toward the LZ, and apply yaw in the same direction to keep the nose pointed at it. As your speed falls close to zero, level the helicopter and add collective to cushion the descent for a soft landing.
Which helicopter is best to learn how to fly on in WARDOGS?
The starter AH-6M, aka the “Little Bird,” is easier to learn to fly than a larger and heavier Lakota that tilts and dives faster under the weight.
What is HOTAS in WARDOGS?
HOTAS stands for Hands-On Throttle-And-Stick, and it refers to a type of aircraft control scheme that involves using a flight stick, pedals, etc., often used by simulator pilots.
Where can I practice flying in WARDOGS?
The Firing Range is a large map that not only lets you test different weapons but also has enough space to fly around in any helicopter for free and practice various techniques.