 Wayne Halkett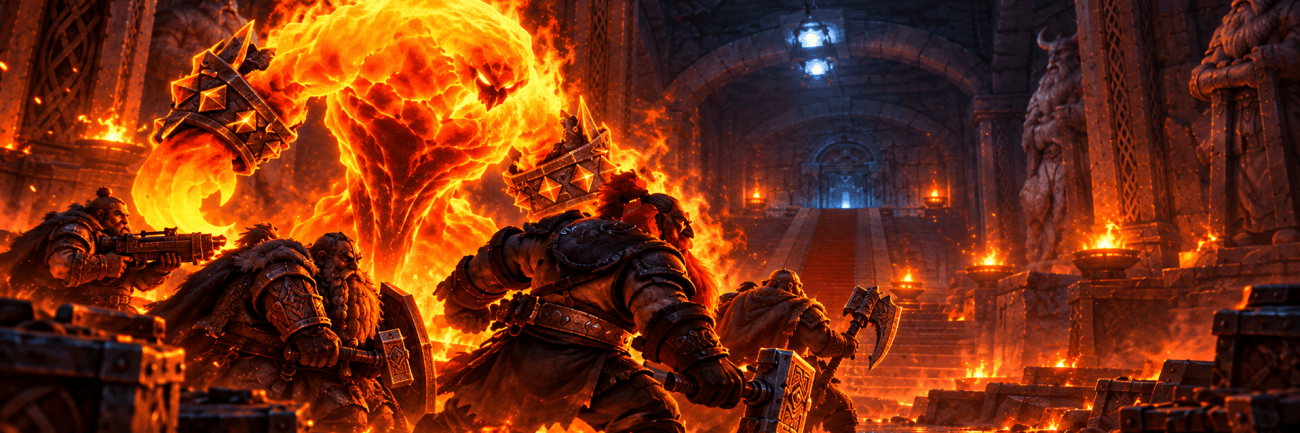
Hall of Thanes Dungeon Guide for WoW Forever Quick Overview:
- Hall of Thanes is a new Alliance dungeon located in the Ironforge area. It requires a level 13-18 character and features four new bosses.
- The dungeon is quite generous with blue item drops from boss encounters as well as XP rewards (over 20k for five quests).
- Most bosses are pretty straightforward and get beaten by tanking-and-spanking, but Magmatus and Durgen Dirgehammer use some tricks to make it a bit more memorable.
At Skycoach, you can Get WoW Forever Gold at a fair price to speed up your progress and get the top gear effortlessly.


Read closely 
Browse our hottest WoW Forever Boosting services







What is the Hall of Thanes?

Hall of Thanes is a new level 13-18 Alliance dungeon located right under the High Seat of Ironforge. It offers a decently sized adventure with five new quests and four new bosses.
Being the first new Alliance dungeon in WoW Forever, Hall of Thanes has to do some heavy lifting so that players get hooked after the first impression. The devs clearly spent some time cooking this one just right, so that it’s a bit spicy and memorable, but not overly so. To my taste, Hall of Thanes still feels like a classic dungeon that belongs in the area and isn’t just shoved into a pre-existing location.
Hall of Thanes Quests
Hall of Thanes’ quests are just what you would expect from a low-level dungeon — collect some stuff lying around, kill some trash mobs, and beat some bosses that you would beat anyway. What makes these stand out are unusually high rewards for mediocre tasks that require little time investment and are completed along the way. I would recommend doing all of these just for the XP alone, but the item rewards complement the deal very nicely.
|
Quest |
Task |
Reward |
|
Important Heirlooms |
Collect 8 Dwarven Heirlooms from the Hall of Thanes. |
Dwarven Tome or Tomb Robber’s Gloves 4 600 experience 100 reputation with Gadgetzan 7 Silver Coins |
|
An Ancient Grudge |
Put the spirit of Faldrim Anvilmar to rest in the Hall of Thanes. |
Catacomb Cloak or Deepgrave Trousers 3550 experience |
|
The Restless Dead |
Kill 15 Enraged Apparitions, 10 Tormented Souls and put the spirit of Anvilmar to rest. |
Dusty Belt or Cryptwalker Bracers 3550 experience 100 reputation with Ironforge 7 Silver Coins |
|
The Treaty of Understanding |
Deliver the Treaty of Understanding to Magni Bronzebeard in Ironforge. |
3 900 experience 100 reputation with Ironforge 100 reputation with Gnomeregan Exiles 16 Silver Coins |
|
Old Ironforge Incursion |
Enter the Hall of Thanes beneath Old Ironforge and claim the Head of Durgen Dirgehammer. |
Calibrated Blunderbuss, Ironforge Greathammer, or Deepblaze 4 950 experience 100 reputation with Ironforge 100 reputation with Gnomeregan Exiles 8 Silver Coins |
Hall of Thanes Walkthrough
You start the dungeon standing on stone stairs leading into a room packed with trash mobs with a small pool in the middle. You will have all the time you need to plan your first move, since there is more than enough space between you and the first combat encounter of the dungeon. Nothing exciting here, just a small taste of what you will be doing for the next 25 to 40 minutes.
Get through the left door at the end of the room and go through the corridor and the next room, killing everything that gets in the way. Now, you can either go left to complete some quest objectives, or walk into the right passage to get to Anvilmar’s Rest — your first boss room.
After you get rid of Faldrim Anvilmar, you are free to walk to the opposite end of the room to get to a symmetrical tomb for quest objectives (like Dwarven Heirlooms). After that, pass through the hole in the wall created by a fallen coffin. This is where you will find Magmatus, the second, and arguably the most demanding boss fight in the dungeon, aside from the final Durgen himself.
When Magmatus is finished, proceed to the left until you get back into the Halls. This is where you’ll meet Plunder, signifying that you’re nearing the end of the dungeon. Get rid of him and head to the right. Now, all that’s left to do is cross the bridge, kill a few Lesser Stone Golems, and enter the final room of the dungeon to face Durgen Dirgehammer.
Hall of Thanes Bosses
Faldrim Anvilmar
Faldrim Anvilmar is your run-of-the-mill introductory dungeon boss, so don’t get too excited about meeting him. It is a ghost of a dwarf walking around his tomb in the western part of the Hall of Thanes, and he’s only there so that you can safely test your keyboard before fighting the real Bosses of the dungeon.
Mechanics
Faldrim is basically a one-trick autoattack pony who will occasionally use an interruptible Mind Blast to try and disprove this claim. The only unique ability he has is called Anvilmar’s Curse, which he will use to debilitate your tank for 10 minutes.
However, all it does is reduce attack and casting speed by 20%, while also making the target immune to Poison and Bleed. The positive aspect is mostly irrelevant as both of these effects aren’t exactly prevalent in the dungeon, and the negative aspect is fine since it generally doesn’t stop you from being a good tank.
Strategy
The only thing that Faldrim’s got going for him is the fact that the tomb is filled with another bunch of Enraged Apparitions and Tormented Souls, so you really should clear some space first to make the fight much more straightforward and predictable (bordering on boring).
When you’ve made room for Faldrim, taunt him, heal your tank, and wait for damage dealers to get rid of him. Make sure that Faldrim is always aggroed to your tank so that your other party members don’t have to deal with the Curse.
Potential loot: Aetherwisp Bracers, Ephemeral Choker, Spiritwraith Drape.
Magmatus
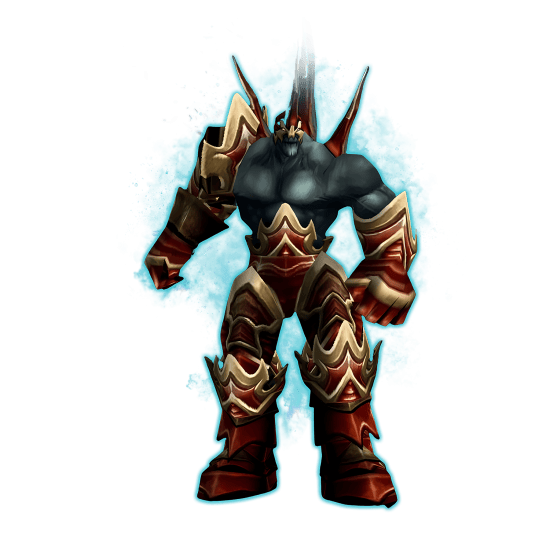
Magmatus is a big fire elemental that does pretty much what you would expect from a fire elemental. When I first fought him, I felt that Faldrim’s “basicness” might’ve been a deliberate trap to lull you into a false sense of security so that you get jumpscared by Magmatus’s threat level.
It’s not like Magmatus is particularly scary for a WoW veteran, but the difficulty jump is quite significant, and you shouldn’t just approach the guy nonchalantly.
Mechanics
Magmatus’ key abilities are an AoE fire spell that deals significant damage to targets around him and Combust, which he will apply to a random party member from time to time.
Strategy
Succeeding in the Magmatus boss fight is all about paying attention to both what he is and where he is.
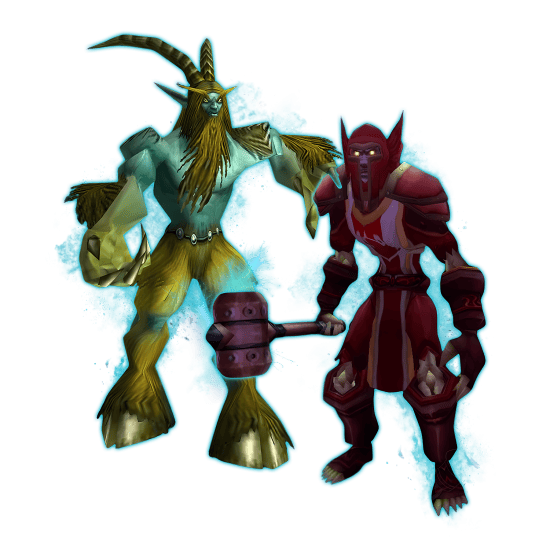
First off, Magmatus is not alone — his friend Dark Iron Summoner would like to have a word with you, and I recommend dealing with him first, unless being swarmed by fire elementals is your kind of fun.
Magmatus’ fire spell’s AoE and damage are large enough to make your melee damage dealers scared, so ranged ones are very much preferable here. If you manage to tank him up close with small numbers, you’re in a good place, but remember that he will still occasionally apply Combust to a random party member, and this can become an issue if unaddressed for too long.
Now, around 50% of the problem lies in other enemies in the area, especially Dark Iron Engineers with their AoE dynamite attacks. These are absolutely dodgeable, but if you let yourself get surrounded by too many enemies, you won’t be able to track everything going on, and that’s a recipe for disaster.
Essentially, this boss is all about avoiding AoE and swarming so that you don’t put too much pressure on your healers. Just make sure to clear smaller enemies while focusing the Dark Iron Summoner, then switch to the boss himself, and you’ll be alright.
Potential loot: Fang of Magmatus, Flamefist Grips, Kindlegem Girdle.
Browse our hottest WoW Forever Boosting services






Plunder
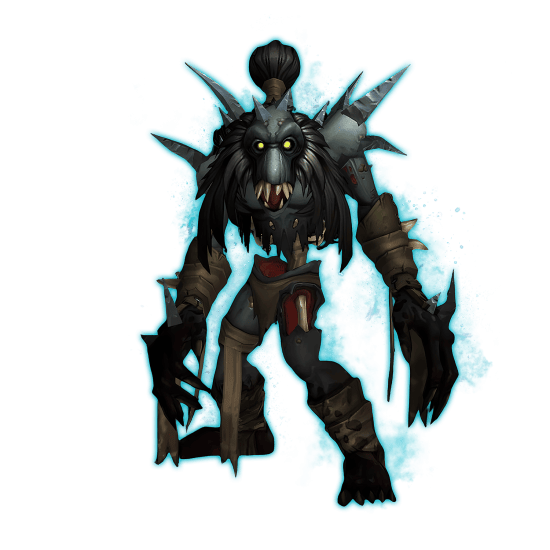
Plunder is a huge golem patrolling the central hallway of the dungeon. He’s not particularly exciting in terms of the actual fight, but he hopes to farm some clips on YouTube due to his Knockback mechanics and all the potential shenanigans associated with it. If you’re careful enough, he won’t get any views.
Mechanics
Plunder’s entire gimmick is just whacking your party around the hallway. It does look goofy when there’s no one around, but if he manages to throw you into a pack of mobs, it suddenly gets really messy. He will also try to charge a random party member from time to time, stunning them on impact. That said, it’s literally all that he can do, so the entire boss fight is all about managing your positioning.
Strategy
As annoying/funny as getting tossed around might be, it’s not enough to pose a serious threat to a disciplined party. For the most part, the strategy is similar to any other boss: clear some space first, then pull the poor guy and start smacking. If you didn’t bring any adds with you, then all that’s left to do is taunt him occasionally to switch focus from the target he decided to charge, and heal those characters who need it the most at the moment.
Potential loot: Golemguard Chest, Golemheart Stave, Treads of the Protector Golem.


You got -20% OFF 
Durgen Dirgehammer
The final boss of the dungeon, Durgen Dirgehammer lives up to his cool name as much as a level 13-18 boss can. Be ready for the final push, make sure that your party knows exactly what to do, and rely on your tanks and healers to provide enough space for damage dealers to finish him quickly.
Mechanics
For the most part, Durgen is just a Bleed connoisseur. While he does possess an annoying AoE fear, the boss is mostly dangerous when he gets to attack a single target repeatedly, so tanking him properly is probably the most important part of the fight.
Strategy
As always, clear the room of Dark Iron Looters so that you don’t have to worry about them later. Remember that Durgen Dirgehammer brings his two Lesser Stone Golem pals to the fight no matter what, so leave them for the boss fight itself. That said, when the fight actually starts, dispose of them first: they are surprisingly good at smacking your characters, but are nowhere near as tanky as Durgen.
Make sure you can tank or dodge/delay Durgen’s damage while the party deals with the Golems and focus your healing on whoever is getting too much attention: Bleeds might start slow, but they ramp up quickly. If you manage to get to Durgen while the Anvilmar’s Curse is still active on your tank, then you might enjoy the Bleed resistance it provides. It isn’t something that you absolutely need to have in order to beat him, however, so don’t rush through the dungeon without reasonable caution.
Potential Loot: Direhammer Leggings, Durgen’s Crescent Axe, Robes of the Disgraced Thane.
Read our other WoW Forever guides:
F.A.Q.
At what level should I do Hall of Thanes?
The recommended levels are 13-18, so it’s likely going to be your Alliance character’s first dungeon. Starting it at around level 15 is more reliable, and anything higher than that obviously works, too.
What is the best loot from the Hall of Thanes?
Hall of Thanes provides very solid rewards for its level, like Durgen’s Crescent Axe, Robes of the Disgraced Thane, and Fang of Magmatus. Quests are also very lucrative, offering Dwarven Tome, Deepblaze, and Ironforge Greathammer.
Who is the final boss of the Hall of Thanes?
Durgen Dirgehammer is the final boss of the Hall of Thanes. He is mostly focused on applying stacking Bleeds and using an AoE fear. He is also going to enter the battle assisted by two Lesser Stone Golems, so make sure to dispose of these first.
How long does Hall of Thanes take?
25-40 minutes, depending on your party composition and overall game experience. Hall of Thanes is essentially an introductory dungeon, so there aren’t many areas that punish bad strategizing or lack of mechanical skill/knowledge.