 Dallon Avery
March on Quel’Danas Raid Quick Overview:
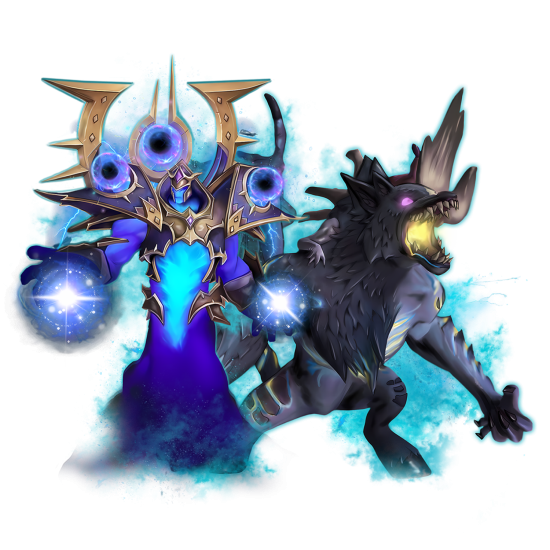
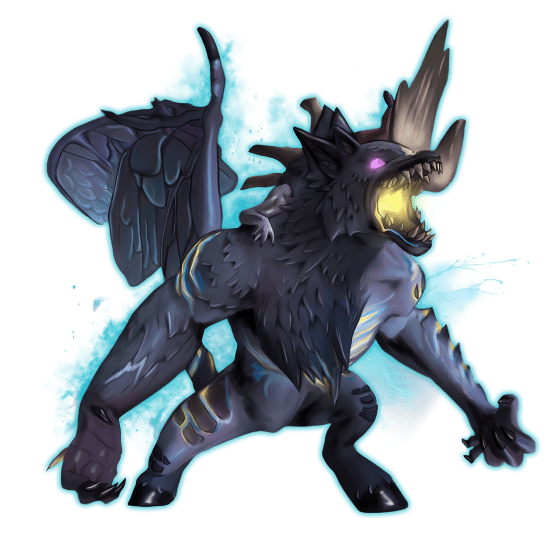
- There are two bosses in this raid - Belo'ren, Child of Al'ar, and L’ura, Midnight Falls
- Belo’ren revives itself after being defeated, and to end the encounter, you must destroy the egg.
- The raid location is the same Sunwell as the one players defended at the start of the Midnight expansion.
- The raid drops five unique house decor items with Light and Void themes.
- The highest ilvl gear you can get in this raid is 282.
Need help beating this raid? Buy the March on Quel’Danas Raid service and get carried by a team of professional WoW players. All loot will be yours!


Read closely 
Browse our hottest WoW Boosting services


March on Quel’Danas Overview
Launching in the third week of Season 1, March on Quel’Danas is one of 3 new raids in Midnight, featuring two boss encounters.
The specific dates for accessing the raid on different difficulties are as follows:
|
Date |
Difficulty |
|
March 31 |
Normal, Heroic, Mythic |
|
April 7 |
Raid Finder, Story Mode |
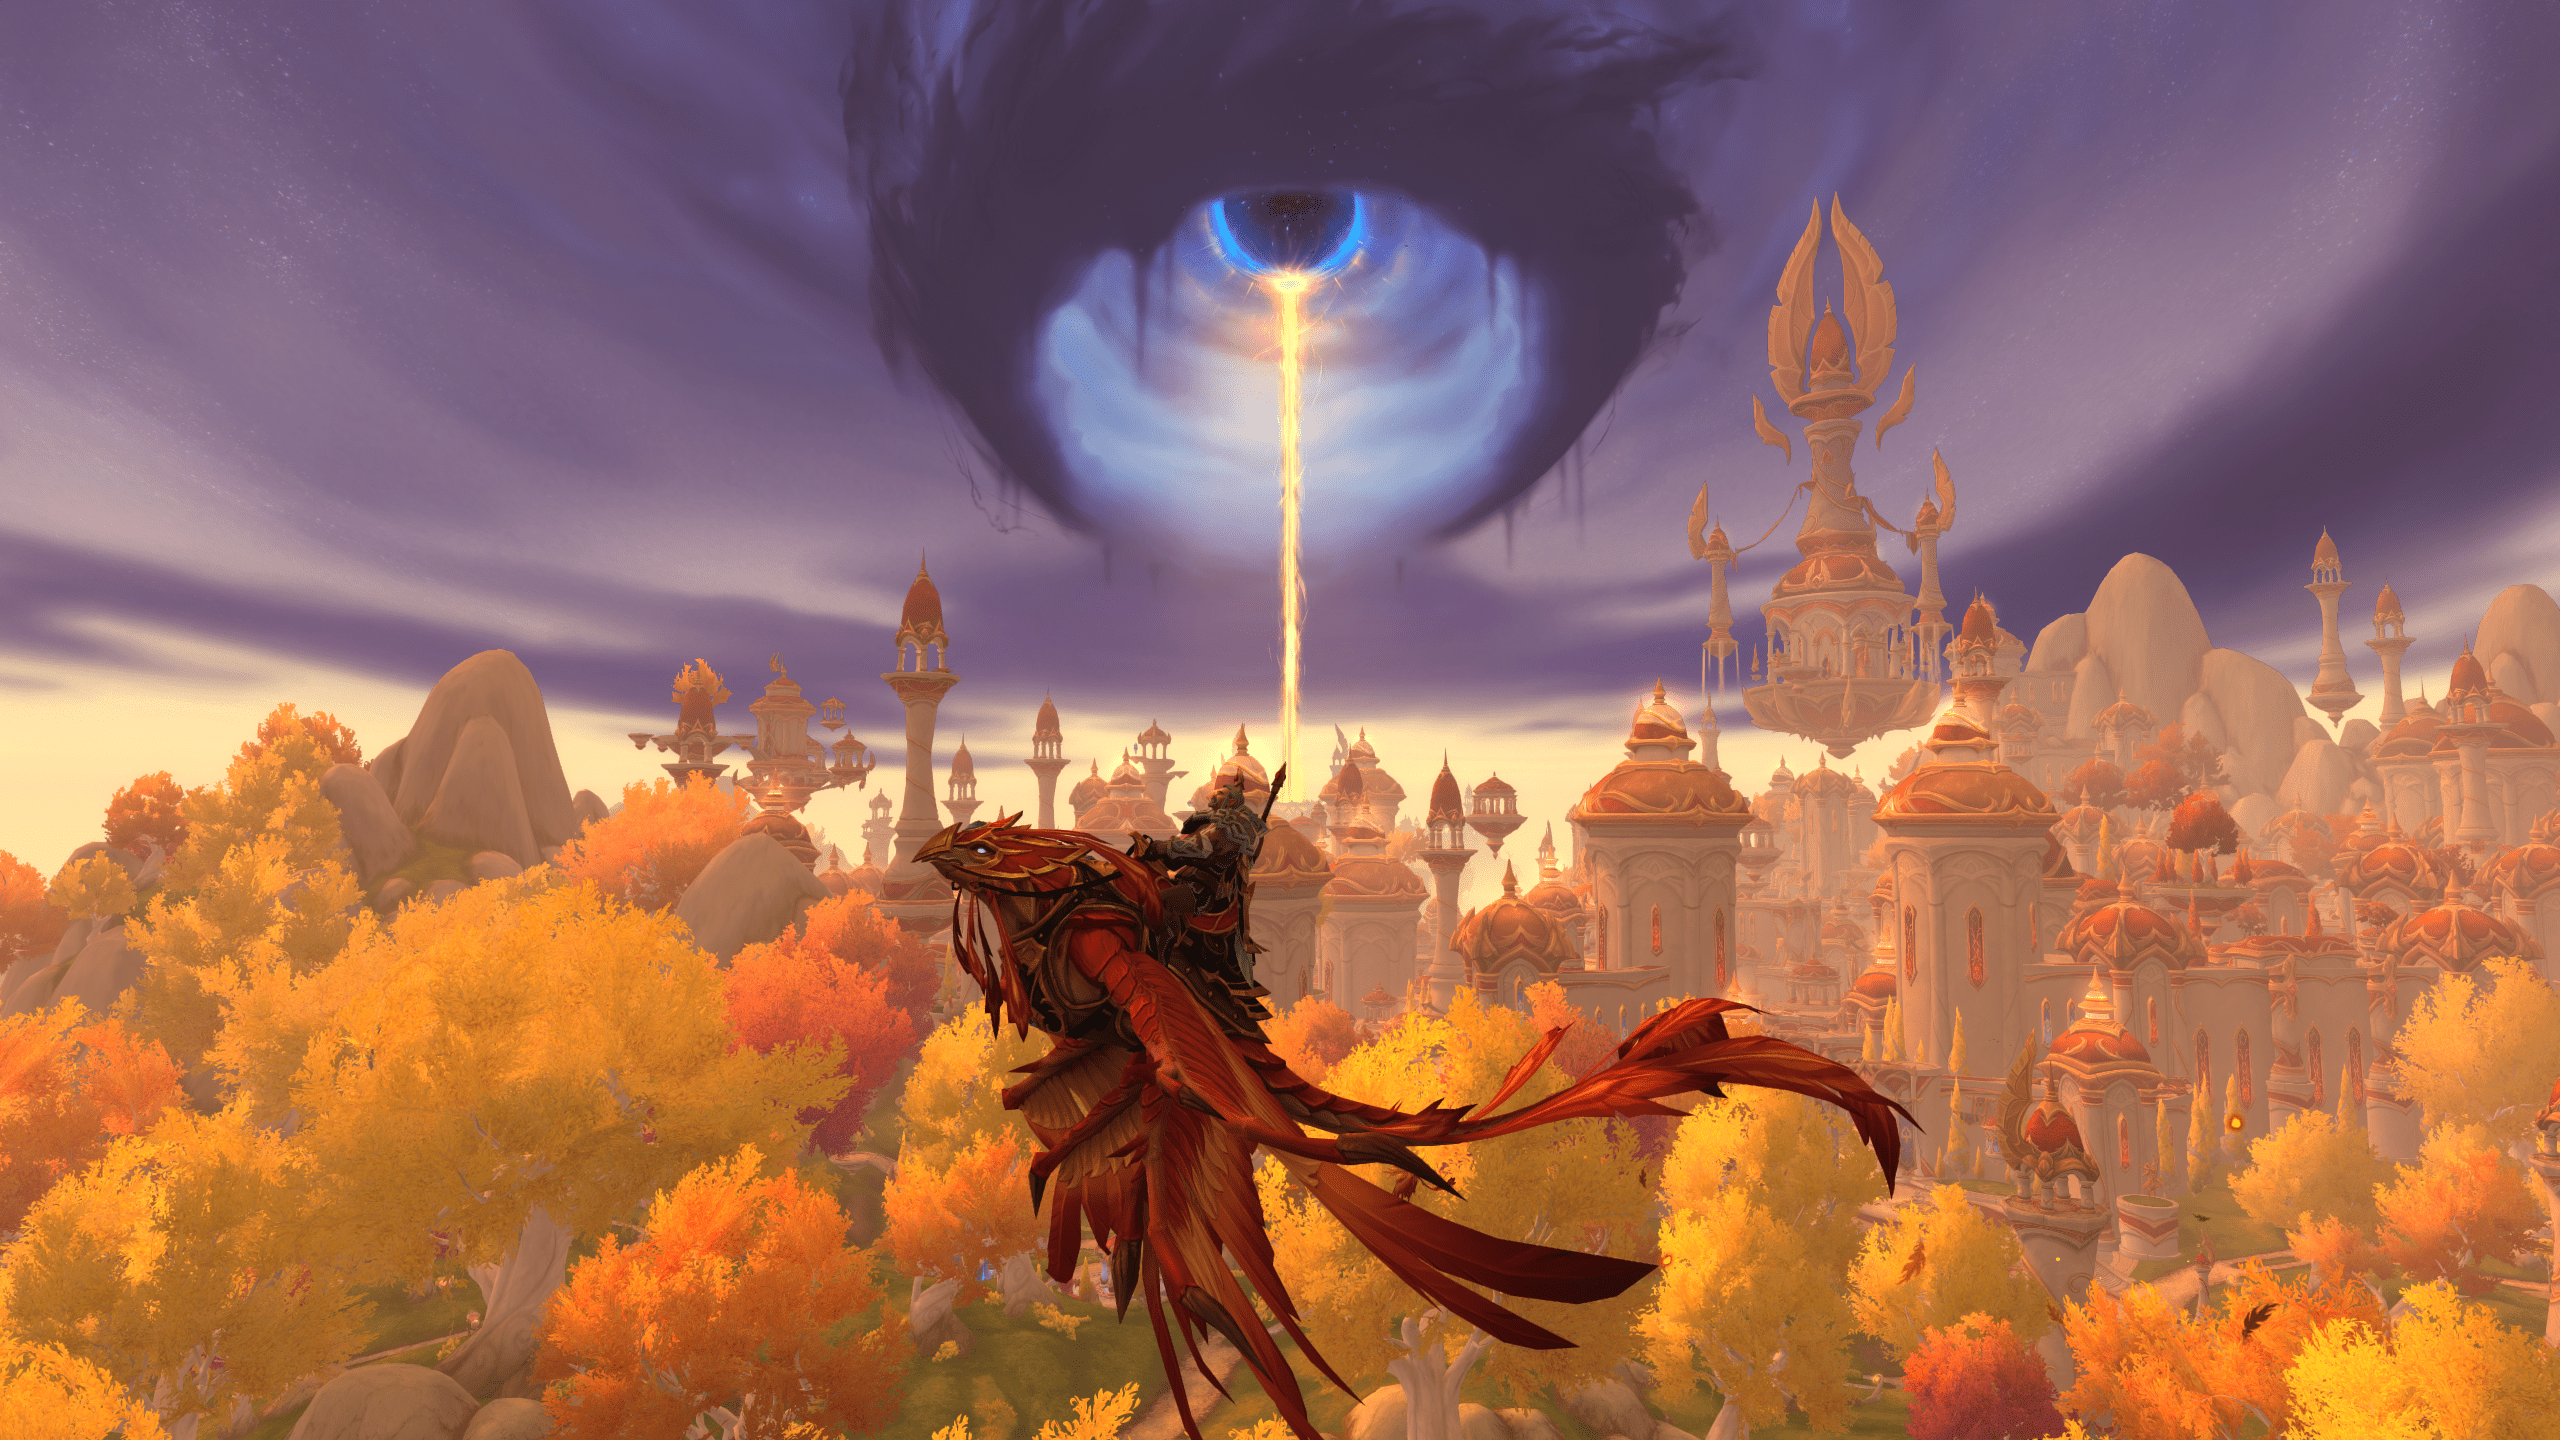
March on Quel’Danas is a short but important raid built around the fight for the Sunwell. By the time players arrive, darkness has fully swallowed the Isle of Quel’Danas and the skies over nearby Silvermoon. The raid presents this assault as the final push to stop the Sunwell from being lost to Void corruption. With Arator the Redeemer at their side, Azeroth’s champions march into one of the most sacred locations in blood elf history to prevent that collapse from becoming permanent.
The raid’s story revolves around the Sunwell being transformed by the power of L’ura, the fallen naaru once encountered on Argus. Her corrupted essence now threatens to turn the well into something far more dangerous, referred to here as the Darkwell. That shift gives the raid a much heavier narrative role than a standard launch instance, since it appears to bring several major campaign threads to a head and sets the stage for whatever comes next in Midnight’s larger story.
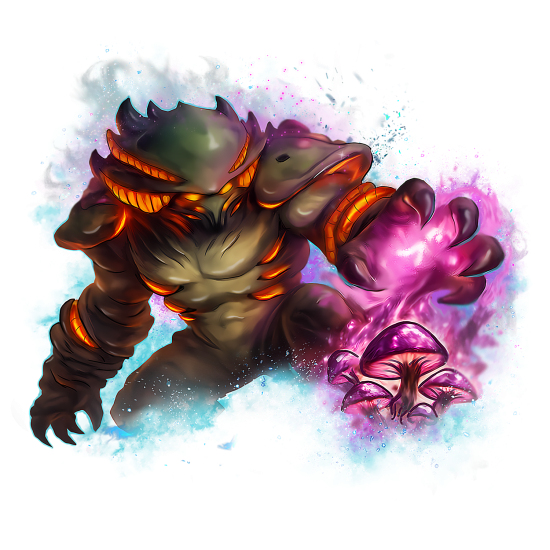
The first boss is Belo’ren, a phoenix tied to the legacy of Al’ar. Rather than being a purely evil force, Belo’ren comes across as a tragic guardian. Raised to protect Quel’Danas and the Sunwell, the creature has been warped by Void exposure and now attacks anyone who approaches. That makes the encounter feel less like putting down a monster and more like facing a protector that no longer understands who the real threat is.
The final encounter, Midnight Falls, centers on L’ura’s corruption at the Sunwell itself. Instead of a traditional named villain standing in the room, the battle represents the moment where the Sunwell’s fate hangs in the balance. The adventure guide frames this as a direct clash against the dark power spreading through the well, with Azeroth’s champions fighting to stop holy ground from being fully consumed.
March on Quel’Danas Map & Requirements

If you played Midnight even for a little bit, you already know where the Sunwell is located - The Isle of Quel’Danas, a location north of Silvermoon, connected to it by a long bridge. You remember that place from the intro sequence for Midnight.
In case you’ve forgotten where that is (just follow the big beam of light and a huge hole in the sky), here’s a quick map pin link:
/script DEFAULT_CHAT_FRAME:AddMessage("\124cffffff00\124Hworldmap:2424:5260:8750\124h[\124A:Waypoint-MapPin-ChatIcon:13:13:0:0\124a March on Quel'Danas Raid Entrance Map Pin]\124h\124r");
The map itself is split into two areas, or rather arenas:
- March on Quel’Danas - the first encounter takes place outside the Sunwell, on this round terrace
- The Darkwell - the second arena, and it is located right in the Sunwell, the only place where the Light kept the incoming Void at bay.
The requirements are pretty simple - have level 90 and at least ilvl 220 for the Raid Finder difficulty. Higher difficulties will have higher ilvl requirements.
Belo'ren, Child of Al'ar Tactics
This fight revolves around dealing with two types of damage - Light and Void. The raid party will be divided into two groups:
- Players with Light Feather - will interact with light-fused abilities
- Players with Void Feather - will interact with void-fused abilities
Most mechanics revolve around interacting with your assigned energy type while avoiding the opposite one. The fight alternates between a damage phase against the boss and a burn phase against his rebirth egg. The goal is to kill the egg; otherwise, the boss revives, and it's back to phase 1. If that happens, the damage you dealt to the egg will persist when the boss turns into it the next time. So, essentially, you have to deplete two health bars, not just one. Here’s a quick look at all abilities that will be used by the boss and its adds:
|
Enemy |
Ability |
Description |
|
|
Heavy raidwide damage that assigns each player a Light or Void feather. |
|
|
Reduces Holy damage taken by 50%. |
||
|
Reduces Shadow damage taken by 50%. |
||
|
Constant raidwide Fire damage that ticks faster during rebirth. |
||
|
Summons Light and Void Ember adds. |
||
|
Sends Light and Void echoes through the arena for an extended period. |
||
|
Touching it triggers a small raidwide Holy burst. |
||
|
Touching it triggers a small raidwide Shadow burst. |
||
|
Voidlight Echo |
Touching the wrong echo with the opposite feather deals lethal Twilight damage. |
|
|
Main tank combo. Must hit players or Belo'ren gains a stacking damage buff. |
||
|
Holy and Physical frontal that knocks back and increases damage taken. |
||
|
Shadow and Physical frontal that knocks back and increases damage taken. |
||
|
Casts both frontals at once. |
||
|
Applies healing absorbs, and periodic damage to players. |
||
|
Holy damage over time plus a heal absorb. |
||
|
Shadow damage over time plus a heal absorb. |
||
|
Delayed Light and Void line attacks on targeted players. Heroic and Mythic only. |
||
|
Heavy Holy projectile hits the first player in its path. |
||
|
Heavy Shadow projectile hits the first player in its path. |
||
|
Final slam in the center that knocks players upward. Damage drops with distance. |
||
|
Egg phase cast. Damage the egg to reduce Immortal Flame and stop the respawn. |
||
|
Raidwide Fire burst on rebirth, which adds stacking healing reduction. |
||
|
Light and Void floor eruptions that detonate after a short delay. |
||
|
Delayed dive on a player. Split damage, knockback, and leaves a Light Patch. |
||
|
Damaging ground that greatly increases Holy damage taken. |
||
|
Random Holy damage hit on a player. |
||
|
Deadly raidwide Holy cast. Only Light Feather players can interrupt it. |
||
|
Turns into an egg on death. Kill the egg or the add respawns with raid damage. |
||
|
Delayed dive on a player. Split damage, knockback, and leaves a Void Patch. |
||
|
Damaging ground that greatly increases Shadow damage taken. |
||
|
Random Shadow damage hit on a player. |
||
|
Deadly raidwide Shadow cast. Only Void Feather players can interrupt it. |
||
|
Turns into an egg on death. Kill the egg or the add respawns with raid damage. |
Phase 1: Phoenix Reborn
The fight starts with the boss casting Voidlight Convergence, which is a damaging ability (44154 dmg on Heroic) that splits players into those who have the Light Feather and Void Feather. To make it easier to fight the boss, start the fight by pulling Belo'ren to the center of the arena and have 2 tanks stand between the boss and the Sunwell entrance, while the rest of the raid stands between the boss and the raid entrance. This isn’t really important as you’ll be moving a lot throughout the fight, but it will help with tanking.
The boss will summon two adds: Light Ember and Void Ember, both of which will be casting Light Dive or Void Dive, respectively, which is a delayed attack that puts the targeted player into a circle. This is when the players with the same feather “light” or “void” must stand in that 12-yard circle of the targeted player and soak up the damage. Once the damage is done, whether soaked or not, this will also leave a light or void patch on the ground. That puddle will damage players with the opposite feather on them. At first, only one of these will be cast, but later in the fight, both adds might cast these attacks, and everyone will need to react to them.
After soaking, Ember adds will try to cast Eruption, which is a raid-wide damage ability. This needs to be interrupted by the players with the matching color. Make sure to call out which player interrupts the next cast, or players will take lots of damage and might wipe.
When the adds die, they turn into eggs, just like the boss. These eggs need to be dealt with quickly, so that the adds don’t respawn with full HP. The Rebirth is a 15-second-long cast, so the players must kill faster than that.
Guardian’s Edict is an attack that tanks will need to deal with. It’s going to be either a light or void-fused attack, so the right tank needs to hold the aggro and take the damage. If the attack is just avoided, this will boost the boss’s damage by 30%, and that’s a big no-no. Make sure that the tank that takes the hit has the boss turned away from other players to ensure no one else gets hit.
Radiant Echoes is a long line of Light and Void orbs (Echoes) that periodically spawn in the arena and slowly move to the opposite side. Touching the orb with the same color removes the orb and deals less damage than touching the orb of the opposite color. The key is to make room for your team by removing some of the orbs so that the players with the opposite affinity can move freely.
Infused Quills is a targeted attack where Belo’ren shoots a dagger-like projectile at a random player. The dagger can be either Light or Void. If the targeted player has the opposite affinity, another player with the matching color must stand between the boss and the targeted player to soak the damage.
Phase 2: Ashen Shell
The second phase starts once you deplete the boss’s health to zero. Belo’ren will crash down as an egg and start casting Rebirth, which takes 30 seconds to complete. During this time, you need to deal damage to the egg and try to reduce its health pool to zero. In this phase, the area around the egg will be split into eight cone-like sections, each of which will be either Void or Light. Sections will periodically blow up, dealing damage, and players must stand in their respective colored cones to not get killed. So you can’t really just stand there and press buttons; you still have to constantly run around, making sure you’re safe.
When Belo’Ren resurrects, the bird will cast Voidlight Convergence again, changing the player’s colors. Also, each consecutive successful rebirth reduces the effect of healing skills by 10%, making the fight harder the longer it goes on. This happens on Ashen Benediction - the rebirth itself that deals damage.
Browse our hottest WoW Boosting services
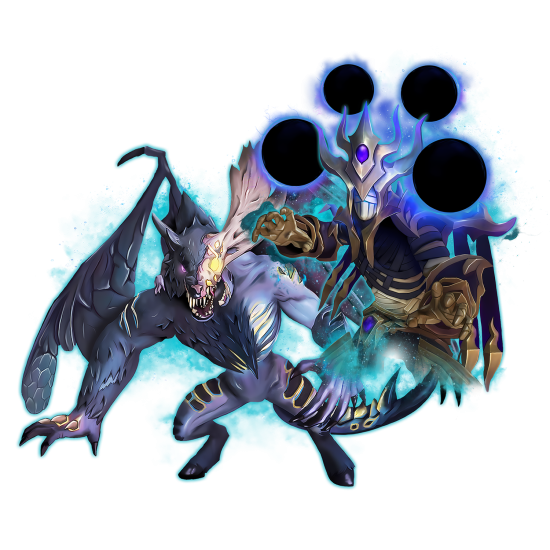


L’ura, Midnight Falls Tactics (WIP)
Coming Soon
March on Quel’Danas Loot
The loot from this raid includes the Chiming Void Curio tier token from Midnight Falls, a few housing decor items, one profession recipe, and a full set of non-tier gear. Here’s the full list.
Chiming Void Curio
Unlike Dreamrift, March on Quel’Danas does not drop armor-type tier tokens. Instead, Midnight Falls can drop the Chiming Void Curio, which can be traded for any tier set piece you want.
|
Tier Token |
Eligible Classes |
|
All classes |
Loot scales by difficulty, and item level also increases from the first boss to the last one. Here’s the correlation:
- Raid Finder: Belo'ren drops Item Level 240 gear, Midnight Falls drops Item Level 243 gear, and both drop Veteran Dawncrests
- Normal: Belo'ren drops Item Level 253 gear, Midnight Falls drops Item Level 256 gear, and both drop Champion Dawncrests
- Heroic: Belo'ren drops Item Level 266 gear, Midnight Falls drops Item Level 269 gear, and both drop Hero Dawncrests
- Mythic: Belo'ren drops Item Level 279 gear, Midnight Falls drops Item Level 282 gear, and both drop Myth Dawncrests
The non-tier loot includes gear from both encounters, with Midnight Falls also dropping a Very Rare ring and the raid’s Curio token.
Non-Tier Gear
|
Item |
Item Type |
|
Cloth Waist |
|
|
Cloth Shoulder |
|
|
Leather Chest |
|
|
Mail Legs |
|
|
Mail Feet |
|
|
Plate Hands |
|
|
Ring |
|
|
Trinket |
|
|
Trinket |
|
|
Dagger |
|
|
Dagger |
|
|
Shield |
|
|
Cloth Chest |
|
|
Leather Helm |
|
|
Mail Helm |
|
|
Plate Legs |
|
|
Neck |
|
|
Very Rare Ring |
|
|
Healer Trinket |
|
|
Trinket |
|
|
Warglaives |
|
|
Two-Hand Axe |
|
|
Staff |
Last but not least, the raid also drops a few housing decor pieces. Two of them are general boss drops, while the trophy items are tied to specific difficulties.


You got -20% OFF 
Housing Decor
|
Housing Decor |
Difficulty |
|
All difficulties |
|
|
All difficulties |
|
|
Raid Finder / Normal |
|
|
Heroic |
|
|
Mythic |
If you clear a higher difficulty, you also unlock the lower-difficulty trophy rewards.
There is also one profession recipe from this raid: Plans: Magister's Valediction for Blacksmithing.
Read our other WoW guides:
F.A.Q.
Is the March on Quel’Danas raid difficult?
Despite featuring only two bosses, this raid can be somewhat difficult, since it is the final raid of the Midnight campaign. Both bosses feature pretty complex mechanics and require good communication to beat them.
How long does the March on Quel’Danas raid take to beat?
With only two boss encounters, the entire raid will take about an hour or an hour and a half, depending on how prepared the raid party is.
What bosses are in March on Quel’Danas raid?
The raid has two bosses: Belo'ren, Child of Al'ar - a phoenix that has a respawn mechanic, and Midnight Falls, Void Naaru, being the final encounter.
How to beat the first boss in March on Quel’Danas raid?
The entire raid party will be split into two groups - the ones that have light and the ones that have void. Players must interact with the matching-color attacks to mitigate their damage. Once the boss is dead, it will turn into the egg, and to finish the encounter, the egg must be destroyed.
Where is the March on Quel’Danas raid entrance?
The raid takes place in the Sunwell, which is located on the Isle of Quel’Danas, north of Silvermoon.
What item level gear does the Isle of Quel’Danas raid drop?
In this raid, you will find different ilvl loot based on the difficulty:
- Raid Finder: Item Level 240-243 gear
- Normal: Item Level 253-256 gear
- Heroic: Item Level 266-269 gear
- Mythic: Item Level 279-282 gear


