 Dallon Avery
Endgame turns the Black Ops 7 campaign into an ongoing co-op experience that keeps growing after the story ends. Once Avalon opens up, you and your squad step into a huge shared map where you get to loot, complete quests, and survive - an experience not unlike something that we had in previous titles. In this Black Ops 7 endgame guide, we’ll explain how this mode works, how it's structured, talk about personal progression and in-raid progression, as well as cover all major activities. And don’t forget to check out some early builds we’ve prepared at the end of the guide.
Speaking of the endgame, did you know that you could unlock the endgame mastery camos faster if you Camo Boost Service at Skycoach? Select the desired camo and let Skycoach's veteran CoD players take care of the grind. It's a fast and safe option if you don't have the time to farm the challenges on your own!
Read our other Black Ops 7 guides:
Note: At Skycoach, you can Buy Black Ops 7 Boost at the best prices with fast delivery. Use our special PROMO CODE (in green) hidden in this article for a 20% DISCOUNT.
Browse our hottest Call of Duty Boosting services


What Endgame Is in Black Ops 7

Black Ops 7 co op campaign unlocks after the campaign’s eleven missions and works as the game’s long-tail cooperative mode, but it isn’t a simple extra chapter. It’s a progression loop built around repeatable challenges, open exploration across Avalon, and a character you develop over many runs. You enter large 32-player instances, form squads of up to four, and complete activities that raise your power for that specific session. The city is fully PvE, so every player you see is friendly and focused on their own objectives.
Before going deeper, it helps to look at a few core features that define the mode.
- Shared Avalon instances with up to 32 PvE players
- Squads of up to four with no PvP of any kind
- Personal operator slots that level over time
- Run-based power growth tied to Combat Rating
- Exclusive mastery camos are earned only in Endgame
- A mix of quests, activities, and open exploration
- Full global XP and weapon level integration across the game
These elements shape how each run plays out. You push toward harder zones, hunt for better rewards, and stay focused on exfil so you can keep everything you earned. One of the strongest incentives to spend time here is the exclusive mastery camo track. It gives completion-focused players a dedicated reason to explore Black Ops 7 Avalon map and progress their loadouts.
Endgame stands as the PvE progression space for Black Ops 7. It offers meaningful unlocks, build variety, and a steady loop that brings you back to Avalon even if your main interest stays in Multiplayer or Zombies.
The Avalon Map Explained – Zones, Points of Interest, and Hidden Intel

Avalon is built around a simple idea. The farther you move toward the center of the map, the harder the fight becomes. The city is split into four danger rings, and each ring controls enemy strength, toxin pressure, and reward quality. It works a lot like the threat tiers in MW3 Zombies, where early areas feel safe and later areas turn into real survival tests.
You begin every run on the outer edge. Enemies are slow, toxin levels are low, and you have room to build power. Moving into higher zones changes everything. Enemies grow aggressive, elites appear more often, and rewards jump in value. These zones exist to guide the pace of your run, so the map naturally pushes you inward as your strength rises.
Before looking at individual POIs, it helps to understand what the zone system expects from you.
- Zone I is the warm-up and requires no Combat Rating
- Zone II becomes stable once you reach CR 10
- Zone III expects around CR 30 for reliable survival
- Zone IV is built for CR 45 and punishes early pushes
Each ring circles the city center, where the most dangerous fights happen
Black Ops 7 Combat Rating is the number that measures your power during the current run. It is not tied to account progression or weapon levels. Raising CR boosts health, damage, mobility and unlocks stronger skills within your chosen tracks. If you enter higher zones without the required CR, the run usually ends immediately. Basic enemies hit hard, elites arrive in groups, and toxin zones drain health faster than you can recover.
Hidden Intel is scattered across Avalon and adds another layer to exploration. These pieces sit on rooftops, in alleys, side buildings, and small off-path areas between major POIs. Finding them rewards extra progression, gives lore context, and often leads you into routes you would not normally take. Hidden Intel also makes early zones more worthwhile, since you can collect power safely before pushing into the inner rings.
With all that in mind, here is a clear look at how Avalon’s districts are arranged.
Avalon POIs by Zone:
| Zone | POIs |
| Zone I | Car Factory, Water Treatment, Old Arsenal, Chop Shop |
| Zone II | Golf Club, Trinity Stadium, Coastal Security, Pier District, Heliport |
| Zone III | High Town, Casino, Residences, Winery, Excavation Site, Resorts, Colosseum |
| Zone IV | Low Town, Firing Range, Fort, Listening Post |
These districts shape the flow of every session. You start outside, gather Combat Rating and Intel, and move inward when your build can handle the pressure. Once you understand how the danger rings fit together, Avalon becomes easier to read, and each run becomes more about doing things fast rather than trying to stay alive.
Match Flow From Loadout to Exfil
A run in Avalon follows a set of predictable stages. Each one uses different systems and asks you to make different decisions. Understanding these stages makes the mode easier to read and much easier to survive.
Stage One: Load In and Drop
A match starts when you lock in your operator, loadout, and abilities. You spawn over the city in a wingsuit and pick a landing zone in the outer ring. Up to thirty-two friendly players can be present in the same instance, but you only progress with your own squad of up to four.
Stage Two: Early Power Building
The opening minutes take place in Zone I, where enemies are slow and toxin levels are low. This is where you gather your first Combat Rating points, complete quick assignments, and prepare the build you will use for the rest of the run. Early objectives matter because CR rises much faster from activities than basic kills.
Stage Three: Mid-Zone Progression
Once you reach the CR requirement for the next danger tier, you move toward Zone II and Zone III. These areas introduce stronger enemies and more aggressive patrols. You begin picking skills within your chosen tracks, collecting Field Acquisitions, and upgrading your weapon rarity at Workbenches. These steps decide how far into the city you can safely travel.
Here is what shapes this middle part of the run:
- Your current Combat Rating and its power milestones
- The zone you choose to enter next
- The skills and upgrades you have collected during the match
- The assignments spawning around your squad
- How stable your armor, ammo, and equipment supply are
Stage Four: Late-Run Push
When your build feels stable, you head toward Zone IV. This is the hardest part of Avalon and punishes early pushes. Enemies become faster, elites spawn in groups, and toxin levels rise. Movement, abilities, and squad coordination matter more here than anywhere else. The rewards grow, but so does the risk of losing everything you earned.
Stage Five: Exfil and Run Completion
Every match ends with extraction. You select a landing zone, clear nearby enemies, and hold the site until the aircraft arrives. A successful exfil saves your Combat Rating, skill picks, and anything you collected during the run. A failed exfil resets all in-run progression and sends you back to the menu with nothing carried over.
Browse our hottest Call of Duty Boosting services


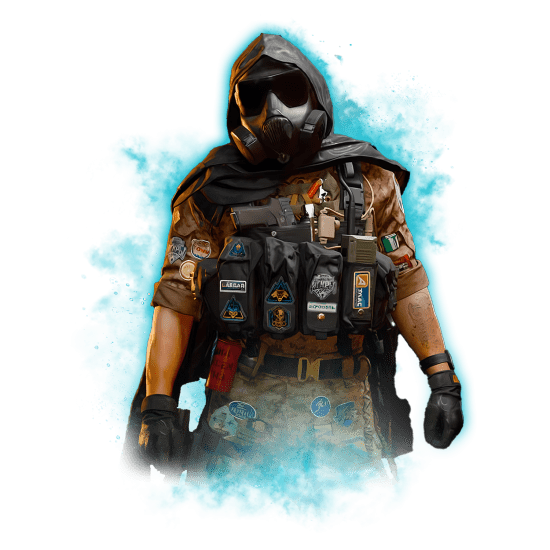
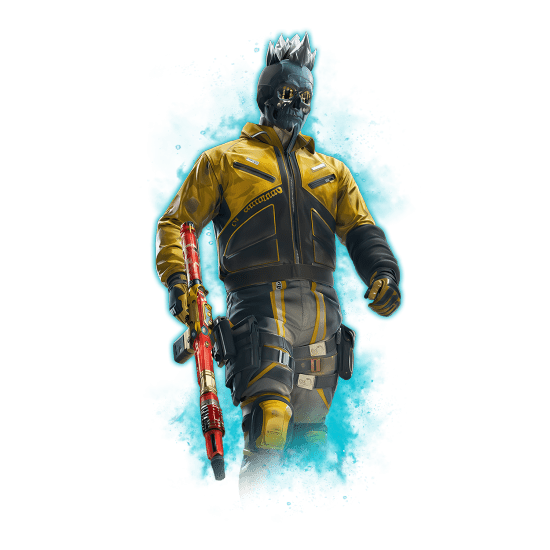
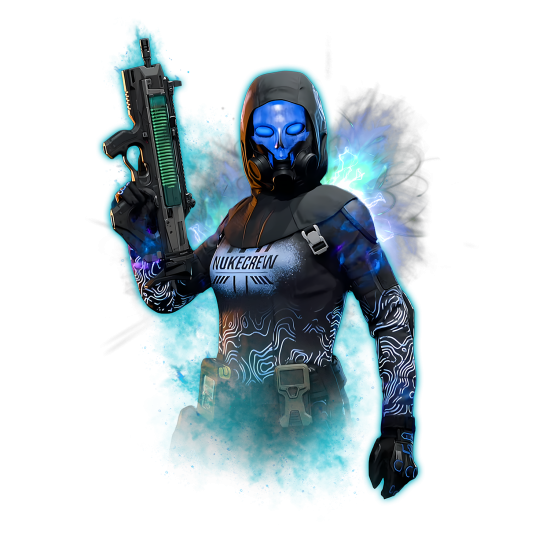
Operators, Loadouts, Abilities, and Skill Tracks – Your Endgame Progression Path

Operators act as long-term characters. Each slot grows only when you extract successfully, so every run adds power to that specific build. Failing a run wipes all the Combat Rating and skills gained inside Avalon.
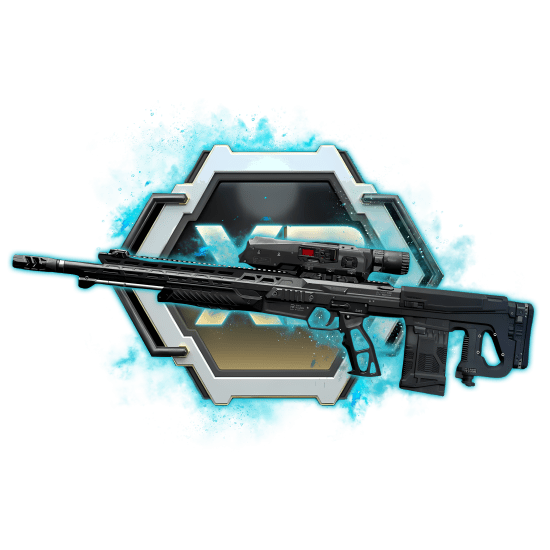
Loadouts
A loadout has four parts. You bring a main weapon, a melee weapon, a piece of Field Equipment, and an empty Field Acquisition slot. The Field Acquisition slot can only be filled by finding a weapon inside Avalon and extracting with it. Workbenches scattered around the map let you upgrade weapon rarity for more damage.
Abilities
We’ve mentioned Black Ops 7 best abilities several times by now. Each operator carries one Major Ability and one Minor Ability. The Major Ability defines your big moments, such as high burst damage or temporary protection. The Minor Ability handles mobility, utility, or quick repositioning. Picking the right mix decides how well you handle toxin zones, elites, and fast rotations.
Skill Tracks
Every time your Combat Rating rises, you pick a new skill. Black Ops 7 skill tracks focus on movement, survival, weapon handling, or explosives. Reaching higher CR opens stronger options, and a fully developed operator can complete three tracks by CR 60.
All four systems connect to Combat Rating. It raises your base health, damage, and mobility, and it decides when you are strong enough to enter higher danger zones. Soon, you’ll work out the best skills for your character, and it’ll become much easier to stay alive and extract with the loot. BLOG20
Activities, Assignments, and Objectives
Activities are the main way you gain power during a run. They raise your Combat Rating much faster than simple kills and help you stack skills before entering higher danger zones. Each activity spawns dynamically around your squad, so every match feels different even if you follow the same route.
Assignments
Assignments are short tasks that reward quick Combat Rating boosts. They include escorting vehicles, clearing strongholds, recovering stolen supplies, or holding small areas. These are ideal in the early zones because they build momentum without risking much health or armor.
Combat Encounters
Roaming patrols, elite squads, and toxin-affected enemies appear as you move through the city. Clearing these groups drops loot and contributes to steady CR growth. Elites become more common in deeper zones and reward much more progress when defeated.
Here is how the activity system shapes your climb:
- Assignments give large bursts of Combat Rating
- Patrols fill the gaps between major tasks
- Elite groups reward strong operators with faster growth
- Workbenches appear near active routes for weapon upgrades
- Intel pieces push you into side paths for extra rewards
Intel and Exploration
Hidden Intel pieces sit off the main paths and reward extra progression. These are scattered across rooftops, alleys, and small side buildings. They help early runs feel rewarding and give you small boosts without raising enemy pressure too quickly.
High-Value Targets (HVTs)
Some assignments spawn stronger enemies or larger groups. These are risky in Zone II and Zone III unless your build is stable. In return, they drop better loot and help you reach key Combat Rating milestones sooner.
Activities are the backbone of every run. Figure out the important or the easiest ones, and you’ll be swimming in loot. Once you learn where they spawn and how they escalate, moving through Avalon becomes smoother, and each run starts to follow a clear and rewarding rhythm.
Best Early-Game Builds
Early runs are about staying alive, building Combat Rating fast, and keeping resources under control. These setups focus on stability, mobility, and clean damage so you can reach the first milestones without wasting armor or struggling through basic patrols.
| Build | Main Weapon | Major Ability | Minor Ability | Skill Focus | Playstyle Notes |
| Safe Starter | Any Fast-firing rifle | Ballistic Shell | Supply Link | Survival and weapon handling | Steady and forgiving. Good for learning routes and clearing Zone I and Zone II without risk. |
| Mobility Runner | Any SMG or lightweight rifle | Active Camo | Grappling Hook | Movement and reload speed | Fast rotations, easy repositioning, ideal for Intel routes and fast assignment chaining. |
| Early Damage Focus | Any Shotgun or high-impact rifle | War Machine | Flicker | Damage and reload speed | Strong early burst for elites, but needs careful movement in toxin zones. |
These Black Ops 7 endgame builds are simple, stable, and efficient. Safe Starter helps you survive mistakes. Mobility Runner gets you through early zones quickly. Early Damage Focus rewards confident players with faster objective clears. All three help you reach your first skill picks and enter Zone II with a strong start.
Tips for Playing Endgame Solo and in Squads
Playing solo changes how each run develops. Combat Rating builds slower, elite fights take longer, and good movement matters more than high damage. Solo players gain the most from mobility abilities, early Workbench upgrades, and routes that avoid elite-heavy POIs until the build feels stable. Hidden Intel offers safe progression without pulling large patrols.
Squad runs move faster and open up more options. Teams can chain assignments, rotate abilities for better coverage, and recover from mistakes through quick revives. Mixed-loadout squads handle zone transitions more smoothly, especially when one player brings support tools and another focuses on burst damage.
Here are a few Black Ops 7 level up fast endgame tips:
- Clear assignments near Workbenches so you can upgrade weapon rarity immediately.
- Follow Intel routes to fill Combat Rating gaps before entering a higher zone.
- Pick one extraction point early and plan your rotation around reaching it safely.
- Save your Major Ability for elite waves or toxin pockets instead of basic groups.
- Keep one player running Supply Link or a similar utility to sustain long fights deep in the city.
These tips create smoother runs, reduce wasted resources, and help you reach safer exfil timings in every session.
Conclusion
Endgame introduces a loop that grows stronger the more you understand Avalon. You land with very little power, gather momentum through assignments and upgrades, and push deeper into the city when your Combat Rating allows it. The danger increases fast, but the rewards scale just as quickly. Every extraction keeps your progress and turns your operator into a stronger version of the build you started with. Once you learn how each zone feels, where the safest routes sit, and which abilities fit your playstyle, each run becomes smoother and more rewarding.
F.A.Q.
What is the endgame campaign in Black Ops 7?
Endgame is a shared PvE mode where you drop into Avalon, complete activities, and build Combat Rating during the run. You push into harder zones as your power rises, then exfil to keep everything you earned. Failing to extract wipes all in-run progress.
How to level up fast in Black Ops 7 Endgame?
Focus on assignments because they give bigger Combat Rating boosts than simple kills. Upgrade your weapon rarity at Workbenches as soon as you can. Move into the next zone only when your build feels stable.
What does Combat Rating mean in Black Ops 7 Endgame?
Combat Rating is your power level for the current run and increases through activities and kills. It raises your health, damage, and mobility, and unlocks stronger skills in your tracks. Higher zones require specific CR thresholds to survive.
How exfil works in Black Ops 7 Endgame?
You choose an extraction point, clear the area, and hold it until the aircraft arrives. A successful exfil saves all Combat Rating gained during the run. Failing the extraction resets everything earned inside Avalon.
What are the best abilities to use in Black Ops 7 Endgame?
Strong early picks focus on safety and movement. Try these:
- Ballistic Shell for protection during elite fights
- Active Camo for safe repositioning
- Supply Link for ammo and armor support
- Grappling Hook for fast vertical mobility


