 Rick Flair
ARC Raiders Stella Montis Map Guide Quick Summary:
- Best places to loot in Stella Montis, from best to worst, are: Assembly Workshops, Medical Research, Seed Vault, Cultural Archives (unless you have a key), and both Sandbox zones.
- Airshaft Extract is quite safe to extract from, as it’s located at the far end of the map from most player spawns. Metro stations are alright, but if you are in the PvP lobby, they might be really dangerous.
- Stella Montis has fewer enemies than most other maps, and the only Boss ARC here is Bastion. There are no Snitches here, as well as new ARCs from Shrouded Sky.
- The best loot path on Stella Montis is Medical Research → Assembly Workshops or Sandbox → Seed Vault.
And if you feel like you’re unprepared and lack the experience to farm this map efficiently, try our ARC Raiders Stella Montis Raid Boost. Our Pros will get you all the loot you need and then some.


Read closely 
Browse our hottest ARC Raiders Boosting services


Stella Montis Raid Guide
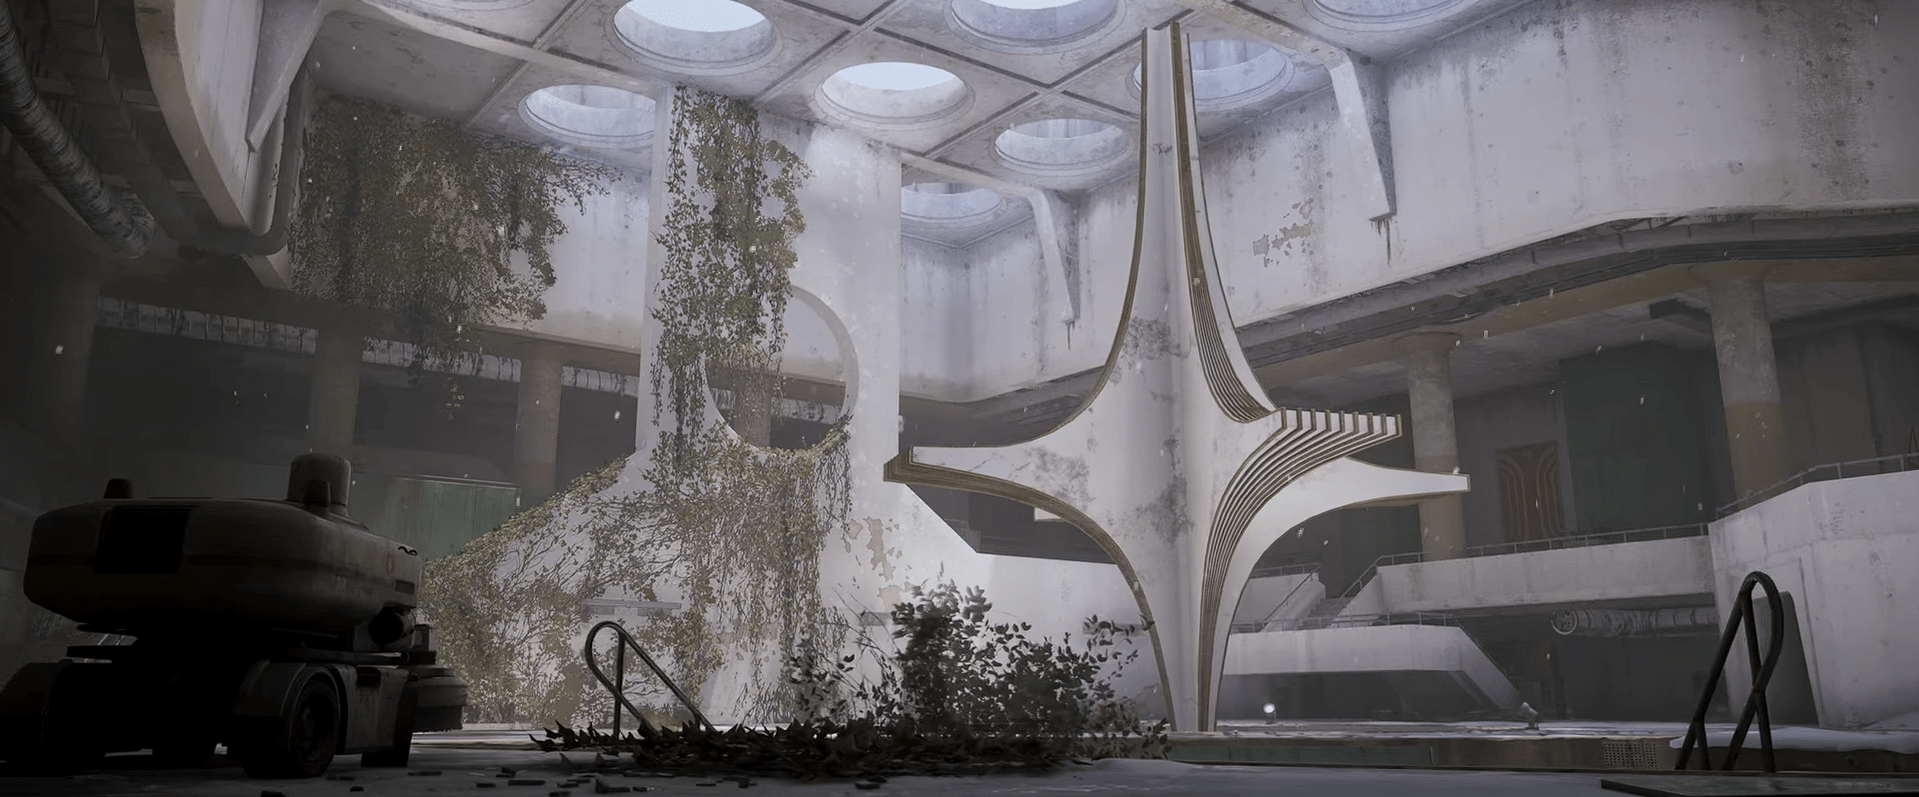
Stella Montis is a crazy labyrinth. Visually, it’s reminiscent of Control and Destiny 2 maps. It’s very fun to play, and you can tell that the map was intricately designed. There are a few key differences that make this map stand out:
- Map Orientation: This is probably the first map where you can fail to extract just because you got lost. Be ready to check your map often.
- Close Player Spawns: You can spawn in one place, and there’s somebody right behind you in a corridor. It is currently unknown whether it is intentional.
- High Loot Rewards: It seems like the chance of Rare and Epic loot spawning in is higher here.
- Cloth is Hard to Find: Crafting healing items during the raid can be a bit more difficult.
These changes might seem minor, but they completely change the flow of the game. Here, it feels more dangerous because the enemy encounter rate is high. ARCs are lurking everywhere, and it’s easy to miss an enemy due to how dark it is.
Best Places to Loot on Stella Montis
Stella Montis contains tons of good loot. It’s really easy to get overwhelmed with how much you’d want to carry out to Speranza. That’s why I advise prioritizing the loot you need in your runs. It’s best done solo, unless your friends need similar loot. Bear in mind that, even in solo play, this area is highly active for PVP. Don’t even try spamming “Don’t shoot” here. If you want to loot well, you don’t have to go to red or yellow zones. It’s easier to find high-tier loot there, yes, but it’s not required. If you are stressed to fight in PVP, just avoid them and loot the outskirts. With that said, let’s talk about the best places to loot on Stella Montis:
- Medical Research: Highest PvP activity zone. There are many places people can attack you from. It has tons of Vita Sprays, blue bandages, and rare materials for your workshop. New Epic loot also spawns here.
- Assembly Workshops: A great and relatively safe zone to loot. There are lots of Fireballs and Pops here, so watch your step. Loot the yellow carts, as they spawn Epic loot. I’ve once found 4 Epic materials in the same cart. Be careful, as this area is next to a few spawn points.
- Lobby: Area to loot if you’re looking for weapon components and security rooms. One of the few areas with the possibility of long-distance fights. If you’re looting here, get your sniper rifles. There are Shredders patrolling it, which are new enemies, so be extra careful. They burn through your shields and HP in no time with their barrage of shotgun shots.
- Storage Room and Cultural Archives: Warehouse filled with Old World loot. Books, paintings, even the mixtape, all spawn here. Good area if you need to farm items for sale. It’s very narrow and has lots of cover, so fighting here is pretty fun.
- Sandbox A & B: A place to farm mechanical components. Low player traffic due to the number of Shredders, Pops, and Fireballs here. If you play this game enough, you know that ARCs are usually a much higher threat. Go in there well-prepared.
- Seed Vault: An area that requires fuel cells to open up. There are many seed pods that contain just one seed. This is pretty strange, considering this is a red area. There is other good loot spawning here, including weapon crates. I still don’t recommend going in here. It’s unknown if it is intentional to have such low seed drops. If you thought this would be a good area to farm seeds, it’s really not.
And this covers the best places to loot on Stella Montis. The coolest thing about it is that there are many good places to loot within the vicinity. You can just load in, quickly loot, and then extract. It’s especially good if you have enough Raider Hatch Keys. Luckily, it’s quite easy to craft even in a raid.
Stella Montis Extraction Points
There’s a new type of extraction point in Stella Montis. It’s kinda like extraction points on the Blue Gate, but sideways. The main way to extract from this map is Metro Stations, like in the Buried City. There is a total of 3 Stella Montis extraction points:
- Airshaft Extract: It’s located between the Sandbox B and the Seed Vault. Not a lot of places to hide, so be sure to check the pathways leading to the room before calling the extraction. If you are able to cover both tunnels and place mines there, it’s one of the best places to safely extract from.
- Loading Bay Metro Station: Very dangerous location, considering that there’s always a Bastion walking around at the lower level of the Bay. Funnily enough, quite a safe place to extract if you want to avoid other raiders. Not many risk diving in front of the Bastion. There are also many dark places where people can hide. If you can start at the top level and get down safely, you can try it. It requires quite a bit of parkouring unless you have a zipline.
- Lobby Metro Station: A very open location, making it the worst place to extract from. At airshaft extract, you at least know where the enemies will come from. Not the case here. It’s an open area, and enemies come from above, side paths, and from the elevator shaft.
On this map, though, I would recommend taking a Raider Hatch Key with you. Raider hatches are conveniently situated and are close to the best looting locations. There are 3 raider hatches on Stella Montis' map:
- Assembly Workshops Hatch: In the bottom right corner of the location. It’s very convenient, considering that it’s close to a very good looting zone. You spawn in on the western side, go right through the zone, and extract at the hatch. Profit made with no danger.
- Eastern Tunnel Hatch: Really safe place to extract, since not many players loot here. It’s mainly a transition zone to get to the Seed Vault. Watch out for campers sitting in the corners. It’s very dark here, and without the flashlight, you won’t see much.
- Sandbox B Hatch: On the very south of the location. The safest raider hatch to extract at, as it’s on the outskirts. ARCs don’t spawn here, and unless an enemy specifically camps this spot, you’re good.
Considering how PVP-heavy this map is, factor in the hatch extracts. It’s really easy to farm Sensors and Advanced Electrical Components on this map. That means you can either craft them at home if you’ve upgraded your workshop, or right in the raid if you’ve invested in the Survival skill tree.
Browse our hottest ARC Raiders Boosting services


Stella Montis Best Loot Paths
There are many good places to loot here. Unlike with other maps, you spawn close to the looting zones. That means that your loot path relies on the spawn point. Take a look at this table of the best loot paths in Stella Montis:
| Spawn Name | Loot Path | Description |
| Assembly Spawn | Medical Research → Loading Bay Extraction OR Assembly Workshops → Assembly Workshops Hatch. | If you spawn on Assembly, there’s a huge chance you’ll face other players. Medical Research is more PVP-heavy than Workshops, but Workshops have a player spawn on the eastern side of it. If you spawn in late, we recommend going to Medical Research. |
| Assembly Workshops Spawn | Assembly Workshops → Assembly Workshops Hatch OR Assembly Workshops → Medical Research → Loading Bay Extraction. | If you spawn in late, your best bet is to hope that there are players looting Assembly Workshops still. Usually, they’re filled with loot, and there’s a low chance players from the Lobby will come here. |
| Lobby Northern Spawn | Lobby → Cultural Archives or Assembly Area → Lobby Extraction or Raider Hatch. | One of the two Lobby spawns. If you spawn in here, check the left side when running out to the Lobby. Chances are, other players will be going up from the Lobby Metro spawn. Don’t loot until you're sure you’re safe. |
| Lobby Metro Spawn | Upper Lobby → Lobby Extraction OR Lobby Area → Cultural Archives → Eastern Tunnel Hatch/Airshaft | If you spawn in here, you’re in a worse position than the other Lobby spawn. You need to get to the other spawn ASAP and try to clear any raiders there. After that, loot the Lobby and extract. |
| Loading Bay Spawn |
Medical Research → Assembly Workshops → Raider Hatch OR Sandbox → Seed Vault → Eastern Tunnel Hatch/Airshaft. |
The best spawn you can wish for. It has a quite convenient route with some of the best loot. It’s also pretty safe. |
| Seed Vault Spawn | Seed Vault → Sandbox → Loading Bay Extraction OR Seed Vault → Cultural Archives → Eastern Tunnel Hatch/Airshaft/Lobby Extraction. | Another great spawn. Lets you cover a lot of ground and offers many options for loot paths and extraction. If you spawn in late, be ready for a shootout. |
In theory, these loot paths are the most efficient. Factually, when you’re in the raid, you might want to take a different route because of the enemies. There might be lots of ARCs on your way or a player shootout. Weigh your risks, check your resources, and decide whether encountering enemies is worth it.


You got -20% OFF 
Stella Montis Enemies
Stella Montis introduced a new enemy found only on this part of the map: Shredder. It’s an ARC that pursues you no matter what. It’s a regular unit with firepower closest to the Rocketeer’s. Thankfully, it can’t shoot up and down. It can only shoot straight. When it notices you, it fires a burst of shotgun shells at you. Apart from Shredder, the list of Stella Montis’ enemies is quite familiar:
- Hornet
- Wasp
- Pop
- Fireball
- Bastion
- Turret
- Bombardier
Though there are no Leapers and Rocketeers on this map, the enemies here are quite tough. Fighting in narrow spaces makes it much more stressful and deadly. Any missed shot on the Pop or a Fireball can easily cost you your loot.
Read our other ARC Raiders guides:
F.A.Q
What's the best loot route on Stella Montis?
Really depends on where you spawn in. I would say Medical Research → Assembly Workshops or Sandbox → Seed Vault.
What are the best places to loot on Stella Montis?
Assembly Workshops, Medical Research, and Cultural Archives are the best loot locations.
How to defeat Shredder in ARC Raiders?
Bait him to shoot at you, then hide behind the cover. Once he stops the fire, pop out and shoot him in his body. He’s quite a tough nut to crack, so be sure you do that with a high penetration weapon.
Is Stella Montis beginner-friendly?
Not at all. Not only is it a high PVP territory, but it also has some tough enemies and doesn’t have a lot of healing materials to help yourself. Only come in with good equipment.
What’s the safest extraction point on Stella Montis?
It is an Airshaft Extraction, located between the Sandbox and Seed Vault locations. You have to cover only two pathways leading to it.


