 Crispy Jackie
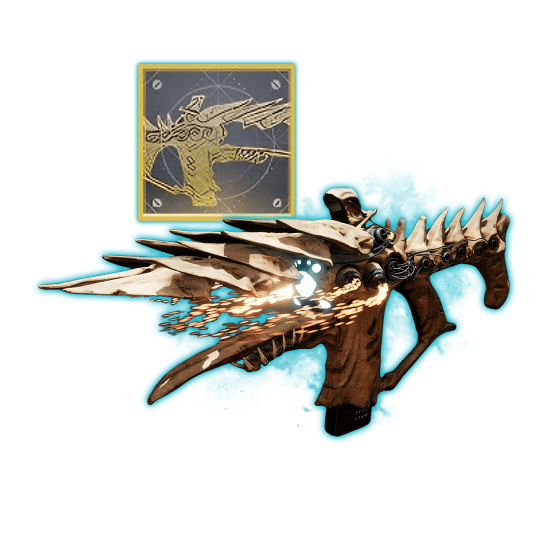
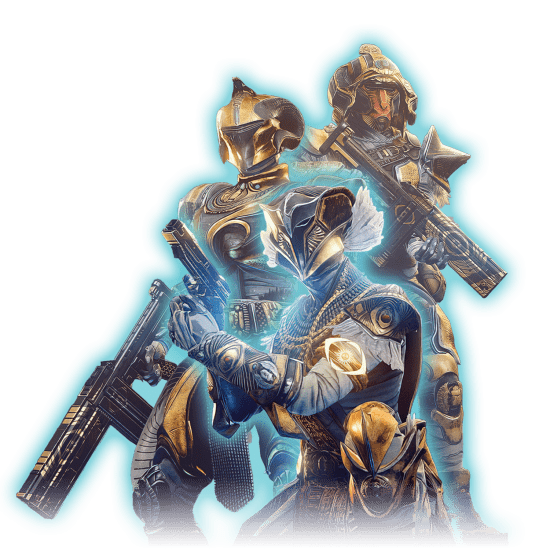
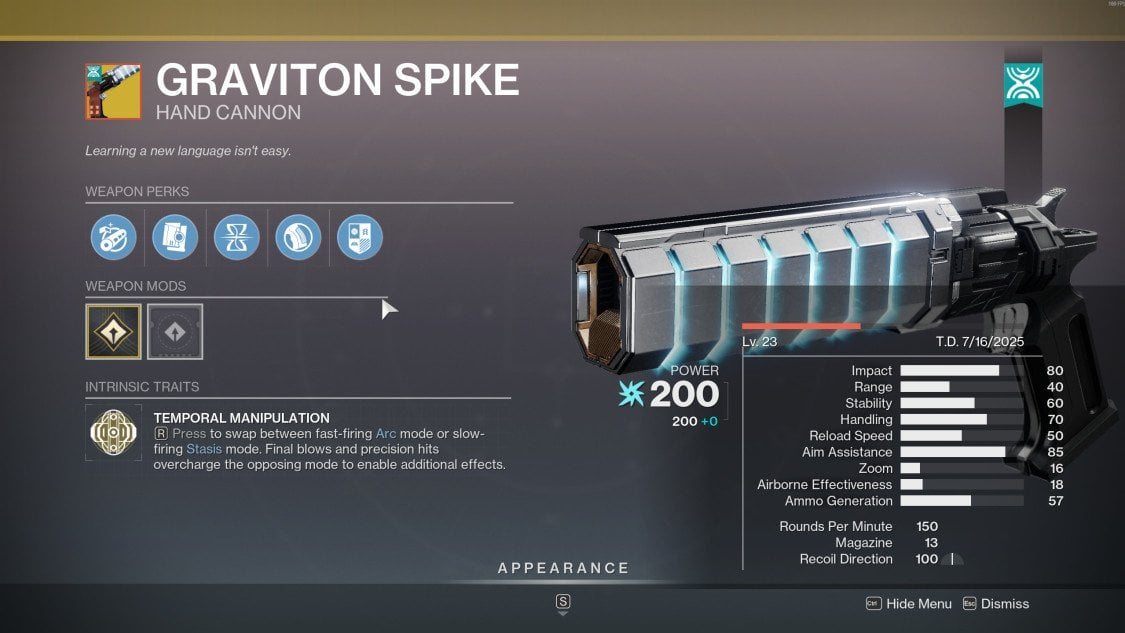
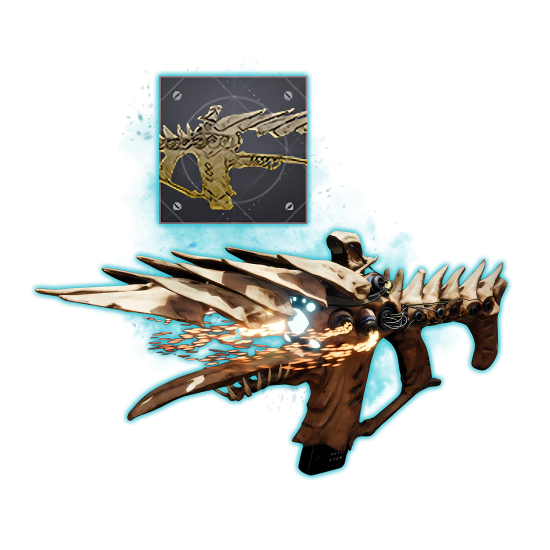
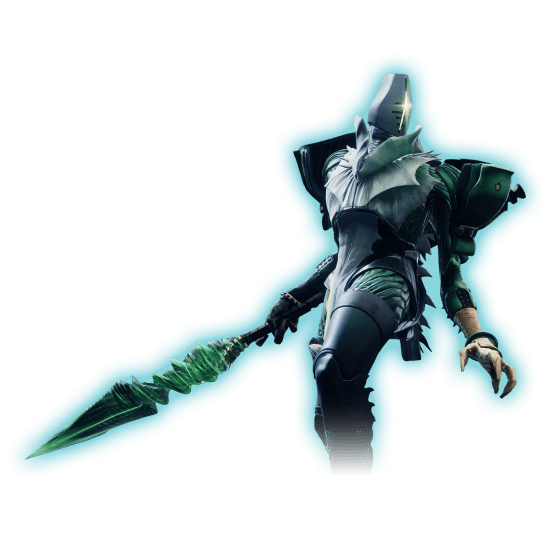
Guardians, welcome to our complete guide on how to get Graviton Spike in Destiny 2. We’ll share a step-by-step walkthrough, explaining how to do Graviton Spike quest to obtain this incredible Exotic from the latest DLC. Yeah, trust us, the entire path to it is well worth it. This isn’t your average Hand Cannon. It swaps elements, bends time, and leaves a trail of lightning and frozen chaos. But this thing doesn’t just drop into your inventory.
You’ll need to finish a full campaign, chase glowing machines, crack puzzles with laser traps, and even fight through an event that ignores the clock. It’s wild, strange, and absolutely satisfying. And once it’s in your hands, every shot feels like a reward.
Tired of grinding in the new expansion? Go ahead and Get Graviton Spike at Skycoach effortlessly. This is the easiest and fastest way to grab this Exotic. Our PROs will complete the entire questline for you. We guarantee the best market price you can find!
Check out our other Destiny 2 guides:
- Best Edge of Fate Exotics
- Rushdown Guide
- How to Get Barrow Dyad
- How to Get Finality's Auger
- How to Get Tier 5 Gear
- Armor 3.0 Guide
Note: At Skycoach, you can Buy Destiny 2 Boost at the best prices with a fast delivery. Use our special PROMO CODE (in green) hidden in this article for a 20% DISCOUNT.
Browse our hottest Destiny 2 Boosting services
How to Unlock Graviton Spike
To unlock Graviton Spike Exotic Hand Cannon, you need to finish the Graviton Through the Ages quest. This Exotic only appears after you complete the full Edge of Fate campaign. It’s not tied to early progression, so you’ll have to clear every story step first.
Once that’s done, the quest becomes available automatically. It includes 15 steps and mixes exploration, puzzles, and some combat objectives. The final part also involves a timed event. You’ll need to stay alert, because this exotic won’t just fall into your lap.
Where to Find Graviton Spike Quest
Once you finish the Edge of Fate campaign, you can find Graviton Spike quest at the Altar of Relativity. This spot is found inside the Kepler hub area. You’ll see a prompt to interact right after completing the last story objective.
That’s where Graviton Through the Ages begins. It’s easy to miss if you leave the area too fast, so make sure to check carefully. This exotic quest sits separate from other post-campaign content. No vendors, no hidden dialogue trees. Just walk up to the altar, and the journey for Graviton Spike kicks off.
If you're still struggling with the new campaign, Skycoach can help you Complete Edge of Fate Campaign on any difficulty. Trust this job to our PROs and enjoy the fresh content the way you see it. We guarantee the best price and the fastest completion time for your order.
Graviton Spike Quest Walkthrough
Graviton Through the Ages is not your average Exotic quest. It’s layered, nonlinear, and packed with small puzzles and timed events. You’ll need to travel across multiple Kepler zones, complete objectives, track hidden nodes, and fight off some tough enemies. The steps aren't hard individually, but the quest demands focus and patience. Especially toward the end. Here’s what each step in our Destiny 2 Graviton Spike quest walkthrough looks like:
- Finding the First Piece
- Finding the Second Piece
- Finding the Third Piece
- Collecting Vex Data Fragments
- Finding the Fourth Piece
- The Sieve Event
Each step brings you closer to unlocking the exotic Graviton Spike Hand Cannon. And each one introduces a new mechanic or twist. This guide will walk you through them all. By the end, you’ll know exactly where to go, what to kill, and how to get the job done. Let’s get into our Destiny 2 Graviton Spike guide at once.
Finding the First Piece
Your hunt for the first weapon fragment begins soon after speaking with Lodi and the Emeritus. It’s important to mention that you can get Graviton Spike solo, so there’s no need to worry about bringing friends just for the questline.
The quest sends you toward the Outer Steppes zone, where your objective is to triangulate the piece’s location using a Rosetta device. You’ll find the search area marked on the map — highlight it to track the path, then fast travel to the Outer Steppes to begin.
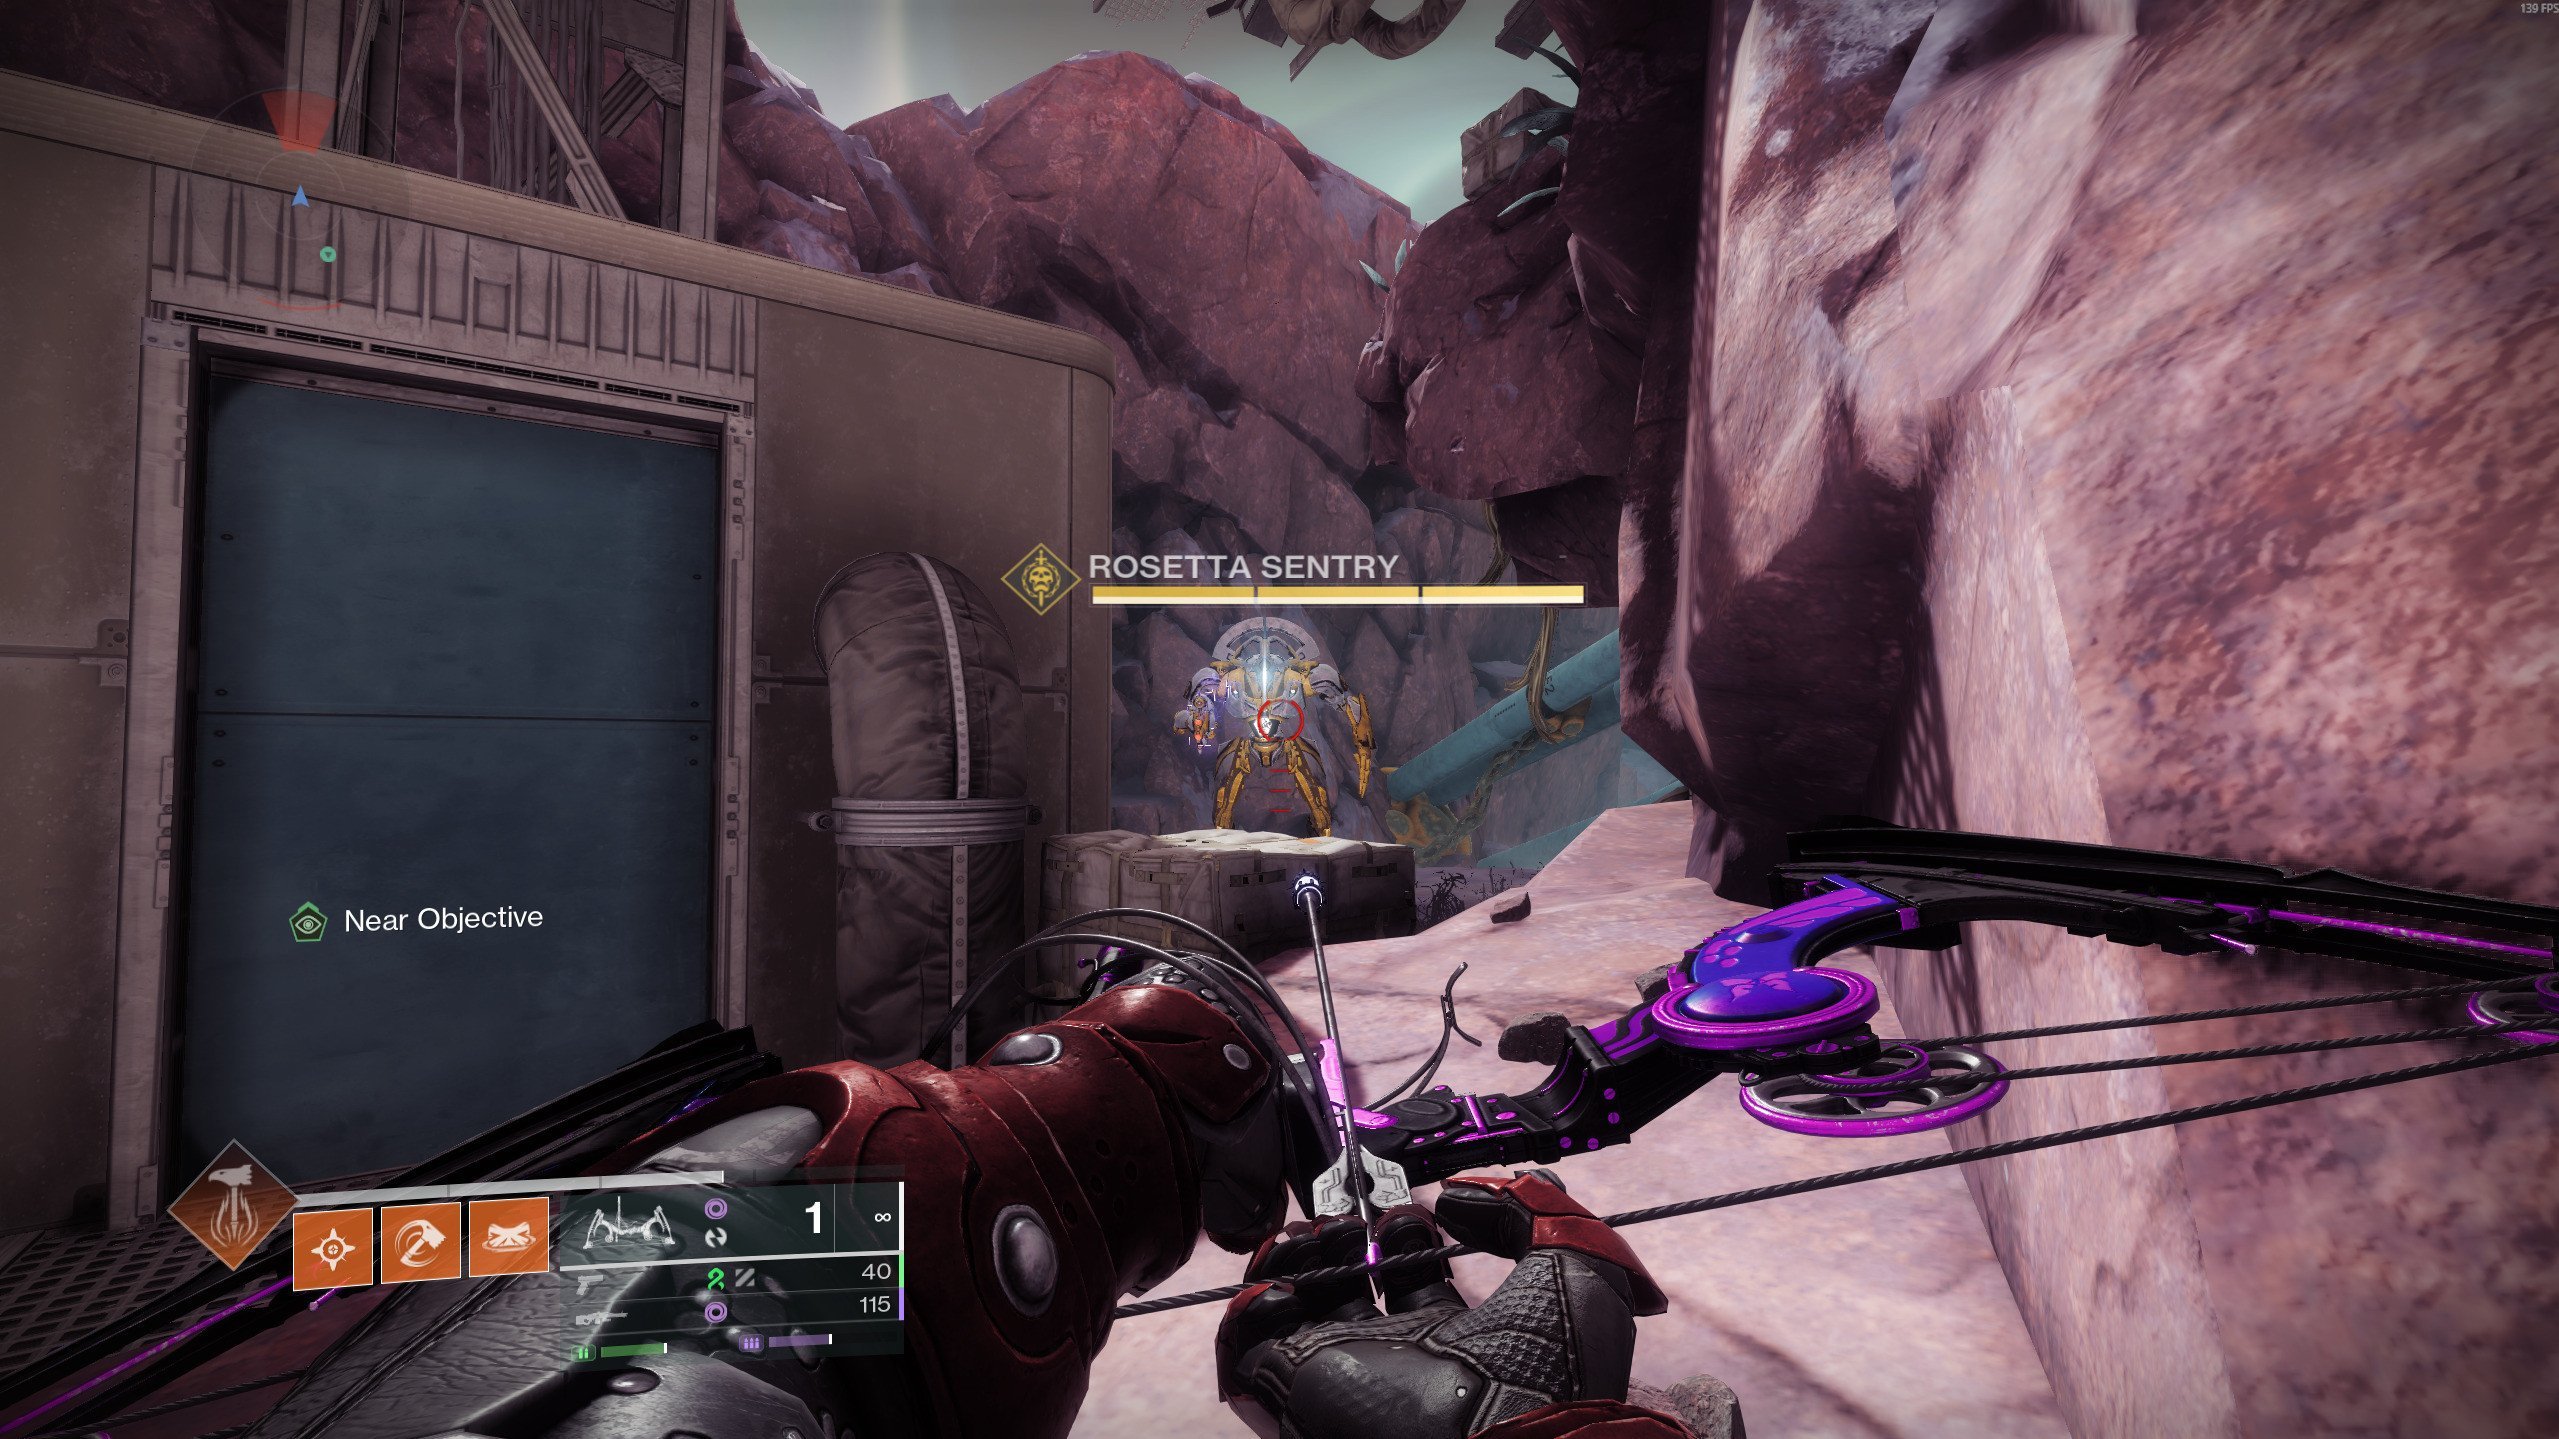
When you arrive, look to the left side of the rocky terrain. There, you’ll spot a command module. It won’t activate until you take down a nearby Rosetta Sentry, an enemy guarding the device. Eliminate the sentry, then interact with the module to unlock the next step.
Now the game asks you to retrieve the lost weapon piece. This part involves a familiar mechanic from the Edge of Fate campaign: charging nodes using your Matterspark. You’ll spot a glowing circular portal and follow it into a small tunnel network. Here’s the order of what to do:
- Use your Matterspark to charge the first node past the cliff
- The charge will launch you upward through a cannon portal
- Continue forward and charge the second node
- Enter the next tunnel and charge the third node
Once all three nodes are powered, a door will open. Inside, you’ll find the first Graviton Spike fragment waiting to be collected. Grab it and move on to the next quest step, which will lead you back to the Emeritus.
This section is fairly quick once you know the layout. Just remember to activate your Matterspark near the portal and keep following the path. The route flows smoothly as long as you stick to the glow trails and stay mobile. BLOG20
Finding the Second Piece
After retrieving the first fragment, your next target is located in the lower-left area of the Directory. To reach it, fast travel to the Assimilated Easement and follow the path shown in the quest marker. You’ll be heading toward the Gorge.
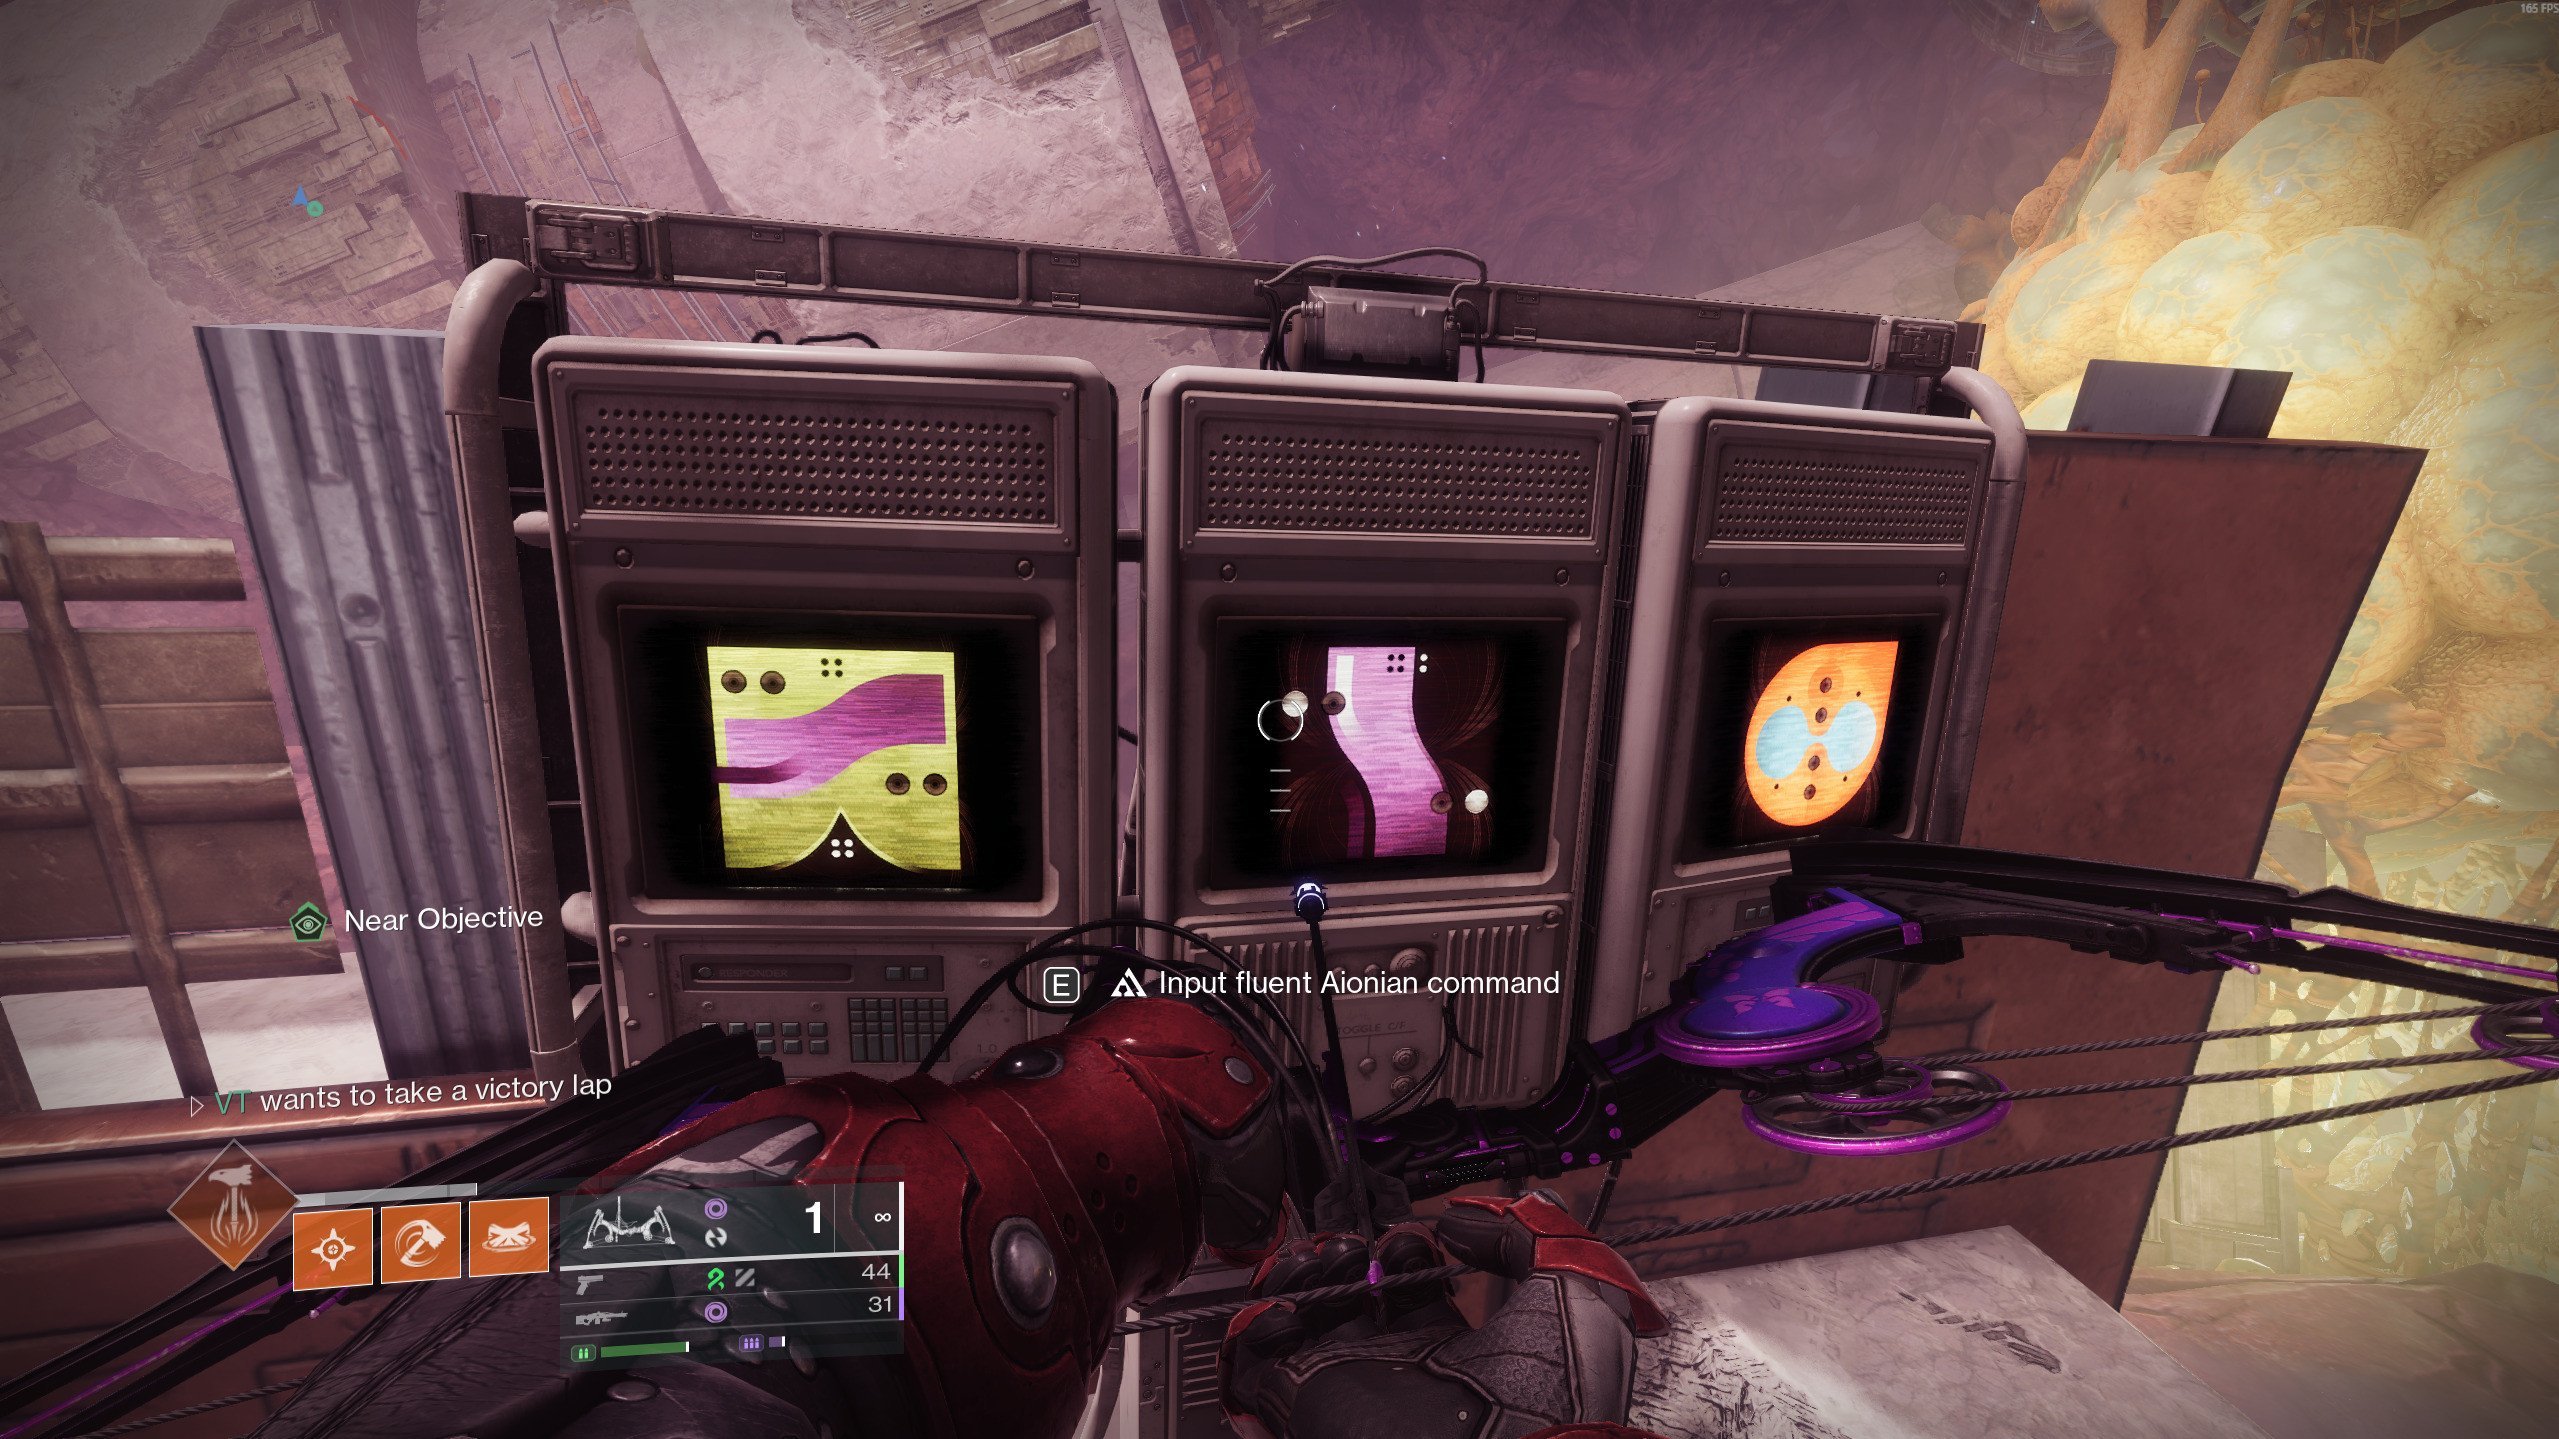
When you arrive in the zone, you need to locate another Rosetta Sentry. This enemy always guards the command module. Once again, eliminate the sentry first. With the area clear, you can access the Aionian Terminal nearby and interact with it. This updates your objective and gives the location of the second piece.
Now follow the updated waypoint. The path winds through a structure where you’ll need to use your Matterspark and Mattermorph abilities to move forward. First, grab the Mattermorph on the way, then carry it back to the tunnel entrance. Activate your Matterspark and travel through the tunnel like you did before.
At the end, use the Mattermorph to unlock a grated door. Behind it is a pile you can search, and that’s where the second fragment is hiding. Collect the piece, and that wraps up this part. Once you're done, return to speak with the Emeritus. He’ll guide you to the next step.
Finding the Third Piece
The next piece is tucked away in Augur’s Bethel, located on the far right side of the Directory. To get there fast, use the Curtilage Divide patrol point and follow the waypoint to the designated search area.
Once you arrive in the zone, look for another Rosetta Sentry. Like before, this enemy is guarding the command terminal you need to access. Eliminate the sentry to unlock the Aionian Module, then interact with the console to reveal the next step.
You might feel a little lost at this point. If so, just fast travel back to Curtilage Divide and start fresh. Follow the quest marker again. This time, you’ll eventually come across a train entrance. Head inside.
Move through the train and into the next room. As soon as you step out, the weapon piece will be right in front of you. There may be a few enemies, but it’s nothing overwhelming. Grab the third fragment and you’re done here. After this, you’ll need to return and speak with the Emeritus again. The next phase of the quest starts after that.
Collecting Vex Data Fragments
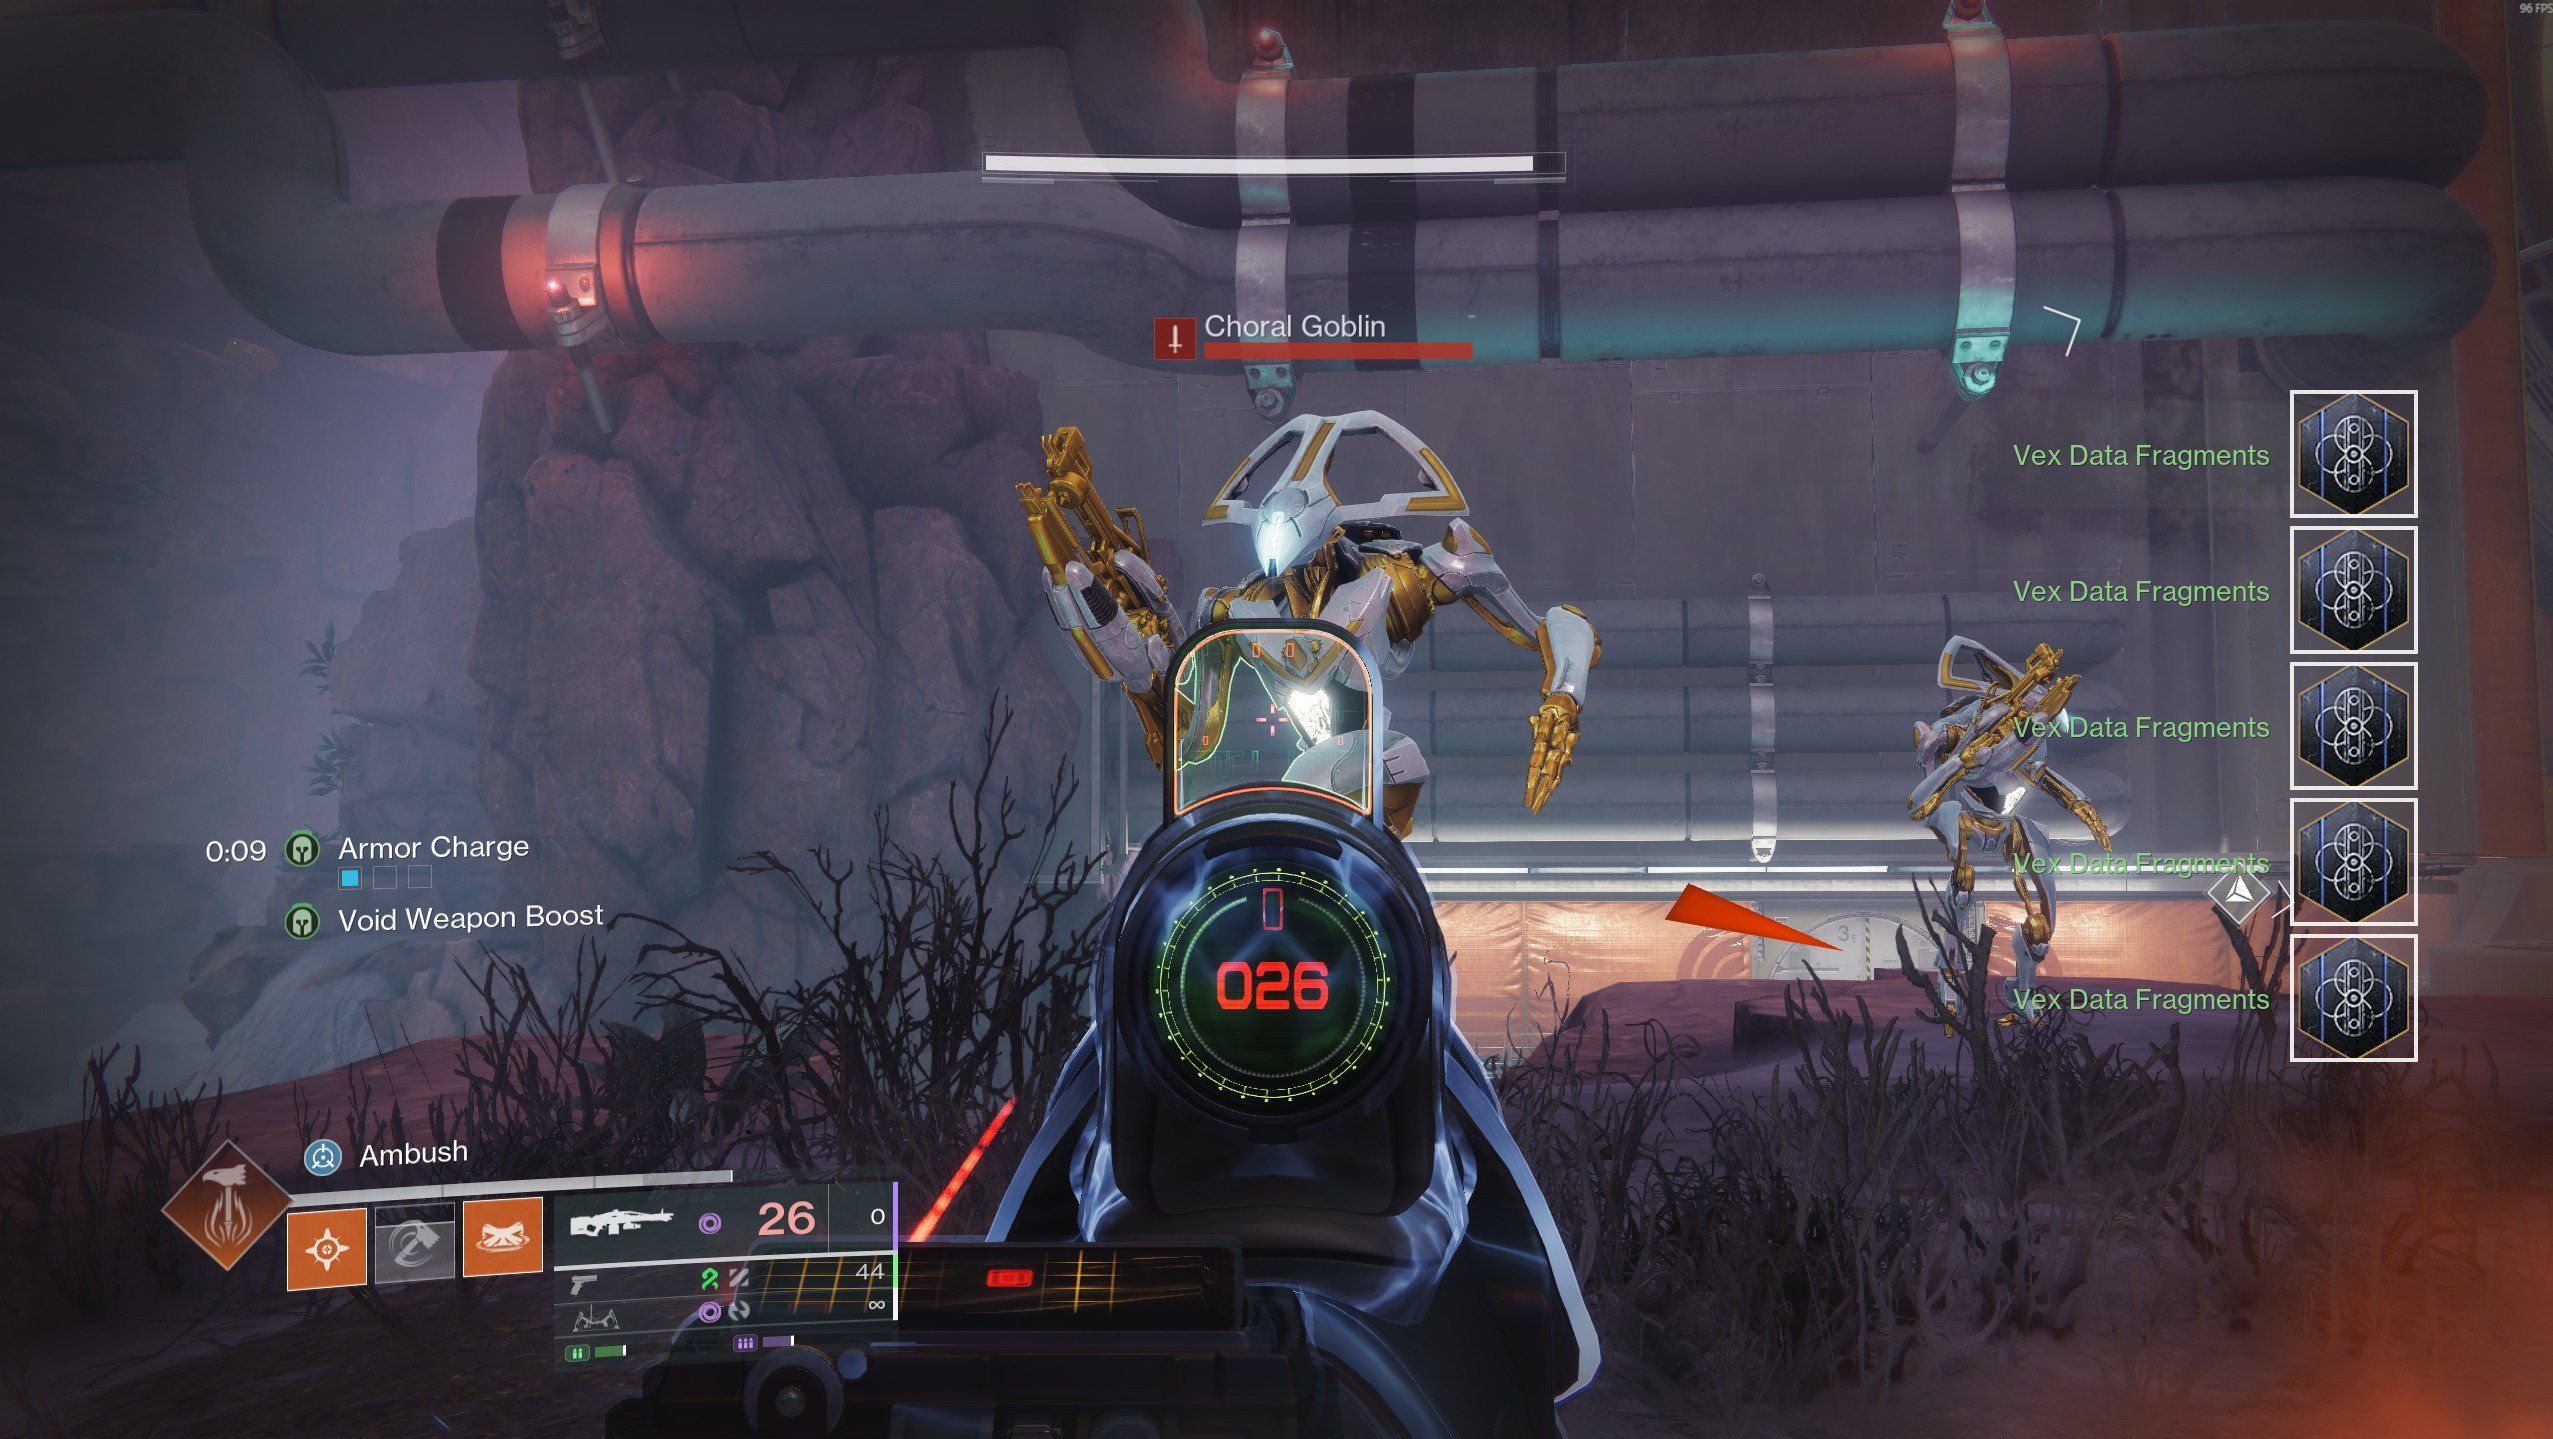
After securing the third weapon piece and speaking to the Emeritus again, the quest moves into a new phase. Now, your task is to gather Vex Data Fragments by defeating Vex enemies on Kepler.
There’s no complex routing involved here. Just head to the main hub on Kepler and move past the vendors to the opposite side of the space. This area is constantly filled with Vex and Fallen fighting each other. It’s the best place to farm what you need without loading into separate missions. Each Vex you kill has a chance to drop Data Fragments, and more powerful ones drop more. You’ll need to reach 100% to move forward in the quest.
If enemies stop spawning, don’t worry. You can simply reload the instance by fast traveling or re-entering the zone. Since most players avoid this area, you’ll usually be alone, which makes farming fast and clean. Stick to this area, eliminate Vex groups, collect their data, and you’ll be ready for the final stretch in just a few minutes.
Finding the Fourth Piece
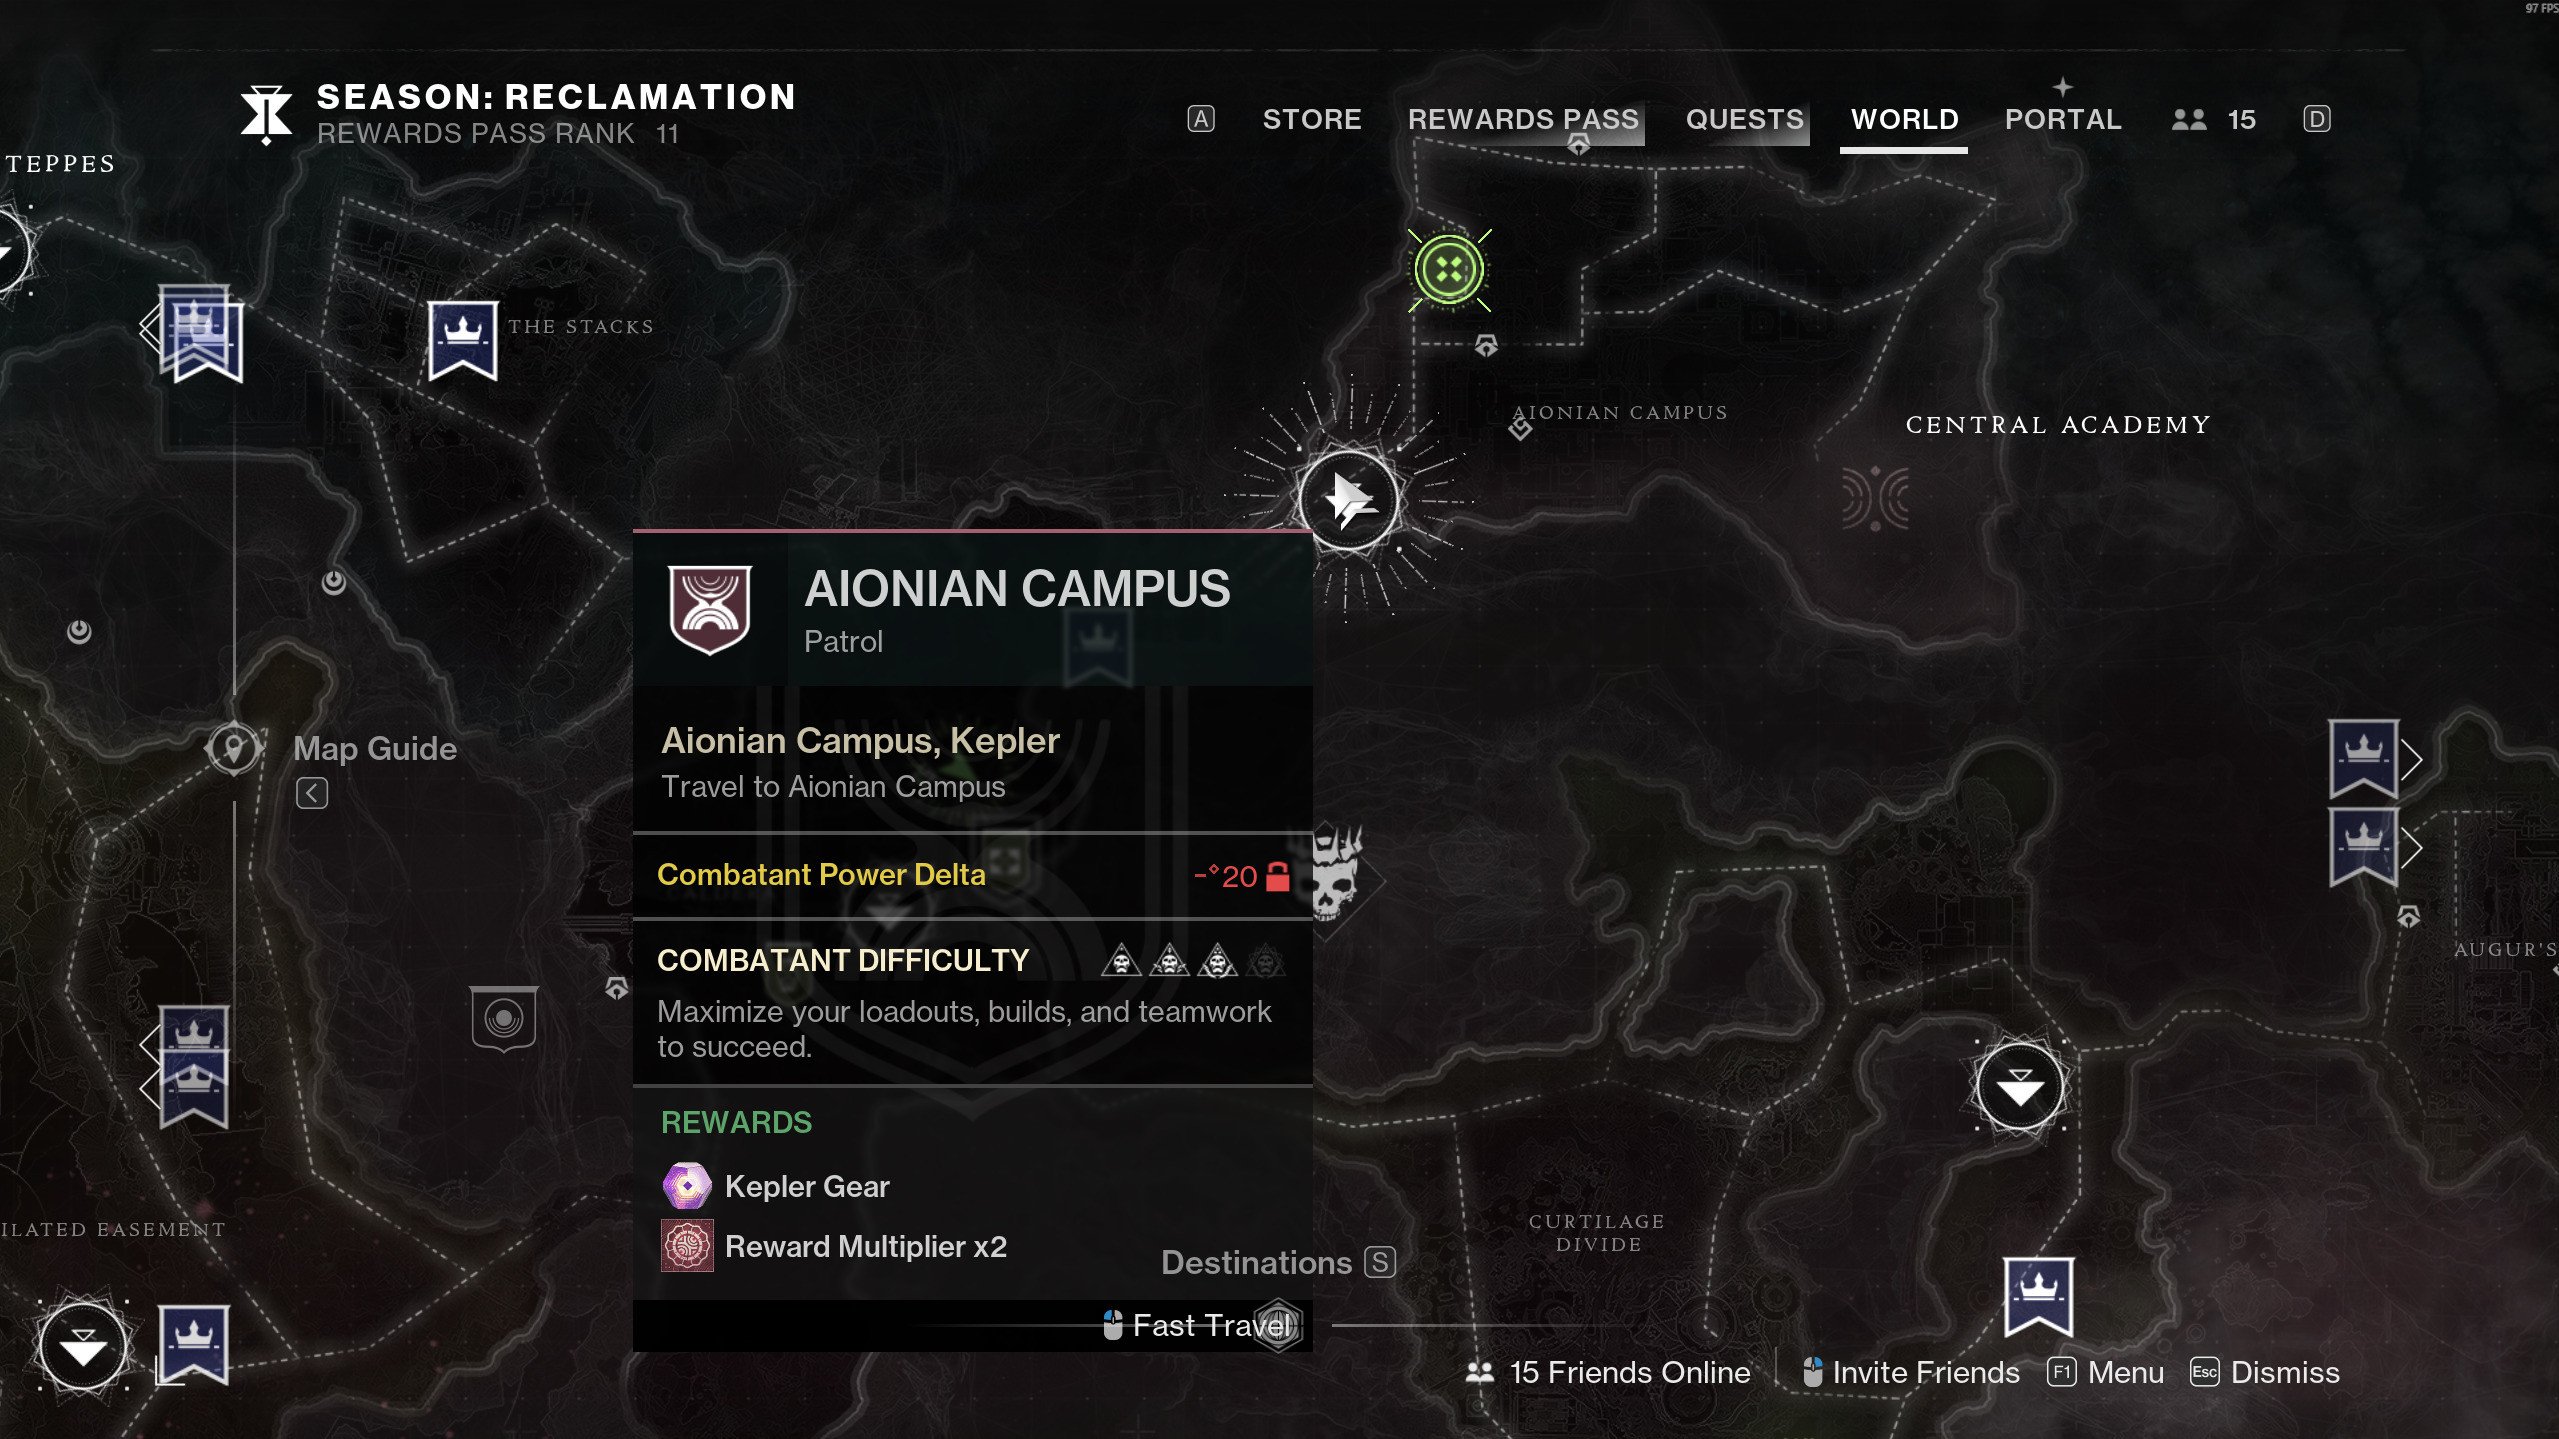
After turning in your Vex Data Fragments, the Emeritus sends you to retrieve the final weapon piece. This part takes place in the Aionian Campus, located at the top right of the map. Fast travel there to begin.
From spawn, follow the waypoint until you reach a large locked door surrounded by laser grids. You can’t get through yet. You’ll need a Relocator Cannon to break it open. But first, look around for nearby Vex enemies and take them out. There are two yellow nodes on either side of the door that need to be destroyed.
Now it’s time to find the cannon. Keep heading forward into the open zone beyond the door. In the far corner of this area, you’ll spot a strange silo-shaped structure. Inside, there’s a Mattermorph Orb. Pick it up and use it to build a strand path up to a cage above you.
That cage holds the Relocator Cannon. Grab the cannon, return to the laser door, and aim carefully. You need to fire the cannon through the crack to hit the node inside. It can take a few tries to get the angle right. Once the shot lands, the barrier drops and the door opens.
Go inside and continue along the marked path. You’ll reach another teleporter. Enter it and search the final pile in the back room. That’s your last weapon piece secured. Now it’s time to prepare for the final step.
Browse our hottest Destiny 2 Boosting services

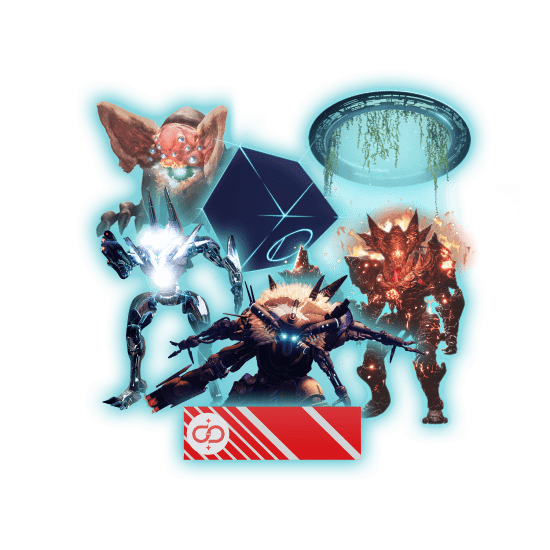

The Sieve Event
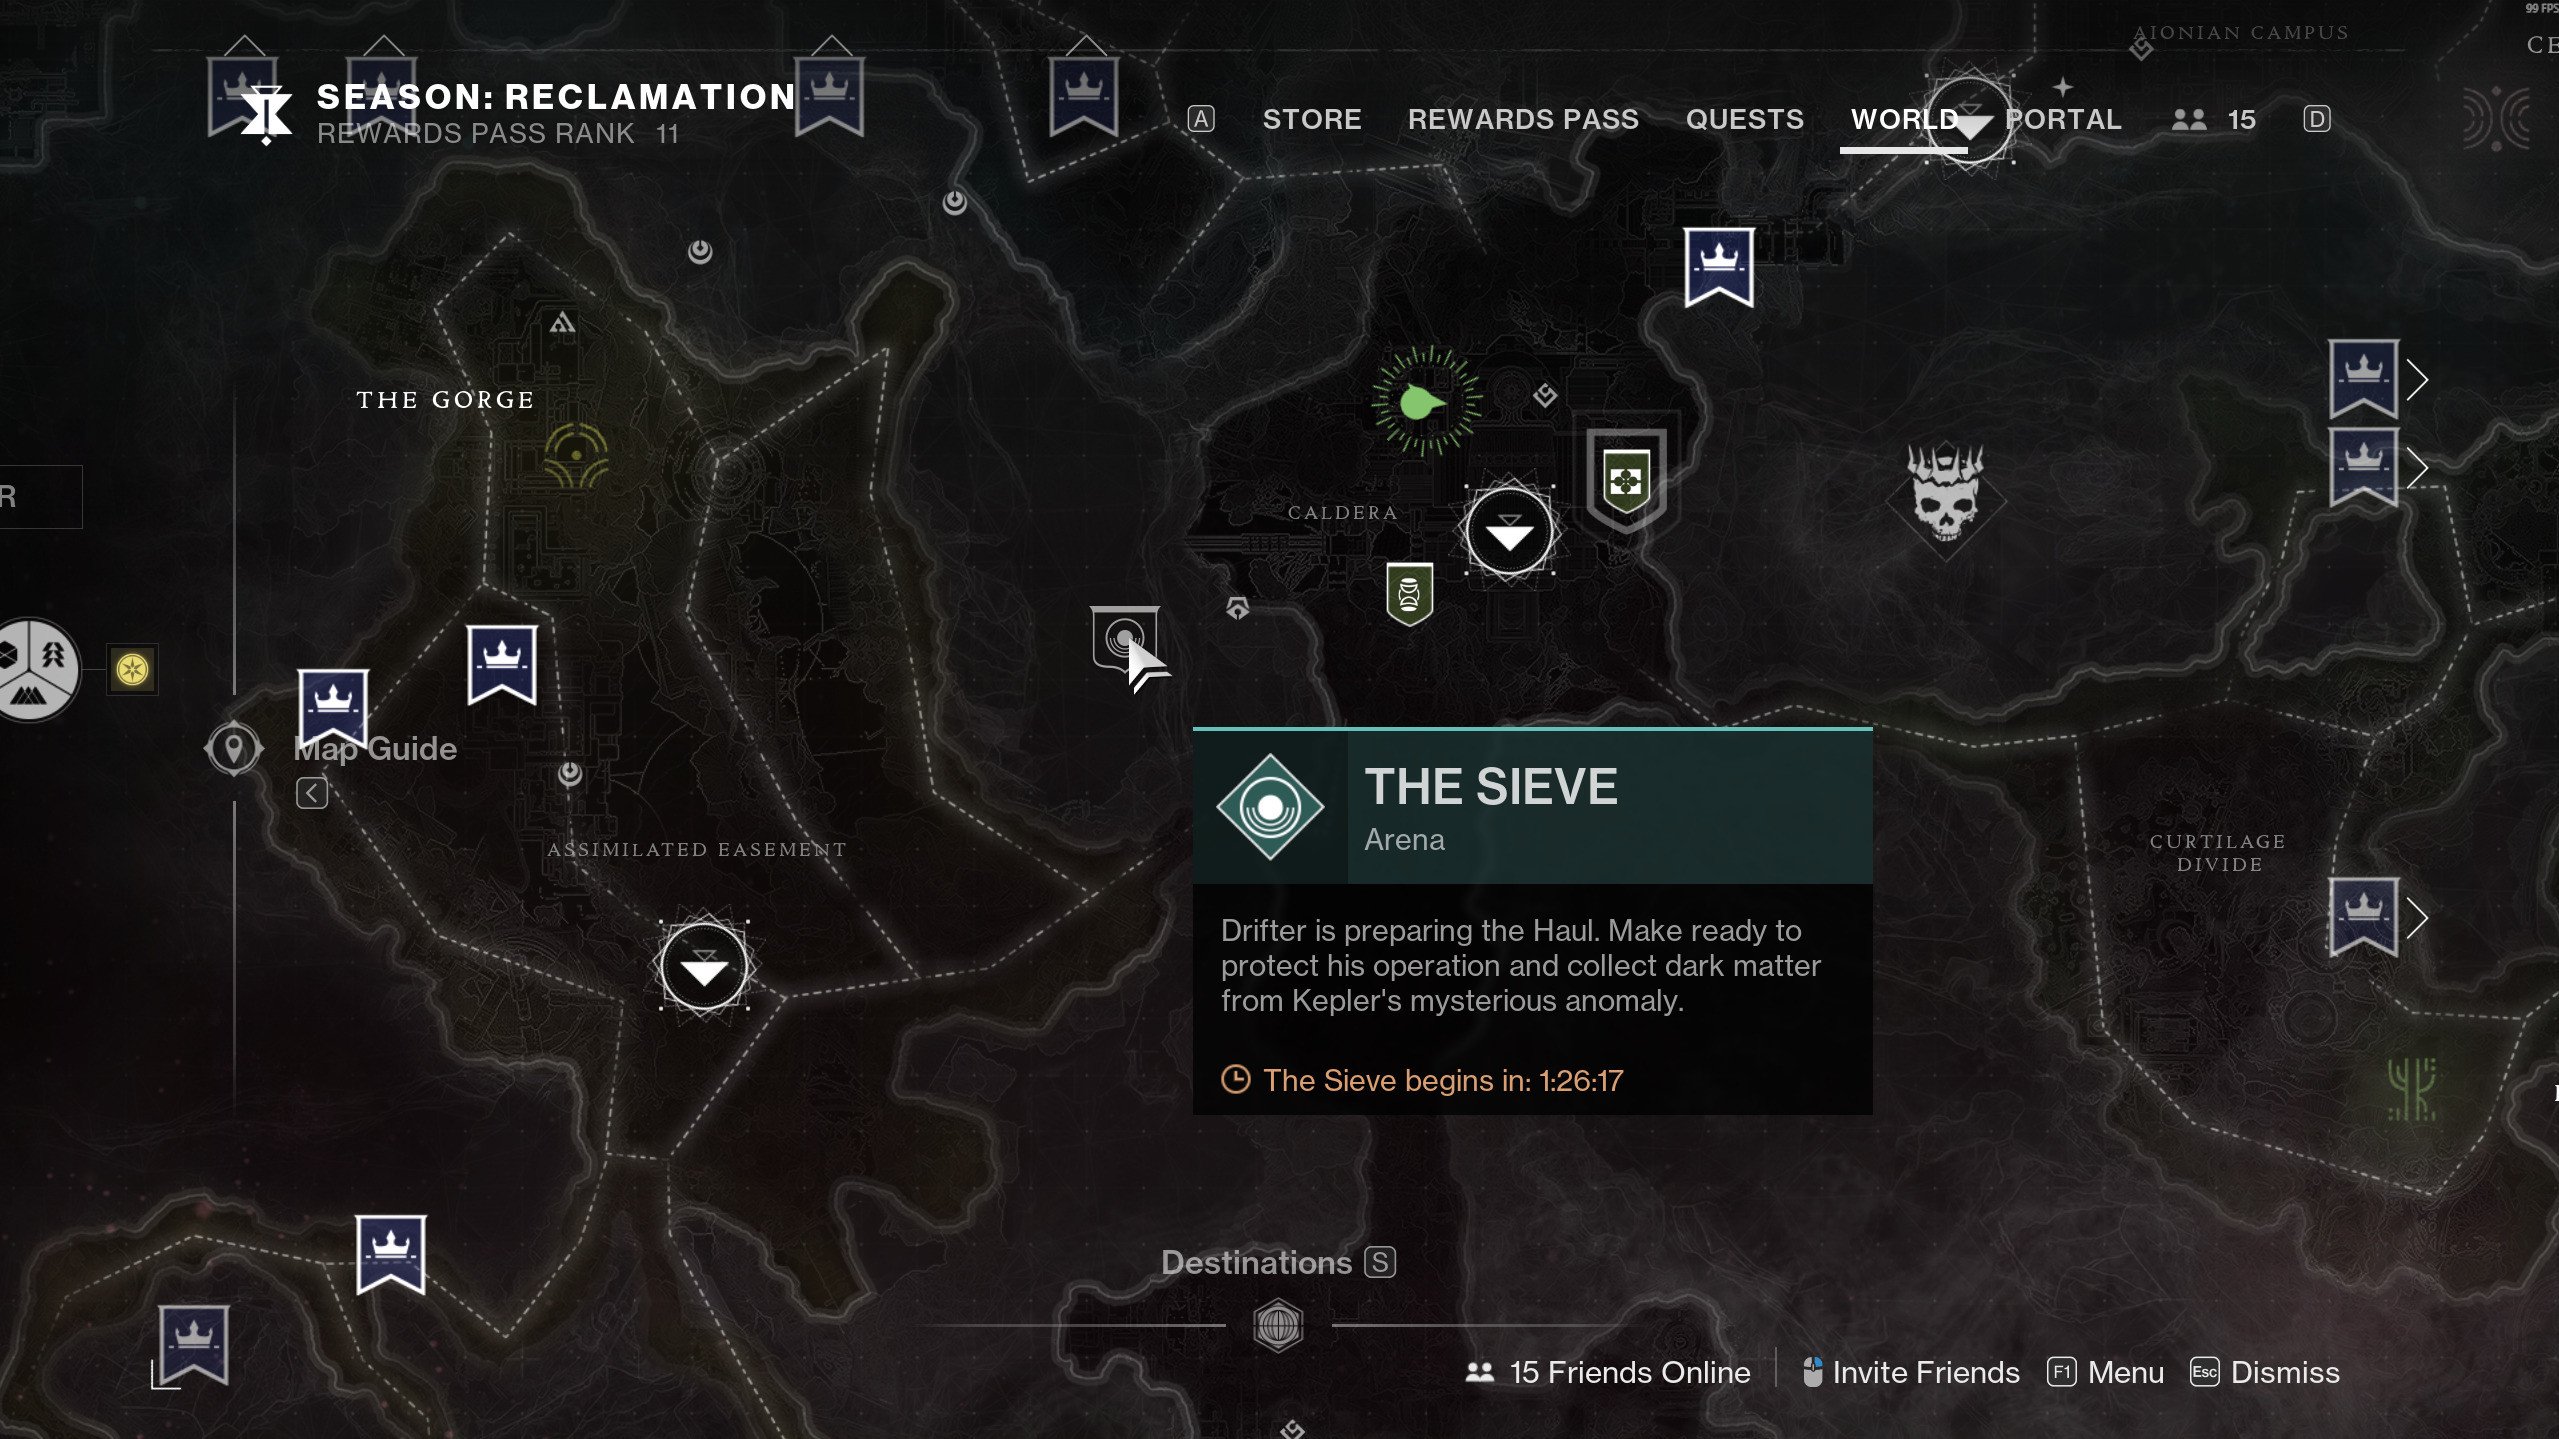
The Sieve Event on Kepler is the final task to get the Graviton Spike Exotic and complete the entire questline. This is the only time-gated part of the quest. The event doesn't appear on a regular timer, and the countdown on the map can behave strangely. It may freeze, skip forward, or slow down. You’ll need to keep checking the map until the timer hits zero.
When the event is ready, a flag with an Exotic Icon appears. Interact with it to begin. The good news is that the event has matchmaking. You can complete it solo or with random players. You won’t need a premade fireteam. Here’s what to expect during the activity:
| Phase | Objective | Notes |
| Start | Interact with exotic flag | Appears when countdown hits zero |
| Drill Phase | Install drill and defend it | Kill waves of enemies |
| Boss Phase | Defeat two final bosses | Spawns after drill phase ends |
| Final Reward | Open the central chest | Graviton Spike drops here |
You’ll spawn in, rally, and head to the drill site. Once the drill finishes, two bosses will spawn. Take them down, and return to the center for your reward. A chest appears, and this is where you finally receive the Graviton Spike Exotic Hand Cannon.
You can back out after getting the weapon or stay in the event to farm for armor and extra loot. Either way, the hardest part is simply waiting for the event to spawn. Once it does, the rest is straightforward.
Conclusion
This wraps up our guide on how to get Graviton Spike in Destiny 2 and complete the corresponding quest. It takes time, but every step feels meaningful. You explore Kepler, fight off sentries, search hidden rooms, and collect powerful fragments.
Even the time-gated Sieve Event adds a final burst of excitement. Just remember to check the map and plan your steps. With this guide, you now know exactly where to go, what to do, and how to get it done. Follow the path, enjoy the ride, and claim one of the best new Hand Cannons in the game.
F.A.Q.
How to obtain Graviton Spike Exotic in Destiny 2?
Complete the full Edge of Fate campaign, then finish the Graviton Through the Ages exotic quest.
How to get the final Graviton Spike quest in Destiny 2?
After finishing the campaign, interact with the altar on Kepler to begin the quest.
Can you get Graviton Spike in The Edge of Fate?
Yes, Graviton Spike is exclusive to The Edge of Fate expansion and tied to its story.
Is it possible to get Graviton Spike solo?
Yes, the entire quest is solo-friendly, and the final activity has matchmaking.
Which DLC has Graviton Spike?
Graviton Spike is part of the Edge of Fate DLC in Destiny 2.


