 Dallon Avery
Attention all Guardians! Travel to Venus and fight Dredgen Bael and his newly formed fleet of Imperial ships. Defeat the Darkness-powered acolytes and claim your Heirloom with our Equilibrium dungeon guide for Destiny 2. This guide will break down each encounter and every intermission section with traversal or puzzle elements. The guide will also include a full loot table and the locations for all secrets.
And if you want an extra hand at beating the dungeon, buy Equilibrium Dungeon Boost at Skycoach. Brought to you by the best Destiny 2 players, this service is your fastest way to get all the loot (including the contest mode rewards) and triumphs.
Read our other Destiny 2 guides:
Note: At Skycoach, you can Buy Destiny 2 Boost at the best prices with a fast delivery. Use our special PROMO CODE (in green) hidden in this article for a 20% DISCOUNT.
Browse our hottest Destiny 2 Boosting services


How to Start Equilibrium Dungeon in Destiny 2
You can start the dungeon through the usual means. The Equilibrium location is planet Venus, so go to Venus through the Destinations screen, and you’ll find the dungeon icon there. Or use the built-in LFG to find a group and select this dungeon in the activity tab.
As for the entry requirements:
- Own Renegades DLC
- Have power level 370
The dungeon went live on December 13, 2025, at 9:00 AM PST (UTC -8). You have to complete an introductory Pursuit called “The Way Between” given by Aunor in the Tharsis Outpost’s Cantina. It becomes available after Step 5 of the main story quest. Progress through this quest to at least the 2nd step to be able to enter the dungeon.
If you’re interested in participating in the World First Race or the Challenge Mode, there are additional requirements.
Equilibrium Dungeon Contest Mode Requirements & Rules

The contest mode for the Equilibrium dungeon will stay active for 48 hours, and if you manage to beat it in that time, you’ll have the chance to win exclusive rewards.
Contest Mode Rewards:
- Guaranteed Heirloom for defeating all encounters
- Unique Emblem called Dredgen’s Descent
At the same time, there are more requirements for the Contest mode, which are pretty classic. So, on top of the already mentioned requirements for the regular version, you have:
- Limited pool of available weapons and other exotics (see the list below).
- “NotSwap” is enabled, prohibiting players from swapping loadouts during the dungeon run, not including the ammo types. BLOG20
- Additionally, one of the fireteam members must stream the run with a pre-installed stream overlay if you want to be eligible for the world-first run. This is so that the results can be tracked.
About the power level - in the contest mode, all players in the fireteam will have their own power level instead of the generalized “Fireteam Power”. If any member has a Power Level <370, they will be taking more damage, so keep that in mind. Now, let’s take a look at the gear and loadout limitations:
| Artifact Perks | Abilities | Weapons |
| Anti-Barrier Sniper Rifle | Widows Silk (Aspect for Hunters) | The Navigator (Exotic Trace Rifle) Catalyst |
| Kinetic Rupture | Refurbished A499 (Sniper Rifle) | |
| Uncivil Discourse (Hand Cannon) | ||
| All Volatile Mods (can be installed, but the benefits will be disabled) |
All of these were disabled during the Contest Mode and the World First run. So, if your fireteam is up for the challenge, you have the chance to make a name for yourselves in the community.
Equilibrium Dungeon Walkthrough
 After the initial encounter with the Cabal in the Temple grounds, you will soon find the rally flag and a new objective - "Defeat the Barant Imperium Forces." To activate the encounter in this arena, you need to interact with the ship in the middle of it. Once the encounter starts, you'll get the Enrage timer capped at 5 minutes. This is the time you have to finish the encounter; it's going to be a wipe. At some point, you'll have sparrows spawn. You can use these to get to the other arenas within this encounter, but there are energy shield walls that will prevent you from going further. To disable those, interact with the shield generators found around the first arena.
Enemies like the Nameless Apprentice have shields that can be broken by activating the shield generators that discharge, breaking their shields when these enemies are near enough.
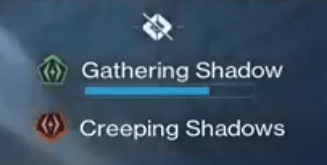
As you get on a speeder (spawned sparrow) and drive it across the pathways, your goal becomes collecting shadow nodes. Fill out the bar completely by gathering 7 shadow nodes to receive the "Shadow Novice" status and receive a Shadow Power, which can be switched to from your grenade ability. Later on, you'll be able to upgrade to "Shadow Apprentice", once you make it to the first boss encounter.
Boss Encounter 1: Harrow, The Dredgen Apprentice
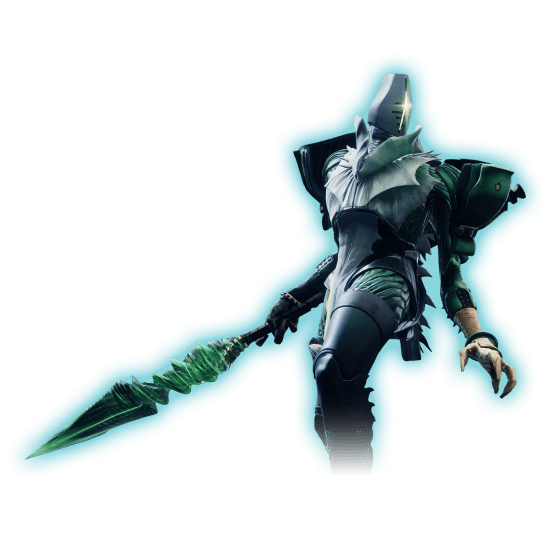
Harrow is the first true boss of the Equilibrium dungeon and serves as an introduction to how Shadow power, arena control, and damage pacing work together. He is a Cabal Dredgen wielding dual lightsabers who teleports aggressively, pressures players with explosive attacks, and forces the fireteam to split up frequently.
The encounter takes place across multiple side rooms connected to a central space. Players will often operate independently, dealing with Scions, Colossi, and other Barant Imperium enemies while building Shadow energy. During this fight, your Shadow power can be upgraded to the Apprentice level, which is required to interact with the encounter’s main mechanics.
Shield phase and node activation
Harrow begins each phase protected by a shield. This shield cannot be damaged directly.
To remove it, players must:
- Build Shadow power up to the Apprentice level
- Activate several Shadow nodes located throughout the ship
These nodes act as fuses. While activating them, Harrow’s positioning matters. His movement and delayed explosions can interfere with node activation if he is allowed too close, so controlling where he stands is just as important as activating the nodes themselves.
Once the required nodes are activated, Harrow’s shield drops, and a damage window becomes available.
Health gates and phase structure
Harrow’s health is divided into three main thresholds:
- 75 percent
- 50 percent
- 25 percent
Each phase follows the same general structure:
- Clear enemies and stabilize the arena
- Rebuild Shadow power if needed
- Activate the required Shadow nodes
- Deal damage once the shield is removed
Between phases, Harrow resets his shield and resumes aggressive movement and teleporting. During the middle phases of the fight, electrified columns become relevant to triggering damage windows.
To initiate certain damage phases:
- Bait Harrow into attacking an electrified column
- When he strikes it, he becomes briefly destabilized
- This interaction allows the team to safely begin damage
Poor positioning here can cause missed damage opportunities or accidental resets, so spacing, timing, and callouts are important.
Throughout the encounter, Harrow will:
- Teleport between rooms
- Mark individual players for pursuit
- Charge delayed self-destruct explosions
These explosions are predictable but lethal if ignored. Players should disengage briefly when he begins charging them. Losing Shadow power or being forced out of position is not an instant failure, but it will slow the encounter if not managed carefully.
Once Harrow reaches approximately 25 percent health, the encounter shifts into its final sequence.
At this point, Harrow breaks through part of the arena. He attempts to flee to the ship’s lower deck. The fireteam must chase him while managing the remaining enemies and Shadow energy. This leads directly into the final stand.
Final stand is a hard damage check. Harrow’s shield drops, and the team must fully deplete his remaining health during this window. If the fireteam fails to kill him before the final stand ends, Harrow regains his shield, enrages, and the encounter results in a wipe.
Because of this, teams typically save heavy ammo, supers, and burst damage options specifically for this moment.
Once Harrow is defeated, the encounter ends, and the path forward through the ship opens, leading into the next traversal section of the dungeon.
Browse our hottest Destiny 2 Boosting services


Traversal Section: Malphas Contemptus
Once Harrow is defeated, the hull of his ship opens, allowing the fireteam to jump across to a neighboring Imperial vessel. This section is a traversal-heavy sequence that blends platforming with sustained enemy pressure as you push deeper into the command ship.
Inside the hangar, you’ll move across suspended platforms, catwalks, and ship structures while fighting through waves of Cabal enemies. Behemoth Fortis units appear frequently here and serve as the primary threat, backed up by smaller enemies that can quickly overwhelm you if ignored. Clearing space before committing to jumps is important, as being knocked mid-air often leads to deaths and lost momentum.
As you progress, the route forward is generally linear, but vertical. Look for climbable ledges, exposed vents, and openings in the ship’s structure that allow you to move upward and forward. In several spots, enemies will spawn on elevated platforms above or behind you, so checking your surroundings before advancing helps avoid surprise knockbacks.
There are no wipe mechanics or timers in this section, but the density of enemies and the layout of the hangar can punish careless movement. Taking the traversal slowly and dealing with threats as they appear will make this section far more manageable, especially on Contest Mode.
Once you clear the hangar and reach the interior corridors of the command ship, the path forward opens into the next arena, leading directly into the encounter with Dredgen Sere.
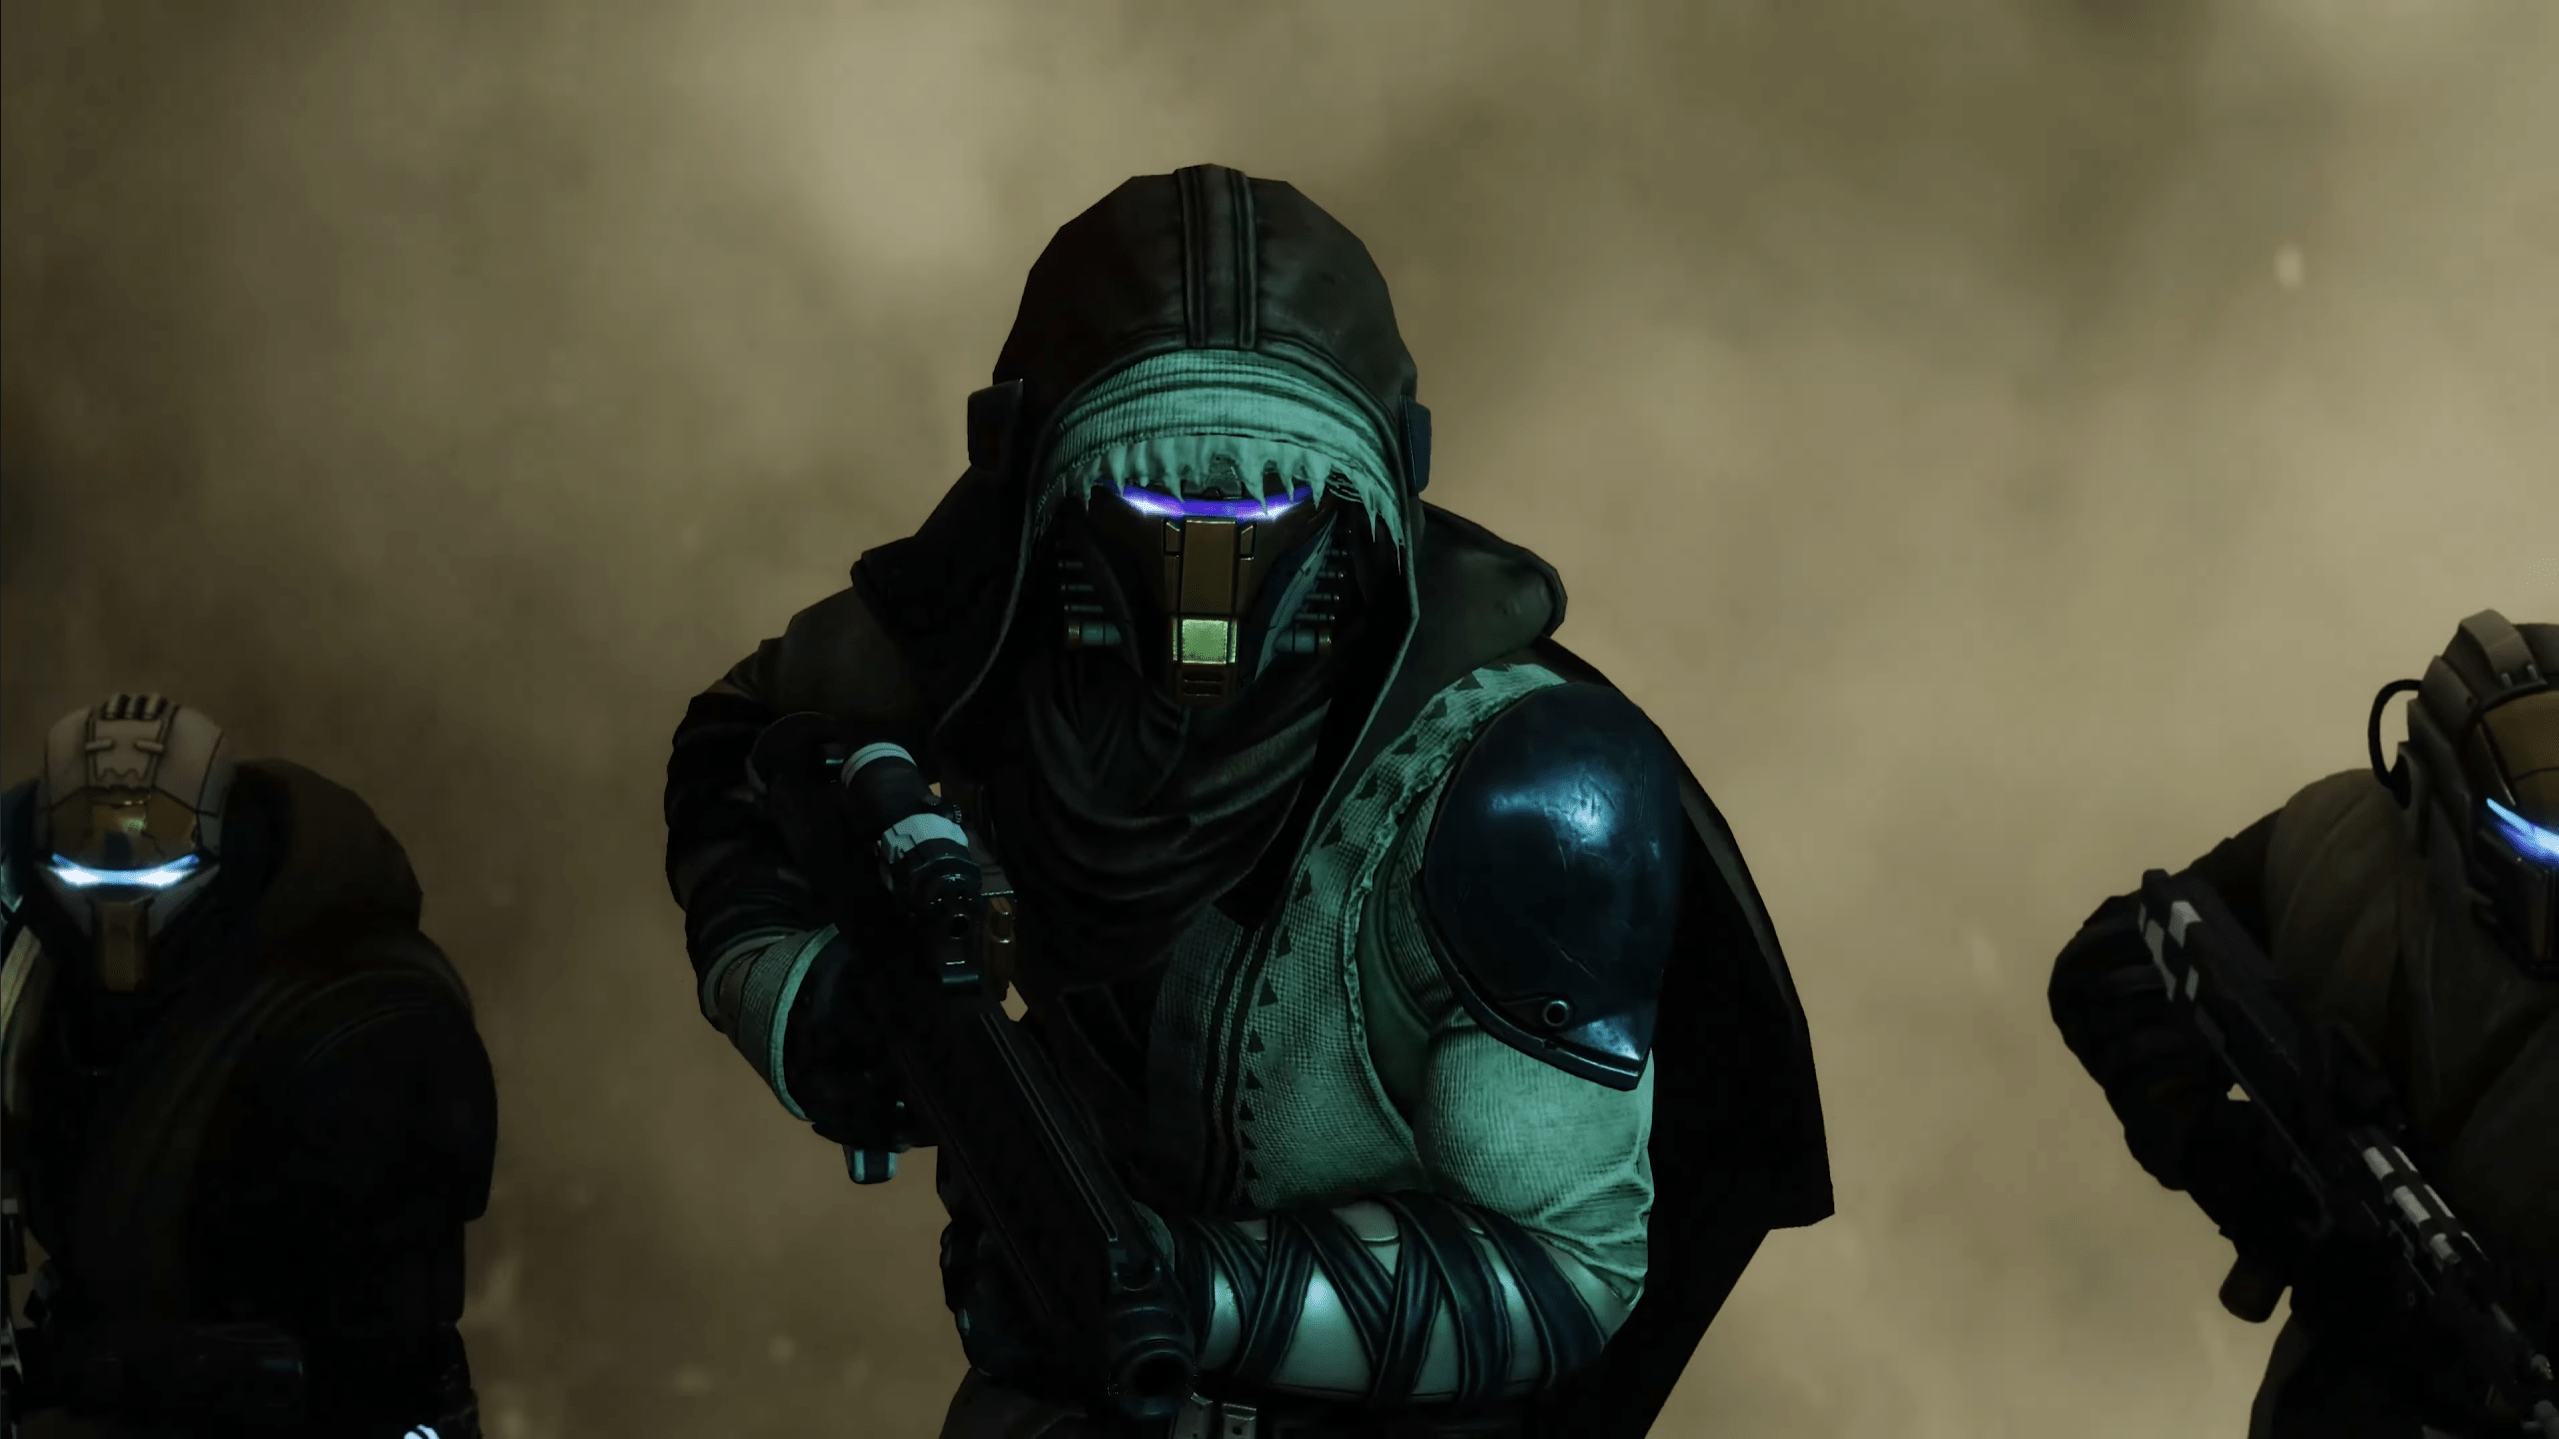
Boss Encounter 2: Dredgen Sere
The second boss encounter takes place in a round-shaped arena wtih a lot of floating platforms circling around it. It should remind you of the Yoda and Palpatine duel in the senate, same vibes. Appropriately, Sere uses ARC-powered abilities. The encounter starts with your fireteam approaching the boss and the 3 Nameless Apprentices kneeling in front of her. Once you're close enough, Sere performs an attack which kills those 3 apprentices and could kill any player who stands near enough, so keep your distance at the start there. The new mechanic at work in this fight is called "Lure of the Dark".
Sere applies constant pressure with Arc lightning. He will randomly target a player and channel lightning that can track through cover. When this happens, teammates need to shoot Sere’s hands to interrupt the channel, or the targeted player will die quickly.
Lure of the Dark and dimension swapping
A timer called Lure of the Dark ticks down at the top of the screen. When it reaches zero, players are forcibly teleported between the normal arena and the Shadow dimension. This swap is not optional, so expect to build Shadow power in one dimension and use it in the other.
Shadow power has three ranks in this fight.
- Shadow Novice
- Shadow Apprentice
- Shadow Master
Your Shadow rank carries over when you teleport, which is the main way to keep the encounter moving.
Normal arena objectives
In the normal arena, your goal is to destroy five orbs behind the boss. These are not tied to a traditional DPS check. They are mechanic targets that must be cleared to earn damage.
To progress the normal arena orbs, you’ll loop the same actions repeatedly.
- Spawn and deal with Nameless Apprentices
- Wait for their explosion charge animation
- Use your Shadow ability to interrupt the blast and remove the shield
- Kill the Apprentice and refresh Shadow from the pool they drop
- Destroy one of the five orbs
Once all five orbs are destroyed in the normal arena, that half of the requirement is complete.
Shadow dimension objectives
In the Shadow dimension, you must also destroy five orbs behind the Shadow version of the boss. The difference is that this dimension uses a set of Shadow enemies around the arena to “authorize” orb destruction.
You have two valid ways to handle these Shadow enemies.
- Compel them after reaching Shadow Master
- Kill them instead of compelling
Compel is the safer option. Killing is the faster option. The tradeoff is that killing Shadow enemies increases the boss’s health for the upcoming damage phase, so your team decides between speed and an easier burn.
One Shadow enemy is positioned high above the arena and requires platform access. To reach it, you need Shadow Apprentice and you must activate switches that spawn climbable Taken platforms. If you skip this enemy, you will stall out before damage.
Damage phase and lightning zones
Damage begins only after all five orbs are destroyed in both dimensions. Damage always happens in the normal arena.
When damage starts, lightning strikes fill the center of the platform. Standing inside these lightning zones will shred your team, even through healing. The safest approach is to deal damage from the outer edges with ranged weapons and sustained abilities.
If the boss survives the damage phase, the lightning can persist briefly afterward. You can reduce the danger by using Shadow Apprentice to interact with the corner devices, which disables lightning in those sections of the arena. Soon after, Lure of the Dark forces another teleport and the full mechanic loop repeats until the next damage phase.
Once Dredgen Sere is defeated, the Equilibrium dungeon is complete.
Destiny 2 Equilibrium Secret Chest Locations & Hidden Quests
At this moment, we don’t have exact details on the hidden collectibles or secret chests in the Equilibrium dungeon. However, if past Destiny 2 dungeons are any indication, there will undoubtedly be hidden objectives, collectibles, or puzzles that encourage replayability. Whether it's time-limited Triumphs, exotic catalysts, or bonus loot chests, players can expect to return multiple times to uncover every secret and maximize their rewards. As soon as more information becomes available, we’ll update this guide with precise locations and strategies for finding them.
Equilibrium Loot Table

The Equilibrium dungeon loot is going to be fully revealed when it goes live, but we already have some confirmed information, especially the weapons and the armor set. Once the dungeon is out, we’ll add all the triumphs associated with it as well.
That being said, here’s the Equilibrium dungeon loot table that includes everything we know of so far:
| Weapon Name | Weapon Type | Element | Notable Perks (Pool Summary) |
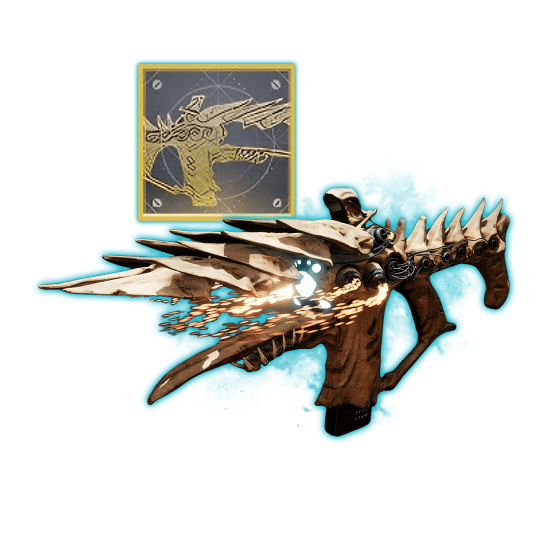
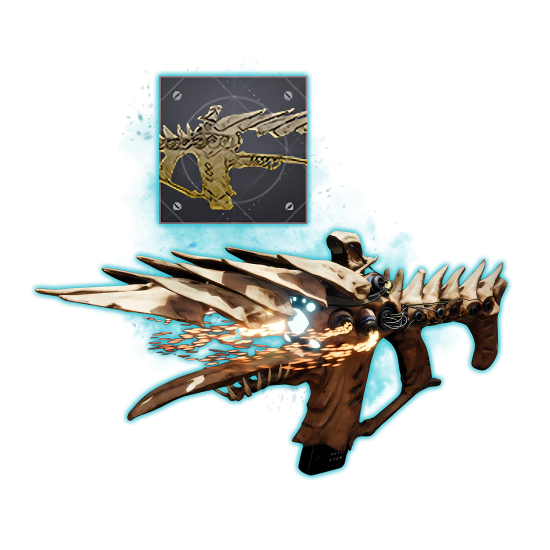
| Heirloom (Exotic) | Crossbow (Special) | Strand | Big Game Hunter, Bolt Thrower, Catalyst Scorch synergy |
| Zealous Ideal | Auto Rifle | Solar | Heal Clip, Dynamic Sway Reduction, Onslaught, Incandescent |
| Bitter End | Machine Gun | Arc | Attrition Orbs, Eddy Current, Killing Tally, Frenzy |
| High Tyrant | Pulse Rifle | Void | Destabilizing Rounds, Repulsor Brace, Headseeker, Frenzy |
| Voltaic Shade | Scout Rifle | Arc | Rapid Hit, Shoot to Loot, Voltshot, Precision Instrument |
| Conspiracy Honed | Sniper Rifle | Stasis | Snapshot Sights, Headstone, Bait and Switch, Firing Line |
| Sullen Claw | Sword | Void | Eager Edge, Relentless Strike, Whirlwind Blade, Assassin’s Blade |
All of these Equilibrium weapons drop from the dungeon encounters and nowhere else. Outside of Contest Mode, Heirloom is a random drop, but if you’re after this exotic crossbow, we have a dedicated guide describing tips that will increase your chances of getting it.
Collectibles and Titles
Besides the weapons and armor, we're traditionally getting a set of cosmetics that can be earned in the dungeon. Here's the full list:
- Dredgen’s Descent (Emblem)
- Stand Alone (Emblem)
- Superiorly Connected (Emblem)
- Praxic Drape (Shader)
- Imperium Parade (Shader)
- Arid Rambler (Exotic Sparrow)
And as for the titles:
- Dredgen’s Descent - Contest Mode Completion
- Stand Alone - Solo Flawless
- Superiorly Connected - Normal Completion
- Imperium Parade - Solo Completion
- Praxic Drape - Find all Collectibles
- Arid Rambler - Flawless Completion
With only two bosses, the solo completion sounds possible, provided you have the right build.
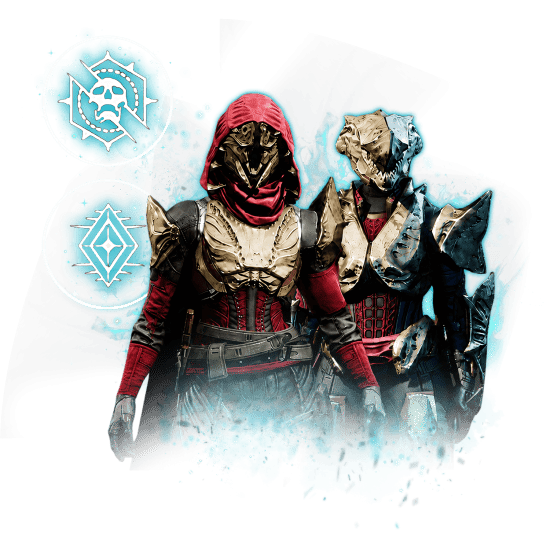
The Collective Sage - Equilibrium Armor Set
The Collective Sage Armor set is the signature dungeon armor introduced with Destiny 2: Renegades, and it drops exclusively from the Equilibrium dungeon. Visually inspired by a Jedi-like aesthetic, the set leans heavily into flowing robes, clean silhouettes, and a mystical Praxic tone that makes it one of the most distinct armor themes in the expansion.
To complete the full set, players will need to repeatedly farm Equilibrium, as armor pieces drop from the dungeon’s loot pool rather than being tied to a guaranteed quest reward. Unlike the dungeon Exotic, Collective Sage armor can be farmed without weekly limits, meaning persistence and repeat clears are the key to completing the set once encounter-specific drops are fully known.
F.A.Q.
How hard is the Equilibrium dungeon?
Equilibrium is a mid-to-high difficulty dungeon, especially during Contest Mode. It features tight damage checks, high enemy density, and punishing mechanics, but becomes more forgiving once Contest Mode ends.
How do I start the Equilibrium dungeon?
You must own the Renegades expansion and complete the introductory pursuit “The Way Between.” After reaching at least Step 2 of that quest, the dungeon becomes available.
How do I get to the Equilibrium dungeon in Destiny 2?
Open the Destinations screen and travel to Venus, where the Equilibrium dungeon appears as a selectable activity. You can also launch it directly through the in-game LFG activity tab.
Can I beat the Equilibrium dungeon solo?
Yes, the Equilibrium dungeon can be completed solo. However, it is significantly more challenging due to encounter mechanics and enemy pressure, making a full fireteam the recommended approach for most players.


