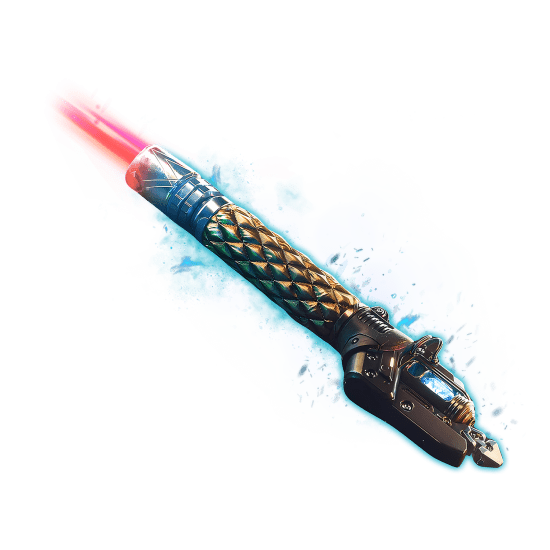
The new year of Destiny 2 has finally begun. It has brought a new map, new activities, and, of course, a new exotic sword. Long before the release, it had become a subject of discussion. No wonder, as this new sword, called the Praxic Blade, offers something new and unique. It’s one weapon with three unique styles, each suited to different activities. Today, we will tell you how to get the Praxic Blade exotic and its catalysts.
And if you don’t want to bother with completing the quest yourself, you can let our Pros get you the Praxic Blade exotic and all the catalysts for it.
Read our other Destiny 2 guides:
Note: At Skycoach, you can Buy Destiny 2 Boost at the best prices with fast delivery. Use our special PROMO CODE (in green) hidden in this article for a 20% DISCOUNT.
Browse our hottest Destiny 2 Boosting services
How to Start the Praxic Blade Quest
Let us tell you how to start the Praxic Blade quest. As with most thematic exotics, you’ll need to complete a special mission to get the Praxic Blade. Though an exotic mission, you are required to finish it to progress the post-campaign content. The Praxic Blade quest becomes available on step 33 of 45. The quest will tell you to visit the Praxic Temple with Aunor. You’ll need to get there, and you’ll start a Fire and Ice mission. The whole mission is quite lengthy, so let’s break it down in our Destiny 2 Praxic Blade guide.
Destiny 2 Praxic Blade Quest Walkthrough
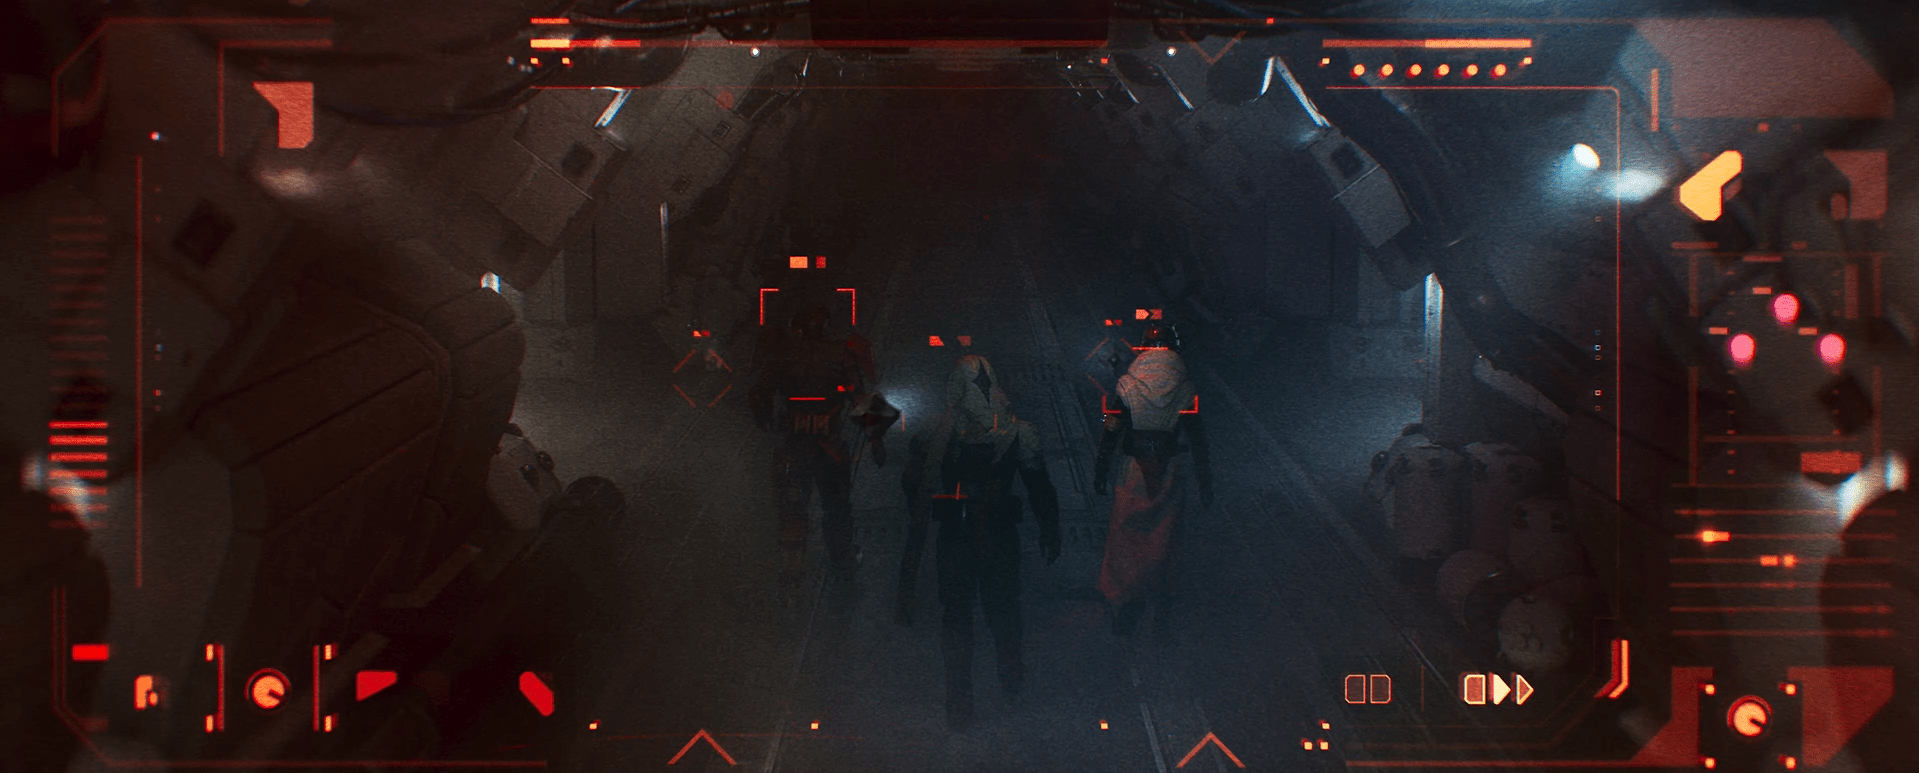
This exotic mission is actually closer to a mini-dungeon rather than your usual strike mission. Here, you’ll do platforming, solve the puzzle, and then fight the boss, which includes the puzzle mechanics. It’s really interesting and can be quite difficult, especially if you’re playing on Legendary difficulty. Let’s start off our Destiny 2 Praxic Blade quest walkthrough:
- Head Into the Imperium Base: Once you’re in there, fight your way through the enemies to get to the Door Technician. Kill him. Doing that will make him drop the door codes. Using the codes on the console will open the main door. Head into the next room and fight off the horde of Takens. After you’re done with them, a Portal Keeper will appear. Killing him will spawn a portal to another dimension.
- Pick Up an Imbalanced Octant: After you go through the portal, you’ll see a triangle thing lying on a pedestal. It’s an Imbalanced Octant. Take it and then go to the spire in the middle of the room. Get on top of it, and you’ll see there’s a hole you need to jump down to. As soon as you fall to the bottom of the spire, head forward by jumping on the broken platforms. Go straight, then turn left and continue the platforming part. Eventually, you’ll see an open area filled with spheres.
- It’s Time for Jumping: In the open area, you’ll see a big wall with traps that try to push you off the cliff. Go along that catwalk, and by the end of it, jump and go around the wall to the left. There should be a little platform you can stand on. Look around, and you’ll see a broken pillar to the right of the platform. Climb on top of the pillar. Turn around, and you’ll see the second floor filled with similar traps. This time, they are Taken explosions. Go almost to the end of this catwalk and then turn right. There will be a hole in the wall.
- Disappearing Blocks: The mission will now introduce you to the new mechanics. You’ll see blocks with four-pointed stars on them. If you touch them, they’ll disappear. There will be one right across the room you enter. Don’t step on it; instead, turn right before it. Jump onto the blocks in the room you see on the right. The blocks will guide you to a narrow pathway to the next step of the mission.
- Disappearing Maze: At this step of the mission, you’ll find yourself in a labyrinth with floors made of disappearing blocks. The key to beating it is to quickly orient yourself in this maze. Just run around and look for the doorways you can go through. Be wary, as some doorways lead nowhere. Finally, you’ll end up on a stairway that leads to the door. Turn left at it, and you’ll see more broken platforms. This part of jumping can be the most annoying. You’ll have to jump on the broken pillars that are right above the disappearing blocks. If you fall down, you’ll have to start all over again.
- Run Fast: The final part of the jump puzzle includes the disappearing blocks and Taken blights, along with Taken snipers. You have to be quick here, as every platform you step on is a disappearing one. Cross this disappearing obstacle course, and you’ll reach the solid ground. Turn left and jump on the little ledges. Jumping will take you to a larger platform, where you’ll see a stone tower below. Jump to the foundation of it and head inside.
- Climb to the Top: Well, almost to the top. What you’re looking for is a platform right below the highest one. Look out the window, and you’ll see a couple of inverted pillars. Jump on them, and you’ll find an object on which you can place your Imbalanced Octant.
Head up the stairs, and you’ll reach another portal. Going through it will start the next step of the quest. This probably should’ve been mentioned earlier, but don’t try to get the Praxic Blade solo. It’s going to be much more frustrating and difficult. Pick up at least one friend with you. Now let’s continue and discuss the puzzle.
Praxic Blade Puzzle Solution

What important mission in Destiny 2 can go without a puzzle? Continuing where we left off. After using an Imbalanced Octant, go up the stairs through the portal. You will enter a new area with a big white orb floating above it. That’s where you’ll do the puzzle. Pay attention to it, as its mechanics will repeat in the boss fight. Let us show you the Praxic Blade puzzle solution.
Kill the Cleaved Centurion
There are two kinds: Cleaved Imperium or Taken Centurion. This will influence what kind of buff you get and what energy orbs the Centurions drop. If you kill the Cleaved Imperium Centurion first, you’ll get the Barant Energy Cleaved buff. If you kill the Taken one, you’ll receive the Taken Energy Cleaved buff. Here’s a table of how to get specific orb drops:
| Order | Orbs |
| Imperium, then Taken | Black Orb |
| Imperium, then Imperium | White Orb |
| Taken, then Imperium | White Orb |
| Taken, then Taken | Black Orb |
Honestly, it doesn’t matter which one you get. Just kill the Cleaved units and get their orbs. After that, we move on to the next step of the puzzle.
Balance the Spheres
As you will notice, there are four spheres hanging above the arena. Two of them are white, two of them are black. The solution here is to throw the orbs that drop from the enemies to the corresponding spheres. If you get the white orb, you should throw it at the white spheres. Same story with the black one. Be careful, as there’s an important point here. If you feed just one sphere continuously, it’ll overload, and you’ll have to restart the process. The key here is to distribute the orbs evenly.
Never allow more than two orb differences between two spheres. White spheres are connected to each other, and black ones are connected the same way. Overloading black spheres doesn’t overload the black ones and vice versa. Throwing the orb of a wrong color at the sphere doesn’t do anything. After you fill the spheres with orbs, get to the middle of the arena. Interact with the object to calibrate the Octant. This will open up a portal at the point where you came from. Go through it, and it’ll flip the world upside down. Jump to the doorway across from the portal, and that’s where you start the boss encounter, Disciple of Harrow. BLOG20
Browse our hottest Destiny 2 Boosting services
Disciple of Harrow Boss Guide
The boss fight isn’t that tough. It’s the mechanics that can make it longer than needed. The boss has four HP bars, draining which causes a shield to appear around him. Solving small puzzles is what breaks it. Follow these steps in our Disciple of Harrow boss guide:
- Drain the First Bar: The first step of the fight is really simple. Just deal enough damage to deplete the first HP bar.
- Destroy the Cabal Shields: After you drain his first HP bar, Disciple of Harrow will spawn shield generators. You need to destroy them, which will allow you to damage his second HP bar. Once it drained, repeat the process to deplete the third bar. This will start the final stage.
- Balancing the Spheres Again: By this time, you’ve probably noticed two spheres, floating above the battlefield. Not only that, but there’s also a triangle in the center of the room. Here’s how it works. You repeat the same process as with the puzzle. Kill the Cleaved enemies to get the Energy Cleaved buff. After that, you’ll have to manually change what Cleaved enemies will spawn. To do that, interact with the triangle in the center of the arena. Fill both of these spheres with correct orbs, and you’ll be able to damage the boss again.
After you kill the Disciple of Harrow, you’ll be teleported to the Praxic Vault. Congratulations, you now know how to unlock the Praxic Blade! Interact with a swordstand in the middle of the vault to get your sword. Fun fact: your blade’s color will be randomized. You can change the blade's color later, but you’ll have to complete certain activities where these colors drop. Taking the Lightsaber doesn’t end the mission. You’ll be teleported into the room where you’ll practice your newly found toy. Finish the enemies off, and you're done.
How to Get Praxic Blade Catalysts
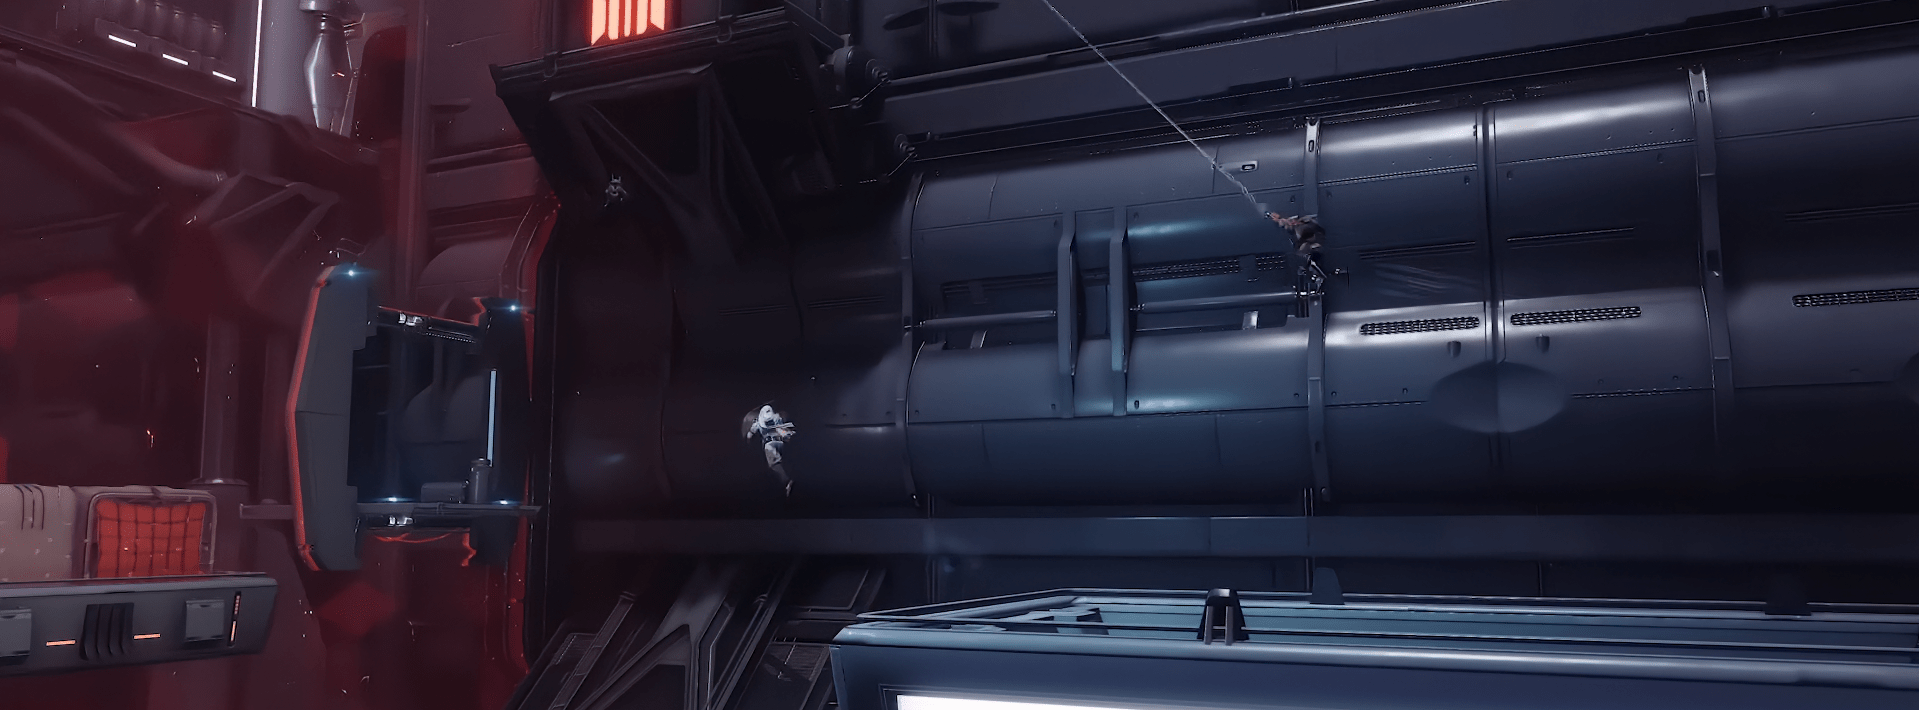
Inspecting a new fancy weapon, you’ve probably noticed that there are tons of customization options. You can change its color, apply blade focuses, change the stance, and change the power core. Most importantly, you get not just one, but four catalyst options. Currently, there are only three available, with the last one locked behind the dungeon. Once we figure out how to unlock the fourth catalyst, we will update the article. But now, let’s talk about how to get Praxic Blade Catalysts.
Echoing Blade Catalyst
This catalyst allows you to damage more targets when throwing the blade. It’s actually quite easy to get. To unlock it, you’ll need to destroy 7 “oddities”, as the game calls them. They all need to be destroyed during the Fire and Ice mission. Take a look at the list of locations where you can find the oddities:
- First Oddity: Remember when you needed to drop down to the bottom of the spire in the room behind the portal? Don’t drop to the very bottom. Instead, when you’re dropping, look right. You’ll see a big platform. Land on it and across from it, you’ll see a lit ledge. Look around, and you’ll see more lights on the same level. Follow them, and you’ll eventually get to a big pothole. You’ll find a chest with Special ammo there. To the right of the chest, you’ll see a narrow catwalk with disappearing blocks. You can recognize the blocks by the four-pointed stars on them. Touch them in quick succession so that they all disappear, then return to the ammo box. From there, throw your blade with the Heavy Attack to destroy an oddity. Oddity will look like a Taken sphere.
- Second Oddity: Return to the spire drop and drop to the very bottom of it. Proceed as usual, but before you enter the large open area, look to the right. You’ll see another disappearing wall with a star on it. Touch it, then just follow the pretty straightforward path to the second oddity. You won’t miss it.
- Third Oddity: Continue on with the jump puzzle with push traps as you normally would. When you jump on top of a broken pillar to get to the second floor with the traps, don’t go there. Instead, turn right from the catwalk and jump ahead. It’s very hard to see, but there’s a ledge over there. The ledges go up, so just climb them. On top of the ledges, you’ll see the third oddity, hidden behind the corner.
- Fourth Oddity: Remember the first room with the disappearing block? Proceed as normal, jumping onto the blocks to reach a narrow pathway. Instead of dropping down to the maze with a disappearing floor, look around you. You’ll see a small ledge that is quite tricky to get onto. Move along, and at the end of the ledge, equip your Praxic Blade and blade dash forward. You’ll see a small room with a disappearing floor. Step on it and fall down. Here you’ll see two disappearing blocks. You need the one that protrudes from the wall at an angle. Touch it, and you’ll see the fourth oddity behind it.
- Fifth Oddity: Proceed as normal with the disappearing floor maze until you start the jumping part. Here, you need to move towards the second catwalk and drop onto the ledge to the right of it. If you look up, you’ll see another ledge that you can jump up to. Turn left and walk until you reach an inverted spire that’s split in two. Look up, and you’ll see another disappearing wall. Touch it, jump up, and you’ll get into a room with special ammo and a fifth oddity. The fifth one can be seen in a small window.
- Sixth Oddity: Reach the room with disappearing blocks and Taken snipers. Proceed as you normally would until you reach the end of this obstacle course. Turn left and jump on the rocky platform. You can identify it by two Taken traps on it. Instead of turning left and continuing toward the inverted tower, move forward. You’ll see the edge of the cliff with a little pothole below. Drop there, and you’ll see the sixth oddity. It’s kind of hard to hit, so be careful.
- Seventh Oddity: From the previous area you’ve reached, make your way to the very top. You’ll be able to see a tower up high above you. Find a way to reach, which can be a bit clunky. Once you’re on the platform, throw your blade into a hole above your head. It should hit the seventh oddity there.
And these are all the oddities you need to get in order to receive the Echoing Blade catalyst. Finish the mission as you normally would, and in the Praxic Vault, you’ll see golden cases on the floor. They’ll be in front of the sword stand. Interact with them, and they’ll drop your first catalyst.
Hyperblade and Upper Hand Catalysts
The second part of our Praxic Blade catalysts walkthrough. These two catalysts can be done in one run, so let’s cover them together. Follow these steps closely, and after you finish the mission, you’ll get your reward. The Hyperblade catalyst amplifies you after you reflect the shots using the blade. The amplification allows you to cover a bigger distance on the next swing. The Upper Hand is a Star Wars reference. It increases the damage of the thrown sword and reflected shots while you’re on higher ground than the target. Now that we know both effects of these catalysts, let’s see how to get them:
- Kill two Imbalanced Wardens: At the beginning of the Fire and Ice mission, turn around from the door you need to go into. Move forward and then turn left. That’s where you should see the first Imbalanced Warden. Second is hidden to the left of the same door you’re supposed to go into. Turn left and continue until you reach an arched tunnel. After you kill both of the Wardens, the message will appear. It’ll say, “Remnants of Darkness persist through time.”
- Get to the Energy Puzzle Arena: Here, you need to overload every single sphere. Just pick up the orbs and throw them into each of the spheres. Once you overload all of them, an Imbalanced Warden will appear. Repeat this four times. After you do this four times, a Catalyst of Imbalance will appear. It’s a giant Taken ogre that you need to defeat. After you do that, you’ve completed all the requirements for the Hyperblade catalyst to drop.
- Return to the Beginning of the Mission: After you finish the puzzle and flip the arena, don’t go to the boss fight. Instead, return to the place where you fought the first two Imbalanced Wardens. There, you’ll find two oddities that you need to destroy with your Praxic Blade. Doing this will spawn two additional white spheres beneath the arena. Fill them in with the white orbs equally, don’t overload them. Now kill the boss, and you’ll get the Upper Hand catalyst in the Vault.
These catalysts are much easier to get than the Echoing Blade one. The second step takes the longest, but it’s not hard. Now you can enjoy your catalysts! The last catalyst, Energy Conduit, is still unavailable. It’ll only be available once the dungeon goes live.
Conclusion
With this extensive guide, you now know how to get a Praxic Blade. Not only that, but you can also get all three catalysts available quite easily. We hope this guide was helpful. Once the fourth catalyst becomes available, we will update the article. Stay tuned for more guides on Destiny 2 and see you soon.
F.A.Q
How to obtain Praxic Blade exotic in Destiny 2?
You need to finish the mission Fire and Ice that becomes available in the post-campaign content.
How to get the Praxic Blade quest in Destiny 2?
Progress through the story and reach step 33, where you are told to visit the Praxic Temple.
Can you get Praxic Blade in Renegades?
Yes, you need to own the DLC and complete the post-campaign quest to get it.
Is it possible to get Praxic Blade solo?
It’s possible, but extremely difficult. Instead, find at least one more fireteam member to simplify the mission.
Which DLC has Praxic Blade?
The newest DLC, Renegades, offers you to get the Praxic Blade exotic, aka the Lightsaber.
Can I get all four catalysts for Praxic Blade now?
Unfortunately, you can only access three catalysts right now. All of them are located inside the Fire and Ice mission. You need to complete specific prerequisites in order to unlock them.
Which catalyst is the best for Praxic Blade?
Depending on which activity you do. For PvE, the Echoing Blade is unmatched. For PvP, you can get use from the Hyperblade. The Upper Hand catalyst is useful in all activities.


