 Crispy Jackie
Welcome to the most complete Desert Perpetual raid guide for Destiny 2. We’ve gathered all the details about the raid, including a full walkthrough of every encounter, detailed mechanics explanations, and the raid’s loot table.
At Skycoach, we can help you Complete Desert Perpetual Raid in a jiffy and get all the rewards you want. We guarantee the best price you can find on the market and get the newest Edge of Fate raid cleared easily.
Check out our other Destiny 2 guides:
- Best Edge of Fate Exotics
- How to Get Graviton Spike
- How to Get Tier 5 Gear
- Armor 3.0 Guide
- Kell's Fall Exotic Mission Guide
Note: At Skycoach, you can Buy Destiny 2 Boost at the best prices with a fast delivery. Use our special PROMO CODE (in green) hidden in this article for a 20% DISCOUNT.
Browse our hottest Destiny 2 Boosting services


The Desert Perpetual Epic Raid
With the release of Ash & Iron, the developers introduced an all-new challenge: the Epic version of The Desert Perpetual raid. This mode goes beyond Prestige or Master difficulty. It reworks encounters, raises requirements, and adds fresh mechanics—including an entirely new final fight against Koregos, now known as Fractured in Time.
The Epic raid is also the stage for the World First Race, complete with Contest Mode and exclusive emblems. For raiders who want to push themselves, this is the definitive version of Desert Perpetual.
Epic Raid Entry Requirements
To launch the Epic version, you and your fireteam need to meet the following conditions:
- Own the Edge of Fate expansion.
- Complete the base Desert Perpetual once (fireteam leader only).
- Form a full fireteam of six to start; you can drop players after launch if low-manning.
- Reach 300+ Power. Fireteam Power is disabled during Contest, so under-leveled players will deal less damage and take more.
So, you can't just jump into the epic version right away, you actually need to complete the raid once as a party leader.
Contest Mode Rules For Epic Version
The first 48 hours after release are locked into Contest Mode. This caps player Power, increases difficulty, and ensures all teams compete on an even footing. Rewards scale up accordingly:
- First clear: All drops at Tier 5.
- Subsequent clears: Tier 4, with a chance to upgrade to Tier 5.
Seasonal Mods are active during Contest, but Featured Gear bonuses (damage and DR) are disabled. Bungie has also banned specific items such as Bastion, One-Two Punch, Haliaetus, Lightweight Swords, and Ergo Sum to prevent balance breaks.
Rewards and Emblems
Clearing Epic Desert Perpetual comes with exclusive cosmetics and prestige rewards:
- Fractured Timeline emblem for a Contest clear within 48 hours.
- After the Unknown emblem for clearing Epic on Normal at any time.
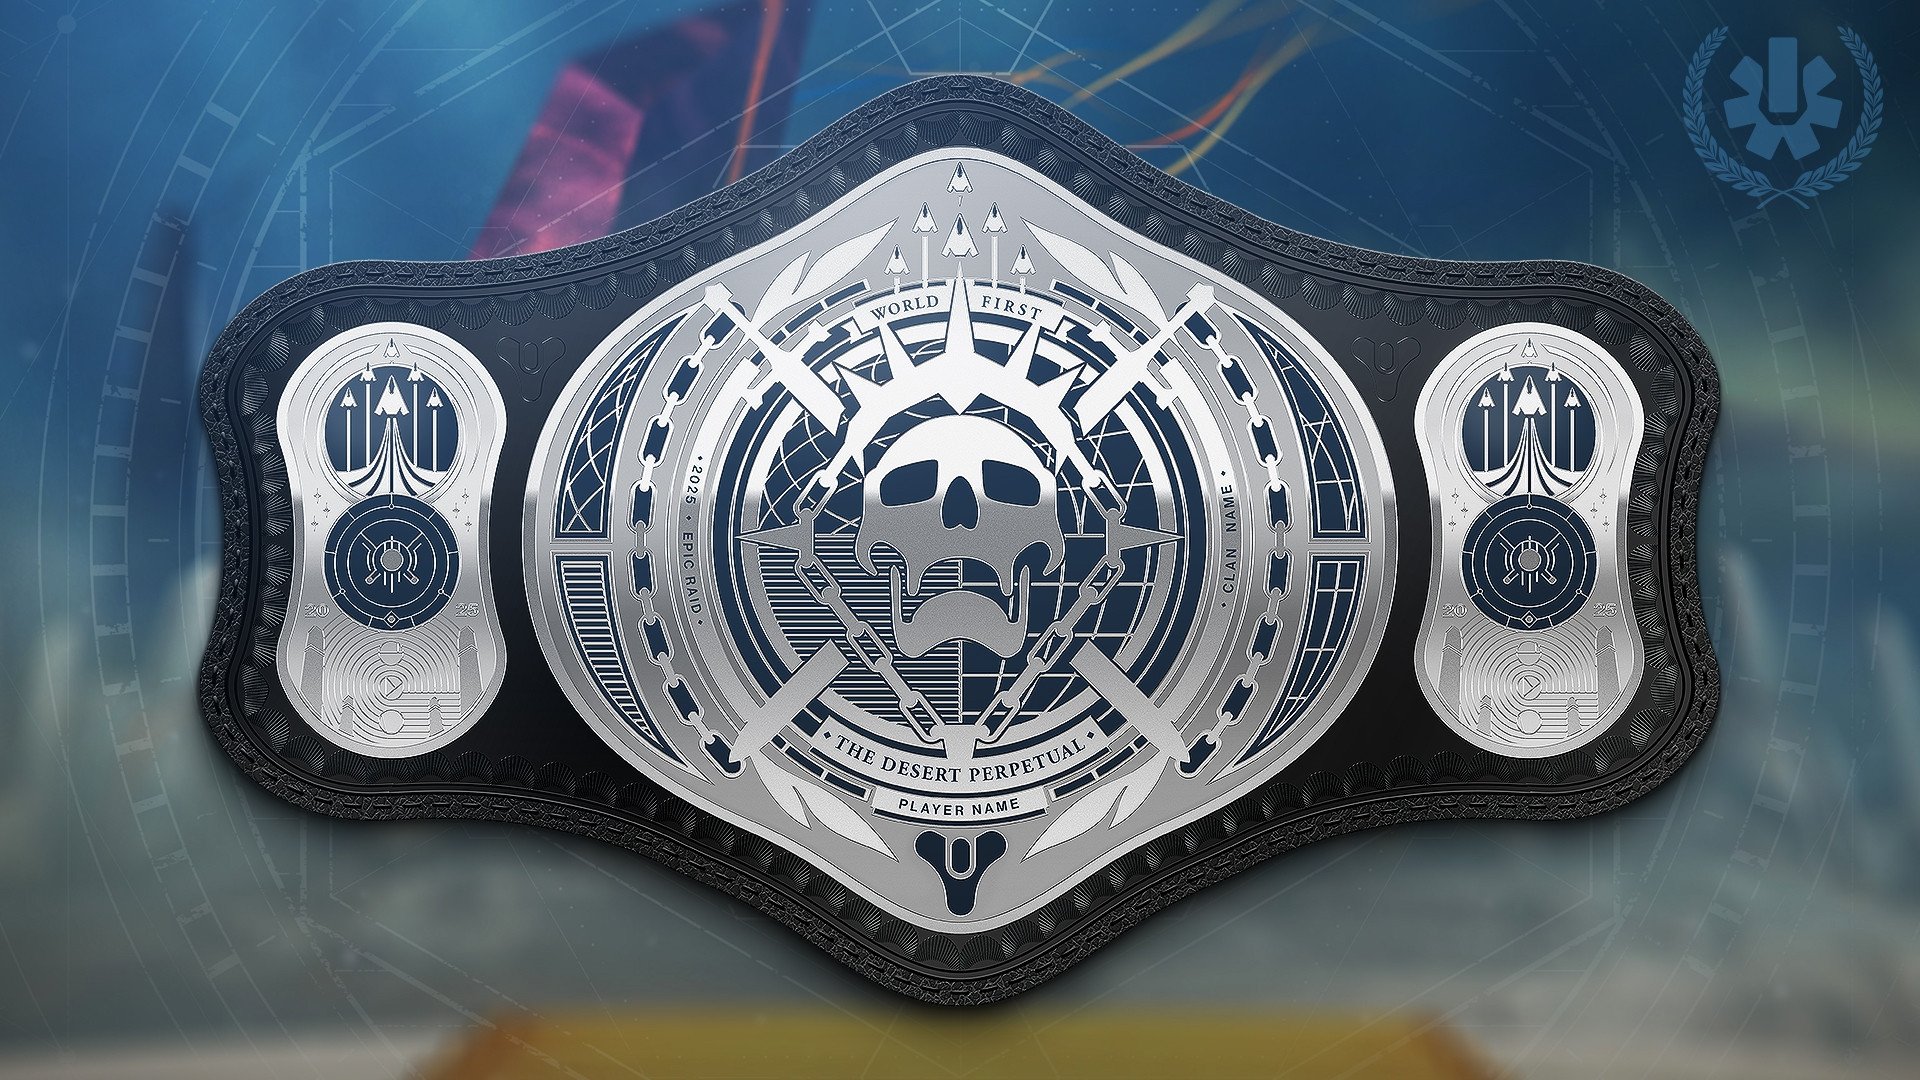
- World First Belt for the first team to complete Epic Desert Perpetual.
- Gnarled Tendrils emblem as a Twitch Drop for watching one hour of partnered streams during launch weekend.
Players who cleared the raid before December 5, 2025 unlocked the Epic Raid Ring through Bungie Rewards.
Weekly Challenges and Feats
Epic Desert Perpetual expands on the raid’s feat system. Each week, one challenge is available in both versions and a second one exclusive to Epic. Completing encounters with more feats active yields stronger loot:
- 0–2 feats: Tier 4 gear.
- 3–5 feats: Tier 5 gear.
“Cutthroat Combatants” counts as two feats for rewards but not for Triumphs. This makes it a major lever for teams looking to push into higher-tier drops.
Full Clear Reset and Loot Farming
Instead of weekly encounter lockouts, the raid uses a Full Clear Reset system. Completing all encounters—base or Epic—refreshes powerful drops, hidden chests, and the bonus gear chest from Koregos. This means multiple clears remain rewarding each week, encouraging repeat runs.
Encounter Differences at a Glance
While the base mechanics remain, each boss in the Epic raid introduces unique twists:
- Agraios: Portals and alignment pillars require specific Chronon types. DPS phases are longer-range, and the final stand involves defeating three Temporality-based Agraios forms.
- Epoptes: Adds detain-supplicants, new “outside lens” callouts, and a DPS phase that can pull players into side rooms.
- Iatros: Chronon Hoop rotates colors, builders must shoot coded pillars based on canisters, and Temporality buffs rotate after each build step.
- Koregos: Completely reworked as Fractured in Time, with five looping phases, portal mini-games tied to earlier bosses, and shifting damage phases built around Temporal Loci crystals.
The Epic version is designed as the ultimate test of coordination, endurance, and adaptability in Destiny 2. It mixes in new mechanics without discarding the familiar core flow, ensuring veterans of the base raid still feel challenged. With exclusive emblems, Bungie Rewards, and the prestige of clearing the toughest raid content in the game, Epic Desert Perpetual is both a showcase of mechanical mastery and a chance to cement your fireteam’s legacy.
When Does Desert Perpetual Raid Start?
The Desert Perpetual raid starts on July 19 at 10 AM PT / 7 PM CET. During this time, you can earn the Day One emblem if you manage to complete the activity within the first 24 hours. The Contest Mode will also be active, which means you have 48 hours to finish the raid to get exclusive rewards.
Desert Perpetual Requirements
In this part of the guide, we’ve gathered all Desert Perpetual requirements to unlock this raid:
- Contest Mode: Complete the Edge of Fate campaign and reach at least 100 Power Level
- Normal Mode: Complete the Edge of Fate campaign
After a full revamp of the leveling system, things have changed. But the main requirement of reaching a particular Desert Perpetual power level remains. This is especially true for the Contest Mode, as you won’t be able to enter it if you’re underleveled.
To learn more about the new leveling system, you can read our separate Destiny 2 Power Level Guide, containing all the necessary information for you.
Desert Perpetual Walkthrough
The following section of the guide is a complete Desert Perpetual walkthrough that includes all boss encounters, puzzles, mechanics, as well as directions for you to follow. We’ll explain how to do Desert Perpetual step by step and describe every encounter. This description will include the main mechanics, as well as abilities, and other useful tips for you to complete the raid.
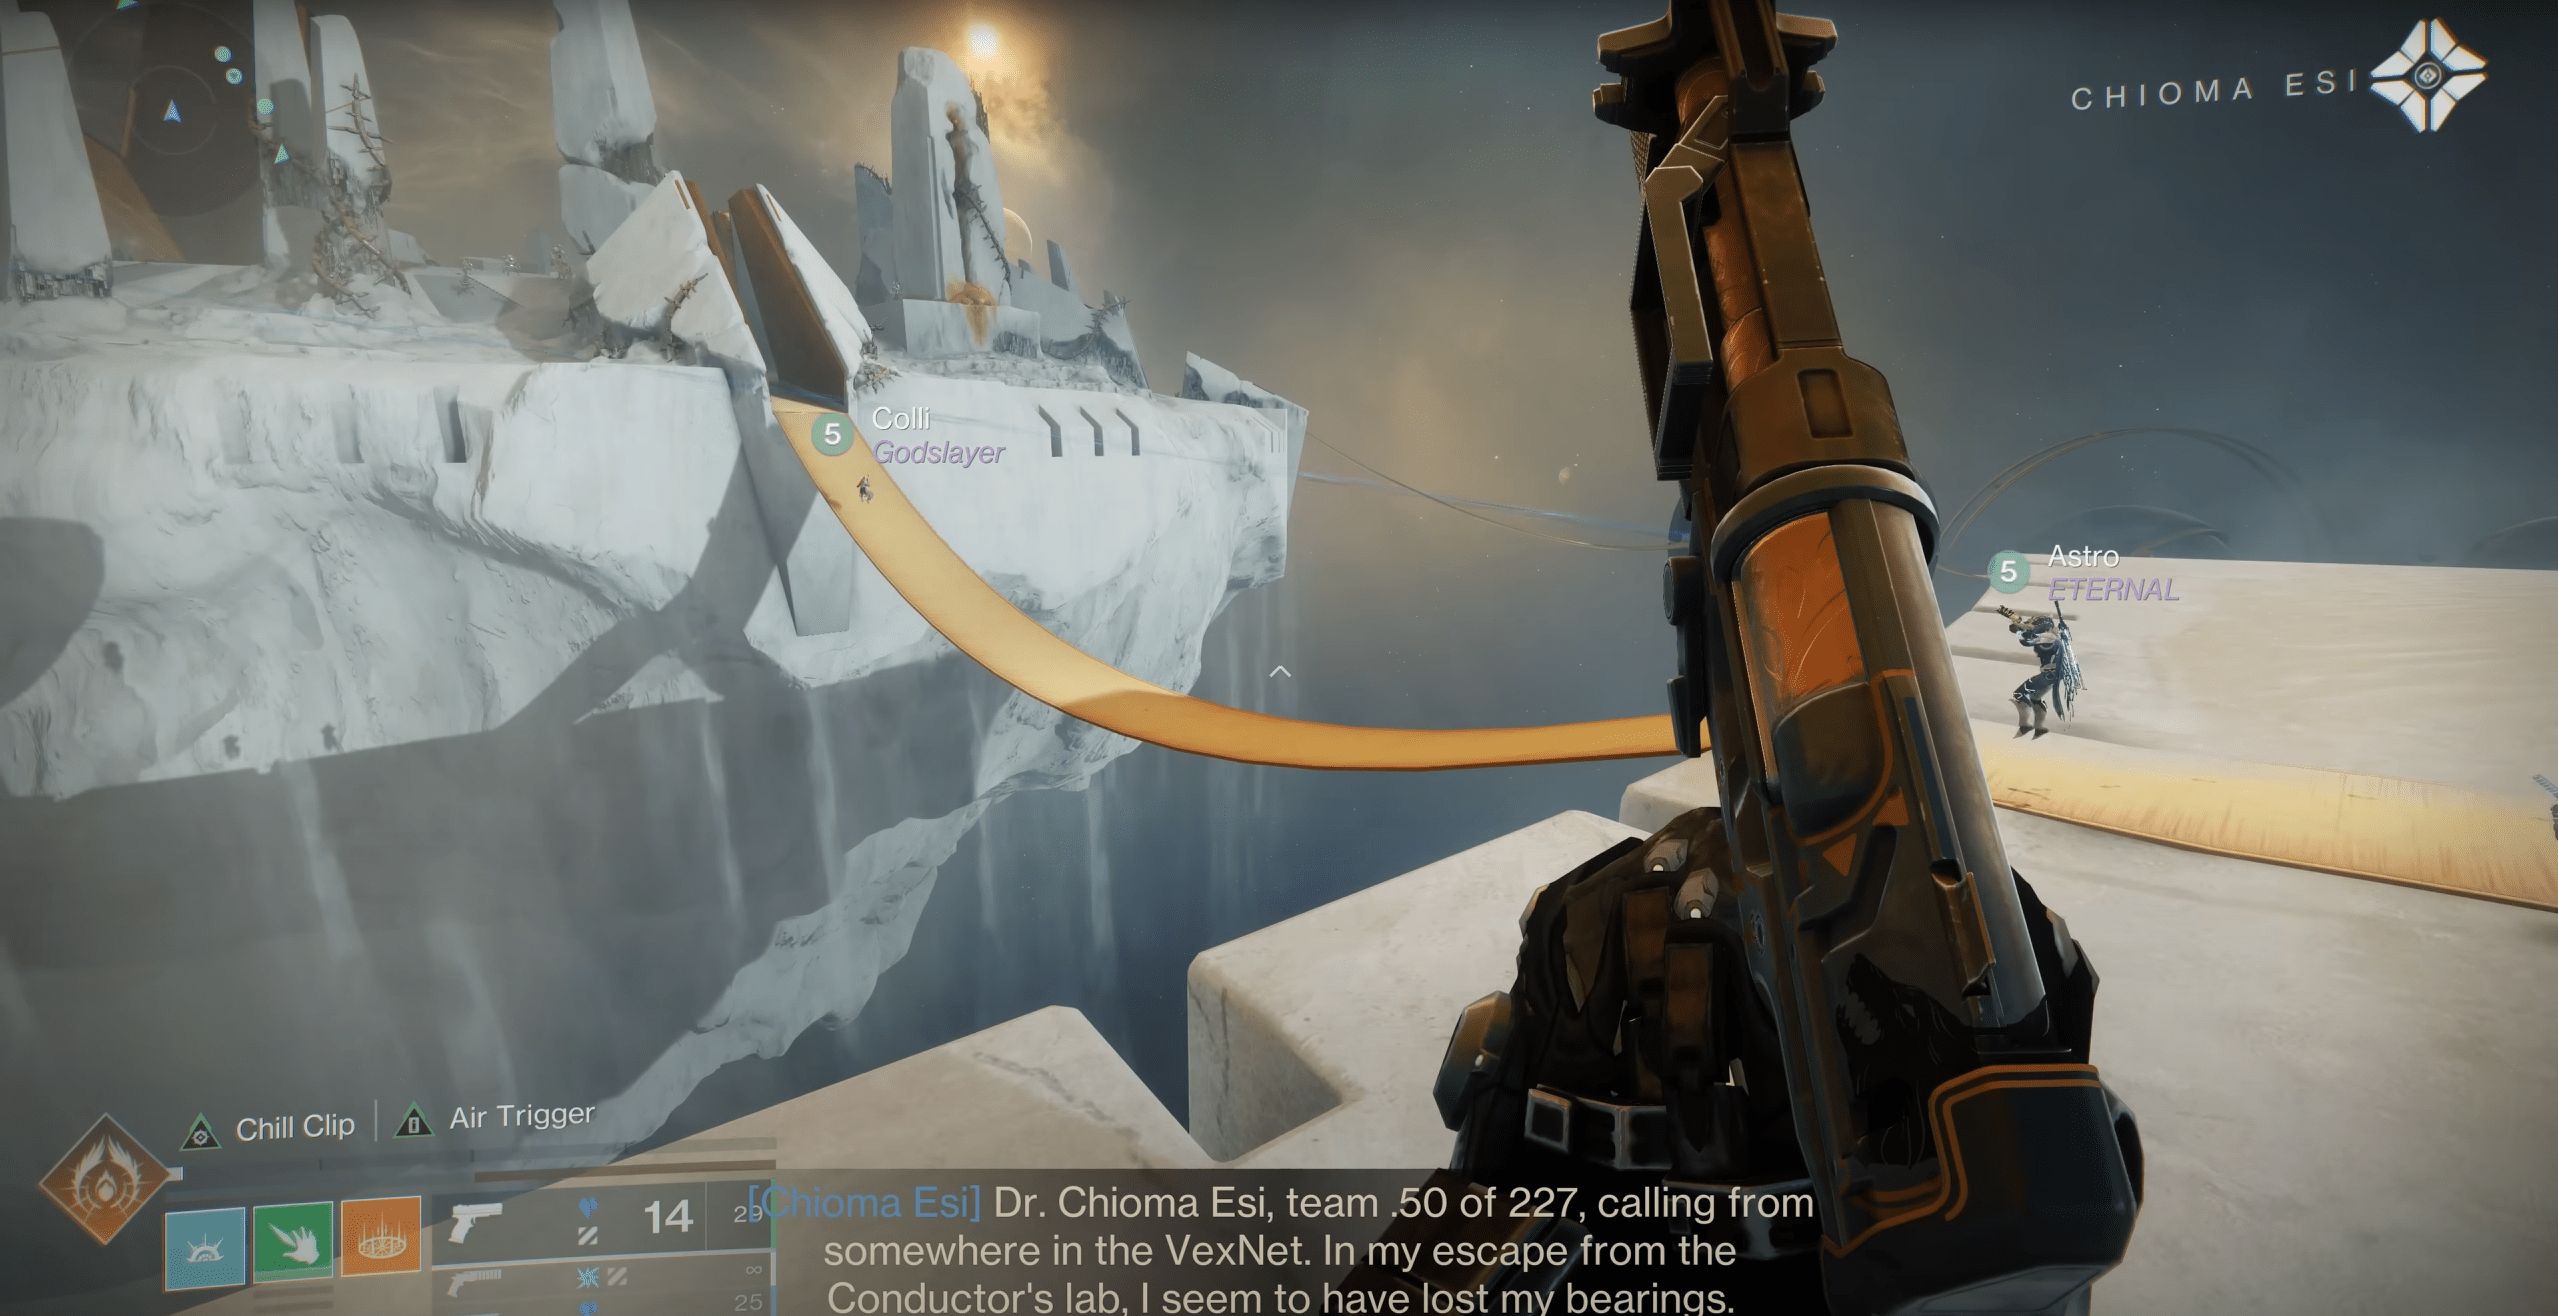
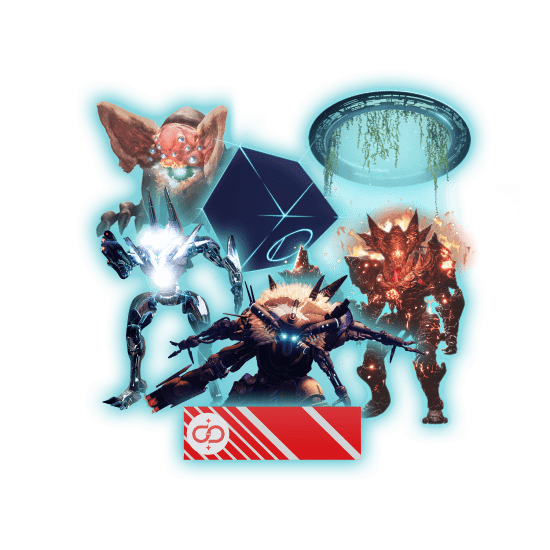
When entering the raid, Guardians arrive at a central hub where they can choose which of the first three bosses to tackle first. After clearing enemies, you'll ascend a central tower and interact with one of three objects to activate your desired encounter. Be prepared for traversal and platforming sections between fights—similar to the Leviathan raid flow. After each boss, return to the tower to begin the next encounter. Below, you can see a full list of Desert Perpetual bosses. All of them, except for Koregos, The Wordline, can be finished in any order you choose.
- Iatros, Inward-Turned
- Agraios, Inherent
- Epoptes, Lord of Quanta
- Koregos, The Worldline
Once you're done with the first three bosses, you can start fighting the final boss – Koregos, The Wordline. Be ready for even more brutal DPS check and mind-blowing mechanics.
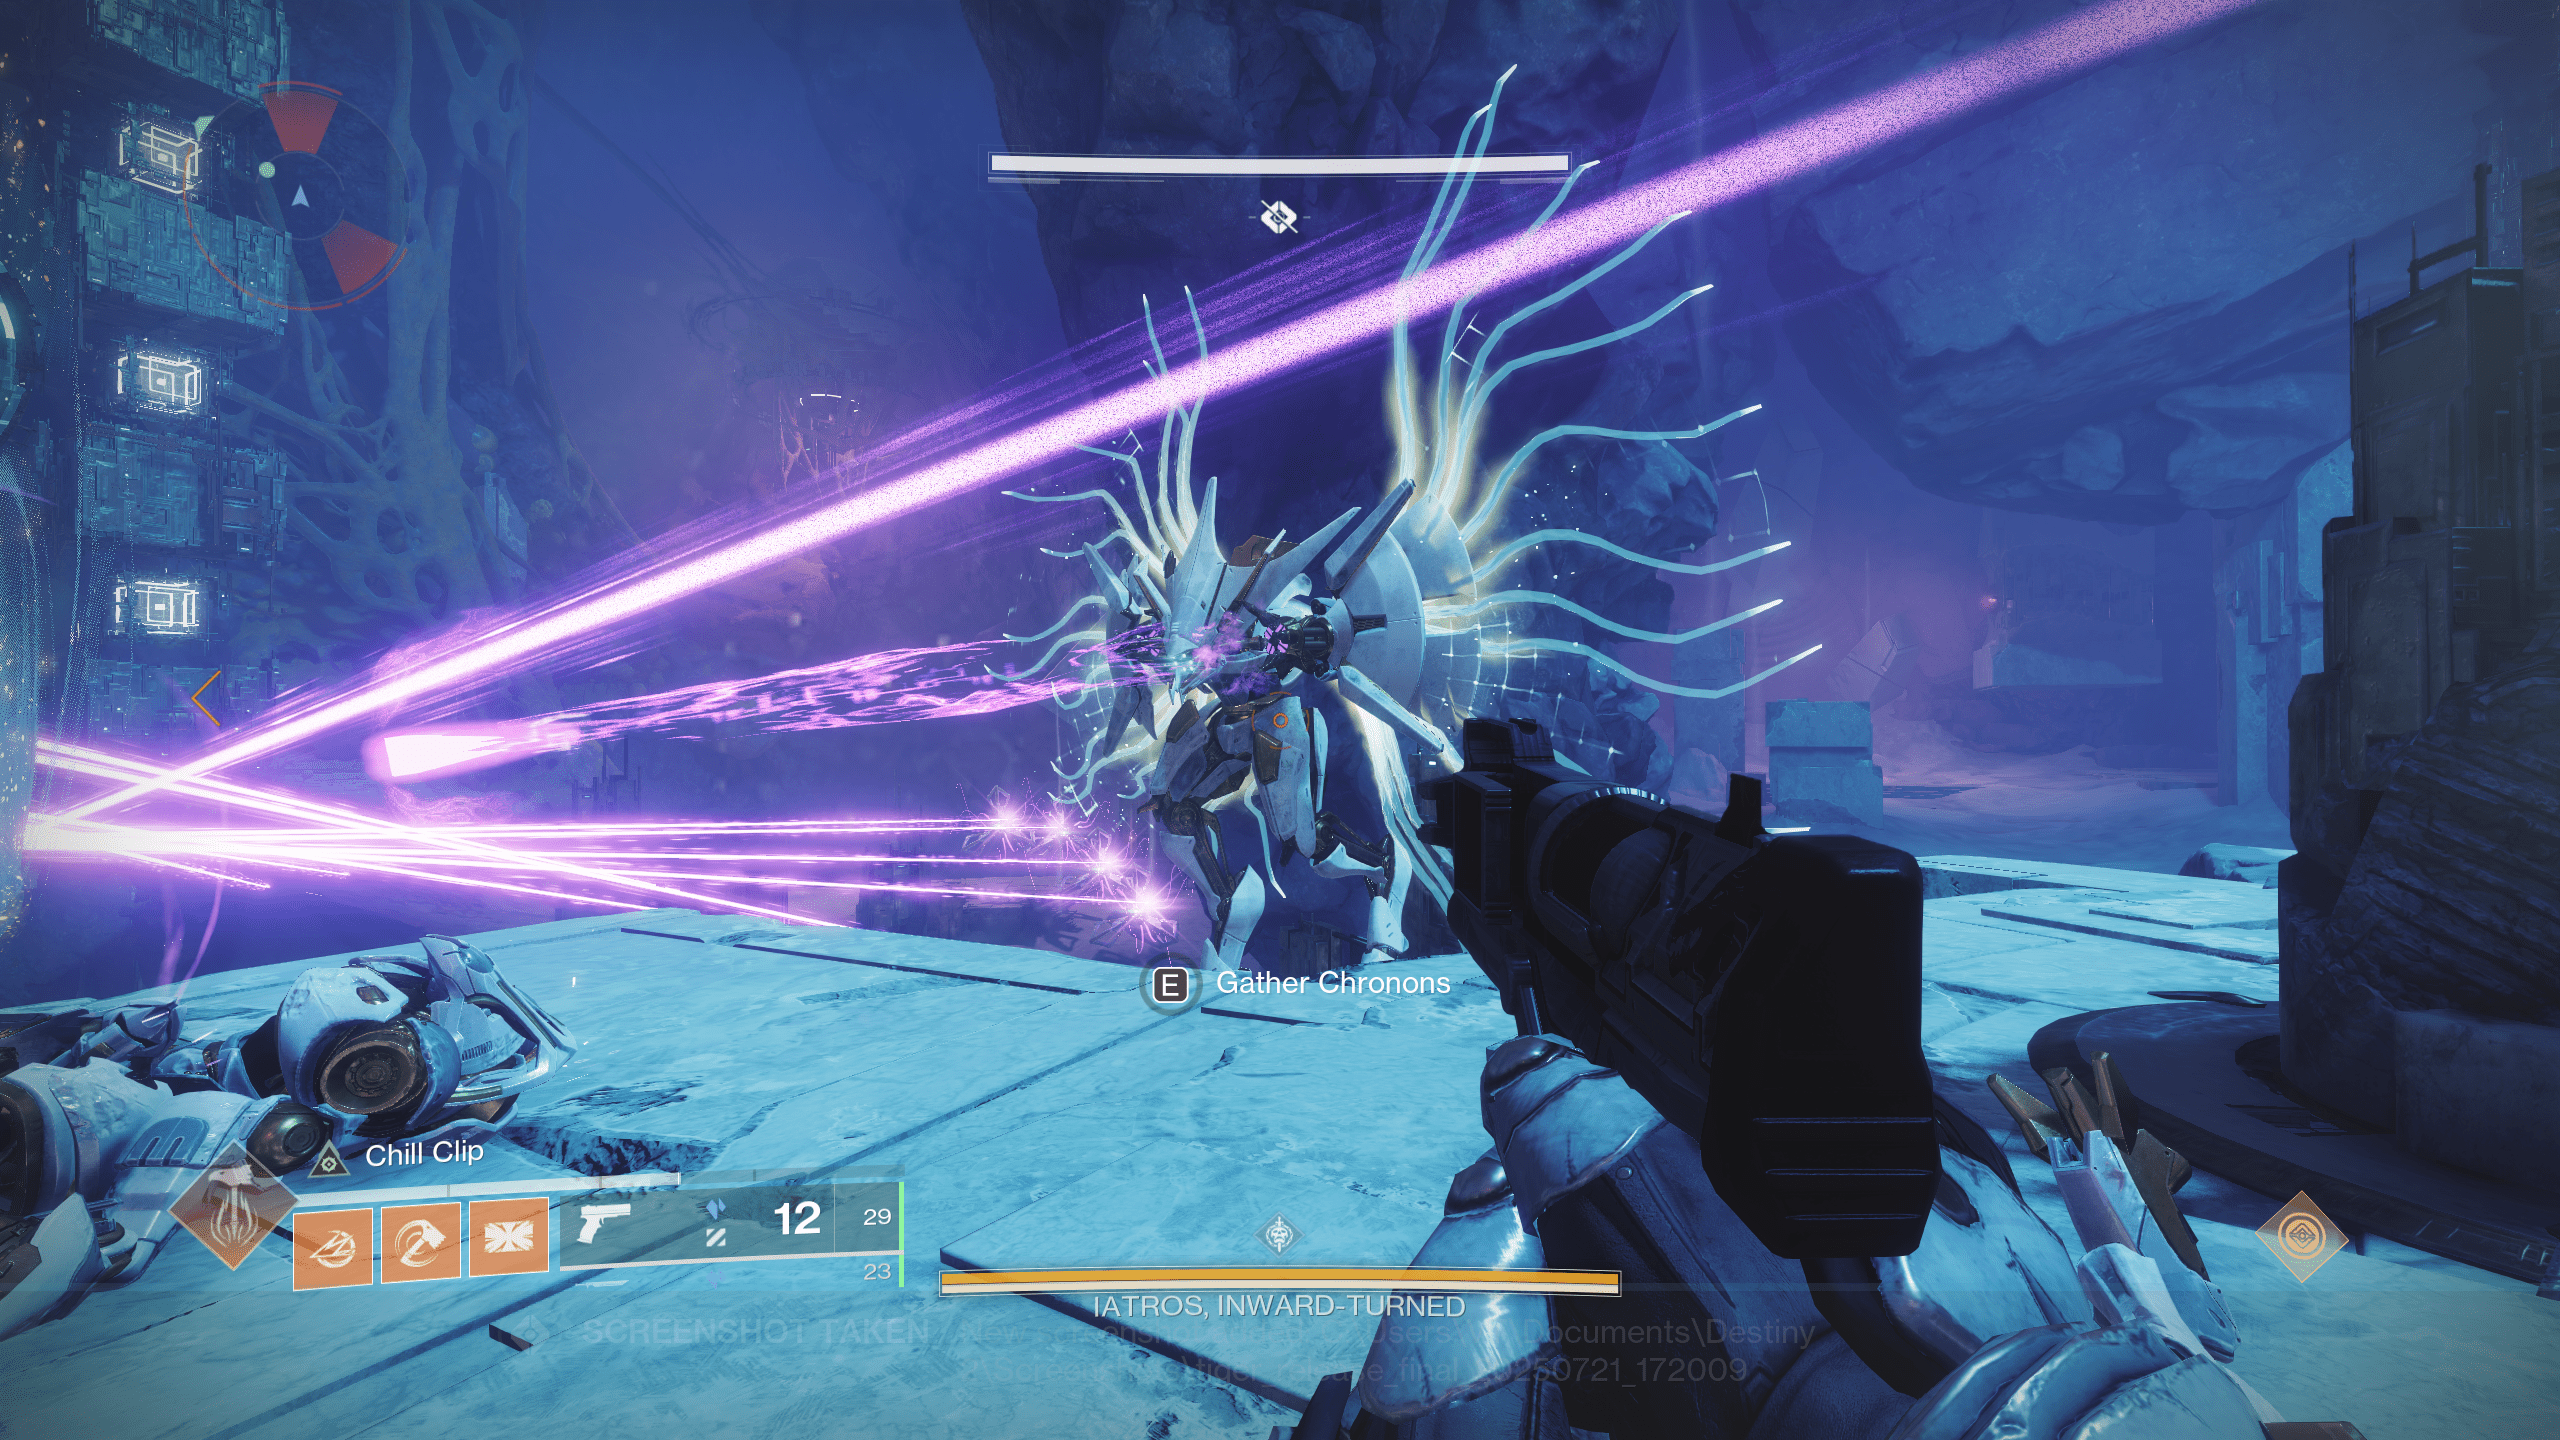
Encounter 1: Iatros, Inward-Turned
Recommended Loadouts: Use Swords like Falling Guillotine or Bequest to stay mobile with the boss. Legend of Acrius and Thunderlord + Divinity also work well for those who want safer range options. Titans with Crest of Alpha Lupi provide excellent survivability as the team moves around during DPS.
Iatros is the more manageable boss in the Desert Perpetual raid. He’s a massive Vex Wyvern locked in a tight arena packed with enemies. This fight isn’t loaded with brain-twisting mechanics. It’s a survival gauntlet with strict timing and a big damage check.
Before starting the encounter, assign three players to handle platforms and pillars. Each of them should have a unique pillar assignment. When ready, step into the arena to trigger the first wave.
- Clear enemies, including several Time’s Burden Minotaurs.
- Killing them drops purple puddles called Chronons.
- Every player grabs 1–2 Chronons and jumps through the purple hoop on the outer platform.
- This action fills an hourglass, starts a phase timer, and spawns a Vex crystal below the hoop.
- Destroy the crystal to proceed.
After the crystal breaks, two players receive the Absolute Temporality buff from nearby lattice-work plates. These are your platform jumpers.
- Other teammates shoot the bottom Conflux Cube to spawn climbable platforms.
- The buffed player jumps up and collects the first glowing energy orb on platform 3.
- Their teammate then shoots the middle Conflux Cube to summon a second platform set.
- Repeat the process and collect the second orb.
- Finally, shoot the top Conflux Cube and grab the third and final orb.
Once the third orb is collected, damage phase begins immediately. This part needs clear coordination. There’s a colored ring around Iatros showing the correct damage order based on color:
- White Ring: Shoot in this order → Mid → Bottom → Top
- Blue Ring: Shoot in this order → Bottom → Top → Mid
- Red Ring: Shoot in this order → Top → Mid → Bottom
This rotating ring mechanic hasn't been confirmed to be strictly required, but following it has helped most teams succeed. Repeat the full sequence three times to complete the encounter. Each round includes Chronon collection, platform climbing, and damage.
During DPS, new Time’s Burden Minotaurs spawn in the outer caves.
- Two players must kill them, collect Chronons, and bank them at the outer hoops.
- This extends the damage phase and prevents the wipe mechanic.
Watch the Diastole gauge at the top of the screen. When all four squares fill, the boss unleashes a massive attack that can wipe your entire team. Platform damage occurs wherever the builder collected their third orb. Coordinate DPS location ahead of time.
Encounter 2: Agraios, Inherent
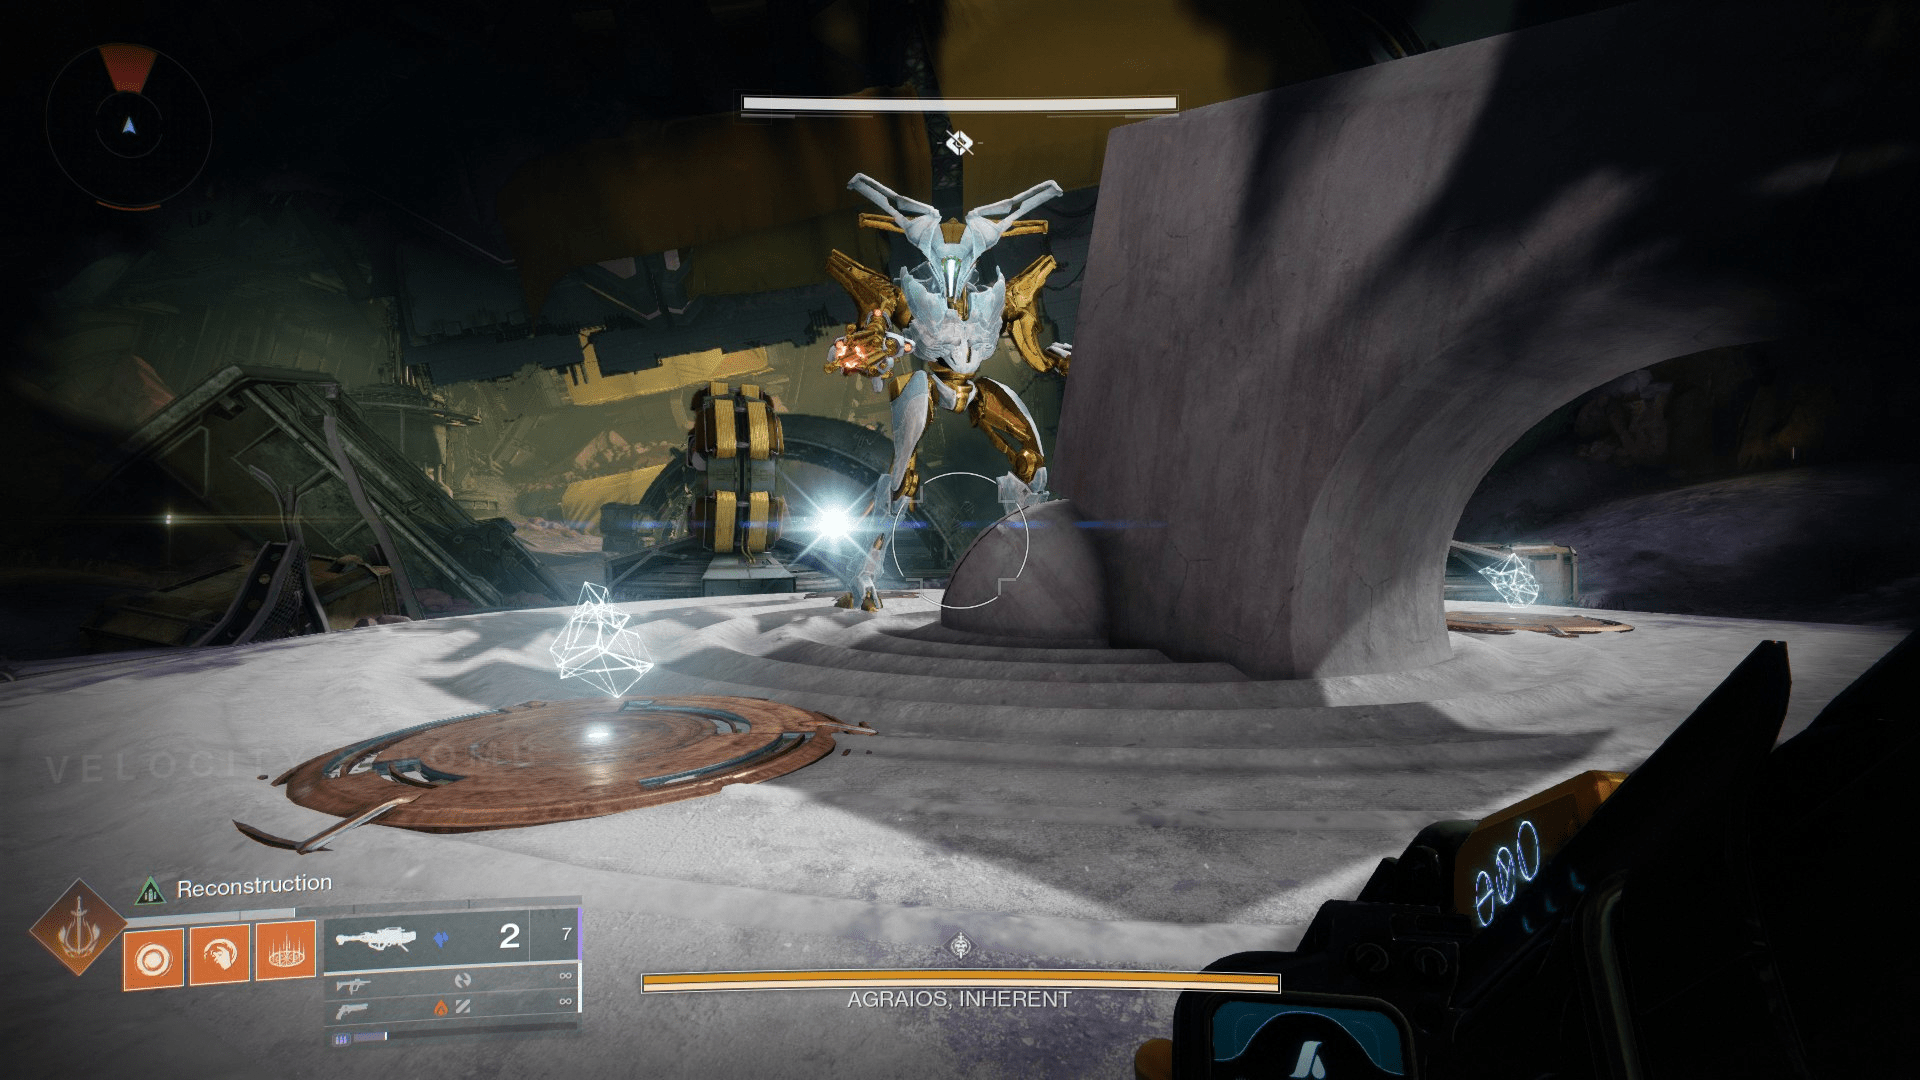
Recommended Loadouts: Bring Solar and Sniper resist mods to counter constant chip damage. Assign high-mobility builds like St0mp-EE5 or Icarus Dash to portal runners. Thunderlord + Divinity works well for damage if all players group on the ground.
Agraios brings coordination chaos. It’s a full-team mechanics test, with buffs, portal runs, and a boss that plays keep-away. Expect rotating duties, memory checks, and a very mobile target.
The fight begins with three players stepping onto the glowing middle plates to receive one of three buffs:
- Constant
- Cyclical
- Absolute
Each buff matches one of Agraios’ split forms. These three versions of the boss will each hover above a separate plate located around the arena, with their names floating above them. The goal: line up the right buff with the right version. While adds spawn, clear the field until a Hydra shows up. Deal with it quickly. Then, watch for a new threat — one Agraios clone begins using a laser mechanic called Variable Elimination. It’s a one-shot wipe if you’re caught standing in their line of sight. Whoever has the matching buff for that version of the boss must head to that plate and dunk the buff, completing the alignment.
If your team activates all five coils before the sniper mechanic triggers, you can choose which player with the matching buff performs the dunk. If you're too slow, the boss will force one specific player to dunk by beginning Variable Elimination. Stay quick to retain control.
With the alignment complete, it’s time to play tag with portals. Two Minotaurs called Time’s Burden will spawn. Kill them and collect their Chronons — glowing purple energy orbs.
You’ll notice the five portals around the arena now have a charged, stormy look. The two players who received a buff but did not dunk will each now see two of the five portals dimmed or unlit. These are the target portals.
Now comes the portal charging loop:
- Four non-buffed players (not the one who dunked or the two calling) each grab a Chronon.
- They run through the portals called out as dimmed by the buffed players — these must match exactly.
- Buffed players cannot run through the portals they see.
Here's an example of how it works:
- If Player A sees portals 1 and 2
- And Player B sees portals 3 and 4
- The runners must hit 1, 2, 3, 4
- No one touches portal 5 yet.
Once all four portals are charged, they light up and stabilize. At this point, the player who originally dunked their buff will see all five portals active and will gain a new buff shown by a row of five boxes in the UI.
That player, now holding the activation buff, must do the following:
- Run through all five portals, in any order.
- After the fifth, their grenade ability will change into a detain field.
- Stand in clear view of Agraios and use the grenade just before being sniped.
Doing this blocks the snipe and pulls Agraios down into the arena, starting the DPS phase. The grenade must be thrown at the last possible moment (under 3 seconds on the countdown). Throwing it early causes it to fizzle and wastes the entire phase. Have teammates call out when to throw.
Damage begins immediately after the detain bubble lands. During DPS:
- One random player gets the same activation buff with boxes.
- They must repeat the five-portal gauntlet and trigger another detain grenade.
- Doing this extends the damage phase and keeps the boss from teleporting away.
This extension can only happen twice per phase, so make it count. Agraios floats back up if the mechanic isn’t refreshed in time. You can block up to three sniper shots per DPS phase by repeating the full alignment and dunk process. Each extension dramatically increases your damage window — teams that fail to block the second or third shots will often wipe or be forced to restart the loop prematurely.
Encounter 3: Epoptes, Lord of Quanta
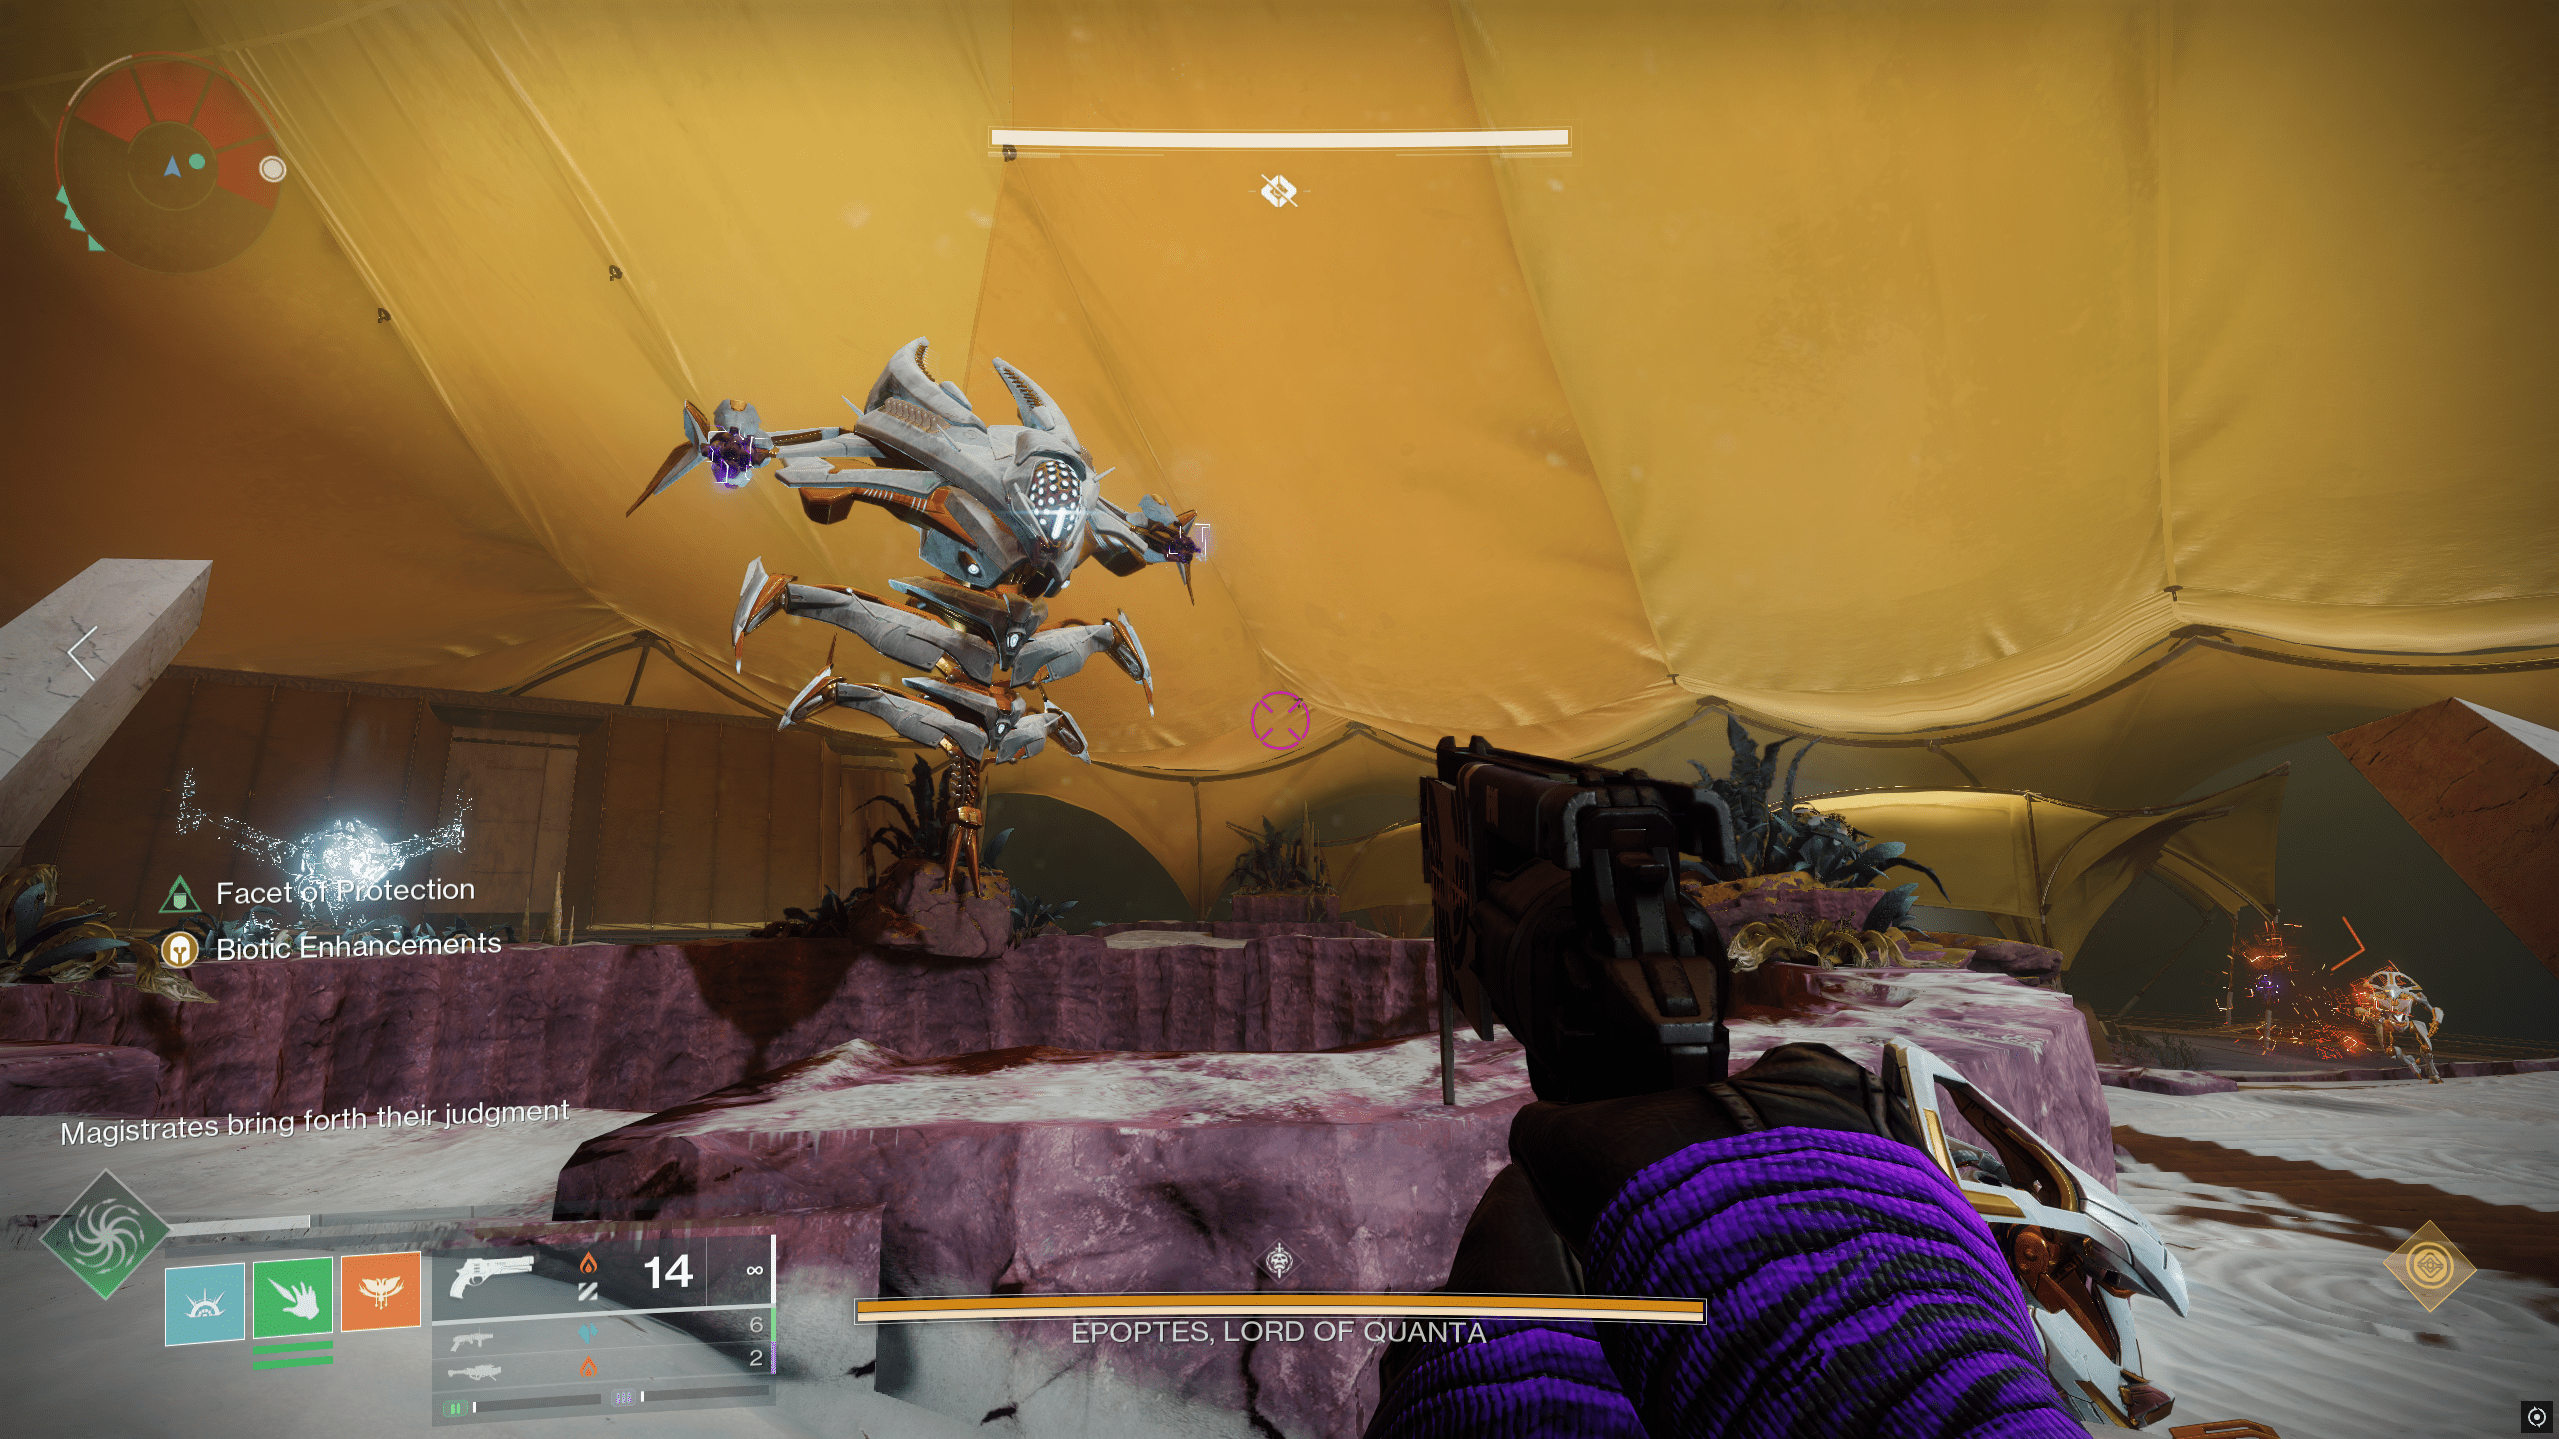
Recommended Loadouts: Long damage windows make Thunderlord incredibly strong. Sniper Rifles with Triple Tap or Fourth Time’s the Charm are top-tier choices due to ammo sustainability. Running double Primary builds with one high-impact weapon is also viable, especially when ammo becomes scarce.
Epoptes offers a much more technical encounter than Iatros. The mechanics revolve around syncing movements, passing buffs, reading visual patterns, and reacting fast. This took many teams significantly more time to complete compared to Iatros, for example.
Divide your fireteam into three squads: left, right, and center. Each side needs two players. Assign which players will enter the side rooms (left and right), and which will stay in the middle to handle callouts and add control.
As soon as you enter the arena, Time’s Magistrate Cyclopses will spawn on the left and right. Clear all ads, then destroy the Cyclopses.
This triggers two Constant Temporality buffs, one on each side plate. Step onto the plates at the same time to activate them. One player from each side picks up the buff and enters their respective Hydra rooms, while their partners follow for assistance.
Inside each Hydra room is a shielded boss Hydra. On its shield are seven glowing eyes — six in a hexagonal ring, one large eye in the center. Above each Hydra is a pattern of seven squares matching the eye layout.
When a buffed player enters, one square lights up in each room. Both players call out which square is glowing. But here’s the twist: you don’t shoot your own Hydra’s eye. You shoot the eye that was called out from the opposite room. That means left shoots what right sees, and right shoots what left sees.
But here's the key—players don’t shoot the eye that corresponds to their own room’s glowing square. Instead, you shoot the square called out by your partner in the opposite room.
Repeat this call-and-shoot exchange four times, each time stepping on the plates again to refresh the buff if needed. If you shoot the wrong eye, you’ll see the message: “Epoptes seeks a different state.” That means the sequence resets. Stay focused.
While the eye-shooting is happening in the side rooms, the middle team has an important job. Step into Epoptes’ central light shield to trigger the next mechanic – a symbol check.
You’ll see three large stone slabs surrounding the center. Two of them will light up. The missing symbol is key.
Call that missing symbol out to both side teams. Above each Hydra, a triangle of spheres will appear. Buffed players need to:
- Identify the triangle above their Hydra
- Match the missing slab’s symbol to a position
- Shoot the correct sphere in the triangle
The triangle does not rotate, so keep a shared mental image of the orientation. Once both side rooms land the right shot, regroup at the center. Your team should agree on a naming convention early, such as “Pyramid top,” “left orb,” “right orb,” etc.
Return to the middle to start round two. Clear another set of Time’s Magistrates and grab your Constant Temporality buffs again by stepping on the plates. Then it’s back to your Hydra rooms.
This time:
- Shoot the two remaining outer eyes from the original hex
- Then shoot the central glowing eye on each Hydra
Once all eyes are destroyed, the whole team moves to the central arena. Buffed players now:
- Shoot the matching glowing eyes on Epoptes’ main shield
- This triggers the damage phase
The shield eyes on Epoptes are structured the same way as the Hydras. You’ll need both previous buffed players to sync up and shoot at the correct time. The main eye doesn’t open until all outer shield eyes are destroyed.
During DPS:
- Epoptes randomly gives the buff to two players
- These players shoot new eyes as they appear, including a final glowing middle eye
- The rest of the team focuses fully on damage
When the phase ends, reset and repeat until the boss dies. While buffed players are shooting eyes, they must stay inside the glowing light cone emitted from Epoptes’ central shield. Eyes are only visible—and damageable—when standing in this light. Damage continues as long as at least one pair successfully shoots the outer six eyes and the final center one. After this cycle happens three times, a longer DPS phase begins where all six players can fully damage the boss.
Encounter 4: Koregos, The Worldline
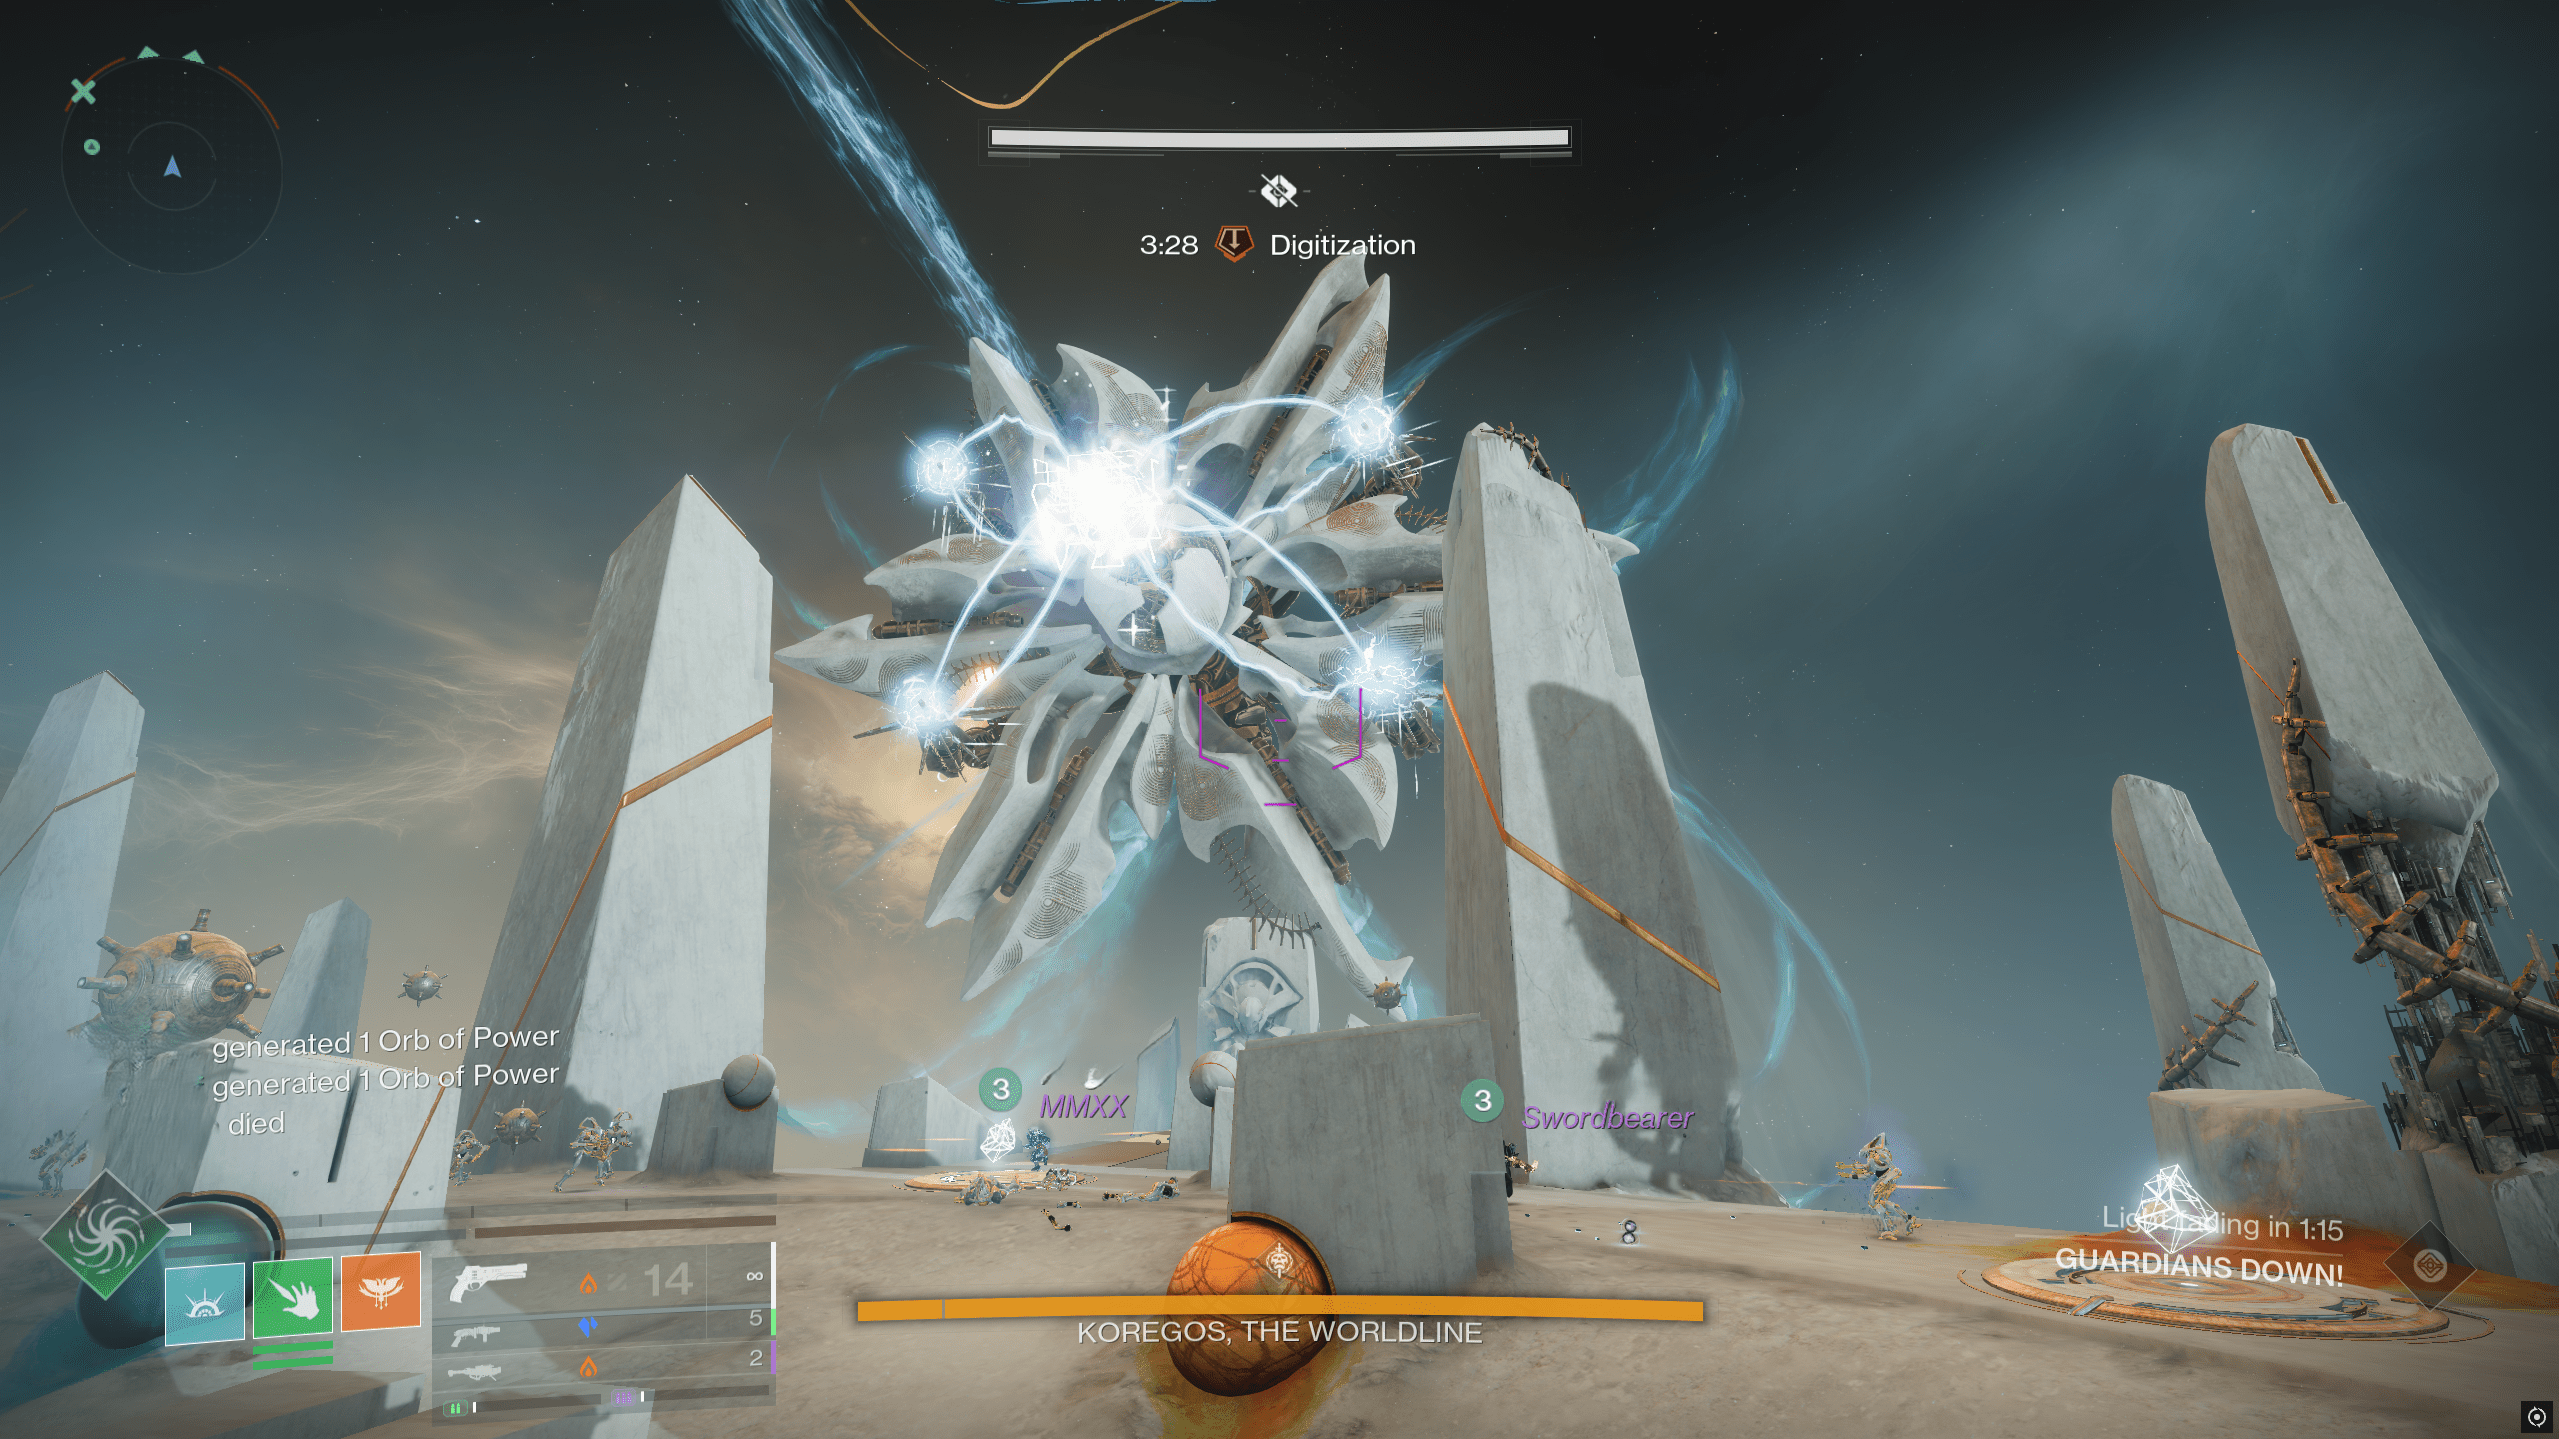
Recommended Loadouts: Thunderlord and Divinity excel during long damage phases. Gjallarhorn and Triple Tap Snipers are strong alternatives. Use Crest of Alpha Lupi or multiple Wells to survive laser damage. Assign a high-mobility runner to handle Chronon dunks.
Koregos is the final boss of the Desert Perpetual raid, and it's a wild ride. This fight mixes Chronon management, plate-based buffs, a vision puzzle, and one of the tightest DPS checks in Destiny history. You’ll need awareness, communication, and perfect execution to bring this towering boss down.
The fight kicks off when Koregos spawns at the back of the room, summoning waves of enemies and a large hourglass in the center of the arena. Mines begin appearing around the space. These can be destroyed to drop Chronons, but not all of them are useful. You’ll also be dealing with two Hydra mini-bosses early on. Take them down quickly to activate the plate mechanics.
Once the Hydras are down, three plates appear near the boss:
- Left: Constant
- Middle: Absolute
- Right: Cyclical
Assign players as follows:
- 3 players on Constant
- 2 players on Cyclical
- 1 player on Absolute
These buffs determine what each player can interact with or see. Constant players are responsible for interrupting the boss’s wipe mechanic, cyclical players handle Chronon dunking, and the absolute player is the central key to all puzzle-solving phases.
While adds keep spawning, Koregos will occasionally target a player with a charging laser. This beam starts as an orange glow and leads to a devastating one-shot if the line of sight isn't broken. Stay aware and behind cover when it happens.
The next step involves locating short Vex pillars with glowing rings. When three players, each holding one of the three buffs, jump into the same ring, all of them receive the Temporal Oculus buff.
This unlocks the visual phase.
- Absolute now sees which color of Chronon needs to be deposited (white, blue, or red).
- Constant sees the color of each floating mine around the arena.
- Cyclical sees whether a mine is real or fake—only real ones can be destroyed to drop Chronons.
Only the Absolute buffed player can shoot and destroy the correct mine. The other two call out their info (color + validity), and Absolute confirms and executes.
From here, the Cyclical players collect the dropped Unobserved Chronons and dunk them into the matching hourglass ring in the center. Here's a breakdown of this loop:
- Shoot Fake Mines: Only the correct mine drops usable Chronons.
- Cyclical Players Dunk: Pick up and run through the correct colored ring.
- Repeat: Do this enough times to fully fill the hourglass.
Meanwhile, Constant players must remain on alert. When the boss “prepares an algorithm,” they need to shoot the Harpy’s cannons to stop a wipe mechanic. Shooting all four cannons stuns Koregos and refreshes the Oculus pools, allowing players to re-enter the visual phase. This also extends the timer for the Constant players.
Once the hourglass is filled, shoot the Vex structure underneath it to trigger damage. Your fireteam now platforms onto Koregos itself. On its surface, you’ll find four cannons transformed into totems. Each totem is surrounded by three floor cubes.
This phase is a vision puzzle. The Absolute player sees all three cubes. Constant and Cyclical players each see only two. To begin damage, the Absolute player must interact with the cube shared by both teammates on each totem. Do it correctly on all four totems, and Koregos finally opens up for real damage. During DPS, rings reappear on the ground, and colored buffs spawn. One runner grabs the correct buff and dunks it through the matching ring to extend the damage window.
Koregos also unleashes Arc blasts that light up the floor. At some point, one player will be granted a special buff to repeat the full ring-dunk process, buying your team more time to finish damage. If Koregos reaches the final stand, the boss repositions its crit spots vertically. You’ll need to move accordingly, adjust aim, and land every single shot.
Here’s a final list of some tips on Koregos to help you further:
- Communicate ring timing and cube callouts clearly.
- Assign buffs ahead of time and rotate roles only when needed.
- Always interrupt algorithms and stay out of the boss’s laser sights.
- Never miss a dunk during damage. It’s the difference between a win and a wipe.
This encounter is a culmination of all raid mechanics before it. Master this, and you conquer The Desert Perpetual.
Browse our hottest Destiny 2 Boosting services


Desert Perpetual Loot Table
The latest Edge of Fate raid brings exclusive items and gear. You’ll find one Exotic weapon, six Legendary guns, three full armor sets, and several cosmetic items. Here’s a complete Desert Perpetual loot table:
| Element | Weapon | Type | Intrinsic Traits | Drops From |
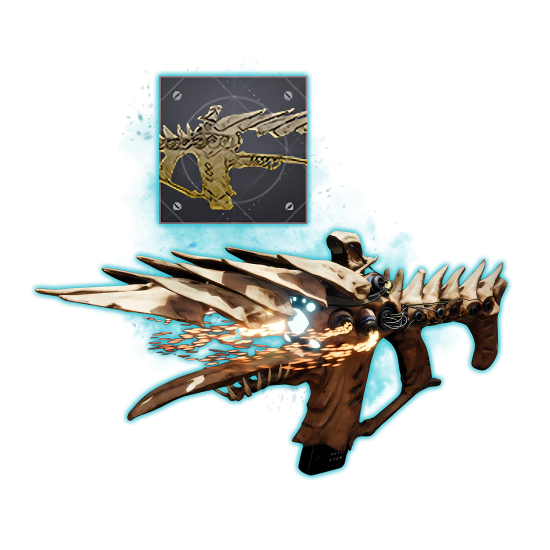
| Whirling Ovation | Rocket Launcher | Coronal Culmination | Koregos, the Worldline | |
| Intercalary | Auto Rifle | Adaptive Frame | Argaios, Inherent | |
| Opaque Hourglass | Combat Bow | High-Impact Frame | Epoptes, Lord of Quanta | |
| Finite Maybe | Fusion Rifle | Aggressive Frame | Iatros, Inward-Turned | |
| The When and Where | Rocket Launcher | Adaptive Frame | Iatros, Inward-Turned | |
| Lance Ephemeral | Sniper Rifle | Rapid-Fire Frame | Argaios, Inherent | |
| Antedate | Submachine Gun | Adaptive Frame | Argaios, Inherent |
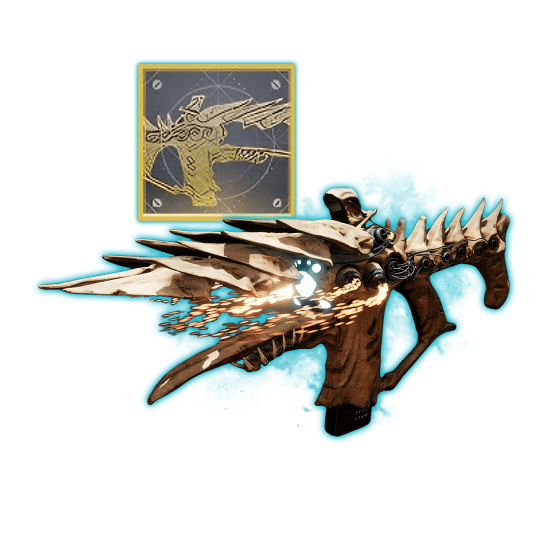
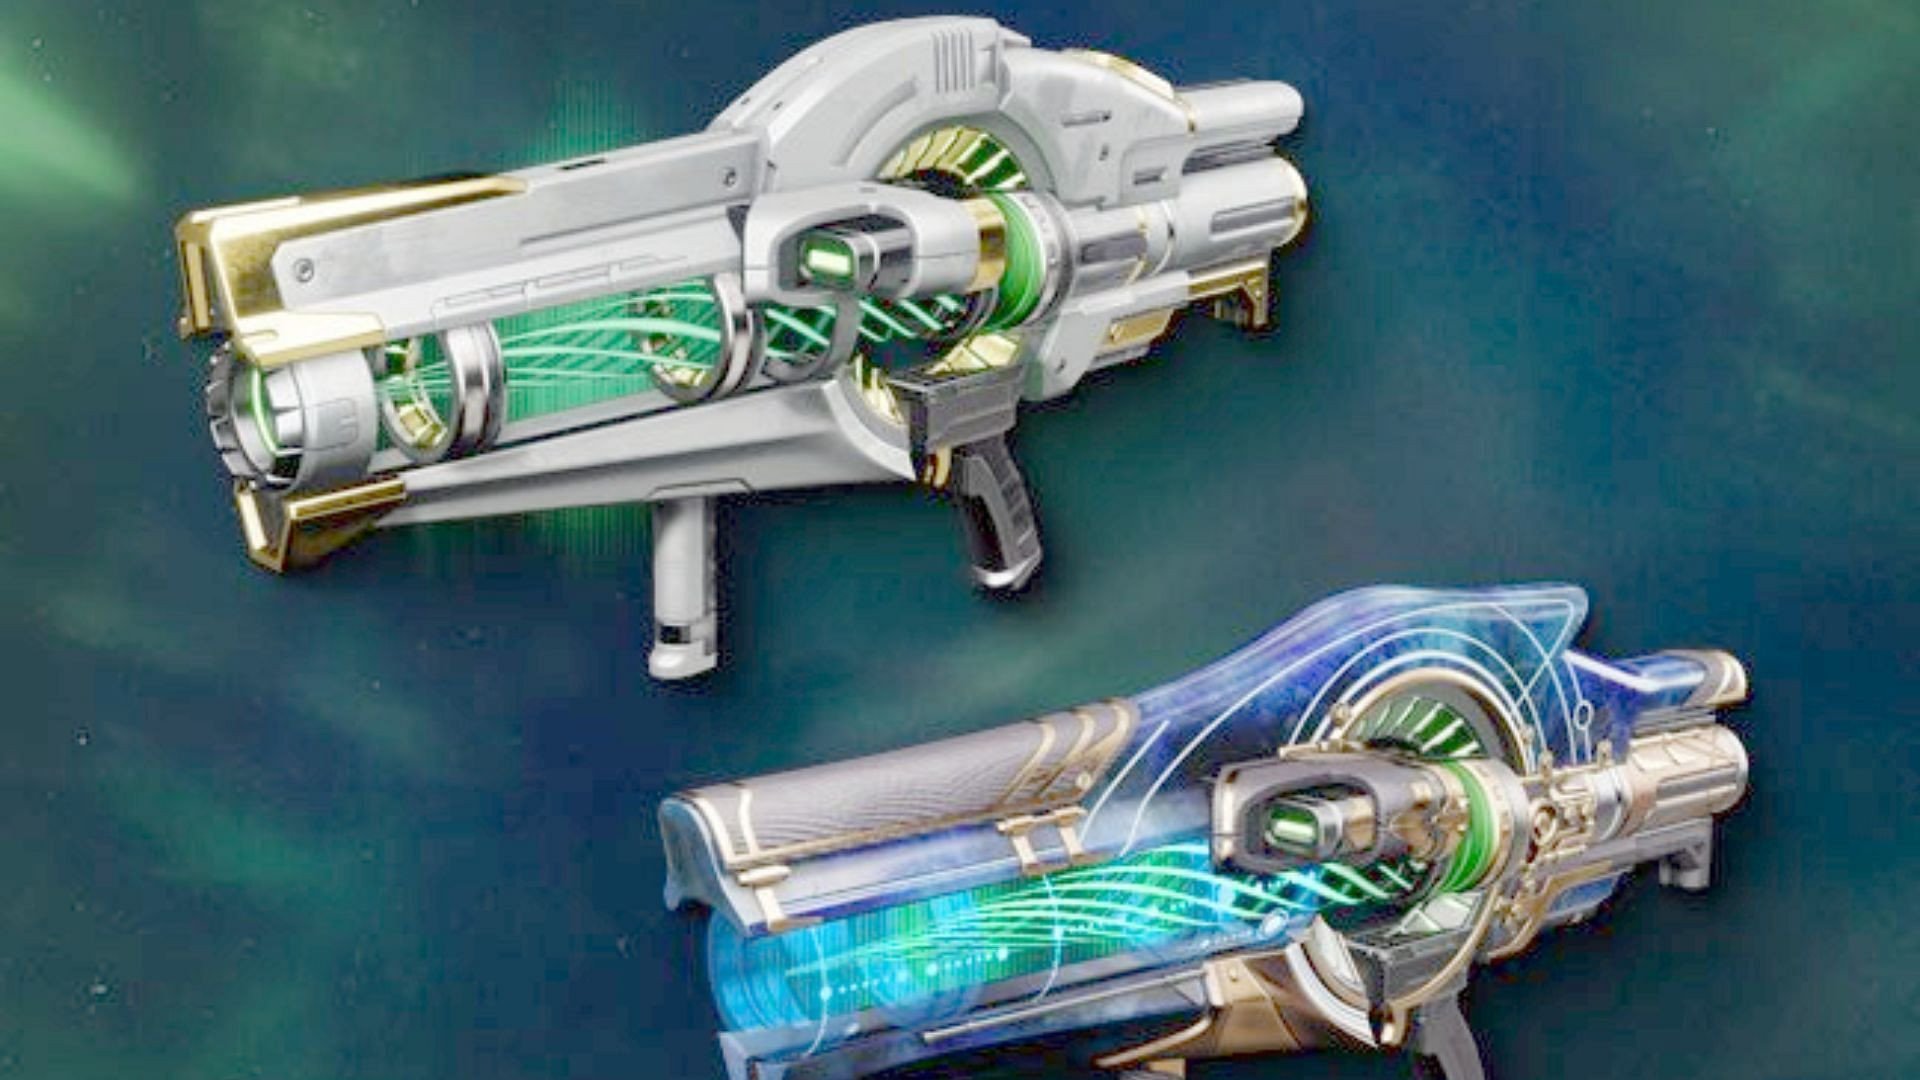
As always, we’ve got a special Desert Perpetual exotic, named Whirling Ovation. There’s also a bunch of Desert Perpetual weapons tied to this raid. Opaque Hourglass Arc Combat Bow looks especially promising compared to all other loot you can get.
The epic version of the raid includes 3 brand-new weapons:
| Element | Weapon | Type | Intrinsic Traits | Drops From |
| Cusp Sempiternal | Auto Rifle | Rapid-Fire Frame | Agraios, Inherent (epic) | |
| Starscape Null | Shotgun | Lightweight Frame | Iatros, Inward-Turned (epic) | |
| The Ever-Present | Grenade Launcher | Rapid-Fire Frame | Epoptes, Lord of Quanta (epic) |
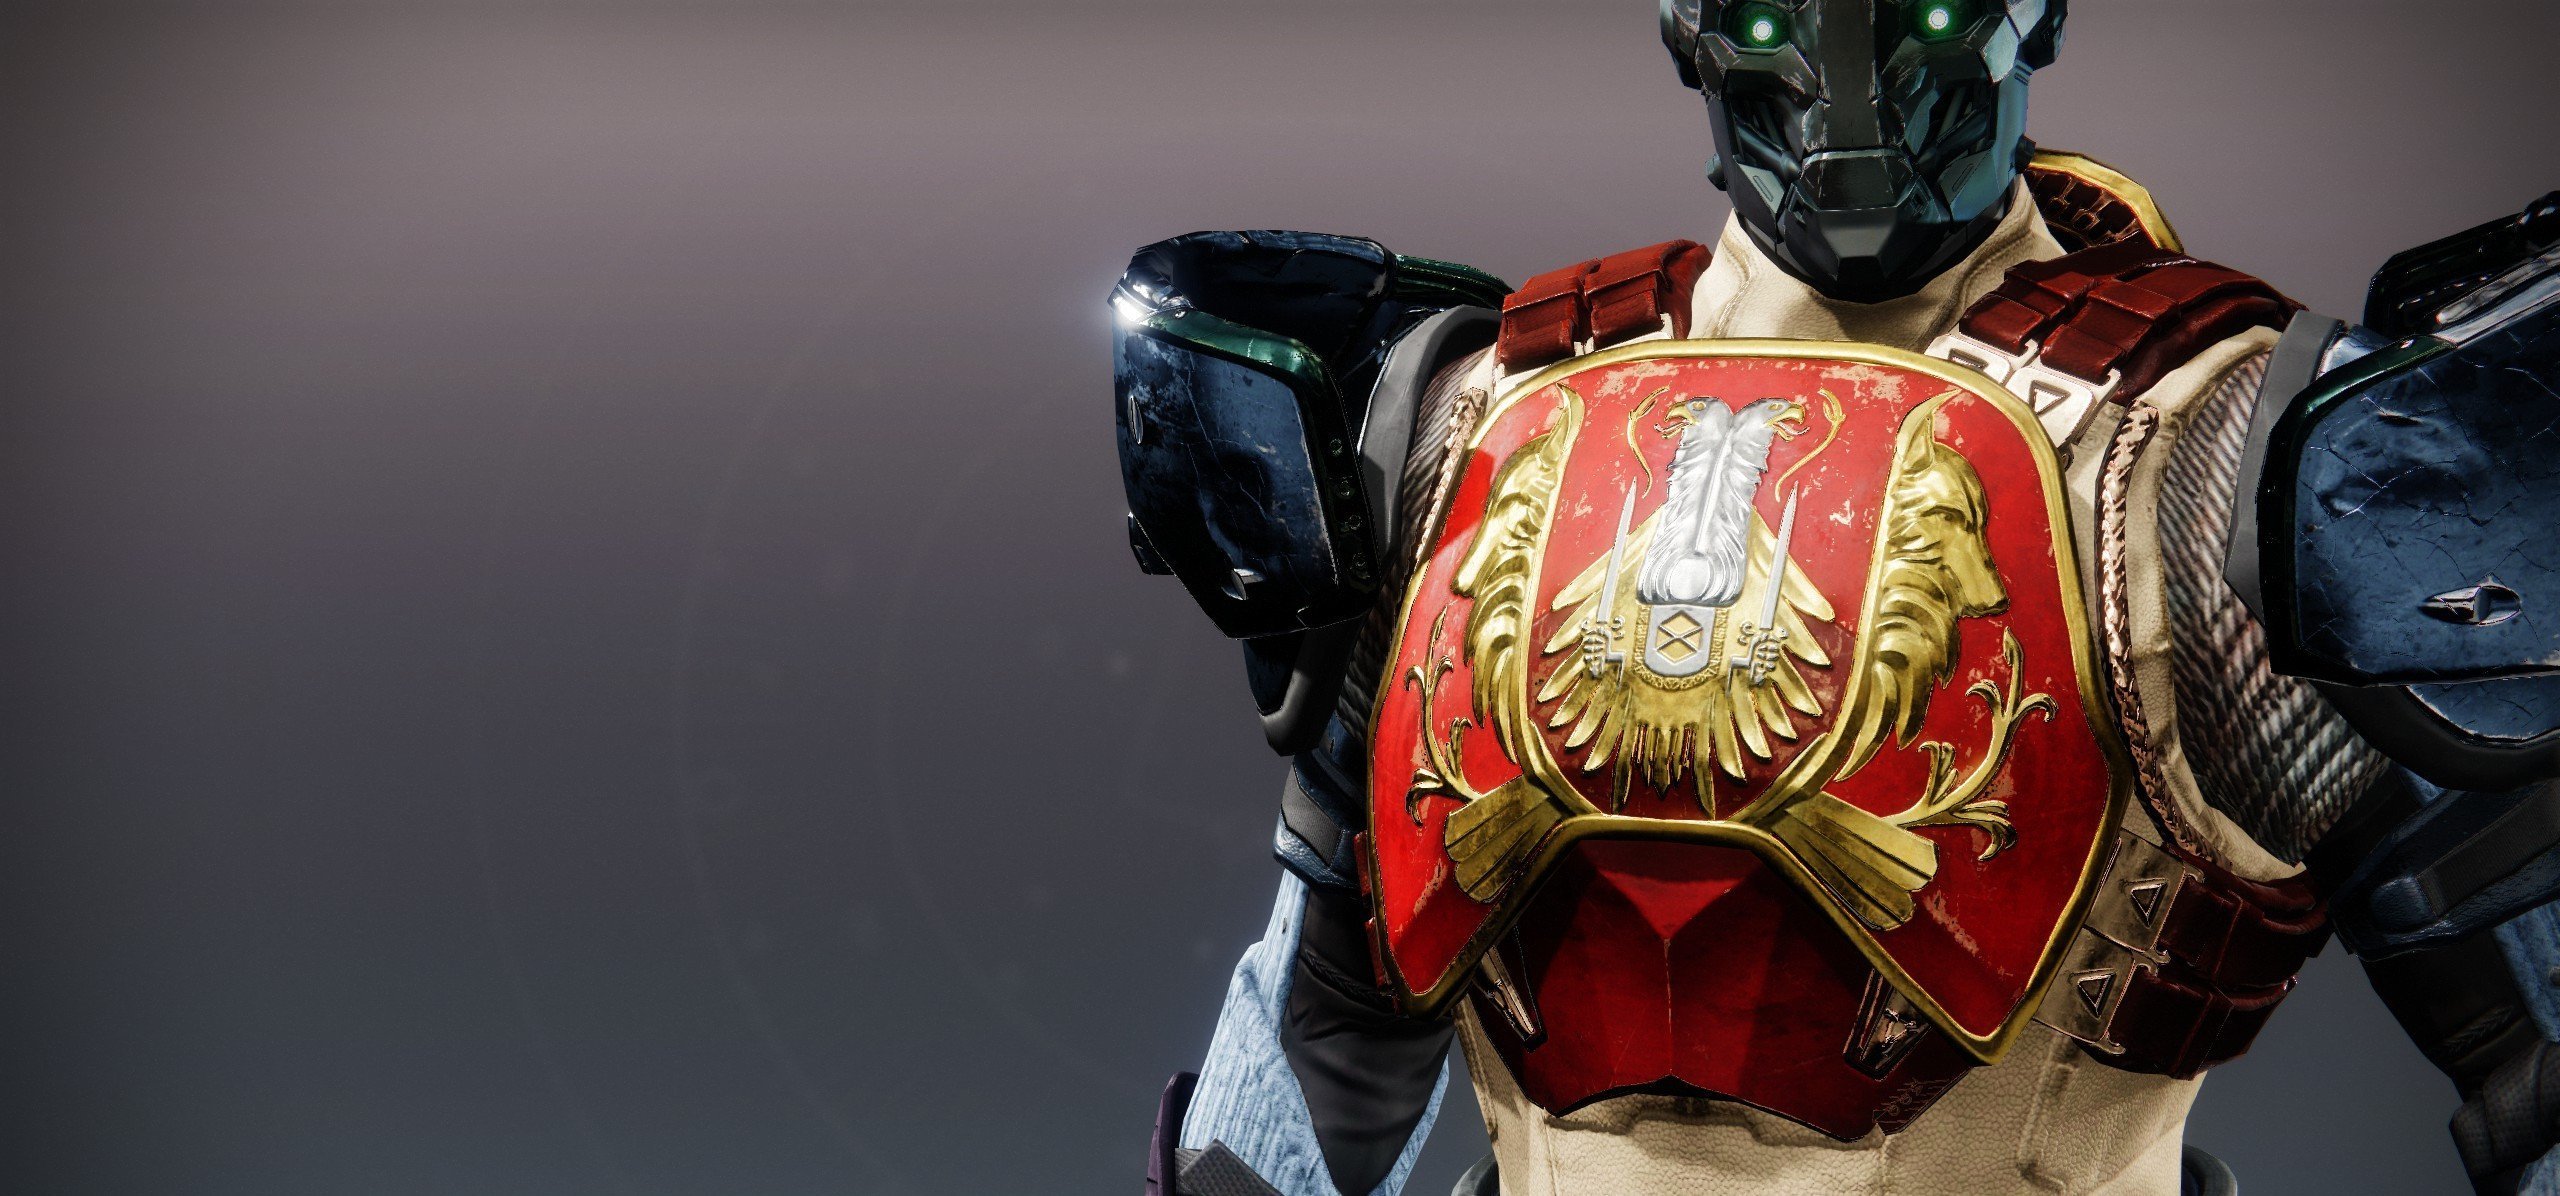
As for the armor set, it's called "Collective Psyche":
| Class | Piece | Type | Drops From |
| Hunter | Collective Psyche Casque | Helmet | Iatros, Inward-Turned |
| Collective Psyche Cuirass | Chest | Iatros, Inward-Turned | |
| Collective Psyche Sleeves | Arms | Epoptes, Lord of Quanta | |
| Collective Psyche Strides | Legs | Epoptes, Lord of Quanta | |
| Collective Psyche Cloak | Class Item | Epoptes, Lord of Quanta | |
| Titan | Collective Psyche Helm | Helmet | Iatros, Inward-Turned |
| Collective Psyche Plate | Chest | Iatros, Inward-Turned | |
| Collective Psyche Gauntlets | Arms | Epoptes, Lord of Quanta | |
| Collective Psyche Greaves | Legs | Epoptes, Lord of Quanta | |
| Collective Psyche Mark | Class Item | Epoptes, Lord of Quanta | |
| Warlock | Collective Psyche Cover | Helmet | Iatros, Inward-Turned |
| Collective Psyche Robes | Chest | Iatros, Inward-Turned | |
| Collective Psyche Gloves | Arms | Epoptes, Lord of Quanta | |
| Collective Psyche Boots | Legs | Epoptes, Lord of Quanta | |
| Collective Psyche Bond | Class Item | Epoptes, Lord of Quanta |
Set Bonus — Collective Psyche
Equipping two or more pieces grants Accretion, boosting weapon handling after ammo pickups. Equipping four pieces adds Doppler Effect, extending the duration of major subclass effects like Suspend, Unravel, Sever, Radiant, and Restoration.
Other cosmetic rewards include:

- Envoy's Togs - Shader
- Third Unknown - Emblem
- Soloist Shell - Ghost shell
These are all Desert Perpetual rewards we know about so far. All the legendary weapons have been discovered thanks to leaks, even before the raid was released. You can also expect emblems, as well as a new title called Atemporal. As expected, every class (Hunter, Titan, and Warlock) gets its own raid armor set. Stay tuned and learn more about them as we get more confirmed details. BLOG20
Triumphs & Raid Seal: Atemporal
To earn the Atemporal title, Guardians must complete 12 triumphs tied to the Desert Perpetual raid. These challenges range from flawless completions and feat-specific runs to collectible hunts and encounter-specific objectives. Some triumphs are more demanding than others, requiring coordination, precision, or full-team synergy.
Below is a breakdown of all currently visible triumphs, their completion criteria, and the rewards they offer.
Triumph Requirements and Rewards
| Triumph | Requirement | Reward |
| The Desert Perpetual | Collect all raid trophies (general completion progress). | Title: Atemporal |
| Combined Mastery | Complete all raid encounters and a full run with 3+ feats active. | Gear Tier Upgrade (+1) |
| End of the Worldline | Complete any version of the Desert Perpetual raid. | Third Unknown |
| Feature Presentation | Complete encounters with feats active (repeatable). | +1 Feat Slot, Soloist Shell, Increased Whirling Ovation drop rate |
| Death-Defiant | Complete the entire raid without any fireteam deaths or returning to orbit. (Does not count toward the title) | Mediant Flourish shader, greatly increased Whirling Ovation drop rate |
| This Is War | Complete all encounters with the Cutthroat Combat feat active. | Increased Whirling Ovation drop rate |
| Cherished Lifetimes | Complete all encounters with the Token Limit feat active. | Increased Whirling Ovation drop rate |
| Brutal Efficiency | Complete all encounters with the Phase Race feat active. | Increased Whirling Ovation drop rate |
| Battling Battalions | Complete all encounters with the Battalions feat active. | Increased Whirling Ovation drop rate |
| Challenging Victory | Complete all encounters with Encounter Challenges active. | Increased Whirling Ovation drop rate |
| Ternary Gifts | Loot all three hidden chests in the raid. | — |
| Lore Book Unlocks | Unlock all 8 pages of The Desert Perpetual lore book. | The Immanent lore entry |
A total of 12 triumphs are required to complete the seal and unlock the Atemporal title. As of now, 4 additional triumphs remain hidden or marked as “Upcoming Content”. These may unlock in future weeks or coincide with new raid challenges or Master mode rotations.
Certain triumphs (e.g. Feature Presentation and Death-Defiant) do not count toward the seal but provide valuable progression rewards and cosmetic bonuses.
Builds & Weapons to Use
Build flexibility is key in Desert Perpetual, but certain weapons and subclasses consistently perform across all encounters. Here's what to bring:
General Recommendations
- Thunderlord – Excels in every encounter due to sustained boss damage, ammo efficiency, and ease of use.
- Divinity – Strong in coordinated teams for boosting boss crit damage and stabilizing aim.
- Gjallarhorn – Top-tier rocket option, especially paired with Wolfpack-compatible weapons for shared ammo synergy.
- Sniper Rifles – Use ones with Triple Tap or Fourth Time’s the Charm for long-range, ammo-efficient boss phases.
- IKELOS SMG / Rufus’s Fury – Great for fast ad clear; Voltshot and Hatchling work well in add-heavy encounters.
Subclass & Utility Picks
- Well of Radiance (Solar Warlock) – Essential for boss phases and survivability in all encounters.
- Strand Hunter (Threadrunner) – Ideal for movement-based jobs like platforming, Chronon runs, and coil loops.
- Thundercrash Titan (Arc) – High burst damage during DPS phases, especially in the final two encounters.
- Crest of Alpha Lupi (Titan Chest Exotic) – Enables healing barricade spam during mobile DPS and chaotic moments.
- Eager Edge Sword / Mountaintop – Great for traversal between encounters; nearly required for some platforming sections.
Choose your loadouts based on your assigned role, but prioritize survivability, ammo economy, and burst damage, especially for the final boss. Flex between builds as needed, and don’t forget utility picks like resistance mods and movement tech.
Desert Perpetual Secret Chests
There are three known secret chests in the Desert Perpetual raid, each hidden in traversal areas after completing a specific encounter. These chests are tied to activating The Nine’s symbols scattered throughout nearby environments. Most symbols are static or dim until approached; standing next to one for a few seconds will “activate” it, though no prompt appears.
Contrary to early speculation, you do not need to activate all nine symbols per zone. Activating only the ones visibly embedded on the final chest ball seems sufficient, usually four per area.
Here’s a breakdown of each chest:
Chest #1 – After the Hobgoblin (Agraios) Encounter
Accessible only after defeating Agraios. Symbols are found throughout the traversal section on the right wall and upper ledges.
- Look for hallways, circular holes, and open ledges along the right side.
- At least one symbol is near the entrance path; another is inside a “dead-end” side hall.
After activating the correct symbols, a message referencing “fortune” appears. The chest spawns inside a now-accessible rotating ball in the area.
Chest #2 – After the Hydra (Epoptes) Encounter
Found along the traversal to the Hydra arena, post-fight.
- Activate symbols embedded on static split balls—including a purple one and a green one on the left side.
- One symbol is on the ceiling of a structure, another is inside a crouchable tunnel with curved walls.
Once enough symbols are triggered, the chest appears in another rotating ball in the zone.
Chest #3 – After the Wyvern (Iatros) Encounter
Unlocked in the traversal zone between Iatros and the central hub.
- One symbol is located along the outer edge of the exit ledge.
- Others are found on furniture pieces, embedded spheres, or small green platforms near the rotating balls.
This is considered the trickiest chest due to movement hazards. Once activated, the final secret chest spawns in the large rotating ball at the end of this zone.
All secret chests appear to drop lore books rather than loot. Based on player reports, it may be possible to activate and collect all three before engaging the final boss.
Pro Tip: If you're short on time or symbols, focus on those found on or near the rotating chest ball itself—these seem to be the only required ones.
Conclusion
This wraps up our Destiny 2 Desert Perpetual guide, Guardians. It’s shaping up to be one of the most exciting endgame experiences yet. From its Vex-flavored setting to its sleek loot pool and secret chests, there’s a lot to chase. With Exotic rewards, exclusive emblems, and high-tier gear on the line, this raid will be a must-run for all players. Sharpen your builds, grab your fireteam, and get ready to dive into the new Edge of Fate raid.
F.A.Q.
Is the Desert Perpetual raid farmable?
Yes—and it’s actually one of the most rewarding endgame farms right now. Completing runs with 3 feats active guarantees Tier 2 loot, and after unlocking the Combined Mastery triumph, your drops permanently upgrade by one tier. That means a real shot at Tier 3 gear on every run.
What are Desert Perpetual level requirements?
Make sure to hit 100 power level before entering the Desert Perpetual raid for a smooth run. This is also a must-have requirement for its Contest Mode version.
How long is the Desert Perpetual raid?
The raid includes four encounters and can take several hours on the first clear.
Do you need to complete The Edge of Fate campaign to do Desert Perpetual?
Yes, the full Edge of Fate campaign must be completed before entering the raid.
Why is the Desert Perpetual raid so easy?
It isn’t that easy, especially during Contest Mode. Difficulty depends on team coordination and build strength.
Can you solo Desert Perpetual raid?
No, the raid requires a full fireteam and cannot be completed solo.
Is Desert Perpetual free to play?
No, it’s part of the Edge of Fate expansion and requires purchasing that DLC.


