 Dallon Avery
Welcome to your complete Destiny 2 Kepler guide, the mysterious new destination introduced in Destiny 2: The Edge of Fate. This guide is designed to help you navigate everything Kepler has to offer — not just the campaign, but the systems, secrets, and gameplay loops that define the experience.
We’ll walk you through Kepler’s destination abilities, world tiers, vendor systems, weekly missions, side quests, Sieve activity, materials, and hidden loot — all designed to help you progress efficiently and understand what makes this planetoid so unique. Whether you're here for Tier 5 weapons, exotic armor, or just trying to figure out what that glowing green panel does, you’re in the right place.
Let’s dive into Kepler — and everything waiting at the edge of Sol.
Before we do, though, if you still struggle with exploring this destination, you should consider buying the Kepler Exploration service at SkyCoach. This gives service ensures that the planet is completely explored, which includes all side quests, the exotic cannon unlock, and a bunch of other stuff. Check out the service description for more information.
Check out our other Destiny 2 guides:
- Best Titan Builds
- Desert Perpetual Raid Guide
- Best Edge of Fate Exotics
- How to Get Graviton Spike
- How to Get Tier 5 Gear
- Armor 3.0 Guide
Note: At Skycoach, you can Buy Destiny 2 Boost at the best prices with a fast delivery. Use our special PROMO CODE (in green) hidden in this article for a 20% DISCOUNT.
Browse our hottest Destiny 2 Boosting services


Destiny 2 Kepler Overview
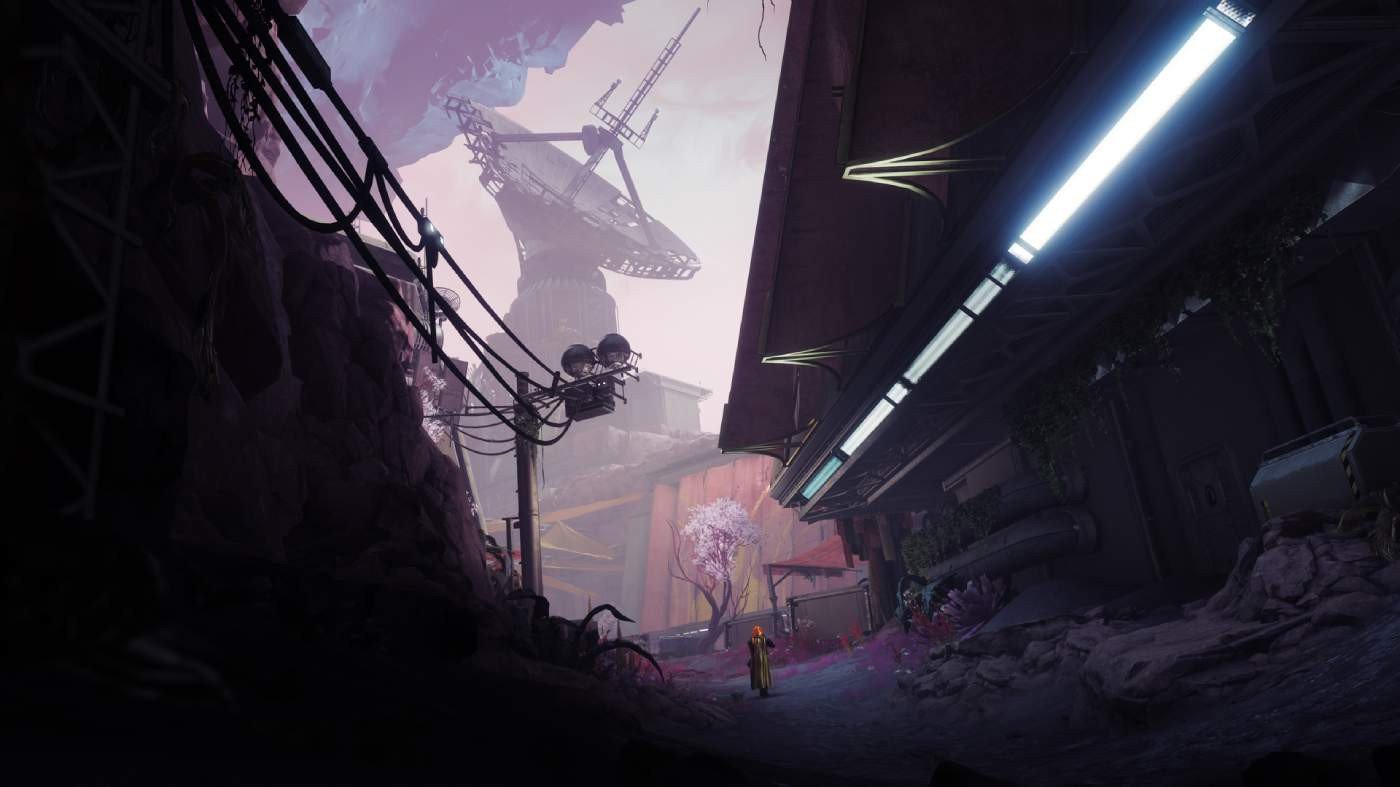
Destiny 2 Kepler is the newest destination introduced in The Edge of Fate, and it's unlike anything Guardians have explored before. Located at the far edge of the Solar System in the Oort Cloud, Kepler serves as the narrative and gameplay centerpiece of this expansion. The Nine have issued a cryptic invitation, pulling you into a broken world teetering on the edge of a singularity — both literally and metaphorically.
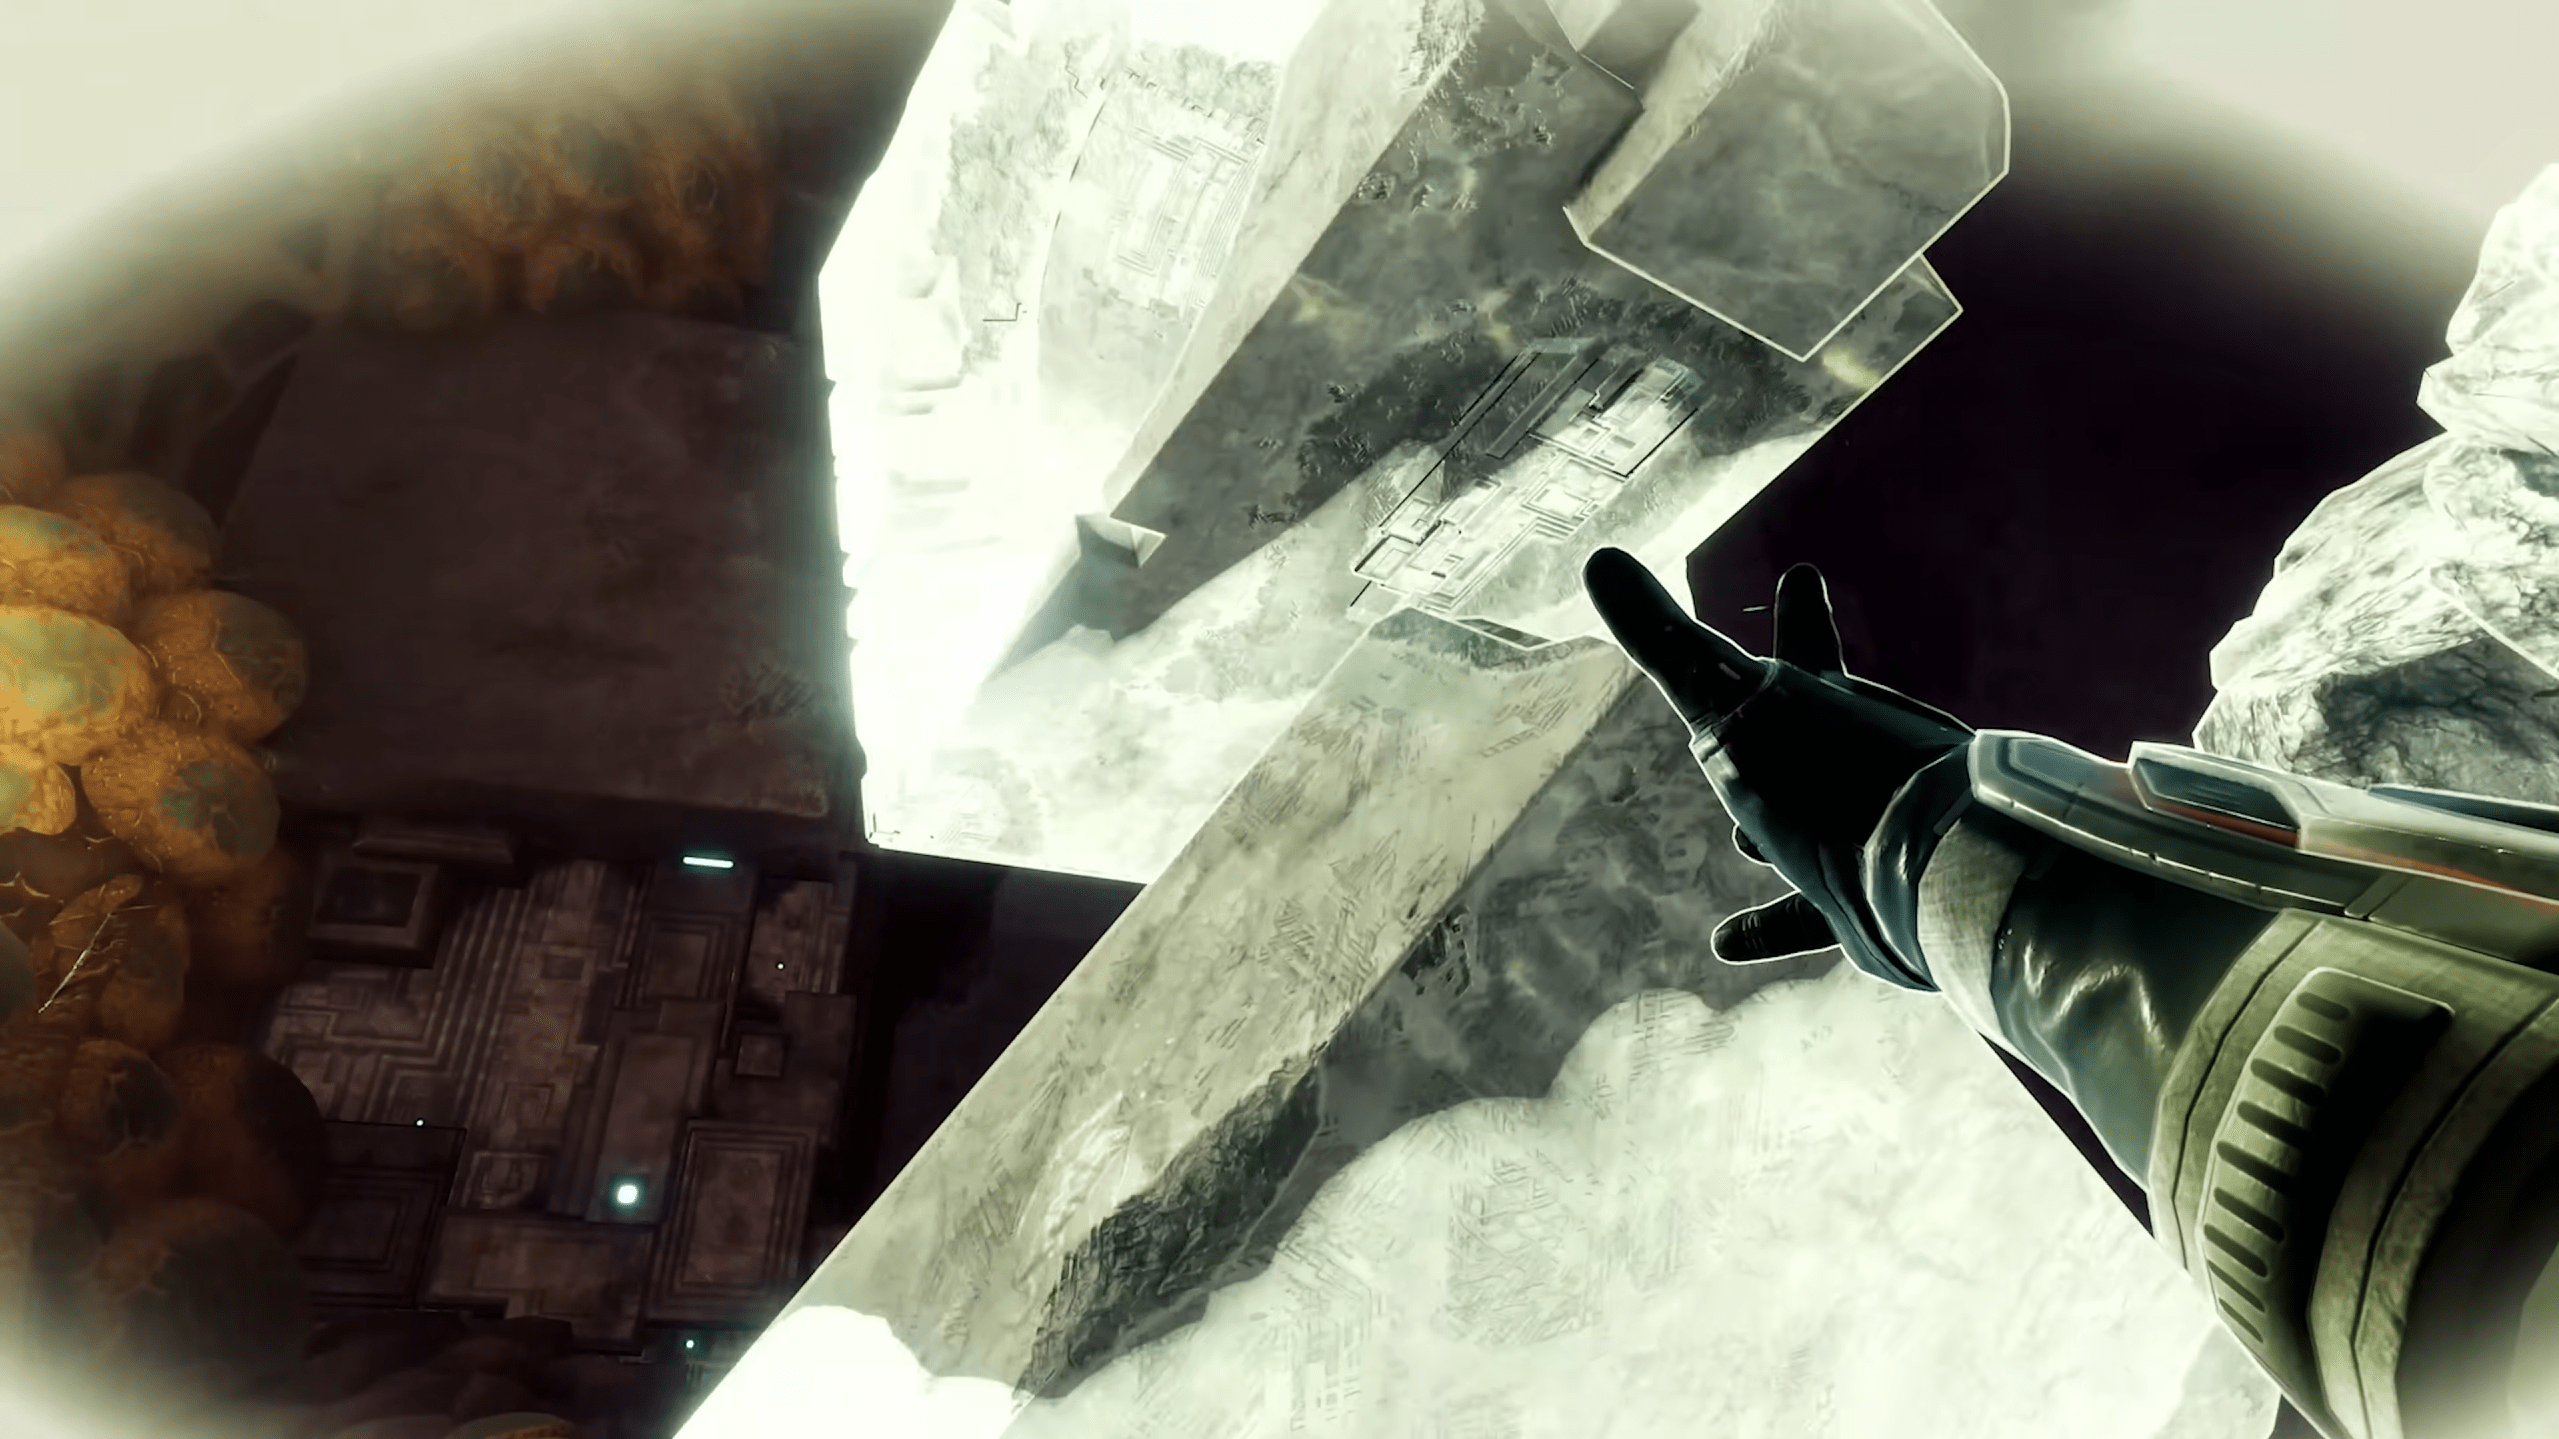
You’re not going to find any default Kepler patrol zones. This destination is built more like a sprawling, Metroidvania-style space: exploration is gradual, and much of the destination is locked behind abilities you'll earn throughout the campaign. That means returning to previously visited areas isn’t just encouraged — it’s necessary.
You'll encounter new allies and enemies here, including the mysterious Lodi, the House of Exile, and a Vex threat under the leadership of a familiar name. And while Kepler may not be a shared public space like the EDZ or Savathûn’s Throne World, it's packed with secrets, quests, and high-value activities that offer meaningful rewards.
At the center of it all is the singularity, a black hole-like anomaly that ties Kepler’s story, loot, and mechanics together.
The rest of this guide will walk you through Kepler’s core systems — including its unique destination abilities, tiered world scaling, vendor functionality, activity rotations, and more. For now, just know: Kepler is deep, complex, and designed to be unraveled one layer at a time.
Destination Abilities
One of Kepler’s defining features is its set of four exclusive Destination Abilities — tools that let you explore deeper, unlock new paths, and interact with the environment in ways that go beyond your subclass or weapons. These abilities are unlocked progressively as you advance through the Kepler campaign and are essential for fully experiencing what Kepler has to offer. BLOG20
Unlike previous destinations, Kepler uses a Metroidvania-style progression system, meaning certain areas, chests, and puzzles are gated behind these abilities. Once unlocked, you’ll often find reasons to revisit old areas with your new powers to uncover previously inaccessible secrets or loot.
Here’s a quick breakdown of each ability and what it does:
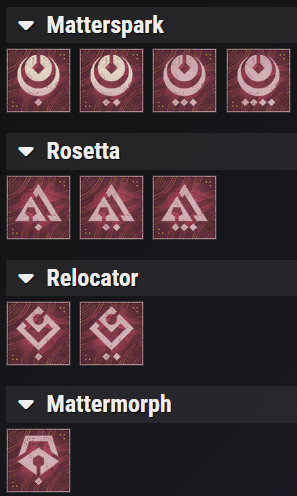
Matterspark
“Requires highly concentrated unknown energy”
Unlocked in the first mission, Matterspark turns you into a zippy ball of lightning — basically Kepler’s version of a Sparrow. While in this form, you can:
- Boost for momentum (RMB on mouse)
- Zap enemies (light Arc damage, minimal but functional)
- Build charge for use in certain puzzles or encounter mechanics
- Traverse tight terrain, vertical shafts, or energy tunnels
Matterspark is gradually upgraded throughout the campaign. After finishing the story, you gain the ability to summon it at will, like a vehicle. A fourth upgrade is unlocked post-campaign by completing Fabled and Mythic World Tier quests, making it critical for endgame exploration.
Relocator Cannon
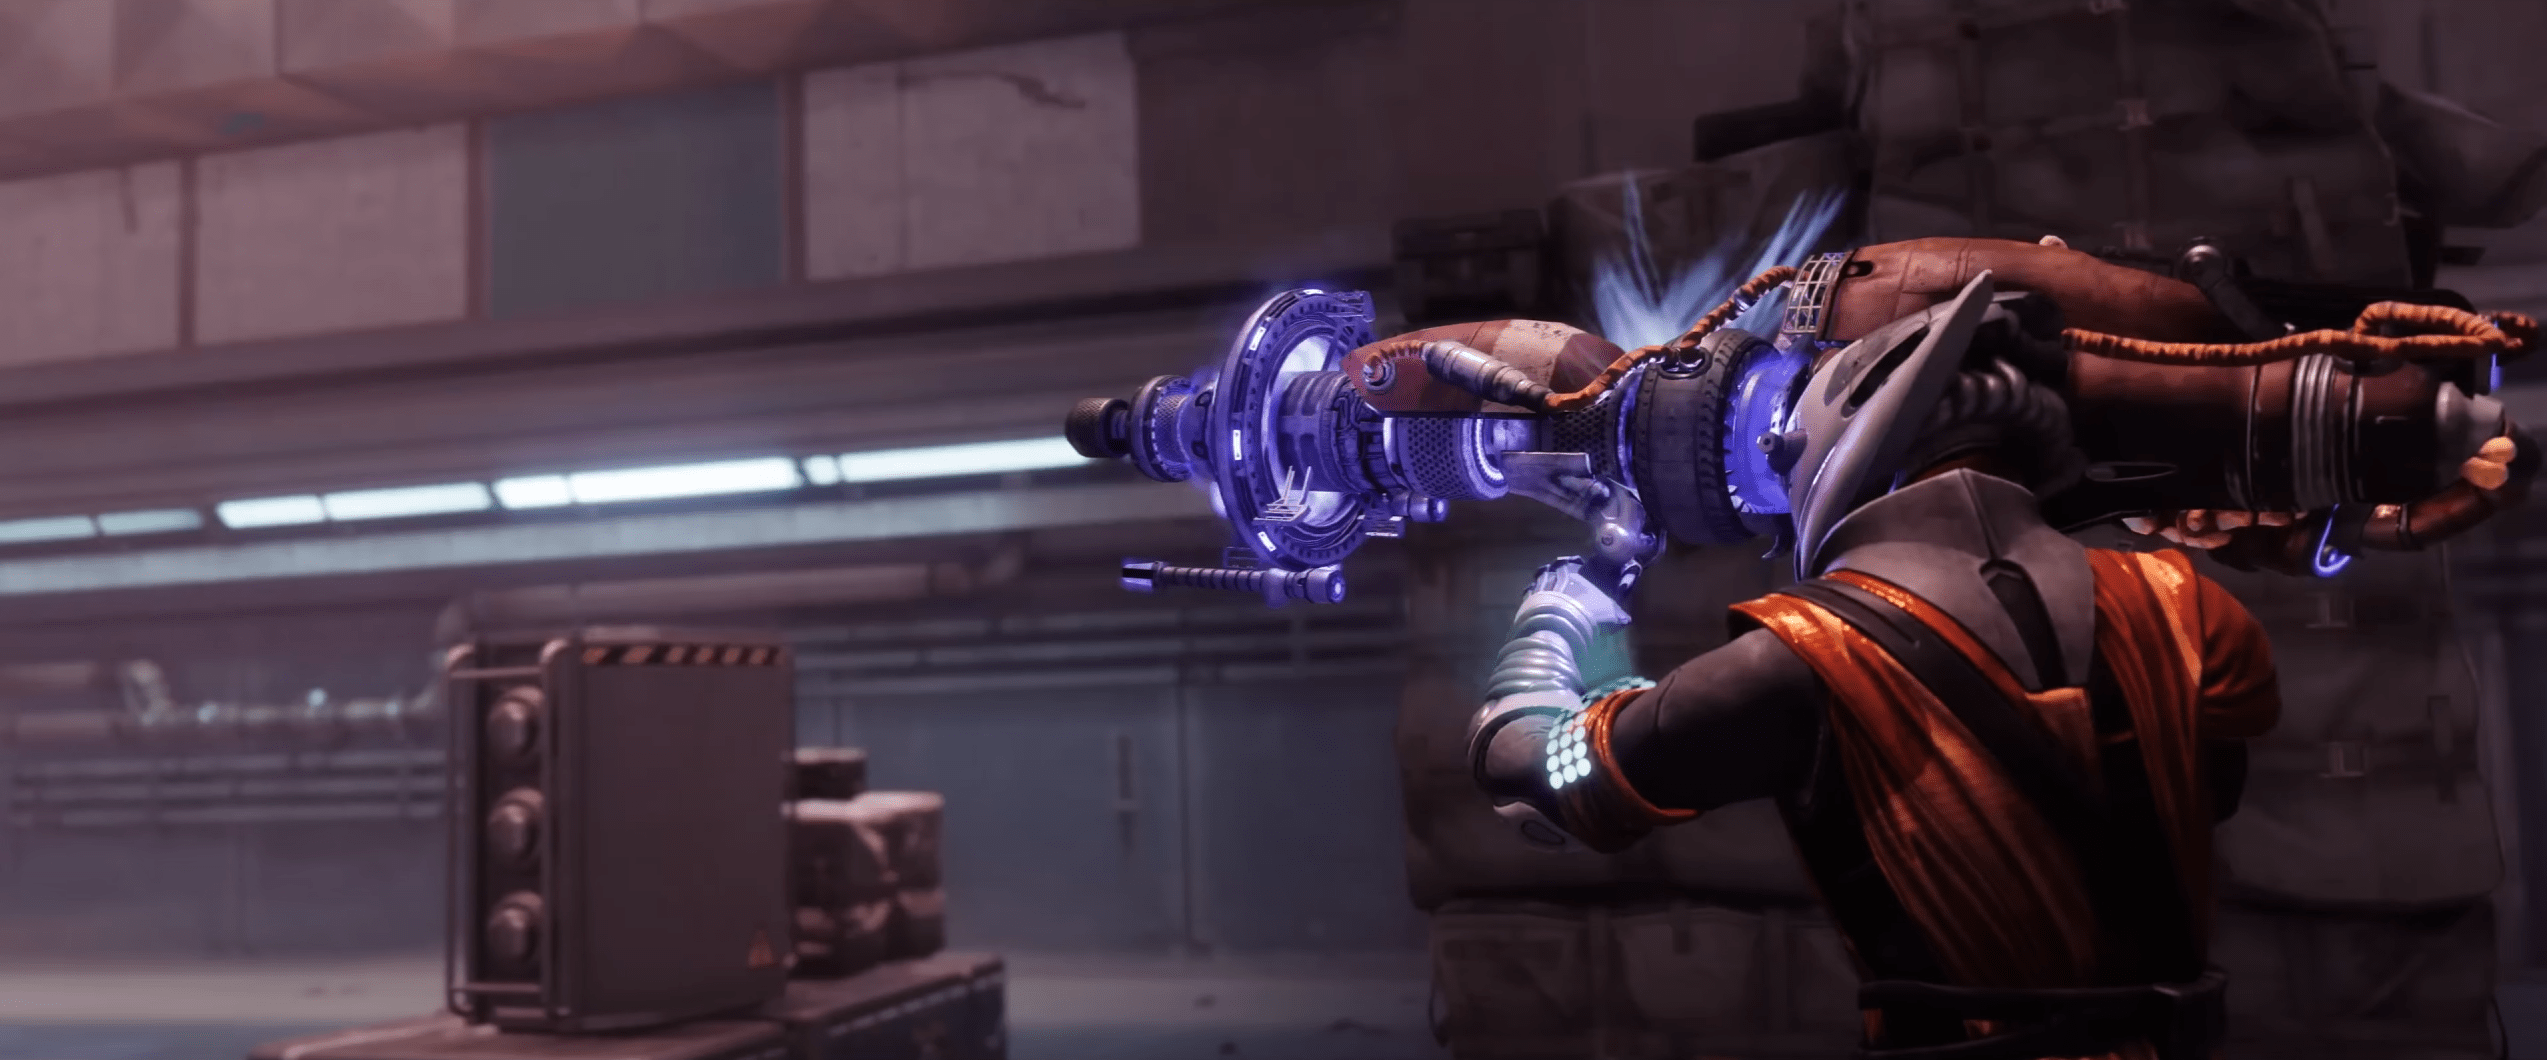
“Requires upgraded Fallen tech”
This isn’t a weapon — it’s a Void relic launcher that fires charges used to activate teleportation pads across Kepler. You’ll find these pads near energy walls or sealed corridors. Firing a Relocator charge at a pad will:
- Open teleport gates
- Bypass locked doors or barriers
- Activate environmental machines, often used in redirection puzzles
Many puzzles incorporate floating deflector nodes, which you’ll have to bounce your shots through to hit targets at odd angles. Combat use is limited, but the cannon applies a Weaken debuff, useful in a pinch.
Rosetta
“Requires knowledge of an unfamiliar language”
Among the Kepler abilities, Rosetta is less of an ability and more of a passive key system. As you progress the campaign and learn more of the Aionian language, Rosetta allows you to:
- Unlock doors and terminals
- Interact with computers
- Access special Rosetta chests
This ability upgrades automatically through campaign milestones. Though not active in the moment-to-moment sense, it’s vital for opening up more of the map and completing certain side quests or lore entries.
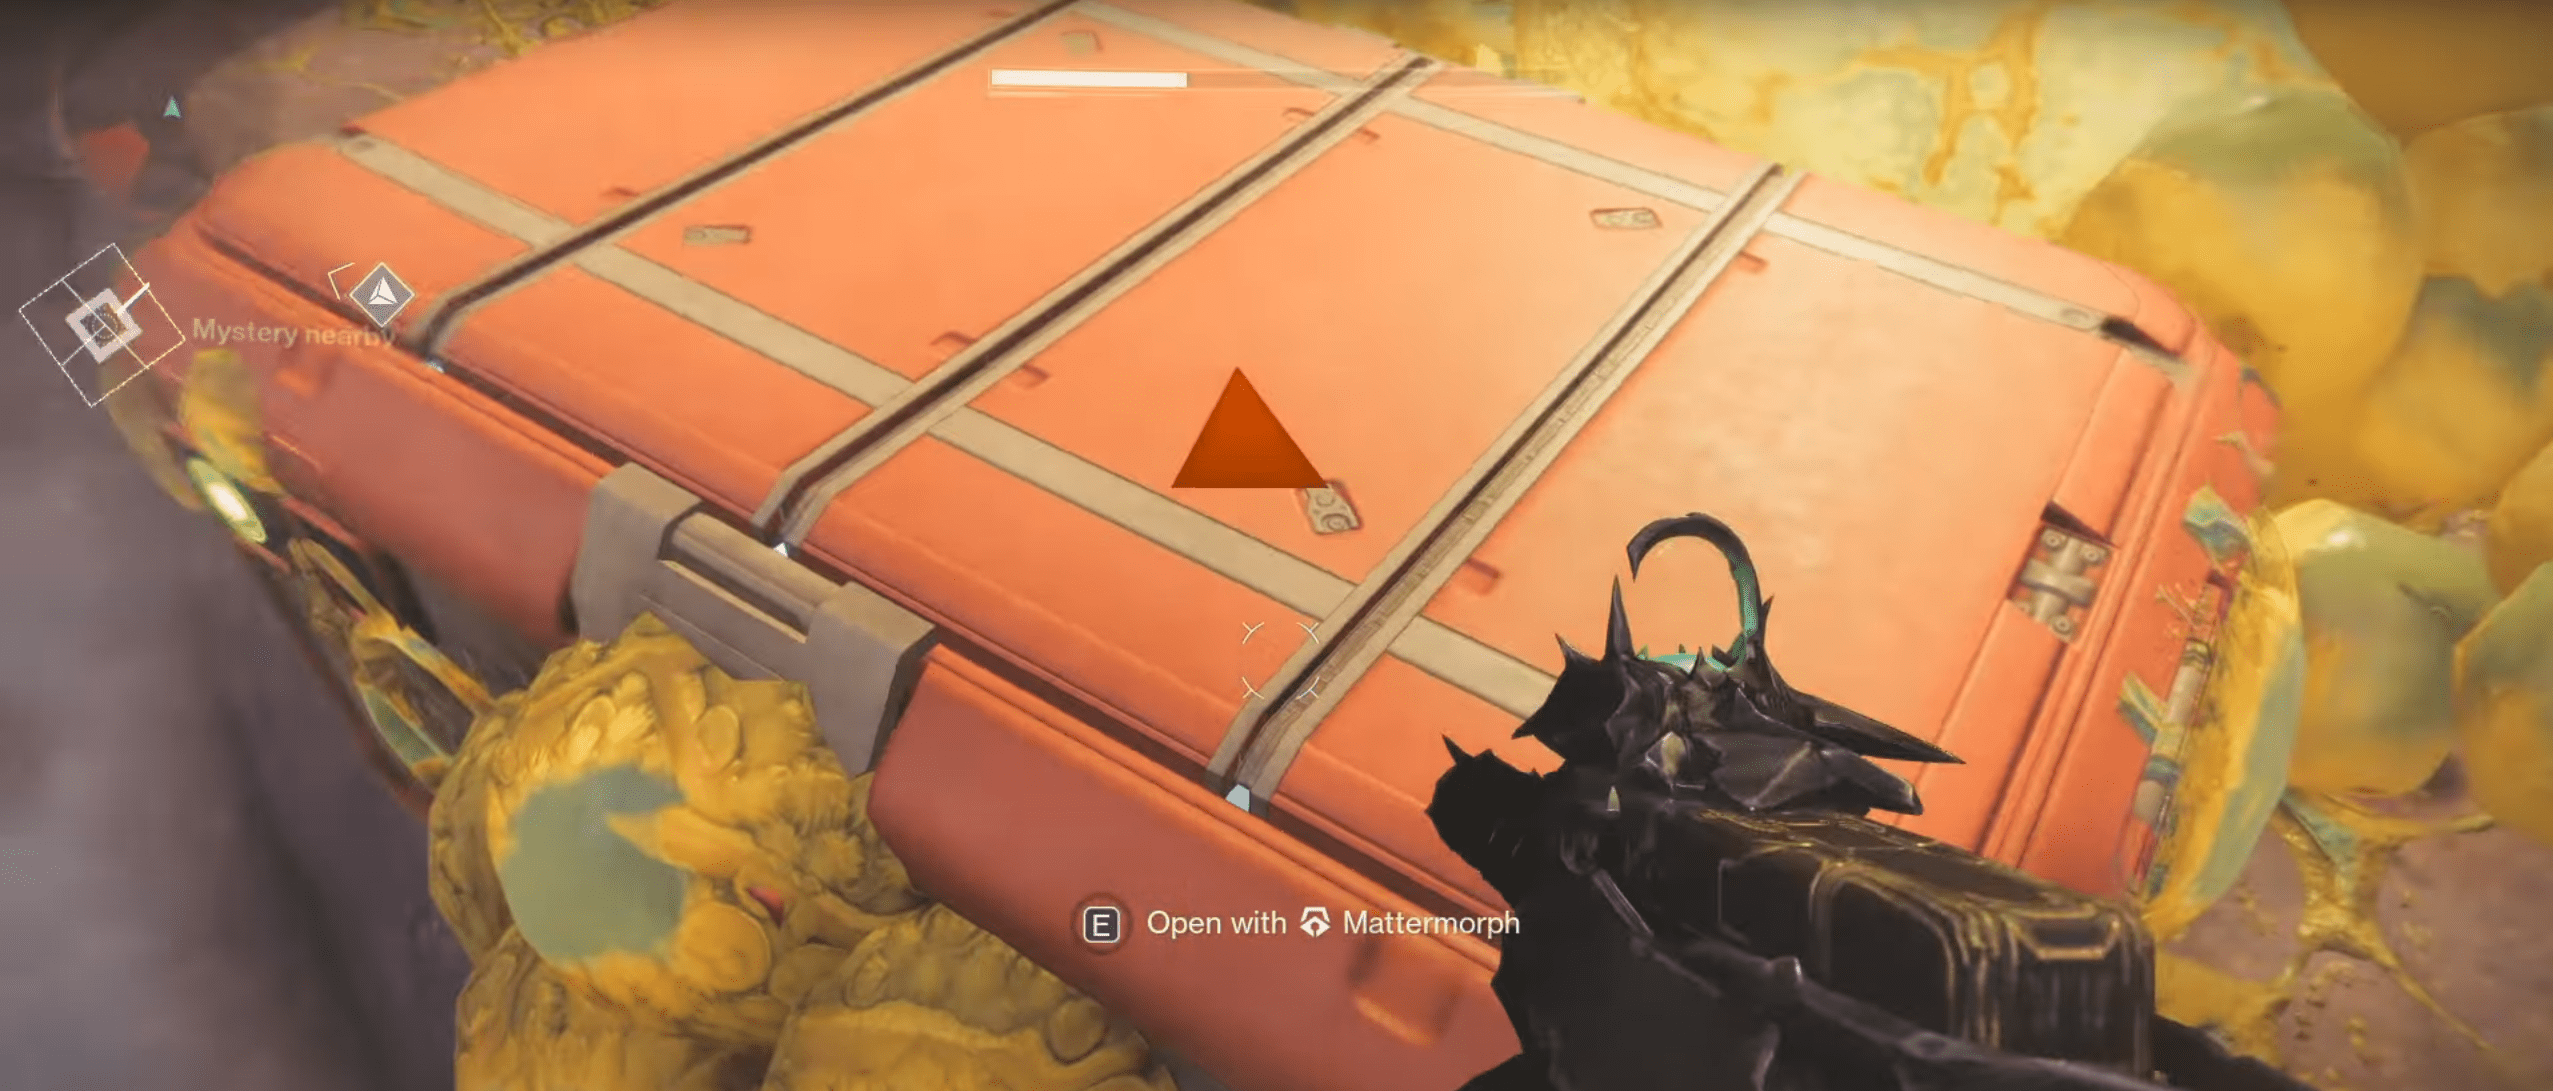
Mattermorph
“Requires undiscovered technology”
Mattermorph is a Strand-powered melee override, activated by breaking special glowing green jars in the environment. Once triggered, you gain 30 seconds of a unique melee ability that can:
- Suspend and unravel enemies
- Strike green-glowing structures, causing them to shift or open
- Reveal hidden platforms, puzzle pieces, or paths
These abilities aren’t optional — they’re part of Kepler’s core identity. You’ll need all four (and their upgrades) to access every chest, solve every mystery, and complete every Strangelet questline. Each one ties into the world in a specific way, making exploration feel more layered and intentional than ever before.
We’ll cover how these abilities connect to chest types, upgrades, and world tier challenges in later sections. For now, just know: if you see an area you can’t reach or a chest you can’t open, there’s probably a Kepler ability you haven’t unlocked — yet.
World Tiers
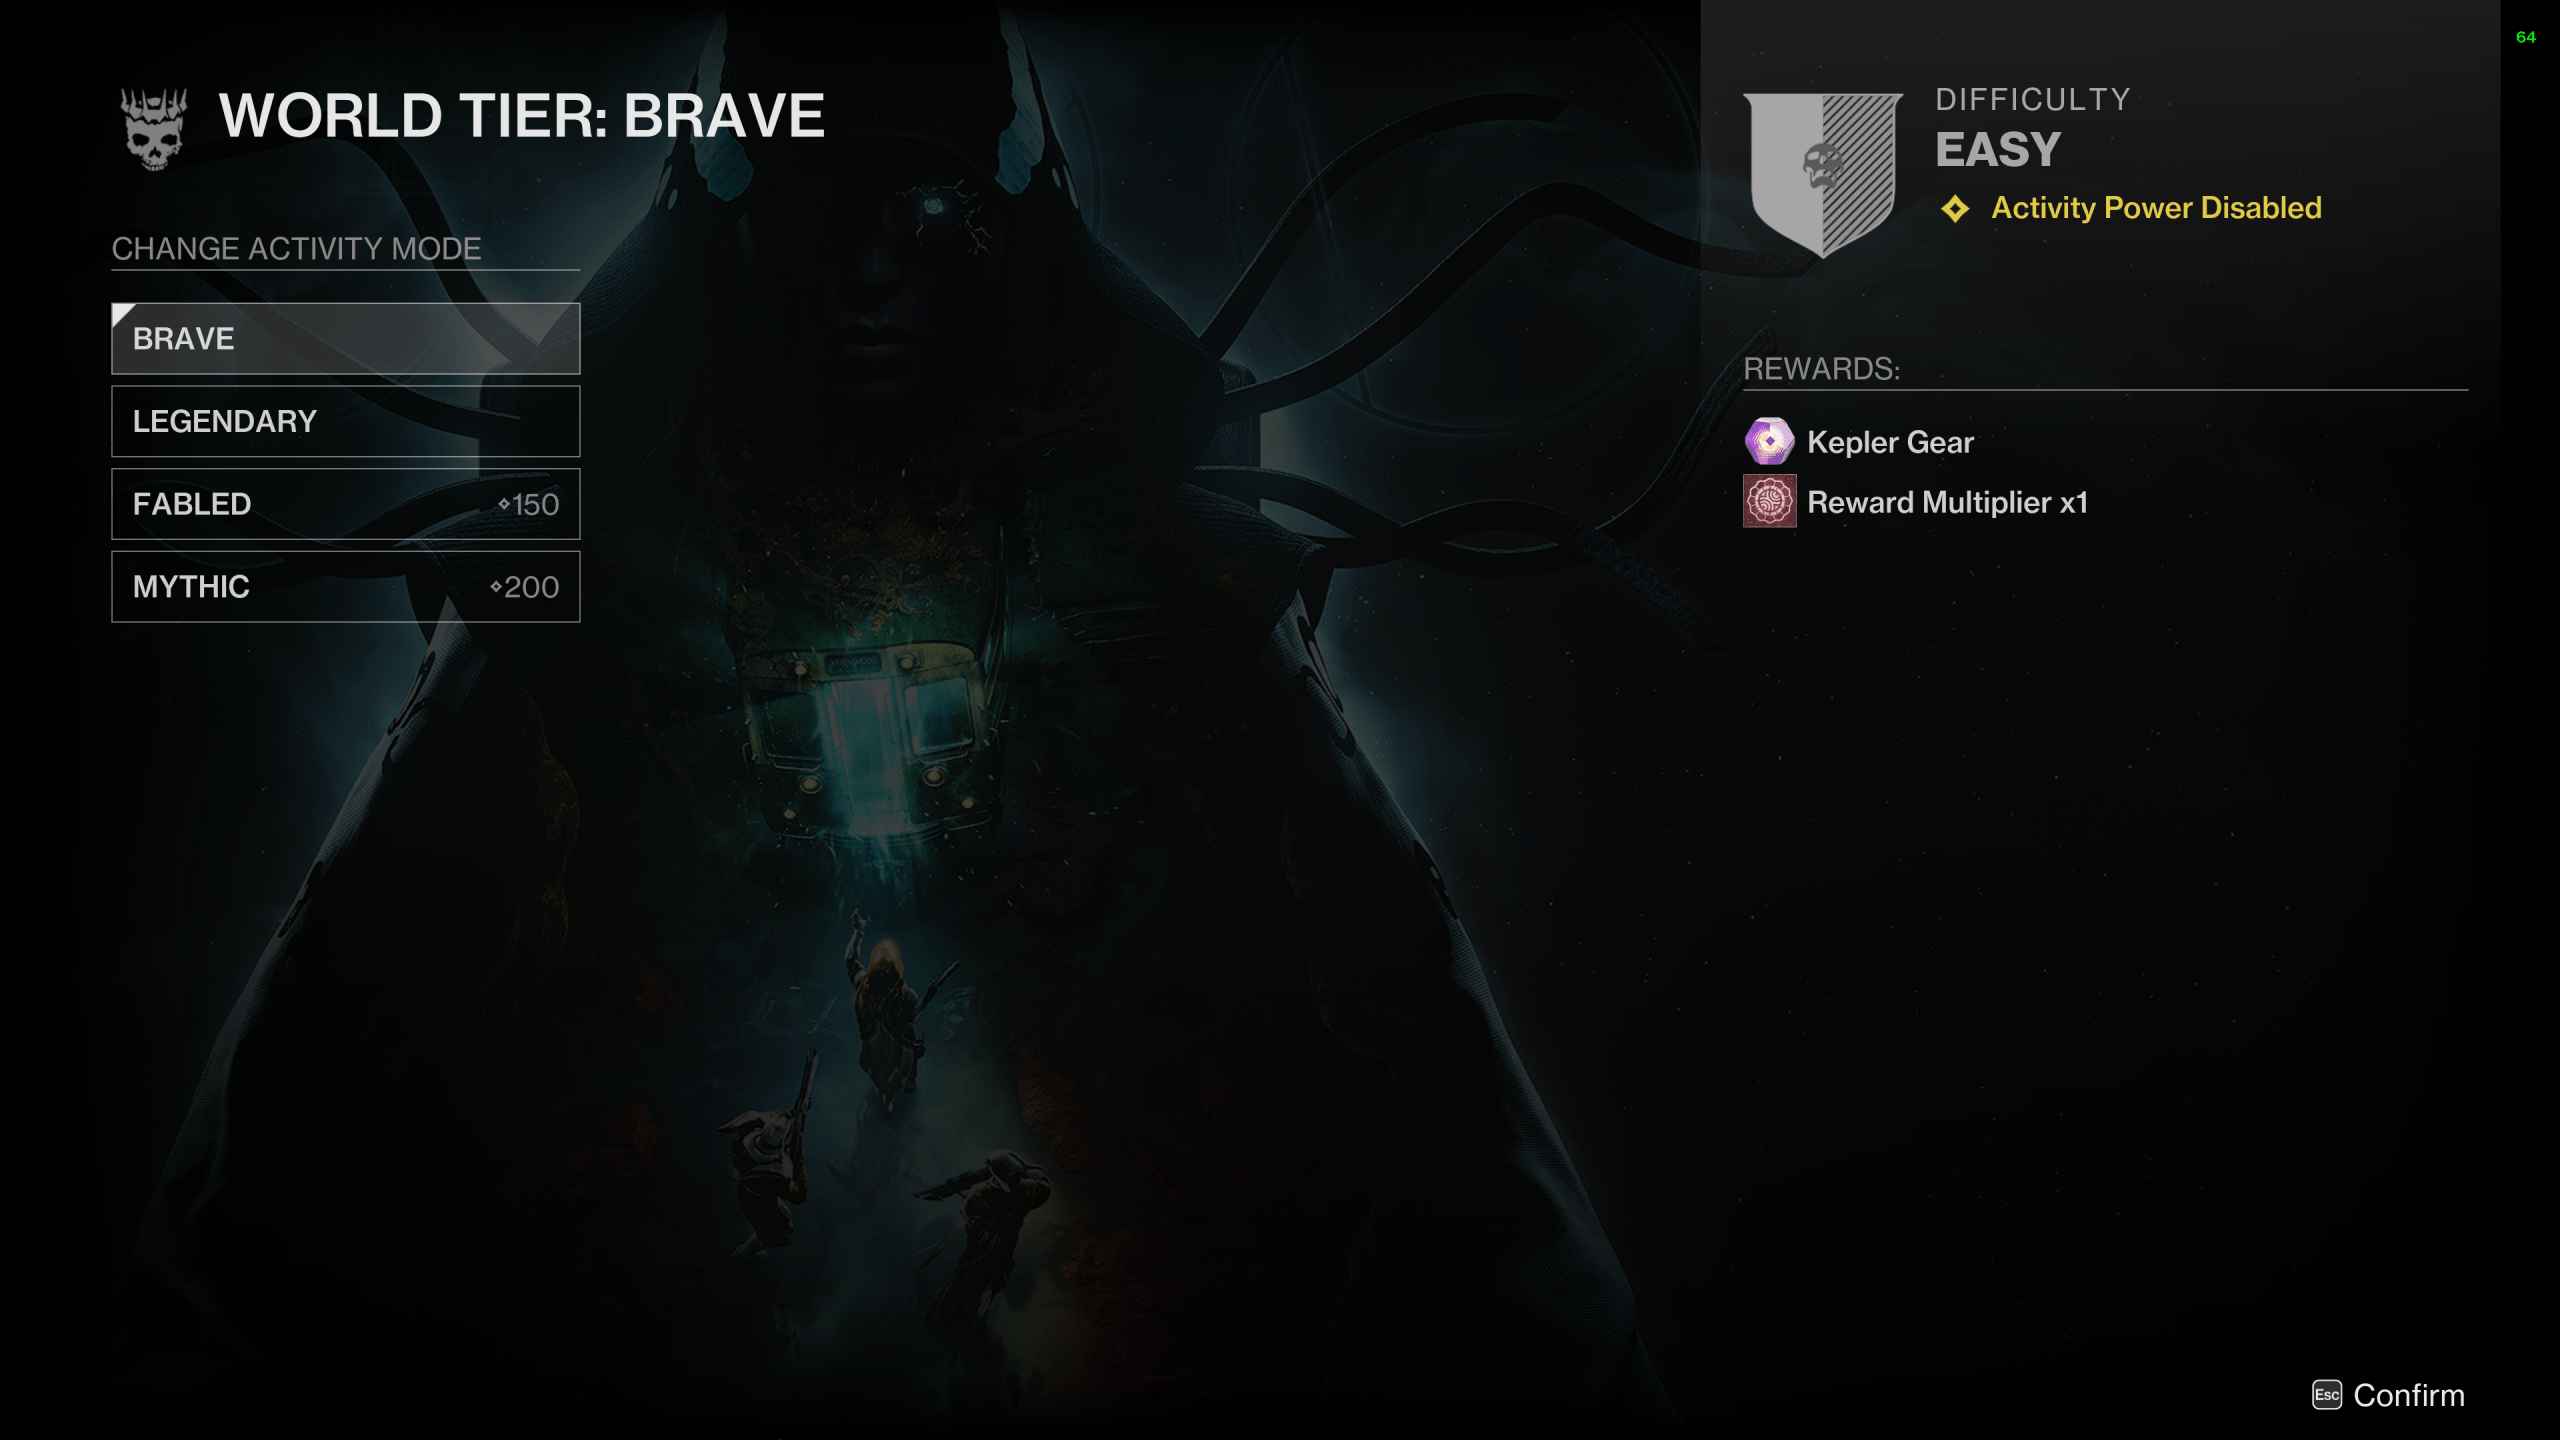
Kepler features a unique World Tiers system that lets you control the difficulty of the destination. This doesn't just affect enemy toughness — it directly impacts loot quality, mission scaling, and how certain activities like the Sieve play out.
There are four tiers in total, each with escalating challenges and better Kepler rewards:
Brave
The default tier. No modifiers, no power penalties. Perfect for campaign play and casual exploration.
- Tier 1 Kepler gear
- ×1 reward multiplier
Legendary
This tier mimics Legendary Campaign difficulty.
- You’re locked at –20 Power
- More aggressive, shielded enemies
- Modifiers like Galvanize (increased enemy health, harder to stun)
- Tier 1 gear, but rewards are doubled with a ×2 multiplier
Fabled
Unlocked after finishing the campaign. This is where things ramp up.
- Activity power cap: 150
- You’re set to –30 Power
- Galvanize and Scourge I (more “banee” enemies) are active
- Still scales with fireteam size (Multiplicity)
- Rewards: Tier 2 Kepler gear, ×3 multiplier
Mythic
The final and most punishing tier.
- Activity cap: 200
- You’re locked at –50 Power
- Modifiers: Galvanize, Scourge II (even more banees)
- Radar is disabled
- No fireteam scaling — you bring your own firepower
- Rewards: Tier 3 gear guaranteed, and players have reported Tier 4 drops at 200+ Power
- Max reward multiplier
These tiers don’t just affect patrol — they also apply to Kepler’s weekly campaign missions and the Sieve activity. You can select your tier when launching those activities from the map.
In short, the higher the tier, the more difficult the enemies — but also the more rewarding the grind.
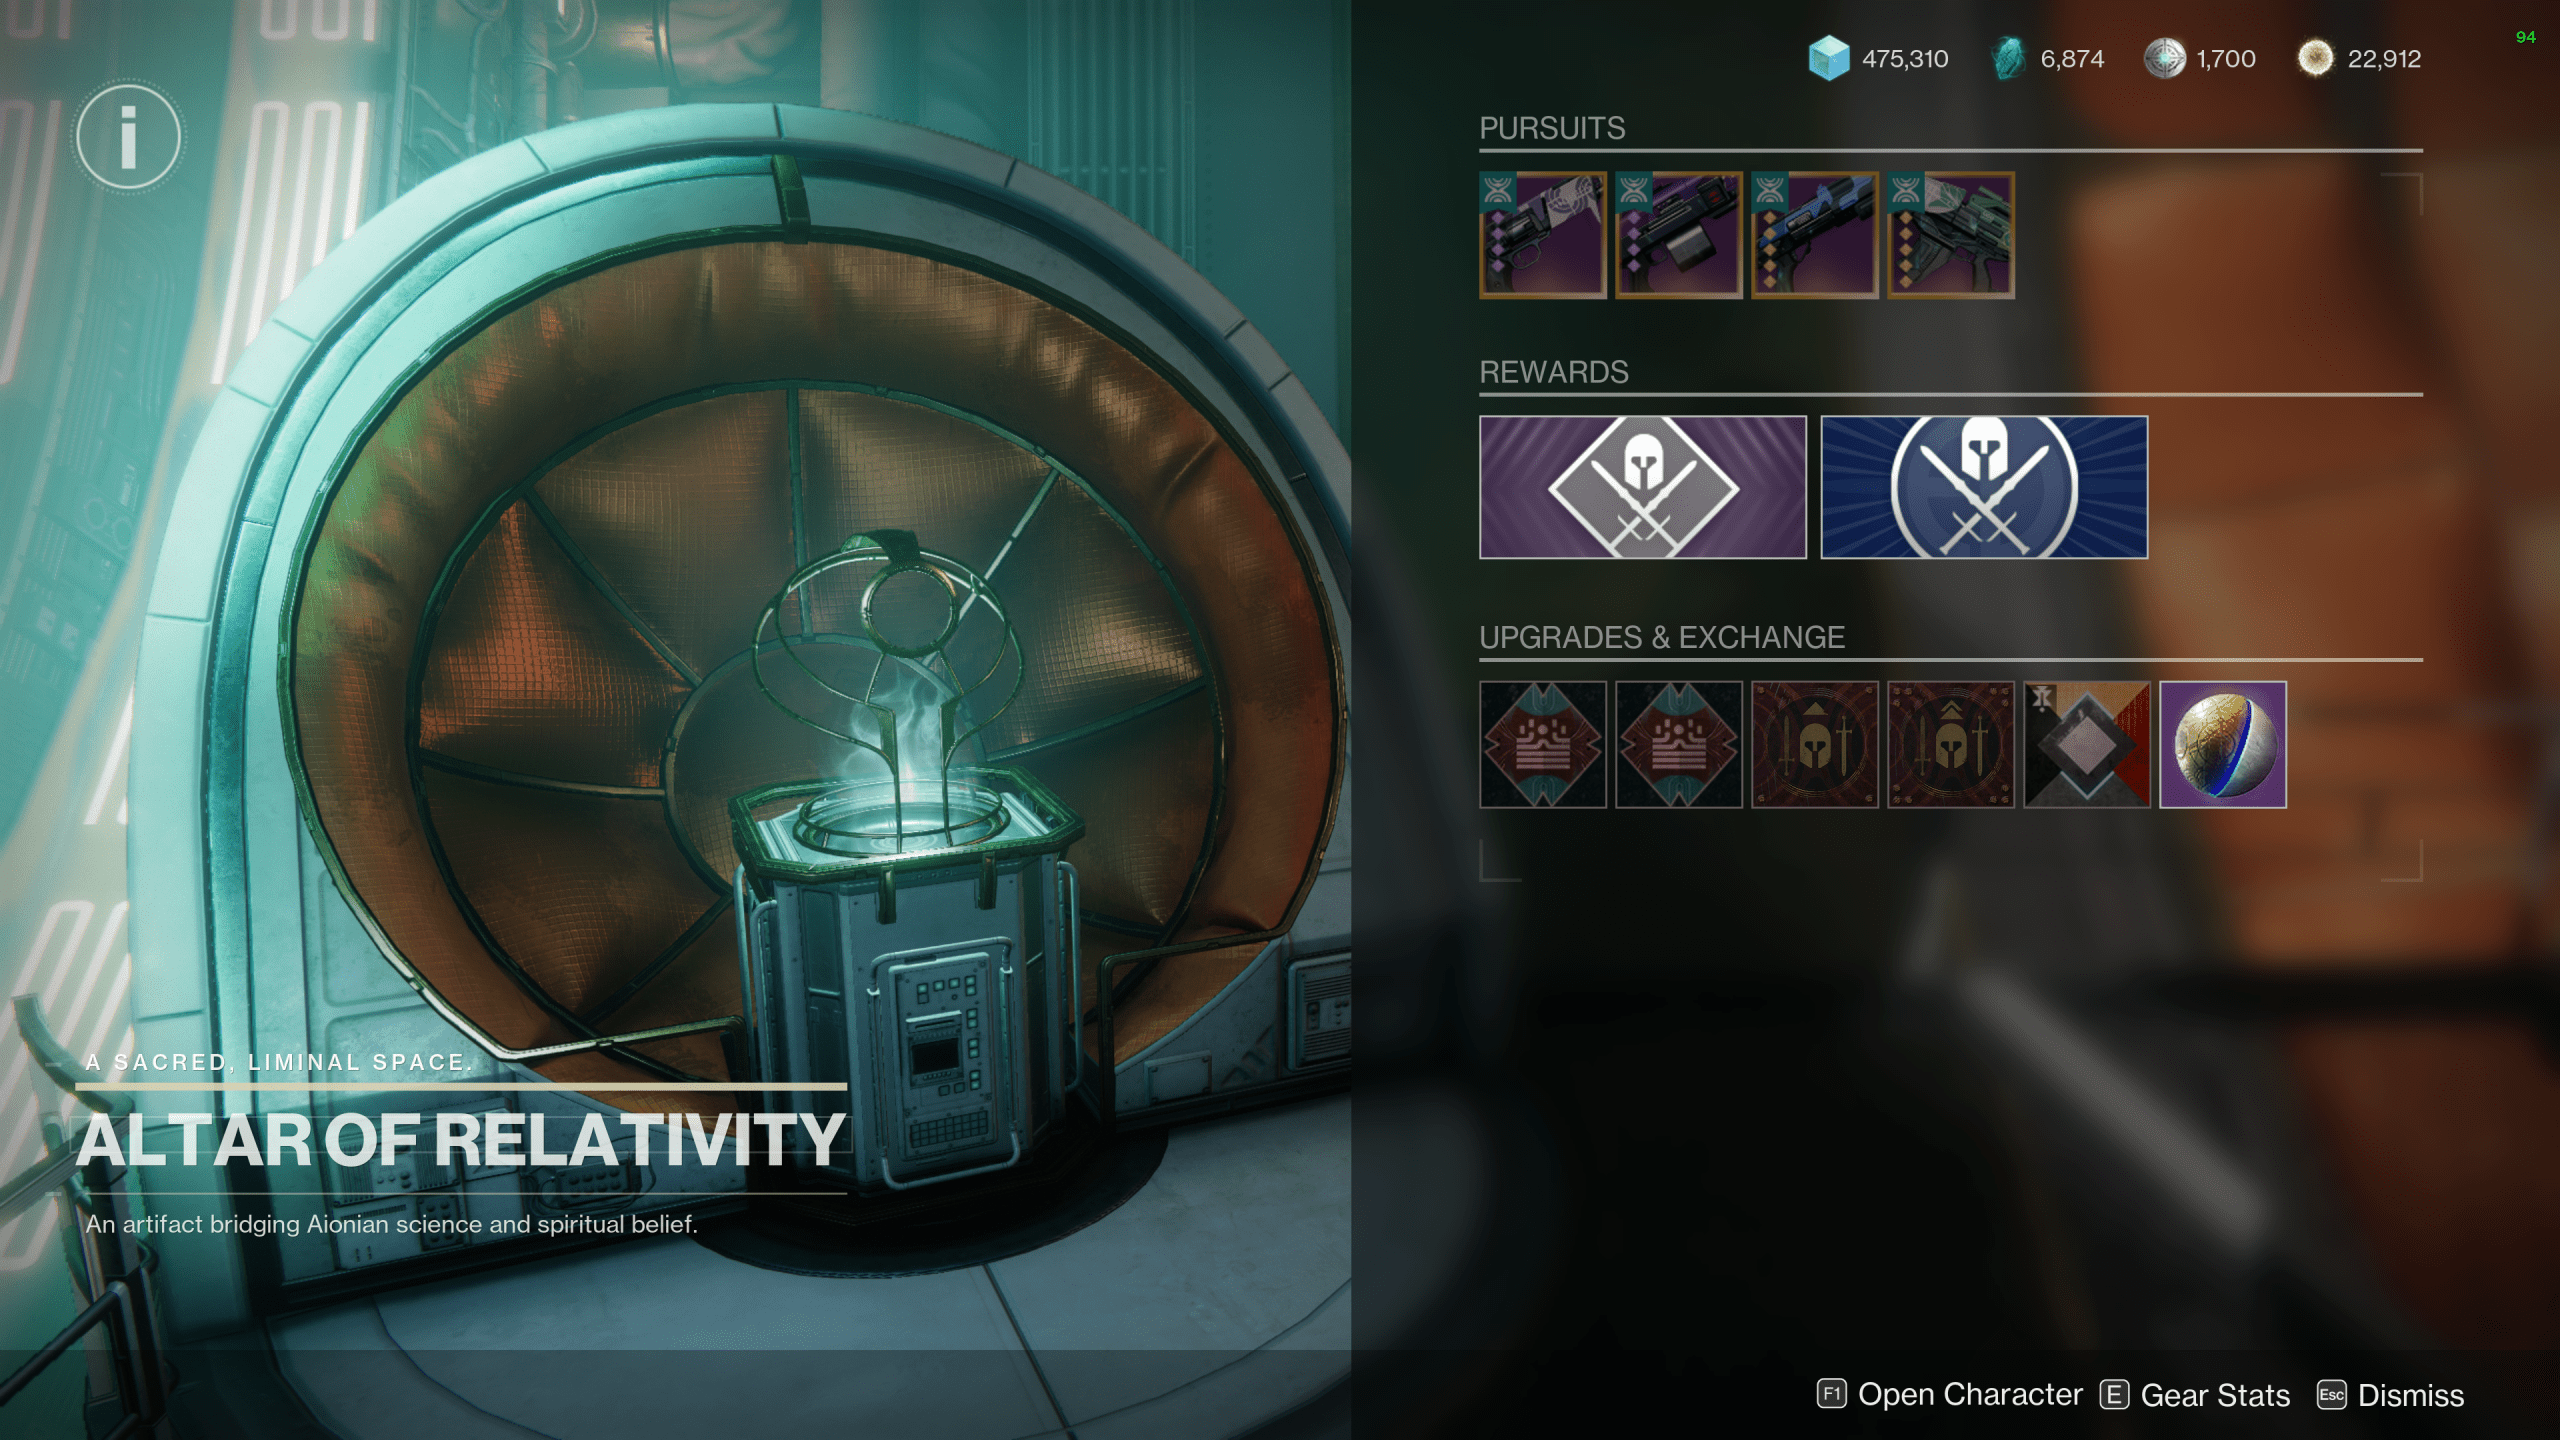
Kepler Vendor - Altar of Relativity
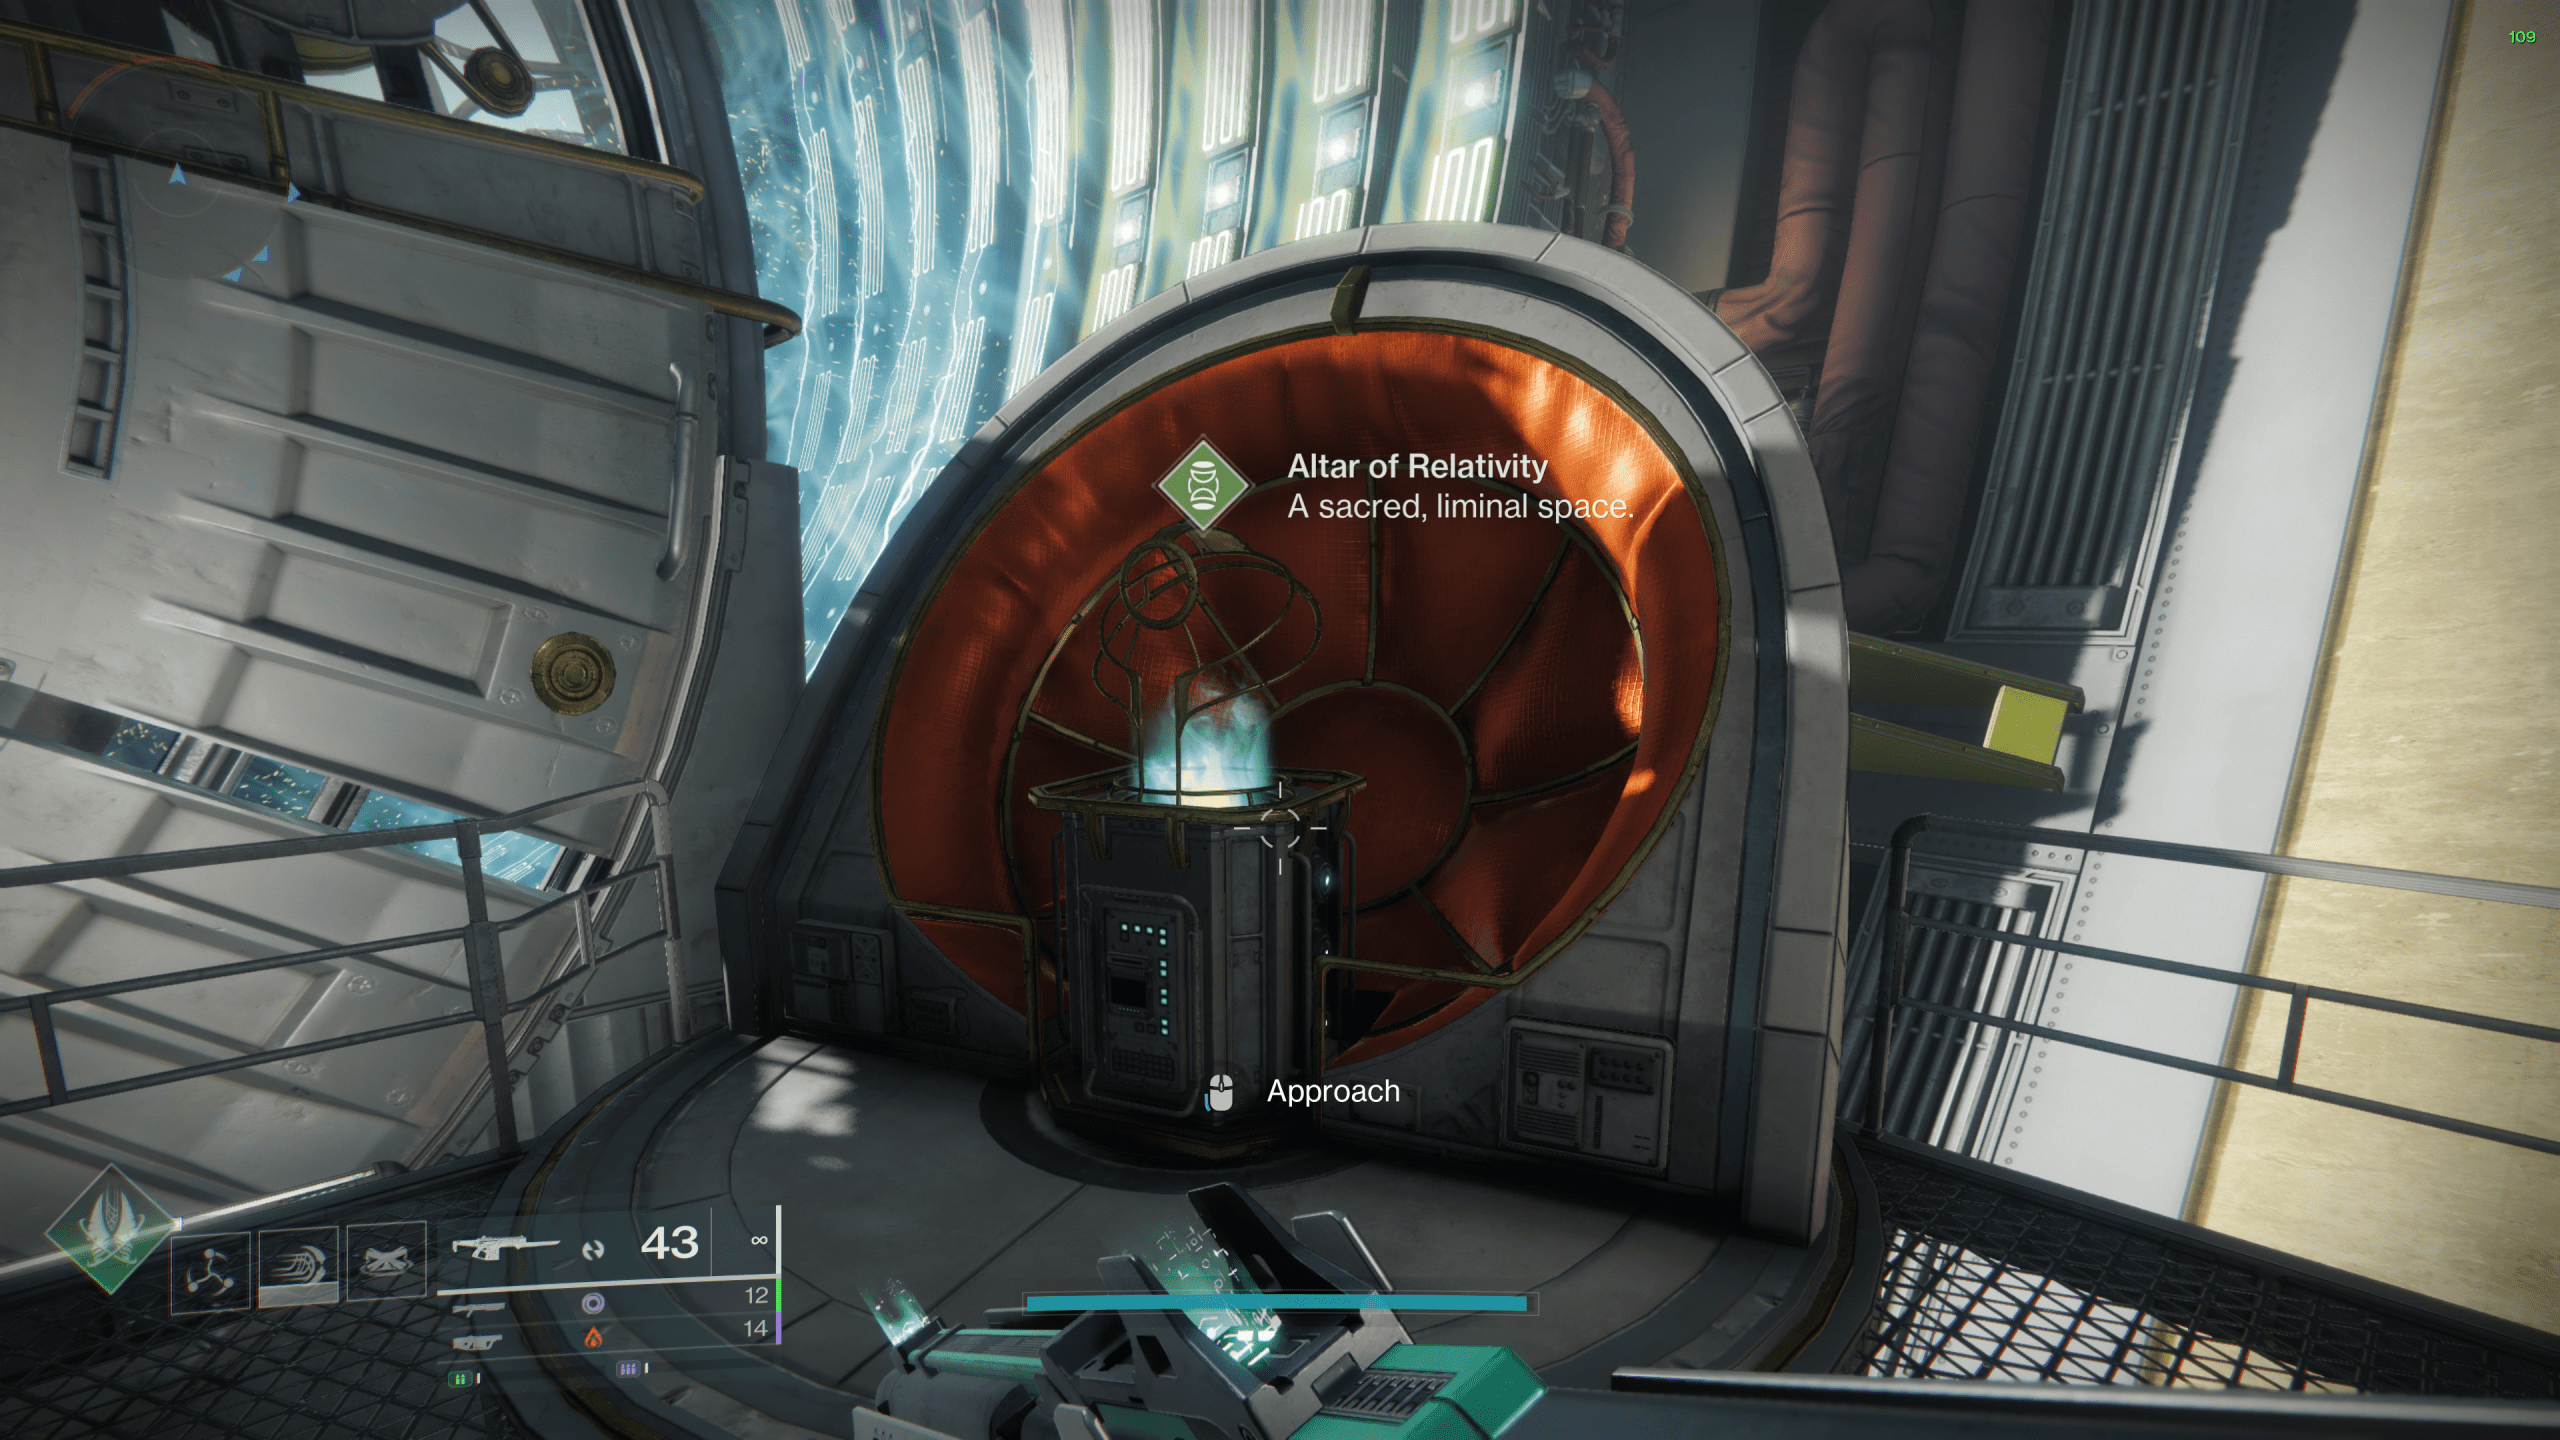
The Altar of Relativity is the core vendor for all things Kepler. From curated weapon drops to gear focusing and material exchanges, this vendor handles nearly every long-term progression system tied to the destination.
Below is a quick preview of each Kepler Vendor tab and what it offers:
| Vendor Tab | Function |
| Pursuits | Track and claim Tier 4/5 weapons through quests or triumphs |
| Rewards – Attunement | Increase drop chances for a specific item during Kepler activities |
| Focusing | Spend materials to focus Tier 1–3 engrams into gear |
| Upgrades & Exchange | Daily region info, chest resets, tier upgrades, material trades, and shader |
Let’s break each one down.
 Pursuits
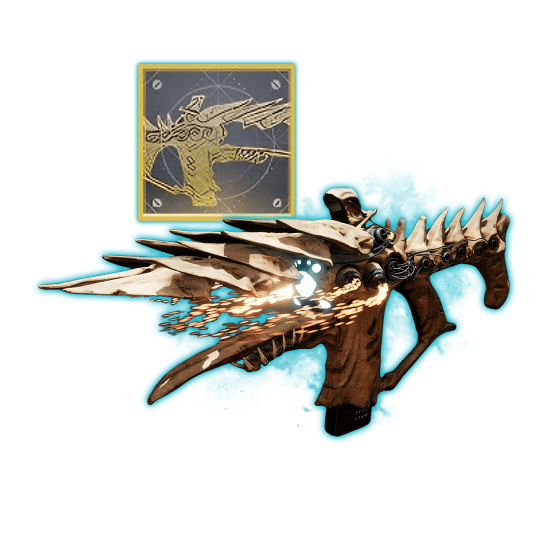
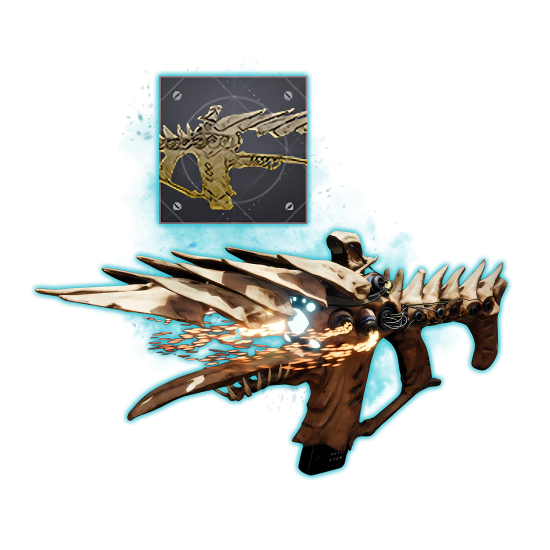
This tab allows you to earn Tier 4 and Tier 5 destination weapons, each with specific unlock requirements. Weapons are locked behind campaign milestones or triumph completions. For example:
- Complete "Explore Kepler: Fabled" for a Tier 4 hand cannon
- Complete "Explore Kepler: Mythic" for a Tier 5 shotgun
- Complete Triumphs like Third Iteration Catalyst Acquired or Edge of Fate (33 Triumphs total) for other curated rolls
This is the only direct way to earn specific high-tier versions of Kepler weapons, making it a central focus for endgame players.
Rewards – Attunement
A brand-new system where you can attune to a particular legendary drop. Once attuned, that item has a significantly higher chance to drop from Kepler activities.
This system is perfect for:
- Farming a specific armor slot
- Targeting a weapon for infusion or crafting fuel
- Reducing RNG in Tier 1–3 gear drops
You can change your attunement based on what you're farming, and it’s worth checking this tab regularly if you're chasing specific gear.
Focusing
This tab allows you to focus Kepler Engrams into specific gear tiers using Kepler materials:
- Focus from Tier 1 up to Tier 3
- Higher tiers cost more materials (and require Triumphs to unlock)
- Tier 2 requires the Legend Forged Triumph
- Tier 3 requires the Odd One Out Triumph
This is one of the most efficient ways to build out your Kepler loot pool without relying solely on world drops.
Upgrades & Exchange
This tab includes a handful of mechanics that tie into Kepler’s broader progression:
Daily Region
Displays the current daily material region — farming here yields bonus resources and defines what’s used for that day’s gear focusing. BLOG20
Reactivate Mysteries
Lets you reset the mystery chest cycle in the active daily region using quantum substance materials, which are earned by defeating specific enemies in specific zones.
Gear Tier Upgrades
You can boost your Kepler drop tier globally:
- First upgrade (+1 tier) unlocks at 350 Power
- Second upgrade (+2 tiers) unlocks at 450 Power
These significantly improve your base loot quality across all Kepler activities.
Material Exchange & Shader
- Trade 50 destination materials for 1 Fated Cipher
- Purchase a unique shader using a variety of Kepler materials
The Altar of Relativity is more than just a vendor — it’s the core of Kepler’s gear and progression loop. If you're serious about optimizing your loadout or farming exotic-tier rolls, you'll be checking this vendor frequently.
Browse our hottest Destiny 2 Boosting services


Weekly Campaign Missions
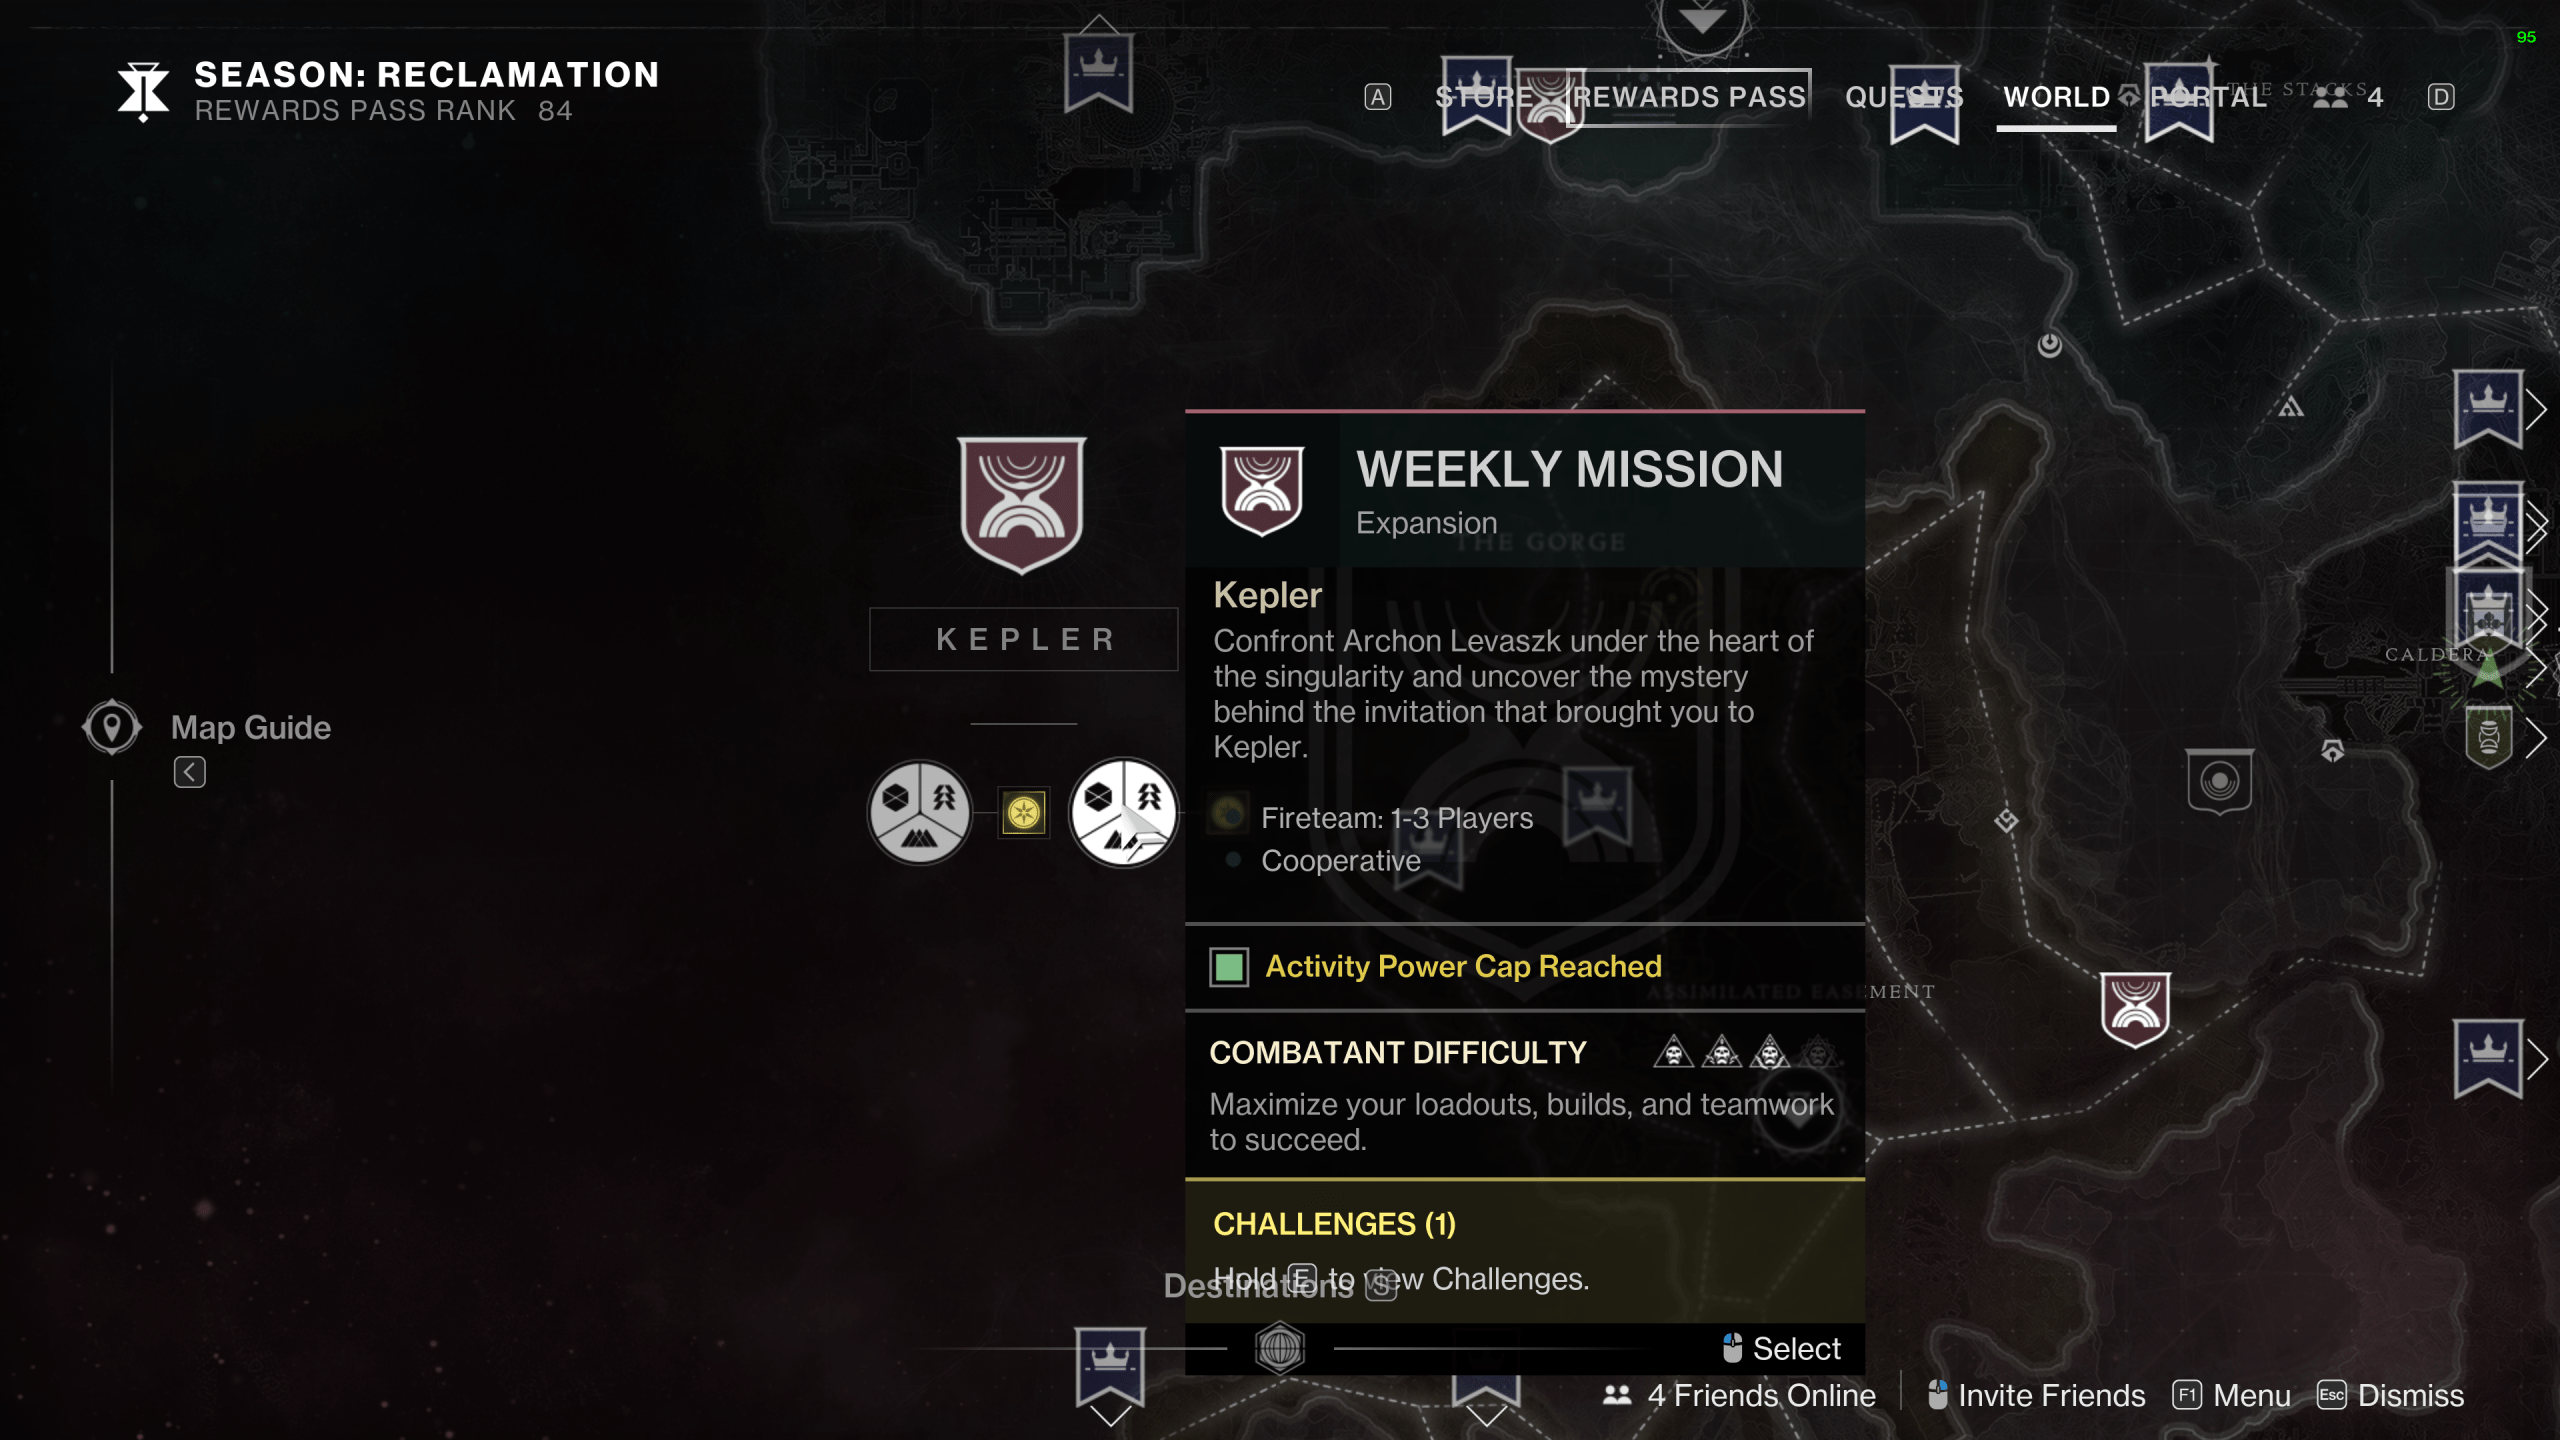
After completing the main Edge of Fate storyline, Kepler introduces Weekly Campaign Missions that rotate each reset. These missions are replays of key campaign moments, scaled up for replayability and better rewards — and they’re also tied directly to Tier 4 and Tier 5 weapon progress, triumphs, and vendor upgrades.
You’ll find them listed under the Kepler node on the map, usually beneath the destination icon.
Key Features:
- One mission per week from the Edge of Fate campaign
- Selectable difficulty: Fabled and Mythic tiers become available post-campaign
- Mission difficulty applies World Tier modifiers — power caps, debuffs, enemy behavior, and radar disablement at Mythic
Rewards:
- Fabled difficulty offers Tier 2 gear
- Mythic difficulty offers Tier 3, with confirmed drops up to Tier 4 at Power 200+
- These missions contribute to weapon unlocks in the Altar of Relativity’s Pursuits tab
- Excellent source of Fated Ciphers, destination materials, and focused loot drops
You can also customize the difficulty when launching: simply select the mission and use the “Customize” option in the bottom-right corner of the launch screen.
Whether you're farming curated weapons, pushing for high-rank triumphs, or just chasing powerful gear, these missions are worth running every week — especially on Mythic once you're geared enough to handle the challenge.
Side Quests
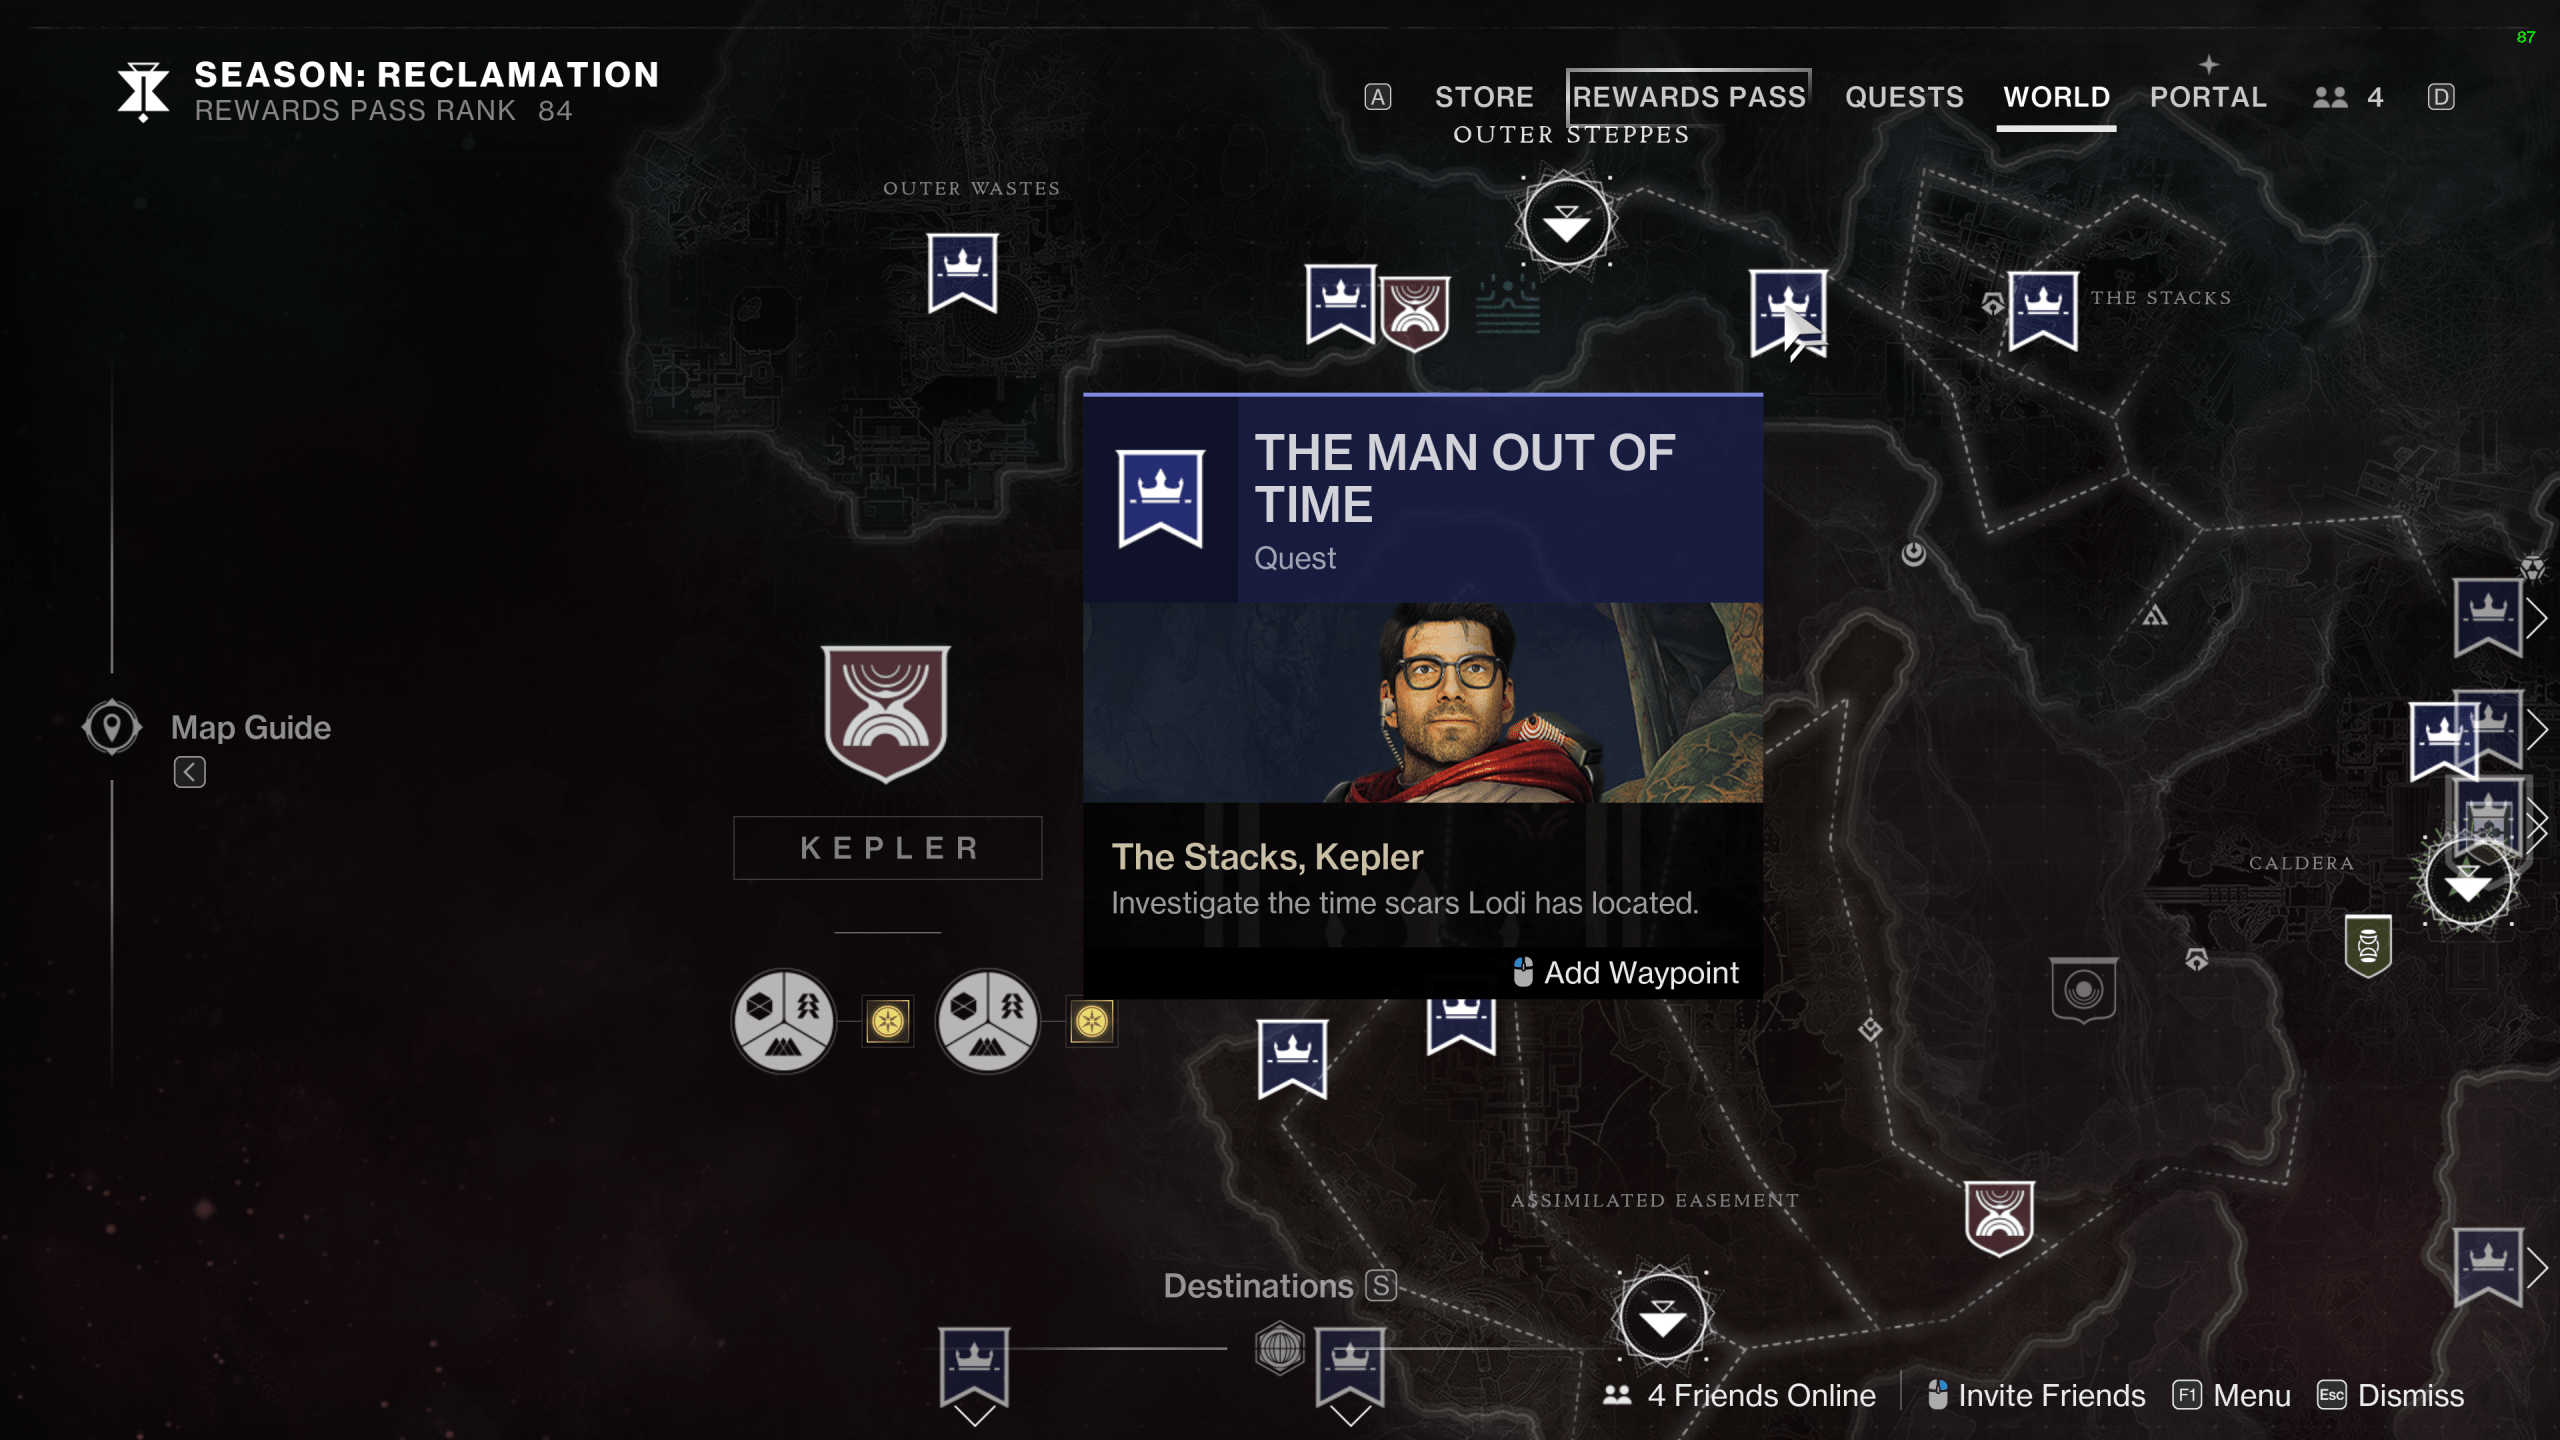

Kepler features a variety of optional side quests that expand the story, unlock upgrades, and reward valuable resources. These aren’t required to complete the campaign, but they’re strongly recommended — especially if you’re aiming for 100% exploration or farming gear efficiently.
You’ll unlock side quests as you progress through the main campaign. They appear as blue markers on your map, and nearby objectives will also display quest icons in-world.
What They Offer:
- Narrative lore and deeper insights into the Aionians, Lodi, and Kepler’s past
- Strangelet upgrades, often tied to your Destination Abilities
- Rewards including Tier 2 gear, destination materials, and Fated Ciphers
- Progress toward Triumphs used for Tier 4/5 weapon unlocks and the Edge of Fate title
These quests typically open up after major campaign checkpoints. You can tackle them during your initial run or return to them later at Fabled or Mythic World Tiers for better rewards.
Some side quests also serve as breadcrumb trails to Kepler’s more obscure secrets — like mystery chests, hidden pathways, or puzzle-based exotic catalysts.
Bottom line: if you're skipping side quests, you’re missing out on some of the best lore and loot the destination has to offer.
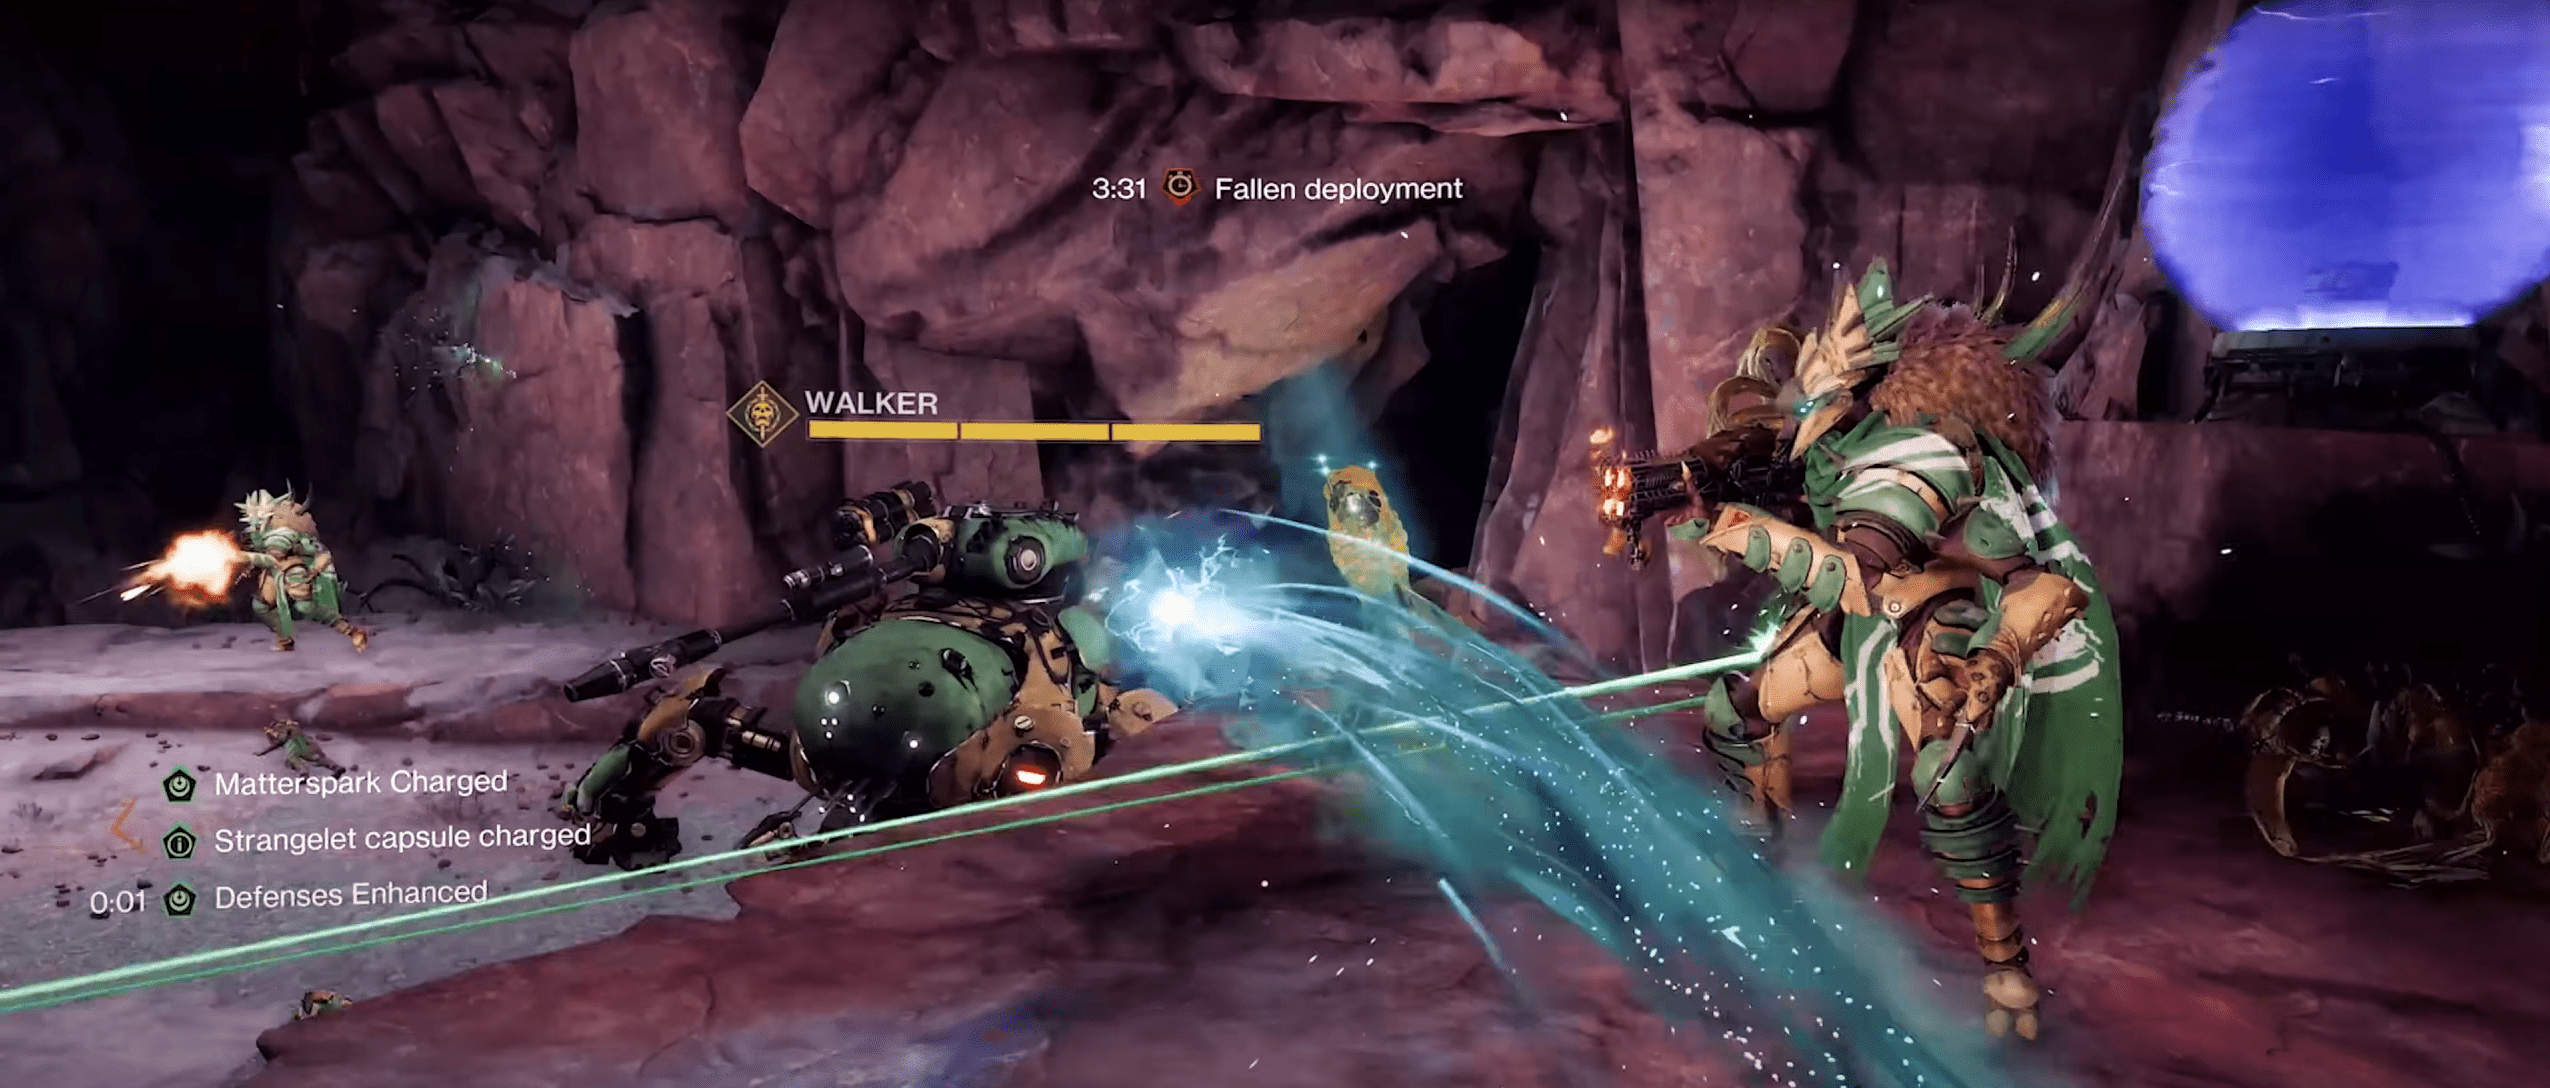
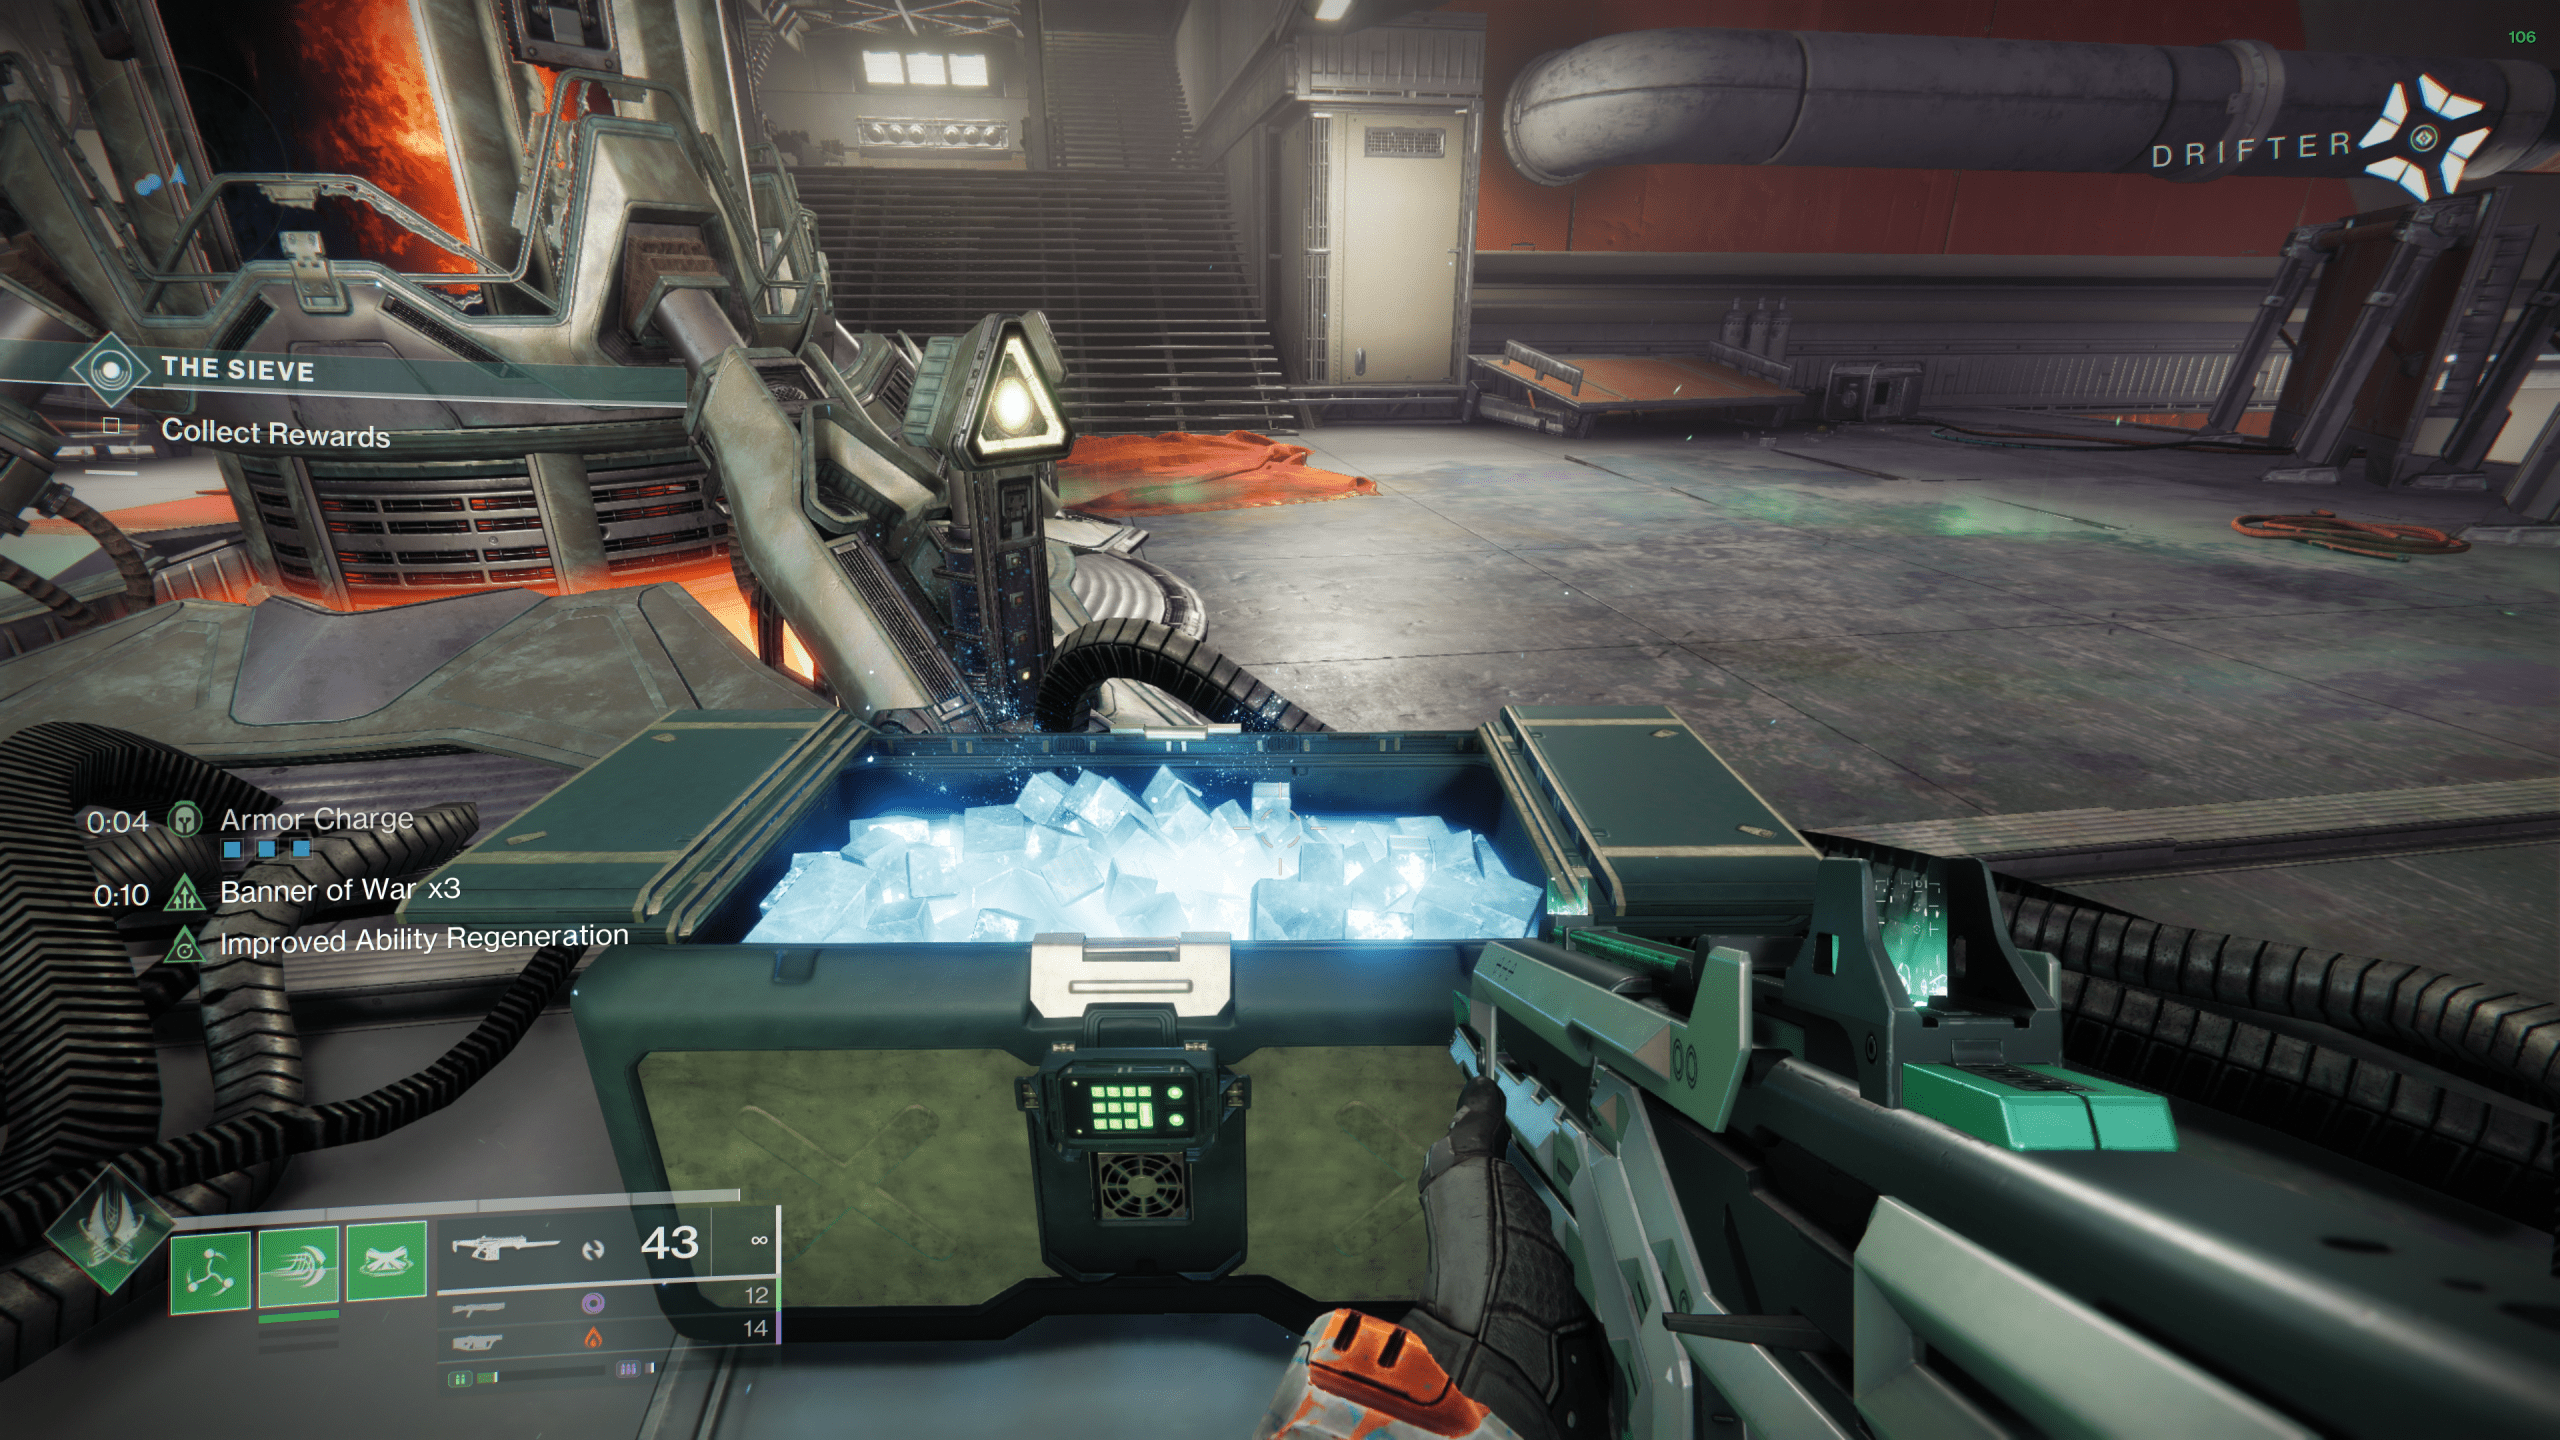
Sieve Activity Guide
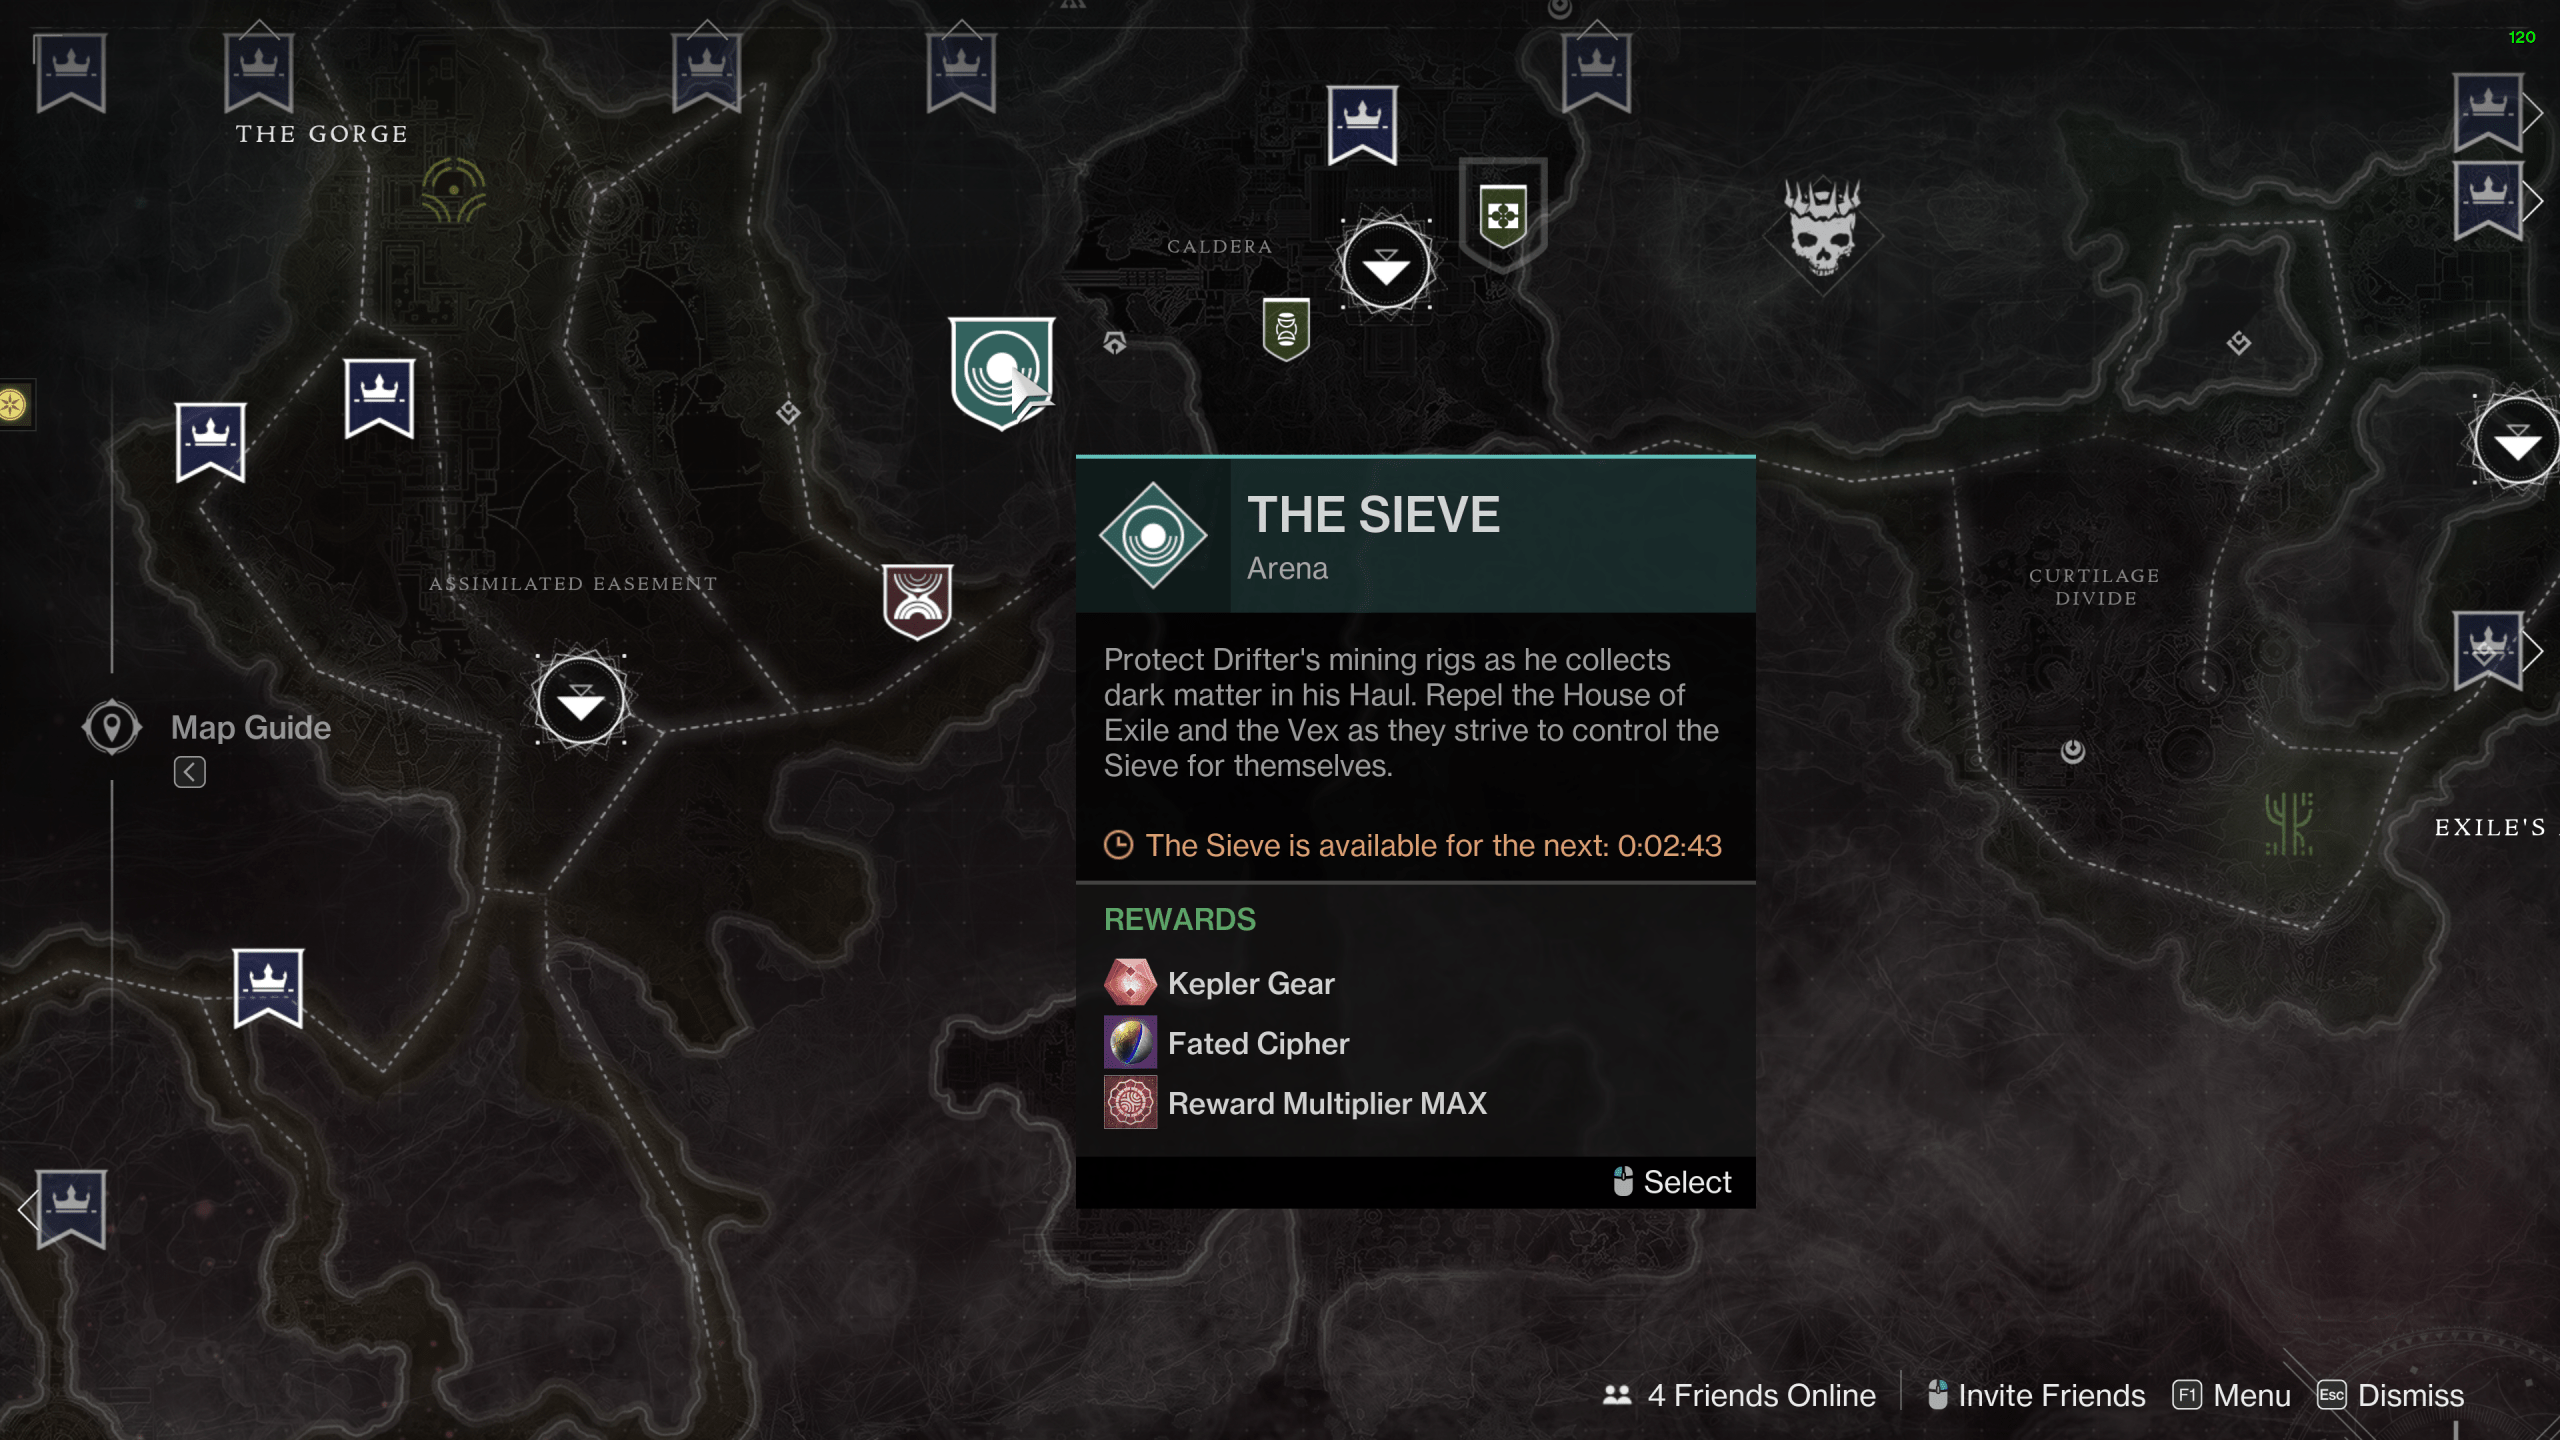
The Sieve is Kepler’s dedicated zone event — a rotating public-style activity designed for replayability and high-value loot farming. It unlocks after completing the main Edge of Fate campaign and becomes a core part of the destination’s endgame loop.
You can check when the next Sieve event is available by hovering over the icon on the Kepler map. It only runs at scheduled times throughout the day, so be sure to plan around its window if you're trying to farm materials or exotic armor.
How It Works:
The activity rotates between two main encounter types:
- Drill Defense – Protect a Dark Matter extractor while fending off waves of enemies
- Boss Fight – Deal damage through health-gated phases, handle mini-mechanics, and finish off a high-tier target
Mechanics vary slightly depending on the encounter. For example:
- Some drills require you to destroy shielded Observators using Matterspark
- Others require killing specific enemies that drop energy pylons
- Boss fights may ask you to clear drones, charge energy nodes, or discharge Matterspark abilities into a core
The final wave ends in a Gambit-style phase:
- Defeat Vex, collect motes (max 10 at a time), and deposit them in the center receptacle
- Once full, you complete the Sieve and unlock your rewards
Rewards:
- Multiple loot chests spawn at the end, including one large central chest
- Edge of Fate exotic armor guaranteed from the large chest (excellent for alternate characters)
- Strong source of Fated Ciphers, Tier 2–5 Kepler gear, and destination materials
- World Tier affects drop quality — higher tiers = better loot
The Sieve is one of the most efficient ways to farm Kepler gear without re-running campaign missions or chasing specific Triumphs. It’s also a good opportunity to test builds, use your destination abilities in combat, and bank progress toward weekly rotation goals.
Destination Materials
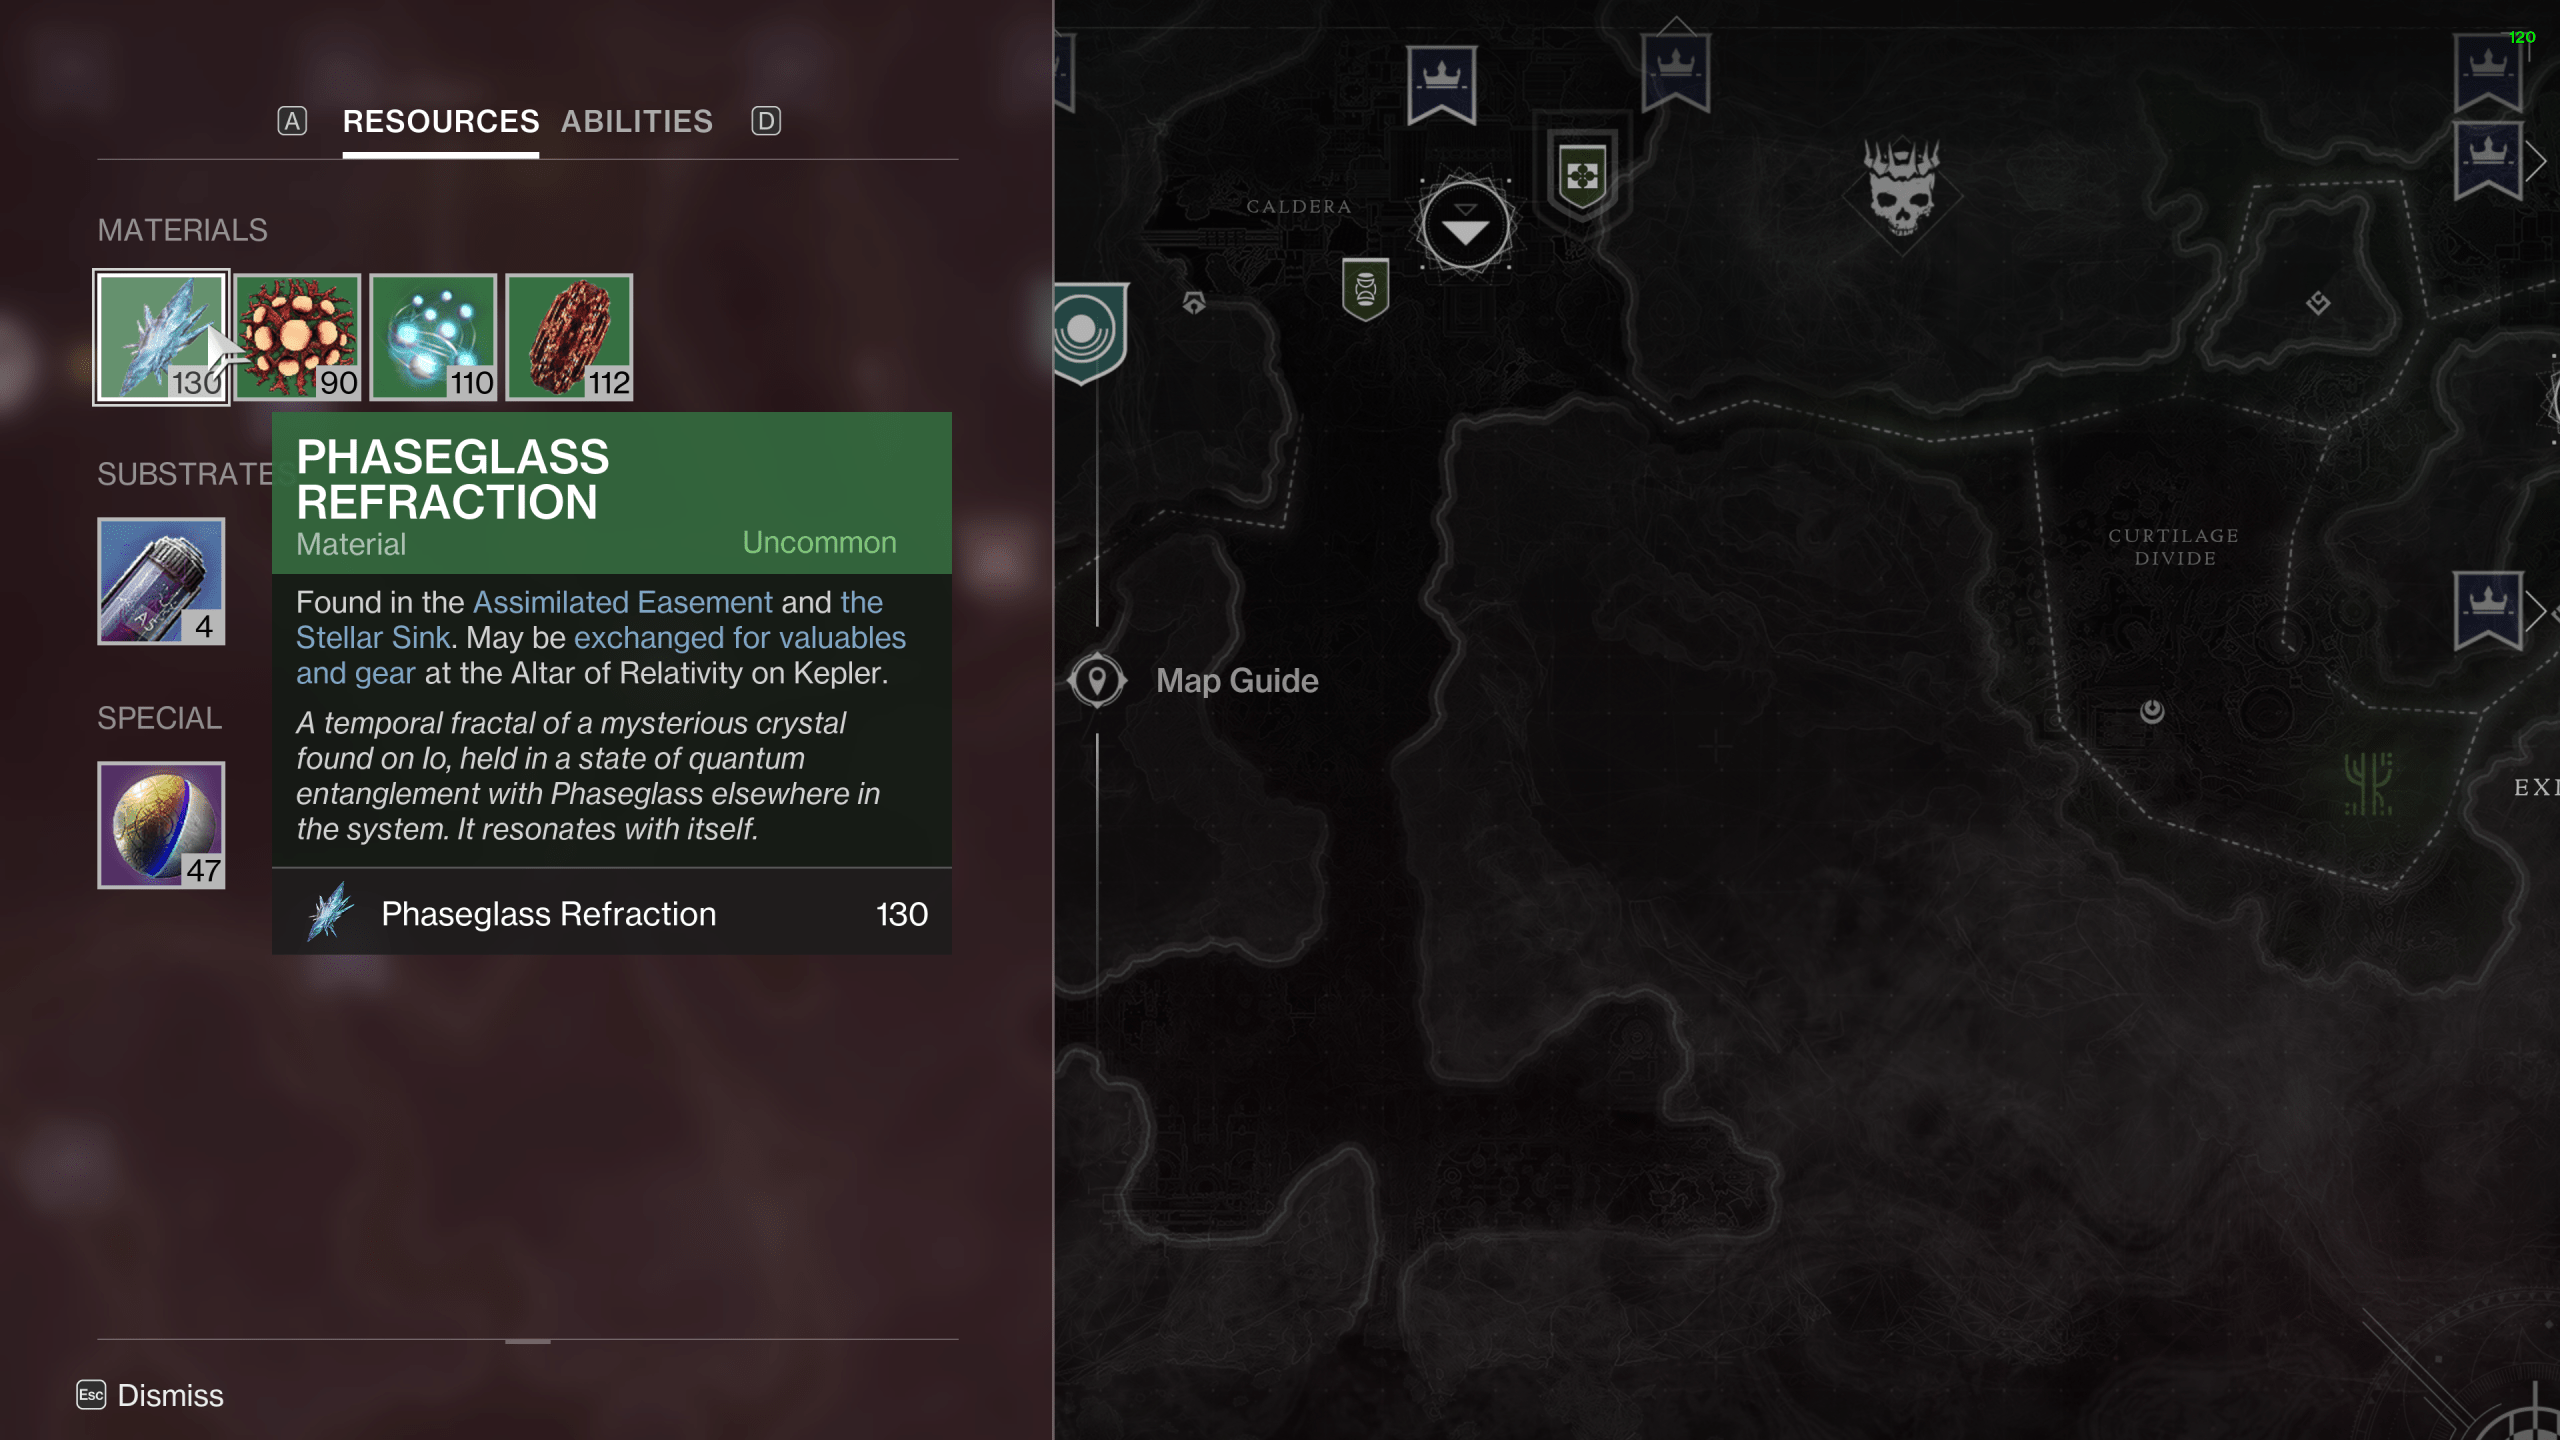
Kepler is packed with unique materials that tie directly into gear focusing, upgrades, mystery chests, and vendor exchanges. Each of the Kepler locations is associated with its own materials, and understanding where to farm what is crucial if you’re aiming to power up efficiently or target specific rewards.
There are three main types of materials: Regional Materials, Quantum Substances, and Fated Ciphers.
Regional Materials
These are the most common resources. They're used for focusing engrams, attuning gear, and material exchanges. Each one drops in a specific part of the map.
| Material | Zones |
| Phaseglass Refraction | Assimilated Easement, Stellar Sink |
| Alcane Mutation | Kurtich Divine, Auger’s Beth |
| Time-Lost Spirit Blur | Ionian Canvas, Caldera |
| Nine-Touched Relic Iron | Outer Steps, The Invitation |
Check the Daily Region at the Altar of Relativity to get bonus drops for farming in the highlighted zone.
Quantum Substances
These are rarer drops from specific enemy types found in designated zones. They're used to reactivate Mystery Chests and for certain vendor upgrades.
| Substance | Dropped By | Zones |
| Assimilation Scout Substance | Assimilation Scouts | Caldera, Stellar Sink |
| Polus Substance | Iterations of Polus | Assimilated Easement, Ionian Canvas |
| Roarbear Substance | Roarbear Shanks | The Stacks, Auger’s Beth |
| (Unknown) | (TBD) | (Unconfirmed at time of writing) |
You can view collected Quantum Substances and their associated enemies in the Map Guide panel.
Fated Ciphers
Fated Ciphers are special tokens used to focus higher-tier engrams (especially Tier 3 and above). You can earn them by:
- Completing side quests and Strangelet missions
- Opening Mystery Chests
- Finishing the Sieve activity
- Trading in 50 regional materials at the vendor
They're a crucial part of the gear crafting loop — especially for targeting high-stat armor and curated weapons.
All of these materials form the backbone of Kepler’s progression. Knowing where to go for each one will save you time and keep your grind efficient.
Secrets and Chests
There are lots of Kepler secrets — and at the heart of them are the Mystery Chests. These aren’t random loot drops. Each one is gated behind a specific Destination Ability, tied to a unique puzzle or access mechanic, and always rewards Tier 2 gear when opened.
You’ll encounter these chests all over the destination, often behind barriers, puzzles, or interactive prompts. The message they display gives away which ability (and upgrade level) you need to unlock them.
Once you unlock the corresponding ability, the chest will appear on your map, allowing you to return later and open it.
Chest Prompt Reference Table
| Prompt | Requires | Upgrade Needed |
| “Requires highly concentrated unknown energy” | Matterspark | Level 1 or 2 |
| “Requires knowledge of an unfamiliar language” | Rosetta | Level 1 or 2 |
| “Requires upgraded Fallen tech” | Relocator Cannon | Level 1 or 2 |
| “Requires undiscovered technology” | Mattermorph | Basic unlock only |
Now let’s break down how each chest type works.
Matterspark Chests
These are the most interactive chests on Kepler. You’ll often need to:
- Transform into ball form
- Charge batteries or generators by zapping them
- In later tiers, collect glowing orbs to charge a pulse, then use that pulse to break Vex pylons guarding the chest
Matterspark Level 2 is required to break certain barriers and access the final tier of these chests. You’ll unlock this by completing a chain of Strangelet quests: Exile’s Accord, Central Academy, Outer Steppes, and The Gorge.
Rosetta Chests
Rosetta chests are simpler but still progression-locked. Once you’ve unlocked the Rosetta ability through the main campaign, you can begin opening them.
- Level 1 Rosetta lets you access basic language-coded chests
- Level 2 Rosetta (from the Central Academy Strangelet quest) unlocks more advanced terminals and additional chests
These are usually found in Aionian ruins or near consoles that require deciphering Aionian glyphs. BLOG20
Relocator Chests
These use Fallen tech and are accessible once you’ve unlocked the Relocator Cannon via the Exile’s Accord Strangelet questline.
You don’t have to solve puzzles here — once you have the Relocator and the required upgrade, the chest is yours.
- Level 1 grants access to most chests
- Level 2 is needed for more secure nodes, usually marked with heavier Fallen security
Mattermorph Chests
These are unlocked through the Mattermorph ability, gained after finishing both the Exile’s Accord and Central Academy Strangelets and then completing the Outer Steppes Strangelet.
Despite Mattermorph's usual need for active buffs in puzzle-solving, you don’t need to charge or interact in any special way to open its mystery chests — once you have the ability unlocked, you can simply open them.
These chests are often hidden in hard-to-reach or camouflaged spaces, revealed after moving platforms or shifting the environment.
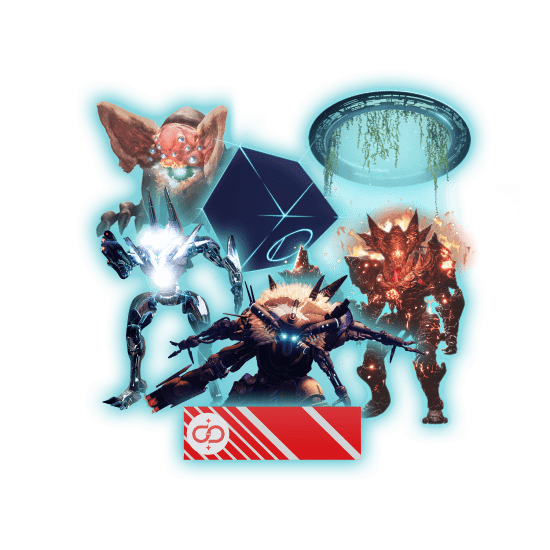
Strangelets and Boss Encounters
Beyond the Kepler chests themselves, many of map’s biggest secrets are tied to Strangelets — exotic objects locked behind environmental puzzles and mini-bosses. These are often:
- Mythic-only, especially in zones like Ionian Campus and The Gorge
- Require Graviton Spike, unlocked via the Edge of Fate Exotic questline
- Involve combat puzzles: killing Imp Clusters, solving Oracle phases, dealing with boss clones or shield mechanics
Completing all four Strangelet quests, and then replaying their associated campaign missions on Fabled or Mythic, is required for unlocking a final mission replay — and completing that rewards a unique Mythic-exclusive emblem.
If you’re planning to go for 100% mastery or full Strangelet completion, expect to revisit all four major zones: Ionian Campus, The Gorge, Outer Steppes, and Exile’s Accord — each with its own layered boss and puzzle setup.
Conclusion
Kepler is the destination that will keep you busy for the foreseeable future. It’s built with a heavy grind in mind, but luckily enough, there’s enough exploration to do and lore to discover as you do your chores. Regardless of what anyone thinks about the expansion and this destination, Kepler is not without content. It’s packed to the brim with activities, things to collect and side missions, all of which are tied to the loot that you will, no doubt, seek out in your attempt to reach the current cap.
We hope that this guide has been useful and explained some of the mechanics that weren’t as clearly explained in the game.
F.A.Q.
Is Destiny 2 Kepler big?
Kepler isn’t large in the traditional open-world sense, but it’s layered and dense. Its Metroidvania-style design means areas unlock gradually through ability progression, so it feels bigger the deeper you explore.
Where are Lost Sectors in Destiny 2 Kepler?
Kepler does not have traditional Lost Sectors. Instead, it offers Strangelet encounters — multi-phase puzzles and mini-boss fights that serve as its version of hidden, repeatable content.
Where are the Kepler chests?
Mystery chests are scattered across Kepler and tied to Destination Abilities. Once you unlock the right ability (and its upgrade), chests appear on your map.
- Matterspark: “Requires highly concentrated unknown energy”
- Rosetta: “Requires knowledge of an unfamiliar language”
- Relocator: “Requires upgraded Fallen tech”
- Mattermorph: “Requires undiscovered technology”
How to complete Sieve on Kepler?
Complete alternating phases of drill defense and boss fights, using Matterspark and other abilities to break shields or charge nodes.
In the final wave, collect and dunk motes into the center until the bar fills to finish and unlock loot chests.


