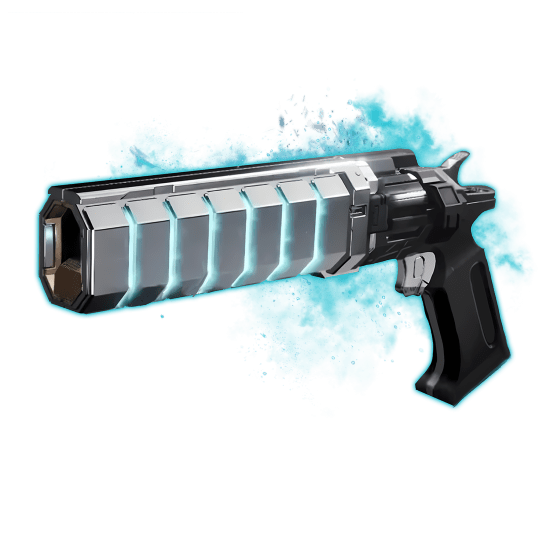
 Crispy Jackie
In this guide, we’ll explain how to get Graviton Spike Catalysts and Intrinsics, covering all the locations and giving a detailed walkthrough. This new Edge of Fate exotic isn’t just another gun for your collection. It turns into a beast when fully upgraded. But getting there takes effort. You have to collect twelve hidden catalyst pieces scattered across different world tiers.
You’ll solve strange flower puzzles, dodge deadly fans, and probably fall off a cliff or two. The path is weird, confusing, and full of little surprises. But once you get through it, the reward is worth the madness. Let’s walk through it one step at a time.
At Skycoach, you can Get Graviton Spike, as well as its Catalysts and Intrinsic Upgrades at the best market price. Skip the grind and enjoy the freshly added content the way you like.
Check out our other Destiny 2 guides:
- Best Edge of Fate Exotics
- How to Get Graviton Spike
- How to Get Barrow Dyad
- How to Get Finality's Auger
- How to Get Tier 5 Gear
- Armor 3.0 Guide
Note: At Skycoach, you can Buy Destiny 2 Boost at the best prices with a fast delivery. Use our special PROMO CODE (in green) hidden in this article for a 20% DISCOUNT.


Graviton Spike Catalysts
To bring Graviton Spike to its full chaotic potential, you’ll need to unlock all four exotic Catalyst refits to choose from later. Each one improves the weapon in a unique way, and each one is tied to a specific group of hidden puzzle pieces found across Destiny 2’s different world tiers. These Catalysts aren’t handed to you. It’s part scavenger hunt, part test of patience, and part power grind. But once you apply the one you need, Graviton Spike becomes a completely different weapon. See what Graviton Spike Catalysts are available:
These are all Graviton Spike Catalysts to hunt for so far, and you can choose the one you need if you don’t want to collect them all. Each catalyst is broken into three pieces, and that means twelve in total. The first two refits, such as Rapid Hit and Subsistence, can be found in Fabled-tier zones. But the real challenge comes with the final two, which are locked behind Mythic-tier zones filled with powerful enemies and trickier mechanics.
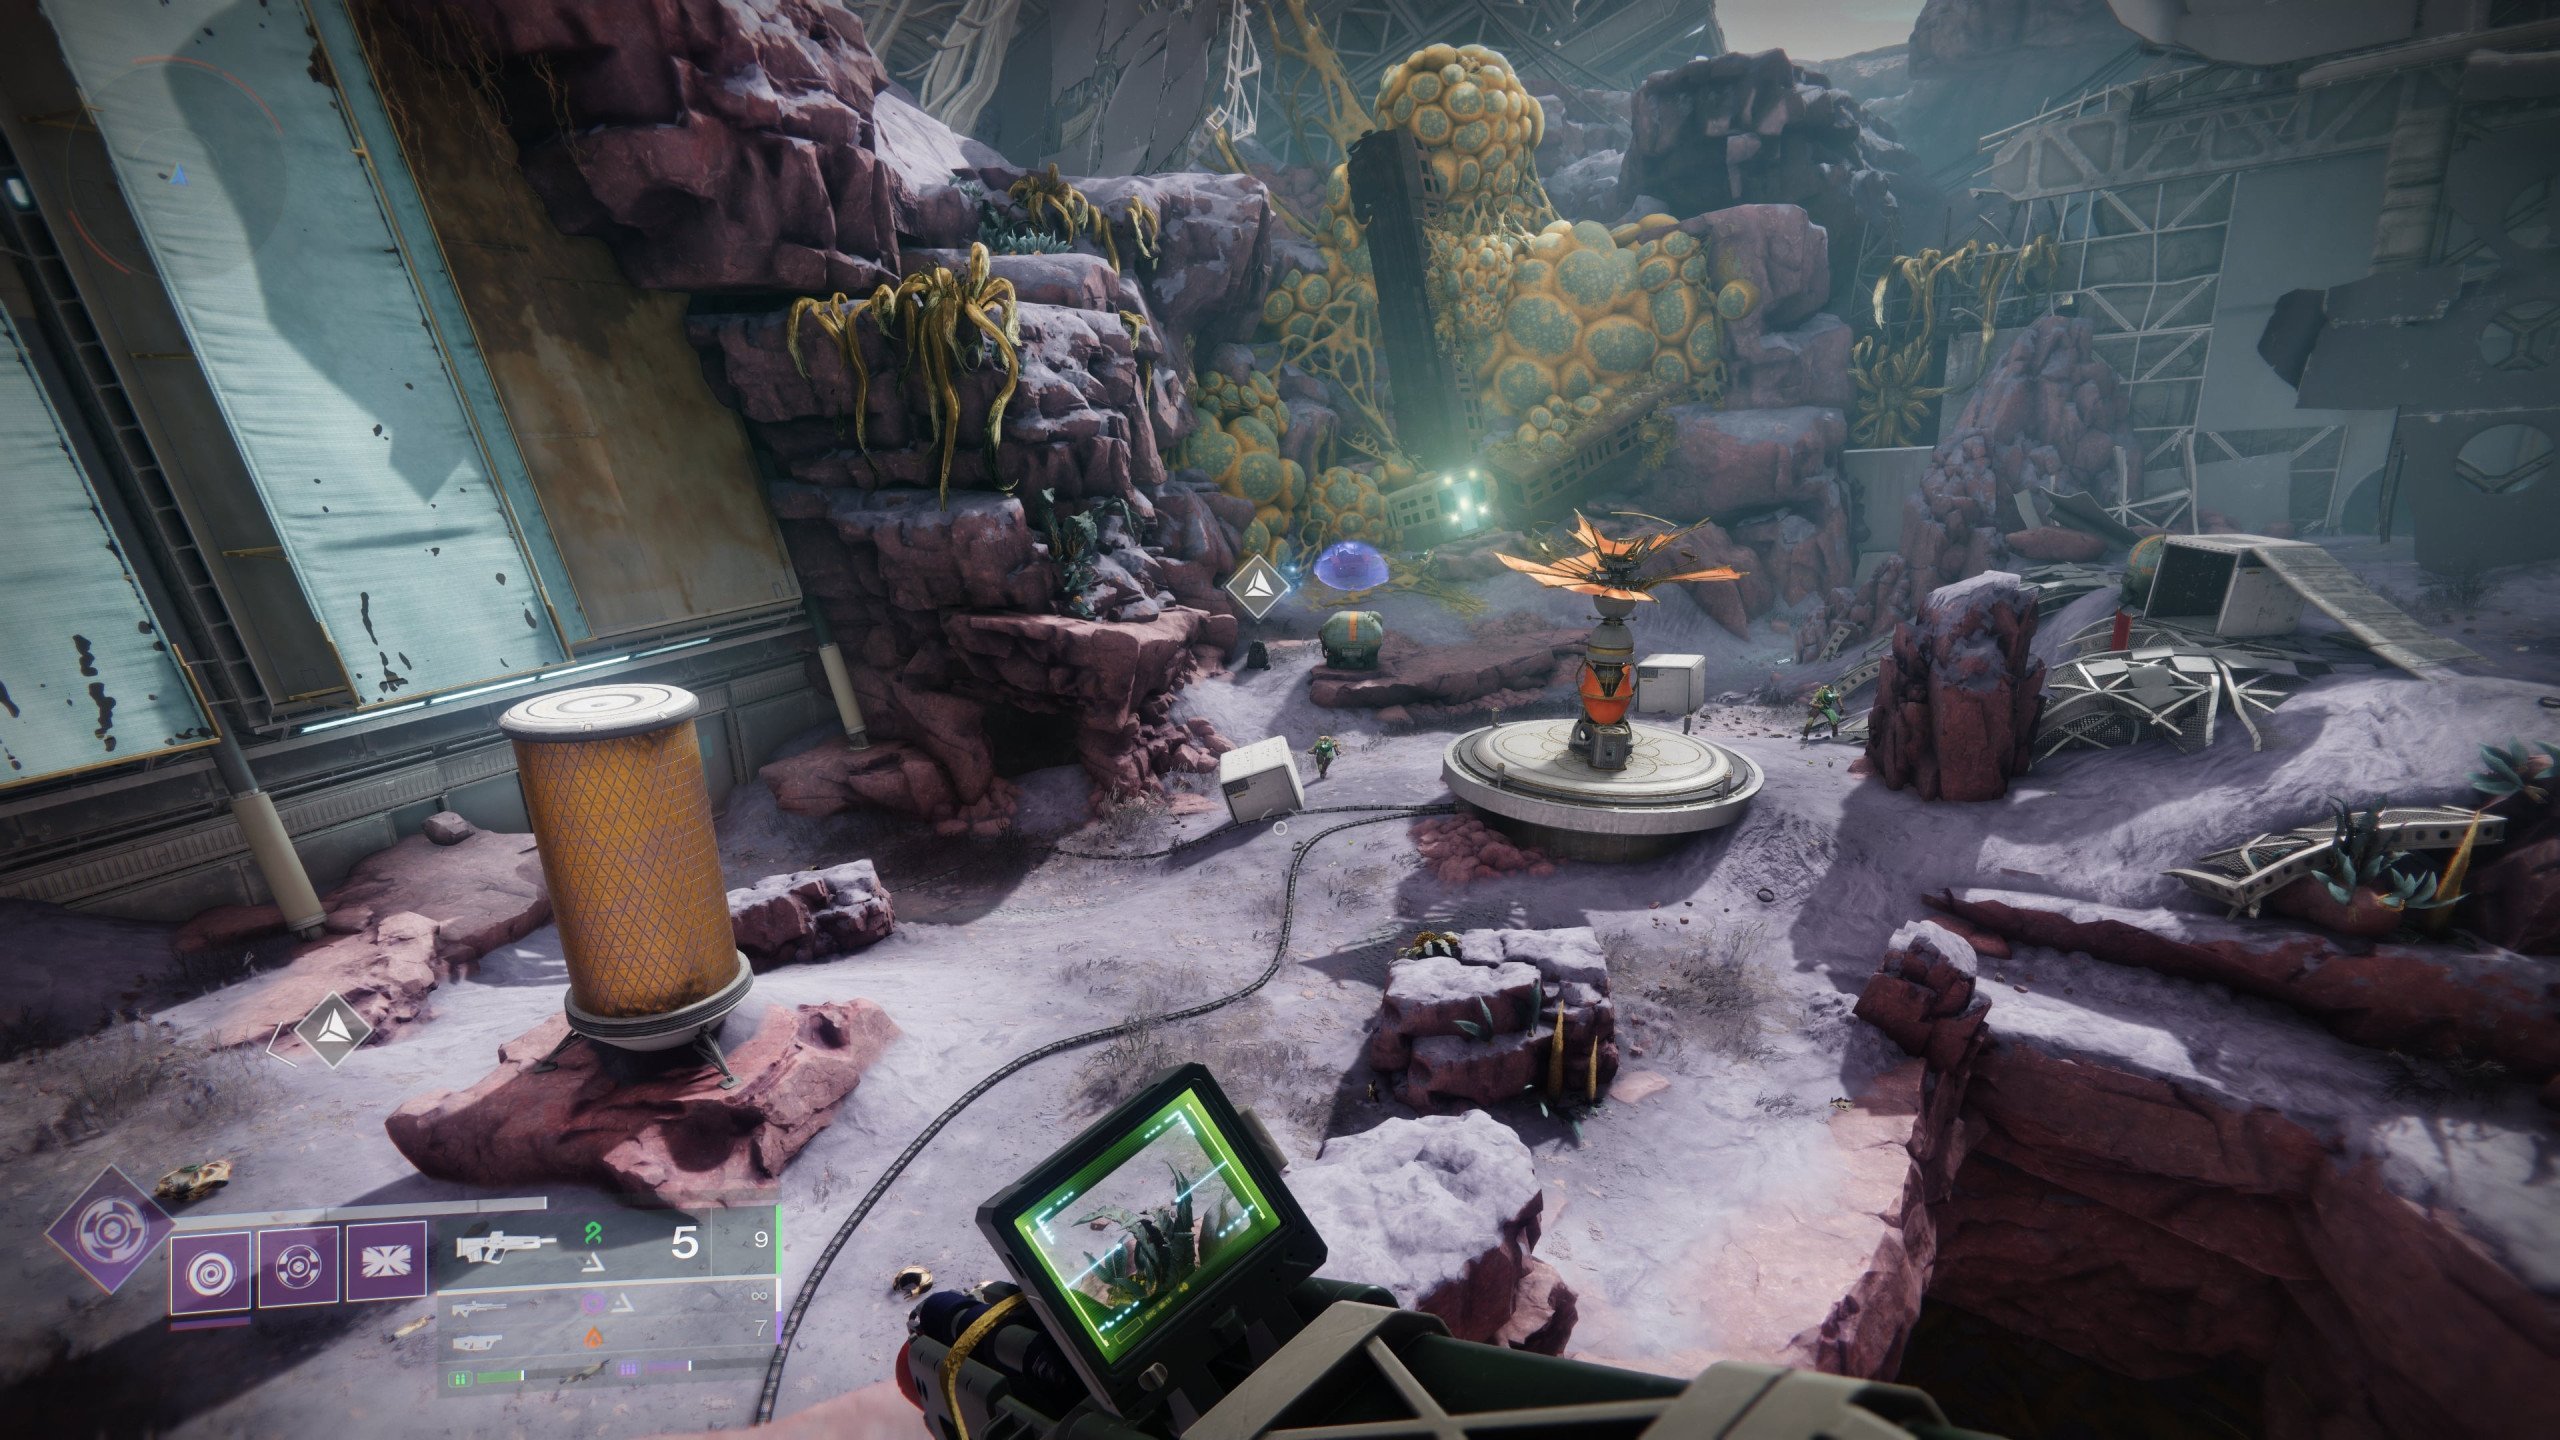
Power level matters here. You’ll want to be at least 150+ to keep from getting shredded by adds or failing key encounters. Some of these puzzles involve flowers, fans, teleporters, and environmental buffs. And yes, the path is often unclear. But we’re going to break each one down clearly and simply, piece by piece.
Rapid Hit 1
The first Rapid Hit catalyst piece can be found in the Stacks area. This one is part of the Fabled world tier, which means you don’t need Mythic access yet. Still, it's a decent walk to get there, so make sure you're geared up and have time to focus.
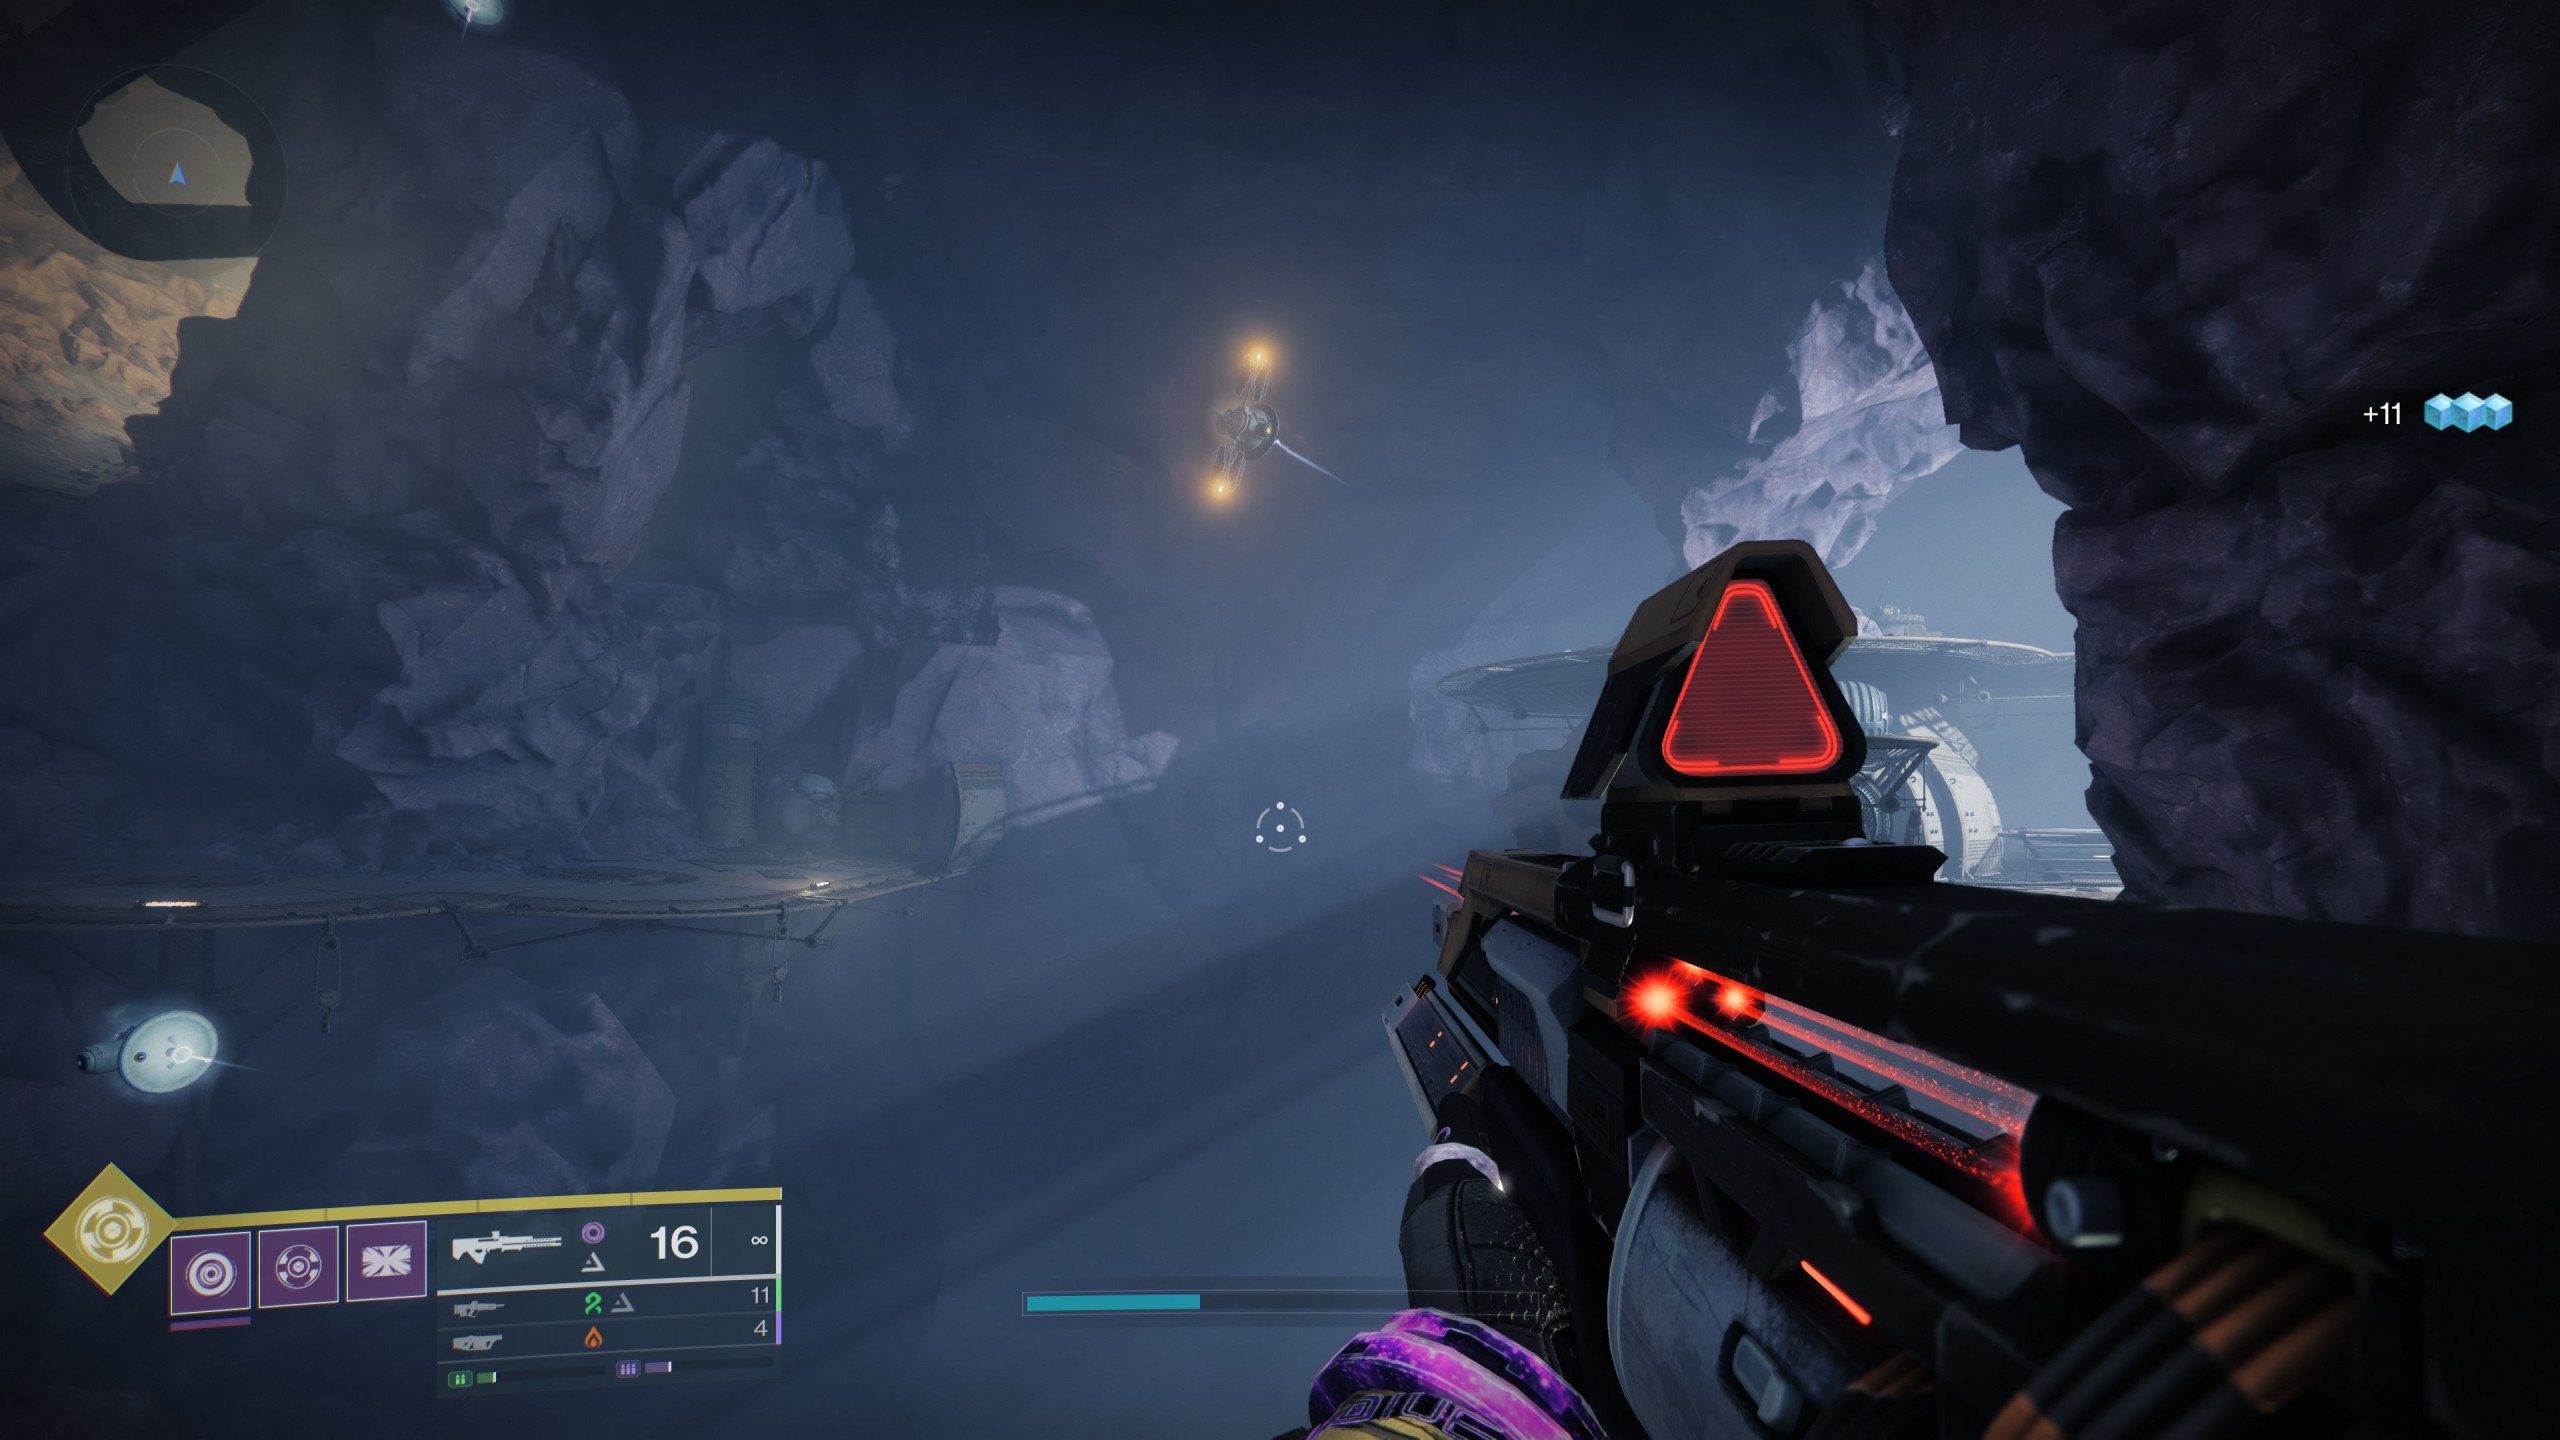
Start by heading into the train area known as the Stacks. Go right, along the cliffside path, until you reach a familiar black mesh tube. Equip Graviton Spike. Look for a vase up above and shoot it with Arc damage. Then, move toward the mesh tube and shoot another target nearby. Now go back and hit the flower with Arc damage.
Once it blooms, use your reload button to activate the stasis interaction on the flower’s core. This will stop the fan nearby from spinning. Next, interact with the panel in the same room. That unlocks a hidden chamber, and inside is your very first Rapid Hit catalyst piece.
Rapid Hit 2

The second Rapid Hit catalyst piece is tucked away in Augur’s Bethel, and it’s part of the Fabled world tier. You don’t need to be in Mythic to reach it, but there are a few precise steps to follow. This area is a bit more layered than the first one. Here’s a step-by-step Graviton Spike Catalyst guide to collect Rapid Hit 2 easily:
- Start at the Augur’s Bethel landing zone
- Follow the path to the right side of the map
- Walk past the area with the fallen orange pipe, then move left
- Enter the Vex portal and go into the tube system
- Spot the flower up on a ledge and shoot it with Arc damage
- This slows down the nearby Vex fan
- Look around for three glowing Vex targets in the same space and shoot them quickly
- A Rocket Launcher Relocator will spawn behind you
- Pick it up and climb the nearby platforms
- Look toward the top left, where you’ll see a panel blocking access
- Fire the rocket at that relay panel
- A teleporter activates nearby – go through it
- Inside the room, grab the second Rapid Hit Catalyst piece
If you miss a shot or mess up a mechanic, just reset the room by stepping out and coming back in. This second piece teaches the basics of multi-step mechanics. It also sets the tone for the kind of movement and precision required later on. Once this is done, you're already halfway through the Rapid Hit catalyst.
Rapid Hit 3
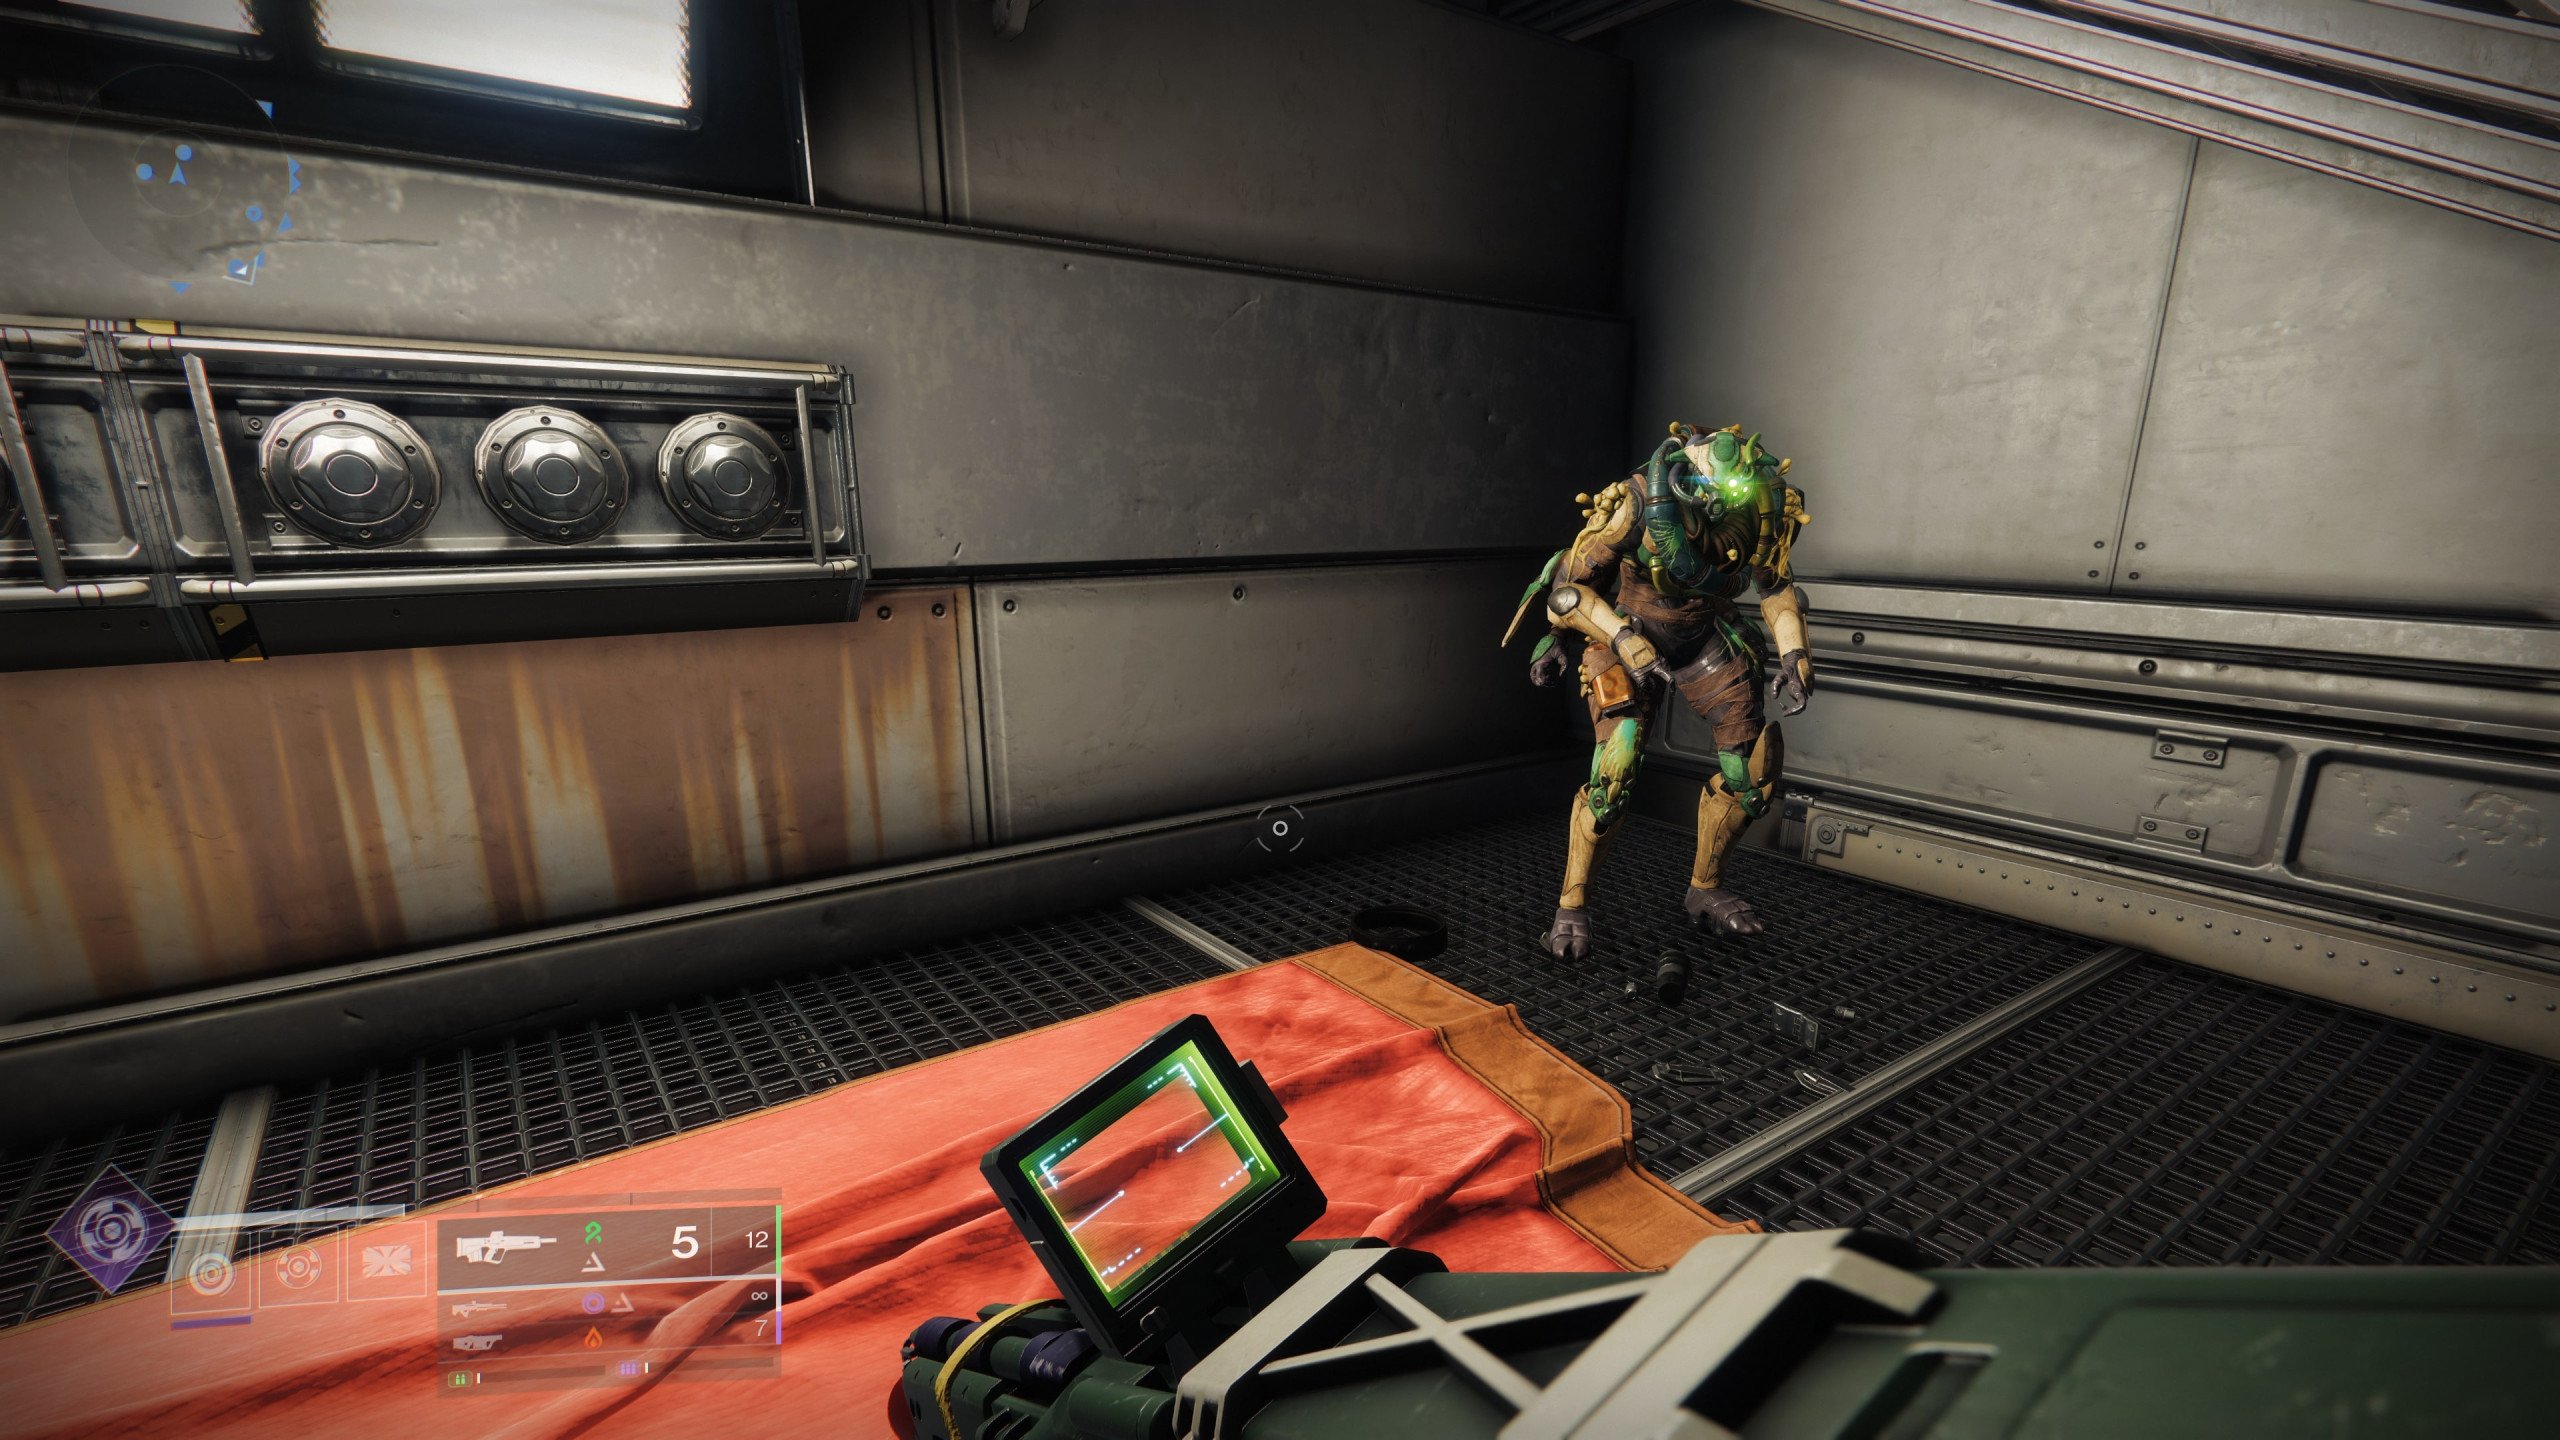
The third Rapid Hit Catalyst piece is found near the Singularity and can only be accessed from the Caldera zone. This one sits in a Mythic-tier area. This means you need to make sure you’re powered up enough to survive. Enemies here hit harder, and everything feels a bit more intense. Bring a good loadout and take your time.
- Start by going to Caldera
- Follow the path that leads into the Singularity zone
- Watch out for stronger enemies
- Head toward the next area, where you’ll notice a pipe entrance
- Go through the pipe and look for a cube to shoot above you
- After hitting the cube, return to the starting point
- Pick up the Rocket Launcher Relocator
- Use it to shoot the center of the puzzle platform
- A teleporter will activate – use it to warp to the next area
- Pick up the Mattermorph buff after teleporting
- Keep moving and look up toward a cliffside flower
- Shoot the flower with Arc damage to slow the fan nearby
- Use your reload ability to infuse the flower with Stasis
- This will fully stop the fan blades
- Drop into the now-safe fan chamber
- Grab the third Rapid Hit Catalyst piece from inside
Be careful not to die here. If you do, you’ll respawn at the very start of the area, which can be frustrating. Try to clear out enemies ahead of time or move carefully between platforms. This puzzle is easier than it looks once you know the rhythm. With this piece collected, you’ll have all three fragments for the Rapid Hit Refit.
Subsistence 1
The first Subsistence Catalyst piece is located in the same Mythic-tier zone where you picked up Rapid Hit 3. Since you're already in the area, it's the perfect moment to grab this one too. You won’t need to go far or fight anything new.
Head toward the room that would normally contain a boss. Since the boss has already been dealt with, the path above that room is now open. Move upward into the ledge area and look around for a flower nearby. Once you spot it, shoot the flower with Arc damage. Then, apply Stasis by holding your reload button. This will freeze the moving parts, clearing the way forward.
Walk through the open path and collect your Subsistence Catalyst piece. It’s one of the simpler pickups in the group, no tricky mechanics or pressure. Just a clean interaction and a smooth grab. BLOG20
Subsistence 2
This second Subsistence catalyst piece takes you through a short but scenic route. You’ll be teleporting around a bit and riding a train. It all starts in Curtilage Divide, and this is how it goes.
- Spawn into the area and take the first teleporter you see.
- After landing, take the next teleporter nearby to keep moving forward.
- Board the train that takes you along a path that might remind you of Europa.
- Watch for enemies. Clear them out or ignore them if you're quick.
- Find the flower near this zone, but don’t shoot it just yet.
- Head left to locate the Relocator Pedestal. It should be placed in a small tucked-away corner.
- Pick up the Relocator and bring it back to where the flower is.
- Drop the Relocator nearby and shoot the flower with Arc to stop the fan.
- Shoot behind the flower to activate the next sequence.
- Locate the teleporter in the corner and step inside.
- Inside the next chamber, collect your second Subsistence piece.
This one blends puzzle-solving with quick movement and clean aim. Make sure to line everything up before taking your shots.
Subsistence 3
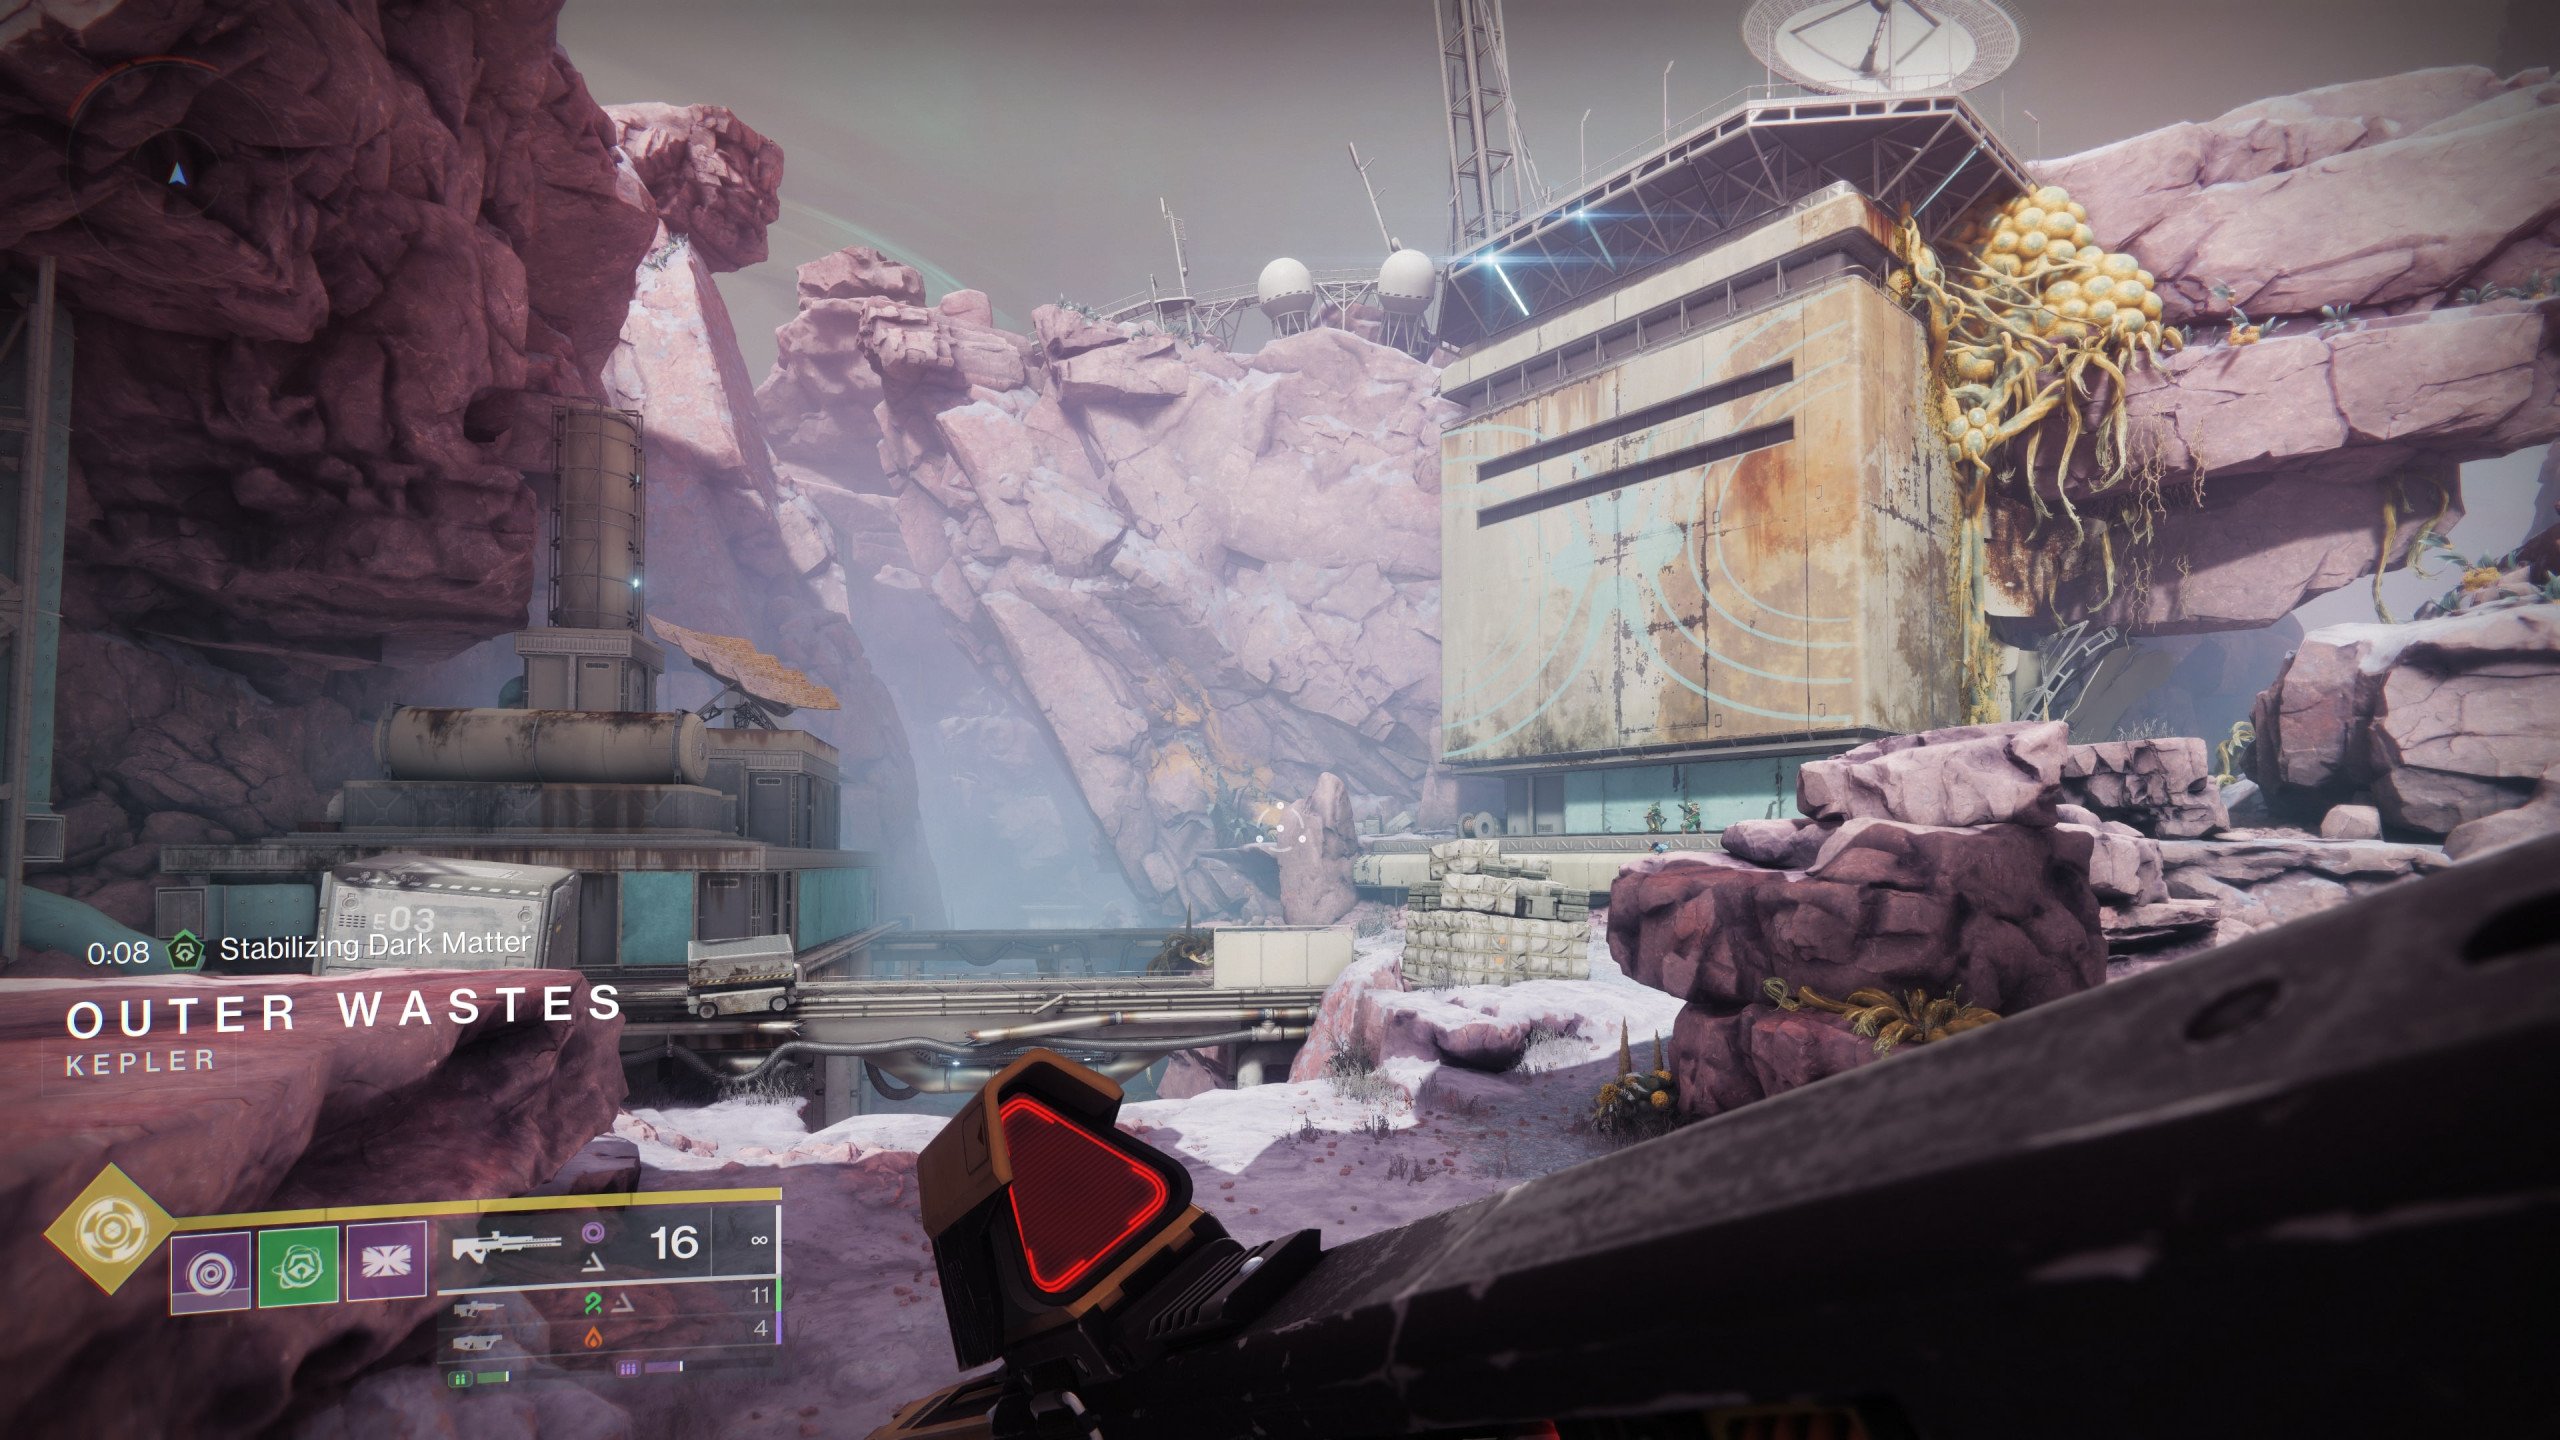
The third Subsistence Catalyst piece takes you deep into the Outer Wastes. This is a longer run and includes a small puzzle, but it’s fully doable if you follow the steps carefully.
Start by heading into the Outer Wastes through the path from the earlier zone. Look for the place where a Brick or Servitor usually spawns. Grab the item that lets you transition into the next section and throw it toward the entrance that leads into the Wastes. Once you’re inside, stick to the right side of the path and continue forward.
Eventually, you’ll enter a combat-heavy zone that used to host a boss fight. Push through and make your way to a door that seems to have no visible floor. That’s the entrance to your next step. Now for the puzzle:
- Pick up the Mattermorph buff inside the area.
- Do an action to trigger the next step (shooting a node or activating a nearby device).
- Pick up the Relocator from the same space.
- Shoot the nearby teleport device and go through it.
- Grab the Matterspark from the new room.
- Use that to interact with the Vex pylon just outside.
This sequence unlocks the path forward. From here, the final step is the same as always. Shoot the flower to stop the fan, and head into the opened passage. Inside, you’ll find your final piece of the Subsistence Catalyst.


Transcendent Zen Refit 1
We’re now moving to the third Catalyst on our list out of all Graviton Spike Catalyst locations you need to go through. The first piece of the Transcendent Zen Refit Catalyst is located in Caldera, but unlike earlier fragments, this one requires you to be on the Mythic world tier. Enemies hit much harder here, so make sure your power level is at least 150, though 200+ is strongly recommended for a smoother run.
- Load into Caldera while on Mythic World Tier.
- Head into the zone and keep an eye out for the glowing flower. Shoot it to slow the fan nearby.
- Move forward into the sealed room with two doors and a control panel.
- Two enemies will spawn. Defeat both to unlock further progress.
- Interact with the panel in the room after clearing it.
- The first Transcendent Zen Catalyst piece will now appear for you to collect.
This piece marks the start of the Mythic-tier grind. While some players say the encounter can be cheesed, the most reliable route is to fight and finish it properly.
Transcendent Zen Refit 2
The next step to unlock Graviton Spike Catalyst Transcendent Zen Refit is to grab its second piece. It’s located in the Aionian Campus. Just like the first, this one also requires Mythic world tier. The process here is more of a timed sequence than a fight, so speed and precision matter more than combat.
- Enter the Aionian Campus while in Mythic world tier.
- Move into the zone and shoot the flower to slow the spinning fan nearby.
- Enter the now-accessible area and immediately grab the Mattermorph buff from inside.
- Keep moving forward quickly while the buff is active.
- As you go deeper, shoot the second flower found in the next area.
- Use the Mattermorph melee ability on the spinning fan to stop it.
- The gate will open up, and the catalyst piece will be available inside.
You don’t need to kill anything here, but some harpies might get in your way. You can ignore them if you’re fast enough, or clear them out to avoid interruptions. The entire route relies on proper buff timing, so stay sharp and don’t stop moving. This one rewards solid routing and speed more than raw firepower.
Transcendent Zen Refit 3
The third and final Transcendent Zen Refit piece is tucked away behind one of the most difficult encounters in the entire process. To reach it, you’ll need to be in the Mythic world tier, and it’s strongly recommended that you are at least Power Level 200 or higher. This step includes a boss fight that can be brutal if you're underleveled or solo.
- Transmat to Caldera while in Mythic world tier.
- Pick up the Mattermorph buff near the start.
- Follow the platforming route into the pipe system, aiming to stay safe as you move forward.
- Carefully walk through the pipe sections and make your way across to a platforming area.
- Eventually, drop down into a new zone where the boss encounter will begin automatically.
Once you jump down, the boss spawns immediately. This is a high-difficulty fight with very little room for error if you're solo. Many players recommend bringing a fireteam or returning after you’ve increased your Power Level.
If you manage to defeat the boss, the third and final piece of the Transcendent Zen Refit will be available to claim. Note that there is a known bug here: if you die during the boss fight, the boss might not respawn when you return. In that case, you’ll need to transmat out of Caldera and come back in fresh to trigger the encounter again.
Temporal Alignment Refit 1
The first Temporal Alignment Refit piece is located in the final zone of the Catalyst hunt, found deep within the Caldera region. This area is filled with high-level enemies and tight platforming, so be prepared for a challenge. It’s strongly recommended that you’re playing on Mythic world tier and have a Power Level around 200 or more to make things manageable.
- While already in the Caldera from the previous steps, head toward the left path from your spawn point.
- Make your way forward, but slow down as you approach a ledge near a group of enemies.
- Stand on the ledge for a few seconds to create a respawn checkpoint. If you die, this will prevent a long backtrack.
- You’ll now see a tall structure with a plant (flower) sitting on a ledge high above.
- Carefully platform your way around the area:
- Climb up the nearby hut-like structure.
- Jump across to the higher ledge above the flower.
- Follow the wooden catwalks and platforms to reach a control panel.
- Activate the control panel at the end of the climb. A message will appear saying, “A way forward is opened.”
- Head back to the flower location. The door next to it will now be unlocked.
- Shoot the flower to slow the nearby fan, and enter the now-accessible room.
- Inside, you’ll find the first Temporal Alignment Refit piece.
Be cautious in this area. Enemies continue to spawn even after clearing them, which makes repeated attempts risky. But with the path unlocked and the flower dealt with, you’ll be able to pick up this piece and move on to the next without having to repeat the full process.
Temporal Alignment Refit 2
The second Temporal Alignment Refit piece is one of the fastest and easiest to collect. It’s found in the same zone you’ve likely visited before, and while there is a puzzle in place to reach the flower and unlock the path, this one can be completely skipped with a clever jump.
- From your current position in Caldera, make your way toward the familiar entrance path near the fenced area.
- Normally, you'd have to shoot a flower and freeze the spinning fan to gain access to the room.
- Instead of solving the puzzle, look slightly to the right of the locked door and jump up onto the ledge.
- Hug the wall closely until your character naturally stops, giving you a good foothold.
- Jump again to reach the next small platform above.
- Once you're up, the entrance to the room is right in front of you.
- Head inside and collect the Temporal Alignment Refit piece.
There are no enemies guarding this one, and no buff or Mattermorph mechanic is required. The trick here is in the shortcut. If done right, you completely avoid the original puzzle and just walk in. BLOG20
Temporal Alignment Refit 3
The third Temporal Alignment Refit piece is tucked away in the Gorge, one of the toughest zones in the rotation. The enemies here hit harder than most, and the route is longer, so get ready for a bit of a run. This piece involves light puzzling, a flower interaction, and a short teleportation sequence. It’s not overly complicated, but the high-level enemies and tricky jumps make it a bit of a challenge.
- Start by heading to the Gorge. You can’t teleport directly there, so take the main path from the entrance zone instead.
- As you make your way in, keep to the right side and watch for elevated rock platforms.
- From one of these platforms, you’ll spot the glowing flower off in the distance.
- Jump up to reach the platform near the flower, then continue forward to the rocket launcher pedestal.
- Pick up the launcher and double back toward the flower’s location.
- Fire at the flower to activate the puzzle sequence. This will slow down the fan blocking your path.
- Head toward the nearby cave where the fan was spinning.
- Shoot the object inside to trigger the teleporter.
- Step into the teleporter to get warped to the reward location.
- Collect the final Temporal Alignment Refit piece inside.
This is one of the more involved pickups in the Temporal Alignment set, mostly due to the tougher enemy spawns and the longer route in.


Graviton Spike Intrinsics
Once you’ve wrapped the Edge of Fate campaign and completed the exotic questline, Graviton Spike Intrinsics become available. These unique enhancements are scattered throughout the world and require a bit of puzzle-solving, clever pathing, and the right elemental combos. You’ll need to interact with environmental elements like Stasis flowers, rotating vents, Mattersparks, and Mattermorph buffs to access hidden paths or unlock sealed chambers.
There are three Intrinsics total. You can grab them in any order, and each one adds another layer of power and function to Graviton Spike. Think of them as secret upgrades waiting to be earned through a little exploration and some smart execution. We’ll cover the three locations, explaining where to find Graviton Spike Intrinsics, all accompanied by detailed instructions.
1st Intrinsic
The first Graviton Spike Intrinsic is found in Caldera after completing the Edge of Fate campaign and picking up the exotic questline. This one’s simple but requires the right elemental timing.
- Equip Graviton Spike and head left from the Caldera transmat zone.
- Look for a flower along the cliffside.
- Shoot the flower using Arc damage.
- Hold the reload button to switch to Stasis.
- Shoot the flower again with Stasis to freeze it.
- A hole in the wall will open up nearby – enter it.
- Inside, locate another flower and shoot it with Stasis again.
- This freezes a fan inside the vent system.
- Head past the fan once it stops spinning.
- You’ll find the first Intrinsic sitting on a box in the next area.
That’s it. Smooth path, no enemies. Just elemental swaps and vent diving.
2nd Intrinsic
Moving on with our Graviton Spike Intrinsics guide, let’s go over the second piece you’ll need to collect. It’s located in the Stellar Sink, and it takes a bit more walking compared to the first one. There’s no puzzle to solve, but you’ll need to navigate through some tight spaces and time your shots well. Enemies may show up, so clear them first to make things easier.
- Transmat to Assimilated Easement near the Disruption mission node.
- Head down the nearby path and take the train that leads into the Stellar Sink.
- Once inside, check your map to confirm you're in the Stellar Sink.
- Move forward through the long corridor and jump gaps as needed.
- Eventually, you’ll reach a room with enemies. Clear them out first.
- Locate the flower near a small hole in the wall above.
- Shoot the flower with Arc to activate it.
- Swap to Stasis by holding reload, then shoot the flower again.
- This will freeze a large spinning stone fan nearby.
- Wait for the opening in the fan to align, then move through safely.
- Inside the fan tunnel, you’ll find the second Intrinsic.
Watch your timing when going through the spinning fan — it rotates randomly, and if you miss the window, it can kill you instantly. Retry as needed and keep that Arc-to-Stasis swap ready.
3rd Intrinsic
The third Graviton Spike Intrinsic is found in Curtilage Divide. It’s tucked inside a small building that requires a bit of setup before you can enter. You’ll need the Mattermorph buff and a well-timed Stasis swap to slow the fan inside. Enemies in this zone can be aggressive, so be ready for a fight.
- Transmat to Curtilage Divide.
- Head toward the portal nearby and enter it.
- Once you exit the portal, take a left, but do not enter the next portal.
- Instead, hug the wall and move toward the building in the distance.
- Look for a hut-like structure with a low entrance — that’s your target.
- Before entering, go past it to the far corner and pick up the Mattermorph buff.
- Return to the flower near the building entrance and shoot it with Arc.
- Immediately switch to Stasis and shoot the flower again to trigger the freeze.
- This will stop the fan spinning inside the building.
- Enter the hut, use the Matterspark, and interact to collect the third Intrinsic.
If you die during this section, you’ll need to reset the steps. Just be quick with the buff and your shots to make the process smoother. Once done, that’s your third and final Intrinsic for Graviton Spike.
Conclusion
This wraps up our guide on how to get Graviton Spike Catalysts and Intrinsics for Destiny 2. From uncovering Catalyst pieces across Fabled and Mythic tiers to chasing down Intrinsics through vents, fans, and teleport puzzles, every step adds depth to the weapon’s power.
With Rapid Hit, Subsistence, Zen, and Temporal Refit unlocked, plus all three Intrinsics secured, you’ll have the gun running at peak performance. It takes patience and precision, but the result is a truly elite weapon that feels earned, not handed out. Now go melt some faces.
F.A.Q.
Can you get Graviton Spike catalyst in Destiny 2?
Yes, you can unlock the Graviton Spike catalysts by collecting hidden pieces across Fabled and Mythic world tiers after finishing the campaign.
How to find all Graviton Spike catalysts Destiny 2?
Search each area for glowing flowers, use elemental interactions, solve fan puzzles, and locate catalyst pieces in specific zones tied to world tiers.
Does Graviton Spike have catalyst?
Yes, Graviton Spike has four catalysts, such as:
- Rapid Hit
- Subsistence
- Transcendent Zen Refit
- Temporal Alignment Refit
Is it difficult to get Graviton Spike catalyst?
Some catalyst pieces are straightforward, but Mythic-tier ones involve tricky puzzles, high-level enemies, and well-timed buffs.
How to get Graviton Spike intrinsics?
Complete the campaign, unlock the exotic questline, then explore areas like Caldera and Curtilage Divide to solve puzzles and collect Intrinsic pieces.


