 Rick Flair
The Way Between is a quest you receive after completing the Equilibrium dungeon for the first time. You will need to speak with Aunor to start the quest. It requires you to finish the dungeon multiple times, each time awarding you with different upgrades for your Praxic Blade. The worst thing is that you can’t charge all the Relics at once, so multiple dungeon runs are required. We recommend focusing on doing the quest first, as it also unlocks armor and weapon focusing, which will help you get the needed drops more easily. The final reward for this quest is a catalyst for the laser sword. Now, let us explain how to complete The Way Between quest and unlock all the rewards.
Running the dungeon over and over again can be extremely tedious. If you don’t want to do that, try our Equilibrium Dungeon Boost. Our Pros will complete the quest for you, and you will receive all the rewards.
Read our other Destiny 2 guides:
Note: At Skycoach, you can Buy Destiny 2 Boost at the best prices with fast delivery. Use our special PROMO CODE (in green) hidden in this article for a 20% DISCOUNT.
Browse our hottest Destiny 2 Boosting services


The Way Between Full Walkthrough
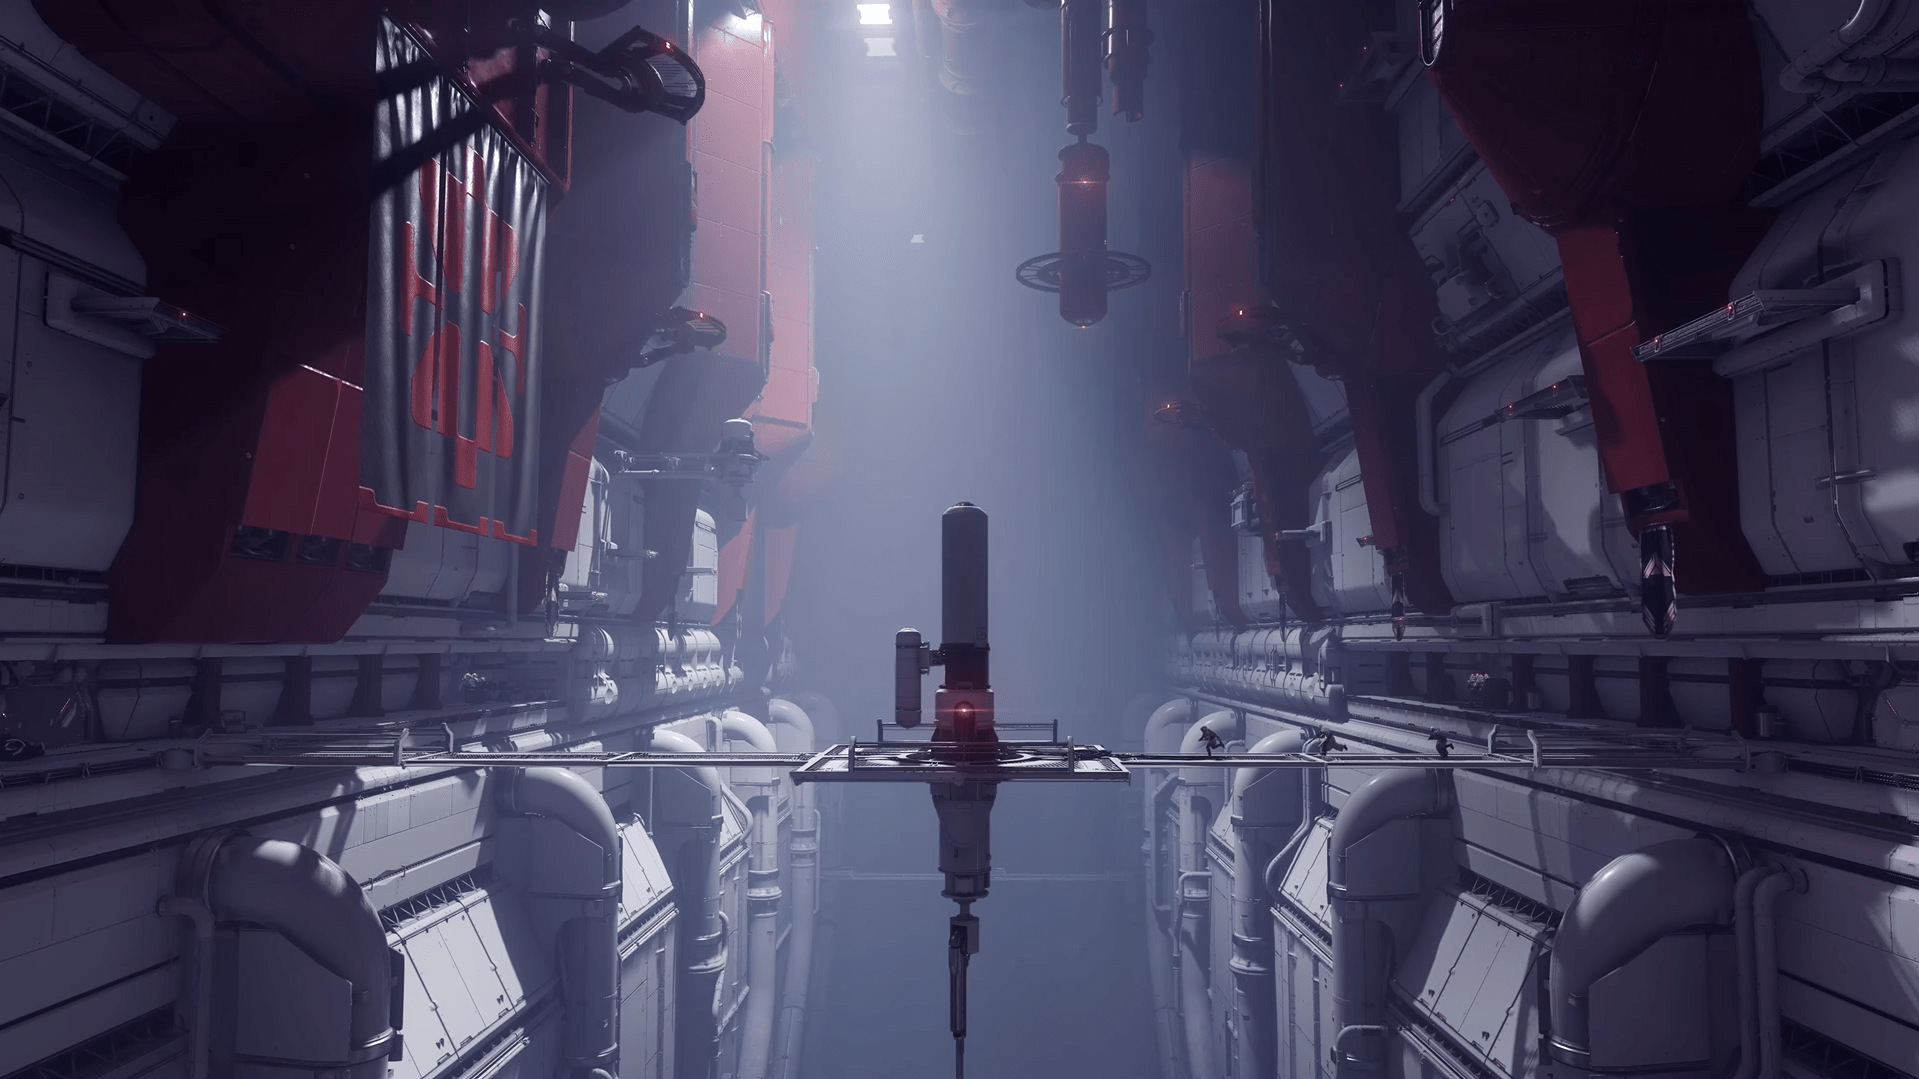
The Way Between isn’t as hard as it is long. You’ll need to complete the dungeon four separate times to charge the Relics you get. Not only that, but Relics require walking off the beaten path to get them. We will share The Way Between Relic locations in the following sections. Thankfully, the first Relic is charged during the first dungeon run. In total, you’ll go through seven steps, which have recurring mechanics, that prepare you for the final boss fight. The bossfight isn’t hard and can even be done solo, but in a fireteam, it’s much faster. Check out all the steps in this The Way Between full walkthrough.
The First Run
Initial Relic can be obtained by completing the dungeon for the first time. Unlike other Relics further into the quest, the first one comes pre-charged. Here are the three steps to get the first Relic:
- Talk to Aunor: To start the Way Between, you need to pick it up from Aunor and then complete the Equilibrium dungeon. If you haven’t yet beaten it, read our Equilibrium Dungeon Guide to complete it with ease.
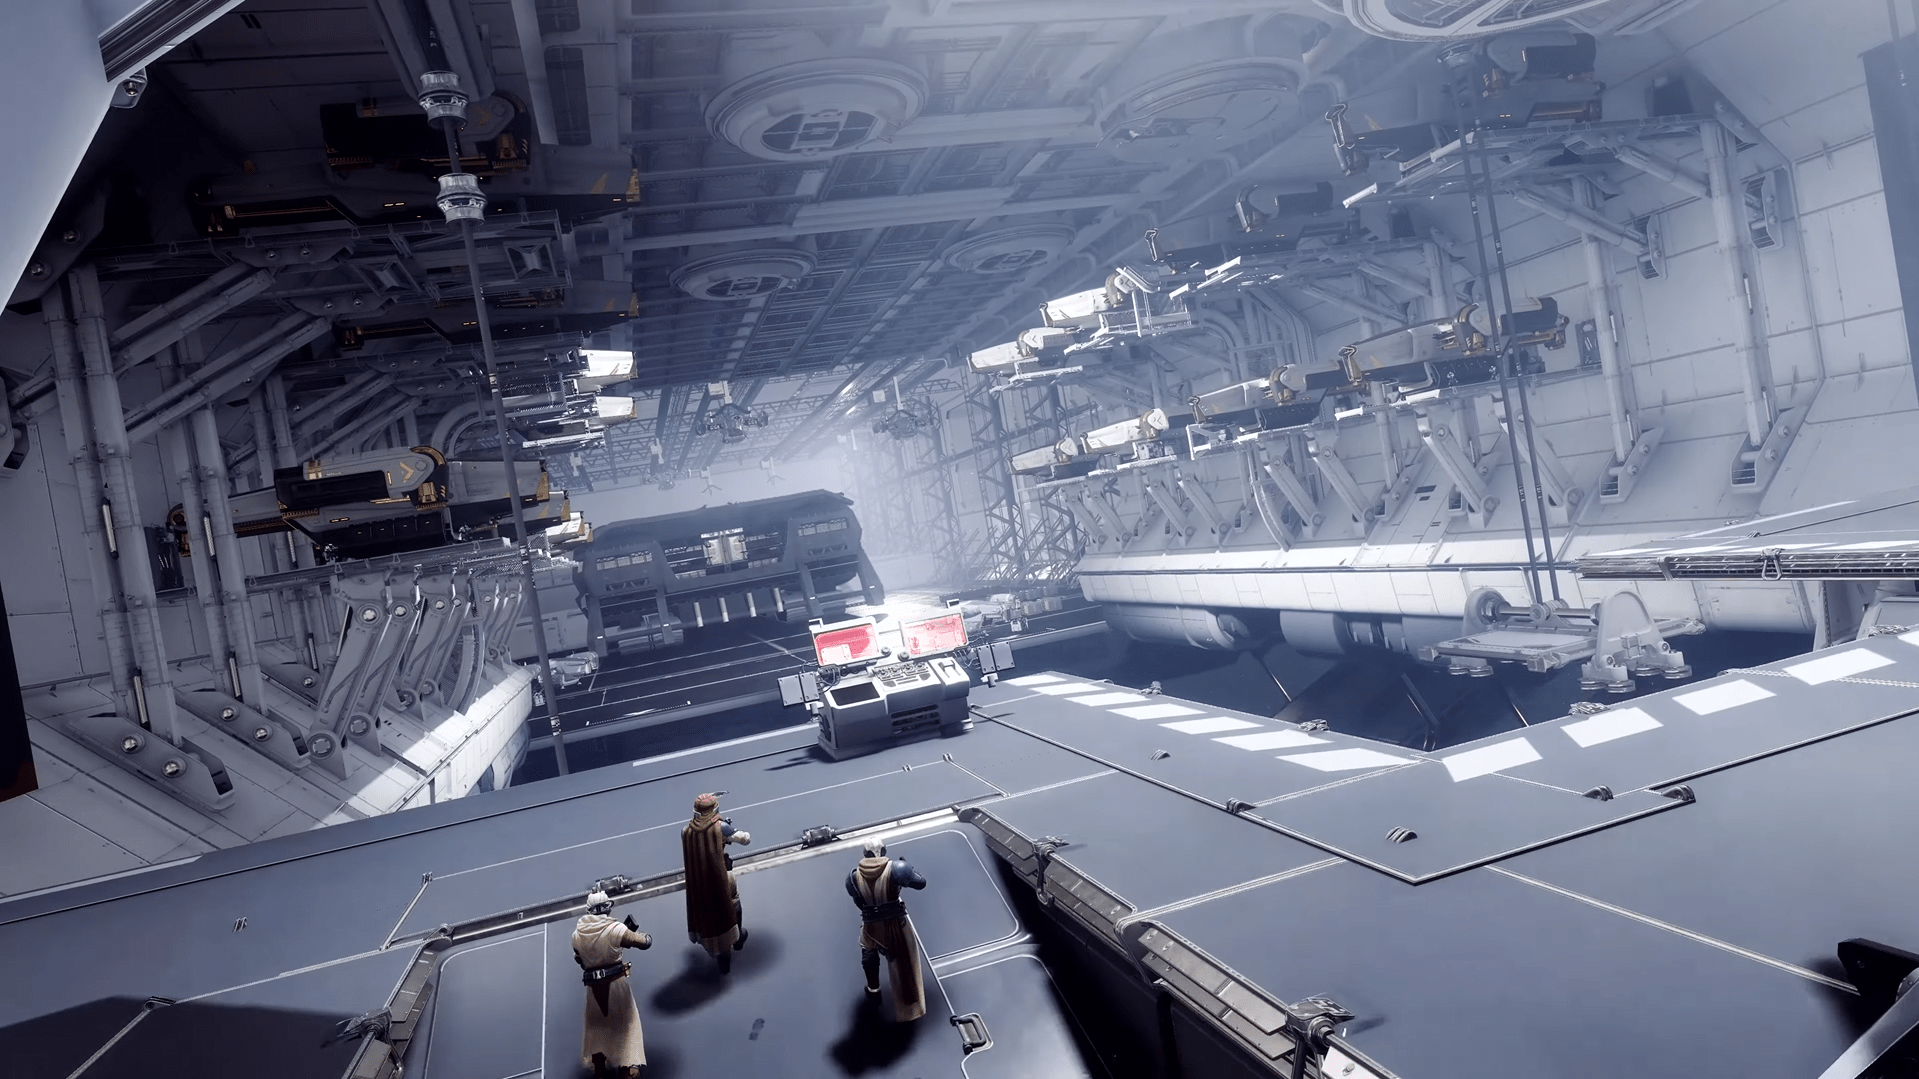
- Find the Pedestal Room: After you deal with Sere, return to the beginning of the dungeon and to where the first encounter takes place. Instead of returning to your ship, turn back and go to the room with four Pedestals in it. It's directly across the room. Interact with any Pedestal and place the first Relic.
- The Real Beginning: Now you are tasked with finding an artifact, clearing the dungeon, and returning to the Pedestals to place the Relics. Pay attention to what the quest says: "...your Blade will serve you on your way." You’ll need it to destroy the Blight Spheres further. Otherwise, you’ll be stuck and will need to restart the dungeon.
The beginning of this quest is relatively easy. That’s good, as the first time you beat the dungeon, your mind will be occupied with understanding the mechanics of it. The mechanics in the quest itself are pretty similar to what you’ll see in Equilibrium. You’ll need to charge up the Shadow Apprentice bar full and then attack certain mobs while it’s active.
The Second Run
Your second time entering the dungeon is a race for the Relic. You’ll drive Sparrows, fitted with blasters, and destroy Forgotten Eyes with them. To add to the tension of the race, you’re constantly on a timer. Destroying Forgotten Eyes adds time to it, but one wrong move and you’ll need to restart the process all over again. So here’s the fourth step of The Way Between questline:
- Find Your Way: The second Relic is just around the corner from the Pedestal Room. Go out of it and return to the main area where the first encounter takes place. Go to the door to the left of the Pedestal room.
- Start the Race: You'll see a Taken Blight Sphere. Destroy it with your lightsaber and step into the blight pool that appears beneath it. BLOG20
- Fill the Bar: Destroying it will make the Forgotten Eye appear before you. Kill it, and it will create another blight pool. Each pool you step in will fill the Shadow Apprentice bar and add 15 seconds to the timer.
- Hit that Taken: Once the bar's full, it'll give you a Shadow Master buff. Search for the mob called the Failed Apprentice and melee him to remove the shield. Killing him will make the last blight appear, and you will need to destroy it with Praxic Blade.
- Rev Up The Moto: Jump on a vehicle and travel further, destroying Forgotten Eyes and picking up their blights along the way.
- Second Encounter: At the end of the road, you'll find an arena, which spawns more Eyes and a Failed Apprentice. Kill him, destroy the eye, and continue.
- Continue the Race: Repeat the same process of destroying the Eyes. At the end of the ride, you'll find a number of Taken and, once again, Forgotten Eyes.
- Final Encounter: Do the thing with Eyes and the Apprentice one last time and then destroy one final Taken sphere beneath the switch, engulfed in Taken energy. Hit the switch with melee, and it'll open the door left to it. Inside, you'll find the second Relic.
- Second Relic Retrieved: Finish the dungeon and return to the Pedestals.
This run may require a couple of attempts to complete. The road you have to follow from arena to arena is pretty straightforward. You can still lose time thinking about how to avoid the hurdle on the road, though. Finishing this run gives you an Offensive Form mod for the Praxic Blade.
The Third Run

This attempt is the easiest. All you have to do is raise the bar’s progress by destroying Forgotten Eyes and killing Taken Apprentices. You’ll follow a pretty linear path, filled with enemies. Nothing too difficult and no complex mechanics involved. Take a look at the fifth step of the quest:
- Find the Sphere: A path to the third Relic starts on the road to the first boss, in the room where you need to shoot glowing batteries.
- Throw the Saber: You'll find a Blight Sphere, which you need to destroy to start this step of the quest. Here, it's the same mechanic as in Step 4.
- More of the Usual: Destroy Blights / Eyes, step into the pool, gain the Master buff, and destroy the Apprentice. This time it's not a race between the points, but a gauntlet where you'll need to navigate through the ship's spaces to find the Eyes. Don't worry, you won't get lost.
- Third Relic Done: After you get the third Relic, finish the dungeon and return to the Pedestals again.
This step can easily be done solo. Finishing this part of the quest will award you an Invigorating Blade focus.
Browse our hottest Destiny 2 Boosting services


The Fourth Run
It’s the final step to obtain all the Relics. This one is more fun and also more dangerous. The difficulty here stems not from the enemies but from the platforming. This step might take some time if you’re doing it solo, plus you’re constantly being attacked by snipers. Find two people to speed up the platforming part. Here’s the sixth and final step to obtain the Relic:
- Back to the Start: The final Relic will require extensive platforming. It's a similar loop to the previous steps, but this time you can just push the Failed Apprentices off the walkways instead of building up the Shadow Master buff.
- Get Ready: You can find the beginning of your path to the final Relic on the way to the final boss battle room. There's a Taken pool you need to step into to activate the sequence.
- Push It: The first encounter is a simple fight. Remember, you don't need a buff to push the Apprentice off the ledge.
- Start Jumping: The second encounter is more fun. You need to destroy the Blight Spheres with your laser sword to create platforms. Then, activate three Taken switches while simultaneously being shot at by Taken snipers.
- The First Switch: One of the switches is in the far right corner of the platform where you encounter the Failed Apprentice, hidden behind one of the big tanks.
- The Second Switch: The second one can be found on the upside-down platforms with snipers. Turn right from the first switch you flipped, and you'll see the first platform with a sniper. Immediately behind this platform is another. You’ll find the switch there.
- The Third Switch: The final switch is to the left of the first platform, where you encounter the Apprentice. It's in the upper-left corner, behind one of the tanks. Destroy a few blights to create platforms, and look around, you won’t miss it.
- Locate the Pipe: After flipping the final switch, turn back, and you'll find an inverted sniper platform opposite it. Get onto it, and you'll see three pipes, one of which is open now. Go into the open one and find a destructible vent.
- The Final Fight: The final encounter is another gauntlet where you need to defeat the Apprentice, this time without cheesing it. Kill it, and you'll find the final Relic.
- Final Relic Found: Complete the dungeon as normal and bring the Relic back to the Pedestals.
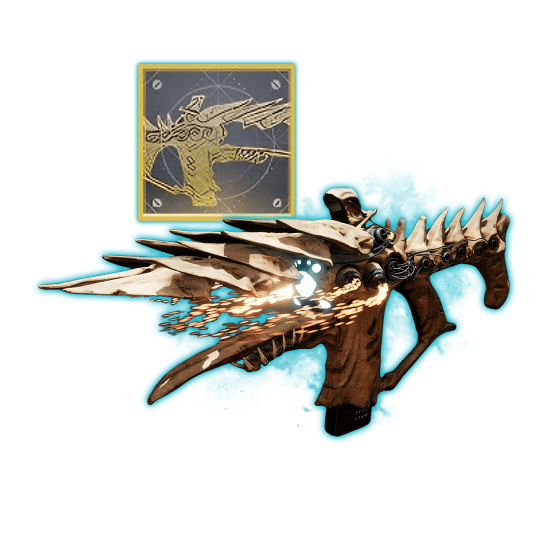
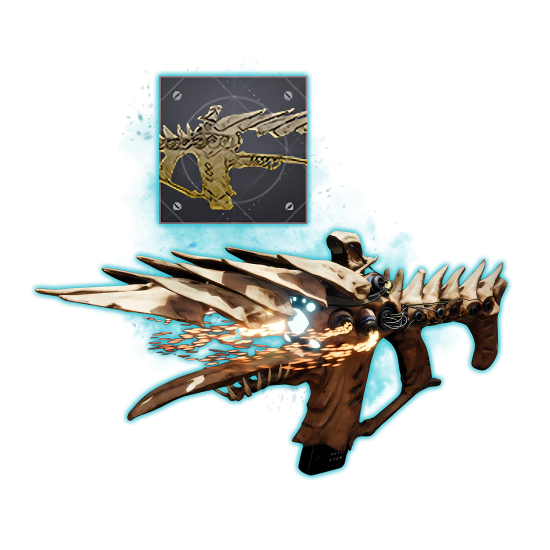
Finishing this step of Destiny 2’s The Way Between rewards you with Gyro Core for the Praxic Blade. It’s a very strong power core that applies the element of your Super to the thrown Praxic Blade. It’ll be especially useful against shielded enemies.
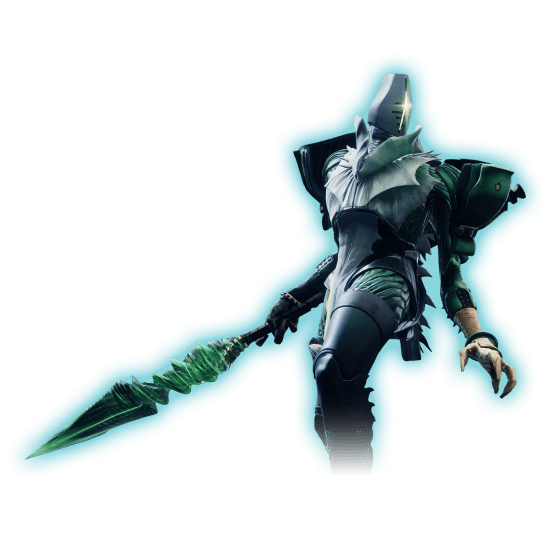
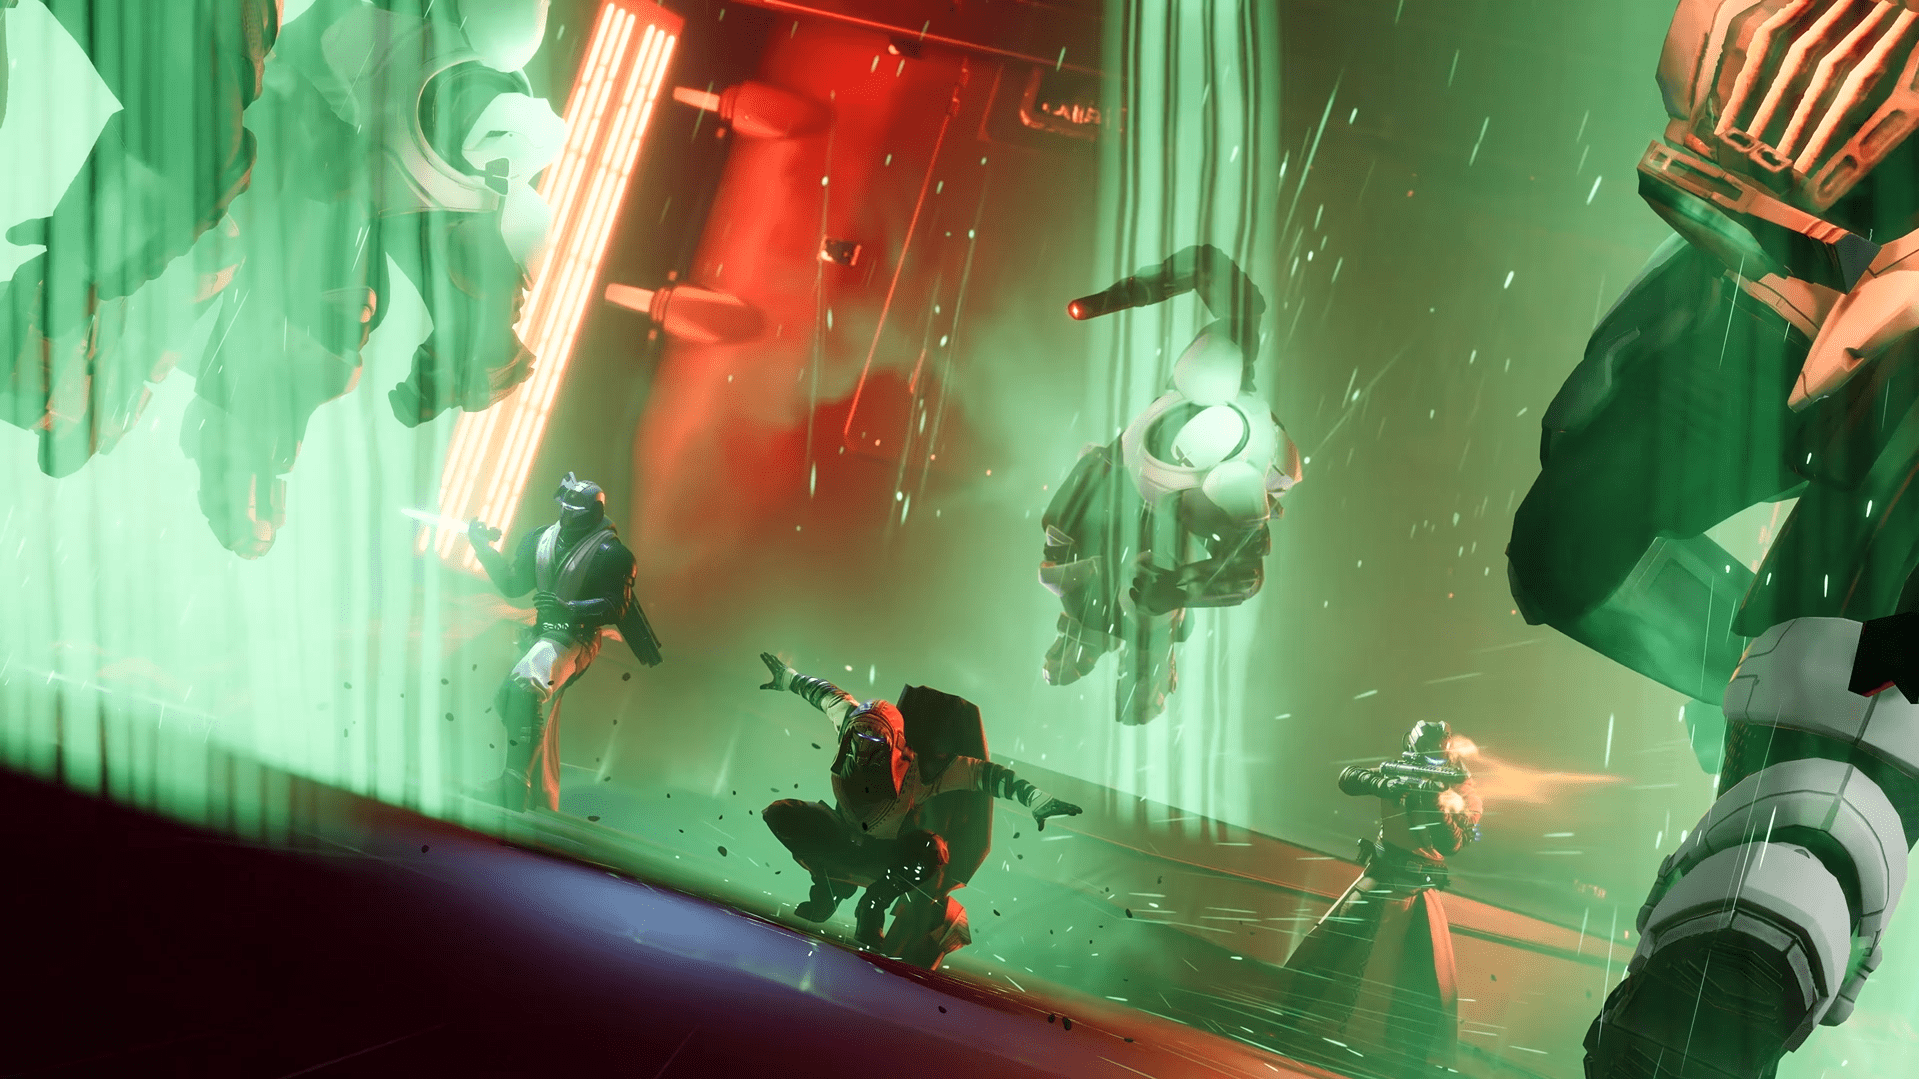
How to kill Shade of Sere in Destiny 2
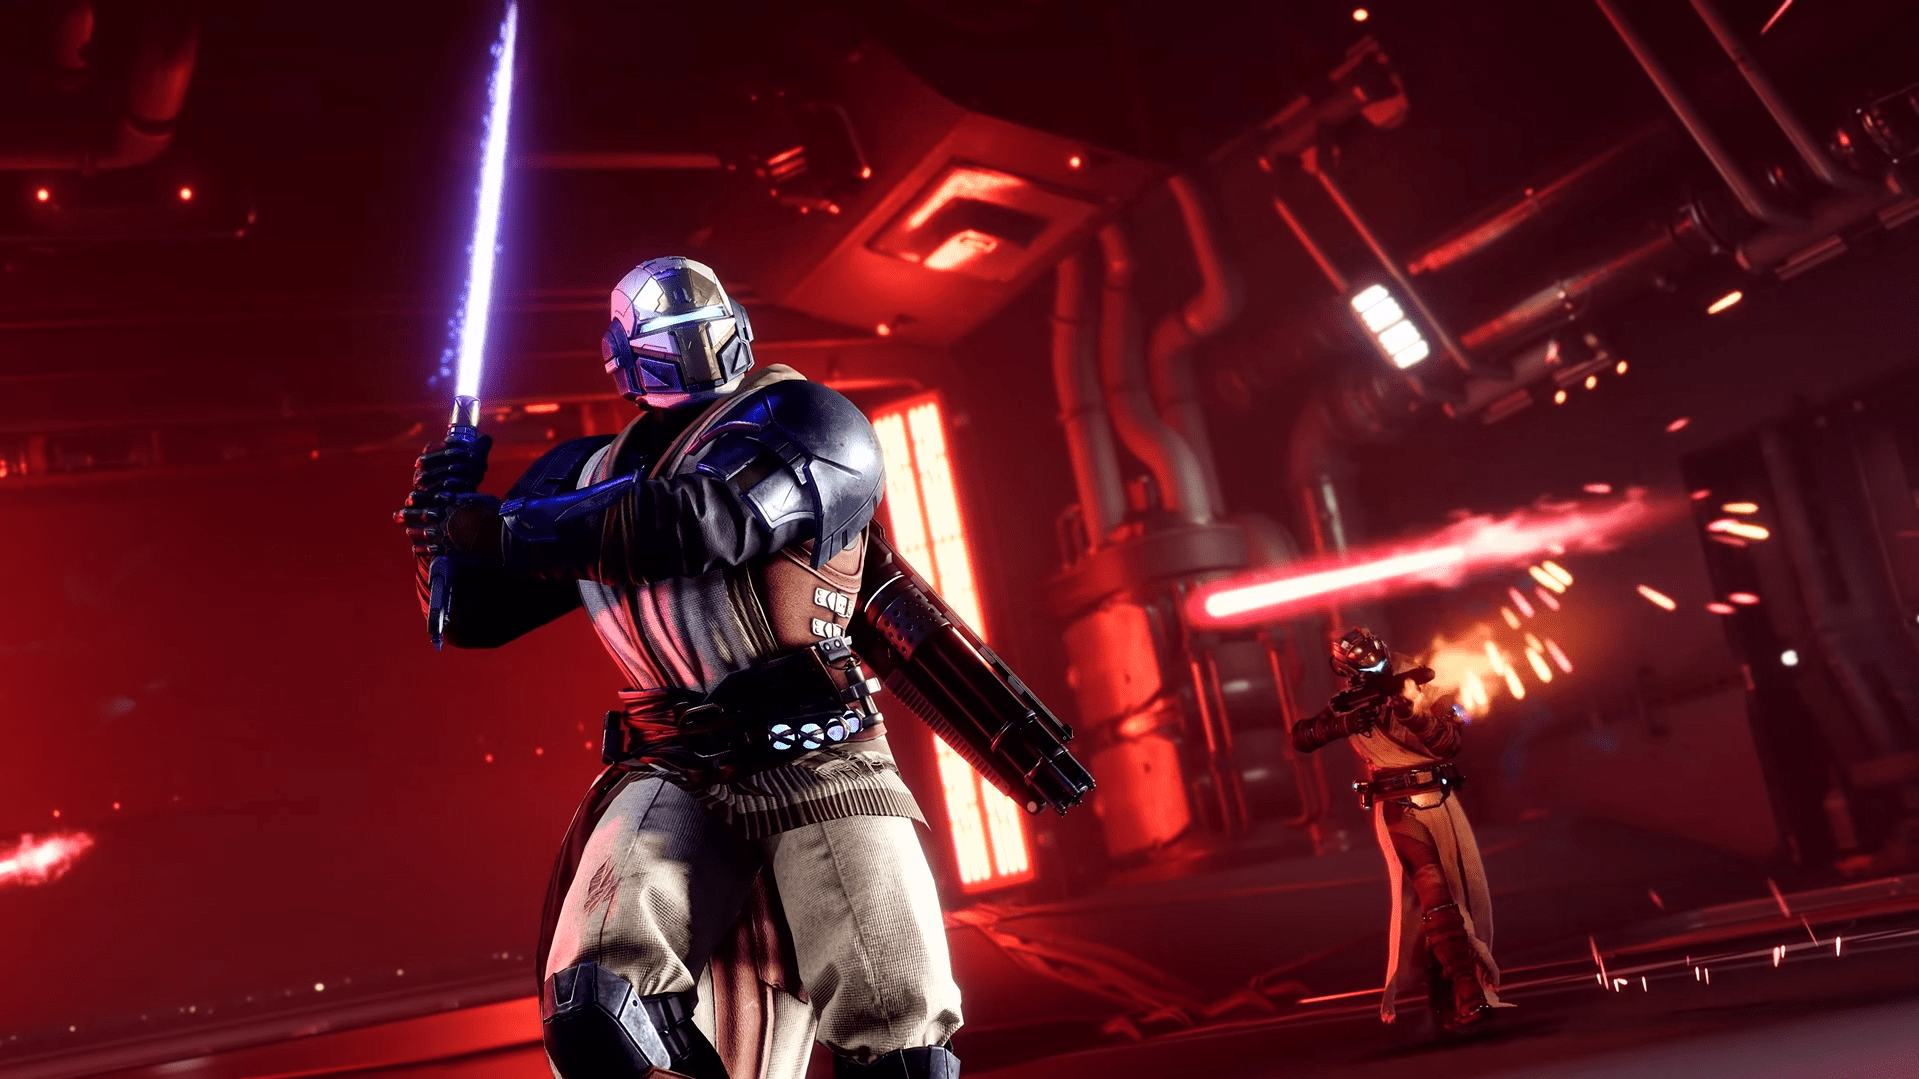
This is the final part of the quest, where you will encounter the Dredgen Sere boss in her Taken form. It’s not very difficult solo, and it's much easier if you do it in a fireteam. You will need the Praxic Blade to complete the boss fight. After you've placed the final Relic, you'll have a prompt to activate the Blight Sphere. Destroy it with your sword, and you'll be teleported to a boss fight. Here’s a step-by-step guide on how to kill the Shade of Sere in Destiny 2:
- Kill the Thralls: You need to destroy trash mobs with Praxic Blade to build up the Shadow Master buff.
- Compel the Shade: When you have filled the Shadow bar to the max, compel the Shade of Sere three times, which will destroy its shields. It is done by interacting with the boss by holding E, Square, or X, depending on the platform you play on.
- Go Up: The Shade of Sere will teleport to the platform above the arena once her shields are down. To climb to the platform, destroy Blight Spheres as you did in the platforming stage on Step 6.
- Do It Again: Reduce the boss’s health to half, then repeat the process.
After you've defeated the boss, you'll be teleported back to the Pedestal room. The reward for the boss fight is the final catalyst for the Praxic Blade, the Energy Conduit. It allows you to replenish your health based on the number of enemies hit by the thrown Sword. In addition, you can attune weapons and armor by interacting with the glowing chalice behind the Pedestals. Attuning will raise the chances of this item dropping from the encounters in Equilibrium.
Conclusion
While the quest isn’t challenging and doesn’t require a complex ARG to deal with, it’s still a lengthy one. On the positive side, you get some nifty rewards for completing each of the dungeon runs, along with unique enhancers for the Blade and gear. Completing this quest with friends may occupy a whole evening, depending on how well you know the dungeon. The Energy Conduit is definitely worth the grind, as it’s one of the strongest available Catalysts for the Praxic Blade. If you want to find out how to get the other three Catalysts, check out our Praxic Blade Guide. See you soon in the future D2 articles. Eyes up, Guardians!
F.A.Q
How do I start The Way Between quest in Destiny 2?
Talk to Aunor Mahal and she will give you the quest, which also unlocks the Equilibrium dungeon.
How to get Relics for The Way Between mission in Destiny 2?
You can get all Relics inside the Equilibrium dungeon. Each of them can only be unlocked during separate dungeon runs.
Do I need a fireteam to complete The Way Between quest in Destiny 2?
As you need to complete the dungeon each time to progress The Way Between quest, it is highly recommended to be part of a fireteam.
Can I solo Destiny 2’s The Way Between?
It is technically possible, but as with all high-end content in Destiny 2, it’s gonna be a real challenge.
How do I destroy a Taken Blight in The Way Between?
You need to throw your Praxic Blade at it. This can be done by pressing Alt Fire button.


