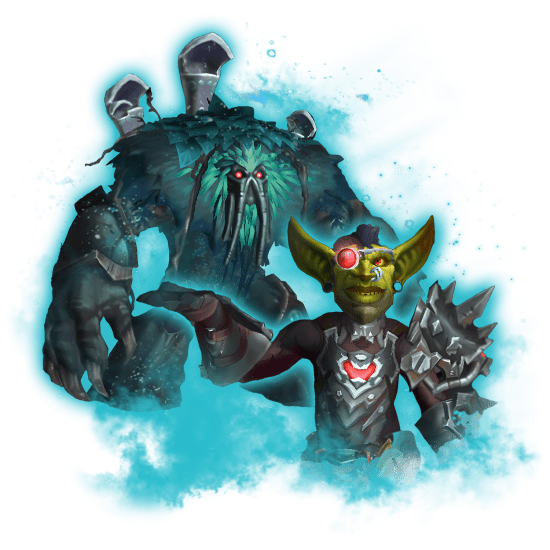
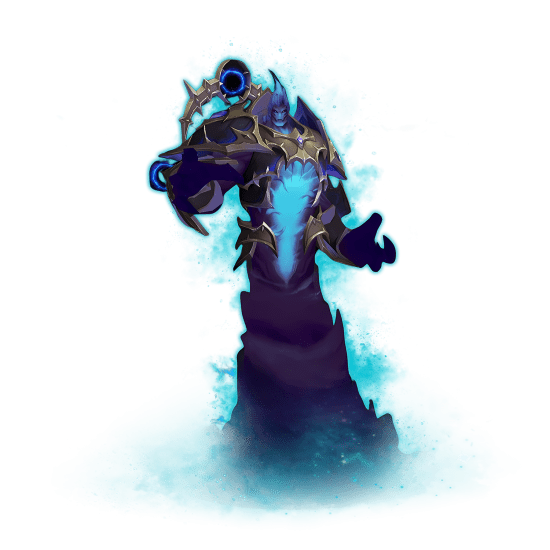
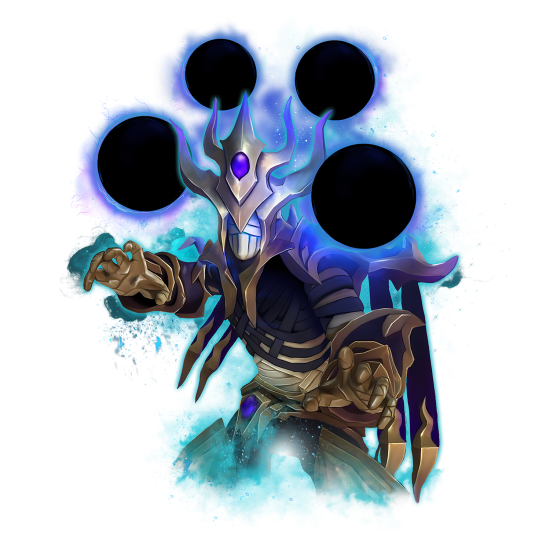
Manaforge Omega is the third and final raid that you will experience in The War Within Expansion. It is the culmination of many of the story arcs for both heroes and villains in TWW, so consider this a big finale. That being said, the following Manaforge Omega guide will cover everything there is to know about the raid, from the location to individual boss tactics and rewards.
You might also want to check out our other The War Within guides:
Note: At Skycoach, you can Buy WoW Boost at the best prices with fast delivery. Use our special PROMO CODE (in green) hidden in this article for a 20% DISCOUNT.
Browse our hottest WoW Boosting services
Manaforge Omega Overview
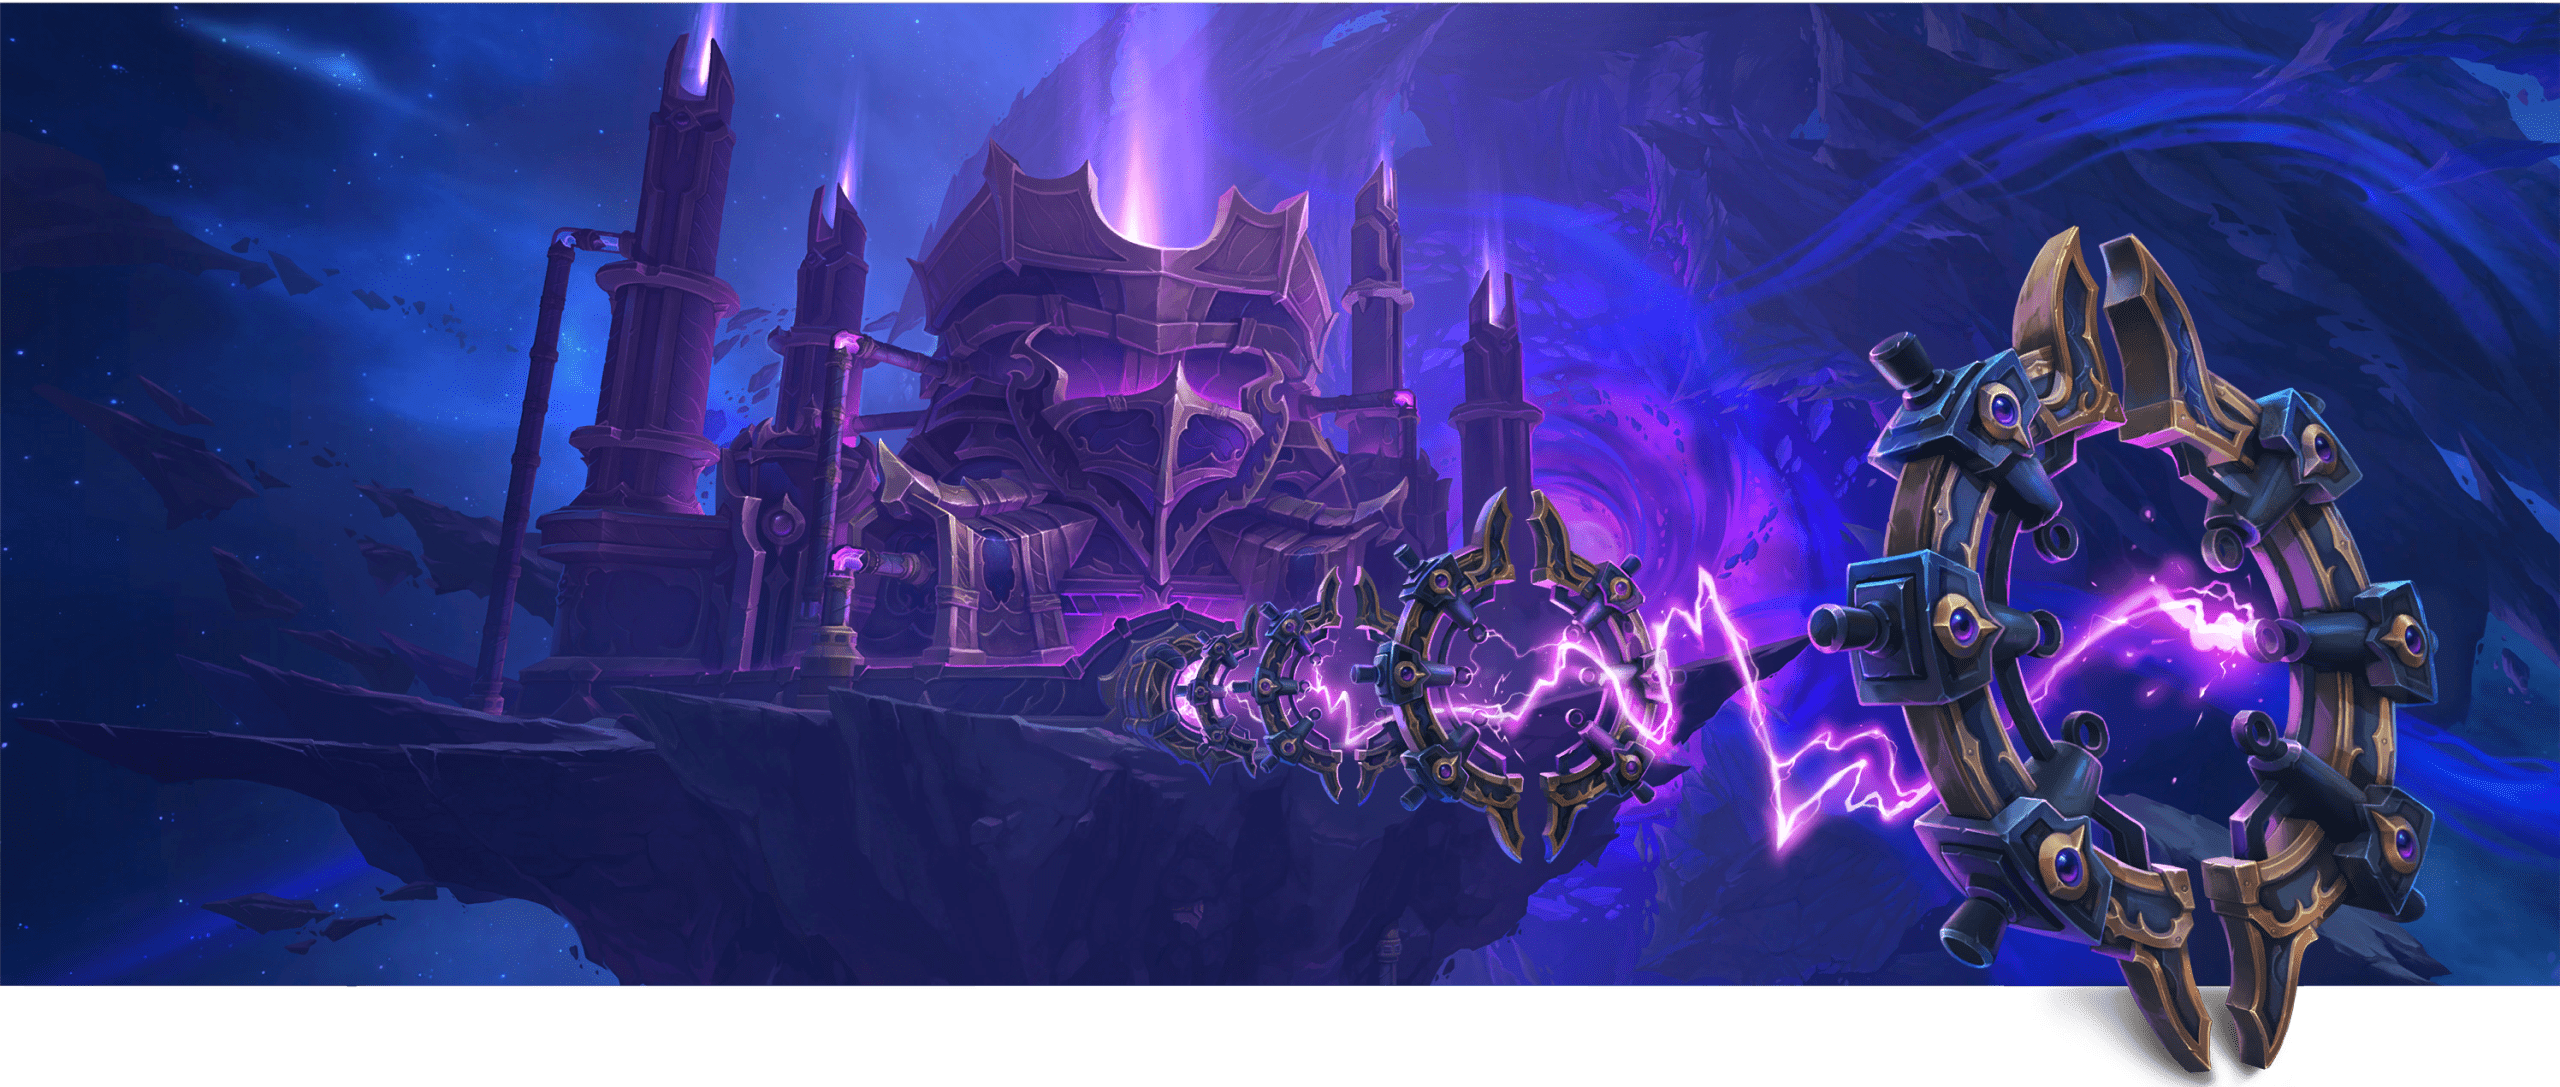
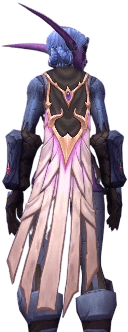 In this Manaforge Omega overview, we’re diving headfirst into the Void — and what might be Azeroth’s last stand. Introduced in Patch 11.2: Shadows of K’aresh, this is the climactic final raid of The War Within expansion. Set within a massive facility on the shattered remains of K’aresh, WoW Manaforge Omega raid is a colossal energy-harvesting complex designed to siphon cosmic power from the void-tainted world.
Once a marvel of ethereal engineering, the facility now serves a darker purpose. The Shadowguard, a sect of power-hungry Ethereals, have taken control of the forge, seeking to resurrect the long-banished Void Lord Dimensius, the All-Devouring — an entity so massive and destructive, his return could mean the end of Azeroth as we know it.
Adventurers will descend into this high-stakes battlefield via the Reshii Wraps cloak, transforming into pure energy to travel through the forge’s conduits. This unique entry point sets the tone for a raid filled with void-altered technology, arcane horrors, and cosmic-scale threats.
Manaforge Omega features eight boss encounters, including one optional boss — a rare design not seen since Warlords of Draenor. Players will face off against elite Ethereal lieutenants, arcane monstrosities, and finally, Dimensius himself — WoW’s largest raid boss ever, whose size eclipses entire cities.
This is not just a raid — it's a last stand. Fail here, and Azeroth may fall next.
Manaforge Omega Location
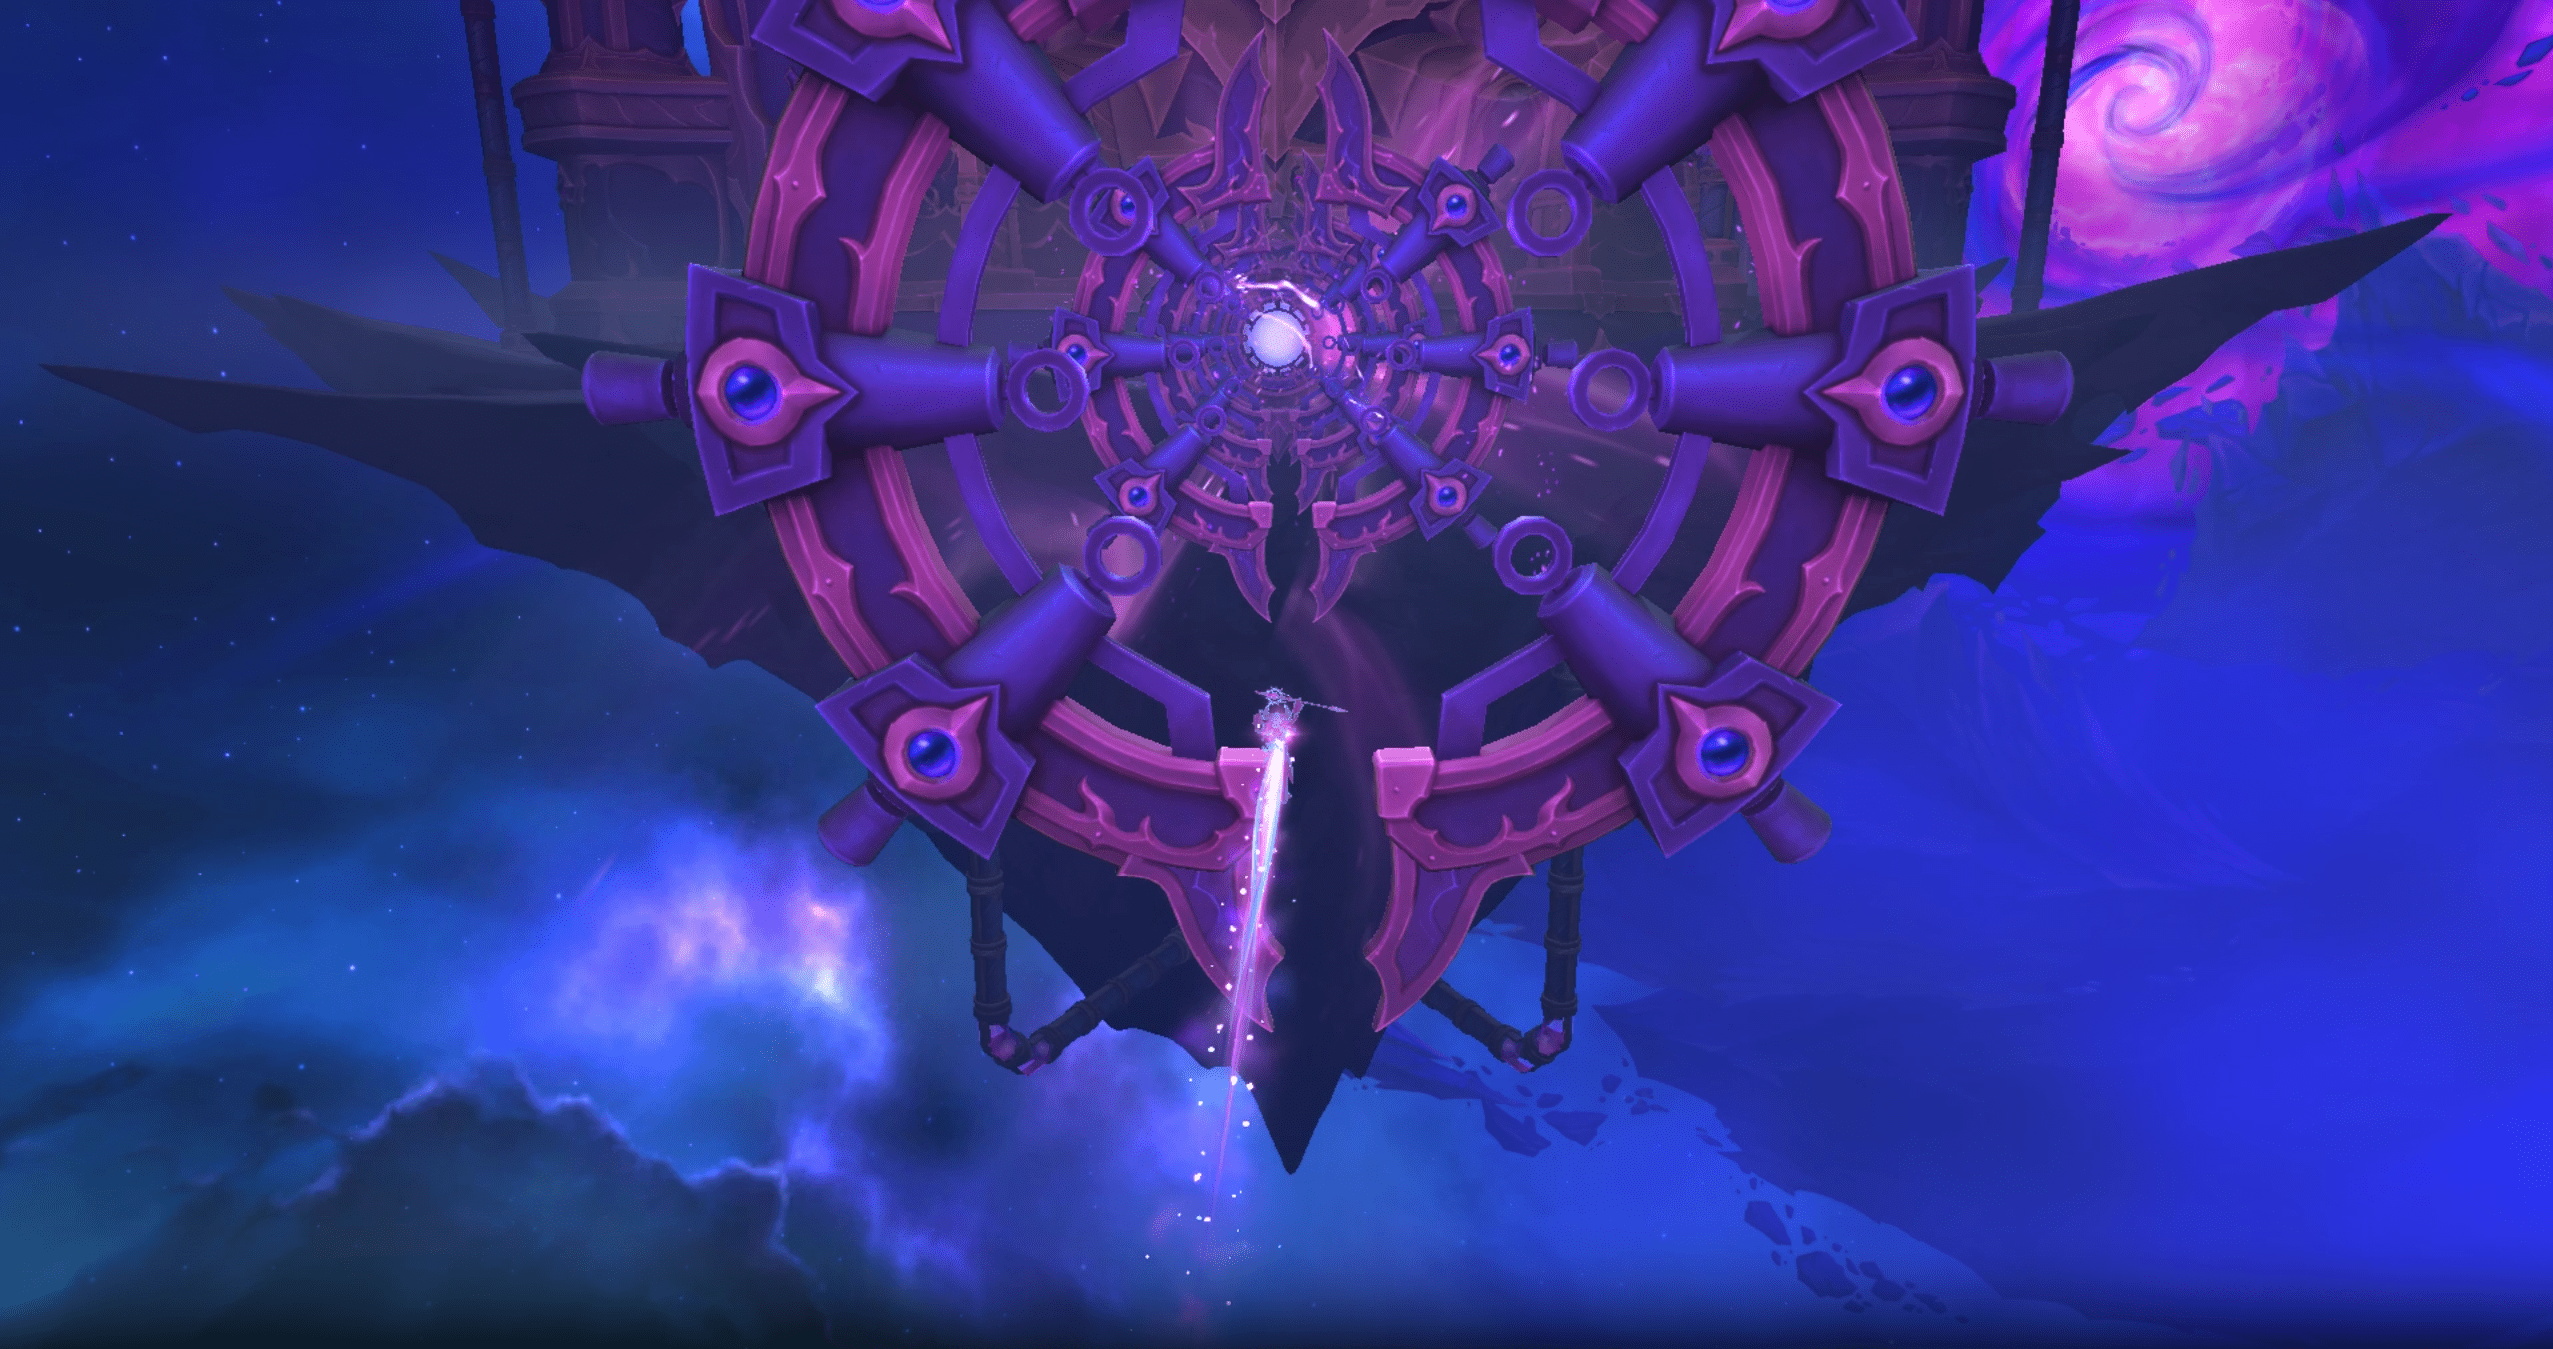
The Manaforge Omega location lies on the shattered world of K’aresh, a void-ravaged remnant of the Ethereal homeworld. This immense arcane facility, once used to siphon raw mana, has been overtaken by the Shadowguard in their effort to resurrect Dimensius, the All-Devouring. Players gain access to the Manaforge Omega entrance by using the Reshii Wraps to Phase Dive—transforming into pure energy to slip past the forge’s filtration system. Without this transformation, the defenses will instantly disintegrate any would-be intruders. BLOG20
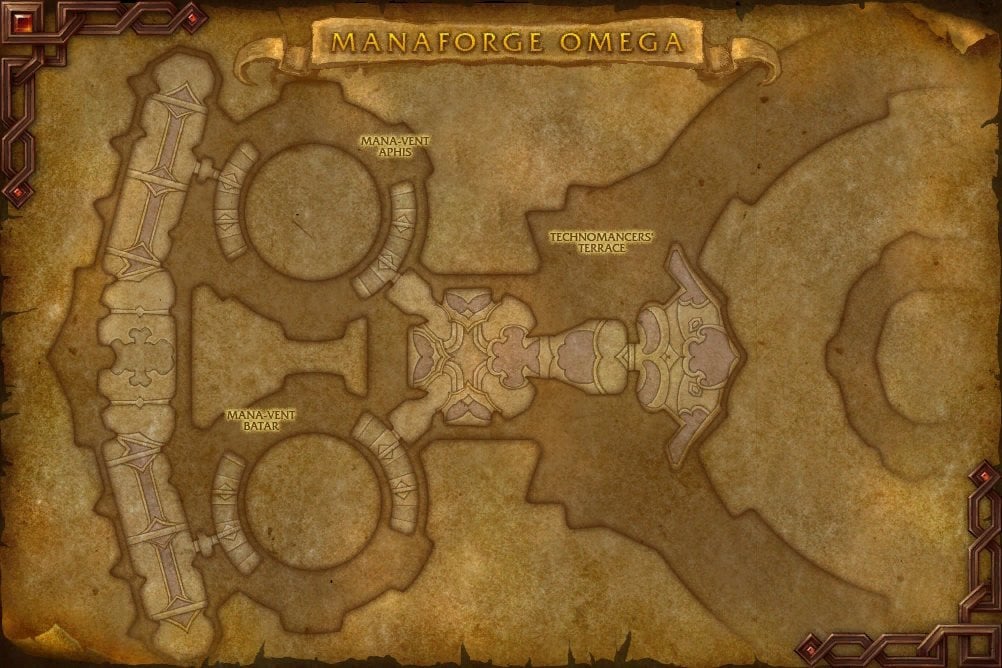
While the Manaforge Omega map shows the raid’s full layout, which includes several rooms or instances. Those are:
- The Forge Core
- The Unbound Vault
- Cultivation Chambers
- Technomancers' Terrace
- Central Operations
- Wastes of Karesh
- The Shadow Docks
- Seat of the Devourer
- Remnants of Conquest
- Remnants of Entropy
- Devourer's Heart
- The Dark Heart
A progression through interconnected chambers filled with arcane machinery, Void-warped environments, and high-stakes boss encounters. Teleports from Stormwind and Orgrimmar will likely be available to reach the raid during Season 3.
Manaforge Omega Bosses
The Manaforge Omega raid guide features eight encounters that blend arcane technology with the corrupting influence of the Void. These carefully designed battles will test your group’s coordination, awareness, and adaptability as you descend deeper into the heart of K’aresh.
Here is the full list of Manaforge Omega bosses:
- Plexus Sentinel
- Loom’ithar
- Soulbinder Naazindhri
- Forgeweaver Araz
- The Soul Hunters (Optional)
- Fractillus
- Nexus-King Salhadaar
- Dimensius, the All-Devouring (Final Boss)
The current Manaforge Omega boss order begins with Plexus Sentinel and culminates in a climactic encounter with Dimensius. While tuning and positioning may still shift during testing, the structure provides a clear escalation in challenge and spectacle.
Manaforge Omega Tactics
This section of our Manaforge Omega tactics is dedicated to encounter strategies for each of the raid's eight bosses. While the fights remain untested or partially explored on the PTR, we’ve compiled everything currently known through datamining, official previews, and early gameplay footage.
Each boss listed below includes a short lore-based description and a preview of abilities to expect during the fight. Strategy breakdowns will be added as players successfully clear the encounters on live or during testing. Check back frequently for updates as tactics emerge.
Plexus Sentinel Strategy
To start off the WoW Manaforge Omega walkthrough, you’ll be dealing with the patrolling the colossal machinery of Manaforge Omega, the Plexus Sentinel ensures that all incoming energy from K’aresh is sterilized before reaching the central chamber. Any intruder not made of pure energy is considered a contaminant — and will be purged.
This is the opening encounter of the raid, introducing players to mechanics that interact with the Reshii Wraps and the concept of becoming “energy” to avoid lethal effects. Expect high mobility requirements, AoE coordination, and environmental hazards tied to the Sieve phase.
Notable Abilities
- Phase Blink
- Arcanomatrix Sieve
- Atomize
- Arcane Radiation
- Static Lightning (Heroic+)
- Manifest Matrices
- Displacement Matrix
- Potent Residue
- Obliteration Arcanocannon
- Charged Lightning
- Eradicating Salvo
- Protocol: Purge (Phase 2)
- Energy Cutter
- Purging Lightning
- Expulsion Zone
- Overloading Attendant (Mythic)
Strategy Coming Soon
Once players begin defeating this encounter during raid testing or live release, a full tactical breakdown will be added here, including recommended positioning, defensive cooldown rotations, interrupt coordination, and uses of Reshii Wraps.
Loom’ithar Strategy
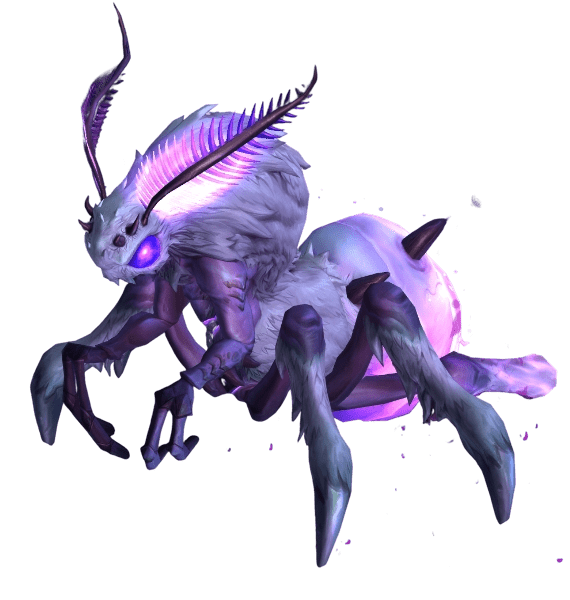
Loom’ithar is a genetically engineered arcane predator, designed to infuse its silk with magical energy. Bred to produce "living silk" for the Soulbinder’s rituals, Loom’ithar is both a creature of precision and raw arcane fury. Once weakened, it sacrifices its own body in a violent transformation, tearing itself apart to bring down those who threaten it.
This is a two-phase encounter featuring intense area control, movement-restricting mechanics, and burst damage phases. Players must carefully handle Infused Tangles, manage Infusion Tethers, and prepare for a chaotic second phase when Loom’ithar literally splits in half.
Notable Abilities
- Arcane Overflow
- Hyper Infusion (Mythic)
- Lair Weaving
- Woven Ward (Heroic+)
- Primal Spellstorm
- Overinfusion Burst
- Infusion Tether
- Living Silk
- Piercing Strand
- Silk Blast
- Unbound Rage (Transition)
- Arcane Ichor
- Arcane Outrage
- Writhing Wave
- Deathbound (Mythic)
Strategy Coming Soon
As teams begin to face Loom’ithar in live environments or through PTR progression, full strategy breakdowns will be added here, including positioning for Tangle rings, interrupt coordination for Hyper Infusion, and group soaking for Writhing Wave. Be prepared for a hard-hitting second phase and strict execution demands on higher difficulties.
Soulbinder Naazindhri Strategy
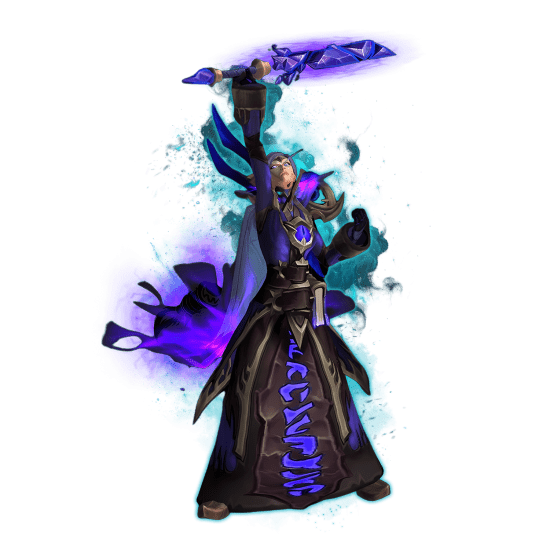
Moving on with the Manaforge Omega boss guide, Soulbinder Naazindhri is the sinister architect behind the Shadowguard’s endless ranks. From her command at the Soul Machine, she binds the spirits of lost Ethereals in magical silk, twisting them into loyal, arcane-powered warriors. Though she considers them her children, she has no hesitation sacrificing them in service of her cause.
This is a highly chaotic encounter that blends add management, interrupt chains, spatial awareness, and player-targeted debuffs. The arena fills quickly with Binding Machines, unbound souls undergoing transformation, and volatile arcane energy from Naazindhri’s wrath.
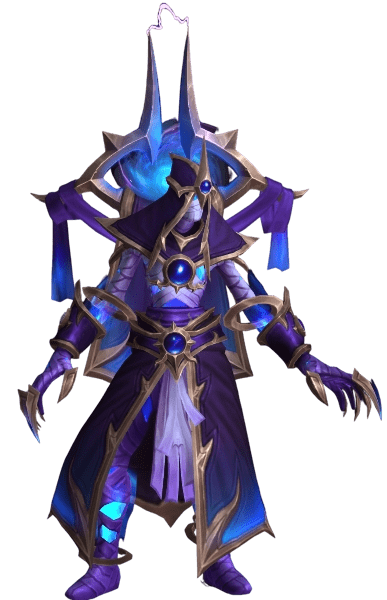 Notable Abilities
- Soul Calling
- Soulweave Chrysalis
- Essence Implosion
- Silk Shield (Mythic)
- Shatterpulse (Mythic)
- Mystic Lash
- Arcane Expulsion
- Soulfray Annihilation
- Soulfire Convergence
- Soulrend Orb
- Deathspindle
- Unbound Assassin, Unbound Mage, Unbound Phaseblade - Soulweave Chrysalis
- Shadowguard Assassin – Voidblade Ambush
- Shadowguard Mage – Void Volley
- Shadowguard Phaseblade – Void Resonance / Phase Blades
Strategy Coming Soon
Once raid testing confirms optimal tactics, this section will outline how to handle Binding Machines, control add spawns, soak or dodge Soulfray Annihilation, and safely expel Soulrend Orbs. Expect healing-intensive phases, complex spatial positioning, and tight DPS windows, especially on Mythic where Silk Shield management becomes critical.
Forgeweaver Araz Strategy
Forgeweaver Araz is a fanatical technomancer dedicated to bringing Dimensius into reality by feeding him arcane energy directly from the manaforge. Through ritualistic siphoning and manipulation of arcane collectors, Araz’s encounter becomes a race to prevent the Void Lord’s arrival — or at least slow it by disrupting the flow of power.
This is a high-complexity fight with multiple phases, arena control challenges, and a deadly burn phase. It blends add waves, environmental hazards, echo mechanics, and an eventual collapse into Void corruption. Coordination and precision are key.
 Notable Abilities
- Overwhelming Power
- Arcane Obliteration
- Arcane Echo
- Mark of Power
- Astral Mark
- Astral Harvest
- Arcane Manifestation / Astral Surge
- Power Manifested
- Invoke Collector / Prime Sequence
- Arcane Convergence
- Arcane Barrier
- Silencing Tempest / Echoing Tempest
- Arcane Expulsion
- Mana Splinter
- Intermission – Priming the Forge (stage)
- Intermission – The Iris Opens (stage)
- Stage Two – Darkness Hungers (stage)
- Dark Singularity / Crushing Darkness
- Hungering Gloom / Void Manifestation
- Death Throes (Mythic)
Strategy Coming Soon
This encounter demands clean coordination between positioning, soak groups, collector disruption, and phase transitions. Once raid teams begin progressing through Forgeweaver Araz, we’ll update this section with full tactics for managing Echo placement, handling Arcane Manifestations, rotating through collector sequences, and dealing with the intense Void phase in Stage Two.
The Soul Hunters Strategy (Optional Boss)
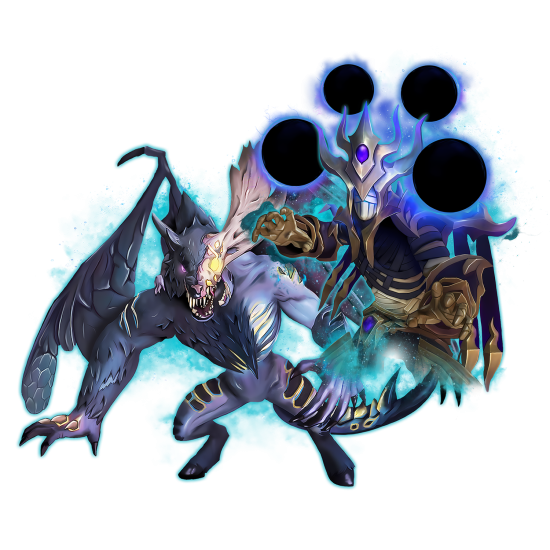
Adarus, Velaryn, and Ilyssa — three elite void-infused demon hunters — stalk the corridors of Manaforge Omega as a coordinated strike unit. Adarus harnesses void energy, Velaryn commands chaos flames, and Ilyssa manipulates fragmented souls. Together, they deliver a relentless, multi-front assault with rotating focus and deadly synergy.
This is an optional encounter, but don’t mistake that for easy. Expect alternating intermission phases, complex target management, and overlapping abilities that punish positioning and coordination.
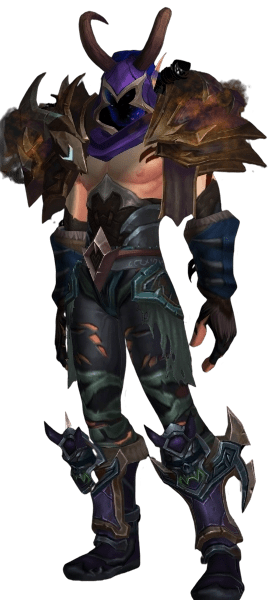
Notable Abilities
Shared/Encounter-Wide Mechanics:
- Metamorphosis
- Intermission – Ceaseless Hunger
- Intermission – The Demon Within
- Intermission – Unrelenting Pain
- Soul Tether (Mythic)
Adarus Duskblaze
- Devourer’s Ire
- Consume
- Unending Hunger
- Voidstep
- Hungering Slash
- Encroaching Oblivion
- Eradicate (Mythic)
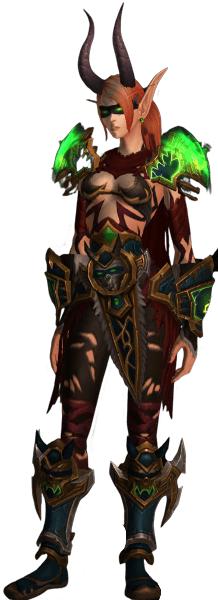 Velaryn Bloodwrath
Ilyssa Darksorrow
- Fracture
- Shattered Soul / Frailty
- Spirit Bomb
- Soulcrush
- Expulsed Soul
- Sigil of Chains (Mythic)
- Immolation Aura
- Infernal Strike (Intermission)
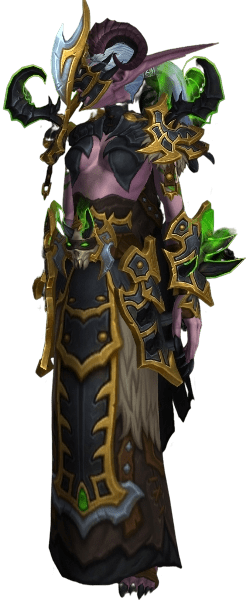 Fel Devastation
- Withering Flames (Mythic)
Strategy Coming Soon
This fight demands high awareness, rotation planning, and proactive soaking. Each boss has core mechanics that target different roles, and failure to handle overlaps — especially during intermissions — can snowball quickly. When more data becomes available from live or PTR testing, we’ll provide a full strategy breakdown for managing boss focus, Devourer’s Ire rotations, soaking The Hunt, and handling soul fragment logistics under pressure. BLOG20
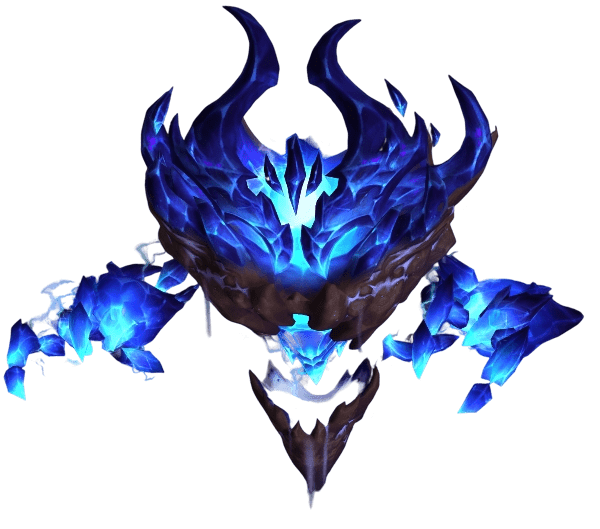
Fractillus Strategy
Fractillus, a wrathful elemental born of the void-scorched dunes outside Manaforge Omega, serves as a brutal enforcer using weaponized crystal formations and shockwaves. The fight hinges on player movement, controlled knockbacks, and managing crystal wall mechanics — failure results in raid-wide punishment.
This encounter is especially punishing on Heroic and Mythic difficulties, with overlapping effects from shattered Crystal Nexuses creating massive raid-wide damage if not managed properly.
Notable Abilities
- Entropic Conjunction
 Crystal Nexus
- Nexus Shrapnel
- Brittle Nexus (Mythic)
- Crystal Lacerations (Mythic)
- Void-Infused Nexus (Heroic, Mythic)
- Null Consumption
- Null Explosion
- Crystalline Backhand
- Shockwave Slam
- Entropic Shockwave
- Nether Crystallization
- Crystallized
Strategy Coming Soon
This encounter emphasizes player positioning, deliberate knockback usage, and careful Nexus management. Once PTR testing provides clear methods for baiting Entropic Conjunction and safely breaking Nexuses, we’ll update this section with optimized movement plans, defensive rotation suggestions, and raid-wide cooldown timings.
Browse our hottest WoW Boosting services
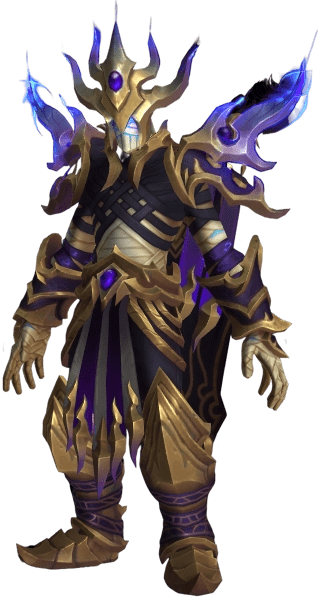
Nexus-King Salhadaar Strategy
Once the ruler of K’aresh and a former enemy of Dimensius, Nexus-King Salhadaar reveals his ultimate betrayal: a pact with the very Void Lord who shattered his world. Now, mounted atop the Royal Voidwing, he commands cosmic forces to seal Dimensius’ return.
This is a long, multi-phase encounter involving personal oaths, intermissions with elite adds, and arena-wide mechanics driven by Salhadaar’s galactic weaponry. The fight transitions from managing loyalty mechanics to a final showdown under the shadow of a collapsing reality.
Notable Abilities
 Phase 1 – Oath-Breakers
Royal Voidwing (Phase 1 – Support Role)
Phase 2 – Rider of the Dark
Intermission 1 – Nexus Descent
- Rally the Shadowguard
- Manaforged Titan – Self-Destruct
- Nexus Princes (K, X) – Twilight Barrier (Mythic)
- Shadowguard Reaper – Reap / Twilight Massacre
- Seal the Forge
Intermission 2 – King’s Hunger
- King’s Hunger
- Royal Ward
- Stacking AoE DoT
Phase 3 – World in Twilight
- Galactic Smash
- Dark Star / Atomized / Twilight Spikes
- Starkiller Swing
- Starkiller Nova
- Nexus Collapse / Dimension Rend (Heroic)
- Dark Orbit / Stars Collide (Mythic)
- Twilight Scar / Starshattered
Strategy Coming Soon
This encounter is a mechanical gauntlet, blending personal responsibility (Oath management), intense add control, and a final phase that collapses into full chaos. We'll update this section with phase-specific positioning, add assignments, and how to handle Dark Star + Starkiller Nova interactions once raid testing begins in earnest.
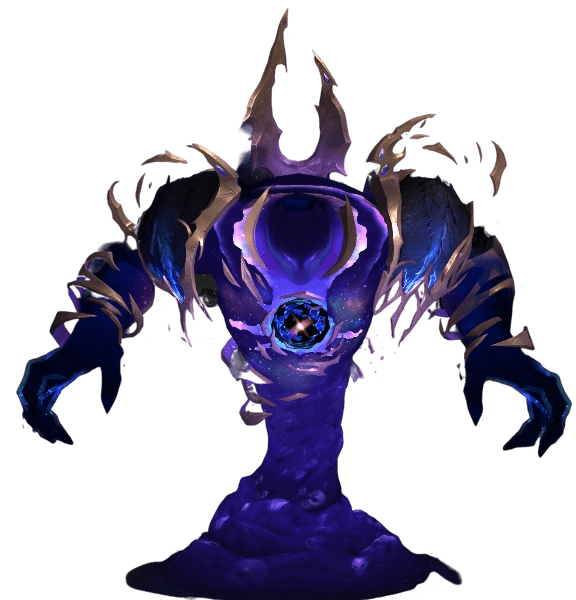
Dimensius, the All-Devouring Strategy
Deep within Manaforge Omega lies the reality-ending threat of Dimensius, a cosmic entity awakened by the Dark Heart. If allowed to feed, he will unravel all known existence. This is a mythic-scale, multi-phase encounter with space-bending mechanics, gravity manipulation, and a desperate aerial escape led by Xal’atath.
This fight tests spatial awareness, coordination, and gravity-based mechanics like Collective Gravity, Reverse Gravity, and Gravitational Distortion. It culminates in a chaotic final phase where players must stay grounded—literally—against the force of a collapsing cosmos.
Notable Abilities
 Phase 1 – Critical Mass
- Devour
- Oblivion
- Living Mass / Excess Mass
- Massive Smash
- Growing Hunger
- Shattered Space
- Reverse Gravity
- Dark Matter / Dark Energy (Heroic+)
Intermission – Event Horizon
Phase 2 – The Dark Heart
- Extinction
- Gamma Burst
- Crushing Gravity / Inverse Gravity (Mythic)
- The Devoured Lords
Phase 3 – Singularity
- Extinguish the Stars
- Devour (Final)
- Supernova / Black Hole
- Darkened Sky / Shadowquake
- Cosmic Collapse
- Density
- Gravitational Distortion (Again)
Strategy Coming Soon
This fight is an escalating series of cosmic stress tests:
- Use Excess Mass wisely in Phase 1 to survive Devour.
- Handle aerial coordination and power-ups in Event Horizon.
- Burn down Voidlords quickly during The Dark Heart or risk being overwhelmed by environmental hazards.
- In Singularity, always remain in Gravity Wells before a Devour, avoid Black Holes, and survive the escalating Density and Shadowquake chains.
We'll expand this section with positioning maps, add kill priorities, and Devour timing strategies once testing data becomes available.
Manaforge Omega Loot
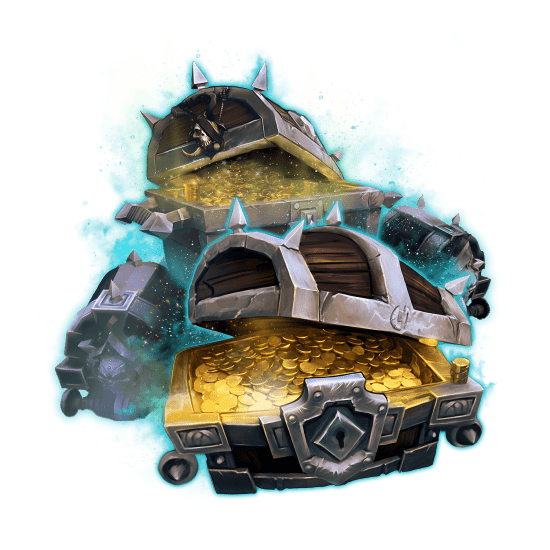
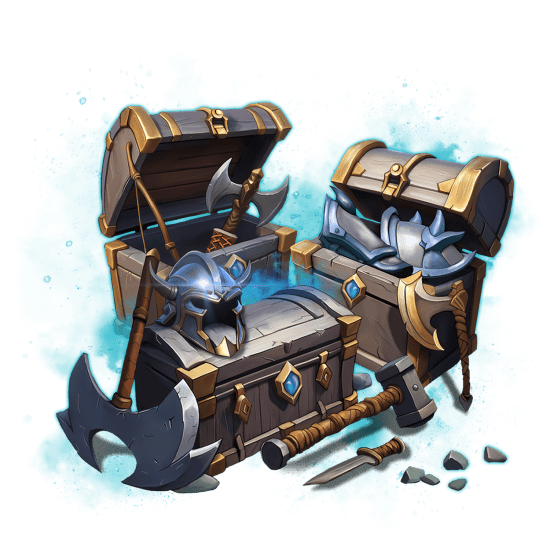
The Manaforge Omega loot includes new Tier Sets for every class and a full Raid Renown track featuring progression-based rewards. Below, you’ll find all the Tier Sets currently confirmed for this raid, as well as what we know so far about Renown unlocks. As more details become available about the loot table — including potential mounts, pets, and achievements — we’ll update this section accordingly.
Season 3 Tier Sets – Manaforge Omega
This season, Tier Sets are linked to Hero Talents, not traditional specializations, meaning each class has bonuses tied to its selected Hero Talent tree.
| Class |
Tier Set Name |
Hero Talent Options |
| Death Knight | Hollow Sentinel's Wake | Deathbringer, Rider of the Apocalypse, San'layn |
| Demon Hunter | Charhound's Vicious Hunt | Aldrachi Reaver, Fel-Scarred |
| Druid | Ornaments of the Mother Eagle | Druid of the Claw, Elune's Chosen, Keeper of the Grove, Wildstalker |
| Evoker | Spellweaver's Immaculate Design | Chronowarden, Flameshaper, Scalecommander |
| Hunter | Midnight Herald's Pledge | Dark Ranger, Pack Leader, Sentinel |
| Mage | Augur's Ephemeral Plumage | Frostfire, Spellslinger, Sunfury |
| Monk | Crash of Fallen Storms | Conduit of the Celestials, Master of Harmony, Shado-pan |
| Paladin | Vows of the Lucent Battalion | Herald of the Sun, Lightsmith, Templar |
| Priest | Eulogy to a Dying Star | Archon, Oracle, Voidweaver |
| Rogue | Shroud of the Sudden Eclipse | Deathstalker, Fatebound, Trickster |
| Shaman | Howls of Channeled Fury | Farseer, Stormbringer, Totemic |
| Warlock | Inquisitor's Feast of Madness | Diabolist, Hellcaller, Soul Harvester |
| Warrior | Chains of the Living Weapon | Colossus, Mountain Thane, Slayer |
These tier sets drop from the Manaforge Omega bosses and come in all four difficulties—Raid Finder, Normal, Heroic, and Mythic—each with its own unique appearance. Expect these pieces to be central to optimizing your class in both PvE and PvP content this tier. We'll update this section with loot tables, mounts, and achievements as more information becomes available.
Manaforge Vandals – Raid Renown Track
The Manaforge Omega loot table also features the Manaforge Vandals Renown system. With 15 ranks of unlocks tied to raid progression, here’s what you can earn:
- Rank 1: Unlocks vendors and auctioneer at Shadow Point
- Rank 2: Access to Loombeast Silk drops from Loom'ithar
- Rank 3 & 10: Speed Siphoner buffs increase movement after trash kills
- Ranks 4, 7, 10, 13, 15: Scaling damage & healing buffs inside the raid (up to +15%)
- Rank 5: Raid skip unlocked post-Salhadaar
- Rank 6: Empowered enchantments and Mana Oils
- Rank 8: Access to the Vandal’s Gearglider mount and Zo’ya pet
- Rank 9: Soulgorged Augment Runes (non-expiring) from The Soul Hunters
- Rank 12: Transmog tokens from Salhadaar
- Rank 13: Looker Gaz’kreth Jr. baby observer pet
- Rank 14: The Bone Freezer mount and 'Star Savior' title
- Rank 15: Raid portal to Manaforge Omega unlocked permanently
These rewards tie directly into raid progression and give your Warband extra firepower, utility, and flavor. BLOG20
Item Level Progression
Gear quality in Manaforge Omega scales as you progress deeper into the raid. Here’s the item level breakdown across all difficulties:
| Boss Range | Raid Finder | Normal | Heroic | Mythic |
| Early (Bosses 1–2) | 668 | 681 | 694 | 707 |
| Mid (Bosses 3–4) | 671 | 684 | 697 | 710 |
| Late (Bosses 5–6) | 674 | 687 | 700 | 713 |
| Final (Bosses 7–8) | 677 | 690 | 703 | 716 |
| Rare Drops | 684 | 697 | 710 | 723 |
This progressive scaling rewards players for pushing further into the raid and tackling the most difficult bosses.
Manaforge Omega Achievements
There are 25 known character achievements tied to Glory of the Omega Raider metaachievement, many of which offer fun, creative objectives. Here are a few standout names:
- Breaking the Fourth Wall
- Cheat Meal
- Defying Gravity
- I See… Absolutely Nothing
- Mother of All Tantrums
- Of Mice and Manaforges
- Swing and a Miss
- Time to Vote! Cute or Scary?
Expect more achievement details (and probably some quirky titles and pets) as testing continues.
Conclusion
Manaforge Omega is shaping up to be one of the most intriguing raid experiences in The War Within. With its arcane-fueled sci-fi aesthetic, inventive boss encounters, and a layered loot system—including Hero Talent–themed tier sets—the raid offers both mechanical depth and visual spectacle. Whether you’re chasing high-end rewards through the Renown track or just looking to challenge Dimensius and his corrupted creations, Manaforge Omega brings a mix of classic raid structure and fresh design philosophy. If the early encounters are any indication, this raid is bound to be a highlight of the season—and one worth mastering.
F.A.Q.
What level should I do Manaforge Omega?
You should be at level 80, the current max level in The War Within, to participate in Manaforge Omega.
How long does Manaforge Omega take in WoW?
A full clear of Manaforge Omega usually takes 2–4 hours, depending on group coordination and difficulty.
What level can you enter Manaforge Omega WoW?
Entry is unlocked at level 80, via queue or manual access to the raid entrance.
Who is the final boss in Manaforge Omega?
The final boss is Dimensius, the All‑Devouring.
What is the strategy for the Manaforge Omega bosses?
Boss‑specific mechanics require positioning, interrupting key casts, and managing phases or adds. Break down each encounter by understanding unique abilities and coordinating cooldowns.
What is the boss order of the Manaforge Omega?
The confirmed boss order is:
- Plexus Sentinel
- Loom’ithar
- Soulbinder Naazindhri
- Forgeweaver Araz
- The Soul Hunters (Adarus, Velaryn & Ilyssa)
- Fractillus
- Nexus‑King Salhadaar
- Dimensius, the All‑Devouring
How many bosses are in Manaforge Omega?
There are 8 bosses in total. One of them, The Soul Hunters, is optional.
Where is the Manaforge Omega on the map WoW?
The raid lies beneath the Resonant Expanse, and its entrance is clearly marked on the Manaforge Omega map.
What item level is Manaforge Omega raid?
Designed for level 80 players, with item level rewards ranging from 668 (Raid Finder) up to 723 (Mythic).


