 Rick Flair
Expedition is right around the corner, so it’s time for us to cover it. If you don’t know what an Expedition is, it’s basically a wipe mechanic. Present in other extraction games, it’s completely optional here. If you don’t want to lose all your hard-earned loot, you don’t have to. But the problem is that the timeframe for the Expedition reset in ARC Raiders is limited. You can’t simply choose when to go to the Expedition at any moment in the game. The first Expedition in ARC Raiders is starting on the 17th of December. The Expedition window for the wipe in ARC Raiders will be open for a week, during which you will need to decide if you want to do it. What are the benefits of performing the wipe? We’ll explain to you everything you need to know about the ARC Raiders Expedition. Let us share how to complete the Project, where to find the hardest-to-get items, and the benefits of completing it.
If you are late to the party and haven’t gotten all the necessary supplies for the Expedition, worry not. We got you with our ARC Raiders Expedition Project boost. Let our Pros handle finding the cooling fans and light bulbs.
Read our other ARC Raiders guides:
- All Quests
- Dam Battlegrounds Map Guide
- Buried City Map Guide
- Spaceport Map Guide
- Blue Gate Map Guide
- Stella Montis Map Guide
- Best Loot Guide
Note: At Skycoach, you can Buy ARC Raiders Boost at the best prices with fast delivery. Use our special PROMO CODE (in green) hidden in this article for a 20% DISCOUNT.
Browse our hottest ARC Raiders Boosting services


ARC Raiders How Expeditions Work

When the Project becomes available at level 20, you may be confused. Why can I donate the items, but can’t start it right away? Why is there a time limit, and what bonuses do I get? The explanation is there, but it leaves much to be desired. We’ll take care of that here and explain to you how Expeditions work in ARC Raiders in detail. Doing the Expedition will make you lose certain items and progression, but it will reward you with other stuff. You can treat it as having a New Game+, but in a multiplayer game. By the time you hit level 75, your inventory is overflowing with loot. Managing it every single raid you get out is a huge pain. You’ve probably got all the fancy items, but don’t really want to risk them.
Well, the hoarding pays off, as the devs said that for every 1,000,000 currency you have in total, you get a bonus skill point. The total sum means that not only does your money count, but your inventory value does as well. The limit is five skill points per reset. The skill points are listed as a permanent reward, but it’s a little confusing. The wording is unclear whether the skill points are cumulative, meaning you get five extra points every reset, or if you get them until the next Expedition ends. Let’s take a look at all the things you lose and gain after the Expedition wipe in ARC Raiders:
What resets:
- Level & Skill Points
- Workshop Upgrades & Blueprints
- Quests
- Money
- Inventory & Its Upgrades
Losing all these things might seem like it’s not worth the wipe, but you might change your mind later on. For now, let’s look at what you keep:
- Cred
- Tokens
- Trials
- Leaderboards Position
- Unlocked Maps
- Unlocked Workshops
- Cosmetics (duh)
- Codex Data
Still doesn’t look like it’s worth it to do a complete reset? Well, take a look at the Project rewards you get in ARC Raiders for doing the wipe:
- The Patchwork Raider Outfit: So far, no concrete information on what the skin would look like, only guesses by Reddit users.
- Scrappy Janitor Cap: Funny cap for your rooster. What’s not to like?
- Expeditions Indicator Icon: Perhaps a badge, showing that you did an Expedition? Pretty unclear.
- Bonus Skills Points: As mentioned above, you get an extra SP for a 1,000,000 in total currency. The maximum cap of extra skill points is five.
- Twelve Extra Stash Slots: Perhaps the most important bonus, as stash slots get filled fast.
These are the permanent benefits of sending a raider out of the Rust Belt. The temporary Expedition bonuses in ARC Raiders might even be more important than the permanent ones. You get a 10% repair buff, but it’s unclear if the buff is for the materials needed for fixing or for the effectiveness of repairworks. You get a small, but pleasant 5% XP boost. You also get 6% more materials from Scrappy. Doesn’t seem too enticing? Here’s a catch: these bonuses stack up to 3 times per Expedition reset. Potentially, you get a 30% bonus to repairs, 15% XP boost, and 18% materials boost from Scrappy. Too bad the bonus is cumulative, so you’ll have to complete the Expedition three times for it to take effect.
The devs might change the numbers, though, so we still recommend doing it. One important thing is that if you don’t do the Expedition once, you lose the bonus and have to start gaining it all over again. Now, what if you decide to do an Expedition? You’ll need a ton of materials, some of which are pretty hard to get. Lucky for you, we’ve prepared this handy checklist of what items to look out for and keep for the Project.
ARC Raiders Expedition Project Checklist

The project requires a ton of resources to complete. It wouldn’t be that bad if the resources that you get spawned pretty frequently. For the majority of the time, it’s the case, and you find them without problems. Some of the resources are pretty rare, and it can get tedious to look for them every raid. The Project is divided into five steps, and you can work on only one at a time. You won’t know what resources you’ll need to get on the next one. To reduce the frustration of grinding the materials, we created an ARC Raiders Expedition Project checklist:
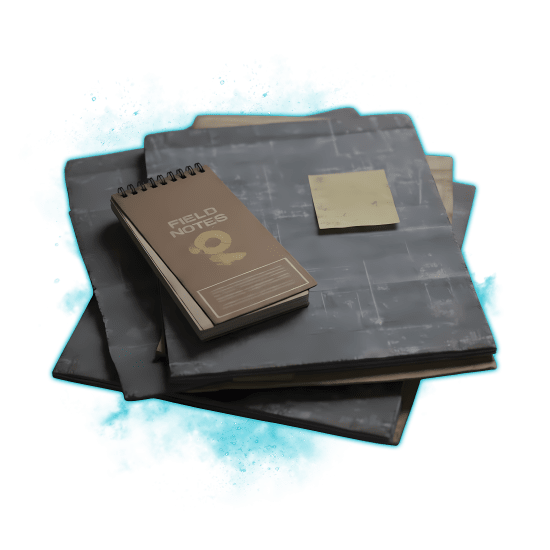
| Step | Materials |
| 1. Foundation |
|
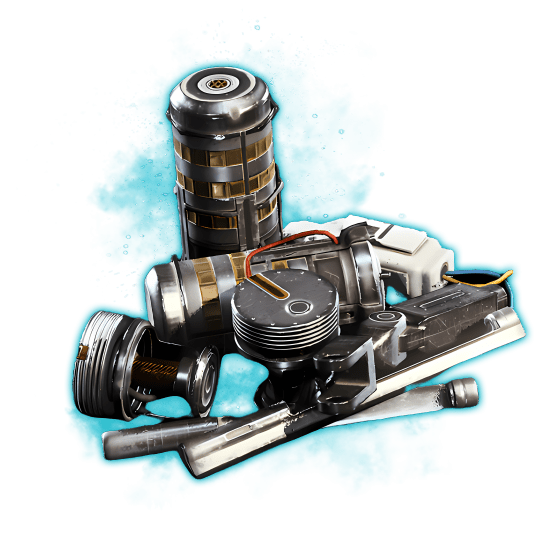
| 2. Core Systems |
|
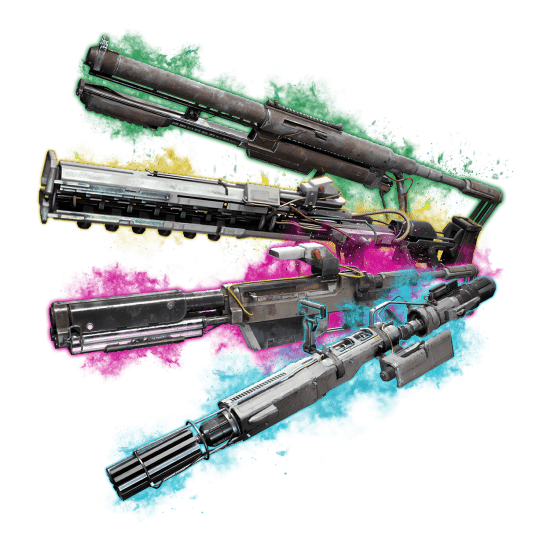
| 3. Framework |
|
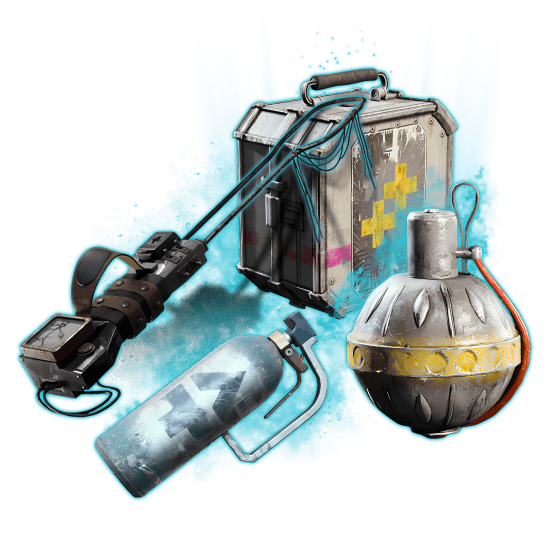
| 4. Outfitting |
|
| 5. Load Stage |
|
The sixth step is deciding if you want to send your Raider on the Expedition. The choice is ultimately yours, but we recommend doing it at least once to gain the permanent unlocks. Gaining materials and items isn’t as difficult in this game. Yes, you lose the Blueprints, which are really hard to come by. If you stress about it, don’t hesitate to check out our ARC Raiders Blueprints for sale. BLOG20
Browse our hottest ARC Raiders Boosting services


ARC Raiders Expedition Tips & Tricks

Doing the Expedition blindly can take a really long time, and you don’t have the time if you didn’t bother with it until now. We’ve prepared a nice set of tips for you to jump onto that train. The tips will generally cover topics such as where to find certain materials, where you can cut corners, and how to farm efficiently. For your convenience, follow the Expedition tips & tricks for ARC Raiders we’ve prepared for you:
- Start Hoarding Sooner: Now that you have the list of all required items for the Project, start gathering them! The hardest items to find are the Steel Springs, Cooling Fans, Light Bulbs, and Humidifiers. They don’t drop from recycling, and you can only find them Topside. We’ll cover how you can farm them more efficiently later.
- Create Loot Routes: No better loot route than your own. Some great loot routes are from Spaceport’s Departure Building to the Control Tower A6, hugging the Spaceport’s wall. Another good one is on Buried City, from Plaza Rosa to Piazza Arbusto or to the Hospital. These loot routes are pretty varied in loot and can give you plenty of survival and combat items. If you need crafting materials for the Load Stage, look for specific loot zones on the map that have this loot type available. For instance, advanced materials can be found in technological loot zones. Old World Items and Trinkets are best seen in living areas, such as the Village on Blue Gate.
- Use Higher Tier Loot: No point in preserving it, you’ll lose it after the wipe. Use your Bobcats, Tempests, and Vulcanos. Yes, they can be expensive, but they’re hard to farm. Your best option here is to sell green and blue guns for the Load Stage and use purple guns. Use Tier 3 Augments, especially the ones with more safe pockets. Tactical Mk. 3 is one of the best for running hoarding raids.
- Ask Your Friends: No shame in asking for a specific item if they don’t need it. You can even exchange items quite safely. Buy a Tactical Mk. 1 from Lance and hop into the raid. Exchange the item and put it in your safe pocket, then leave the raid. Voilà, you receive the item quite quickly. Of course, this doesn’t apply if you need lots of items for exchange.
- Craft the Missing Materials: Don’t forget that some of the rarer components can be crafted on workbenches. Sometimes you’ll need a blueprint, but most often you can craft something like a Durable Cloth on Refiner.
- Run Stella Montis: A new map is a god-given when it comes to farming rarer materials. You can easily find purple and blue-tier items in almost every location. While on their own, they aren’t really useful, recycling them yields many materials.
- Ignore the Gunfights: Later stages of the game make fighting other raiders absolutely pointless. While they might have the materials you need, you’re risking your own loot and also attracting unnecessary attention.
- Upgrade Scrappy: If you haven’t upgraded him to the highest level, now is the best time. He brings so many more raw materials that you’ll need for the Materials section of Load Stage.
- Farm Lush Blooms: Provisions is probably the most challenging part of Load Stage. Lush Blooms is a sure way to simplify it. Look for baskets that spawn during the event; they contain many nature items.
The typical bottlenecks players face are the aforementioned Steel Springs, Cooling Fans, Light Bulbs, and Humidifiers. In this section, we will explain where to get them more efficiently.
- Steel Springs: They can be found in mechanical and industrial loot zones. Search the cars, generators, and various machinery. Some of the best places to farm Steel Springs in ARC Raiders are located on Dam Battlegrounds. Water Treatment, Power Generation, and Hydroponic Dome Complexes are the best places to find these materials. You can also buy them from Celeste. It’s a minor timesaving, but if you had more time, you could finish it just with her help. The easiest way to get them, though, is by recycling. Ruined Accordion gives three of them upon recycling. Other recyclables that give it are Spring Cushion and Cooling Coil.
- Cooling Fans: Unlike Steel Springs, you can’t buy or get them from recycling. All you can do is search for them. Some of the best places to do Cooling Fan farming in ARC Raiders are the Control Tower and the Research & Administration areas in the Dam Battlegrounds. Some people advise looking for them atop the Launch Towers in Spaceport. Our personal recommendation is to go to Stella Montis. There are plenty of spaces you can find them there without even trying. Assembly Workshop, Medical Research, and Lobby all drop them. Search for them in large breachable containers.
- Light Bulbs: If you are curious where to farm Light Bulbs in ARC Raiders, they can be found in electrical loot zones. Their spawn rates aren’t as frequent as you’d want them to be. They spawn pretty frequently in broken-down cars. Some of the best places to loot for them are the Buried City’s ruined highway and the Checkpoint on the Blue Gate. You won’t get them from recycling, and you can’t craft them. Sometimes you can find them in living areas, such as Pale Apartments on the Dam Battlegrounds, or the Village on the Blue Gate.
- Humidifiers: Residential loot. Surprisingly hard to come by, but it has a 100% chance of dropping on Red Tower lockers. They’re in the building under the tower, where you can find a Security Locker and a Weapon Crate. Another good Humidifier location in ARC Raiders is the Hospital in the Buried City, for some reason. You can also find them in Pale Apartments and Ruby Residence on the west of the Dam Battlegrounds.
That covers the Project tips & tricks. Looking for the right loot is a long and tedious process, but with this guide, you’ll get everything you need much faster. The Expedition is very close, so now is the best time to get all the loot you need. Remember: no need to fight, search for specific locations, and follow the loot routes. The true grind begins now.
Conclusion
Expedition is a very unique concept for the games of the extraction genre. A wipe that you can do but aren’t obliged to is great. It’s also very player-friendly, since if you are a more casual player who doesn’t have time to grind, you don’t have to. The benefits that you get from the Expedition are pleasant, but not too big to cause FOMO. Still, doing at least one Expedition is recommended, and this guide will help with this endeavor. See you soon, as a new major update is dropping next Tuesday.
F.A.Q
What is an Expedition in ARC Raiders?
It’s what other games of the genre call a “wipe”. It resets some of your progress while giving you rewards. Some of the rewards include cosmetics, skill points, and buffs.
What resets when you start an Expedition in ARC Raiders?
Here are all the things that reset when you go for an Expedition:
- Level & Skill Points
- Workshop Upgrades & Blueprints
- Quests
- Money
- Inventory & Its Upgrades
What do you keep in ARC Raiders after an Expedition reset?
These are all the things you keep after sending your Raider out of the Rust Belt:
- Cred
- Tokens
- Trials
- Leaderboards Position
- Unlocked Maps
- Unlocked Workshops
- Cosmetics (duh)
- Codex Data
How long is the Expedition cycle in ARC Raiders?
Once it starts, you’ll have one week to finish all the tasks and leave the Rust Belt. This Expedition cycle runs from the 17th of December to the 22nd of the same month.
Do bonuses in ARC Raiders disappear if you skip a future Expedition?
Some bonuses, like skill points and cosmetics, are permanent. Other bonuses, like XP buff, better repairs, and materials buff from Scrappy, are temporary and will disappear if you skip one Expedition reset.


