 Crispy Jackie
Welcome to our complete Ironeye Remembrance quest guide for Elden Ring Nightreign. This questline dives deep into your character's past, giving you more than loot. It’s packed with hidden lore, tense encounters, and one-on-one boss fights that test your aim and grit.
You won’t just be chasing rewards, you’ll be uncovering Ironeye’s truth piece by piece. This guide walks you through the full Remembrance quest, step by step. Learn how to unlock it, survive it, and grab the powerful gear waiting at the end. Let’s begin.
Want to skip the grind? At Skycoach, we can help you Complete Ironeye Remembrance in a jiffy. Trust this job to our professional players and enjoy your rewards. We guarantee the best price and the fastest completion time for your order.
Read our other Elden Ring Nightreign guides:
Note: At Skycoach, you can Buy Elden Ring Nightreign Boost at the best prices with fast delivery. Use our special PROMO CODE (in green) hidden in this article for a 20% DISCOUNT.
Browse our hottest Elden Ring Nightreign Boosting services


How to Unlock Ironeye Remembrance
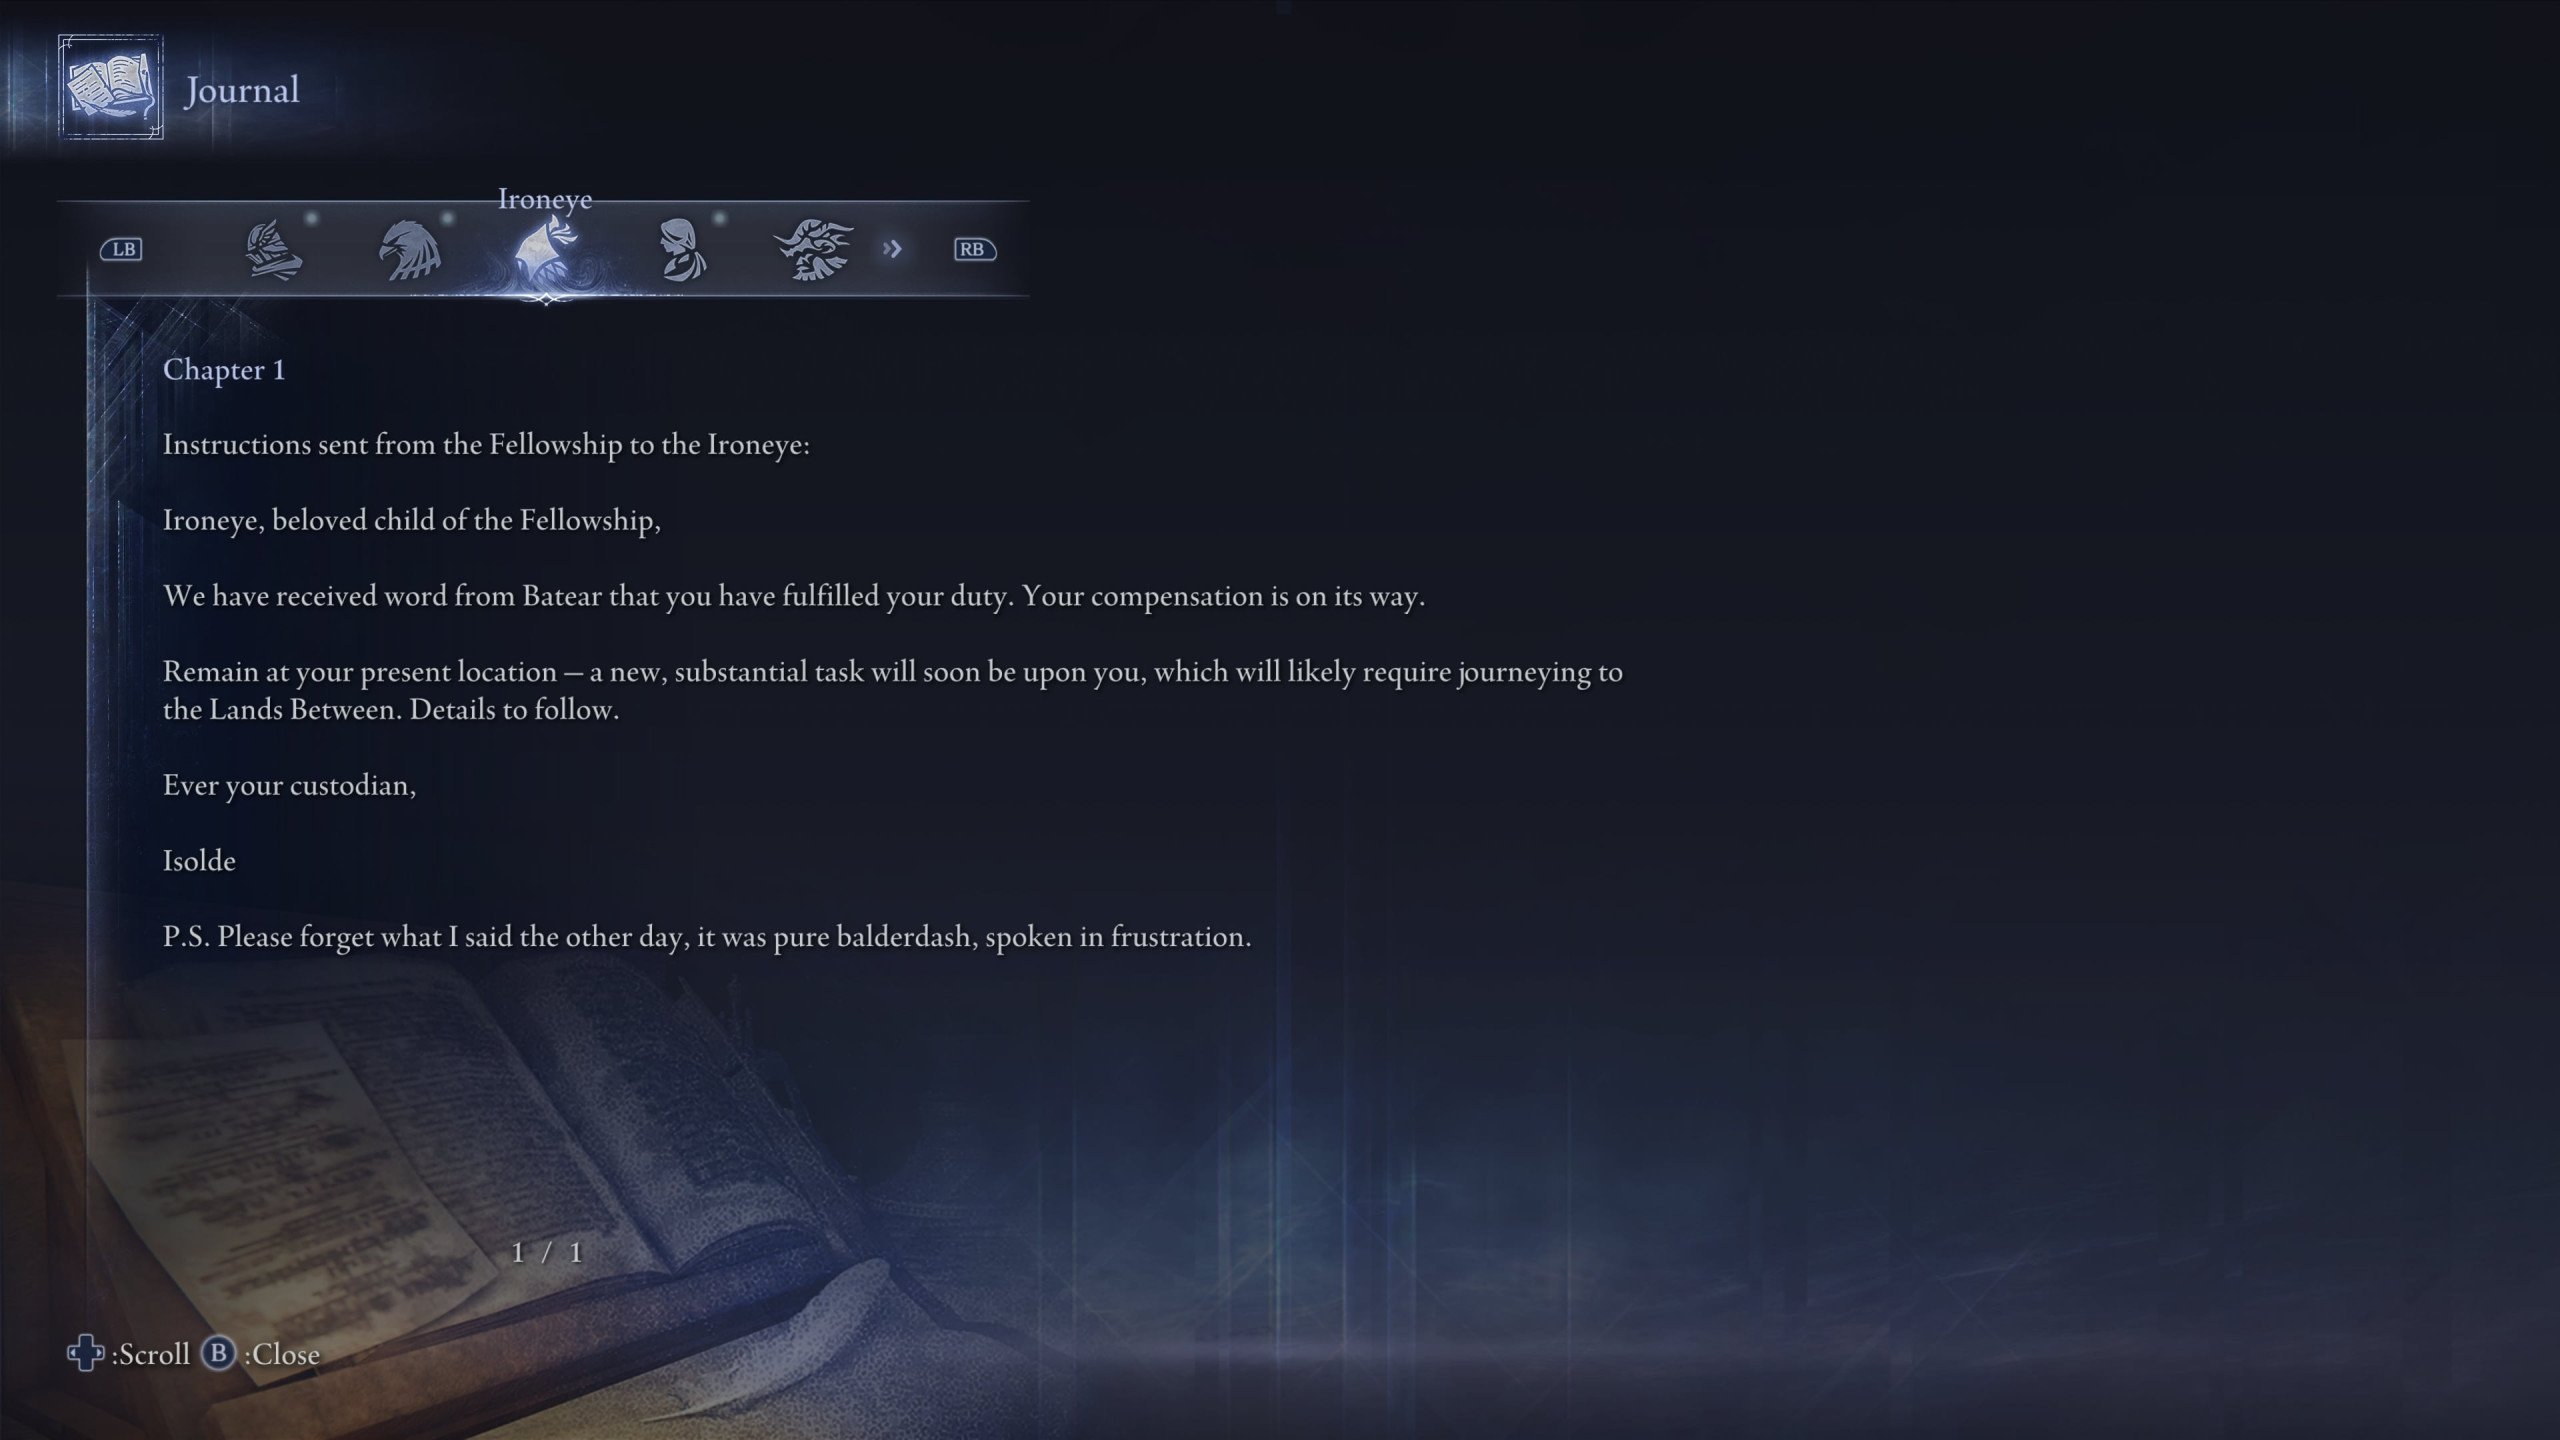
The quest won’t start on its own, though. You’ll need to finish specific steps before you unlock Ironeye Remembrance in Elden Ring Nightreign. After running enough expeditions, your journal will begin to update with new chapters. Keep playing until Chapter 4 appears in Ironeye’s journal at Roundtable Hold. That’s your key to starting the Remembrance.
Each completed run, win or lose, adds a Memory Fragment. These unlock more pages in your character’s personal story. The following factors help you progress through the journal:
- Finishing expeditions regularly
- Exploring with Ironeye equipped
- Returning to Roundtable Hold after each run
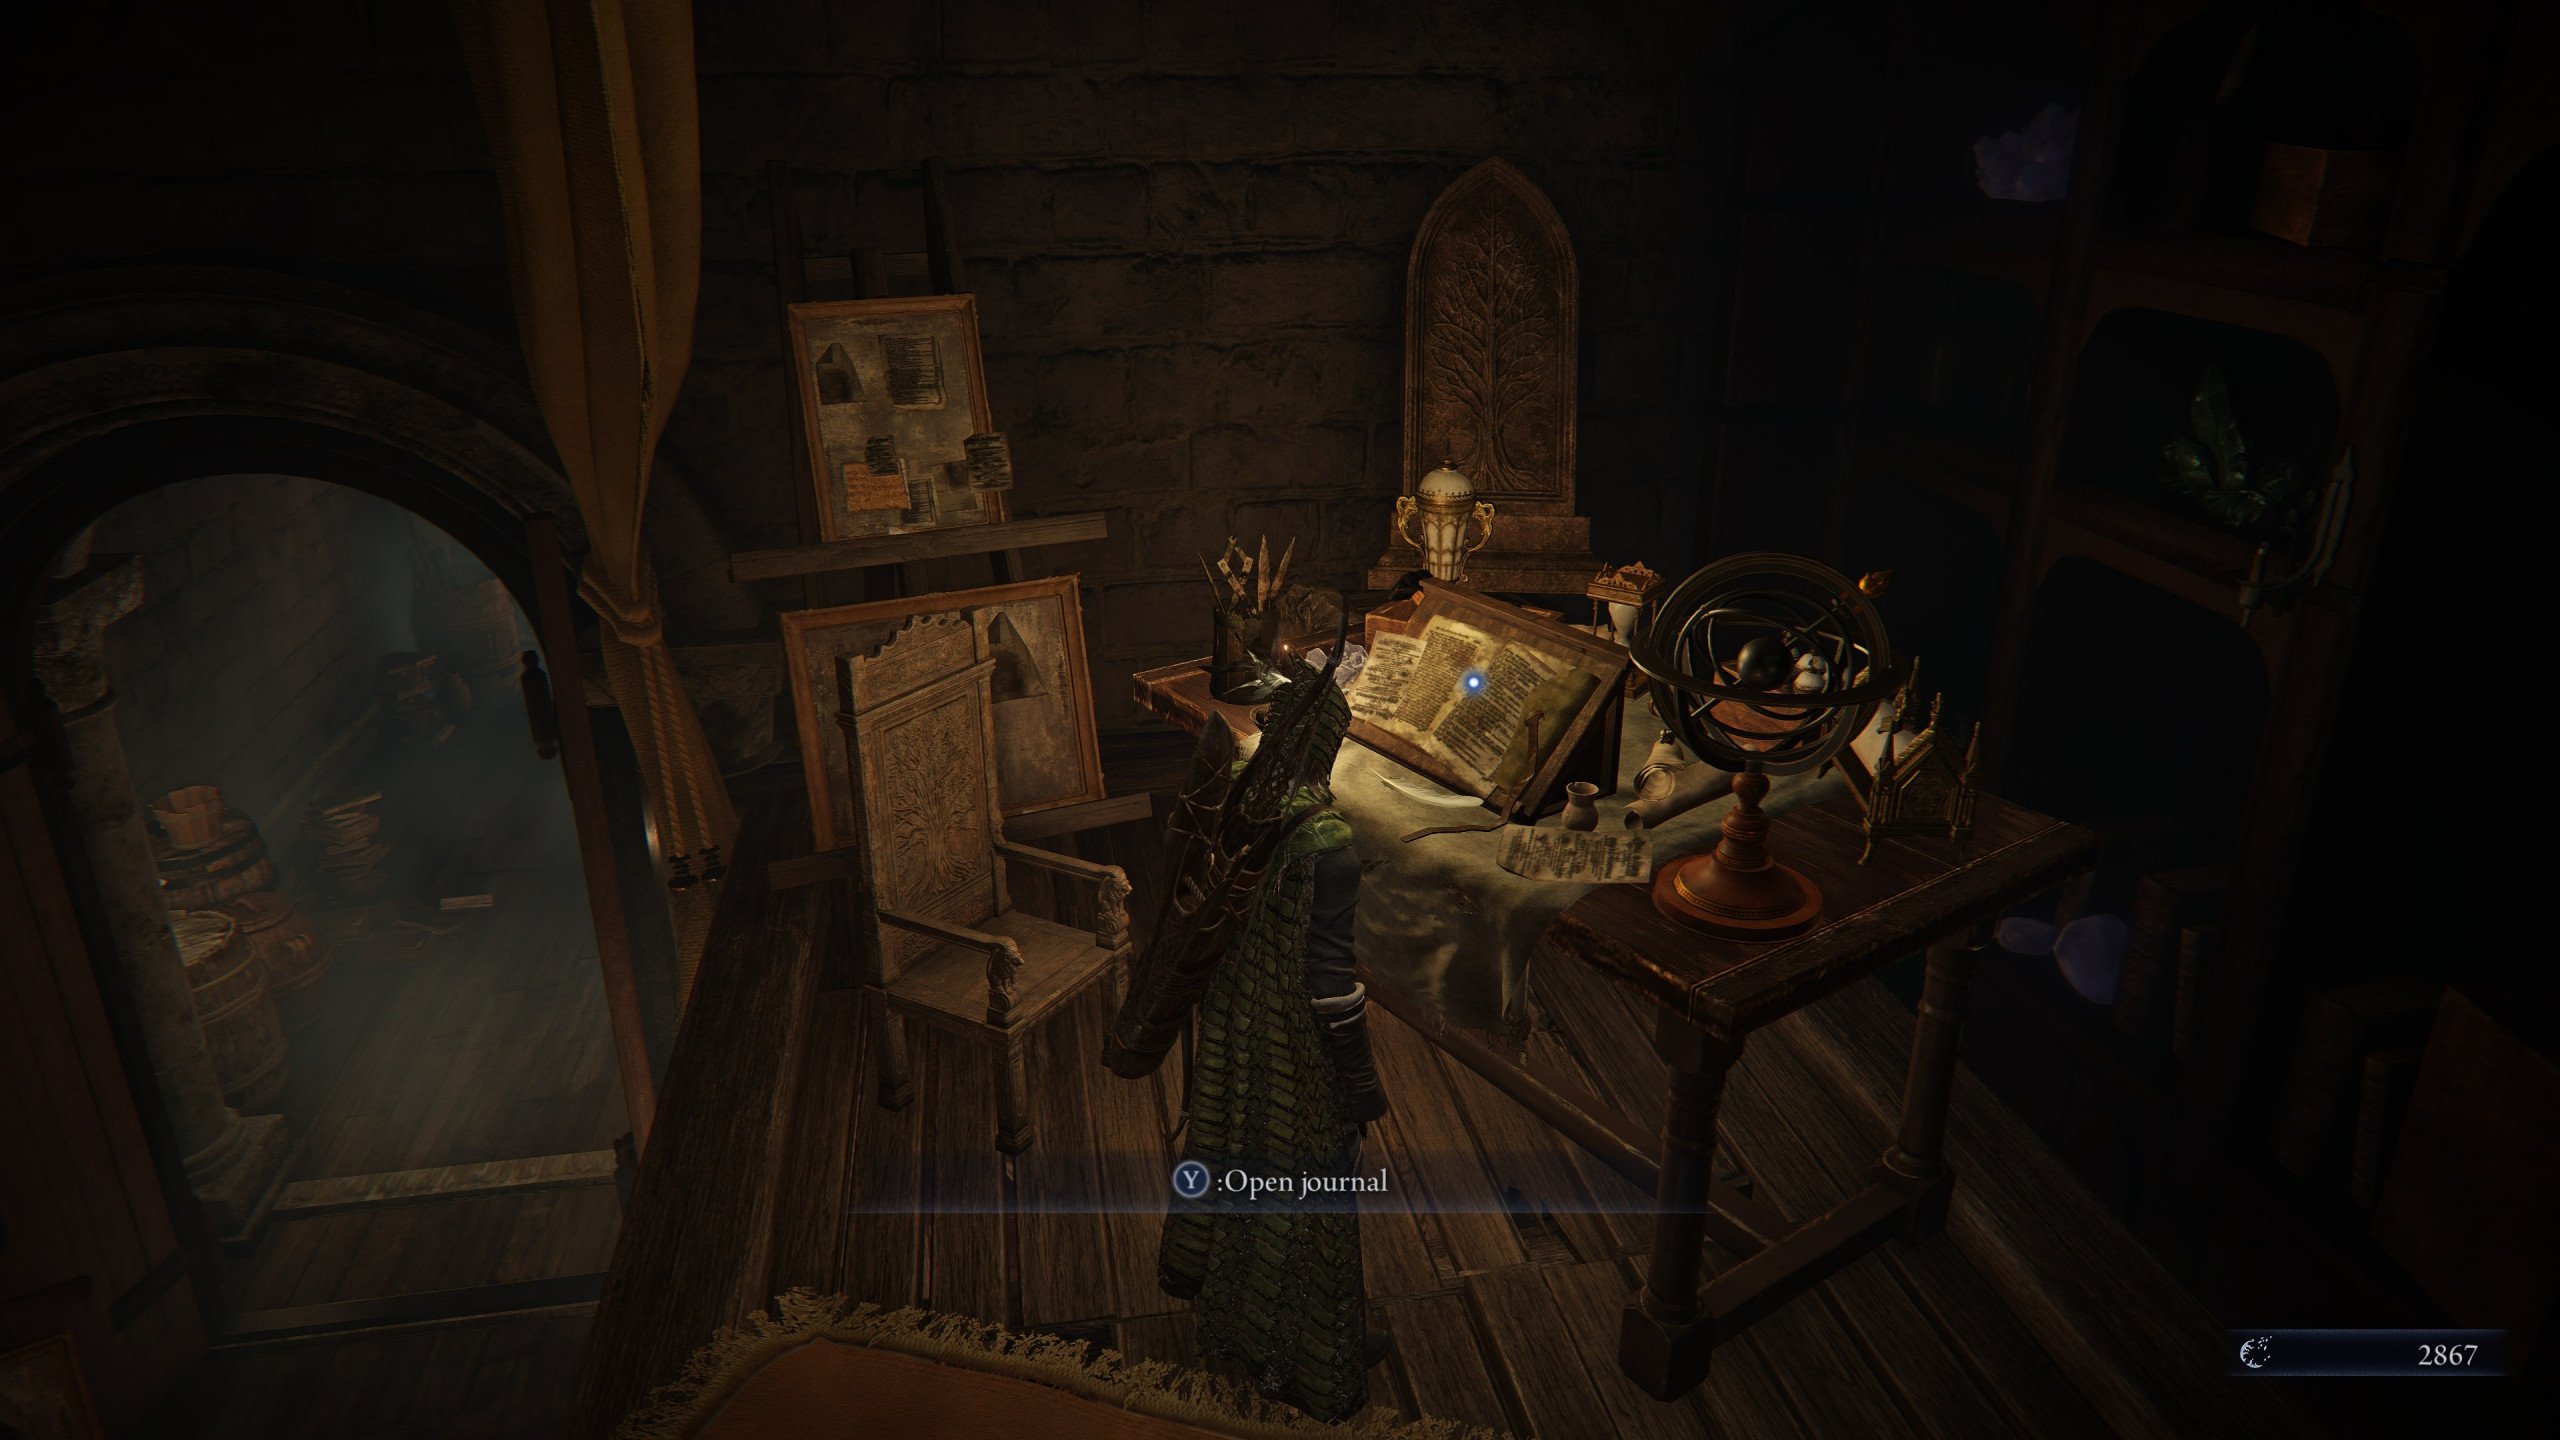
Once Chapter 4 is visible, select the option at the bottom to begin. You’ll enter a fog-covered version of Roundtable Hold, where everything feels just a bit off. Characters you know will offer new dialogue, and the story starts to shift. This is when things get personal for Ironeye.
Ironeye Remembrance Quest Walkthrough
The following part of the guide is an Ironeye Remembrance quest walkthrough, covering the most puzzling and intricate chapters. They include the challenging fights with your mimic – Night Huntsman, as well as Darkdrift Knight.
You’ll learn how to complete Ironeye Remembrance and get the coveted Chalice, Edge of Order, and other rewards. The questline is also packed with exciting story moments and other tough enemies. Let’s see what we’ve got for you!
1st Ironeye Remembrance
To unlock the first Ironeye Remembrance, you must reach Chapter 4 in Ironeye’s journal. Run enough expeditions and this page will appear on its own. It doesn’t matter if you win or lose, just keep progressing.
When it appears, choose “Begin Remembrance” to enter a fog-shrouded version of Roundtable Hold. The mood shifts, and conversations become more serious. Look for the Priestess in the west wing. She waits near the library, downstairs in a quiet room. Speak with her to hear about a former ally turned traitor. This mission becomes personal.
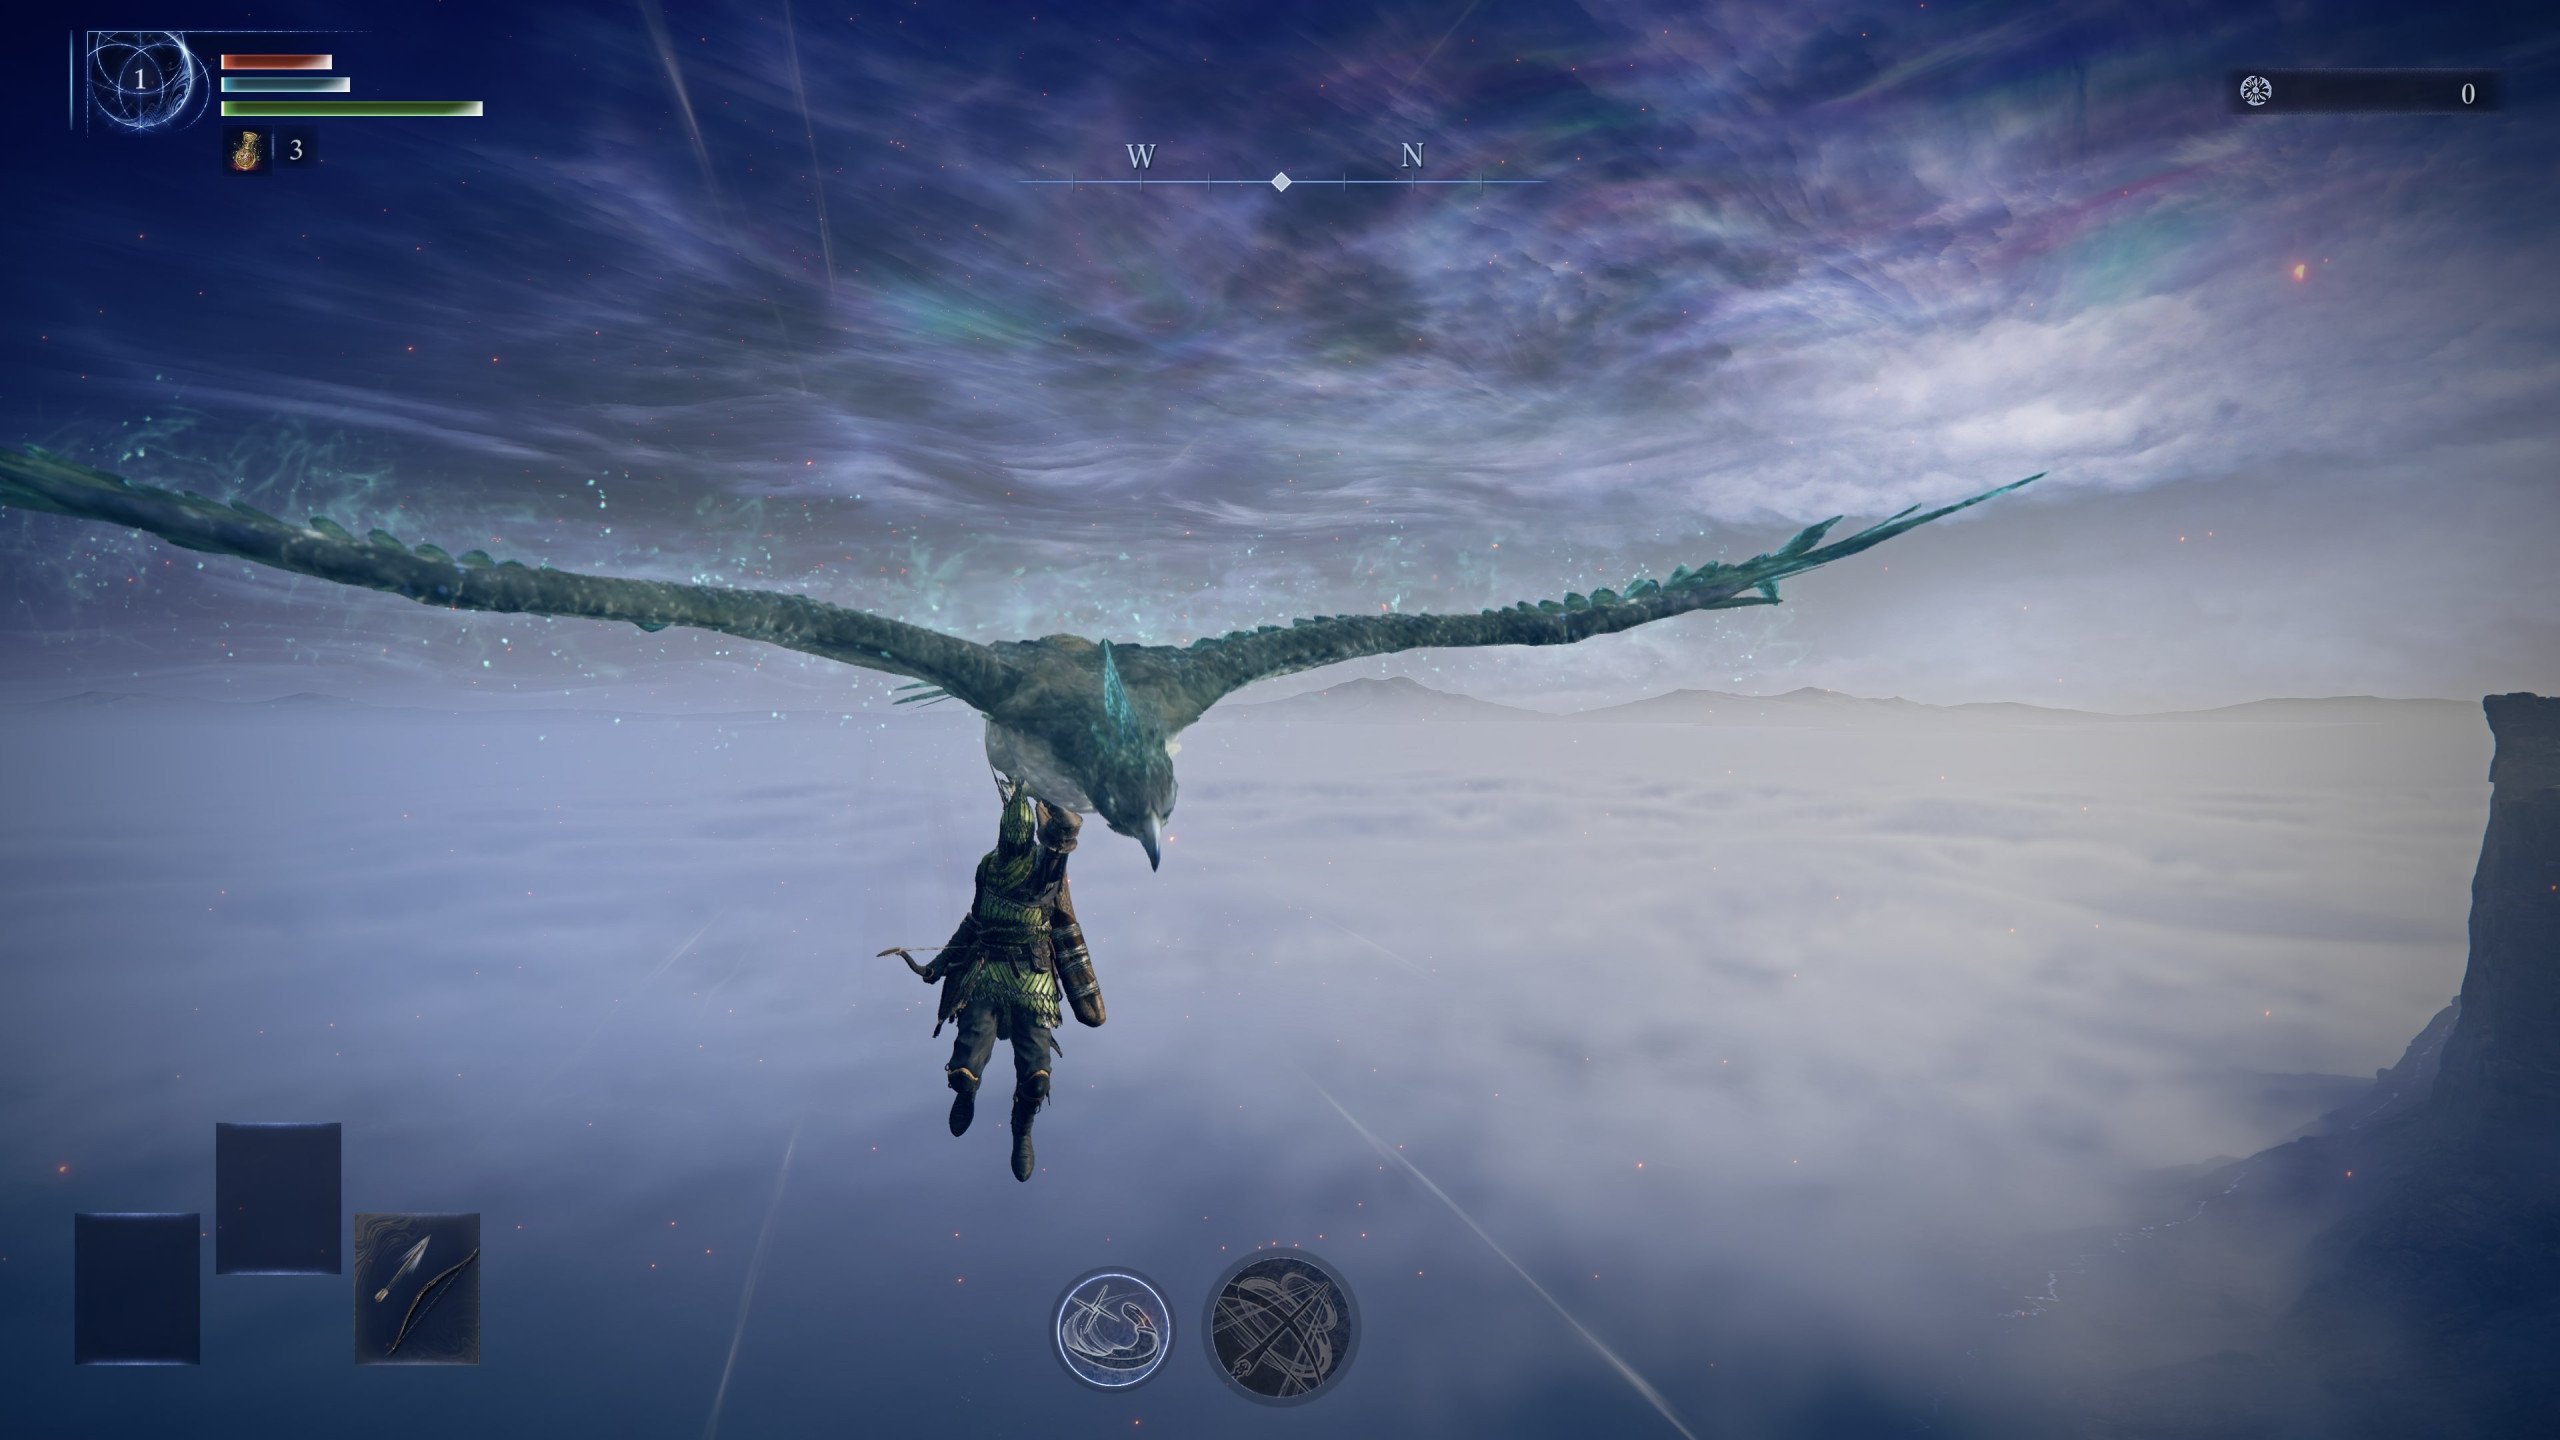
Talk to her once more to start the quest. Now, you need to launch a new expedition as Ironeye. While in Limveld, a red marker will appear far to the west. That’s where you’ll find your target.
There, you’ll come face-to-face with someone known as Night Huntsman, who is basically your mimic. Taking down Night Huntsman during Ironeye Remembrance is essential, as you’ll not be able to progress any further without this step.
TLDR on what expects you on your 1st Ironeye Remembrance in Elden Ring Nightreign:
| Step | Details |
| Journal Unlock | Chapter 4 after several expeditions |
| Entry Point | Begin Remembrance option at chapter’s end |
| Setting | Fog-covered Roundtable Hold |
| Main Task | Locate and take down Night Huntsman |
| Key NPC | Priestess in the west wing of the Hold |
| Completion Reward | Journal Chapter 5 and two powerful Relics |
After finishing the fight and returning to Roundtable Hold, bring the Traitor’s Letter back to the Priestess. You’ll unlock Journal Chapter 5 and gain new Relics that enhance your ranged power.
How to Beat Night Huntsman
Night Huntsman is your shadow with a bow, fast steps, and deadly timing. Every move mirrors Ironeye’s skillset. Expect aggressive dodges, quick strikes, and a steady rain of arrows. Rushing in blindly won’t help. Instead, you’ll need patience and smart counters. This part of the guide explains how to beat Night Huntsman in Elden Ring Nightreign, covering his abilities, moves, and more.
At long range, he fires arrows in different patterns. One of the toughest is the five-arrow spread, which forces you to roll with sharp timing. Mid-range, he lunges with a sweeping sword slash that covers ground fast. You must dodge early and strike just as he recovers. Watch for basic bow shots too, as they often bait hasty rolls or punish you while moving.
Here’s a list of Night Huntsman’s abilities to be aware of:
| Ability | Description | How to Counter |
| 5-Arrow Shot | Fires five arrows in a wide fan | Roll diagonally toward him to slip through safely |
| Lunging Slash | Charges and slashes with a sword | Sidestep as he lunges and counter immediately |
| 3-Arrow Shot | Shoots three arrows in a tighter spread | Sidestep or roll through gaps to punish quickly |
| Single Arrow Shot | Fires one straight arrow as a poke | Roll or strafe, then land a fast response shot |
If you fight from a distance, focus on evading cleanly and punishing after each sequence. His windows of vulnerability are short, but they exist. Don't chase him after every roll, or you'll fall into his trap.
In case he starts rolling often, use your Marking Skill to dash through him and break his rhythm. Just don't get greedy. One good punish is better than three risky ones. Mastering this fight feels satisfying because you're outplaying your own playstyle. BLOG20
2nd Ironeye Remembrance
The second Ironeye Remembrance opens after you clear another expedition and beat a Nightlord. This unlocks Chapter 6 in Ironeye’s Journal and lets you begin the next memory. The Roundtable Hold transforms again, signaling your return to the Remembrance realm.
Head to the same western wing where the Priestess was before. Near the stairs, you’ll now see a new entrance leading to a hidden chamber. Inside, you’ll find the traitor you faced in the first memory, alive and waiting for you.
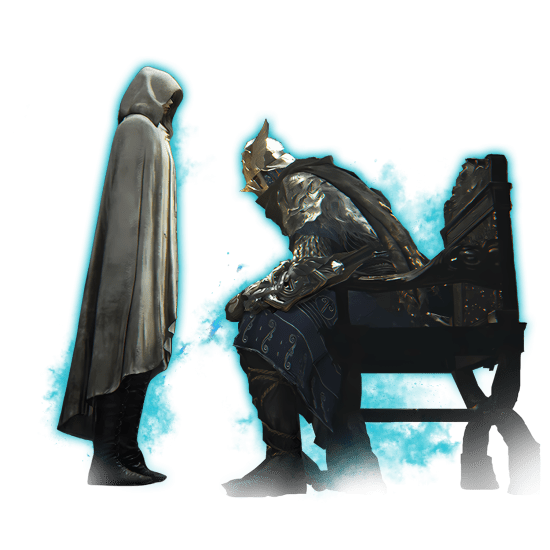
He’s not here to fight, but he does ask for help. He tells you about the Edge of Order, an artifact held by a powerful enemy. You must claim it to move forward. The Priestess confirms this and sends you after a dangerous Nightlord known as the Darkdrift Knight.
You’ll need to prepare before taking this on. This target is not easy and will test everything Ironeye can do. Once you’ve completed the mission and returned with the Edge of Order, head back to the traitor. He’ll ask for his execution.
Only then will he reveal a final truth, one that pushes Ironeye’s story even deeper. Once the cutscene ends, speak to the Priestess one last time to close the Remembrance and unlock Chapter 7.
TLDR on what expects you on your 2nd Ironeye Remembrance in Elden Ring Nightreign:
| Step | Details |
| Unlock Journal Chapter 6 | Finish an expedition and defeat any Nightlord |
| Explore New Room | Go west from the library and enter the hidden stairs |
| Speak with the Traitor | Find him in the tomb room and agree to help |
| Get the Edge of Order | Defeat the Darkdrift Knight to obtain the artifact |
| Finish the Remembrance | Return, execute the traitor, and speak with the Priestess |
Browse our hottest Elden Ring Nightreign Boosting services


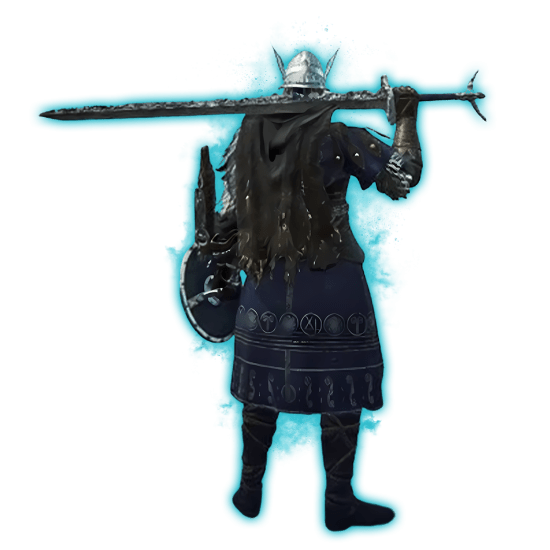
How to Defeat Darkdrift Knight
Darkdrift Knight in Ironeye Remembrance is a brutal challenge that tests everything Ironeye can do. This centaur boss strikes fast, moves constantly, and hits like a storm. His spear unleashes air bursts that cover space and knock you off balance. Want to know how to defeat Darkdrift Knight in Elden Ring Nightreign? We’ve got you covered.
You’ll face him during the second Ironeye Remembrance, and it's one wild fight. He gallops across the battlefield and lunges with deadly force. Don't panic! Stay sharp, dodge well, and use your bow whenever he opens up.
Tips for Surviving the Fight:
- Choose a Sacred-type weapon to hit his weak point harder
- Wait for spear lifts to predict incoming area blasts
- Use your Marking Skill to dash through and stay mobile
- Only punish after he commits to his longer attack chains
In the second phase, things get more chaotic. He grows a gooey arm that adds extra swipes. If he leaps into the air, prepare to use your Ultimate for invincibility and to dodge the slam.
Timing is key in this fight. Don’t get greedy. Land shots, then retreat. Keep moving and wait for your perfect moment. When you take him down, you’ll earn the Edge of Order, a Relic that boosts Ironeye’s bow power and gives sacred damage.
3rd Ironeye Remembrance
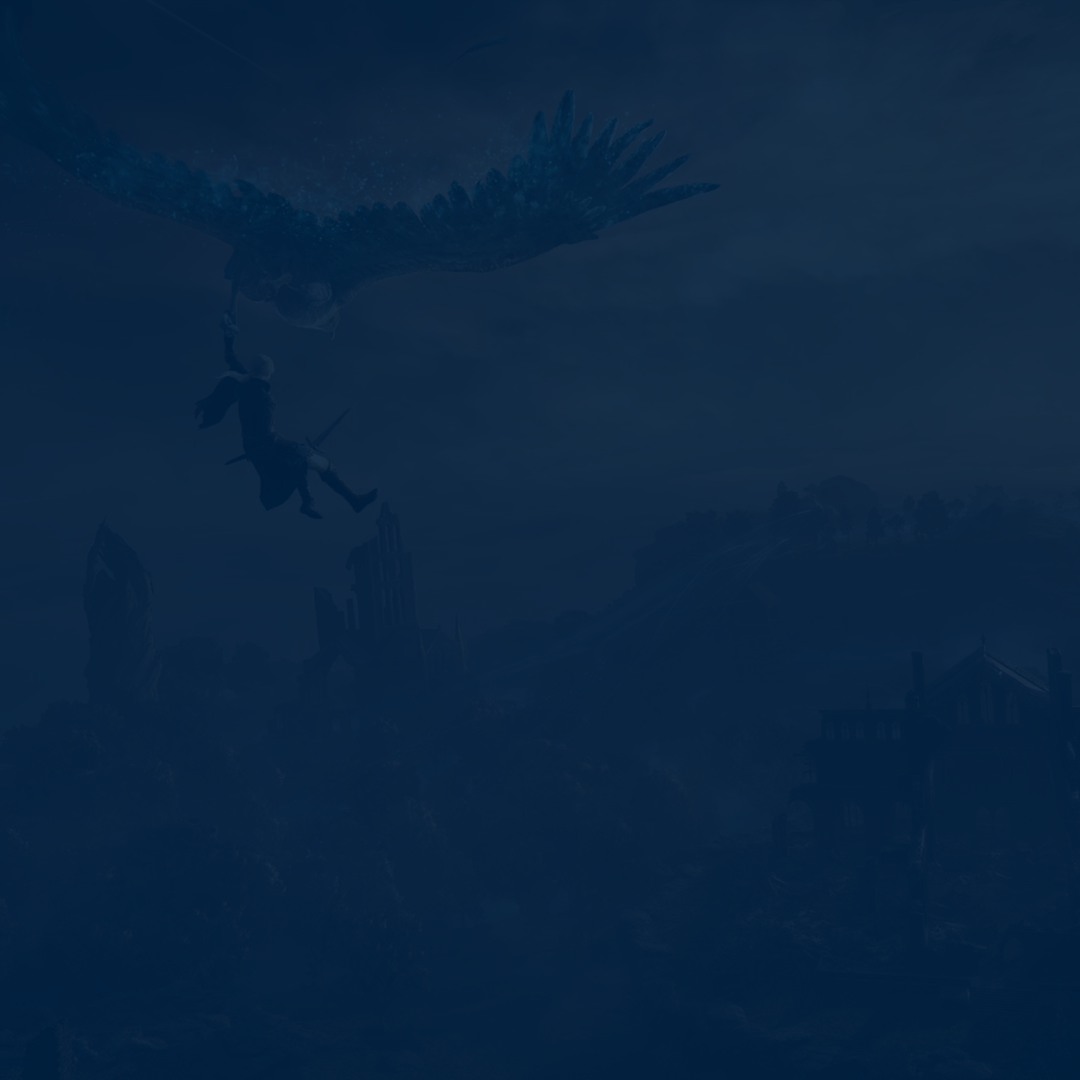
The final chapter of Ironeye’s story unfolds after defeating the last Nightlord. This Remembrance does not unlock through the journal like the others. Instead, it triggers automatically once you conquer the Night Aspect Expedition. After the battle, an eerie version of the Roundtable Hold will appear nearby.
Enter this place and push forward until you find a lifeless figure kneeling alone. The next choice you make will complete the quest and your path on it. The reward you get wraps up Ironeye’s journey with one last Memory Fragment. It also leaves you with a powerful final cutscene that ties together the entire questline in a satisfying way. BLOG20
Ironeye Remembrance Rewards
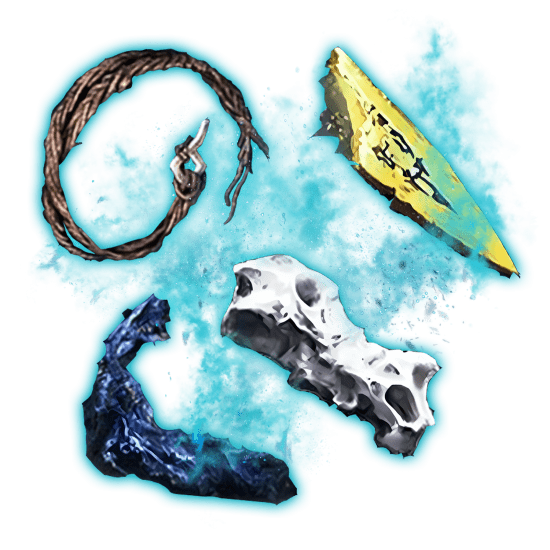
Finishing Ironeye Remembrance quest doesn’t just unlock story beats. You’ll also get powerful gear that enhances Ironeye’s build in noticeable ways. These items boost your skills, open up more playstyle options, and make your runs more effective. Here’s a list of all Ironeye Remembrance rewards to grab:
- Ironeye’s Chalice: Adds 1 Red, 1 Green, and 1 Universal Relic Slot
- Cracked Sealing Wax: Makes Weakpoint effects last longer and grants runes on critical hits
- Edge of Order: Adds holy damage to starting bow, strengthens thrusting counters, and boosts bow output
Each completed Remembrance grants a special Relic or upgrade tied directly to Ironeye. These rewards aren't just cosmetic. They improve damage, buff abilities, and add utility during tough expeditions. If you're aiming to play Ironeye seriously, you don't want to skip these.
These Relics make Ironeye hit harder and stay useful in all types of builds. They’re permanent, too, so once unlocked, you’ll keep reaping their benefits for good.
Conclusion
This brings us to the end of our Ironeye Remembrance quest guide, fellow Nightfarers. From tracking a traitor to battling mighty Nightlords, each step brings something new. You’ll grow stronger, unlock deep lore, and earn unique Relics that boost your build. Ironeye’s journey offers some of the most intense moments in the game. It’s a real test of skill, patience, and focus. If you enjoy a mix of challenge and mystery, this path is perfect for you.
F.A.Q.
How to complete Ironeye Remembrance in Elden Ring Nightreign?
Complete expeditions, unlock journal chapters, and finish key boss fights tied to Ironeye’s story.
What are Ironeye Remembrance rewards in Elden Ring Nightreign?
The list of rewards you’ll earn for finishing Ironeye Remembrance includes:
- Ironeye's Chalice
- Cracked Sealing Wax
- Edge of Order
Is Ironeye Remembrance difficult in Elden Ring Nightreign?
It’s moderately challenging, especially solo, but becomes easier with co-op and proper gear.
How many chapters are in Ironeye Remembrance in Elden Ring Nightreign?
There are eight journal chapters total, with three main Remembrance quests spread across them.
How long does it take to finish Ironeye Remembrance in Elden Ring Nightreign?
It can take several hours depending on skill, co-op help, and expedition progress.


