 Dallon Avery
Preview: Take on WoW’s toughest one-shot challenge with our Tazavesh hard mode deathless guide. Get step-by-step strategies, survival tips, and learn how to claim your guaranteed Mythic loot in Patch 11.2.
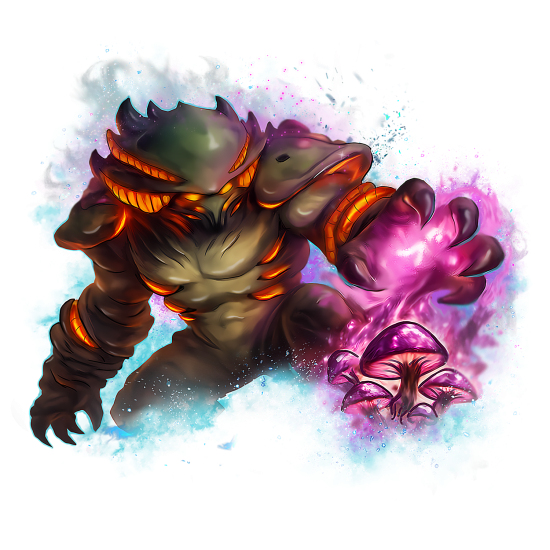
There’s a new way to earn powerful gear in Patch 11.2: Ghosts of K’aresh. If you can clear Tazavesh, the mega-dungeon, in one run without a single death, you’ll unlock a guaranteed reward. Welcome to the Tazavesh Hard Mode Deathless Guide — your walkthrough for earning Myth-tier loot at rank 1.
Inside, you’ll find strategies and tips for defeating all eight bosses in this challenge. This is not a full dungeon guide — we won’t cover entry requirements, location details, or every trash pull like usual. Instead, this is your quick-reference playbook for conquering Deathless Hard Mode and walking away with that sweet guaranteed gear.
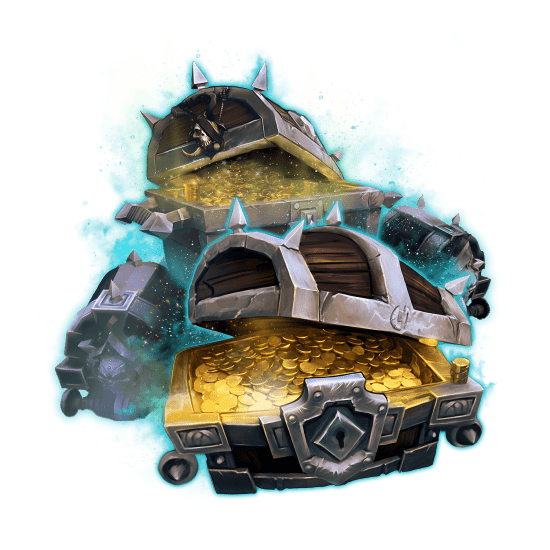
Speaking of which, you can skip the risk and secure it right now with SkyCoach’s Tazavesh Hard Mode Deathless Boost. Our expert team will carry you through a flawless one-shot run, earning you the Flawless Transaction achievement, a Myth 1/6 (707 ilvl) item, and bonus loot from every boss — all without a single death.
Read our other The War Within guides:
- Nexus-Princess Ky'veza Delve Guide
- Gold Farming Guide
- Mythic+ Guide
- Gearing Guide
- Best Classes Guide
Note: At Skycoach, you can Buy WoW Boost at the best prices with fast delivery. Use our special PROMO CODE (in green) hidden in this article for a 20% DISCOUNT.
Browse our hottest WoW Boosting services


How the Deathless One-Shot Challenge Works
Before you start plotting boss routes and cooldown timings, you need to understand exactly how this Tazavesh hard mode deathless WoW challenge works — and how easy it is to lose your shot at the rewards.
When you zone into Tazavesh Hard Mode in Patch 11.2, every player starts the week with a special buff called Street Smart. This little icon is your ticket to the bonus chest at the end. If even one person in your party dies at any point during the run — yes, even in the staging area before a pull — that buff is gone for them, and so is their chance at the loot.
For the big prize, you’re aiming for what’s called a One-Shot Deathless run. That means:
- The run has to be your first attempt of the week for every player.
- Nobody in the group can die from start to finish.
- You can’t swap in fresh characters at the last boss to “cheese” it — Blizzard shuts that down by removing all buffs if one member is missing it.
- Wipes and retries automatically kill your one-shot eligibility.
Pull it off, and when So’leah finally falls, a special chest spawns that awards every qualifying player a guaranteed piece of Myth track gear at rank 1/6 (707 ilvl) — randomly selected from any boss loot table in Tazavesh. Bosses along the way still drop Hero 1/6 loot, so you’re getting extra rewards on top.
This is a +10-tuned Hard Mode with extra mechanics layered over the Mythic+ versions, so expect it to feel like a real fight. The PTR runs showed that even careful groups can lose the buff to one bad pull, a mis-timed frontal, or those infamous mechanics that love to punish distracted players.
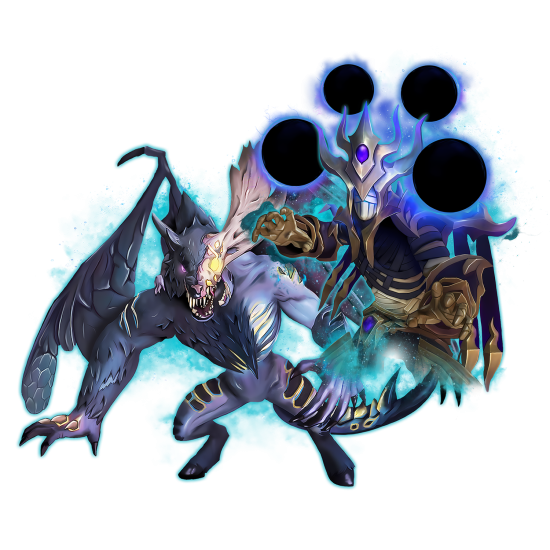
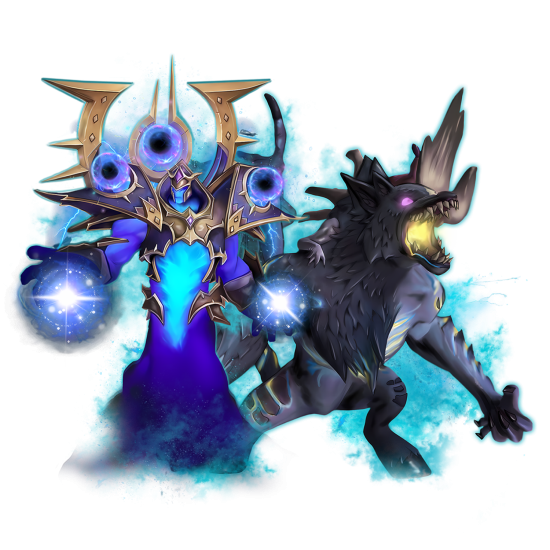
Zo’phex the Sentinel & Portalmancer Zo’honn
 Starting the Tazavesh hard mode deathless boss guide with the first encounter. Let’s go over the differences first. In Patch 11.2 Hard Mode, you fight Zo’phex and Portalmancer Zo’honn together right from the pull. Zo’honn isn’t just a background NPC here — she’s fully active, dealing high raid-wide damage, covering the floor with dangerous effects, and throwing in extra interrupts. The room feels much busier than the Mythic+ version, and the two-boss opener means there’s no warmup phase to get comfortable.
The safest way to handle this is to make Zo’honn the first kill target. She’s responsible for most of the lethal pressure:
- Radiant Pulse – Large unavoidable AoE to the entire group.
- Rift Blasts – Several lines appear on the floor, forcing quick dodges. They can combine with Radiant Pulse for dangerous overlaps.
- Hyperlight Bolt – Hits the tank; interrupt on cooldown to reduce incoming tank damage.
- Empowered Glyph of Restraint – Applies a DoT and slow; another priority interrupt to avoid losing mobility in a fight where dodging is constant.
PTR testers learned that positioning is everything here. The group stacked loosely near one edge of the room, shifting together to maintain safe zones and avoid scattering into dangerous crossfire from Rift Blasts. The tank kept both bosses close enough for cleave damage but avoided lining up with other players to prevent splash effects from overlapping.
Once Zo’honn is down, Zo’phex is far more manageable. His kit in Hard Mode is essentially the same as Mythic+, but without trash in the arena and with your group still fresh, it’s a clean burn to finish him. Most PTR failures at this point came from over-aggressive pulls into the fight — players rushing into Zo’phex without first clearing the path, getting clipped by mechanics mid-setup, and losing the Street Smart buff before the fight even properly began.
Au’myza’s Oasis
 Moving on with the list of Tazavesh hard mode deathless bosses, this fight replaces the usual second combat wave with the Sinstone Swingers — Dirtwhistle, Evaile, Hips, Verethian, and Vilt. Each member fixates on the player who took their role during the intro, creating unpredictable movement and targeted damage patterns. The change turns what’s normally a flavor encounter into a chaotic priority-target fight. BLOG20
Managing the band members means knowing their most dangerous abilities:
- Evaile – Dischordant Song must be interrupted.
- Hips – Drumroll deals AoE damage to the whole group.
- Verethian – Infectious Solo forces the fixated player to move away.
- Vilt – Rip Chord is a frontal cone that can hit multiple players.
- Dirtwhistle – Steady single-target pressure, nothing special but shouldn’t be ignored.
Spread out to limit cleave damage and keep track of fixate targets so they can kite without running into other mechanics. Interrupt assignments are essential here, as multiple casts can overlap. PTR runs showed that the most common mistake was letting fixated players get cornered, which often ended the run instantly.
Mailroom Mayhem
 The Hard Mode twist here is that picking up Unstable Goods now roots the player in place, forcing the group to pass them between players to get them to the delivery chute. Dropping one ends the Deathless attempt instantly.
Key mechanics to keep under control:
- Unstable Goods root – Movement-clearing abilities like Blessing of Freedom remove the root and let you run packages directly.
- Package timing – Throws can be made to yourself to maintain control, but you must keep the package moving.
- Boss burn – On PTR, some groups tried to zerg the boss and skip mechanics, often leading to chaos when packages expired mid-burn.
The cleanest method is to pre-assign a “delivery chain” with one player waiting at the chute. Everyone else relays packages forward while ranged DPS and healers assist on boss damage. Handle the packages first — failing this mechanic ends the challenge regardless of boss health.
The Menagerie
 There’s no downtime here — Achillite spawns about 28 seconds into the fight, and Venza Goldfuse joins around 65 seconds later. If your damage is low, all three bosses will end up active, creating brutal overlaps.
The most important elements to watch:
- Activation timing – Kill the first boss quickly to avoid having all three active at once.
- Interrupt coverage – Each boss brings their own casts; assign interrupts so none slip through.
- Positioning – Spread out to reduce chained AoE effects.
PTR groups stressed the importance of cooldown pacing. Burning all DPS cooldowns at the start can leave you underpowered when the second boss arrives. Instead, stagger them so each activation phase has a strong burst to shorten the overlap window.
Browse our hottest WoW Boosting services


So’azmi
 This fight upgrades Double Technique to Triple Technique, which demands three interrupts within ten seconds. To make it harder, the room is split into quadrants for the entire encounter, limiting mobility and the ability to swap interrupt duties.
The key differences to prepare for:
- Triple Technique – Each successful interrupt shortens the next cast, so delaying is risky.
- Quadrant restrictions – Interrupts must be handled within your assigned area.
Assign interrupts before the pull, making sure every quadrant has coverage for all three kicks. On PTR, most wipes came from players forgetting they couldn’t cross quadrants mid-technique, leading to missed interrupts. Quick reaction times and disciplined positioning are critical here.
Hylbrande
 In the intermission puzzle phase, only the console channeler can see the correct orb placements, so that player must call locations to the rest of the group. A new add, Stormbound Breaker, spawns and uses Lightning Nova — if two casts go off within 15 seconds, the entire party is stunned.
Focus on these mechanics:
- Orb communication – The console player needs to clearly and quickly direct placements.
- Breaker control – Interrupt Lightning Nova immediately.
- Purifying Burst – Higher raid-wide damage throughout this fight.
As far as the Tazavesh hard mode deathless strategies go, PTR testers found that killing adds as soon as they appeared made the puzzle far less stressful. Having a confident communicator on the console is just as important as raw DPS here — most wipes were due to confusion and hesitation during orb placement.
Timecap’n Hooktail
Adds in this fight spawn with a buff that prevents them from dying to the first Infinite Breath. This forces groups to keep them controlled for longer, increasing arena clutter and mechanic overlap.
Things to stay on top of:
- Add control – Use stuns, slows, and knockbacks to keep adds grouped and safe until they can be finished.
- Breath timing – Make sure adds take a breath before focusing them down.
On PTR, deaths here often came from groups letting too many adds roam free, leading to random players getting picked off. Assign specific players to adds so they never escape control, and make sure the tank positions Hooktail so breaths hit the maximum number of adds each time.
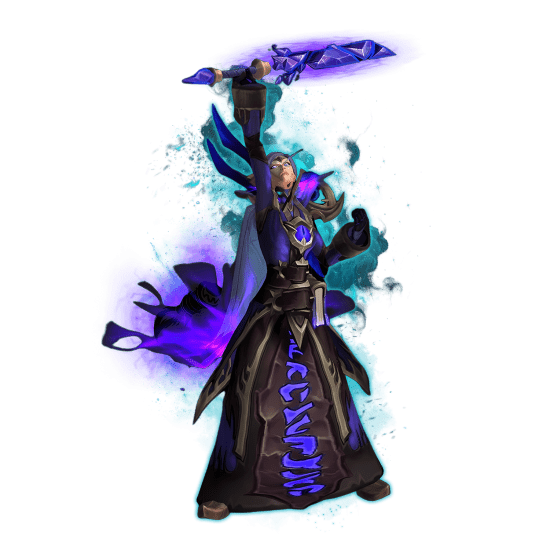
So’leah
 The last fight has two major twists. Collapsing Star now has four charges instead of the usual two, and each soak gives Star Vulnerability, which increases damage taken from later soaks. The second change comes in the final phase, where all five relics must be hit by the same Hyperlight Jolt or they reset.
The critical elements here are:
- Collapsing Star soaks – Assign soakers beforehand, with tanks taking multiple stacks if cooldowns are ready.
- Pull-in effect – When a star charge is consumed, everyone is pulled toward it.
- Relic timing – All five relics must be struck in the same Jolt wave.
PTR runs showed that mishandling the soaks is the number one cause of late wipes here. Keep your assignments tight, prepare for the pull-in by keeping open space around the star, and make sure every relic player is in place before Hyperlight Jolt is cast. One missed relic can end a perfect run.
Tips & Tricks for a Deathless Run
Now, let’s go over some of the most valuable Tazavesh hard mode deathless tips. First off, this isn’t Mythic+ — there’s no timer, no need to rush, and no penalty for slowing down. The only thing that matters is finishing the dungeon on your first attempt of the week without a single death. That opens up a lot of room for careful, tactical play.
Key things to keep in mind:
- You can change builds mid-run. PTR testing confirmed that you can freely swap talents at any point in Hard Mode Deathless. This means you can tailor your build for each boss — for example, running heavy AoE talents for add-heavy fights, then switching to pure single-target for bosses like So’leah.
- Take cooldown breaks. Without a timer, there’s no reason to pull into a boss or dangerous pack without all major cooldowns ready. Groups on PTR often paused for 1–2 minutes between fights just to ensure every damage, healing, and defensive cooldown was available.
- Play safe, not fast. Even if you’re confident in your DPS, it’s better to stretch fights a little longer than to risk a wipe from over-aggression.
- Interrupt assignments are king. Many Hard Mode abilities can cause a wipe if they go off, so plan your interrupts before each boss. BLOG20
- Pre-plan healer cooldowns. Knowing when big raid-wide hits like Radiant Pulse or Purifying Burst are coming means you can use defensives efficiently instead of reactively.
- Avoid unnecessary movement. In Deathless runs, every misstep risks disaster. Controlled, group-based movement is safer than letting players run independently across the arena.
- Keep the buff in mind at all times. Losing your Street Smart buff for something silly like standing in a frontal on trash means you lose the loot, even if the group finishes the run.
Approach the dungeon like a raid boss gauntlet — careful execution, perfect positioning, and full readiness for each pull matter far more than speed.
Deathless One-Shot Rewards
Pulling off a Deathless One-Shot run in Tazavesh rewards every qualifying player with an exclusive bonus chest at the end of the dungeon. This chest only appears if every member of the party finishes their first Hard Mode run of the week without losing the Street Smart buff.
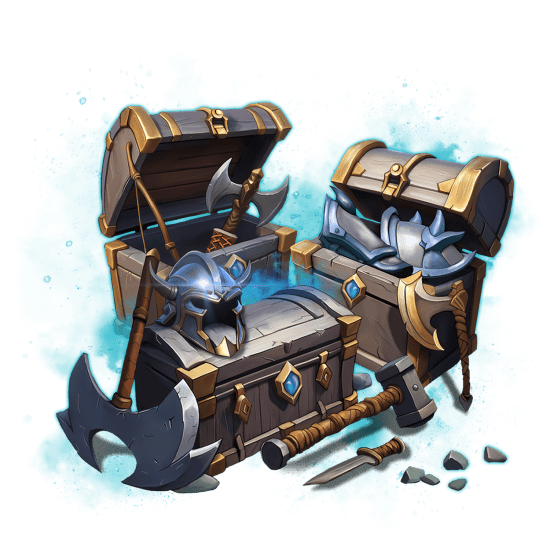
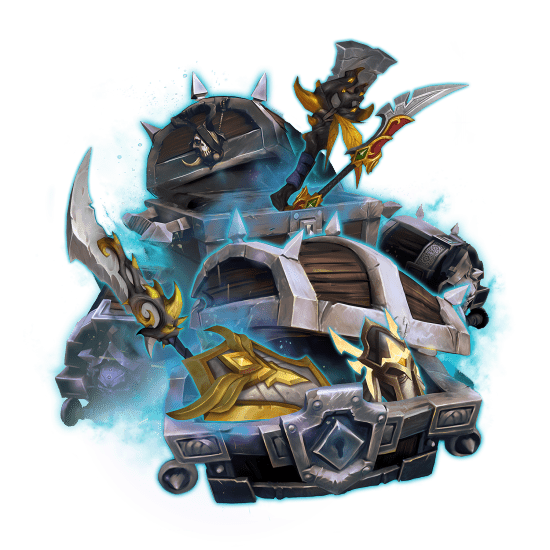
From this chest, each player will receive the following Tazavesh hard mode deathless loot:
- Guaranteed Mythic 1/6 gear (707 ilvl) – One random item from any Tazavesh boss loot table, at the base rank of the Mythic upgrade track.
- Flawless Transaction achievement – Permanent proof that you cleared Hard Mode without a single death in your first run of the week.
- Chance at unique mounts – The Tazavesh Gearglider mount is guaranteed from a Hard Mode clear, while the Cartel Master’s Gearglider can drop as an extra bonus.
This bonus loot is in addition to anything you get from the dungeon’s normal boss drops along the way. Every boss in Hard Mode still awards Hero 1/6 gear and contributes to your weekly Great Vault, but the Myth 1/6 item from the Deathless chest is a guaranteed extra reward you can’t get any other way.
Failing the challenge — even on the last boss — means no chest and no guaranteed Mythic item, so staying alive takes priority over everything else
F.A.Q.
How to get a guaranteed Mythic loot from Tazavesh in WoW 11.2?
You must complete a One-Shot Deathless Hard Mode run of Tazavesh. This means it must be your first Hard Mode run of the week, no one in the party can die from start to finish, and everyone must keep the Street Smart buff the entire time. If successful, a bonus chest spawns after So’leah, awarding each player a guaranteed Mythic 1/6 (707 ilvl) item.
Does a death in Mythic+ Tazavesh affect the buff?
The buff is only active in Hard Mode and is unaffected by Mythic+ deaths. However, dying in the waiting area before the run begins does count and will remove the buff.
Can you replace players mid-run to keep the buff for Tazavesh Deathless Run in WoW?
No. If even one player in the group doesn’t have Street Smart, the game removes the buff from everyone when the next boss dies.
What happens if someone disconnects during a WoW Tazavesh Deathless run?
If a player leaves the instance or disconnects long enough to be removed from the group, the challenge is failed for them. The others can still finish, but they’ll only get the bonus chest if everyone in the group still has the buff.


