The Gauntlet: Onslaught raid is the final endgame challenge in Destiny Rising, bringing fireteams into a three-part gauntlet packed with mechanics, puzzles, and brutal DPS checks. Unlike traditional raids, Gauntlet: Onslaught isn’t one long instance — it’s split into three separate encounters that you tackle in sequence, each with its own mechanics and clear objectives.
In this Gauntlet: Onslaught raid guide, we’ll walk you through every encounter step by step, explain the mechanics in detail, highlight the best hero and weapon picks, and close with practical tips so your team can push through Celebration mode and beyond.
If you’d rather skip the stress of finding a reliable team, you can Buy Gauntlet: Onslaught Carry Service and complete the raid with professional players. Our Pros will guide you through every encounter or finish the raid on your account, securing Exotic drops, Ascension Cells, Glimmer, and even limited-time emblems while you enjoy the rewards hassle-free.
Read our other Destiny Rising guides:
- How to Play on PC
- Characters Tier List
- Leveling Guide
- Weapons Tier List
- Beginner's Guide
- Gacha System Guide
Note: At Skycoach, you can Buy Destiny Rising Boost at the best prices with fast delivery. Use our special PROMO CODE (in green) hidden in this article for a 20% DISCOUNT.
Day One & Challenge Mode (Eclipse Event)
The honored Destiny’s raid tradition by tying Gauntlet: Onslaught’s launch to Eclipse, the first World First race in Destiny: Rising. This event launched on September 19, 2025, simultaneously across all regions, and fireteams around the world competed to be the first to clear all three activities combined. The winning team claimed the World First title along with unique rewards that set them apart forever.
To keep competition fair, strict Fair Play Mechanics were enforced: weapon mods were disabled, Exotic weapons were locked to Catalyst Node 1, gear was capped at Level 80, and both character talents and Light-linked companions were disabled. Only artifact perks remained active. These restrictions made coordination and team strategy far more important than raw power.
Alongside the World First race, Bungie hosted a special Week One event where every team’s clear times were tracked. The top 100 teams earned a Dynamic Emblem, while the top 30 secured that emblem plus an exclusive Exotic-tier Ghost Skin. To participate, teams needed to complete Chapter 5-1 of the main story, reach Team Level 50, and push their Power Level to at least 55,100.
This first week of contest difficulty set the tone for Gauntlet: Onslaught, and many of the strategies developed during Day One still shape how players approach the raid today.
Encounter 1: Break In
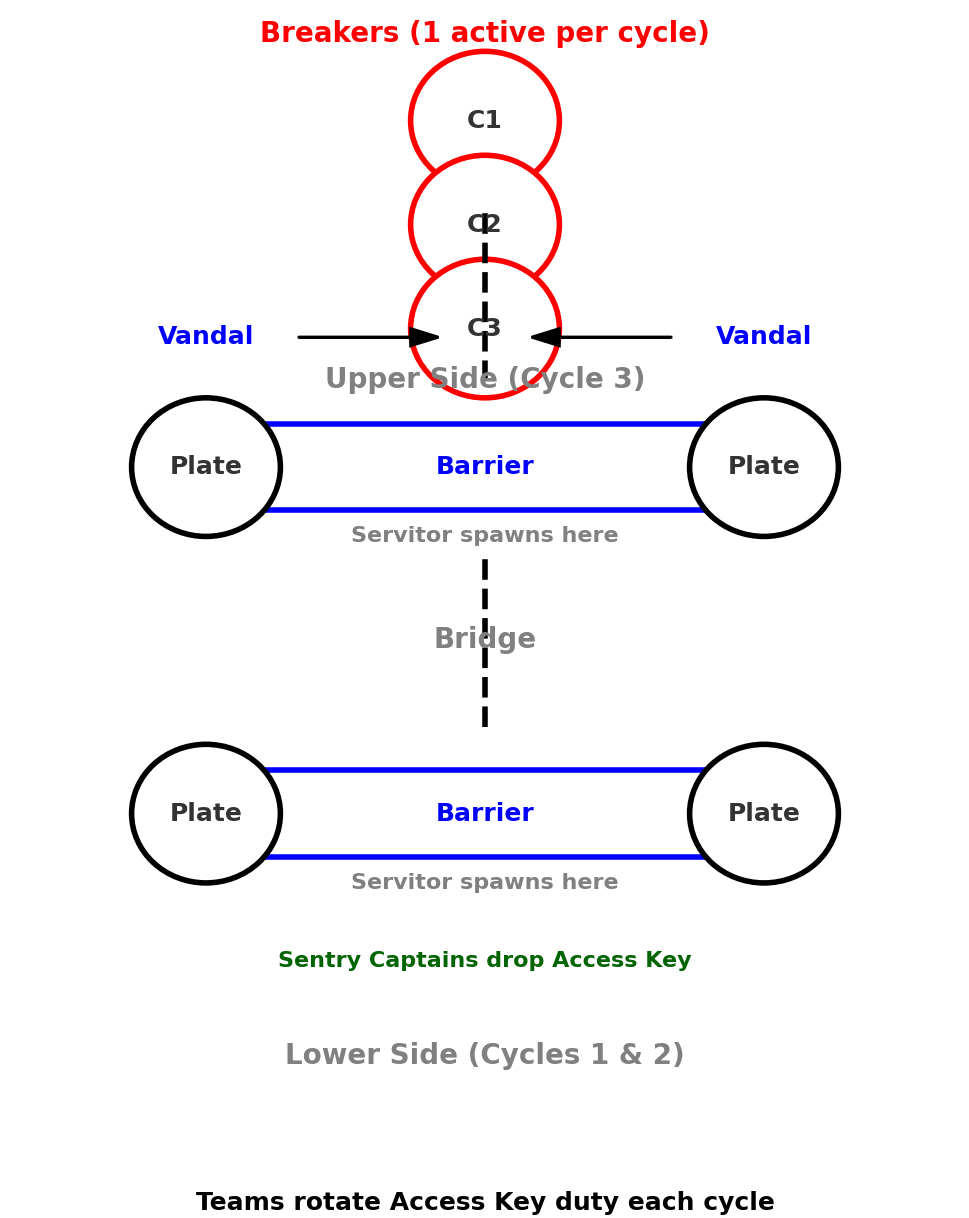
“Break In” is the Gauntlet: Onslaught first encounter and functions like a classic bridge puzzle. The fireteam splits into three pairs, each rotating responsibilities as you extend the bridge, carry the Access Key, and destroy a sequence of Breakers on the far side. Clean team swaps and constant plate coverage are the keys to success.
The Gauntlet: Onslaught walkthrough for the first encounter begins with Garrison Servitors spawning near the plates. Defeating them causes Sentry Captains to appear, and killing those Captains drops the Access Key buff — a glowing blue pickup required to pass through barriers. The team assigned to carry the Key picks it up, while the remaining teams stand on plates to extend the bridge. Only one Guardian is needed per plate, but both lower plates must be covered.
Once the bridge is extended, the Access Key team crosses to the far side, passes through the barrier, kills a shielded Vandal, and picks up the Scorch Cannon it drops. That Cannon is then used to destroy the active Breaker, one of several nodes at the end of the arena. Only one Breaker is vulnerable each cycle, and all three must be destroyed to clear the encounter.
Here’s the rotation sequence:
| Cycle | Access Key Team | Plate Teams | Objective | Result |
| 1 | Team 1 | Teams 2 & 3 (lower plates) | Grab Key, cross bridge, kill Vandal, destroy first Breaker | Breaker 1 destroyed |
| 2 | Team 2 | Teams 1 & 3 (lower plates) | Repeat sequence with new Key | Breaker 2 destroyed |
| 3 | Team 3 | Teams 1 & 2 (upper plates) | Clear upper Servitor, extend bridge, cross, kill Vandal, destroy final Breaker | Breaker 3 destroyed, encounter complete |
The final cycle changes slightly: the upper plates become active, and a Garrison Servitor spawns near them that must be defeated to extend the bridge. Once Team 3 crosses, they handle the last Vandal and Cannon, then destroy the final Breaker. Afterward, clean up any remaining enemies to finish.
Key pitfalls to avoid include leaving plates unmanned, letting Shinka overwhelm plate holders, and poor communication on which team is assigned the Key. Only one Guardian is needed to keep a plate active, so free the other player in each pair to help with adds or cover the crossing team. This is how to do Gauntlet: Onslaught without wiping.
For those attempting Celebration (contest) mode, there is a known cheese where sword-equipped heroes can fly across with the Access Key without plates being active. This was demonstrated with Yolder and Finala, though Yolder is favored for her survivability thanks to constant healing from her Thorn passive.
Encounter 2: The Menace Above
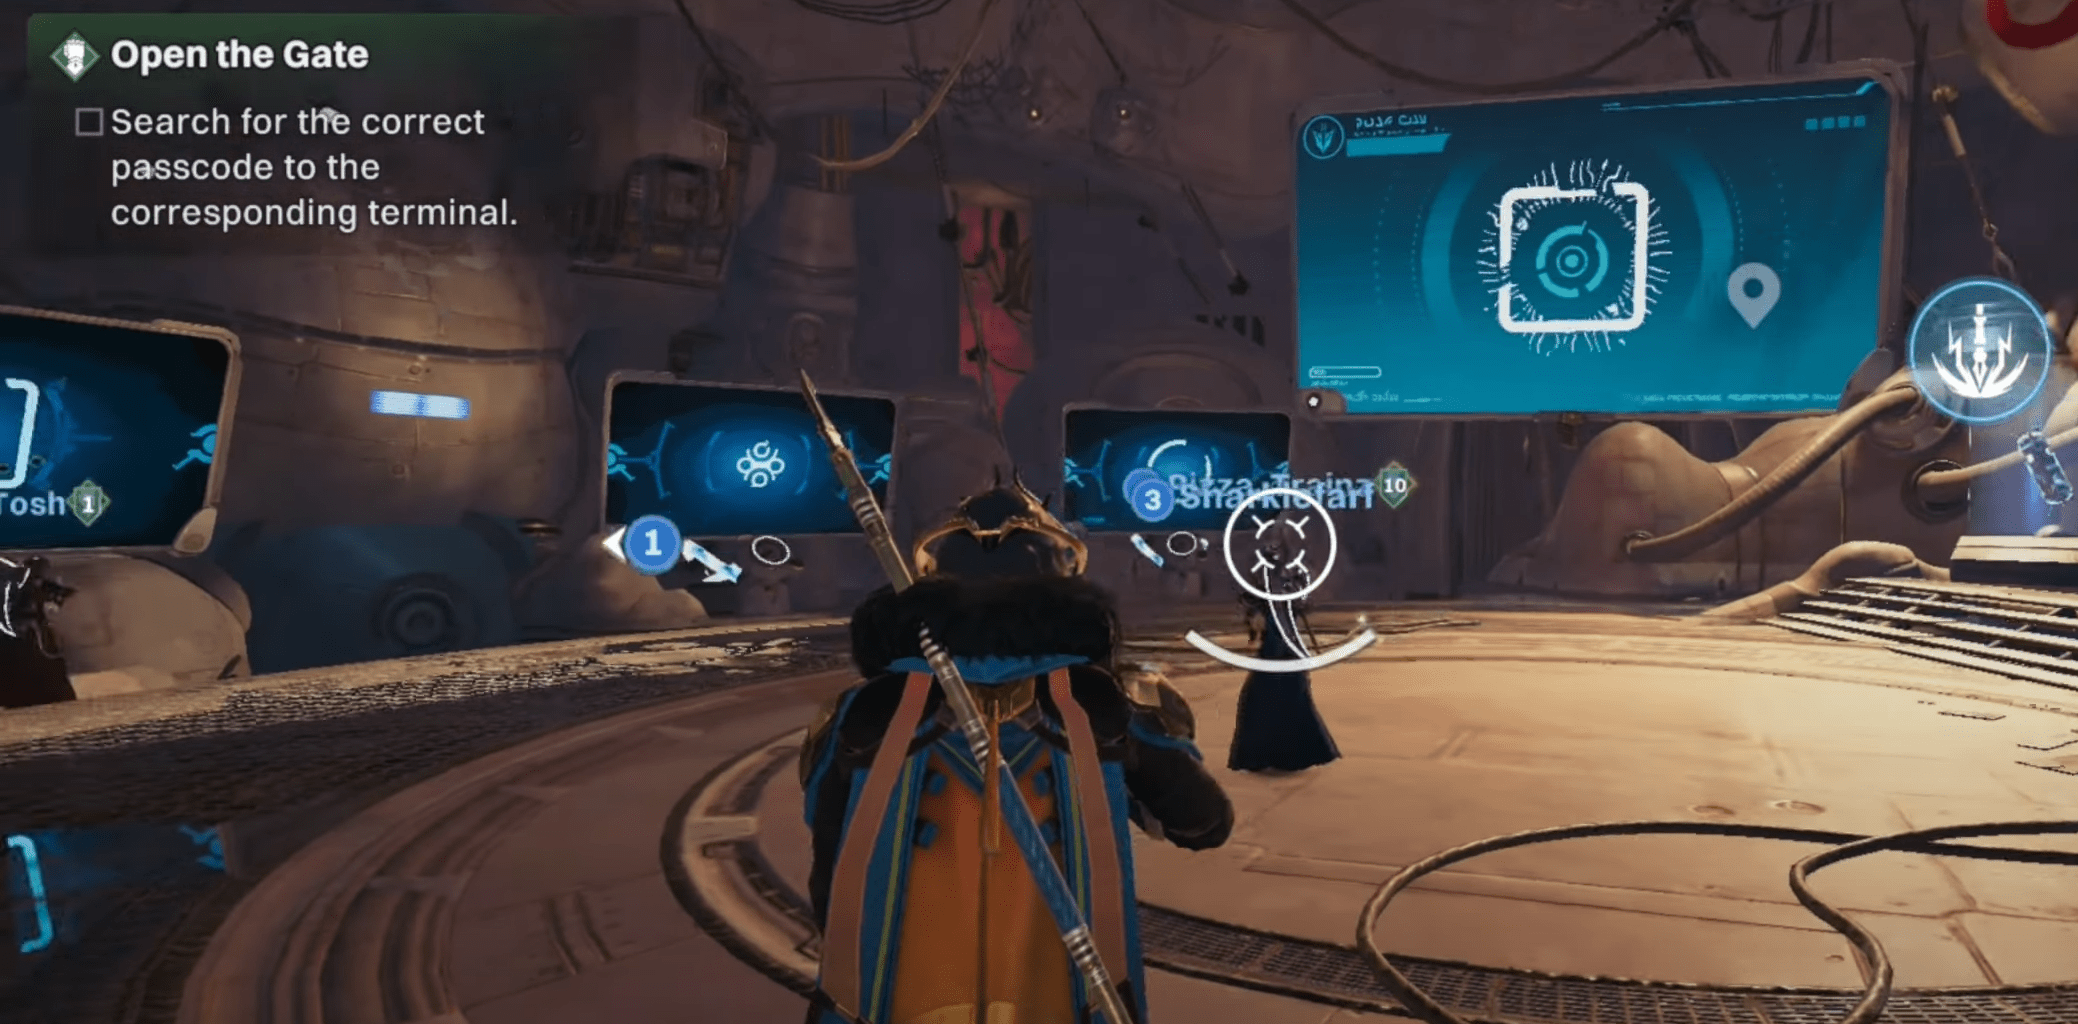
Continuing our Destiny Rising Gauntlet: Onslaught guide with the next encounter, the Menace Above takes place in a vertical arena built around high-voltage lines and an elevator. The fireteam must secure Power Cells, use them as mobile shields to cross hazardous paths, and deposit them into the elevator three times to complete the encounter. The challenge comes from the split roles between inside and outside players, managing code-entry mechanics, and keeping enemy waves under control. BLOG20
At the start, a barrier blocks the first set of Power Cells. To remove it, one player enters the main console code on the smaller side screens. This code mechanic repeats throughout the encounter. Once cleared, pick up the Power Cell — it projects a protective field that allows the carrier and nearby teammates to safely pass through deadly high-voltage lines. Carry the Cell forward and dunk it into the elevator at the center. This full sequence must be repeated three times.
On later cycles, the arena splits the team into two groups. Two players enter control rooms through separate portals, each fighting a Garrison Servitor solo. This is where the higher Gauntlet: Onslaught power level will really come in handy. Killing it unlocks their console code, which must be entered correctly. Meanwhile, the four outside players manage ads and eventually gain access to the same control rooms. After the passcodes are confirmed, the outside players teleport in to help the inside duo. This swap repeats until the next Power Cell is freed.
Several enemies complicate the loop. Overseers will trap players in barriers if left unchecked. Spread and Rapid-fire Shinka spawn at predictable points, demanding a balance of hero types inside and outside. Scorch Vandals drop Cannons needed to destroy the circuit breakers that gate each Power Cell. Without destroying all breakers, you can’t proceed.
The encounter’s success rests on clean role assignments and quick ad control. Here’s a reference for common failure states and how to recover:
| Failure State | Cause | Fix |
| Power Cell team wiped | Carrier left unprotected or dropped Cell too early | Assign one protector + rotate carrier if needed |
| Code entry fails | Wrong console sequence | Reset sequence; double-check small screen before input |
| Player trapped | Overseer left alive | Prioritize Overseers immediately on spawn |
| Inside players overwhelmed | Wrong hero types in portals | Ensure one Rapid-fire and one Spread hero are always assigned |
| Breaker not destroyed | Missed Cannon shot or Scorch Vandal ignored | Kill Scorch Vandals on sight; confirm all breakers destroyed before moving Cell |
Each dunk progresses the elevator further. After the third Cell is deposited, the elevator activates and the encounter ends.
Contest (Celebration) mode groups discovered a terrain skip here: by slipping through an out-of-bounds hole, players could teleport directly back to the elevator room, bypassing the traversal entirely. While useful for day-one clears, it’s likely to be patched in future updates.
Encounter 3: Issakis’s Tabernacle
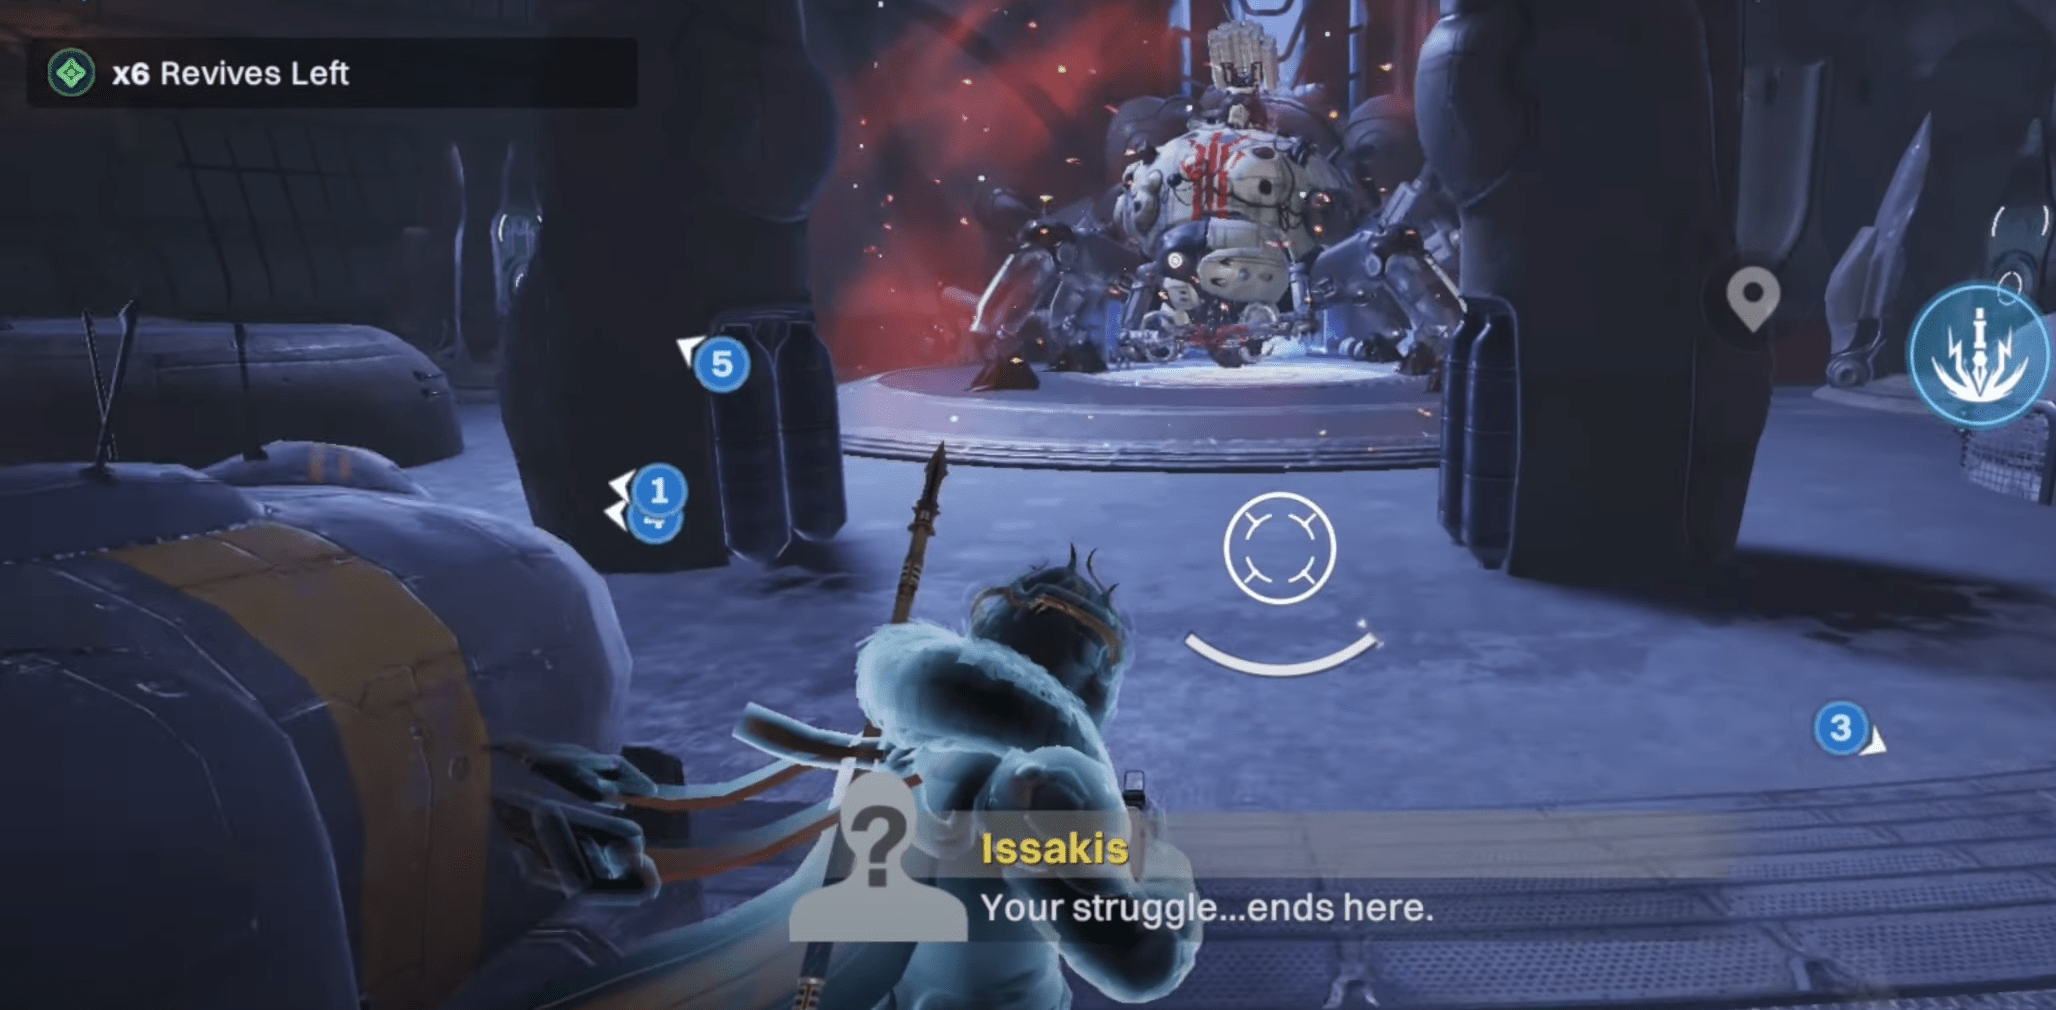
Issakis’s Tabernacle is the climactic Gauntlet: Onslaught final boss battle. It is the only encounter that requires sustained DPS, but reaching damage phases demands precise execution of breaker mechanics, portal coordination, and weak spot callouts. Success hinges on splitting responsibilities cleanly and surviving the arena’s punishing hazards.
The fight begins when two Precision Vandals spawn on either side of the boss. Defeat them quickly — once they’re dead, Issakis jumps to the left side of the arena. From this point, he will rotate between left, right, and center positions. While on either side, the boss periodically unleashes a devastating Arc wave across the floor. In the first phase, standing on raised boxes is enough to avoid it. In later phases, the wave is taller, forcing players to jump to survive.
During each side phase, Scorch Vandals spawn. Kill them, grab their Cannons, and use them to destroy the circuit breakers shielding Issakis. After breakers are down on both left and right, the boss leaps to the middle platform and the fight transitions into the portal mechanic.
At this stage, Rapid-fire Shinka spawn. Killing them opens two portals, one on each side. Two players must enter — one per portal. Inside, each player faces a Garrison Servitor that must be defeated to unlock a console screen. Each screen shows a weak spot marker on the boss. Players use the built-in ping wheel to select the correct marker, which appears as a card on the top right of everyone’s UI. This removes the need for improvised callouts, ensuring clear communication.
While the two inside players mark weak spots, the four outside players must survive adds, kill Overseers to avoid traps, and shoot the identified weak spots on the boss. Once enough damage is dealt to each marked location, the inside duo is teleported back out, triggering the damage phase.
To deal DPS to this Gauntlet: Onslaught raid boss, focus on his small Servitor eye in the center of his body. This is the crit spot and should be the entire team’s focus. Any leftover adds from previous phases can disrupt damage, so clearing the arena before DPS begins is crucial.
Here’s the overall encounter loop:
| Phase | Key Mechanics | Team Focus |
| 1 – Sides | Precision Vandals, Arc wave hazard, Scorch Vandals + Cannons | Clear Vandals fast, destroy circuit breakers |
| 2 – Mid (Portals) | Rapid-fire Shinka, Garrison Servitors inside, weak spot marking | Inside: mark weak spots via ping. Outside: shoot weak spots + clear adds |
| 3 – DPS | Issakis exposed, crit spot = Servitor eye | Full-team damage, survive adds, extend damage if possible |
In normal clears, almost any balanced setup can finish Issakis. But in Celebration (contest) mode, composition is critical. High-precision DPS heroes like Tantu with Izanagi's Burden + Catalyst can deliver over a million damage per shot with the right artifact tree. Estella provides strong super burst, Maru offers survivability through barriers while still contributing solid DPS, and Gwyn can constantly suppress Issakis for an additional 20% team damage when equipped with suppression artifacts. Most top clears ran one Estella, one Maru, and four Tantu to meet the damage check. BLOG20
The encounter ends once Issakis’s health is fully depleted. Clean execution, correct weak spot marking, and optimized DPS rotations are the path to victory.
Best Picks for Gauntlet: Onslaught
The best Lightbearer picks vary by encounter, with different heroes excelling depending on ad clear, survivability, or boss damage. Alongside them, certain weapon choices stand out as the most reliable for meeting each encounter’s demands. While the Gauntlet: Onslaught requirements are the same for everyone, it’s still best to have a few characters ready to switch between.
| Encounter | Recommended Lightbearers |
Recommended Weapons |
| Break In | Gwynn, Maru, Wolf, Finnala, Attal, Xuan Wei, Aora, Ning Fei (cheese: Jolder, Finnala) | Spread/Impact-clearing primaries, suppression tools, Scorch Cannon for Breakers. Sword users (Jolder/Finnala) for bridge skip. |
| The Menace Above | Gwynn, Wolf, Ning Fei, Estela | Rapid-fire primaries for Shinka, spread-control weapons, ad-clear AoE, Scorch Cannon for circuit breakers. |
| Issakis’s Tabernacle | Tan-2, Estela, Maru, Gwynn | Izanagi's Burden + Catalyst (Tan-2), precision burst rifles, Estela supers, barrier-support weapons, suppression for team-wide DPS boost. |
This layout keeps recommendations clean while directly tying heroes to the weapons that best support them in each encounter.
Conclusion
Even though the raid encounters are divided into separate loadable instances, this is the only thing that will remind you of this raid being in a mobile game. The encounters themselves are worthy of being in a big game. In other words, the encounters include traversal sections and bosses who can only be defeated if you work in a team and figure out the exact way to bring them down. So, just like in Destiny or Destiny 2, this raid has it all: team play, callouts, damage phases, puzzles, and traversal segments. And that is what makes Destiny Rising stand out from other gacha games. We hope that this guide was useful and helped you secure the raid clear!
F.A.Q.
What are the requirements to enter Gauntlet: Onslaught?
You must complete the Destiny Rising campaign. Celebration mode also requires being at least 15 levels below the recommended power to enter.
How many encounters are in Gauntlet: Onslaught?
The raid has three separate encounters: Break In, The Menace Above, and Issakis’s Tabernacle.
How long does Gauntlet: Onslaught take to complete?
A first clear can take several hours, but experienced teams can finish all three encounters in about 90 minutes.
Is there a contest mode in Gauntlet: Onslaught?
Yes, Celebration mode acts as a contest variant, putting players 15 levels under enemies and adding unique difficulty.
Can Gauntlet: Onslaught be farmed?
At launch, the encounters can be repeated, but full loot farming rules will be clarified once the raid officially releases.


