


Welcome to the Elden Ring Nightreign solo expedition guide, Nightfarers! Even though the game is meant to be played in co-op with up to 2 other players, anyone who braved the Lands Between or played any other Souls game is up to the task of playing Nightreign all by themselves. Whether it is by choice and the desire to challenge yourself, or because you don’t want to play with random teammates, this guide is made for you. It will explain how to beat Elden Ring Nightreign solo by providing you with information about the best Nightfarers for solo play, and how to approach each day of an Expedition, regardless of the version of the Limveld you end up in. We’ve also prepared a list of bosses ranked by how hard they are to beat solo.
And if you would like to have more completed expeditions to get access to more powerful relics in preparation for a solo run, you can buy Nightreign Expeditions boost at SkyCoach. No more failed runs and no more struggles with random teammates just to get some resources for your next solo run. Entrust this into the hands of veteran Souls players working with SkyCoach to help gamers around the world achieve their goals.
Read our other Elden Ring Nightreign guides:
- Trophies Guide
- Relics Guide
- Best Classes Tier List
- Best Build for Each Class
- How to Farm Relics
- Beginner's Guide
Note: At SkyCoach, you can Buy Elden Ring Nightreign Boost at the best prices with fast delivery. Use our special PROMO CODE (in green) hidden in this article for a 20% DISCOUNT.


Best Nightfarer for Solo Players
If you're going solo in Nightreign, your Nightfarer choice will determine how rough the road ahead will be. Not every class is created equal when it comes to surviving without a team. Some are meant to take hits and recover. Others thrive on distance, speed, or tactical tools. For solo play, what you want is the ability to sustain through fights, control tempo, and make your damage count.
Wylder
Wylder is the most forgiving and reliable class, which makes him the best Nightfarer for solo players. His build gives you a well-rounded stat spread, a solid starting weapon, and one of the most powerful solo survival tools in the game: Sixth Sense, which grants a free death save once per day.
His kit also gives you tools for control and escape. Claw Shot lets you reposition instantly, and his Onslaught Stake Ultimate has full invincibility frames and causes a guaranteed stagger, making it a perfect tool to start or finish a tough encounter.
| Trait | Solo Advantage |
| Sixth Sense | Grants one revive per grace reset — like a solo extra life |
| Claw Shot | Safe traversal, gap-closer, and escape tool |
| Onslaught Stake | High stagger + invulnerability = safe burst window |
| Balanced Stats | Good damage, decent health, reliable stamina |
If you’re new to solo runs or want a steady learning curve, Wylder gives you room to make mistakes while still keeping you in the fight.
Other Viable Solo Picks
Some Nightfarers offer strong solo potential if you're comfortable managing their tradeoffs:
- Ironeye – A strong pick for ranged solo players. Her precision bow toolkit and ultimate art make her ideal for safely kiting enemies and controlling the battlefield from a distance.
- Duchess – Quick, elusive, and built around dexterity and intelligence. Her Restage skill offers sneaky repositioning, and she’s perfect for a hit-and-run approach. You’ll need to master timing.
- Recluse – High FP, long-range pressure, and powerful spell synergy. Her Magic Cocktail skill and Soulblood Song ultimate can control large fights if you build around her.
- Executor – Focused on parrying and one-on-one burst damage. He’s high-risk, high-reward, especially effective if you’re good at reading animations.
Each of these offers something unique in terms of being the Elden Ring Nightreign best solo class, but Wylder is the one with the cleanest synergy between survivability, damage, and reliability. For your first solo wins—or just a smoother ride through Limveld—there’s no better place to start.
Solo Day 1
Your first day of Elden Ring Nightreign solo walkthrough is all about setup. You start under-leveled, under-geared, and outnumbered. But with the right choices, you can turn Day 1 into a power spike that carries you through to the Night Lords. Time matters more than exploration here—your focus should be gaining levels, collecting passive buffs, and securing your core gear.
Opening Moves
The first thing to do after spawning is to level up to Level 2 immediately. You’ll always start near a cluster of weak enemies—take them out fast. These early kills not only give you your first stat point, but they often drop basic weapons and consumables that can carry you through the first few skirmishes.
The second priority is to locate the nearest Church of Marika. Each church you find grants one additional flask charge, and more healing early on is a game-changer. These are fixed locations, so once you learn where they tend to appear across Limveld variants, you can develop a reliable route.
What to Prioritize
There are a few specific encounter types and locations that consistently offer great early value. These should be your Day 1 targets whenever possible:
| Location Type | Why It's Worth It |
| Small Forts | Often have 2+ chests, 1 scarab, 1 miniboss |
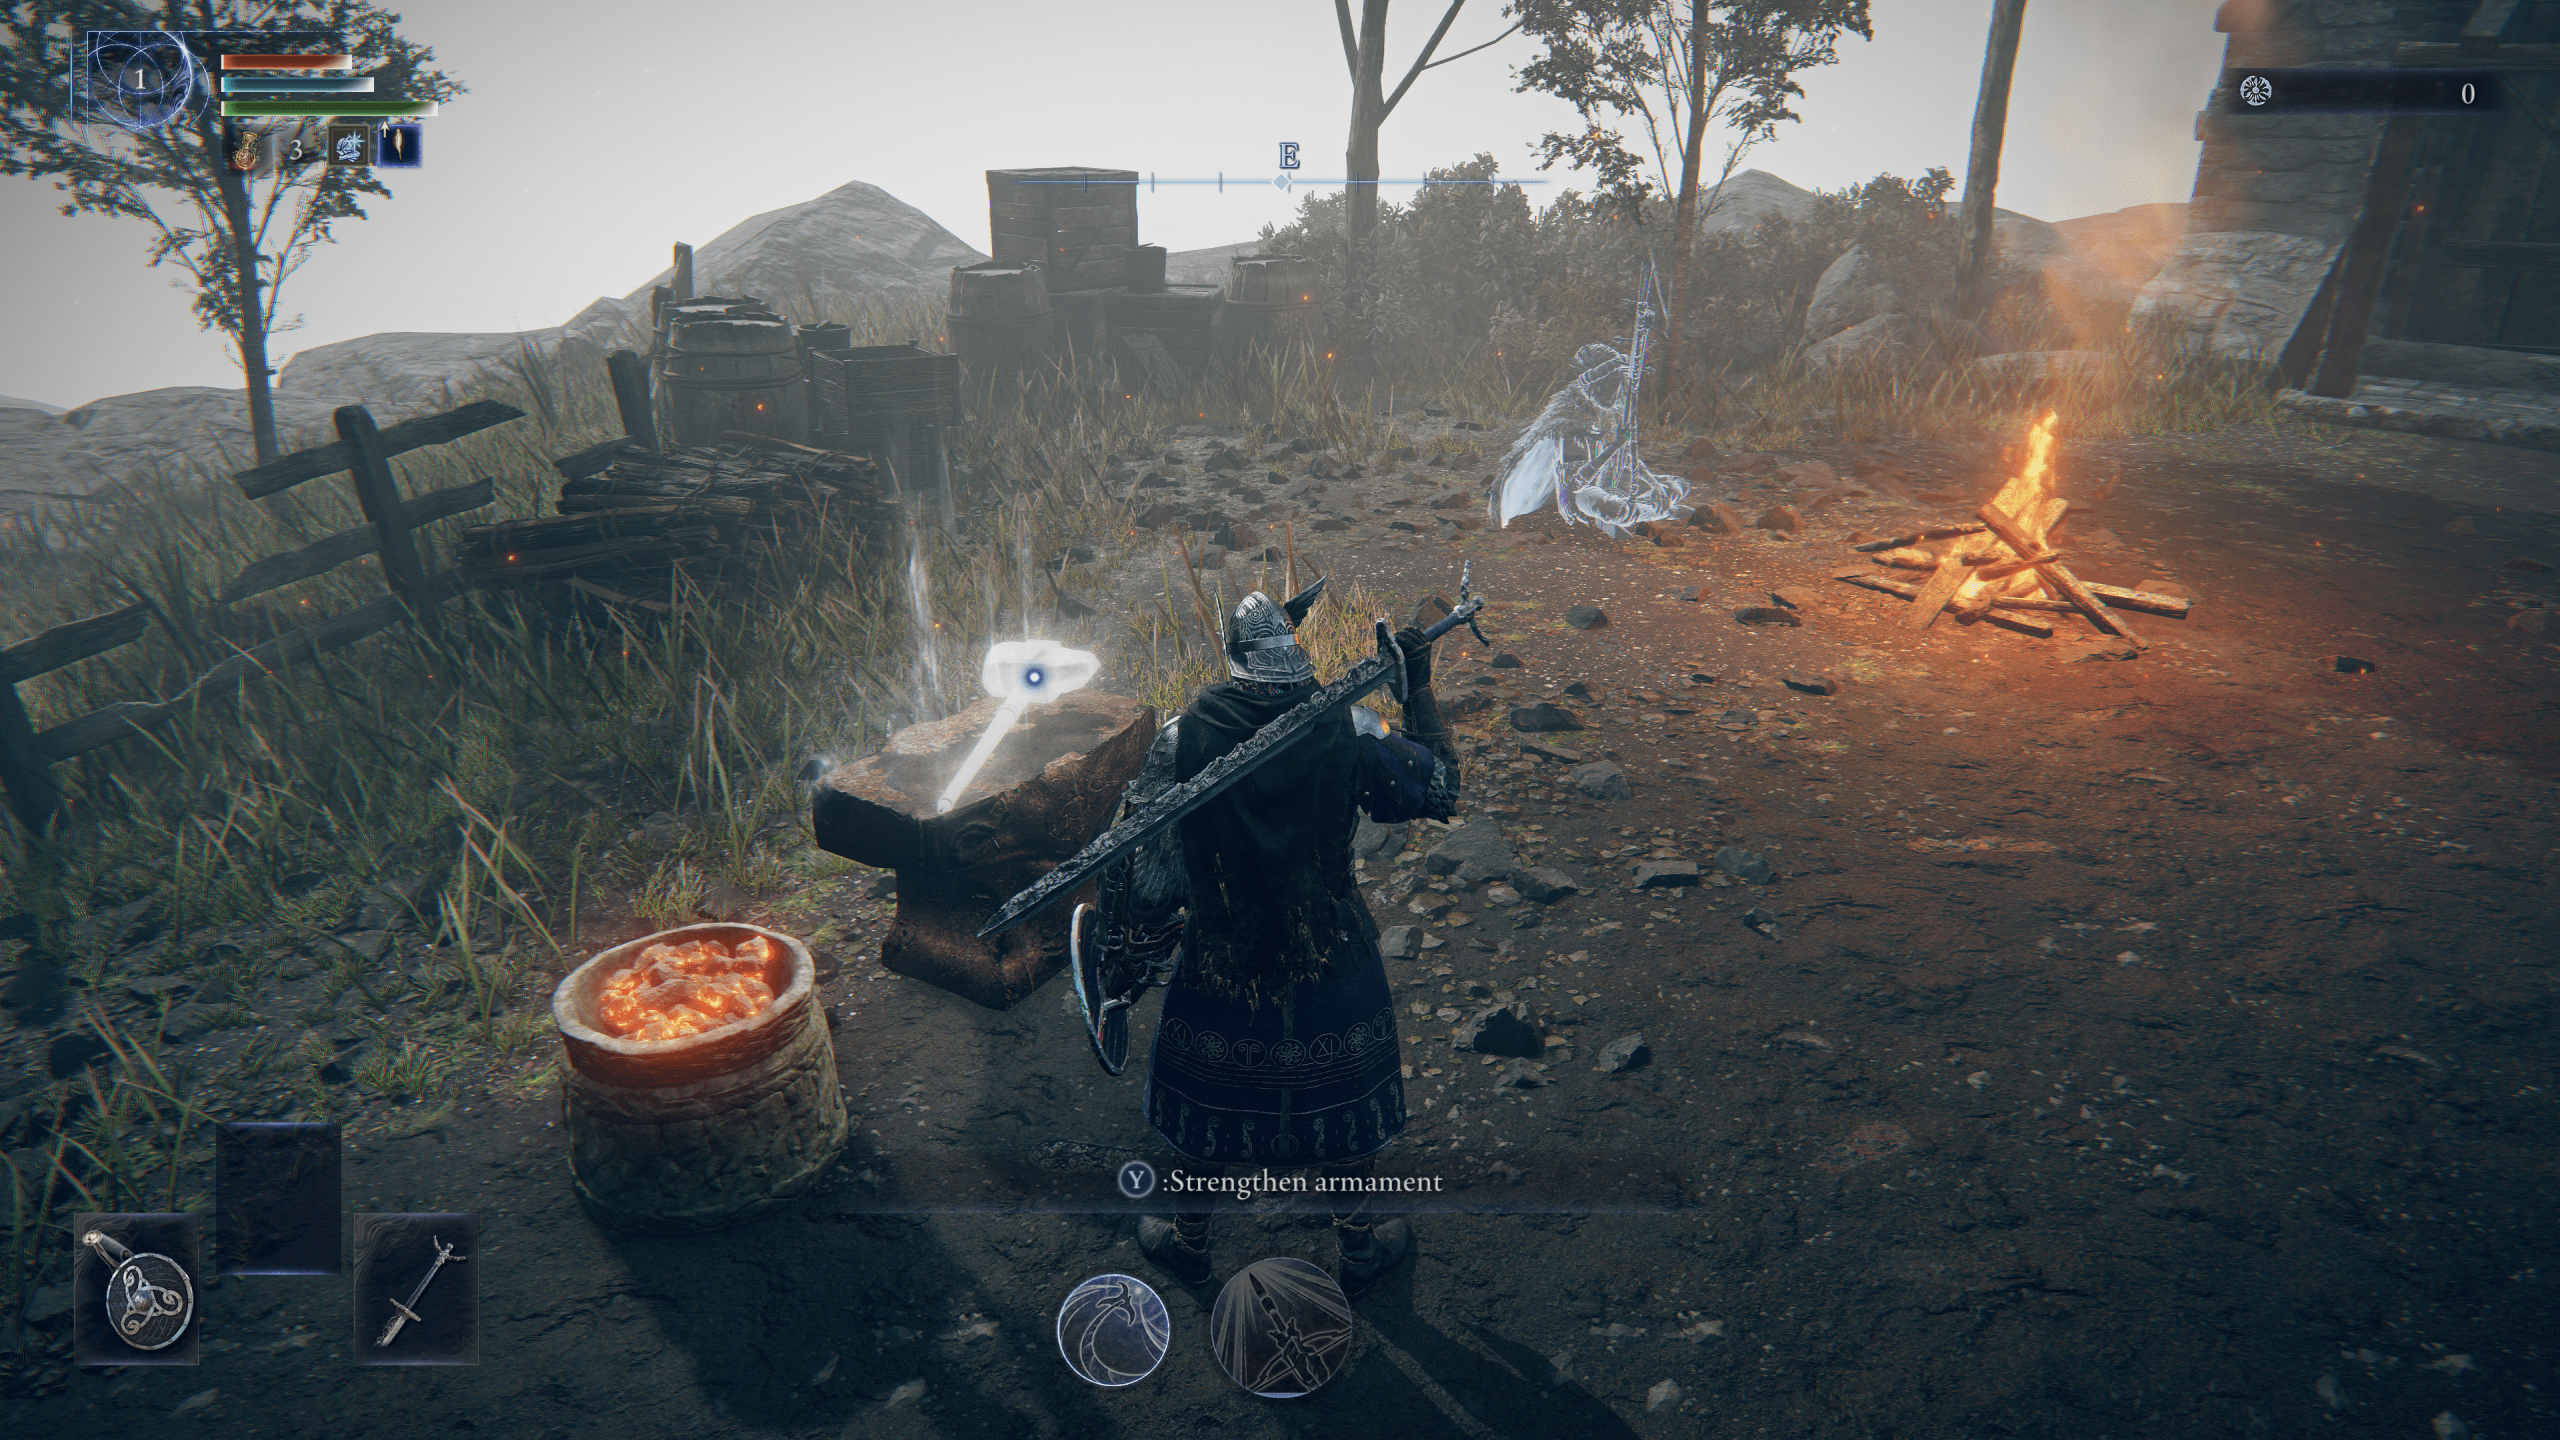
| Mines | Guarantee smithing stones for weapon upgrade |
| Merchant Camps | Consumables, relics, Wending Grace stock |
| Scarabs | Drop early talismans with passive effects |
Try to get two flask upgrades and at least one talisman before the timer reaches half. Then, head toward a smithing bench to upgrade your weapon at least once.
If you find a strong purple or legendary weapon early on, especially one that matches your scaling, consider sticking with it and investing in upgrades. Committing to one good weapon often leads to a more stable solo run than switching gear too often.
Avoid low-reward areas like open ruins or large enemy encampments unless you already have decent gear. These locations take too much time to clear and don’t offer enough in return, especially when playing solo.
Early Combat Strategy
Use your Ultimate early and often, especially against minibosses. Most Ultimates have invulnerability frames and stagger potential—using them well can win a fight before it even starts. Also, remember that you’ll find a lot of consumables on Day 1. Don’t hoard them. Use bombs, buffs, and recovery items liberally—they’ll be replenished faster than you expect.
By the end of Day 1, your goals should be:
- Reaching Level 4 or 5
- Securing a flask count of 3
- Upgrading your weapon to +1 or +2
- Collecting 2+ passive relics or talismans
Getting ahead early in solo expeditions Nightreign doesn’t require perfection, but it does require precision. Keep moving, avoid fights you don’t need, and spend your first day getting strong, not showing off.
Solo Day 2
Day 2 is where the real pressure begins. This is where most good players start feeling the Nightreign solo difficulty. The map is smaller, the enemies stronger, and the margin for error tighter. Your goals now shift from basic survival to building your endgame loadout. This is also the day where solo players must start thinking one step ahead—every encounter needs to serve a purpose, whether it’s rune gain, relic acquisition, or setting up for Day 3.
Core Objectives
By now, your weapon should be upgraded and your flask count raised. That foundation lets you take on tougher challenges—but not all of them. The key to success on Day 2 is picking high-reward fights and skipping anything that won’t move your build forward.
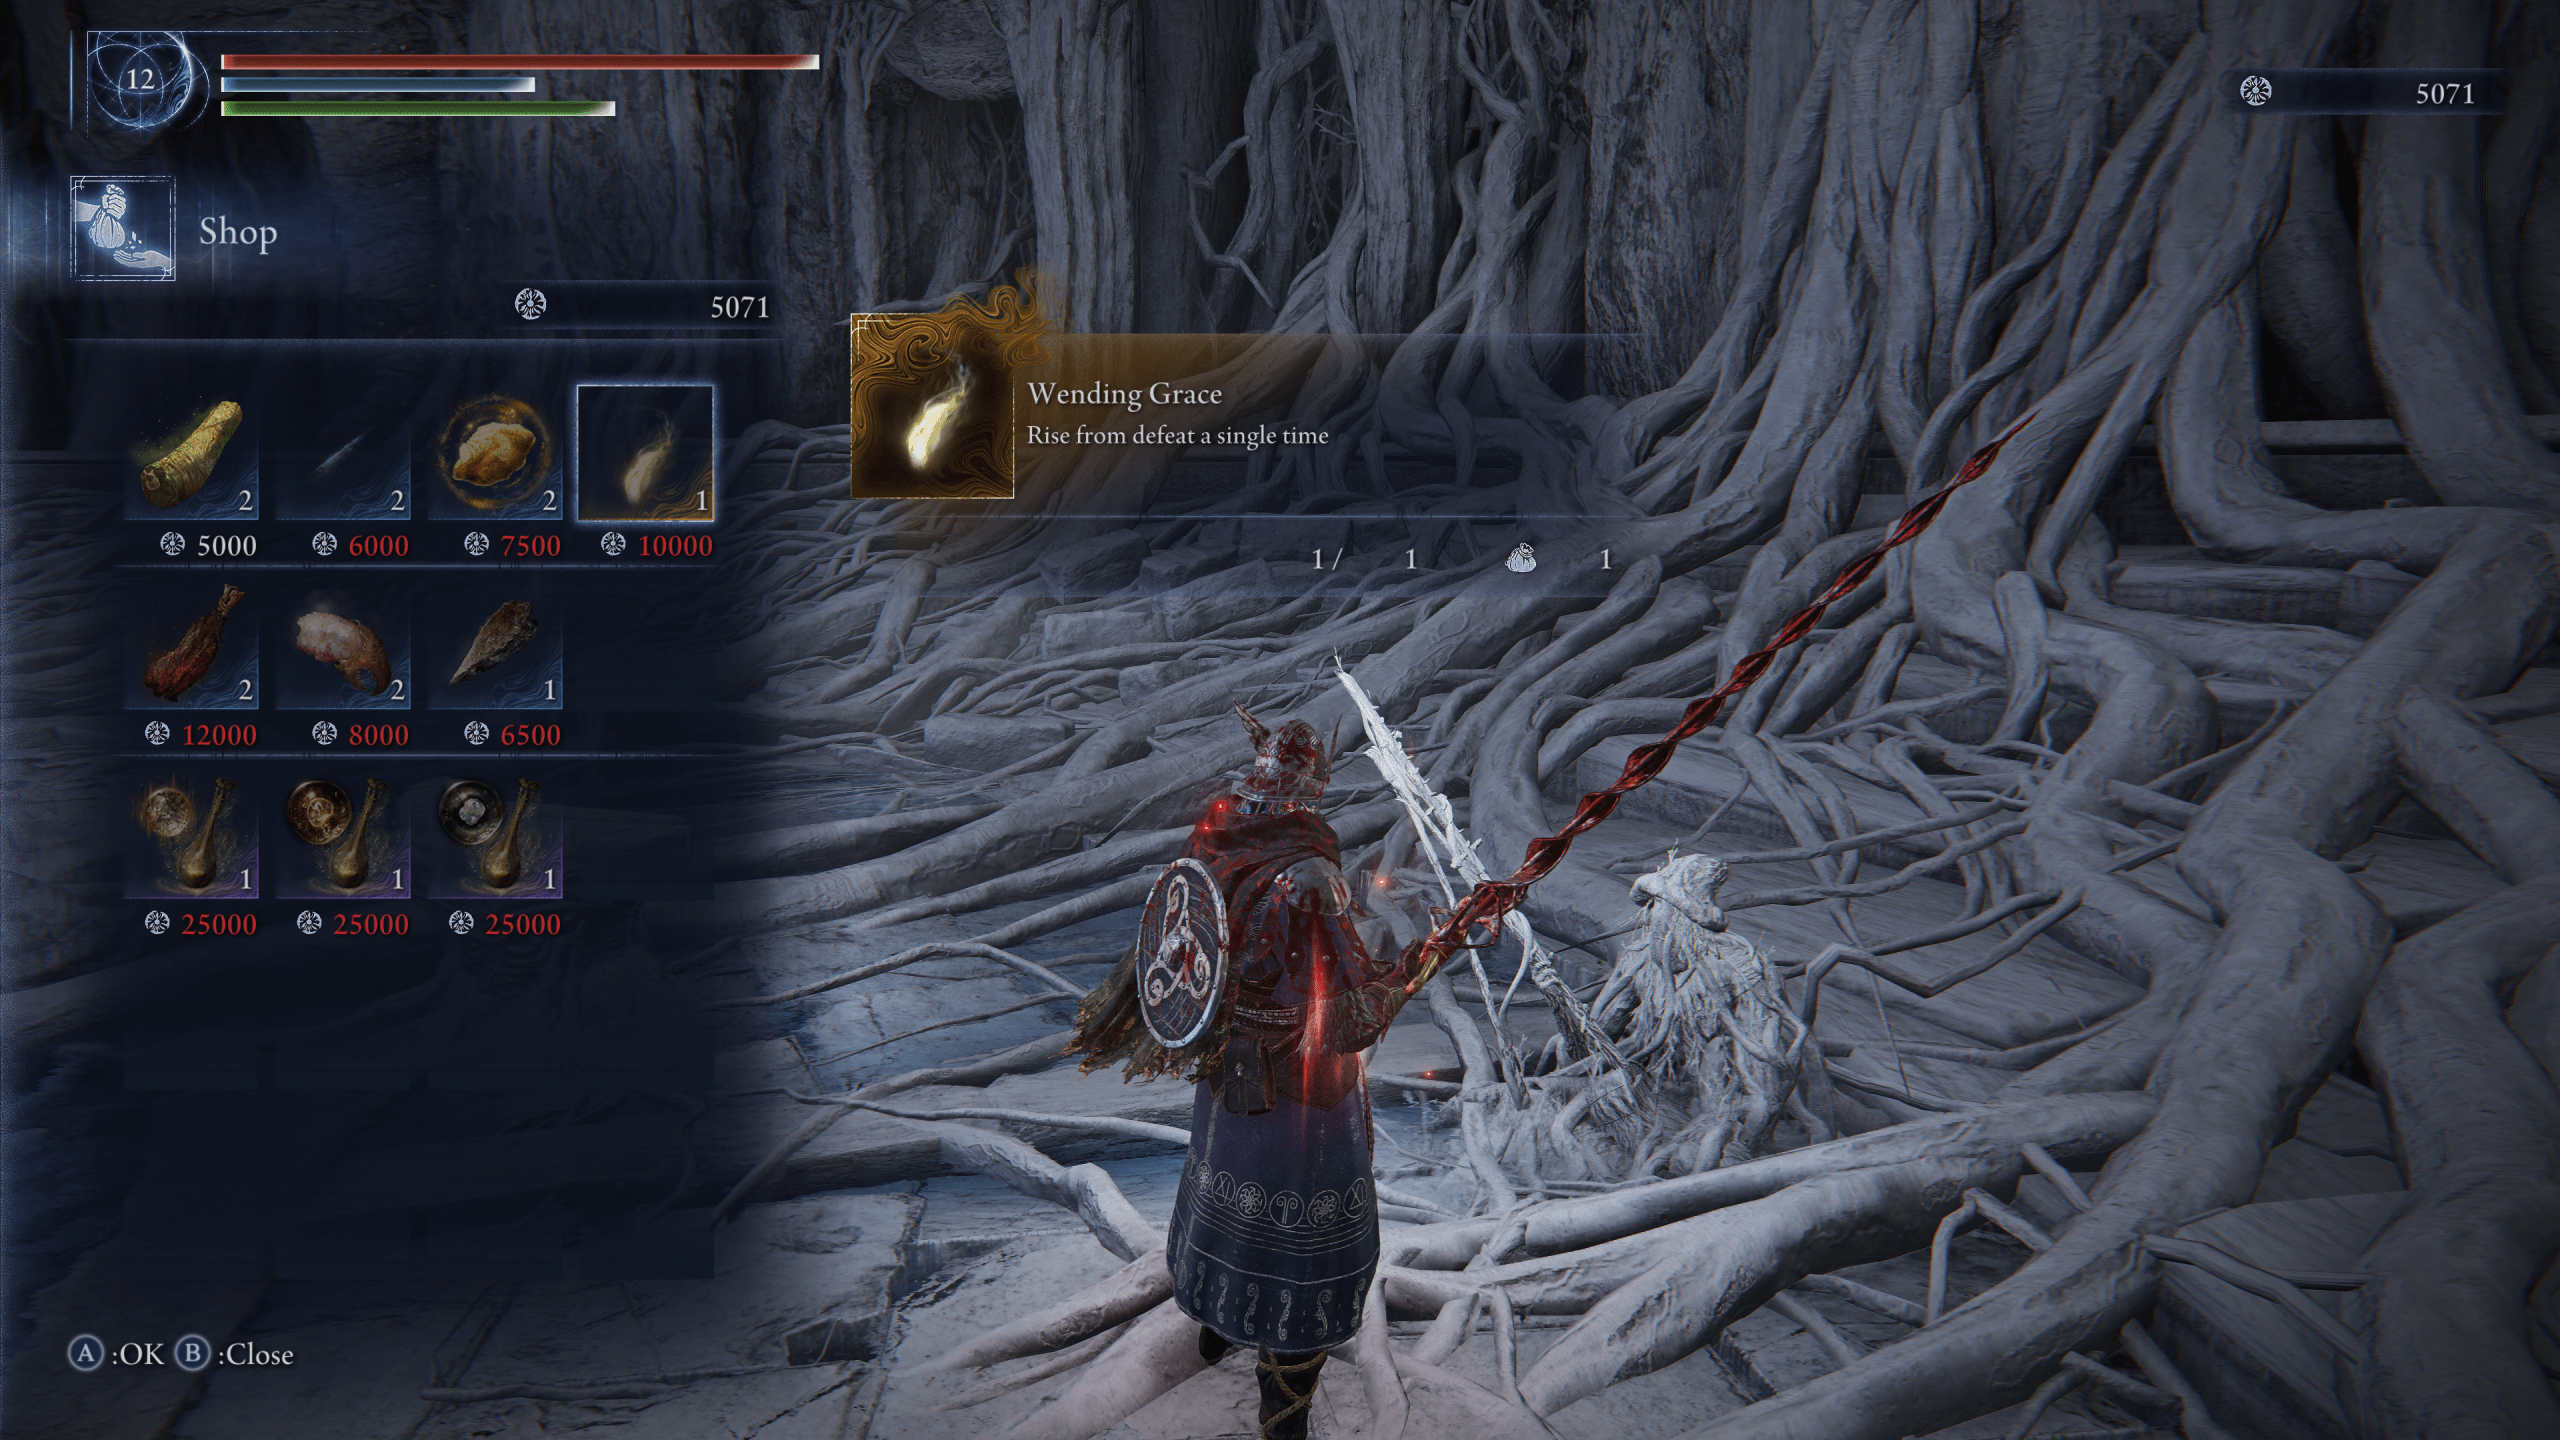
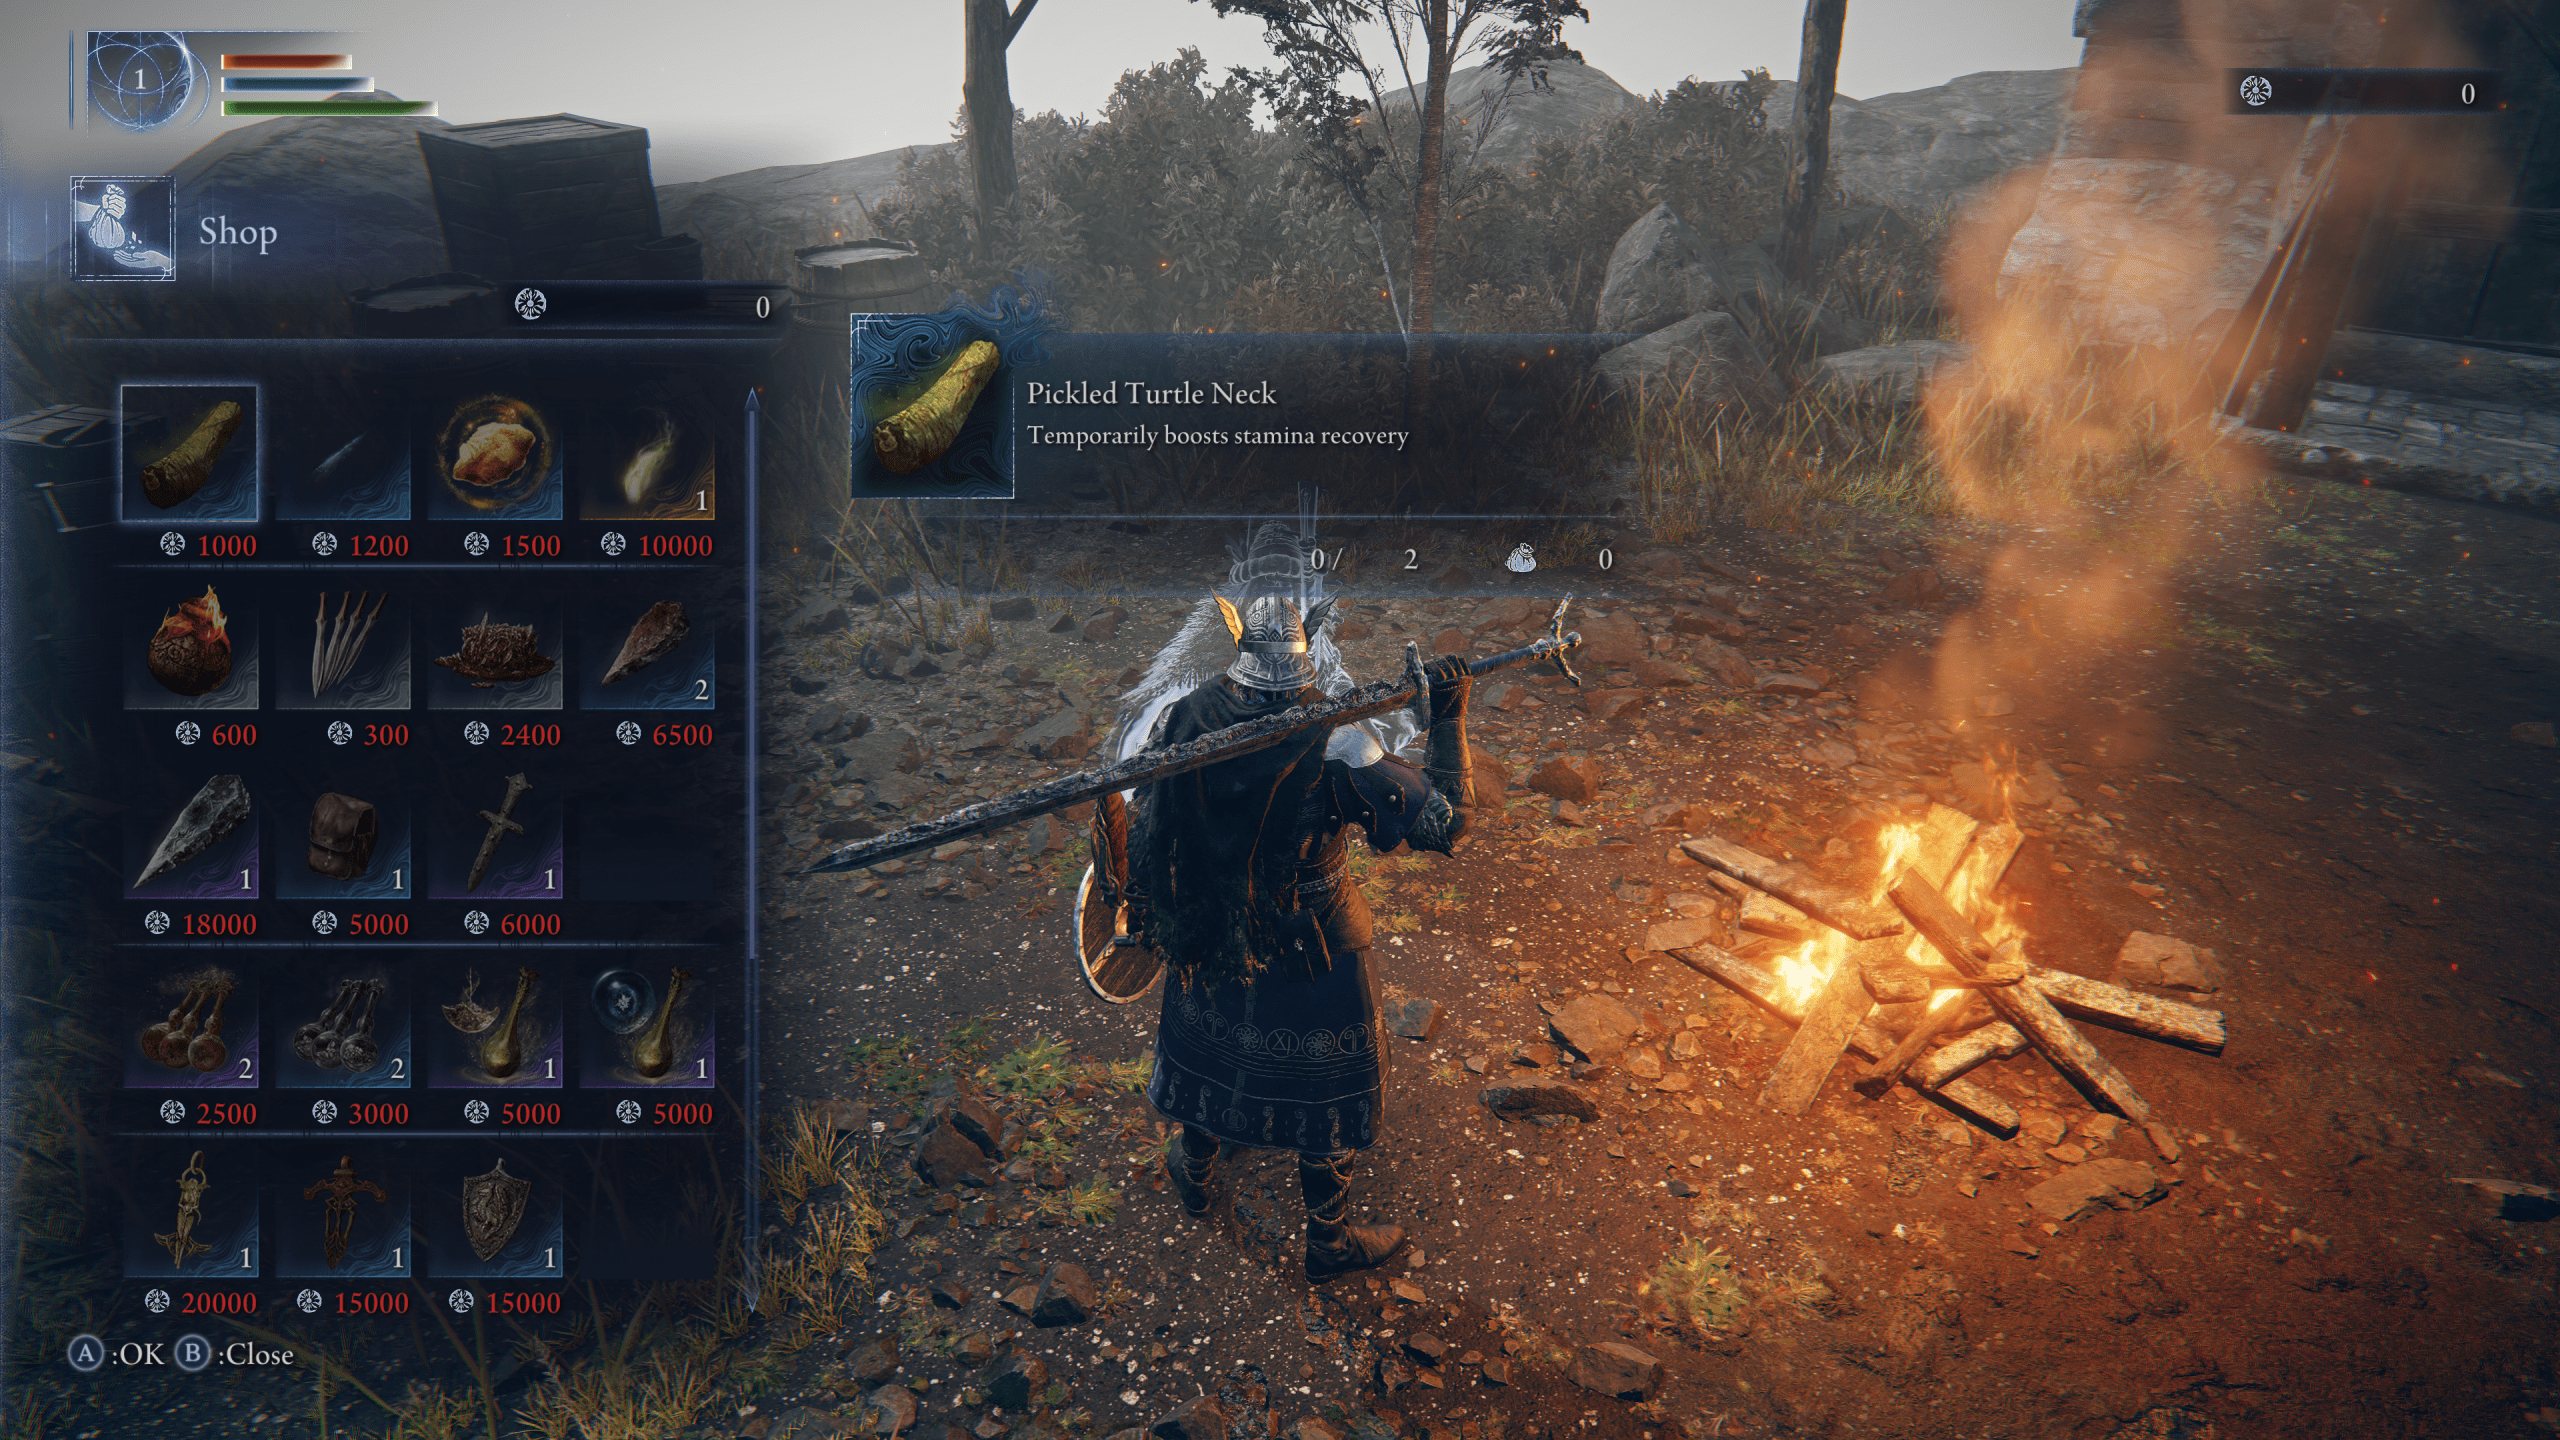
This is when you should make your way to the merchant who sells Elden Ring Nightreign Wending Grace, if you haven’t already. This solo-exclusive item lets you resurrect yourself once, and having it before Day 3 is non-negotiable. Use the Spectral Hawk to reposition quickly if the ring closes too far from your target vendor.
Here are the top priority targets on Day 2:
| Target Type | Reward |
| Wending Grace Vendor | Buy your first revive item — 10,000 runes |
| Field Bosses | High rune gain, passive skills, rare gear |
| Evergaols | Weapon or relic drops; skill-testing bosses |
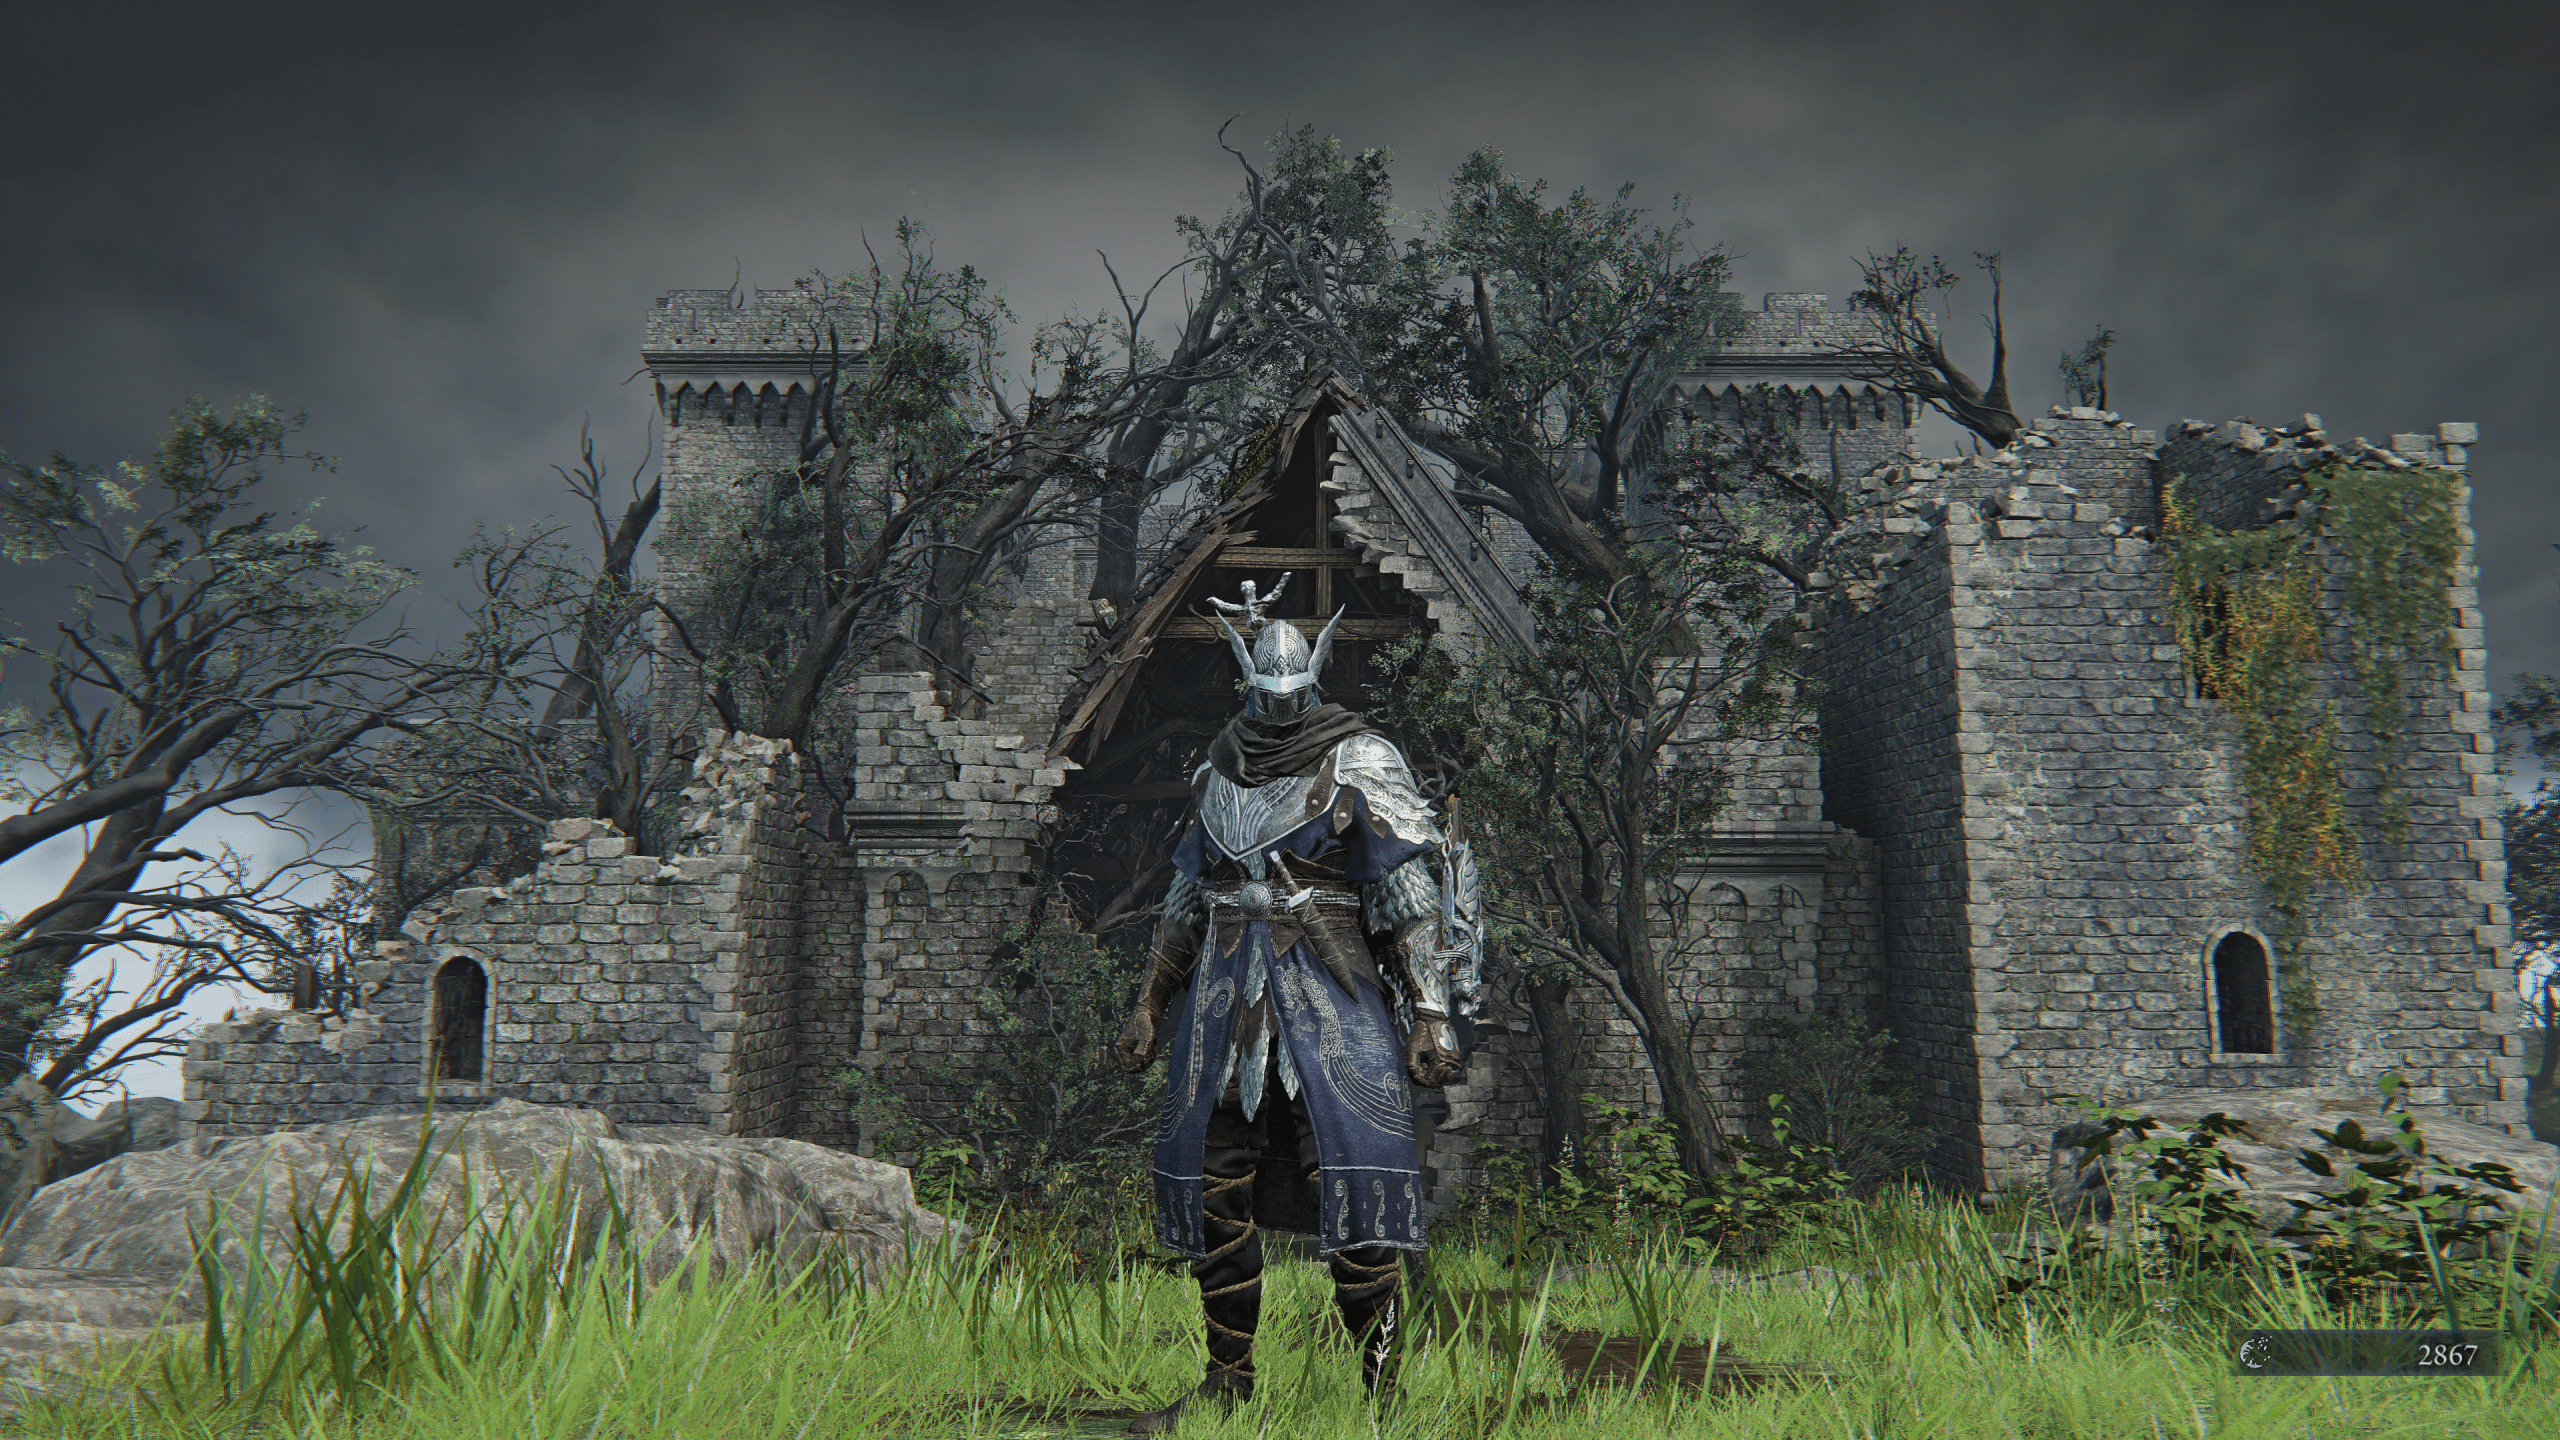
| The Central Castle | Strong talisman, rune-rich, high risk |
| Mines | Purple smithing stones for final weapon upgrades |
If you already have a Wending Grace, you can push into riskier zones like the central castle or attempt an Evergaol boss. If you don’t, farm field bosses or high-density mobs until you do. That one item is your insurance policy.
Note: When entering the central castle, it’s safer to approach from the basement sewer route. This gives you better control over encounters, easier access to loot, and avoids early aggression from tougher enemies.
Making Smart Trades
It’s tempting to chase everything, but solo play rewards restraint. You only have so many flask charges and one life—two if you count Wending Grace. Know when to walk away.
If you lose a fight but survive, reset at a nearby grace and re-engage smart. Enemies don’t heal between resets unless the run is wiped. This lets you chip down a boss over two or three attempts—an underrated tactic that can make solo fights much more manageable.
Also, be cautious with red-eyed enemies. These elite variants hit harder and tank more, but their drops can be game-changing. If the risk is manageable and you’re near a grace, they might be worth the time.
| Combat Principle | How It Helps Solo Runs |
| Retreat and Reset | Return with full flasks, re-initiate |
| Consumable Rotation | Use bombs, oils, and buffs often |
| Zone Advantage | Lure enemies into favorable terrain |
Remember to spend your Merc wisely. Once you’ve secured essentials like Wending Grace or flask vials, invest in character-specific relics, which offer stacking bonuses that often align perfectly with your playstyle.
Preparing for the Endgame
The last few minutes of Day 2 should be focused on positioning. The map will start to shrink, forcing you into tighter areas. Use your Spectral Hawk again to relocate fast if you're caught outside the ring. These final moments are also your last chance to:
- Buy a second Wending Grace (optional but highly recommended)
- Secure a final passive from a dungeon or merchant
- Rest at a grace near the Night Lord arena
By the time the expedition clock runs out, you want to be healed, stocked, and within sprinting distance of the final zone. Anything unfinished at this point probably wasn’t essential.


Solo Day 3: Nightlords – End of the Night
On the final day, players must face their greatest test: the Nightlords—eight Nightreign solo bosses encountered at the end of your expedition. These climactic battles demand mastery of your Nightfarer’s tools, well-timed positioning, and deep mechanical understanding. These Nightlords mark the culmination of your journey through Limveld.
While all bosses are designed with co-op in mind, several Nightlords are very manageable in solo play with the right preparation and strategy. Below is an overview of all eight Nightlords, along with notes on which ones favor solo play and why.
Adel, Baron of Night
- Expedition: Gaping Jaw
- Weakness: Poison
- Solo Viability: ★★★☆☆
Adel is a slow, brutal juggernaut, favoring heavy AoEs and pressure. His attacks have long wind-ups, leaving clear windows for retaliation. However, his aggressive tracking in Phase 2 can overwhelm solo players if they don’t manage stamina well.
Tip: Learn his lunge and slam patterns—he’s extremely punishable post-attack. Use the environment to create space during his enraged charge.
Fulghor, Champion of Nightglow
- Expedition: Darkdrift Knight
- Weakness: Lightning
- Solo Viability: ★★★★☆
A duelist-style Nightlord who rewards parries and aggressive reads. Fulghor is the easiest to solo for confident melee players due to his 1v1 style and predictable spacing.
Tip: Dodge his telegraphed dash-swing and punish the recovery. Equipping a lightning weapon significantly shortens the fight.
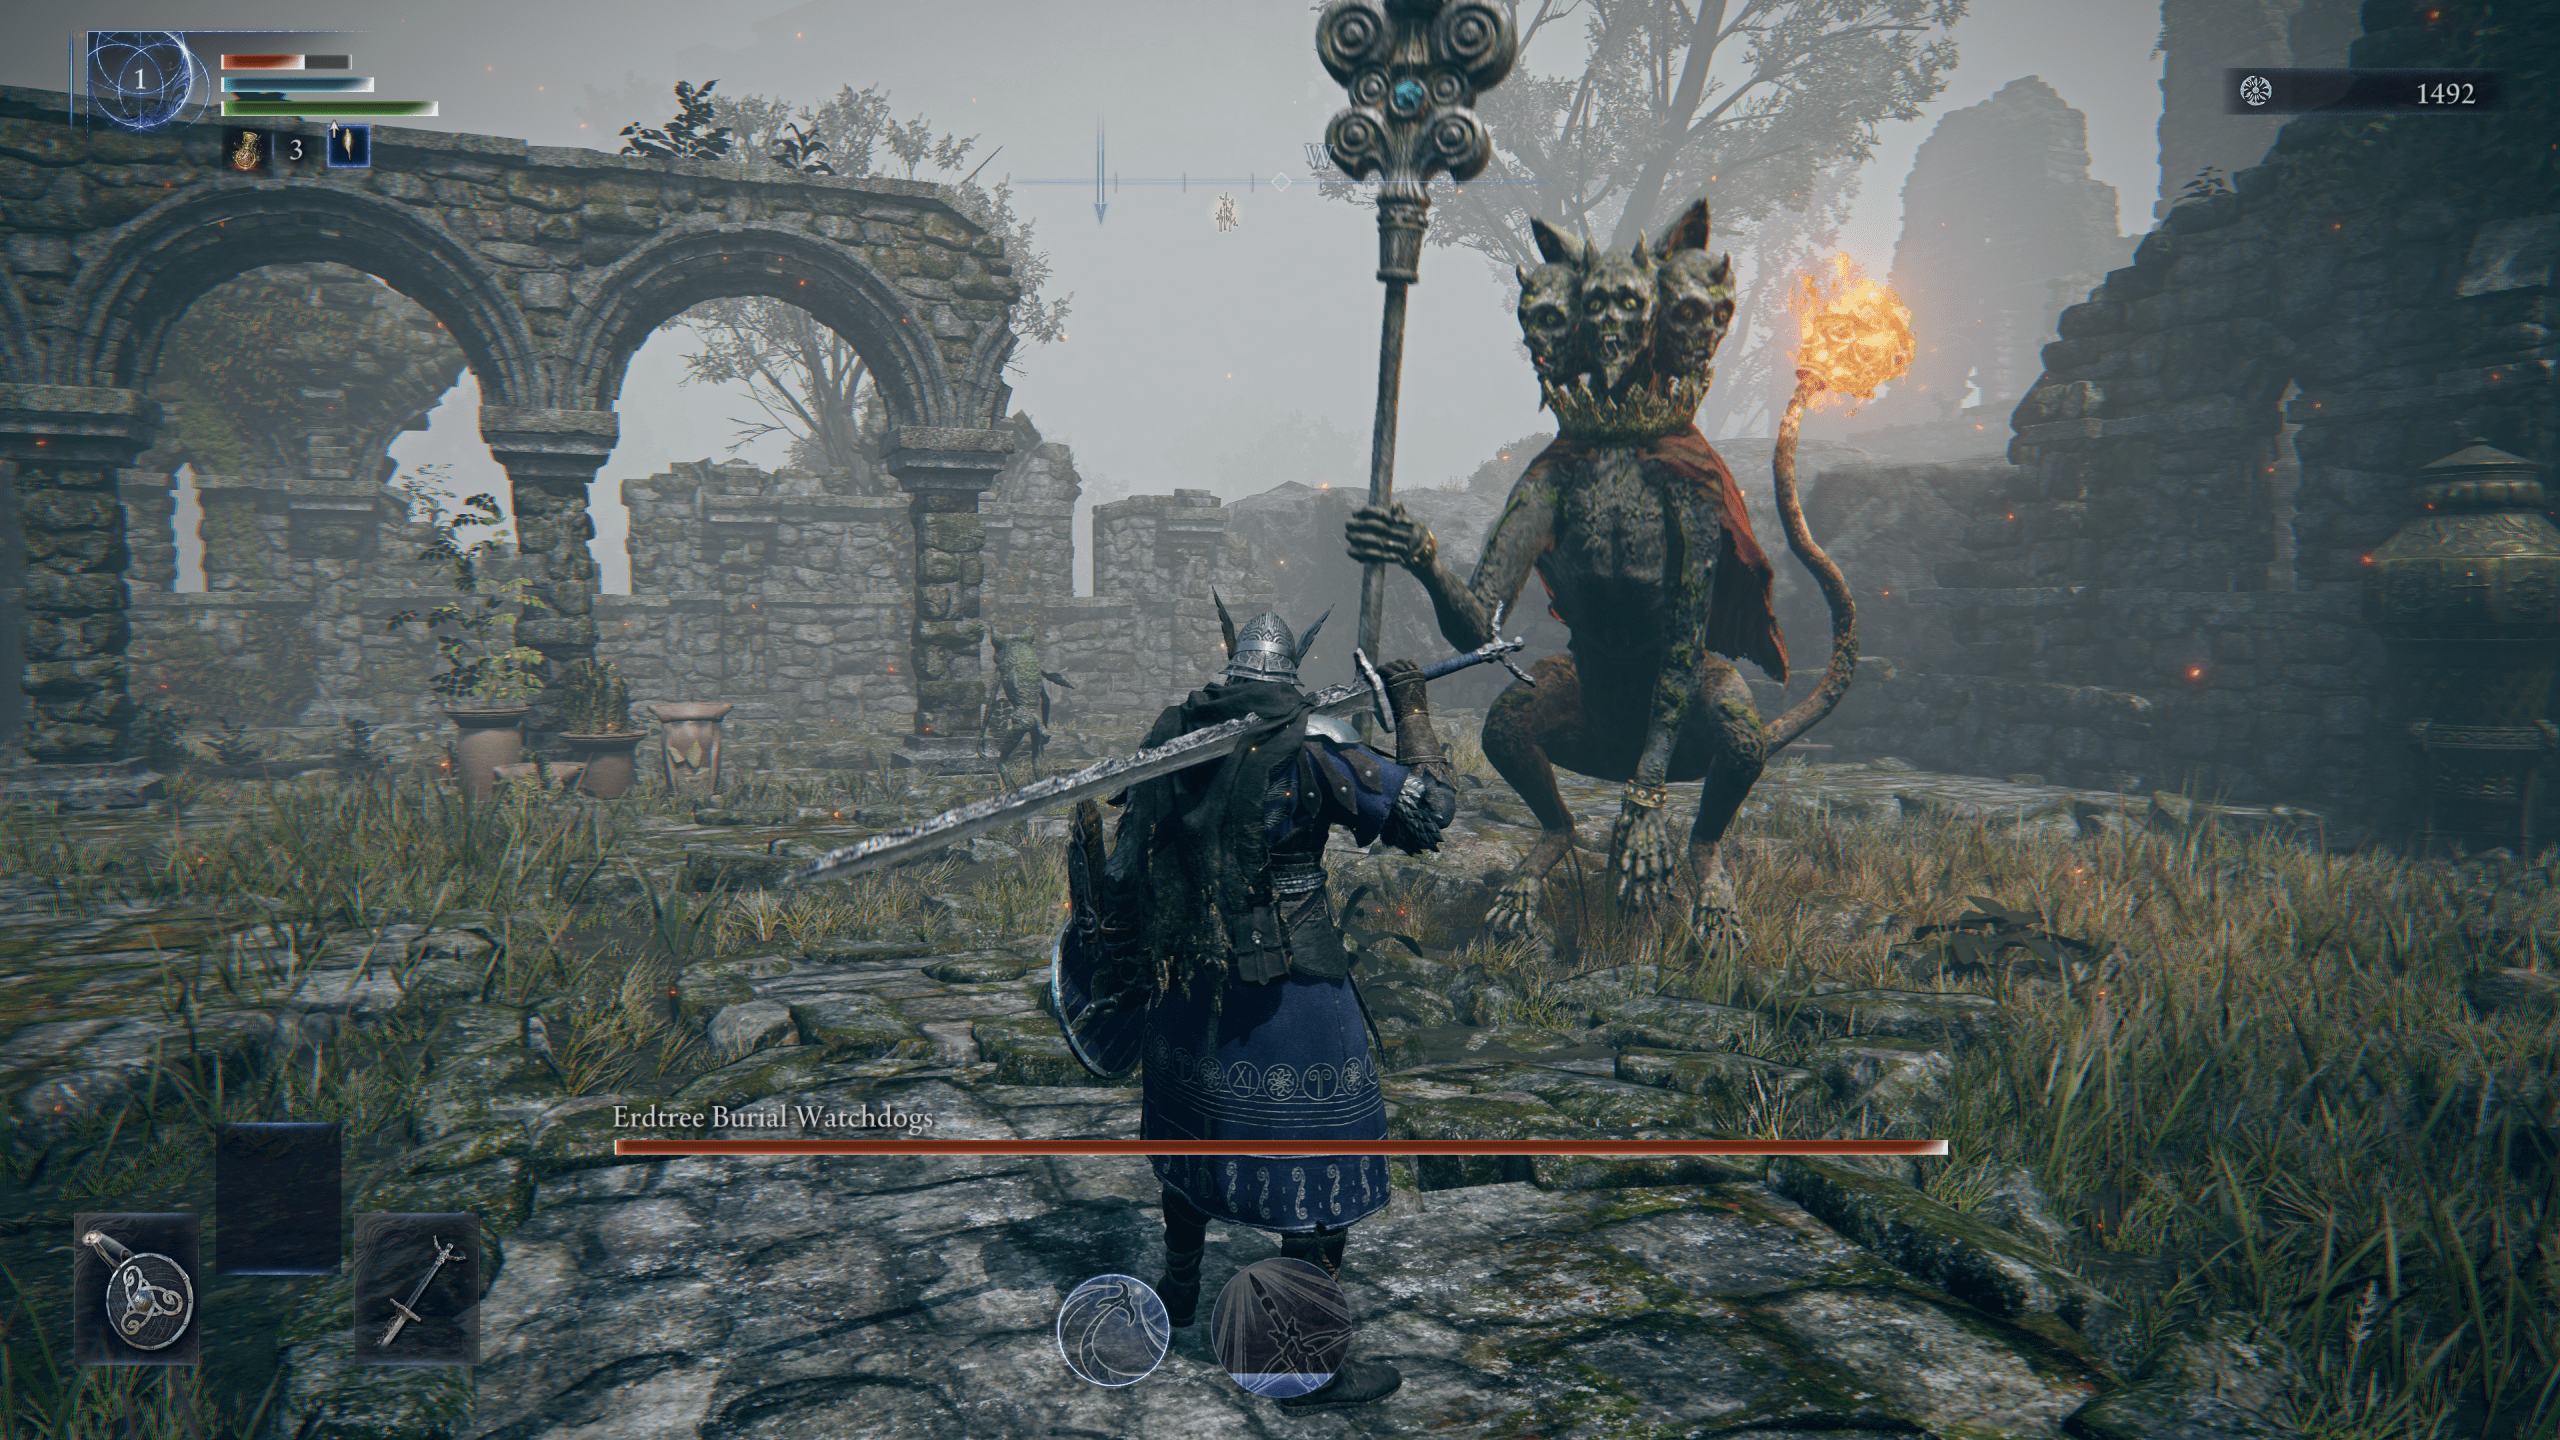
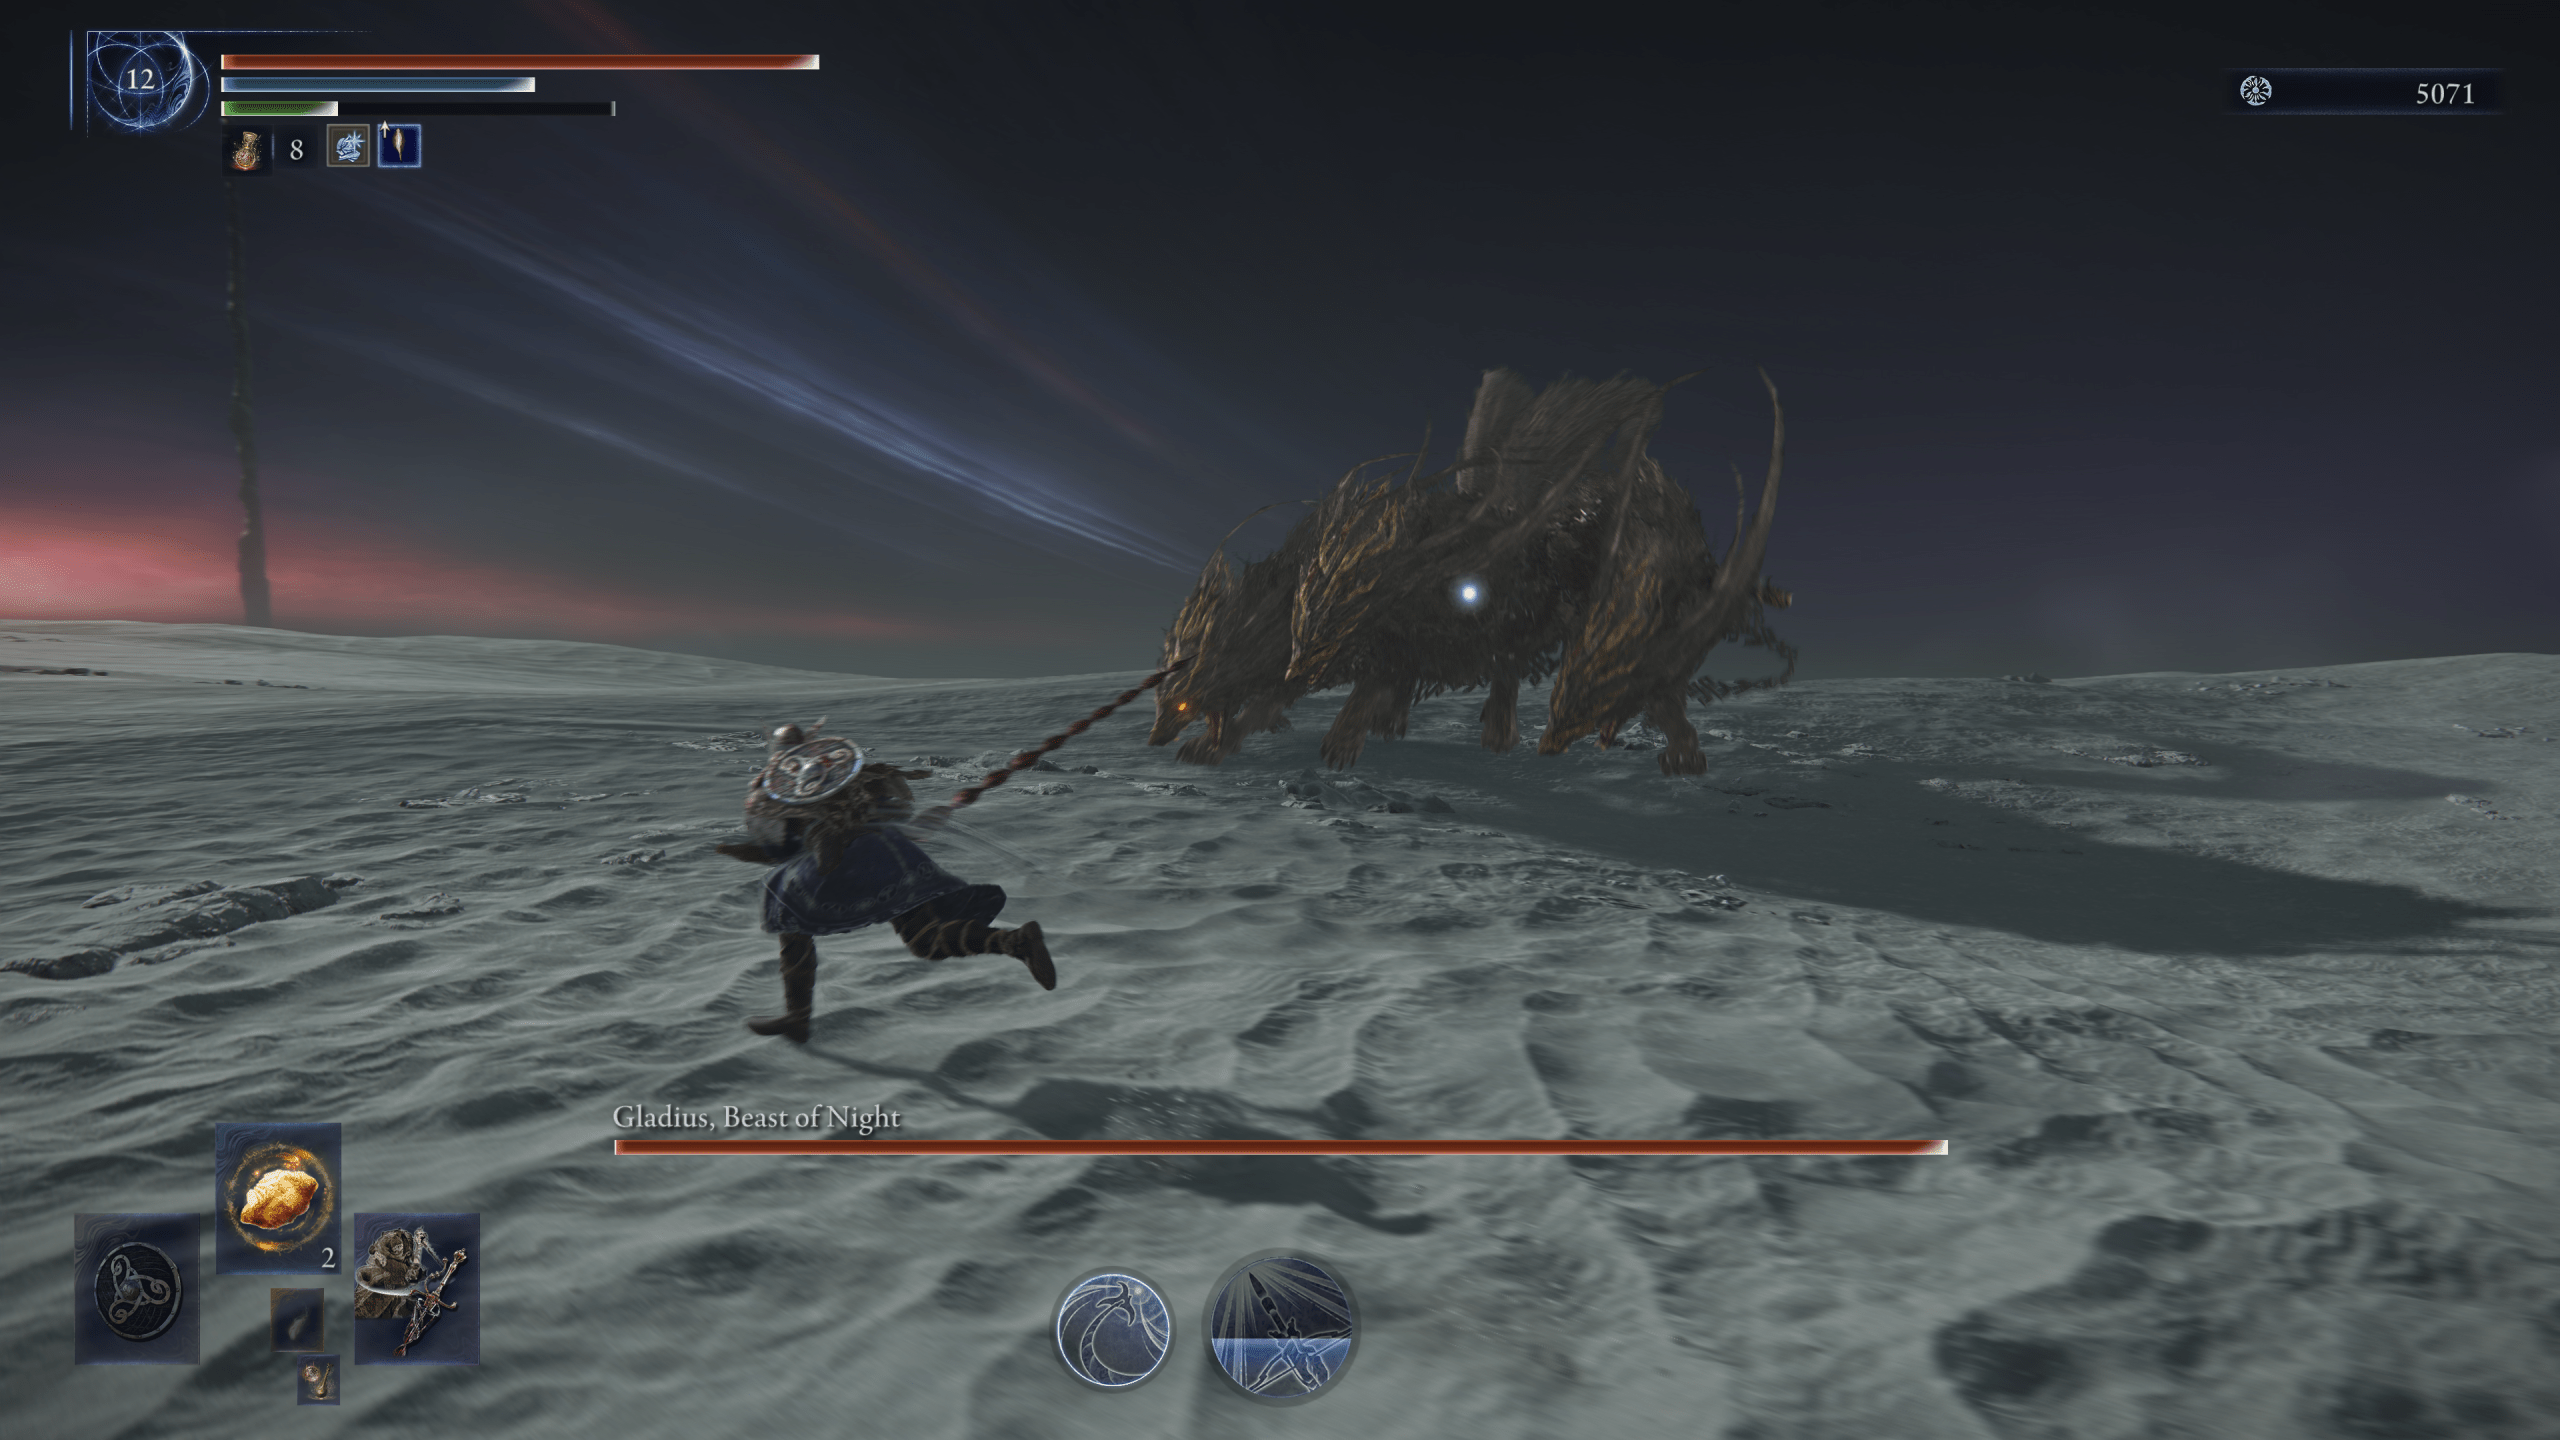
Gladius, Beast of Night
- Expedition: Tricephalos
- Weakness: Fire
- Solo Viability: ★☆☆☆☆
This three-headed monstrosity can cover the entire arena with sweeping attacks and status effects. In solo, this fight is a slugfest with very little room for error.
Tip: Stay locked on the middle head—when one goes into a roar animation, prepare to run. Firebombs help shave off large chunks if you can bait the heads into stagger windows.
Gnoster, Wisdom of Night
- Expedition: Sentient Pest
- Weakness: Fire
- Solo Viability: ★★★★★
Gnoster is one of the most solo-friendly bosses once its pattern is understood. The fight features two separate enemies: a ground-based "Shears" and a flying "Moth." Target swapping is key, but both have generous punish windows.
Tip: Rotate focus between Shears and Moth. Fire damage and well-timed rolls trivialize most of their attacks. In the second phase, position yourself behind Shears during the charge sequence to completely avoid the beam.
Libra, Creature of Night
- Expedition: Equilibrious Beast
- Weakness: Madness
- Solo Viability: ★★★★☆
Libra opens with a conversation disguised as a merchant encounter. Regardless of your answer, it becomes a boss using Frenzied Flame and Golden Order incantations. Despite the visual chaos, its attacks are well-telegraphed and very readable.
Tip: Refuse the merchant's deal and open with charged heavies for early stance damage. Use Scarlet Rot or Ansperia to apply damage-over-time safely. Save your ultimate for his second-phase spell barrage.
Caligo, Miasma of Night
- Expedition: Fissure in the Fog
- Weakness: Fire
- Solo Viability: ★★★☆☆
A fog-shrouded dragon that relies on frost AoEs and arena-wide pressure. Staying near Caligo’s front is safer than its rear or sides. Once Phase 2 begins, the frost AoEs intensify dramatically.
Tip: Bring a fire weapon or incantation. Stay in front of its face to bait breath attacks and strike the head for Stance breaks. If you're caught in the second phase fog, use ice pillars for cover.
Maris, Fathom of Night
- Expedition: Augur
- Weakness: Lightning
- Solo Viability: ★★★★☆
Maris is slower and more floaty than most Nightlords. Its water and wind-based attacks create hazards that are easy to avoid once identified. Lightning melts Maris fast, making it a solid solo target.
Tip: Stock up on lightning affinity gear. Most of its moves are delayed or slow, so stay mobile and be ready to punish its long recovery animations.
Heolstor, the Nightlord
- Expedition: Night Aspect
- Weakness: Holy
- Solo Viability: ★★☆☆☆
The final Nightlord begins as “The Shape of Night,” a teleport-heavy ghost knight, then transforms into Heolstor proper. His second phase includes arena-wide projectiles, flaming greatsword AoEs, and relentless pressure.
Tip: Stay aggressive in Phase 1 to end it quickly. In Phase 2, use ranged damage or stagger-focused melee builds to open small punish windows. Holy damage significantly improves your odds.
Best Nightlords for Solo Players
If you're aiming to tackle Nightreign’s final day alone, prioritize these:
- Gnoster – Highly telegraphed, consistent mechanics.
- Libra – Chaos is visual; patterns are easy to exploit.
- Maris – Slow-paced with clear telegraphs and Lightning vulnerability.
- Fulghor – Rewarding for parry-focused or aggressive builds.
Avoid Gladius or Heolstor unless you're very confident or built specifically to counter them.
Solo Expeditions Tips and Tricks
Playing solo in Elden Ring: Nightreign isn’t just about knowing how to fight—it’s about how you prepare, how you move, and how efficiently you use what you find. Expedition runs are fast-paced and full of decisions that can either build momentum or cut it off. Below are key solo survival tips based on tested strategies and real gameplay data from solo players. These will help you stay alive, level up faster, and take on even the harder Nightlords with confidence.
These Elden Ring Nightreign solo tips make a noticeable difference.
- Stack special-effect weapons—even if you’re not using them
Weapons with passive traits (like poison, rot, or resistances) apply buffs just by being in your inventory. These stack—even while unequipped—and give you hidden advantages in every fight. Prioritize inventory space for purple+ gear with passive effects. - Buy Wending Grace before Day 3
This solo-only revive item is the best rune investment you’ll make. It gives you a full heal and death save during Nightlord fights. Plan your Day 2 economy around getting at least one, ideally two, before entering Day 3. - Use the map filter to find merchants and upgrade stations
Press triangle/Y on the map screen to reveal icons for merchants, smithing benches, and key objectives. This one tip can save minutes and stop you from aimlessly roaming while the timer burns down. - Upgrade your flasks early at churches
Every Church of Marika gives you permanent flask buffs. Try to grab at least two on Day 1, and another by Day 2. Don’t delay flask upgrades—more healing early = more risks you can survive. - Don’t clear everything—play fast and focused
Time matters more than completion. Only engage enemies guarding loot, relics, or bosses. Skip low-XP mob packs unless you're farming urgently. Efficiency > exploration. - Strafe instead of roll against slow projectiles
Many boss attacks have delayed tracking (e.g. Libra’s frenzy spells, Gnoster’s moth bolts). Strafing conserves stamina and keeps you in control, where rolling burns stamina for no gain. - Use grapple hooks to escape danger
Grapple tools let you reposition instantly—even mid-combo. When dodge timing fails or space gets tight, hook out to safety. This one tool often saves solo runs. - Know when to retreat and reset
If you're low on flasks mid-fight, don’t panic. Reset at a nearby grace and re-engage. Bosses keep their damage and position unless you fully die. This “chip away” tactic is critical for solos. - Skip the Libra deal—it’s a solo trap
The Scale-Bearing Merchant before the Libra fight offers risk/reward deals. Declining gives you clean openings at the start of the fight and avoids major penalties. Almost always the better option in solo. - Hit Level 2 immediately after spawning
There’s always a group of weak enemies nearby when the run begins. Kill them right away to reach Level 2, doubling survivability and giving early access to core abilities.
Even just applying two or three of these consistently can change the flow of a solo Expedition. Unlike group play, there’s no backup when things go sideways—so small decisions, like whether to grab a weapon with a side effect or when to drink your last flask, start to matter more. The deeper you go into Limveld, the more important it becomes to make every step count.
Conclusion
Soloing Elden Ring: Nightreign isn’t just a harder version of co-op—it’s a different experience entirely. Without teammates to rely on, you’re forced to make smarter choices, learn attack patterns faster, and adapt to challenges on your own terms. That’s exactly what makes it worth doing.
Every Expedition you complete solo sharpens your understanding of the game’s mechanics, from resource management to boss reading. Once you know how to plan your route, build your Nightfarer, and control the pace of each day, even the most intimidating Nightlords start to feel beatable.
And if they don’t? That’s part of it. The solo route is built on trying, failing, adapting, and improving—just like the best parts of any FromSoftware experience. Use the tools, apply the tips, and most importantly, keep moving forward.
When you finally stand over the last Nightlord alone, no summons, no revives, and no crutches—you’ll know you earned it.
F.A.Q.
Can I play solo in Elden Ring Nightreign?
Yes, Nightreign supports solo play through its matchmaking settings. You can switch to solo mode at the expedition screen by disabling co-op matchmaking.
Is it possible to beat Elden Ring Nightreign solo?
Absolutely. While the game is designed for up to 3-player co-op, many players have completed solo runs by mastering boss patterns, optimizing routes, and using smart loadouts. It’s tough—but fully doable.
How hard is Elden Ring Nightreign solo?
It’s significantly harder than playing in a group. There’s no one to revive you, aggro is always on you, and resource management becomes critical. It plays like a challenge run—rewarding but punishing.
What is the easiest boss to beat solo in Elden Ring Nightreign?
From player reports and solo runs:
- Libra, Creature of Night – predictable patterns, manageable damage
- Adel, Baron of Night – slower moveset, good for melee builds
- Gnoster, Wisdom of Night – weak to fire, exploitable phases
These bosses tend to offer safer openings and clearer telegraphs, making them more forgiving for solo players.


