
Welcome to the Throne and Liberty Butcher's Canyon guide. Here, we’ll give you a full overview of the dungeon and an easy-to-follow guide for its completion. We’ll explain how this dungeon works, where to find it, how to beat all of its bosses and what you’ll get as a reward after completing it.
We love making guides like this, helping players complete endgame activities such as raids and dungeons. Throne and Liberty is a new game and there are not that many online resources that can explain all of its systems. That’s why on top of our guides, we’d like to also suggest you trying out Skycoach’s boosting services like Butcher's Canyon Boost. At Skycoach, you can hire a professional MMORPG player who will level up your character faster than you yourself or anyone else for that matter. Save yourself the time and headache of grinding experience and enjoy the game by playing as a maxed out character. Explore other Throne and Liberty services at Skycoach, we’ve got lots of stuff to offer you.
Note: At Skycoach, you can Buy Throne and Liberty Boost at the best prices with fast delivery. Use our special PROMO CODE (in green) hidden in this article for a 20% DISCOUNT.


What is Butcher's Canyon?
TL Butcher's Canyon is one of the six Tier One dungeons available once you reach Level 50 in Throne and Liberty. Despite having no challenging trash mobs and relatively straightforward mechanics, understanding the nuances of each encounter can make your runs smooth and efficient. This guide covers everything you need to know to tackle the three key encounters, including the final boss's transformation mechanics. Mastering these tips will allow you to complete this dungeon quickly, making it one of the easiest and fastest in the game.

How to Unlock Butcher's Canyon?
The only requirement for this dungeon is having a character level 50. You can find more information about it if you open the Secret Dungeons menu which becomes available to you at level 20. There you will find all of the information you’ll need, including the list of rewards, the objective and more. Speaking of objectives, there are Butcher’s Canyon quests related to this dungeon that you’ll be able to completing during your run. Here’s the full list:
| Quest | Objective |
| Stop the Akidu Orc's Shadow Magic | Defeat the Orc Shadow Elder |
| Open the Fiery Path | Deactivate the Altar |
| Destroy the Condensed Dark Power | Defeat Duke Magna |
| Leave the Dungeon Using the Magic Circle | Leave Dungeon |
Completing each objective is going to give you an additional reward and experience. You’ll be able to complete these naturally as you progress through the dungeon.

Butcher's Canyon Location
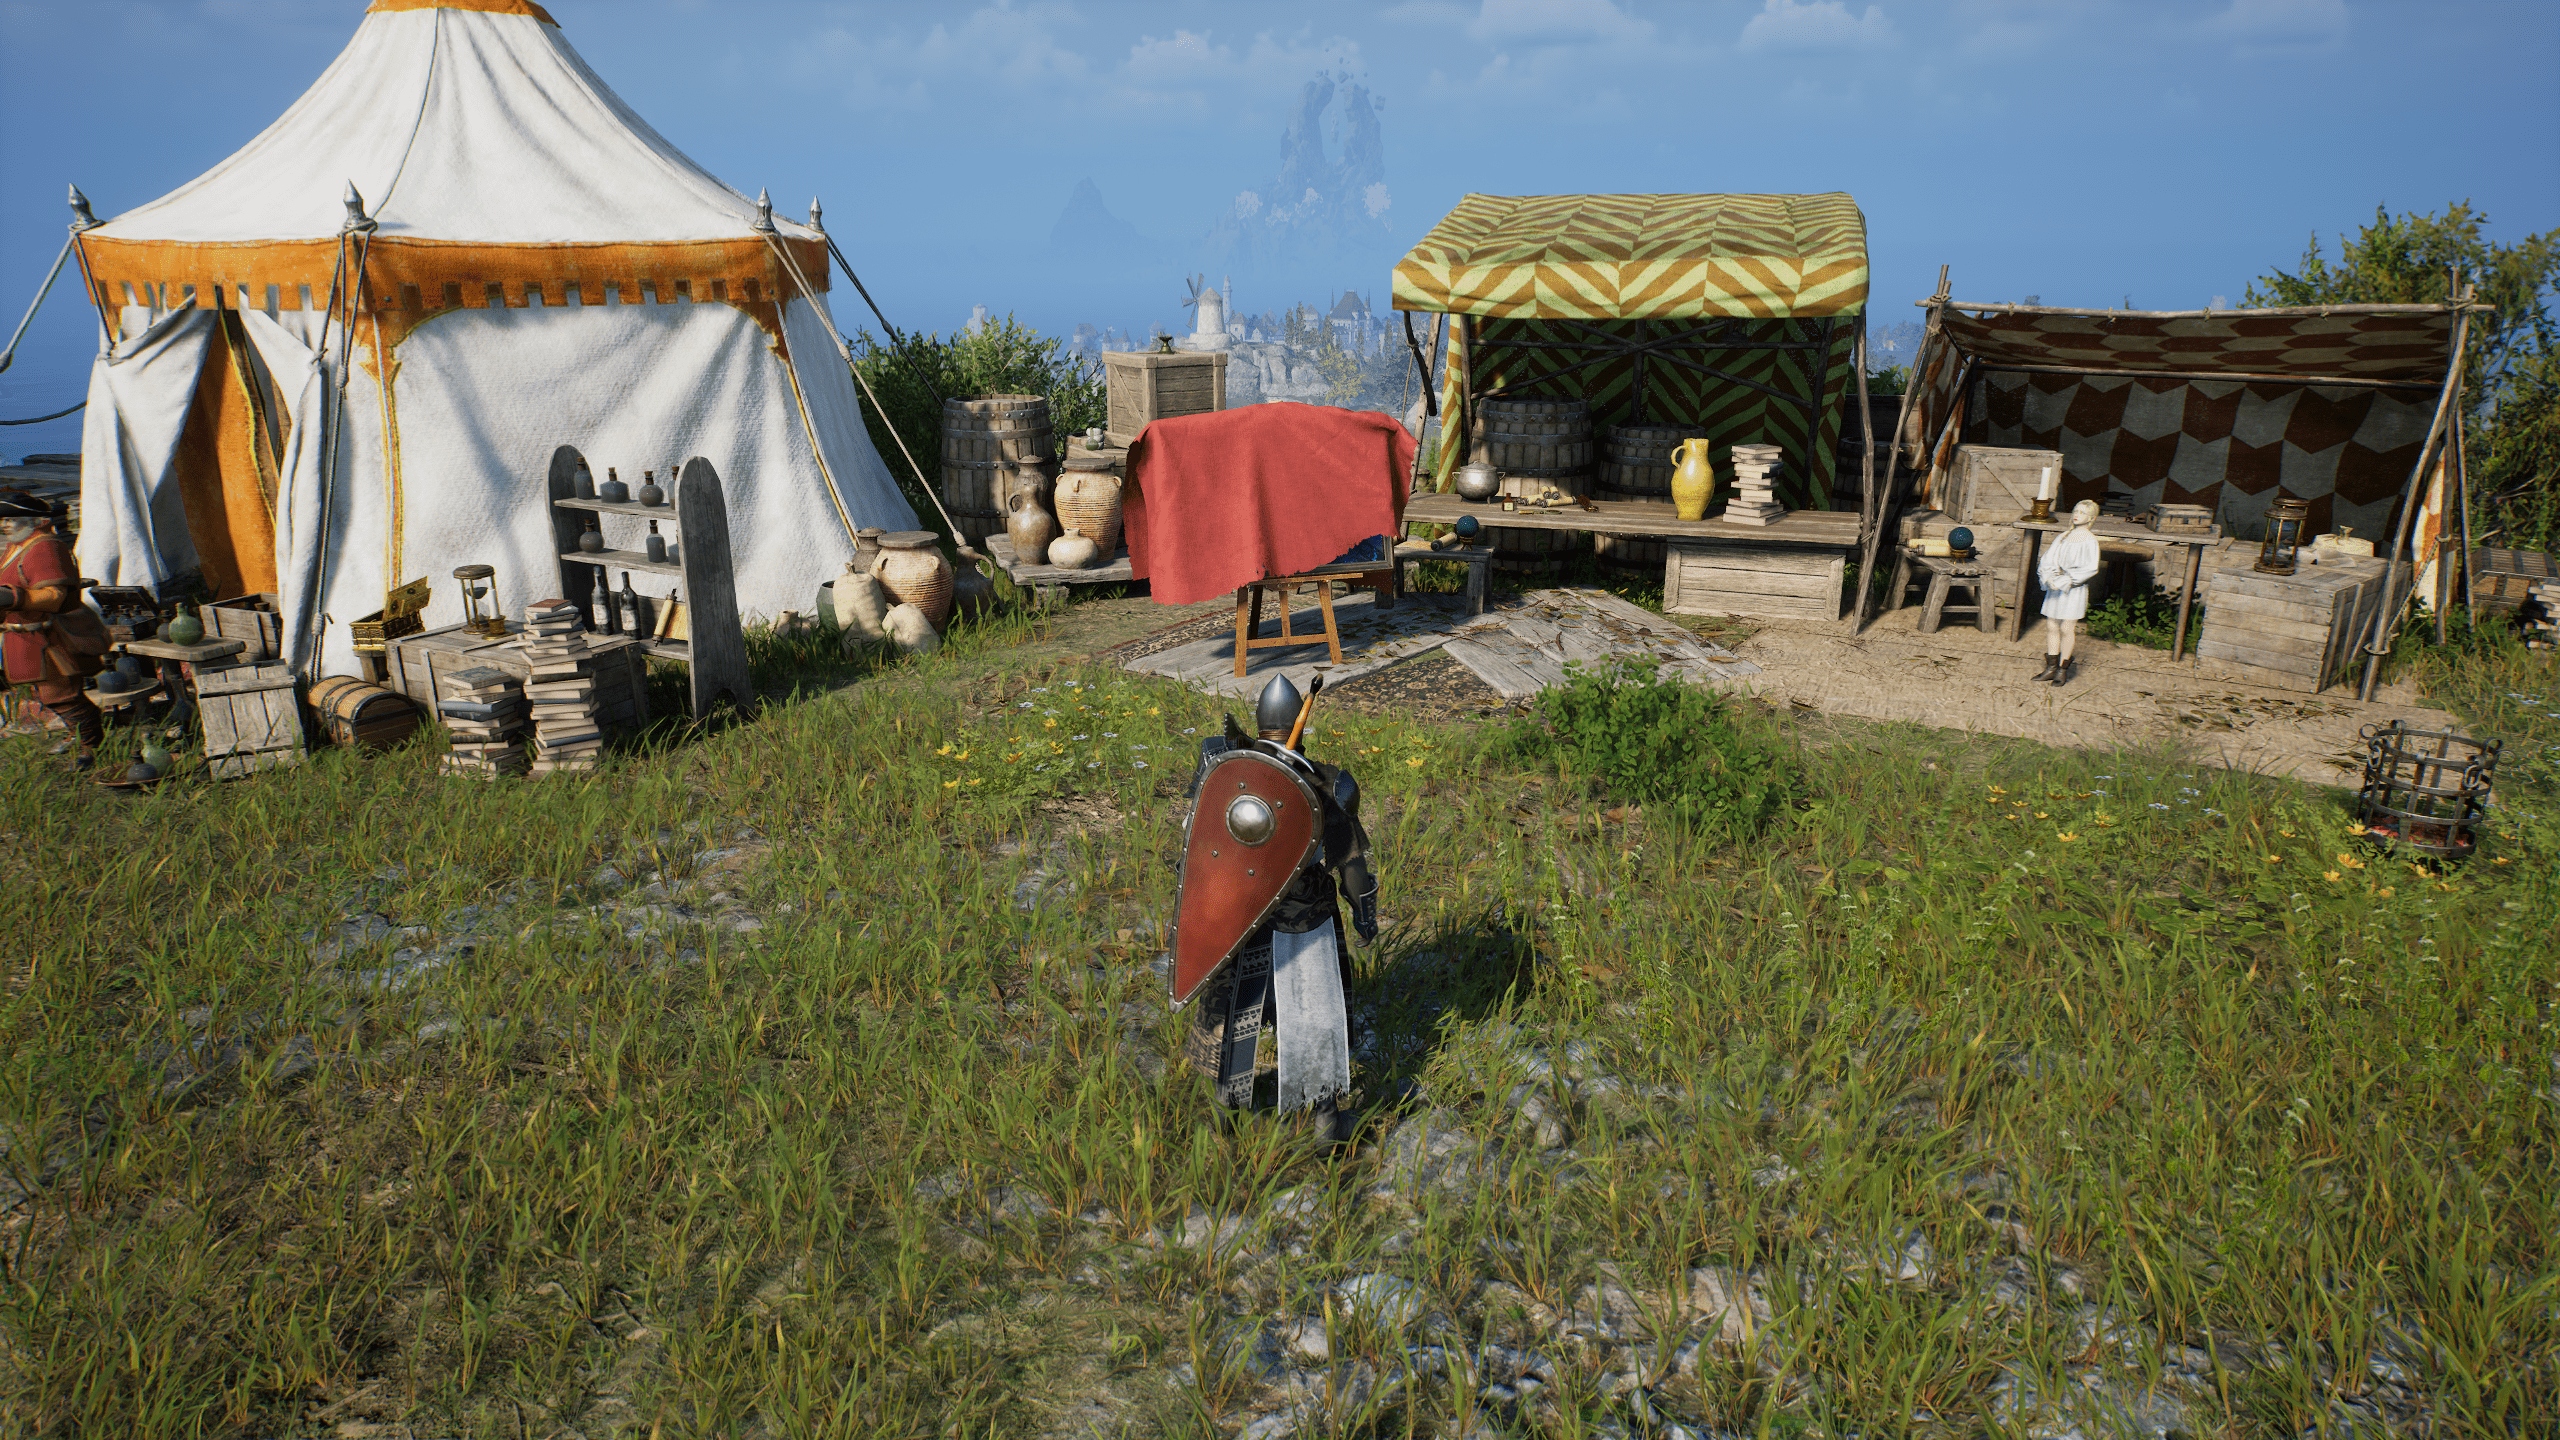
If you’re looking for the specific Butcher's Canyon location, you don’t have to. Just open the Secret Dungeons screen and press enter to enter the dungeon. There’s no need to find the dungeon entrance in the world. But if you do want to know where in the world it’s located, then the closest waypoint to it would actually be the Starlight Obesrvatory Ruins, just a bit east of the Kastleton. There you’ll find a Secret Dungeon entrance Painting that can be used as entrance.
Trash Mobs and Dungeon Map
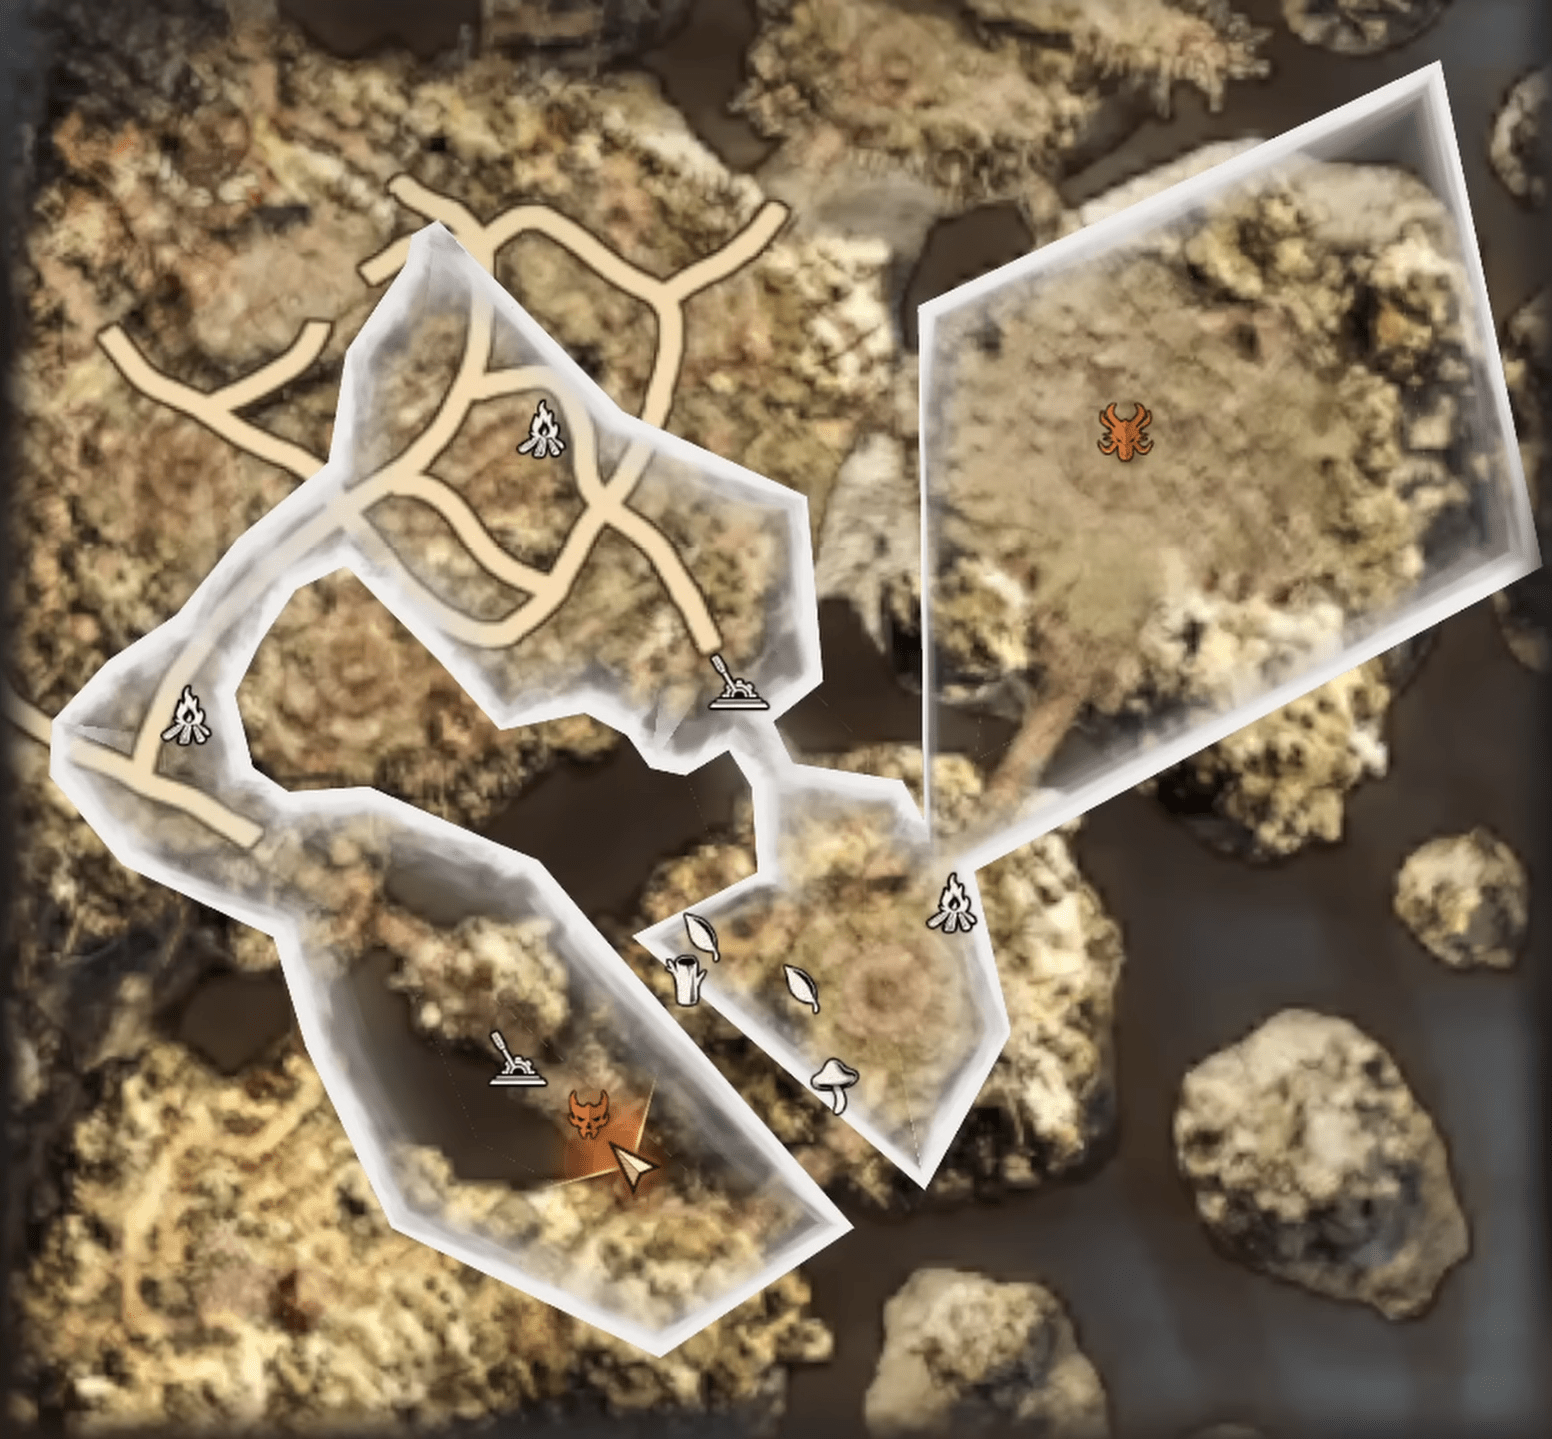
The Butcher's Canyon map is fairly simple and linear as you can see on the image above. Upon entering Butcher’s Canyon, you’ll notice the absence of any notably dangerous trash mobs. The trash in this dungeon poses minimal threat and can be largely ignored if you choose to employ a strategy that involves pulling them to the bridge and knocking them off. However, most players run the dungeon in a straightforward manner, eliminating trash as they go. Therefore, this guide will focus on boss mechanics instead of skips. BLOG20
Butcher’s Canyon Dungeon Walkthrough
Upon entering Butcher’s Canyon, you’ll navigate through a relatively simple dungeon with minimal trash mobs that can be bypassed or quickly cleared. The primary challenge here lies in the boss encounters, which are designed around unique mechanics that test your ability to handle transformations and positioning. So, we’ve broken down this Butcher's Canyon walkthrough into 3 sections, each one corresponding to the boss encounter.

First Boss: Orc Shadow Elder
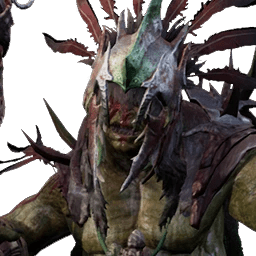 The first mini-boss in the dungeon is a simple encounter if you understand its main mechanic, which serves a good example of the overall Butcher's Canyon difficulty. This boss summons a Shapeshifter that transforms one player into a sheep. The sheep will explode after a short duration, but you can pass the transformation by approaching another player, resetting the explosion timer. To revert the transformation, eliminate the Shapeshifter, which will spawn a blue area under it. Move the sheep onto the blue area to return the transformed player to their original state.
- Key Mechanic: Pass the sheep transformation to another player to reset its explosion timer, and kill the Shapeshifter to create a safe zone that reverts the transformation.
- Tip: Coordinate well to ensure the sheep doesn’t explode, which can easily disrupt your run.
Second Boss: The Orc Shadowmancers Duo

This fight is a bit unusual because it involves two Shadowmancers in a fiery arena. The key here is that the Shadowmancers are invulnerable to damage unless they are both crowd-controlled (CC’d) at the same time. As you approach, make sure your group has abilities that can stun or immobilize the Shadowmancers simultaneously. When both are under the effect of a CC ability, they lose their immunity, and you can attack them normally. Time your CC abilities carefully—if the CC wears off on one before the other, they’ll regain their invulnerability, and you’ll have to start over. Once you successfully control and eliminate both Shadowmancers, the path to the final boss will open.
- Key Mechanic: Crowd-control both enemies at the same time to break their damage immunity.
- Tip: Use skills that can reliably root or stun both targets at once to avoid unnecessary damage.
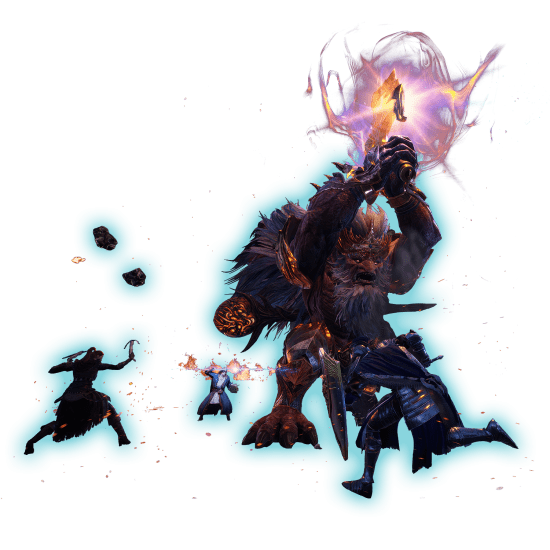
Final Boss: Duke Magna
 The final boss is the most complex fight in the dungeon, with two main phases and mechanics that require precision and coordination. Throughout the fight, watch for comets falling onto players and the AoE wave that the boss channels. Jump over the wave when it appears to avoid taking damage.
The arena is divided into four sections with two blue and two red pillars, alternating in color. Each mechanic begins with the boss pulling all players to the center of the arena:
- Phase One (Sheep Transformation): One player is randomly transformed into a sheep, similar to the first mini-boss encounter. Meanwhile, two fire rings spawn around the boss. If a player touches these rings, they’ll be snared and unable to move. Avoid these rings by jumping over them. At the same time, two Shapeshifters will appear at the red pillars. Kill one of the Shapeshifters to spawn a blue area, just like in the first encounter. However, the sheep cannot jump, which means the group must pass the sheep transformation from player to player to get it safely across the fire rings and into the blue area. Note that each player can only hold the sheep transformation once during this phase, so it requires a minimum of three players to move the sheep across the hazards. Once the sheep reaches the blue area, the player will transform back, and the team should immediately move out of the center to avoid the boss’s AoE attack. BLOG20
- Phase Two (Root Mechanic): In this phase, the boss will again pull all players to the center, but this time, one player will be rooted in place instead of transformed. The fire rings will appear once more, and the boss will prepare for another AoE attack in the center. To free the rooted player, the group needs to activate both red pillars on the outer edges of the arena. Make sure to split the group evenly so that both pillars are activated simultaneously. Once both pillars are triggered, the rooted player will be freed, and everyone should quickly move out of the center before the boss’s AoE goes off.
- Tip: Split your team to interact with both red pillars quickly. Failing to do so will result in the rooted player’s death.
Butcher's Canyon Rewards
By clearing the dungeon you get a chance at receiving a bunch of pretty cool and valuable Butcher's Canyon rewards, which depending on your build may or may not be your BiS gear. The loot table of the dungeon contains both gear and materials, but let’s start with the gear:
| Gear Type |
Item Name |
| Greatsword | Magnaduke’s Berserk Blade |
| Greatsword | Duke Magna’s Taunting Blade |
| Chest | Reaper’s Concealing Shroud |
| Chest | Grim Judicator’s Armor |
| Head | Heavenly Arbiter Mask |
| Belt | Butcher’s Belt |
| Staff | Destiny Worship Barbaric Staff |
| Chest | Mysterious Sage’s Prayer Raiment |
| Head | Icy Storm Hood |
| Hands | Icy Storm Cloth Gloves |
| Feet | Frost Barrier Magic Shoes |
| Legs | Frost Barrier Linen Pants |
| Chest | Frost Barrier Magic Garb |
| Necklace | Scales of Time Necklace |
| Bracelet | Space-Time Meditation Bracelet |
| Amitoi | Steel First DentWerp |
As for the materials, you may find a random amount of the following:
- Precious Rubrix Ore
- Precious Stalon Ore
- Precious Emeret Ore
- Precious Marind Ore
- Precious Polished Crystal
- Rare Polished Stone
- Orc Heart
- Mana Blood
So, as you can see, for a little challenge of defeating three Butcher's Canyon bosses you get some decent loot, so this dungeon is a great way to farm these.
Butcher's Canyon Tips
Before heading into the dungeon, keep these Butcher's Canyon tips in mind to make your run smoother and more efficient:
- Positioning for the First Mini-Boss: During the encounter with the shape-shifting mini-boss, assign players a general area to stick to so that when someone is transformed into a sheep, it’s easier to pass the bomb between allies and control the timing of the detonation.
- Using the Blue Circle Efficiently: Whenever the Shape Shifter is defeated, make sure the sheeped player is guided towards the blue transformation circle as quickly as possible to revert back and resume damage on the boss.
- Shadowmancer Control: For the Shadowmancer encounter, ensure your group has two reliable crowd-control abilities ready to activate simultaneously, allowing you to break their shield and maximize DPS uptime.
- End Boss Fire Rings Coordination: When the fire rings appear around the final boss, plan ahead by designating three players to handle the sheep mechanic. They should take turns to carefully pass the sheep outside the rings without accidentally crossing into the fire.
- React Quickly to Pull Mechanics: When the end boss pulls the group into the middle, avoid clustering and immediately spread out to mitigate incoming damage and position properly for the next phase.
- Pillar Responsibility: Assign a specific player to each red pillar for the second end boss mechanic to prevent confusion and ensure quick releases for rooted players.
- Jump Over AOE Waves: Practice timing your jumps for the boss’s AOE wave attacks. Reacting too early or too late will result in significant damage.
By keeping these pointers in mind, your group will be better equipped to handle the dungeon’s mechanics and optimize your clearing time.
Conclusion
Butcher’s Canyon is a dungeon that tests your coordination more than your raw power. Efficient communication and quick reactions to mechanics will turn a potentially chaotic encounter into a smooth clear. Focus on understanding each of the transformation mechanics, and be prepared to adapt as the boss alternates between them. If you have any questions, feel free to drop a comment!
And if you’re new to Throne and Liberty, don’t forget to check out our complete starter guide series that covers all the fundamentals to get you up to speed. Enjoy your run, and happy dungeon diving!
F.A.Q.
How difficult is Butcher's Canyon in Throne and Liberty?
Butcher's Canyon is classified as one of the easier dungeons in Throne and Liberty, primarily because it lacks challenging trash mobs and features relatively straightforward mechanics. However, mastering the unique mechanics of each boss encounter is key to completing it efficiently.
How do I access Butcher's Canyon?
To access Butcher's Canyon, your character must be at least Level 50. You can enter through the Secret Dungeons menu, which becomes available at Level 20, or find it near the Starlight Observatory Ruins, east of Kastleton.
What are the rewards for completing Butcher's Canyon?
Upon clearing Butcher's Canyon, players can receive a variety of gear and crafting materials. Notable items include Magnaduke’s Berserk Blade and Reaper’s Concealing Shroud, as well as resources like Precious Rubrix Ore and Orc Hearts.
How many bosses are in Butcher's Canyon?
Butcher's Canyon features three main bosses: the Orc Shadow Elder, the Orc Shadowmancers Duo, and the final boss, Duke Magna. Each encounter presents unique mechanics that challenge players to coordinate effectively.
What is Butcher's Canyon location?
Butcher's Canyon entrance can be accessed from the Secret Dungeon Entrance Painting near the Starlight Observatory or it can be accessed directly through the Secret Dungeons screen. The nearest waypoint is at the Starlight Observatory Ruins, providing a convenient reference point for players.


