


Welcome, Nightfarer. If you’re looking to uncover every step of Raider’s journey, you’ve come to the right place. This Raider remembrance quest guide walks you through one of the most intense and personal storylines in Elden Ring Nightreign — a path of rivalries, sacred battles, and legends born on stormy seas.
More than just a route to loot, Raider’s Remembrance is a character-defining saga. As you relive his memories, you’ll face one-on-one trials, uncover buried history, and settle a grudge that’s echoed across the ages.
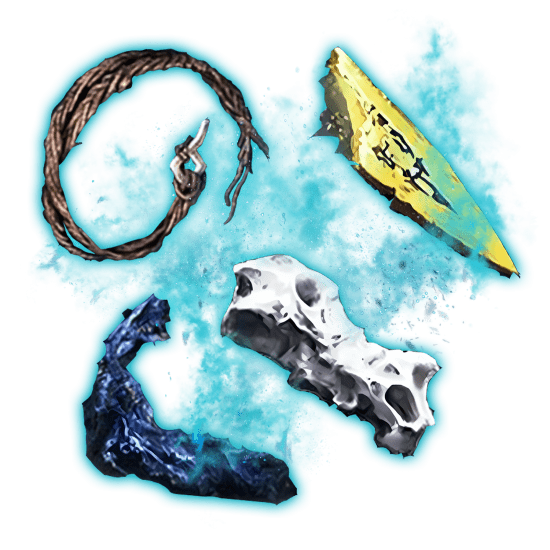
In this guide, we’ll cover how to unlock Raider’s Remembrance, master each encounter, and claim powerful relics like the Torn Braided Cord, Raider’s Chalice, and the Black Claw Necklace.
SkyCoach offers a fast, professional boost through Raider’s Remembrance Quest, unlocking powerful Relics, unique gear, and exclusive outfits tied to his story. No need to pause your multiplayer progress or struggle with solo objectives—our expert players will complete the journey for you, hassle-free. Best prices. Fastest delivery. Total domination—Raider style.
Read our other Elden Ring Nightreign guides:
- Ironeye Remembrance Quest Guide
- Raider Guide
- Ironeye Guide
- Guardian Guide
- Duchess Guide
- Beginner's Guide
Note: At SkyCoach, you can Buy Elden Ring Nightreign Boost at the best prices with fast delivery. Use our special PROMO CODE (in green) hidden in this article for a 20% DISCOUNT.


How to Unlock Raider Remembrance
The Raider remembrance unlock quest won’t appear right away. To begin unlocking it in Elden Ring Nightreign, you’ll first need to take the Raider into the field.
Start by completing at least one full expedition as the Raider. While any expedition can work, many players report that defeating a Nightlord during your first run, especially by targeting strongholds like the central castle on Day One, increases your chances of unlocking Chapter 2 in Raider’s journal. Once that chapter is available, you’ll see a new option appear at the Roundtable Hold: Begin Remembrance.
If Chapter 2 doesn’t unlock after one run, keep playing as Raider and aim to:
- Defeat mid-tier enemies like Crucible Knights, Trolls, or Banished Knights
- Finish expeditions successfully, especially by defeating the Nightlord
- Return to the Roundtable Hold after each run and check the journal
Once Chapter 2 appears, select Begin Remembrance at the bottom of the page. You’ll be transported to the garden area of the Roundtable Hold — and from there, Raider’s remembrance truly begins.
Raider Remembrance Quest Walkthrough
Raider’s Remembrance is more than a set of duels — it’s a reckoning with his own legend. This walkthrough takes you through every phase of his journey, from the first clash in the arena to a final confrontation written into coastal myth. Each chapter digs deeper into Raider’s identity, testing your reflexes and resolve through one-on-one trials that define his legacy.
In this Raider remembrance quest walkthrough, we’ll cover how to navigate each chapter, defeat the tournament’s fiercest champions, and earn powerful relics like the Torn Braided Cord, Raider’s Chalice, and the Black Claw Necklace — each tied to his past life as a warrior feared across the seas.
1st Raider Remembrance: Torn Braided Cord
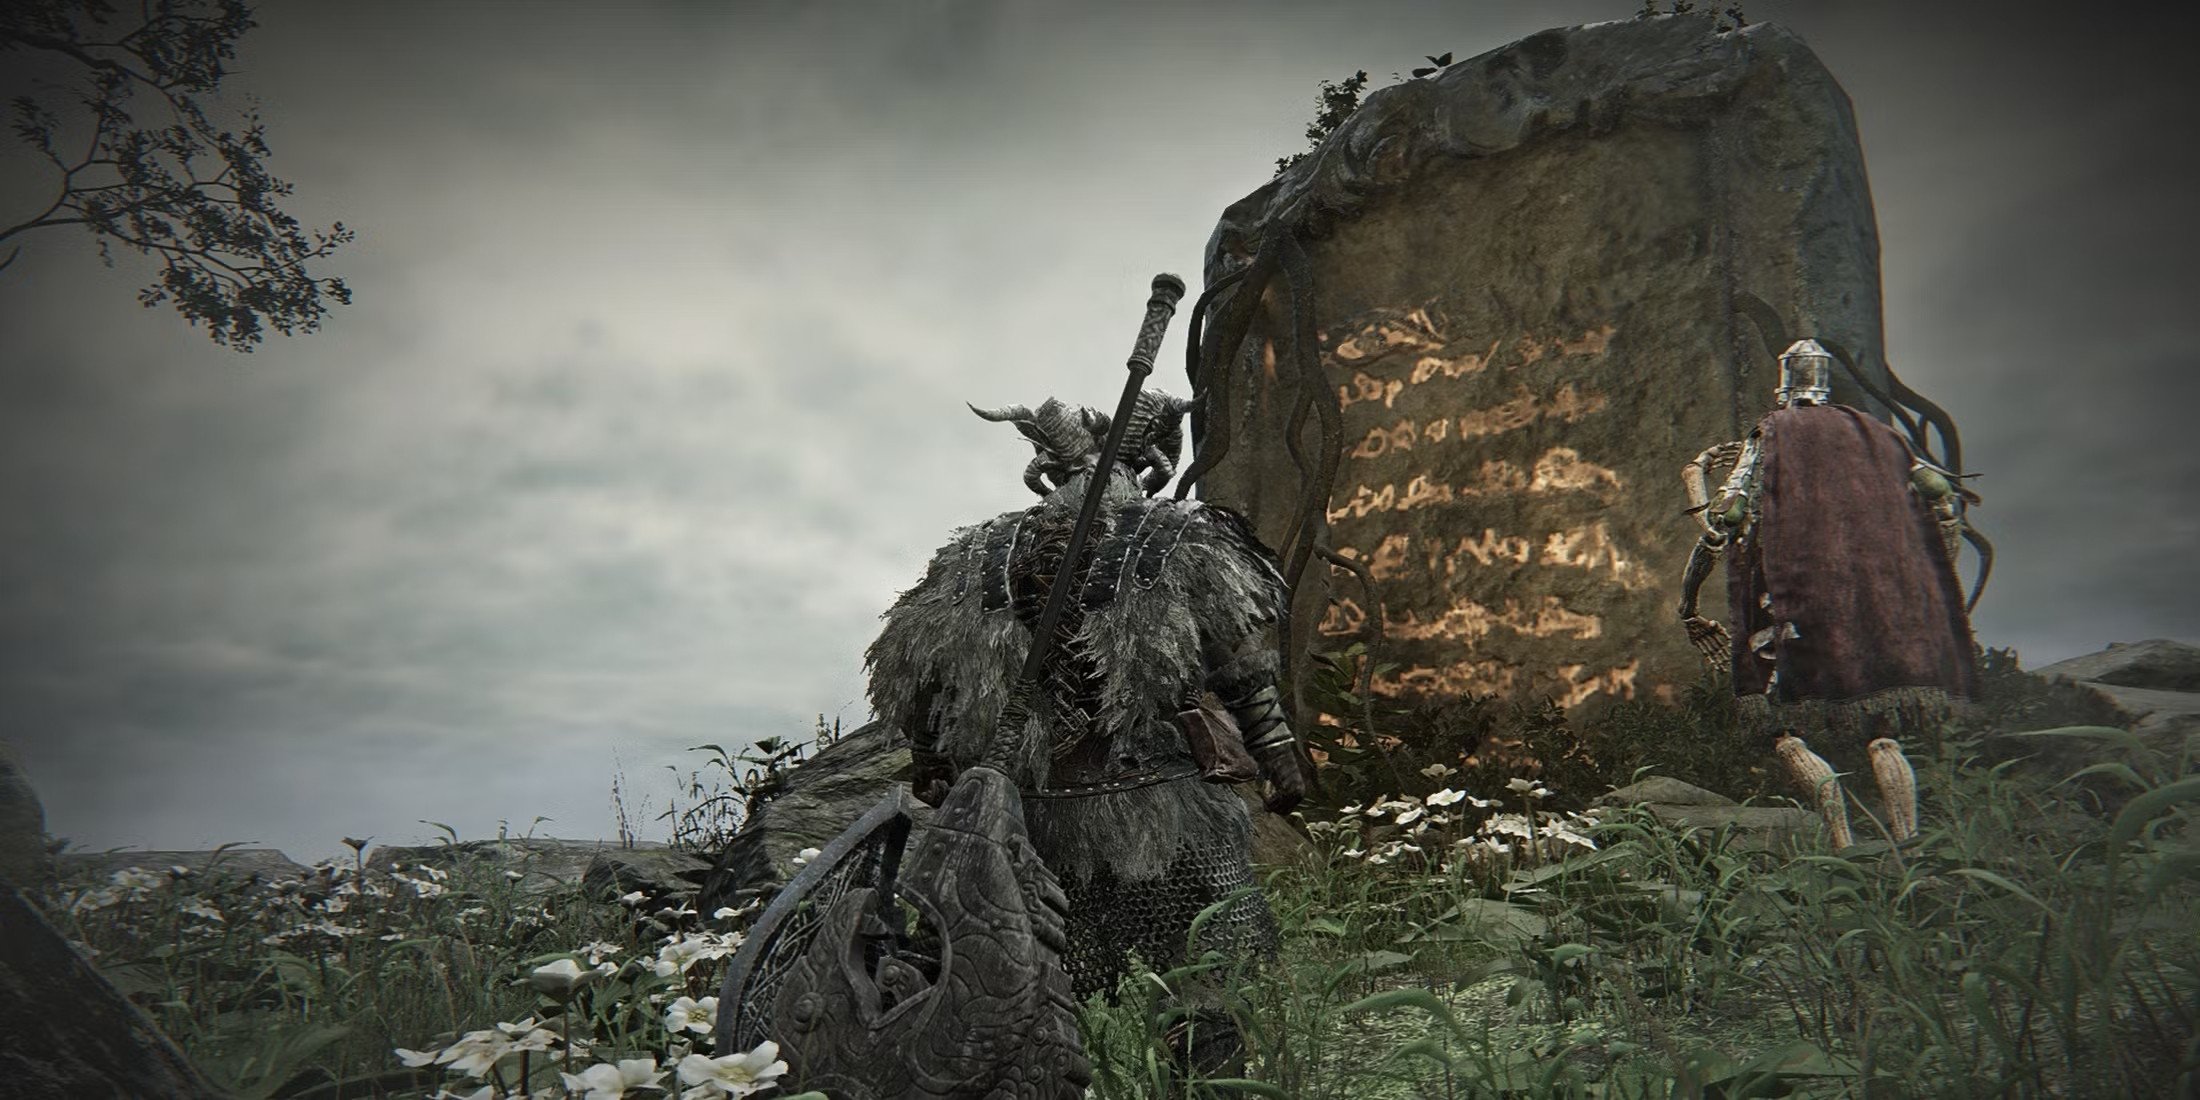
The first chapter of Raider’s Remembrance throws you straight into a sacred contest: the Tourney of the Lands Between. Once you select Begin Remembrance from Chapter 2 of Raider’s journal, you’ll awaken in a mist-veiled garden of the Roundtable Hold. Waiting there is the Iron Menial — an ancient servant who remembers Raider’s glory and the battles that forged it. BLOG20
Speak with the Iron Menial to learn about the monument nearby. He hints that it records legendary battles once fought in the name of Grin, god of war. When you touch it, lightning flickers through the air — and the signal sounds. You've been chosen.
Talk to the Menial again, then interact with the monument once more to begin the first trial.
You’ll be transported to a battleground to face your first opponent: the Onestrike Gladiator. As the name suggests, this foe is fast, precise, and deadly in close quarters — but the Raider was made for fights like these. Once you defeat the Gladiator, you’ll automatically return to the garden.
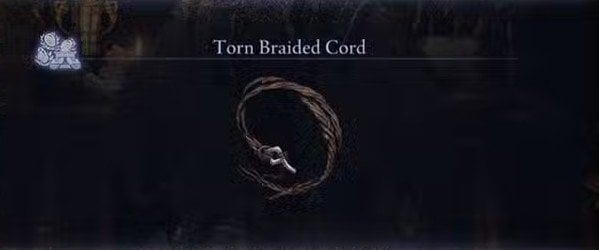
Talk to the Iron Menial again, and this time, he’ll notice what you've brought back — the Torn Braided Cord, a relic from the match. Attempt to touch the monument again, but nothing happens. Speak to the Menial one last time to complete this memory.
You can now conclude the remembrance by either:
- Interacting with the Remembrance Gateway, or
- Returning to the journal and selecting Conclude Remembrance
Now, onto the boss tactics.
How to Defeat Onestrike Gladiator
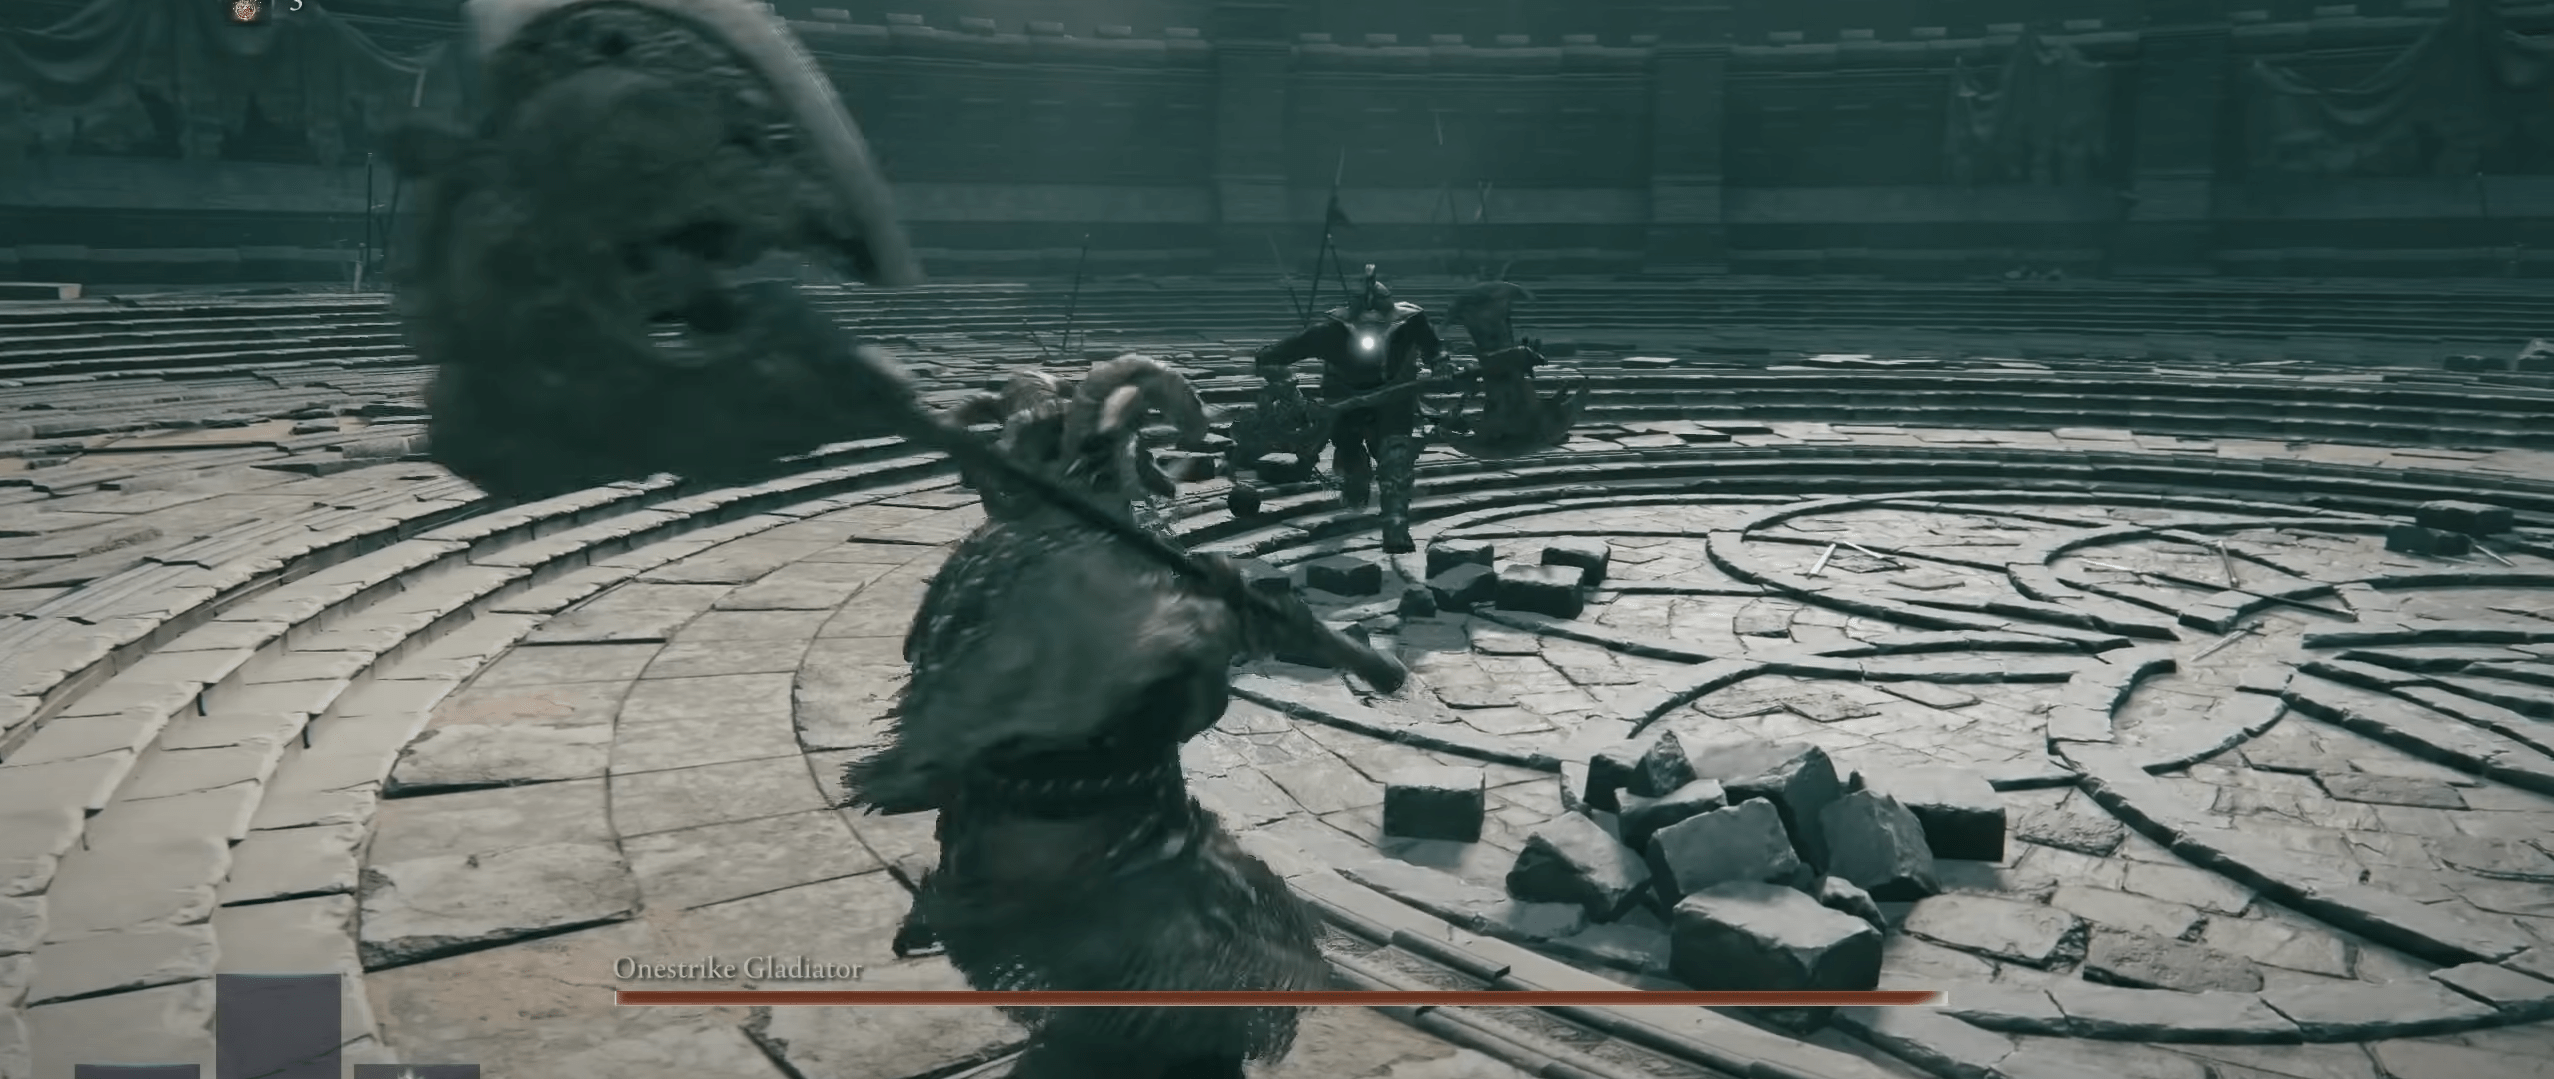
The Onestrike Gladiator lives up to his name — one wrong move and you're liable to be punished hard. This first boss in Raider’s Remembrance is quick, deliberate, and hits with surgical precision. The good news? Raider is built for exactly this kind of duel.
What to Expect
The Gladiator favors heavy-hitting combo chains with very little windup, forcing you to read his stance closely. His signature move is a wide-arcing two-hand slash that staggers on contact. He also uses a forward lunge to close distance quickly and punish hesitation. Unlike larger bosses, his speed means you can’t just roll through attacks on reaction — you need to anticipate them.
Strategies for Victory
- Bait and punish. Use short feints or light attacks to lure him into committing, then dodge to the side and strike during his recovery.
- Don’t roll backward. His range is longer than it looks. Side-dodging keeps you in position to counterattack without giving up ground.
- Use Raider’s character skill. If you’ve unlocked his charged dash or sweeping finisher, time it between the Gladiator’s combos to interrupt or punish.
- Watch the second phase. At half health, he becomes more aggressive — chaining attacks faster and adding a leaping slam. It’s flashy but punishable if you roll into the landing zone.
If you're struggling, bring along gear or relics that offer poise or counter-damage. Raider excels when trading blows, and well-timed aggression will turn the tide.
Onestrike Gladiator is less about endurance and more about discipline. He teaches you that Raider's strength isn’t brute force — it’s control. Master that, and the Torn Braided Cord is yours.
2nd Raider Remembrance: Raider’s Chalice
The second stage of Raider’s Remembrance picks up with deeper echoes from his past. Once you’ve defeated at least one Nightlord and completed the first memory, Chapter 4 will appear in Raider’s journal. Select Begin Remembrance to continue.
You’ll once again find yourself in the quiet garden of the Roundtable Hold. Speak to the Iron Menial, who now shares a piece of history — a time when Raider sailed the coastal waters in search of glory and a true rival. He’ll give you a key item called Iron Menial’s Scrawl. Be sure to open your inventory and read it under Key Items before speaking with him again.
After reviewing the scrawl, talk to the Iron Menial once more. The monument will activate again, ready to send you to your next opponent in the Tourney.
Touch the stone and prepare yourself — this time, your foe is the Blinding Elder Lion, a massive, relentless beast cloaked in radiant fury. Compared to the Gladiator, this trial demands sharper dodges, precise timing, and full use of your abilities. Once victorious, you’ll return to the Roundtable garden.
Speak with the Iron Menial one last time to conclude this phase of the Remembrance. You can either interact with the Remembrance Gateway or select Conclude Remembrance from the journal menu.
For those looking to skip the details and jump straight to the checklist, here’s a quick breakdown of this stage:
TLDR for the 2nd Raider Remembrance in Elden Ring Nightreign
| Step | Details |
| Journal Unlock | Chapter 4 after finishing the first Remembrance and defeating another Nightlord |
| Entry Point | Begin Remembrance from Chapter 4 at the Roundtable Hold |
| Item Requirement | Read Iron Menial’s Scrawl from your Key Items before progressing |
| Main Task | Defeat the Blinding Elder Lion in the second Tourney match |
| Key NPC | Iron Menial, offering new lore and direction |
| Completion Reward | Raider’s Chalice (Relic with a universal white slot) |
With this battle complete, Raider inches closer to the final truth — and the long-buried grudge that still churns beneath the waves.


How to Defeat Blinding Elder Lion
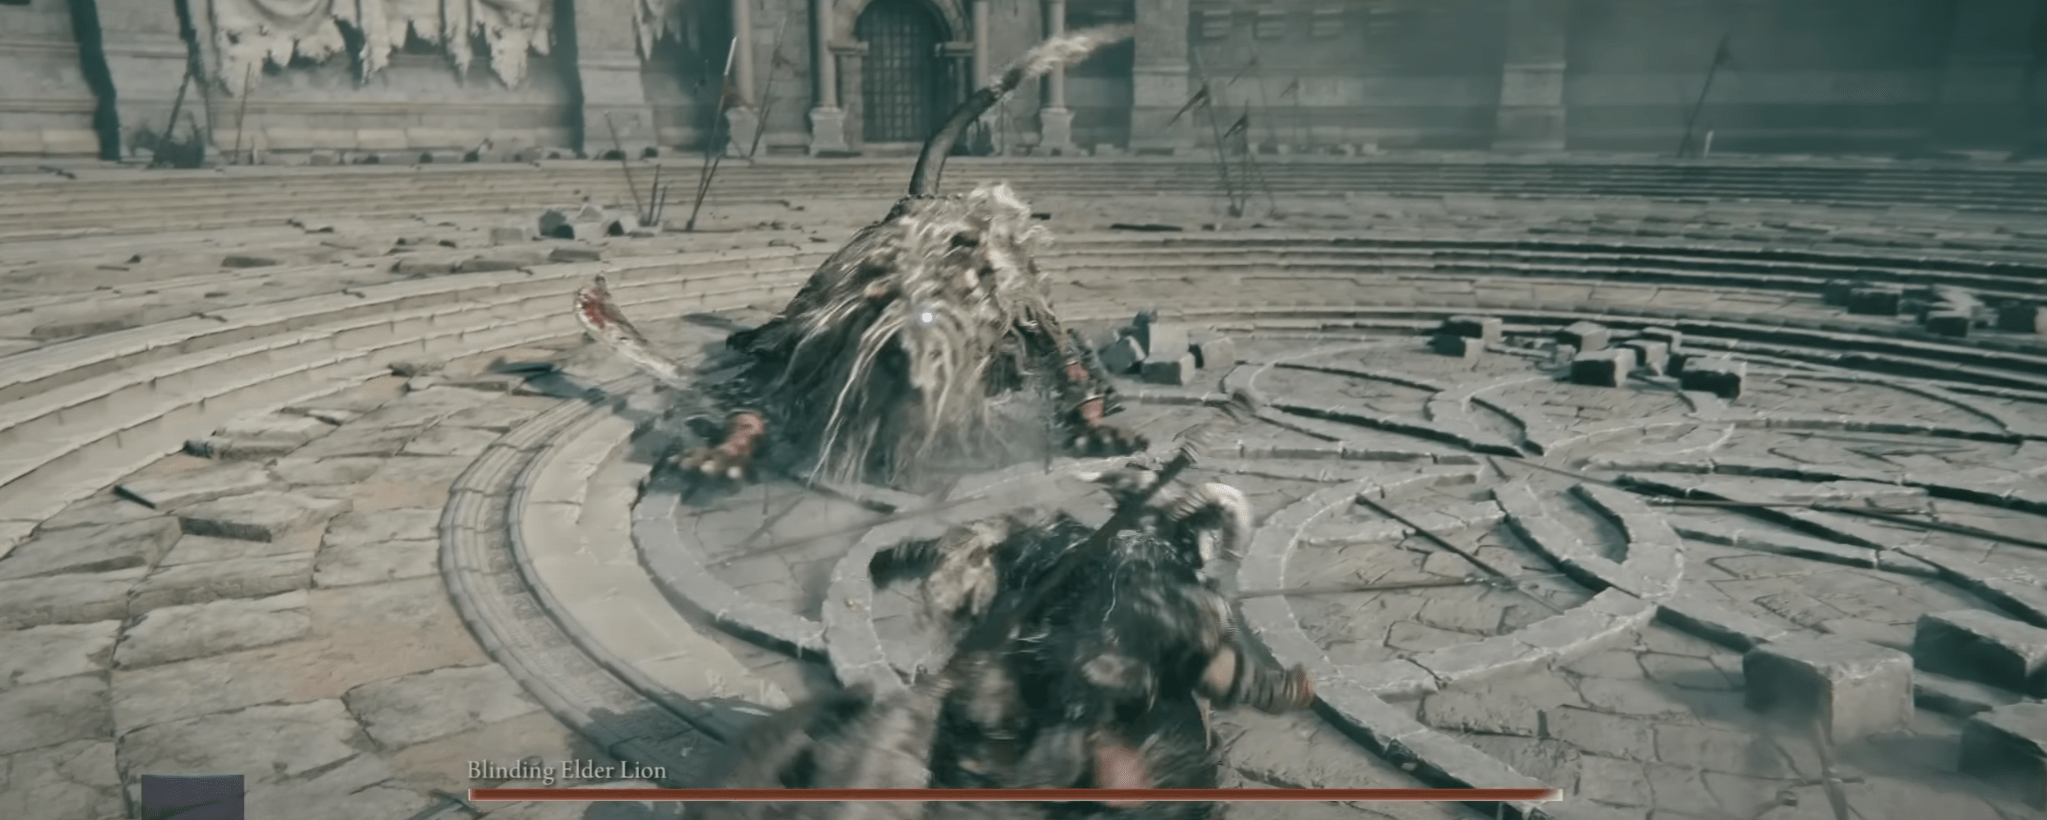
The Raider remembrance Blinding Elder Lion is the second trial, and a sharp step up from the first. Unlike the Gladiator, who tests your dueling discipline, this opponent overwhelms with raw speed, wide-reaching swipes, and a blinding glow that can easily disrupt your timing if you’re not prepared.
What to Expect
This massive lion-like beast fights in relentless bursts, alternating between lunging claw strikes and fast spin attacks that sweep the arena. It emits periodic flashes of white light that cause a brief stun effect or disrupt your lock-on, which can throw off your dodging rhythm. At close range, its strikes are fast enough to punish greedy combos, so pacing is critical.
Key Mechanics and Tips
- Keep moving sideways. Forward dodging puts you in line for spin swipes; circling gives better windows to punish.
- Use light attacks. Raider’s heavier moves leave him open — especially with the lion’s unpredictable follow-ups.
- Watch the light pulse. Right before the lion flashes, it gives off a low growl and pauses. Use this as your cue to back off or dodge.
- Character skill timing. Use Raider’s dash or knockback abilities right after the lion’s lunging slam. This is when it’s most vulnerable.
Phase Two Changes
At about 40% HP, the lion grows more erratic — jumping higher, attacking more frequently, and glowing more intensely. This is where most players struggle, but Raider’s burst mobility can help close gaps and strike while it’s still recovering from leaps.
Recommended Loadout
Bring relics or armor with stun resistance, or anything that helps you recover faster after status effects. The Chalice you’ll earn from this fight has a universal slot — but you'll need to earn it first.
Blinding Elder Lion is less a duel and more a storm to outlast. Don’t rush the fight. Control the flow, punish openings, and treat every strike as a statement — because for Raider, this is more than survival. It’s a message to the past: he’s not done yet.
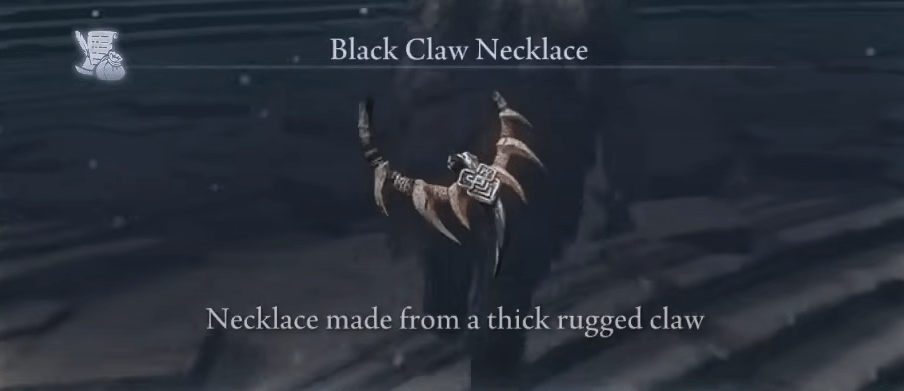
3rd Raider Remembrance: Black Claw Necklace
The final chapter of Raider’s Remembrance brings everything full circle. After completing the first two memories and defeating at least three unique Nightlords using Raider, Chapter 7 will unlock in his journal. This phase is not just the end of the tournament — it’s a reckoning with an old identity.
Once you select Begin Remembrance from Chapter 7, you’ll return to the familiar garden at the Roundtable Hold. But something’s changed. The Iron Menial seems uncertain, and the monument remains unresponsive when touched. Check your map — a new marker will appear on the southeastern shore of the Hold.
Travel to the marked spot and walk toward the waves. As you approach, a quiet message fades in: “Hark, the murmuring of waves…” This signals the beginning of Raider’s final memory. You’ll be pulled into a seaside battleground — the stage for the last match of the Tourney. BLOG20
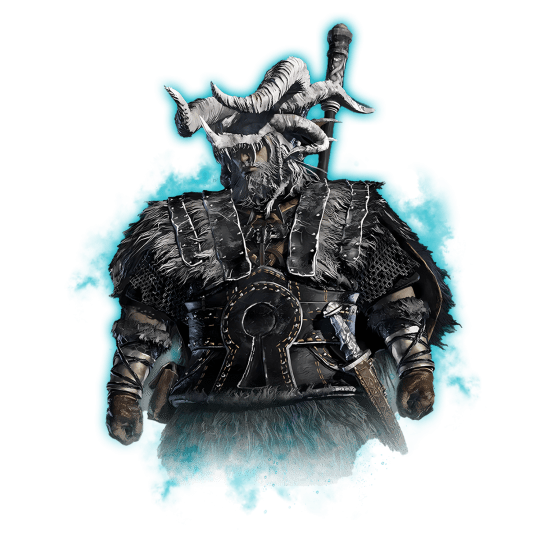
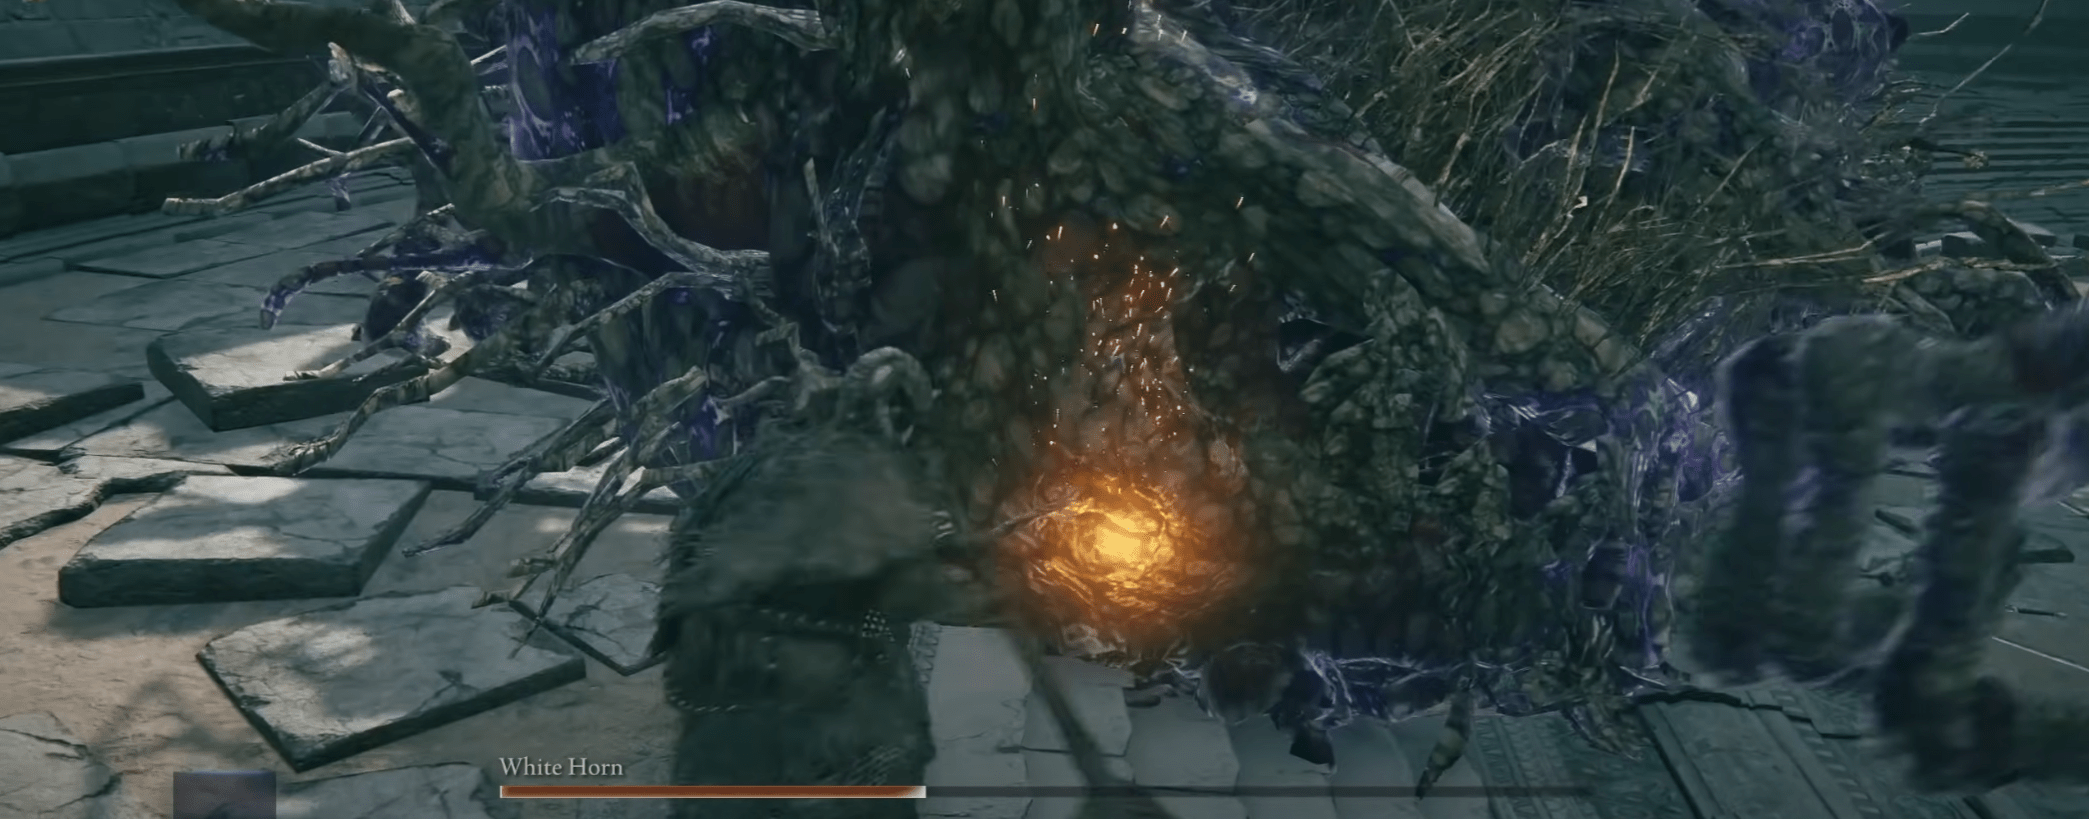
Your opponent? The White Horn — the very legend Raider once embodied.
This battle is the culmination of Raider’s identity crisis: a clash between who he was and who he must become. Defeating the Raider remembrance White Horn brings closure to the rivalry hinted at in every journal entry, every scrap of dialogue, every artifact tied to the coastal waters.
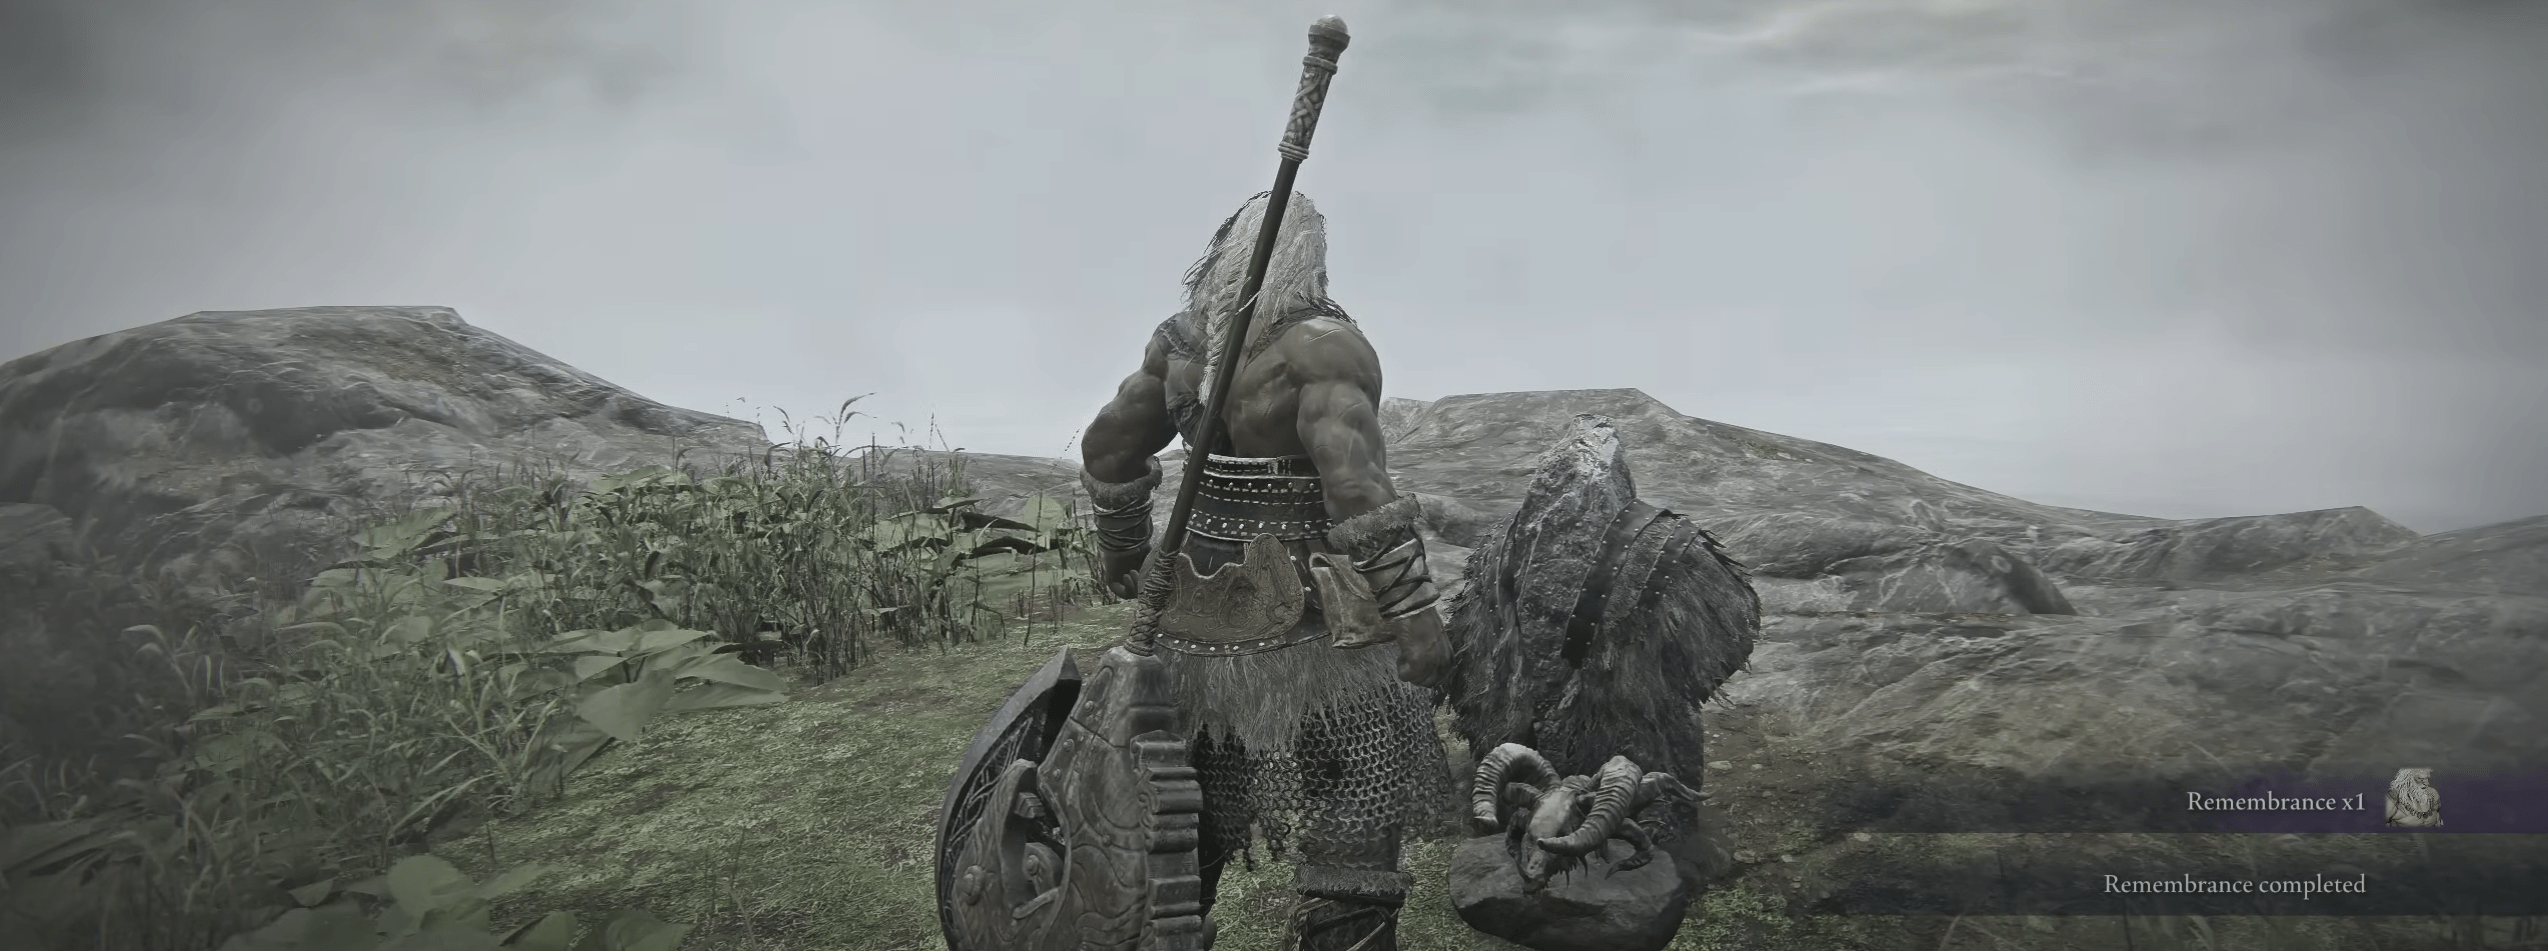
After the fight, you’ll be returned to the garden. Speak with the Iron Menial, then interact with the monument one last time. An inscription will now be visible:
“The Black Claw defeated the White Horn to achieve victory.”
“Ye souls felled in battle, be proud of thine exploits.”
Approach the nearby tombstone and offer your respects to formally conclude the remembrance.
If you're looking to just track the key steps, here’s a simplified overview of this chapter:
TLDR for the 3rd Raider Remembrance in Elden Ring Nightreign
| Step | Details |
| Journal Unlock | Chapter 7 after completing Chapters 2 and 4 and defeating at least three unique Nightlords as Raider |
| Entry Point | Begin Remembrance from Chapter 7 at the Roundtable Hold |
| Exploration Trigger | Head to the southeastern shore marked on your map |
| Main Task | Defeat the White Horn in a seaside arena battle |
| Key NPC | Iron Menial, guiding Raider through the final trial |
| Completion Reward | Black Claw Necklace (Epic Relic), Raider’s Remembrance outfit |
The journey ends not in fire, but in salt and steel — at the edge of the sea where Raider’s legend was born. With the White Horn defeated and the Black Claw reclaimed, his story finally finds its ending.
How to Defeat White Horn
The White Horn is Raider’s greatest test — and, in many ways, a reflection of himself. This isn’t just the final boss of his Remembrance quest; it’s a duel between identities, one shaped by honor, rage, and a past life on storm-churned waters. Victory means more than a reward — it means closure. So, here’s how to beat White Horn in Raider remembrance:
What to Expect
White Horn opens with measured aggression. He fights with a massive glaive and uses sweeping arcs, delayed combos, and a cold precision that mirrors how Raider should fight — not recklessly, but with control. His attacks carry a ghostly weight, and the faint mist surrounding him can make timing difficult.
At about 60% health, the White Horn enters phase two — transforming into an Ulcerated Tree Spirit, twisting the memory of the man Raider once was into something monstrous. This is when the fight gets chaotic.
Phase One Tips
- Respect his wind-up. White Horn delays strikes slightly to catch dodges — time your rolls on reaction, not anticipation.
- Use jumping attacks. These help break his rhythm and set up stagger damage between his slow combos.
- Watch for stance breaks. Well-timed hits can stagger him briefly, giving room for Raider’s heavy finishers.
Phase Two Tips
- Stay mobile. The Tree Spirit form slams, whips, and flails across the arena with very little warning.
- Don’t get greedy. This phase is about survival — dodge, reposition, then punish one hit at a time.
- Capitalize on flame bursts. After certain lunges, the boss leaves behind fiery residue. Use these windows to deal safe damage while it recovers.
Equip relics that grant fire resistance and increased poise or recovery speed. Raider’s dash ability and knockback skills become especially valuable in phase two when spacing and timing are your best tools.
White Horn is more than just a memory — he’s the shadow of Raider’s former self. This fight asks one final question: are you still the man you were, or have you become something stronger?
Raider Remembrance Rewards
Completing Raider’s Remembrance doesn’t just close the book on a legendary journey — it also equips you with powerful, class-defining relics that enhance the Raider’s playstyle. Each memory conquered unlocks a unique piece of gear, designed to reflect Raider’s evolution from battle-hardened pirate to honored champion of the Tourney.
Here’s the list of Raider remembrance rewards you’ll earn by completing all three chapters:
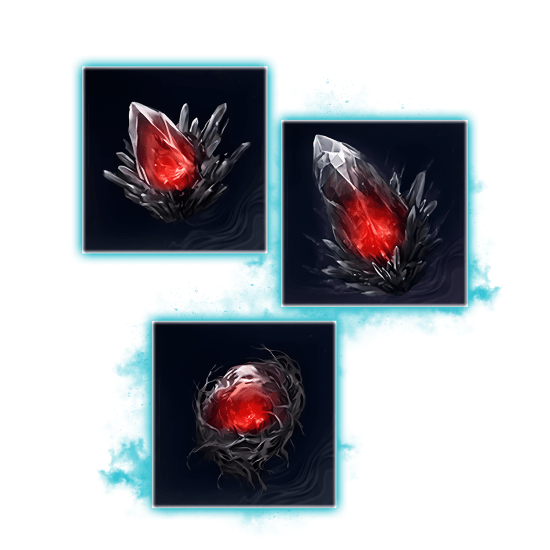
- Torn Braided Cord
A relic obtained after defeating the Onestrike Gladiator. Increases Raider’s damage scaling with close-range counters and reduces stamina cost on successive strikes. Ideal for aggressive dueling. - Raider’s Chalice
A reward for overcoming the Blinding Elder Lion. This relic adds a universal (white) relic slot, allowing you to equip any relic regardless of type. It opens up more flexible builds and combo potential. - Black Claw Necklace
The final reward, earned by defeating the White Horn. This epic-grade relic increases Raider’s resistance to stagger and adds bleed buildup to finishing attacks. It also boosts movement speed while below 50% HP, turning the tide when fights get close. - Raider’s Remembrance Outfit
Unlocked at the conclusion of Chapter 7. This cosmetic outfit pays homage to Raider’s legacy, combining coastal warlord aesthetics with ceremonial tourney armor. Can be equipped from the wardrobe at the Roundtable Hold.
Now you know how to complete Raider remembrance and unlock these exclusive rewards.
Conclusion
Raider’s Remembrance is a fast-paced, battle-focused questline that dives into his past and finishes with a powerful one-on-one showdown. Each chapter brings a new challenge and reward, building up to a final test that defines who Raider really is.
If you enjoy tight boss fights, strong relics, and character-driven stories, this questline is well worth your time. With the Torn Braided Cord, Raider’s Chalice, and the Black Claw Necklace in hand, Raider is stronger — and more complete — than ever.
F.A.Q.
How to complete Raider Remembrance in Elden Ring Nightreign?
To complete Raider Remembrance, play as Raider during expeditions until you unlock Chapters 2, 4, and 7 in his journal. Begin each remembrance from the Roundtable Hold, defeat the required bosses, and conclude each memory through the gateway or journal.
What are Raider Remembrance rewards in Elden Ring Nightreign?
Here’s what you earn across the questline:
- Torn Braided Cord (Relic)
- Raider’s Chalice (Relic with a universal slot)
- Black Claw Necklace (Epic Relic)
- Raider’s Remembrance Outfit (Cosmetic)
Is Raider Remembrance difficult in Elden Ring Nightreign?
Moderately. The early stages are manageable, but later bosses like the White Horn require good dodging, timing, and build awareness — especially when played solo.
How many chapters are in Raider Remembrance in Elden Ring Nightreign?
Raider’s Remembrance spans three main chapters: Chapter 2, Chapter 4, and Chapter 7 of his journal.
How long does it take to finish Raider Remembrance in Elden Ring Nightreign?
It usually takes around 2–4 hours, depending on your gear, experience with the Raider class, and how many Nightlords you’ve already defeated. Co-op can shorten the process.


