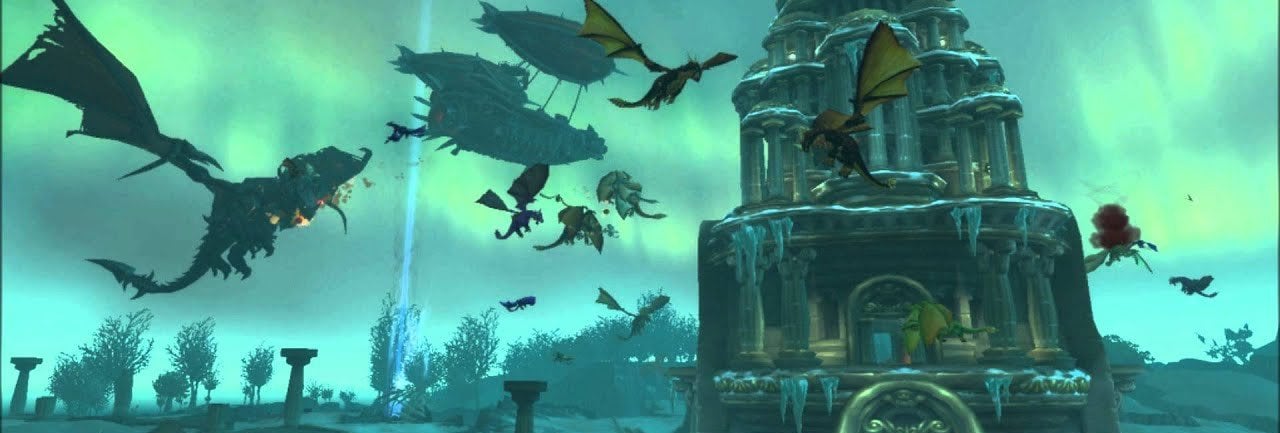
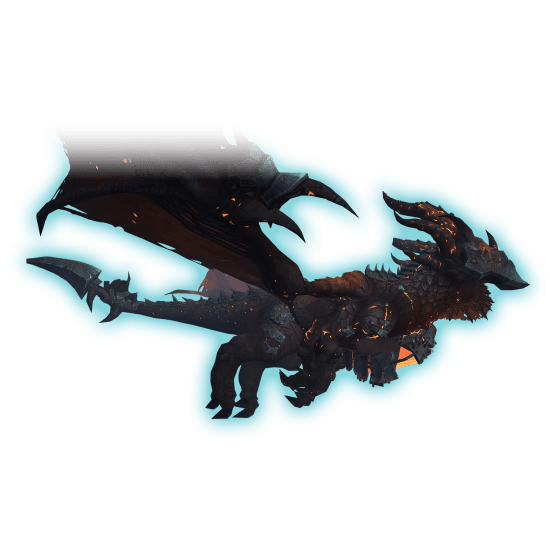
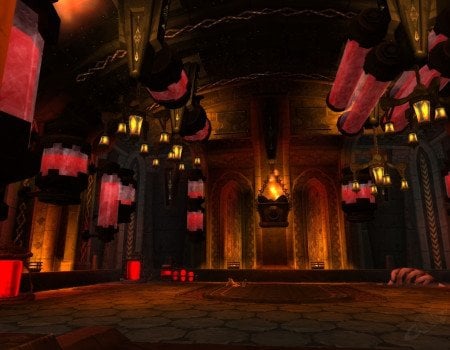
Welcome, brave adventure seekers, to our extensive Dragon Soul guide for WoW Cataclysm, to be exact, for its returning Classic version we are going to enjoy this year. Are you ready to face off against Deathwing himself again? This is your chance to prove your worthy and save the world from being annihilated by this evil. The only thing that can help you and serves as a glimmer of hope is the Dragon Soul, a legendary artifact. The latter possess immense power, capable of destroying Deathwing and his numerous servants.
Within the following pages, we will delve into the depths of one of the most iconic raids, sharing Dragon Soul strategy, its locations, and other details. From defeating Morchok to taking down Warmaster Blackhorn, who stands between you and the final boss, we have you covered. You will get acquainted with every boss’s ability set while also learning about the best tactics to use to bring your raid to victory.
In our Dragon Soul raid guide, we will also go over other topics like what tier sets you can get for defeating the bosses within this instance. The same goes for loot in general, but we are not going to provide you with the complete loot table since the drop chance for a particular item you like is too low. Instead, we highly recommend that you keep farming this raid again and again to get at least something from the list of the desired equipment parts.
Before we get straight into the article, we would like to share a few words on one of the most popular products on our website. At Skycoach, you can Buy Dragon Soul Raid Boost, which comes at a low price. Our PROs are here to help you complete this instance on any difficulty, no matter how many people are required. This is a great chance for you to get the desired loot while also saving plenty of your time from the endless grinding.
IMPORTANT NOTE: Apart from learning everything about Dragon Soul, you can also Buy WoW Cataclysm Classic Boost from Skycoach. We offer a wide range of products at the lowest market price and with the fastest delivery. You can make your first purchase even CHEAPER if you find a special PROMO CODE (highlighted in green) hidden in this article and get a 20% DISCOUNT.
Check out some of our most popular WoW Cataclysm Classic Boosting services below:
What is Dragon Soul in WoW Cataclysm
The Dragon Soul raid in WoW Cataclysm stands as a pinnacle of heroic endeavor against overwhelming odds. You can find the entrance to this instance in the Caverns of Time while most of the boss battle will take place at Wyrmrest Temple or somewhere around this zone.
While Dragon Soul release date happened on November 29, 2011, this instance is back in its original form, and you can test your skills once again when playing WoW Cataclysm Classic years later.
As Deathwing, the corrupted Aspect of the Black Dragonflight, unleashes chaos upon Azeroth, the Dragon Soul emerges as a beacon of hope. This epic raid is a culmination of the expansion's storyline, drawing players into a desperate struggle against the forces of darkness.
Adventurers embark on a perilous journey through Deathwing's lair, facing off against his most fearsome minions and overcoming treacherous obstacles. Each encounter within the Dragon Soul raid presents unique challenges, requiring teamwork, strategy, and unwavering resolve to overcome.
From battling through the corrupted halls of Wyrmrest Temple to confronting the monstrous presence of Deathwing himself, players must harness all their skills and courage to emerge victorious. The Dragon Soul raid serves not only as a test of strength but as a testament to the resilience and unity of Azeroth's champions in the face of impending doom.
Dragon Soul Location
Getting to the topic of Dragon Soul location, you can find this raid in the Caverns of Time. However, as we have already mentioned, most of the boss battles you are going to have will happen within Wyrmrest Temple.
Unlike is the case with some other instances, you will not have a question of where is entrance Dragon Soul since the Caverns of Time zone serves this purpose as well. Keep reading this part of the article to find the attached screenshot showing where exactly you need to make your way.
More than knowing how to get to Dragon Soul is required, as you will have to defeat 8 extremely challenging bosses. All of them feature unique abilities you need to learn about in advance. Playing around them and the enemies’ special mechanics is the key to achieving victory when participating in the most difficult raid within this expansion.
As promised, we have prepared Dragon Soul location map you can check out in the screenshot below to ensure you can find this instance easily:
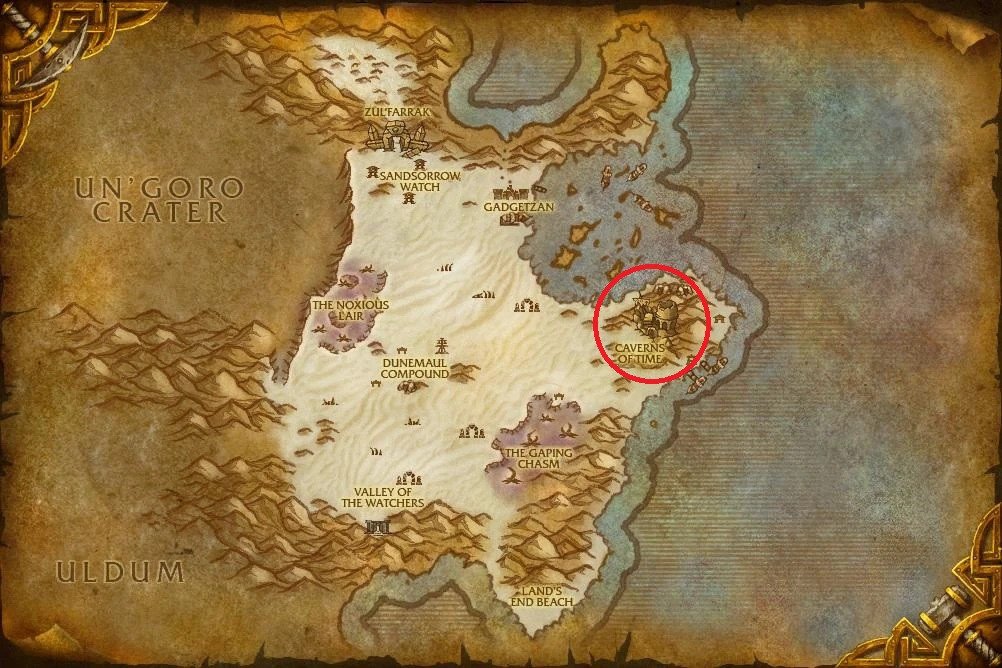
Since you are perfectly aware of where is the Dragon Soul now, it is time to think how you can get prepared for this raid. The first thing you need to take care of is getting to the level cap of 85 ASAP. This can be done easily if you Buy WoW Cataclysm Classic Powerleveling at Skycoach and trust this job to our PROs. We are here to help you get rid of the unnecessary grind and save your time, as well as, nerves. We offer the lowest price and guarantee the fastest completion time of your order! BLOG20
Dragon Soul Bosses List
As mentioned above, you will have to face off against 8 bosses (or not really?) in total to consider the Dragon Soul raid fully completed. But who are they? To answer this question, we have prepared a comprehensive Dragon Soul bosses list you can get acquainted with below.
However, do keep in mind that the Madness of Deathwing boss is basically the same enemy you fight during your 7th encounter. So, technically you only have 7 bosses in total to defeat.
The list of all Dragon Soul bosses includes the following enemies:
- Morchok
- Yor'sahj the Unsleeping
- Warlord Zon'ozz
- Hagara the Stormbinder
- Ultraxion
- Warmaster Blackhorn
- Spine of Deathwing
- Madness of Deathwing
Further in the article, you can find detailed Dragon Soul tactics for every one of the bosses you see mentioned above. While every strategy described is vital to completing this raid, you should be especially careful when getting to more difficult encounters. They present a higher level of challenge yet grant better rewards in case you manage to complete them.
Dragon Soul Loot Table
Since we have already spoken about the possible rewards you can get for completing this raid, it is time to get into Dragon Soul loot table we have prepared for you below.
ATTENTION: The following list of Dragon Soul loot IS NOT FINAL and serves an illustrative purpose only. The article you are reading right now aims to help you defeat the most challenging bosses of this raid rather than sharing complete information concerning the instance’s rewards. However, by taking a look at this table, you will have a clear understanding of what to expect.
| Boss | Item Name | Gear Slot |
| Morchok | Vagaries of Time | 1H Mace |
| Hand of Morchok | 1H Axe | |
| Mosswrought Shoulderguards | Shoulder | |
| Yor'sahj the Unsleeping | Experimental Specimen Slicer | 2H Axe |
| Spire of Coagulated Globules | 2H Staff | |
| Scalpel of Unrelenting Agony | 1H Dagger | |
| Warlord Zon'ozz | Finger of Zon'ozz | Wand |
| Cord of the Slain Champion | Waist | |
| Belt of Flayed Skin | Waist | |
| Hagara the Stormbinder | Lightning Rod | 2H Staff |
| Electrowing Dagger | 1H Dagger | |
| Bracers of the Banished | Wrist | |
| Ultraxion | Morningstar of Heroic Will | 1H Mace |
| Ledger of Revolting Rituals | Off-Hand | |
| Treads of Sordid Screams | Feet | |
| Warmaster Blackhorn | Ataraxis, Cudgel of the Warmaster | 2H Mace |
| Visage of the Destroyer | 2H Staff | |
| Blackhorn's Mighty Bulwark | Shield | |
| Spine of Deathwing | Gloves of Liquid Smoke | Hands |
| Molten Blood Footpads | Feet | |
| Belt of Shattered Elementium | Waist | |
| Madness of Deathwing | Gurthalak, Voice of the Deeps | 2H Sword |
| Kiril, Fury of Beasts | 2H Polearm | |
| Ti'tahk, the Steps of Time | 2H Staff |
With tons of Dragon Soul drops to be found, we can only hope you are extremely lucky to get the ones you need. Also, do keep in mind that there are many equipment pieces belonging to the shared boss loot category. The same goes for items that drop from trash mobs you clear during or between the encounters. If you do not have time for a repeated farm of this raid, make sure to check out the service we offer here at Skycoach and trust this job to our PROs.
Dragon Soul Tier Sets List
Speaking of the rewards you can obtain upon completing this activity, we cannot miss out on what Dragon Soul tier set varieties you can loot. Depending on your class and the role you usually execute in your party, you can expect to get your hands on different tier sets. Also, keep in mind that they come in two possible alternatives and can be of Raid Finder or Heroic quality.
| Class | Set Name | Role |
| Death Knight | Necrotic Boneplate Battlegear | DPS |
| Necrotic Boneplate Armor | Tank | |
| Druid | Deep Earth Vestments | Healer |
| Deep Earth Battlegarb | Tank/DPS | |
| Deep Earth Regalia | Caster | |
| Hunter | Wyrmstalker Battlegear | Ranged |
| Mage | Time Lord's Regalia | Caster |
| Paladin | Regalia of Radiant Glory | Healer |
| Armor of Radiant Glory | Tank | |
| Battleplate of Radiant Glory | DPS | |
| Priest | Regalia of Dying Light | Caster |
| Vestments of Dying Light | Healer | |
| Rogue | Blackfang Battleweave | Melee |
| Shaman |
Spiritwalker's Vestments | Healer |
| Spiritwalker's Battlegear | Melee | |
| Spiritwalker's Regalia | Caster | |
| Warlock | Vestments of the Faceless Shroud | Caster |
| Warrior | Colossal Dragonplate Battlegear | DPS |
| Colossal Dragonplate Armor | Tank |
Dragon Soul Bosses Guide – WoW Cataclysm Classic
In the Dragon Soul raid of WoW Cataclysm Classic, players face off against a formidable array of bosses, each presenting unique challenges and requiring strategic coordination to overcome. From the initial encounter with Morchok, a powerful elemental monstrosity, to the climactic showdown against Deathwing himself, every boss tests the resilience and skill of adventurers.
Along the way, players confront the corrupted minions of Deathwing, including Warlord Zon'ozz, Hagara the Stormbinder, and Ultraxion, each possessing their own devastating abilities and mechanics. As players progress deeper into the raid, they must contend with the twisted experiments of the Twilight's Hammer cult and the malevolent forces of the Old Gods. With teamwork and perseverance, heroes of Azeroth can conquer the Dragon Soul raid, securing victory against the greatest threats to the world and earning glory as champions of the realm.
Check out some of our most popular WoW Cataclysm Classic Boosting services below:
Morchok
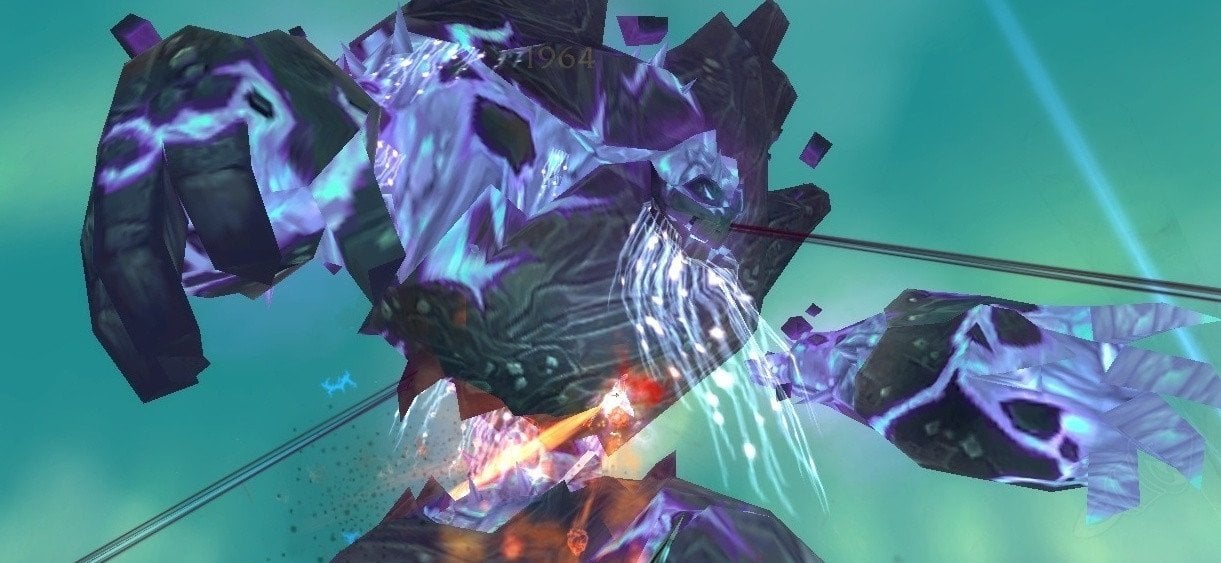
Morchok stands as the initial challenge within the Dragon Soul raid, serving as a gateway to further adventures within Wyrmrest Temple. Overcoming Morchok grants players access to key NPCs and unlocks pathways to confront other formidable bosses lurking within.
Regarded as one of the more manageable encounters in the raid, facing Morchok sets the tone for the trials ahead. With strategic coordination and skillful execution, adventurers can swiftly dispatch this elemental adversary and pave the way for greater challenges within the Dragon Soul's depths.
As we are getting deeper into Morchok guide WoW Cataclysm, make sure to check the following details about this encounter:
- 10-Man Normal Health Pool – 20.7M;
- 10-Man Heroic Health Pool – 36.2M;
- 25-Man Normal Health Pool – 72.5M;
- 25-Man Heroic Health Pool – 127M;
- LFR Health Pool – 76.5M.
Do keep in mind that this boss boasts a 7-minute enrage time.
Speaking of what your party should look like, make sure to use the following Morchok boss raid composition:
- 10-Man Normal: 1-2 Tanks, 2-3 Healers, 5-7 DPS;
- 10-Man Heroic: 2 Tanks, 2-4 Healers, 4-6 DPS;
- 25-Man Normal: 1-2 Tanks, 5-6 Healers, 17-19 DPS;
- 25-Man Heroic: 2 Tanks, 6-8 Healers, 15-17 DPS;
- LFR: 2 Tanks, 5-6 Healers, 17-18 DPS.
Morchok Abilities
| Crush Armor | Acts as a stacking debuff used against a tank only every 6 seconds. It accumulates up to 10 times, with each stack diminishing armor by 10%. Consequently, a tank swap becomes necessary as the debuff escalates, ensuring survivability amid dwindling defenses. |
| Stomp | The ability represents a massive AoE ability, occurring every 10 to 15 seconds. In 10-man difficulty, it inflicts 750,000 physical damage, 1,625,000 in LFR mode (despite tooltip disparities), and 2,500,000 in 25-man difficulty. This damage is uniformly distributed among players within a 25-yard radius of Morchok, necessitating strategic positioning to mitigate its impact. |
| Resonating Crystal |
Periodically employs Resonating Crystal, casting it approximately every 15 seconds. This ability summons a red crystal that detonates after 12 seconds, dividing damage among the three closest players in LFR and 10-man modes, and the seven closest players in 25-man mode. However, proximity to the crystal reduces the total damage inflicted on players. Strategically positioning oneself away from the crystal minimizes individual damage intake, ensuring the raid's survivability during this hazardous encounter. |
Morchok Guide – Tactics & Strategy
- Crystal Phase
The Crystal Phase stands as the primary focus of the encounter, where the raid predominantly engages Morchok while managing his limited abilities. This phase typically persists for approximately 1 minute.
Effective execution of the Crystal Phase centers on three key tasks:
- Optimal positioning to handle Stomp.
- Implementing a tank swap to manage Crush Armor.
- Designating players to absorb damage from Resonating Crystal.
Given Stomp's mechanics, the raid should position within a 25-yard radius of Morchok. Although no other positioning constraints exist, grouping close to the boss enhances efficiency for AoE healing.
Stomp inflicts heightened damage on the current tank and the nearest player to them. Ideally, this damage should always target both tanks.
Players targeted by Resonating Crystal must step out of the 25-yard radius.
Due to Crush Armor, tanks must consistently taunt the boss to maintain threat. With the debuff stacking every 6 seconds and lasting 20 seconds, a taunt should occur as soon as the current tank accumulates a 4th stack.
- Black Blood Phase
As we are moving to the next stage of the fight, here comes the Black Blood Phase with Morchok gaining a new set of abilities:
| Earthen Vortex | Heralds the onset of the Black Blood Phase, compelling all players towards Morchok while subjecting them to continuous physical damage amounting to 5% of their health per second over 5 seconds. |
| Falling Fragments |
Following the pull towards Morchok, Falling Fragments swiftly follows suit. This ability channels for 5 seconds, conjuring stone pillars around Morchok's vicinity. Standing adjacent to the pillar's emergence inflicts 15,000 physical damage in 10-man and 25-man difficulties, and 9,750 physical damage in LFR difficulty. Notably, players rarely sustain damage from proximity to the pillars. |
| Black Blood of the Earth |
Following the conclusion of the Falling Fragments channel, Morchok unleashes Black Blood of the Earth. Over a duration of 24 seconds, this ominous substance emanates outward from Morchok's position. Players caught within its confines accrue a stacking debuff, dissipating upon exit from the blood's perimeter. With each passing second, the debuff intensifies, inflicting 5,000 nature damage per second (3,250 in LFR difficulty) with each stack. Strategic maneuvering is paramount to evade this hazardous effect and minimize its detrimental impact on the raid. |
Shortly following the third Resonating Crystal explosion, Morchok transitions into the Black Blood Phase, unleashing a sequence of three rapid abilities before reverting to the Crystal Phase. During this phase, players are drawn towards Morchok and must swiftly seek cover behind stone pillars generated by Falling Fragments to evade the highly damaging Black Blood of the Earth ability.
The strategy here is simple: once pulled, all players should promptly seek refuge behind the protective pillars to avoid harm from the blood. With ample time to reach safety, no one should suffer damage.
Behind the pillars, there's no additional source of damage until the Crystal Phase resumes, allowing healers to prioritize seeking shelter before attending to others within their range.
When Morchok reaches 20% health, he gains the Furious buff, signaling an opportune moment to unleash powerful abilities like Bloodlust, Heroism, or Time Warp, ideally during a Crystal Phase rather than a Black Blood Phase. BLOG20
Yor'sahj the Unsleeping
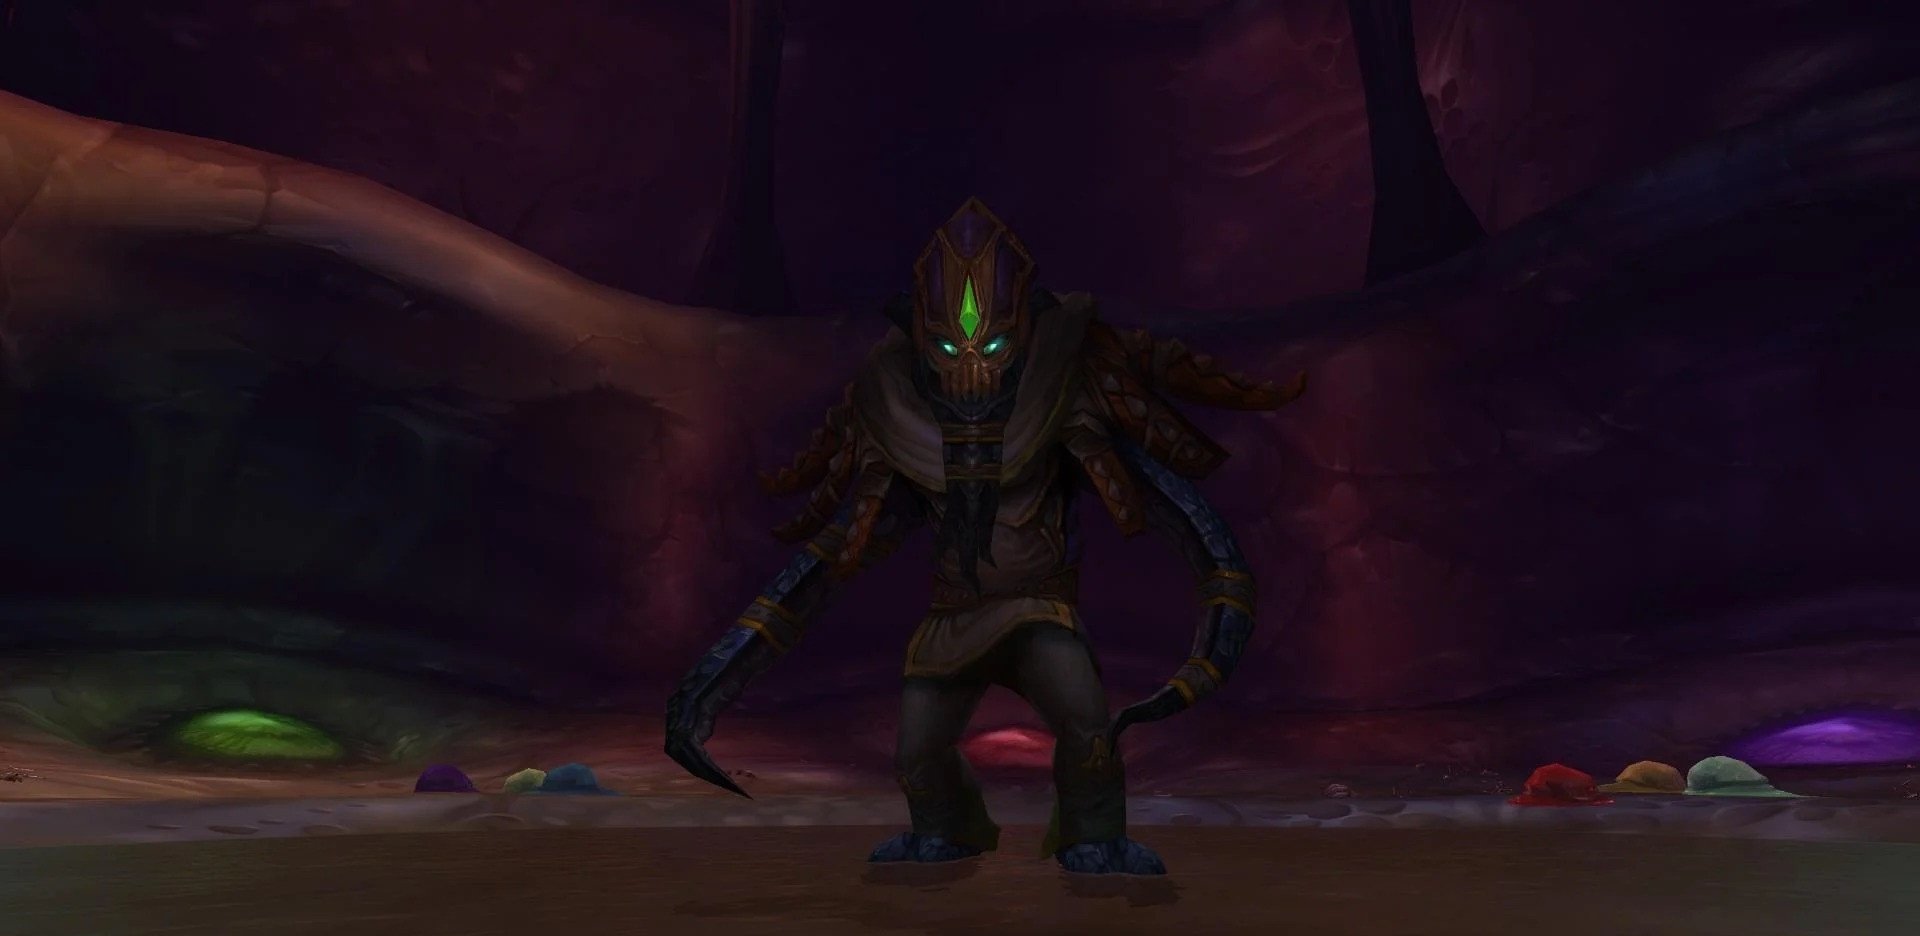
Yor'sahj the Unsleeping emerges as one of the two bosses accessible post-Morchok's defeat in the Dragon Soul raid. As a formidable Faceless One, Yor'sahj confronts raiders within one of two eerily similar Old God-themed chambers, positioned outside Wyrmrest Temple.
The encounter's mechanics boast remarkable originality, placing emphasis on the raid leader's guidance for optimal execution. Most of the tactical direction falls upon the raid leader's shoulders, ensuring the raid receives crucial instructions.
Subsequently, the encounter proves particularly demanding for DPS players and healers, who shoulder the brunt of the encounter's challenges. Coordination, adaptability, and strategic decision-making are key in navigating the treacherous depths of Yor'sahj's domain, as adventurers confront the enigmatic horrors lurking within.
Before we provide any further Yor'sahj the Unsleeping guide WoW Cataclysm details, we recommend that you get acquainted with the following:
- 10-Man Normal Health Pool – 47M;
- 10-Man Heroic Health Pool – 90M;
- 25-Man Normal Health Pool – 142M;
- 25-Man Heroic Health Pool – 232M;
- LFR Health Pool – 106M.
No matter what difficulty you choose, the boss will feature a 10-minute enrage timer.
When it comes to building up a party, make sure to use the following Yor'sahj the Unsleeping boss raid composition:
- 10-Man Normal: 1 Tank, 2-3 Healers, 6-7 DPS;
- 10-Man Heroic: 1 Tank, 2-3 Healers, 6-7 DPS;
- 25-Man Normal: 1-2 Tanks, 5-6 Healers, 17-19 DPS;
- 25-Man Heroic: 2 Tanks, 5-6 Healers, 17-18 DPS;
- LFR: 1-2 Tanks, 5-6 Healers, 17-19 DPS.
Yor'sahj the Unsleeping Abilities
| Void Bolt |
While this is the boss’s ONLY ability, it poses a significant threat to the tank, inflicting substantial Shadow damage while leaving behind a stacking Shadow damage over time. Notably, the frequency of Void Bolt varies unpredictably, occurring roughly every 5 seconds on average. The DoT component of Void Bolt delivers ongoing damage, dealing 5,000 damage every 2 seconds in 10-man difficulty and 30,000 damage in 25-man difficulty. To manage the intense damage output in 25-man mode, two tanks must coordinate swaps to share the burden effectively. However, in 10-man difficulty, the damage is more manageable and easily healable. Additionally, Yor'sahj employs a moderate melee attack every 2.5 seconds, contributing to the overall damage output and adding pressure on the raid's healing resources. |
Yor'sahj the Unsleeping Guide – Tactics & Strategy
The encounter with Yor'sahj presents a unique challenge, characterized by a single-phase fight where Yor'sahj consistently casts his sole ability at regular intervals. However, approximately every 75 seconds, Yor'sahj summons three random oozes out of a pool of six possible types. As each ooze reaches the boss, it bestows upon him a temporary ability that lasts for 60 seconds. With 15 seconds remaining on his buffs, Yor'sahj initiates the summoning of the next set of three oozes.
Here is the catch: only one of the three oozes can be killed at a time, rendering the remaining two immune upon the demise of one. Consequently, the challenge lies in strategic decision-making, as raiders must choose which ooze to eliminate, aiming to confront the least damaging combination of abilities from the boss. This aspect of the encounter adds an element of tactical depth, requiring precise coordination and quick thinking to optimize the raid's chances of success against Yor'sahj.
During the brief window when Yor'sahj remains unempowered by the abilities of any oozes, the encounter adopts a straightforward "tank and spank" approach. Healers focus solely on mitigating damage directed at the tank, stemming from Yor'sahj's melee swings and Void Bolt. This initial phase endures for a mere 20 seconds.
Subsequently, Yor'sahj alternates between summoning oozes while remaining inactive or becomes empowered with additional abilities. Should the raid fail to eliminate any of the summoned oozes, Yor'sahj gains an additional ability, heightening the challenge for the raid team. The encounter's dynamic nature demands adaptability from the raid, as they must swiftly adjust their strategies based on the abilities bestowed upon Yor'sahj by the summoned oozes.
Out of 20 potential combinations, only 6 have been observed thus far. It is reasonable to conclude that these 6 configurations are the only ones the raid will encounter:
- black — blue — yellow;
- black — green — red;
- black — purple — red;
- blue — green — purple;
- blue — purple — yellow;
- green — red — yellow.
In 25-man difficulty, where the DoT from Void Bolt can spike to as high as 270,000 Shadow damage every 2 seconds at high stacks, it is strongly advised to employ two tanks. They should swap the boss when the current tank accumulates approximately 4 stacks of the DoT.
Conversely, in 10-man and LFR modes, the DoT's damage is significantly lower, making it feasible to use a single tank, though employing two tanks in LFR can add an extra layer of safety.
It is crucial to note that the DoT stacks rapidly when Yor'sahj consumes the Yellow ooze, potentially leading to a surge in tank damage.
Warlord Zon'ozz
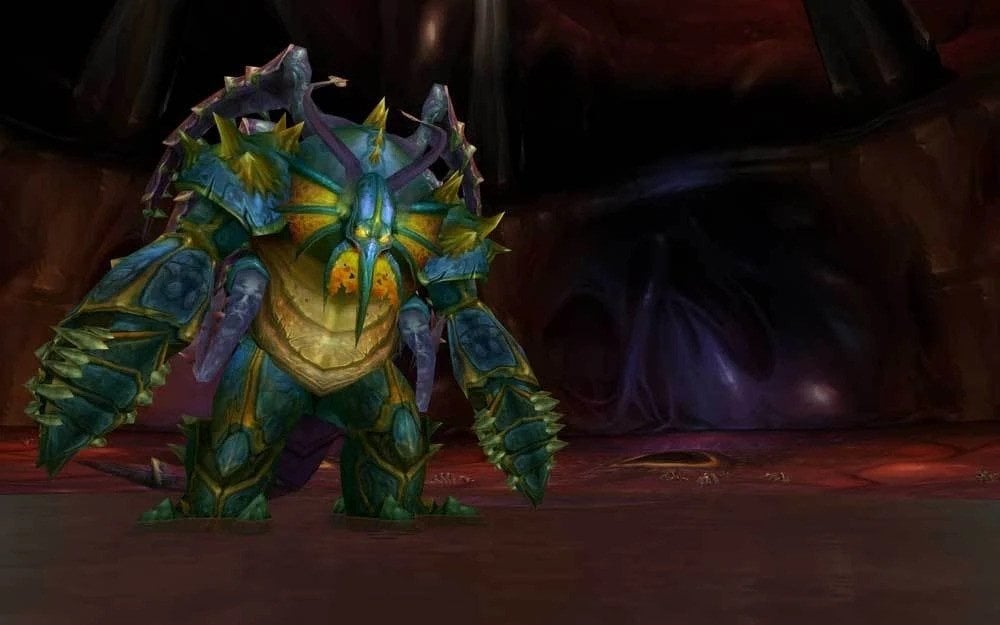
Warlord Zon'ozz stands as one of the two bosses accessible after defeating Morchok in the Dragon Soul raid. As a formidable Faceless One, Zon'ozz awaits within one of two eerily similar Old God-themed chambers situated outside Wyrmrest Temple.
The encounter demands keen awareness and effective teamwork from the raid, along with robust healing support. Despite these requirements, it is not excessively challenging, offering raiders an opportunity to demonstrate their coordination and resilience without overwhelming difficulty.
As we are moving further with Warlord Zon'ozz guide WoW Cataclysm, make sure to check the following additional details about the encounter:
- 10-Man Normal Health Pool – 68M;
- 10-Man Heroic Health Pool – 86M;
- 25-Man Normal Health Pool – 204M;
- 25-Man Heroic Health Pool – 260M;
- LFR Health Pool – 70M.
No matter what difficulty is chosen, the boss will have a 6-minute enrage timer.
When gathering a party, the following Warlord Zon'ozz boss raid composition is advised:
- 10-Man Normal: 1 Tank, 2-3 Healers, 6-7 DPS;
- 10-Man Heroic: 1 Tank, 3 Healers, 6 DPS;
- 25-Man Normal: 1 Tanks, 5-6 Healers, 18-19 DPS;
- 25-Man Heroic: 1 Tanks, 6 Healers, 18 DPS;
- LFR: 1 Tanks, 5-6 Healers, 18-19 DPS.
Warlord Zon'ozz Abilities
| Focused Anger | Acts as a stacking buff, which the boss applies to himself every 6 second. It augments his attack speed and damage output by 10% per stack. |
| Psychic Drain |
This is a formidable frontal cone attack unleashed by Zon'ozz, inflicting substantial Shadow damage to all enemies within its path. In LFR, it deals 90,000 damage, while in 10 and 25-man difficulties, it increases to 120,000 damage. Moreover, this attack concurrently heals Zon'ozz for ten times the amount of damage dealt. Zon'ozz employs Psychic Drain every 20 seconds, posing a recurring threat to all players positioned in front of him. |
| Disrupting Shadows |
It is a detrimental effect cast by Zon'ozz upon a variable number of random players (3 in 10-man, and between 7 and 10 in 25-man difficulty and LFR). This damaging Damage over Time (DoT) inflicts Shadow damage, amounting to 22,500 in LFR and 30,000 in 10 and 25-man difficulties, every 2 seconds over a duration of 20 seconds. Zon'ozz initiates this ability every 20 seconds. Dispelling this effect is possible, resulting in the afflicted target receiving moderate Shadow damage and being knocked back. However, in LFR, dispelling the DoT carries no adverse effects. |
| Void Diffusion | Manifests as a buff amplifying its damage output by 20% with each stack when it intersects with a player. |
| Void of the Unmaking | This is an NPC summoned by Zon'ozz at the beginning of the encounter and following each Black Phase, materializes directly in front of the boss. This entity, immune to damage, traverses the room at a leisurely pace, presenting an obstacle for players to navigate. |
Warlord Zon'ozz Guide – Tactics & Strategy
During the Ping Pong Phase, the focal strategy revolves around volleying the Ball (Void of the Unmaking) between raid members until it strikes Zon'ozz, initiating the Black Phase. The number of bounces before the Ball hits Zon'ozz determines the increased damage he'll sustain for the remainder of the encounter. Concurrently, Disrupting Shadows must be promptly dispelled. Once the mechanics are managed, the raid should focus on maximizing damage output directed at Warlord Zon'ozz.
After a duration in the Ping Pong Phase, the raid aims to initiate the Black Phase by ensuring Zon'ozz makes contact with the Ball (Void of the Unmaking). This action resets the boss' stacks of Focused Anger and subjects him to increased damage. Lasting precisely 30 seconds, the Black Phase necessitates concentrated healing to mitigate substantial raid-wide damage, while simultaneously maximizing damage output directed at the boss. Following the 30-second duration, the Ping Pong Phase recommences, requiring the raid to once again execute the mechanics accordingly.
In the Black Phase, the strategy is straightforward: the entire raid should stack up on Warlord Zon'ozz and focus on healing through the damage. Upon exiting this phase, Zon'ozz typically summons another Ball, followed by casting Psychic Drain five seconds later. However, if the preceding Ping Pong Phase lasted less than one minute, Psychic Drain may be cast before summoning the Ball. To preempt this, it is advisable for the tank to position the boss at a 30-degree angle from the ranged group. Once the Ball is summoned, the tank should promptly face the boss away from the raid.
Hagara the Stormbinder
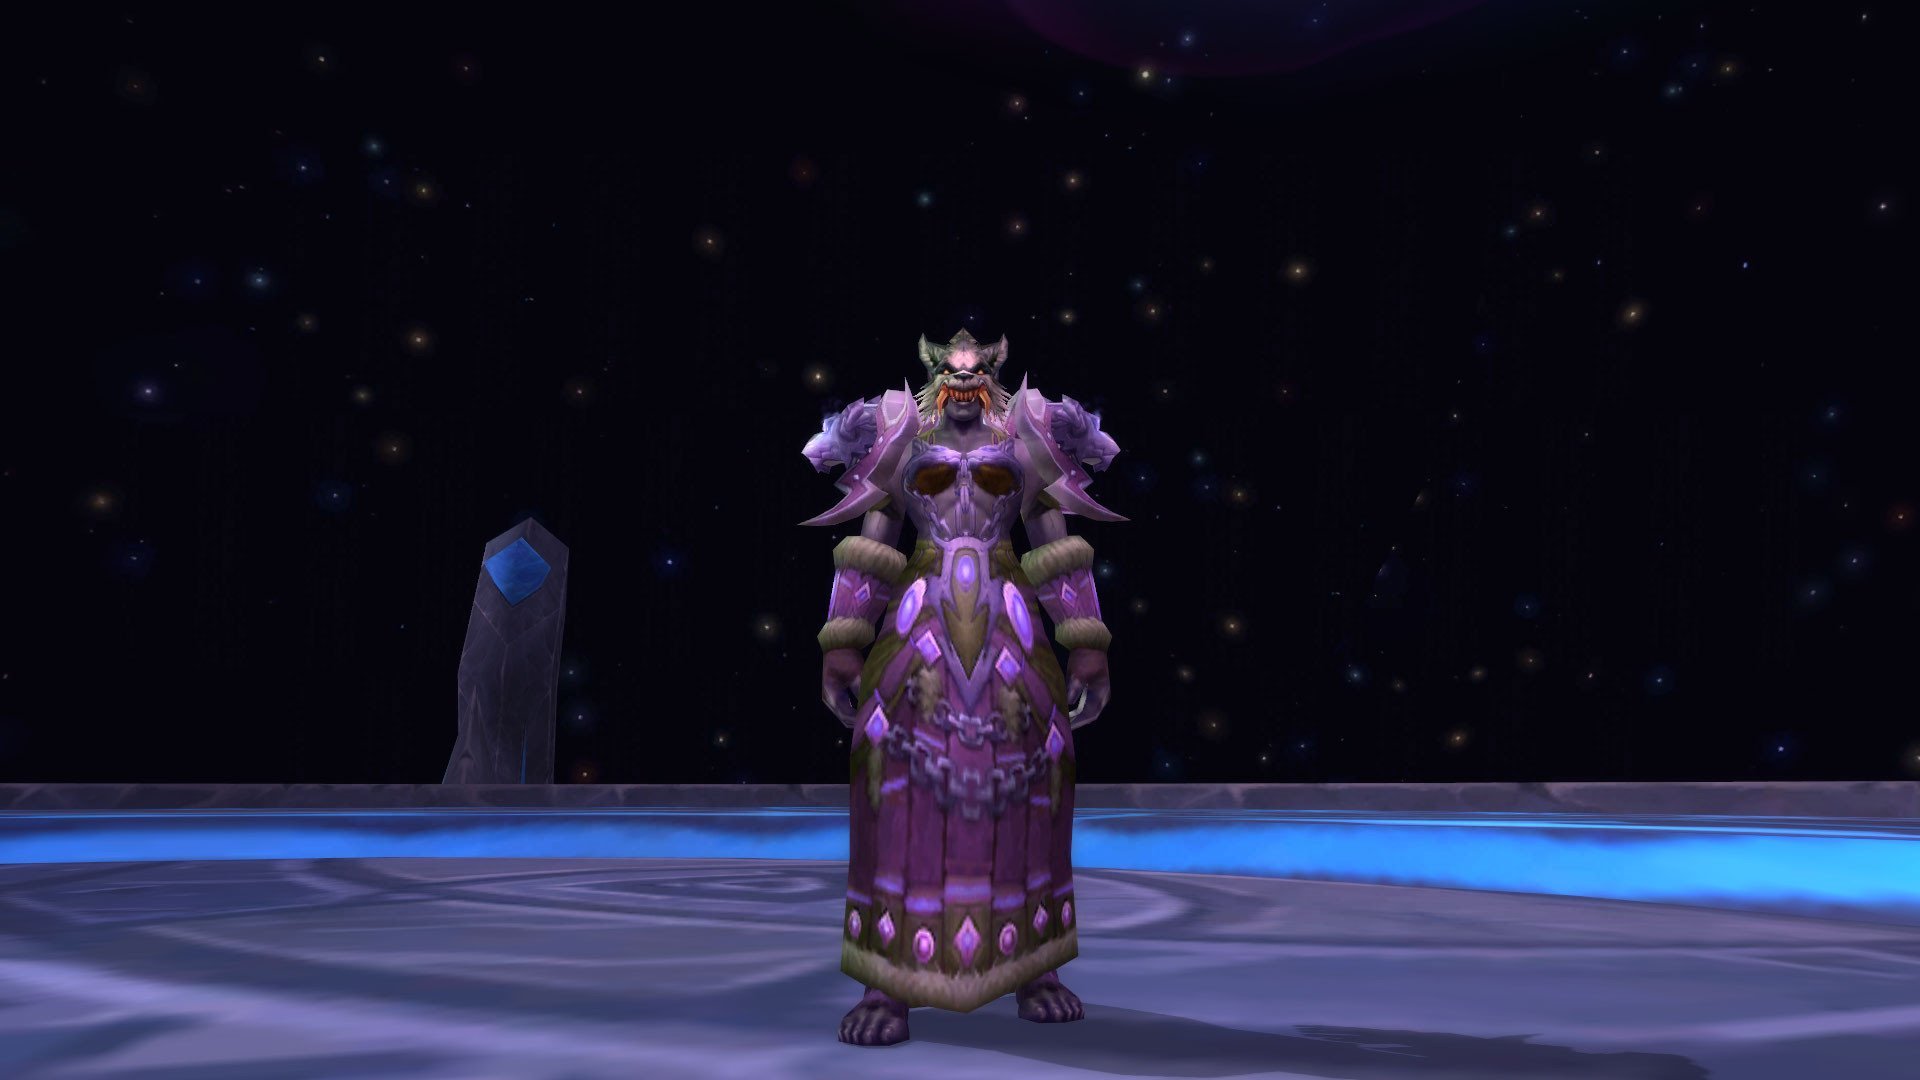
Hagara the Stormbinder, a Shaman residing in the Eye of Eternity, accessible through a portal from Wyrmrest Temple, presents a battle reliant on precise positioning and synchronized movement. With emphasis on coordinated strategies, raid groups often perceive this encounter as a welcome change before confronting the gear check posed by Ultraxion.
Before we get deeper into Hagara the Stormbinder guide WoW Cataclysm, check out other encounter’s details:
- 10-Man Normal Health Pool – 31M;
- 10-Man Heroic Health Pool – 52M;
- 25-Man Normal Health Pool – 95M;
- 25-Man Heroic Health Pool – 155M;
- LFR Health Pool – 70M.
It does not matter whether you play Normal or Heroic mode, the boss features an 8-minute enrage timer.
We recommend that you use the following Hagara the Stormbinder boss raid composition:
- 10-Man Normal: 1 Tank, 3 Healers, 6 DPS;
- 10-Man Heroic: 1 Tank, 3 Healers, 6 DPS;
- 25-Man Normal: 1 Tank, 6-7 Healers, 17-18 DPS;
- 25-Man Heroic: 1 Tank, 6-7 Healers, 17-18 DPS;
- LFR: 1 Tank, 6-7 Healers, 17-18 DPS.
Hagara the Stormbinder Abilities
During the main phase, the boss will have the following set of abilities:
| Ice Tomb | This spell occurring once per Main Phase (typically 10 seconds into the phase), is absent in LFR difficulty. In 10-man, it entraps 2 random players (excluding the tank), while in 25-man, 5 players are ensnared. Marked with a blue arrow overhead upon casting, affected players freeze 7 seconds later, enduring approximately 7,000 damage per second. These Ice Tombs must be shattered to release the encased players, with the ability not chaining to nearby allies. |
| Focused Assault | Being consistent across all difficulties, it is cast every 15 seconds. This channeled ability lasts for 5 seconds, compelling Hagara to execute frontal attacks, dealing 50% of her regular melee damage every 0.5 seconds. Throughout this channeling, Hagara remains stationary, allowing the tank to swiftly reposition if necessary. |
| Shattered Ice | It consistently follows or precedes Focused Assault. This ability targets a random player, causing a movement slowdown for 4 seconds and inflicting 78,000 Frost damage in 10-man difficulty, 100,000 in 25-man difficulty, and 65,000 in LFR difficulty. |
| Ice Lance | The ability occurs twice per Main Phase, summoning 3 crystals each time. Each crystal fixates on a random player, continuously launching one missile per second towards them for 15 seconds, totaling 15 missiles. Upon impact with its target or another player in its path, each missile explodes, dealing Frost damage to all players within a 3-yard radius. |
When you get to the Ice Phase, the boss’s abilities will look differently:
| Watery Entrenchment | Prohibits players from entering the platform's center, posing a deadly threat with a loss of 15% health per second and a 50% reduction in movement speed. This effect emerges shortly into the Ice Phase, affording players the opportunity to relocate to the platform's perimeter for safety. |
| Ice Wave |
A few seconds after Watery Entrenchment is initiated, Hagara summons 4 Ice Waves. These waves extend from the boss to the platform's edge, moving clockwise at a slightly slower speed than a player's base running speed. Contact with a wave proves exceedingly perilous, inflicting 200,000 Frost damage in both 10-man and 25-man difficulties and 130,000 Frost damage in LFR difficulty. Additionally, affected players endure a 50% increase in Frost damage taken for 2.5 seconds. |
| Icicle |
The ability triggers periodic waves of falling icicles onto the platform's outer perimeter. Each wave comprises around 10 icicles, with subsequent waves emerging approximately 15-20 seconds after the prior one. A visual indicator designates the impending icicle location, disappearing after 4 seconds before the icicle descends 1 second later. Upon impact, the icicle inflicts 100,000 damage to all within a 7-yard radius in both 10-man and 25-man difficulties. Notably, this ability is absent in LFR difficulty. |
Hagara the Stormbinder Guide – Tactics & Strategy
- Main Phase
- Once the abilities are understood, the strategy simplifies into four key points:
- During Focused Assault, tanks should retreat from Hagara to mitigate damage, ensuring not to turn their back to her.
- Healers must remain vigilant against Shattered Ice, as it can prove lethal to previously damaged players, particularly from Ice Lance.
- Dark Simulacrum can be employed by Death Knights to ward against Shattered Ice, granting them additional damage.
- DPS should prioritize freeing players trapped by Ice Tomb, except in LFR difficulty where Ice Tomb is not present.
- Ice Phase
Understanding the Ice Phase's mechanics streamlines the strategy into several straightforward tasks:
- Maintain a clockwise movement pattern to position yourself between two Ice Waves, avoiding contact as it is lethal. Be cautious of the visual effect's accuracy, as it may not reflect the true danger zone.
- Prioritize attacking the Frozen Binding Crystals whenever possible. Remain vigilant of the Ice Waves' position while engaging the crystals to prevent distractions.
- In 10-man and 25-man difficulties, evade falling Icicles by monitoring their trajectory and relocating from targeted impact areas.
On average, it should require no more than two rotations around the platform to dismantle all four Frozen Binding Crystals, providing a benchmark for raid progression.
- Lightning Phase
Similar to the preceding phases, the primary challenge of the Lightning Phase lies in comprehending the abilities. Subsequently, the strategy is straightforward.
At the phase's onset, a Bound Lightning Elemental emerges and should be promptly engaged by the tank. Position this add beside one of the four Crystal Conductors and eliminate it to overload the chosen conductor. BLOG20
Following this, the raid must transmit the lightning discharged by the overloaded Crystal Conductor to another conductor. This entails creating a chain among raid members to channel the lightning from the overloaded conductor to another. Once accomplished, the newly overloaded conductor becomes the source for a subsequent chain, overloading one of the remaining, unaffected Crystal Conductors.
Ultraxion

Ultraxion, the 5th boss in the Dragon Soul raid, presents a straightforward encounter with punishing consequences. This fight serves as a gear check, demanding substantial DPS and healing output from all raid members. Although lacking intricate mechanics, it offers a refreshing focus on maximizing performance rather than managing complex mechanics.
As we plunge into Ultraxion guide WoW Cataclysm details, see the information concerning the boss’s health pool:
- 10-Man Normal Health Pool – 57M;
- 10-Man Heroic Health Pool – 85M;
- 25-Man Normal Health Pool – 184M;
- 25-Man Heroic Health Pool – 276M;
- LFR Health Pool – 111M.
Speaking of the enrage timer, it stays the same on any difficulty and is tied to a 6-minute timer.
As for what your group should look like, make sure to use the following Ultraxion boss raid composition:
- 10-Man Normal: 2 Tanks, 2-3 Healers, 5-6 DPS;
- 10-Man Heroic: 2 Tanks, 2 Healers, 6 DPS;
- 25-Man Normal: 2 Tanks, 5 Healers, 18 DPS;
- 25-Man Heroic: 2 Tanks, 5-6 Healers, 17-18 DPS;
- LFR: 2 Tanks, 6 Healers, 17 DPS.
Ultraxion Abilities
| Hour of Twilight | Inflicts 300,000 unresistable Shadow damage to all players in the Twilight Realm, cast by Ultraxion every 45 seconds. Preceded by an emote warning, players must use Heroic Will to exit the Twilight Realm just before the ability is cast. Upon Ultraxion's cast, players in the Normal Realm are automatically returned to the Twilight Realm. In 10-man difficulty, at least 1 player must endure this damage, and in 25-man, 3 players are required to prevent an instant wipe. |
| Fading Light |
Targets the current tank and a random DPS player in 10-man, and three random DPS players in 25-man difficulty (in LFR, only the tank is affected). Lasting 5 to 10 seconds (randomly determined), it instantly kills affected players upon expiry if they remain in the Twilight Realm. Players returning to the Normal Realm via Heroic Will when the debuff ends are reset in threat and unable to generate threat for 10 seconds. Ultraxion casts Fading Light twice in the 45-second interval between two Hour of Twilight casts, starting after the first Hour of Twilight. |
| Unstable Monstrosity | Inflicts substantial Shadow damage (300,000 in 10-man, 700,000 in 25-man, and 525,000 in LFR) split among all players within a 30-yard radius in the Twilight Realm. Initially cast every 6 seconds, Ultraxion reduces this interval by 1 second per minute elapsed in the encounter. Consequently, Ultraxion progressively intensifies the frequency of Unstable Monstrosity, culminating in a rapid cast every second as a soft enrage mechanic near the end of the fight. |
| Twilight Eruption | Serves as Ultraxion's hard enrage mechanic. If the encounter persists for 6 minutes, Ultraxion detonates, resulting in his demise and a raid wipe. |
| Twilight Burst | Inflicts substantial Shadow damage per second to all players in the raid (56,000 in LFR, and 75,000 in 10 and 25-man difficulties) if there are no players within Ultraxion's melee range. Furthermore, he amplifies the magic damage taken by all players by 50% with each tick, rapidly escalating to a wipe scenario. |
Ultraxion Guide – Tactics & Strategy
The Ultraxion encounter strategy is straightforward:
- Group up and heal through continuous raid damage;
- Time Heroic Will for those affected by Fading Light;
- Utilize Heroic Will during Hour of Twilight casts;
- Assign players (1 in 10-man, 3 in 25-man) to endure each Hour of Twilight in the Twilight Realm;
- Optimize healer buffs from the dragon Aspects.
Throughout the encounter, Ultraxion remains stationary and inaccessible from behind, foregoing the ability to parry attacks. Ensuring at least one player remains in melee range is crucial, as Ultraxion initiates a devastating raid-wide AoE attack if no one is present.
Positioning, as depicted in the provided screenshot, advocates stacking near the stairs' base rather than adjacent to the boss to evade triggering Twilight Burst due to Ultraxion's large hitbox. This setup minimizes the time required for healers to reach crystals for buffs and optimizes AoE healing efficiency, reducing the necessity for raid movement.
Adjustments may be necessary for players utilizing Gurthalak, Voice of the Deeps, urging a closer stack to Ultraxion. This mitigates the risk of Gurthalak's tentacle spawning too distant from the boss if players are positioned farther away.
Warmaster Blackhorn

Warmaster Blackhorn, the 6th boss in the Dragon Soul raid, unfolds on a flying gunship. Success in this encounter grants players the opportunity to parachute onto Deathwing's back for the subsequent encounter.
The encounter unfolds across two phases: the first involves managing a range of adds, while the second transitions into a tank-and-spank burn phase.
If you need more information, our Warmaster Blackhorn guide WoW Cataclysm has you covered here:
| Raid Difficulty | Warmaster Blackhorn | Goriona |
| 10-Man Normal | 21M | 13M |
| 10-Man Heroic | 37M | 26M |
| 25-Man Normal | 51M | 40M |
| 25-Man Heroic | 90M | 80M |
| LFR | 39M | 35M |
Speaking of the enrage timer, it is triggered after 4 minutes being in fight. However, the LFR difficulty does not have it at all.
We highly recommend that you stick to the following Warmaster Blackhorn boss raid composition:
- 10-Man Normal: 2 Tanks, 2-3 Healers, 5-6 DPS;
- 10-Man Heroic: 2 Tanks, 2 Healers, 6 DPS;
- 25-Man Normal: 2 Tanks, 5-6 Healers, 17-18 DPS;
- 25-Man Heroic: 2 Tanks, 6 Healers, 17 DPS;
- LFR: 2 Tanks, 5-6 Healers, 17-18 DPS.
Warmaster Blackhorn & Goriona Abilities
During the first phase, you only need to be aware of Goriona abilities, which are the following:
| Twilight Onslaught | Unleashes a substantial projectile toward a random location on the gunship approximately every 35 seconds, visually indicated by a void zone. Upon impact, the projectile inflicts significant damage. |
Once you get a chance to fight Warmaster Blackhorn himself, here are the boss’s abilities you need to be aware of:
| Vengeance | Serves as an enrage mechanic for Warmaster Blackhorn during the phase. He amplifies his damage output by 1% for each 1% of his missing health. |
| Devastate | Functions as a standard sunder armor effect, reducing the tank's armor by 20% and inflicting moderate damage with each application. Lasting 30 seconds, the debuff accumulates stacks, necessitating a tank switch. |
| Disrupting Roar | Inflicts moderate damage on all raid members while interrupting and silencing spellcasting within a 10-yard radius for 8 seconds. Cast by Blackhorn approximately every 20 seconds, it is crucial for casters to maintain a distance greater than 10 yards from the boss. |
| Shockwave | This is a frontal cone attack unleashed by Warmaster Blackhorn, dealing significant damage and stunning targets in its path for 4 seconds. Cast approximately every 25 seconds, it is noteworthy that Blackhorn may face a random raid member before executing this ability, potentially targeting the raid itself. |
Warmaster Blackhorn Guide – Tactics & Strategy
Initiated by conversing with Captain Swayze, the encounter's initial phase does not involve engaging Warmaster Blackhorn, who is airborne on his drake, Goriona. Instead, the raid contends with continual assaults from Goriona and four add types:
- Twilight Assault Drakes;
- Twilight Elite Dreadblades;
- Twilight Elite Slayers;
- Twilight Sappers (excluding LFR difficulty).
Phase One revolves around managing adds and mitigating raid damage. The objective is to endure three waves of adds while safeguarding the gunship from destruction. Each wave typically includes 1 Twilight Elite Dreadblade, 1 Twilight Elite Slayer, and 2 Twilight Assault Drakes. Twilight Sappers spawn independently on a separate cooldown, likely requiring elimination of 5-6 before transitioning to Phase Two.
Phase Two is notably simpler and less chaotic compared to Phase One. At the outset, a tank should immediately engage Blackhorn and position him at the ship's center.
Melee DPS should focus on Blackhorn, while ranged DPS concentrate on reducing Goriona's health to 25% swiftly. All players must avoid Goriona's fiery attacks.
Once Goriona departs (upon reaching 25% health), attention shifts entirely to Blackhorn. Employ the following steps for a smooth victory:
- Ensure raid members are spread around Blackhorn to minimize movement during Shockwave, visually marked.
- Tanks should swap Blackhorn at 2 stacks of Devastate.
- Casters should maintain a minimum 10-yard distance from Blackhorn to avoid Disrupting Roar interruptions.
- Healers anticipate moderate to heavy damage on tanks and the raid due to Blackhorn's increasing damage output with Vengeance.
As the encounter progresses, tanks coordinate defensive cooldown usage and collaborate with healers for optimal mitigation.
Spine of Deathwing
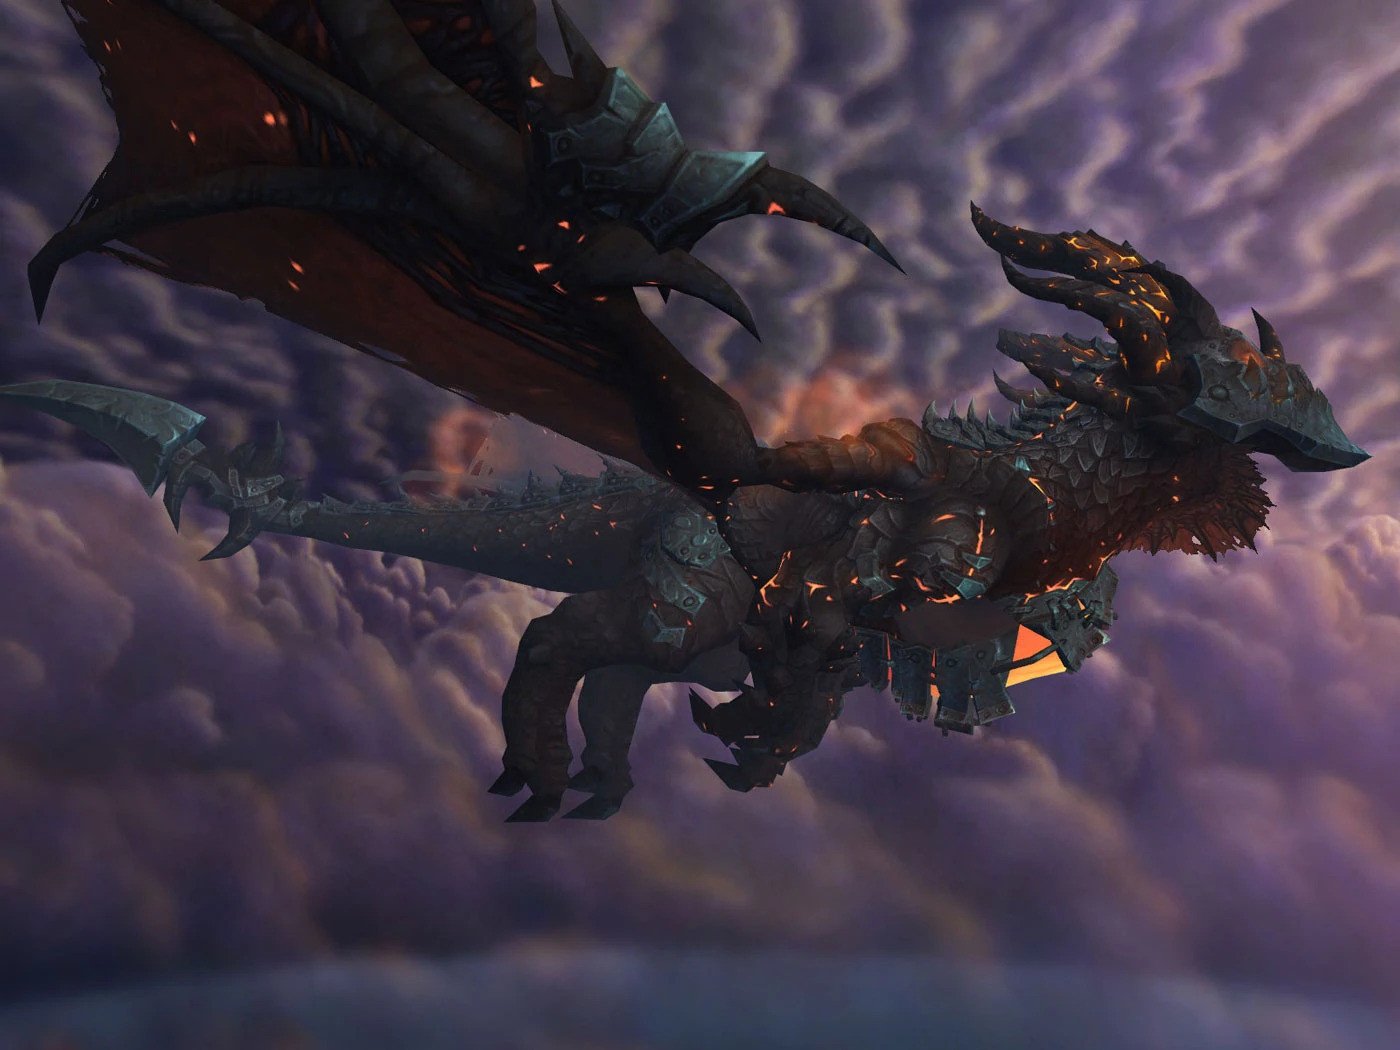
Spine of Deathwing marks the 7th encounter within the Dragon Soul raid, constituting the initial phase of the battle against Deathwing. Following the defeat of Warmaster Blackhorn, players are airdropped from the Skyfire onto Deathwing's back.
On this perilous battleground, your raid faces the daunting challenge of overcoming various adds and executing intricate tasks aimed at dislodging Deathwing's armor plates. Success in this endeavor weakens Deathwing, paving the way for the ultimate confrontation, Madness of Deathwing.
Before we share any other details within our Spine of Deathwing guide WoW Cataclysm, make sure to check the following additional details about the encounter:
| Difficulty | Corruptions | Corrupted Bloods | Hideous Amalgamations | Burning Tendons |
| 10-Man Normal | 442k | 166k | 7M | 2.9M |
| 10-Man Heroic | 800k | 300k | 9.8M | 12.6M |
| 25-Man Normal | 1.5M | 581k | 25M | 9.3M |
| 25-Man Heroic | 2.5M | 900kk | 30M | 39.3M |
| LFR | 1.2M | 440k | 19M | 7M |
No matter what difficulty is chosen, the boss will not have any enrage timer.
Before getting into the battle, make sure you use the following Spine of Deathwing boss raid composition:
- 10-Man Normal: 1-2 Tanks, 2-3 Healers, 5-7 DPS;
- 10-Man Heroic: 2 Tanks, 3 Healers, 5 DPS;
- 25-Man Normal: 2 Tanks, 5-6 Healers, 17-18 DPS;
- 25-Man Heroic: 2 Tanks, 6 Healers, 17 DPS;
- LFR: 1 Tank, 5-6 Healers, 18-19 DPS.
Spine of Deathwing Abilities
In LFR mode, Corruptions are benign, lacking any casting abilities.
However, in 10-man and 25-man modes, Corruptions possess the following abilities:
| Searing Plasma | This debuff dissipates after 5 minutes or once a specific amount of absorbed healing has been reached (200,000 in 10-man mode and 300,000 in 25-man mode). While active, the debuff inflicts 10,000 Physical damage to the target every 10 seconds. |
| Fiery Grip | It is a stun channeled by the Corruption onto a random player for 30 seconds. Throughout this duration, the player suffers 60,000 Fire damage every 3 seconds. Disrupting the Corruption by dealing 20% of its health in damage breaks the channel. |
Up next, here are what Hideous Amalgamation abilities you be aware of:
| Absorbed Blood | Acts as a stacking buff acquired by the Amalgamation each time it traverses the fiery residue left by a Corrupted Blood's demise. This buff augments the Amalgamation's damage by 10% and its attack speed by 20% per stack, accumulating up to 9 times. |
| Superheated Nucleus | This is a buff bestowed upon the Amalgamation upon reaching 9 stacks of Absorbed Blood. It initiates pulsating AoE Fire damage within its vicinity, persisting until the Amalgamation meets its demise. |
| Nuclear Blast | Represents the explosive aftermath triggered by the demise of a Hideous Amalgamation that has accumulated 9 stacks of Absorbed Blood. |
Spine of Deathwing Guide – Tactics & Strategy
The objective of the encounter is to sequentially remove three armor plates.
When a Nuclear Blast from a Hideous Amalgamation occurs near an armor plate, it weakens it, revealing a Burning Tendon add. This add begins casting Seal Armor Breach to reattach the armor plate to Deathwing. BLOG20
Seal Armor Breach has a 23-second cast time in normal difficulties and 34 seconds in LFR. If the raid kills the add before the cast completes, the armor plate detaches. Otherwise, the armor reattaches, and the process restarts.
To target the tendon efficiently, DPS players can use a macro to quickly select it.
To remove any armor plate, follow these steps:
- Spawn a Hideous Amalgamation and Corrupted Blood by killing at least one Corruption.
- Stack your raid, including tanks, next to the armor plate.
- Lower the designated Hideous Amalgamation's health to 10-20%.
- Kill Corrupted Bloods near the designated Hideous Amalgamation to reach 9 stacks of Absorbed Blood.
- Finish off the designated Hideous Amalgamation near the armor plate, then move out (10 yards) to avoid Nuclear Blast damage.
- Kill the Burning Tendon before it completes casting Seal Armor Breach and reattaches the armor plate.
Madness of Deathwing
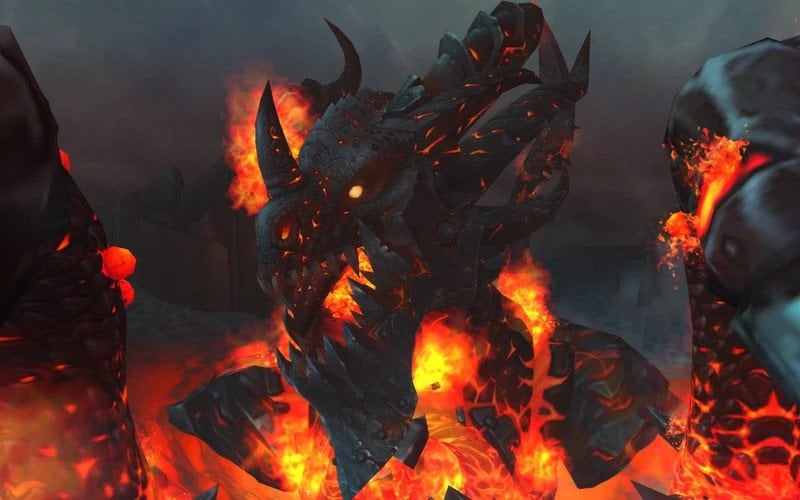
Madness of Deathwing serves as the 8th and final encounter of the Dragon Soul raid, marking the ultimate confrontation against Deathwing himself.
While the encounter presents a diverse array of adds, spells, and mechanics, its execution is relatively straightforward. However, tanks, healers, and DPS players will face moments of intense pressure, requiring precise execution to succeed.
As we are getting into Madness of Deathwing guide WoW Cataclysm details, see what we have prepared for you first:
| Difficulty | Deathwing | Arm Tentacle / Wing Tentacle | Mutated Corruption |
| 10-Man Normal | 25M | 28M | 11M |
| 10-Man Heroic | 29M | 38.1M | 17.1M |
| 25-Man Normal | 76M | 84M | 34M |
| 25-Man Heroic | 87M | 114.6M | 49M |
| LFR | 57M | 63M | 25M |
Throughout the encounter, Deathwing will periodically begin casting Cataclysm. This initiates a one-minute timer to eliminate a specific unit. Failure to do so will lead to a wipe. Additionally, there is a hard enrage timer of 15 minutes imposed by Deathwing.
When gathering a party, here is what your Madness of Deathwing boss raid composition should look like:
- 10-Man Normal: 1-2 Tanks, 3 Healers, 5-6 DPS;
- 10-Man Heroic: 1-2 Tanks, 3 Healers, 5-6 DPS;
- 25-Man Normal: 1-2 Tanks, 6-7 Healers, 17 DPS;
- 25-Man Heroic: 2 Tanks, 6-7 Healers, 16-17 DPS;
- LFR: 1 Tanks, 6-7 Healers, 17 DPS.
Madness of Deathwing Abilities
| Assault Aspects | Determines the platform where adds will spawn based on the platform with the most raid members. This allows your raid to control the order in which platforms are tackled. |
| Elementium Bolt | Acts as a projectile fired by Deathwing at your raid's current platform 45 seconds after casting Assault Aspects. Upon impact, it inflicts massive Fire damage to the entire raid with Elementium Blast. |
| Cataclysm | This ability is initiated by Deathwing approximately 2 minutes after targeting an Aspect. It has a 60-second cast time, culminating in a devastating 1.5 million damage hit, resulting in a wipe. The cast can only be interrupted by eliminating the Arm Tentacle or Wing Tentacle on your current platform. |
| Corrupted Blood | Inflicts fire damage to the entire raid every 2 seconds. As Deathwing's health diminishes to 15%, 10%, and 5%, the damage inflicted by Corrupted Blood escalates. |
Madness of Deathwing Guide – Tactics & Strategy
Phase One strategy involves clearing each of the four platforms by defeating Deathwing's limb on each. The tasks for clearing platforms are the same, simplifying the fight's mechanics.
For optimal progression, we recommend the following order:
- Ysera's Platform
- Alexstrasza's Platform
- Nozdormu's Platform
- Kalecgos' Platform
Initiate the encounter by positioning the entire raid on Ysera's platform and engaging the boss after speaking with Thrall.
Phase Two of the encounter is a straightforward burn phase. After clearing all four platforms, Deathwing's head lands on Ysera's platform, initiating the phase with Deathwing at 20% health.
The strategy is as follows:
- Begin by burning Deathwing, but halt DPS before he reaches 10% health to deal with incoming adds.
- Manage increasing raid damage from Corrupted Blood, particularly after Deathwing reaches 10% health.
- Tanks should pick up Elementium Terrors and tank them in Nozdormu's Time Zone to mitigate Tetanus damage.
- Prioritize killing Elementium Fragments quickly to prevent heavy damage from their Shrapnel ability.
- Utilize the Dream ability to mitigate damage from Shrapnel debuffs.
- Once the second set of Elementium Terrors is down, focus all DPS on Deathwing.
Execute this strategy to defeat Deathwing in Phase Two.
Dragon Soul Solo Guide
The Dragon Soul raid in WoW Cataclysm presents a challenging experience for solo players due to its mechanics and boss encounters designed for a full group. While some players may attempt to solo this raid for various reasons such as achievementsor transmog gear, it is important to understand that certain encounters, particularly those involving mechanics that require multiple players, can be extremely difficult if not impossible to complete Dragon Soul solo.
However, classes with strong self-healing abilities or high survivability may have better chances at soloing certain encounters. Ultimately, whether it is worth attempting to solo Dragon Soul depends on the player's goals and enjoyment. While some may find satisfaction in overcoming challenges solo, others may prefer tackling raids with a group for a more social and cooperative experience. Instead of looking for a particular Dragon Soul solo guide, we would recommend that you gather a party of reliable players and complete this legendary raid as a team while relying on our article.
Conclusion
To sum up, the Dragon Soul raid in World of Warcraft Cataclysm offers players a thrilling adventure filled with iconic bosses, challenging mechanics, and valuable loot. From the treacherous battles against Warlord Zon'ozz and Hagara the Stormbinder to the epic showdown with Deathwing himself, each encounter provides a unique test of skill and teamwork.
Throughout the raid, players can expect to face a variety of adds, spells, and mechanics, requiring careful coordination and strategy to emerge victorious. The loot and drops from Dragon Soul include powerful weapons, armor, and trinkets that can significantly enhance a player's abilities and prowess on the battlefield.
Whether solo or with a group, tackling the Dragon Soul raid offers a rewarding experience for adventurers seeking glory and riches. With perseverance, determination, and a dash of luck, players can overcome the challenges within and emerge as heroes of Azeroth.
F.A.Q.
What level is Dragon Soul in Cataclysm Classic?
It is only possible to enter Dragon Soul if you have managed to hit level 85, which is the maximum in WoW Cataclysm.
How do you get to Dragon Soul in Сataclysm Classic?
The only entrance leading to Dragon Soul is located in Caverns of Time.
How do I start Dragon Soul in Сataclysm Classic?
You start the instance in the Caverns of Time and fight most of the bosses within Wyrmrest Temple.
Where is Dragon Soul raid in Сataclysm Classic?
You can find the entrance to this raid in Caverns of Time.
How many bosses are in Dragon Soul in Сataclysm Classic?
There are 8 bosses in the Dragon Soul raid:
- Morchok
- Yor'sahj the Unsleeping
- Warlord Zon'ozz
- Hagara the Stormbinder
- Ultraxion
- Warmaster Blackhorn
- Spine of Deathwing
- Madness of Deathwing
Who is the first boss in Dragon Soul in Сataclysm Classic?
First of all, you will have to defeat Morchok, who is the very first boss of the Dragon Soul raid.
What mounts drop in Dragon Soul Сataclysm Classic?
Blazing Drake is lootable when playing in Normal mode, and Life-Binder’s Handmaiden can be found when completing the instance in Heroic mode.

