Dallon Avery
Welcome to the ultimate list of Overwatch Stadium best builds. In here, we’re dropping the most useful, most efficient, and most ranked-mode-worthy builds for all of the heroes available in Stadium. For each build, we’ll explain how to play it, because some of them might change the hero’s role almost entirely. For example, there’s a build that makes Mercy very tanky—and that’s something we’ll make sure to cover before listing all the power-ups and items that define the build. At the end of each one, we’ll also give you a few pointers on how to use it most effectively.
Want to rank up in the Stadium faster? Try the new Stadium Rank Boost service at Skycoach. Treat yourself to all of the new ranked rewards that come from gaining Stadium ranks - new weapon skins, hero elite skins, and more! Let the Skycoach’s pro gamers carry you to victory!
Note: At Skycoach, you can Buy Overwatch Boost at the best prices with fast delivery. Use our special PROMO CODE (in green) hidden in this article for a 20% DISCOUNT.
Browse our hottest Overwatch Boosting services


Tank Builds
Let’s start with the best builds in Overwatch Stadium for Tanks. Tank builds in Overwatch Stadium mode are all about presence, pressure, and survivability across multiple rounds. Since you can’t switch heroes mid-match, your tank pick needs to scale well and anchor your team’s strategy from start to finish. Whether you're diving with D.Va, brawling with Junker Queen, or locking down space with Reinhardt, these builds are designed to maximize your impact—either by absorbing more, dishing out more, or enabling your team to push with confidence. Each build below focuses on the most effective power paths and item combos for turning your tank into a round-winning core.
Best D.Va Build
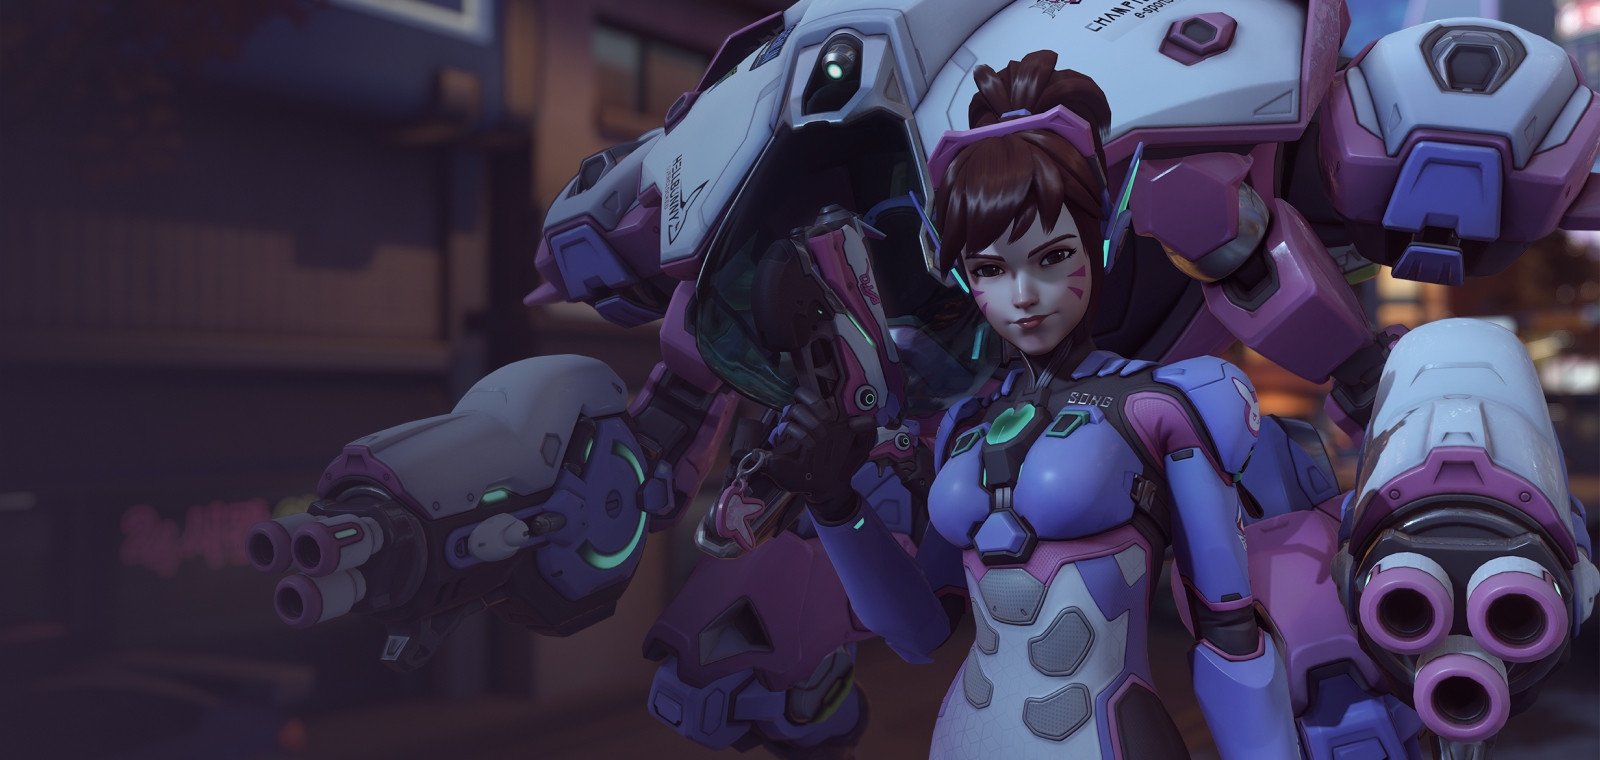
D.Va in Stadium mode faces a tough climb. Her tank form often struggles to keep up with stronger heroes like Queen, Rein, or Orisa, and she falls behind in both durability and damage in long rounds. That’s why the most surprising solution might be to drop the tankiness altogether and lean fully into her second form—Baby D.Va. This build turns her into a consistent, late-game carry with piercing attacks, fast remech potential, and relentless damage output.
Powers
- R1 – Emergency Reboot: Self-Destruct now grants Overhealth to allies
- R3 – Pierce the Core: Light Gun gains a charged secondary fire that pierces and explodes
- R5 – Ignite the Jets: Boosters leave a trail of fire, dealing damage over time
- R7 – Sparkplug: After using an ability, your next 3 shots deal bonus damage based on the target’s HP
While this may seem like an off-meta meme build, it’s actually D.Va’s best path to consistency in the current Stadium meta. You’ll often get demeched, but that’s when the fun begins—your Light Gun turns into a mini-sniper, and with enough power-ups, you can build remech at an alarming pace, letting you return to the fight over and over. Your goal? Stay alive, shred tanks and supports, and be the unkillable mosquito that never lets up.
Recommended Items
| Item Name | What It Does | Why Buy This |
| Volkaya Ordnance | +15% Weapon Power, +10% Attack Speed | Boosts both burst and sustained DPS |
| High Impact Rounds | +25% Weapon Power, +10% Crit Damage | Multiplies piercing shot lethality |
| Solo Spec | +10% Ability Power, +150 Shields | Helps with Light Gun secondary scaling |
| Electrolytes | Grants 100 Overhealth at start of each round | Extra buffer for aggressive Baby D.Va duels |
| Overclocked Core | +15% to HP, Armor, and Shields | Keeps you alive longer between remechs |
Here are a few Overwatch Stadium build tips for this D.Va version. When you’re fully invested in the Baby D.Va build, your secondary fire becomes your bread and butter. Use the charged shot to soften or finish targets behind cover, and remember that movement is your shield. Don’t linger out in the open unless you’re remeching, and watch your Overhealth economy carefully—keep the rhythm of pop shot, reposition, remech. The build doesn’t dominate early, but it scales beautifully into the chaos of later rounds, where few are expecting a “support D.Va” to start winning duels and capping points. BLOG20
Best Junker Queen Build
Junker Queen thrives in chaotic skirmishes, and this build leans all the way into that strength. It turns her into a sustain-heavy, cooldown-resetting brawler who constantly bleeds enemies dry while rallying her team with non-stop Commanding Shouts. The playstyle focuses on creating a relentless loop: land Carnage, apply Wound, eliminate, reset Shout, and repeat. When executed right, you’re always doing damage, always healing, and always ready to shout again.
Powers
- R1 – Chop Chop: Carnage gains a second charge, letting you apply more Wounds, more often.
- R3 – Let’s Go Win: Eliminations reset Commanding Shout, fueling an aggressive, snowball-style pace.
- R5 – Reckoner’s Roar: Your Shout now wounds enemies in range, adding damage and self-healing on top of utility.
- R7 – Thrill of Battle: Adrenaline Rush now heals nearby allies too—turning your self-sustain into team sustain.
Maintaining constant uptime on your abilities is the core of this build. Chop Chop and Reckoner’s Roar stack bleed effects quickly, and with Let’s Go Win, the resets make it feel like you're never on cooldown. Prioritize Ability Power to amplify Carnage and bleed damage, and mix in Ability Lifesteal to stay durable during extended fights.
Recommended Items
| Item Name | What It Does | Why Buy This |
| Energized Bracers | +10% Ability Lifesteal | Keeps you healthy while swinging into fights |
| Nano Cola | +10% Ability Power, +20% Ability Power (stackable bonuses) | Core for boosting Carnage and shout-based Wound ticks |
| Multi-Tool | +5% Ability Power, +10% Cooldown Reduction | Smooths ability uptime and gives a bit of extra punch |
| Booming Voice | +25% Ability Power, +50% Shout Radius, works through LOS | Turns Commanding Shout into a huge, teamwide buff |
| Iridescent Iris | +20% Ability Power, +10% Cooldown Reduction, +100 Overhealth on ult usage | Strong mid-late game boost to survivability and output |
| Tinker Tracksuit | +5% Cooldown Reduction, +10% Ability Lifesteal, ramping Attack Speed | Helps you keep the bleed train going non-stop |
When piloting this build, think of Junker Queen as a rhythm character—your tempo is everything. Bounce from target to target, chaining eliminations to keep Commanding Shout ready and your team in the fight. The synergy between Chop Chop and Reckoner’s Roar ensures you're always bleeding enemies, and Thrill of Battle converts that into team-wide healing. It’s aggressive, it’s loud, and it rewards staying in the thick of it.
Best Orisa Build
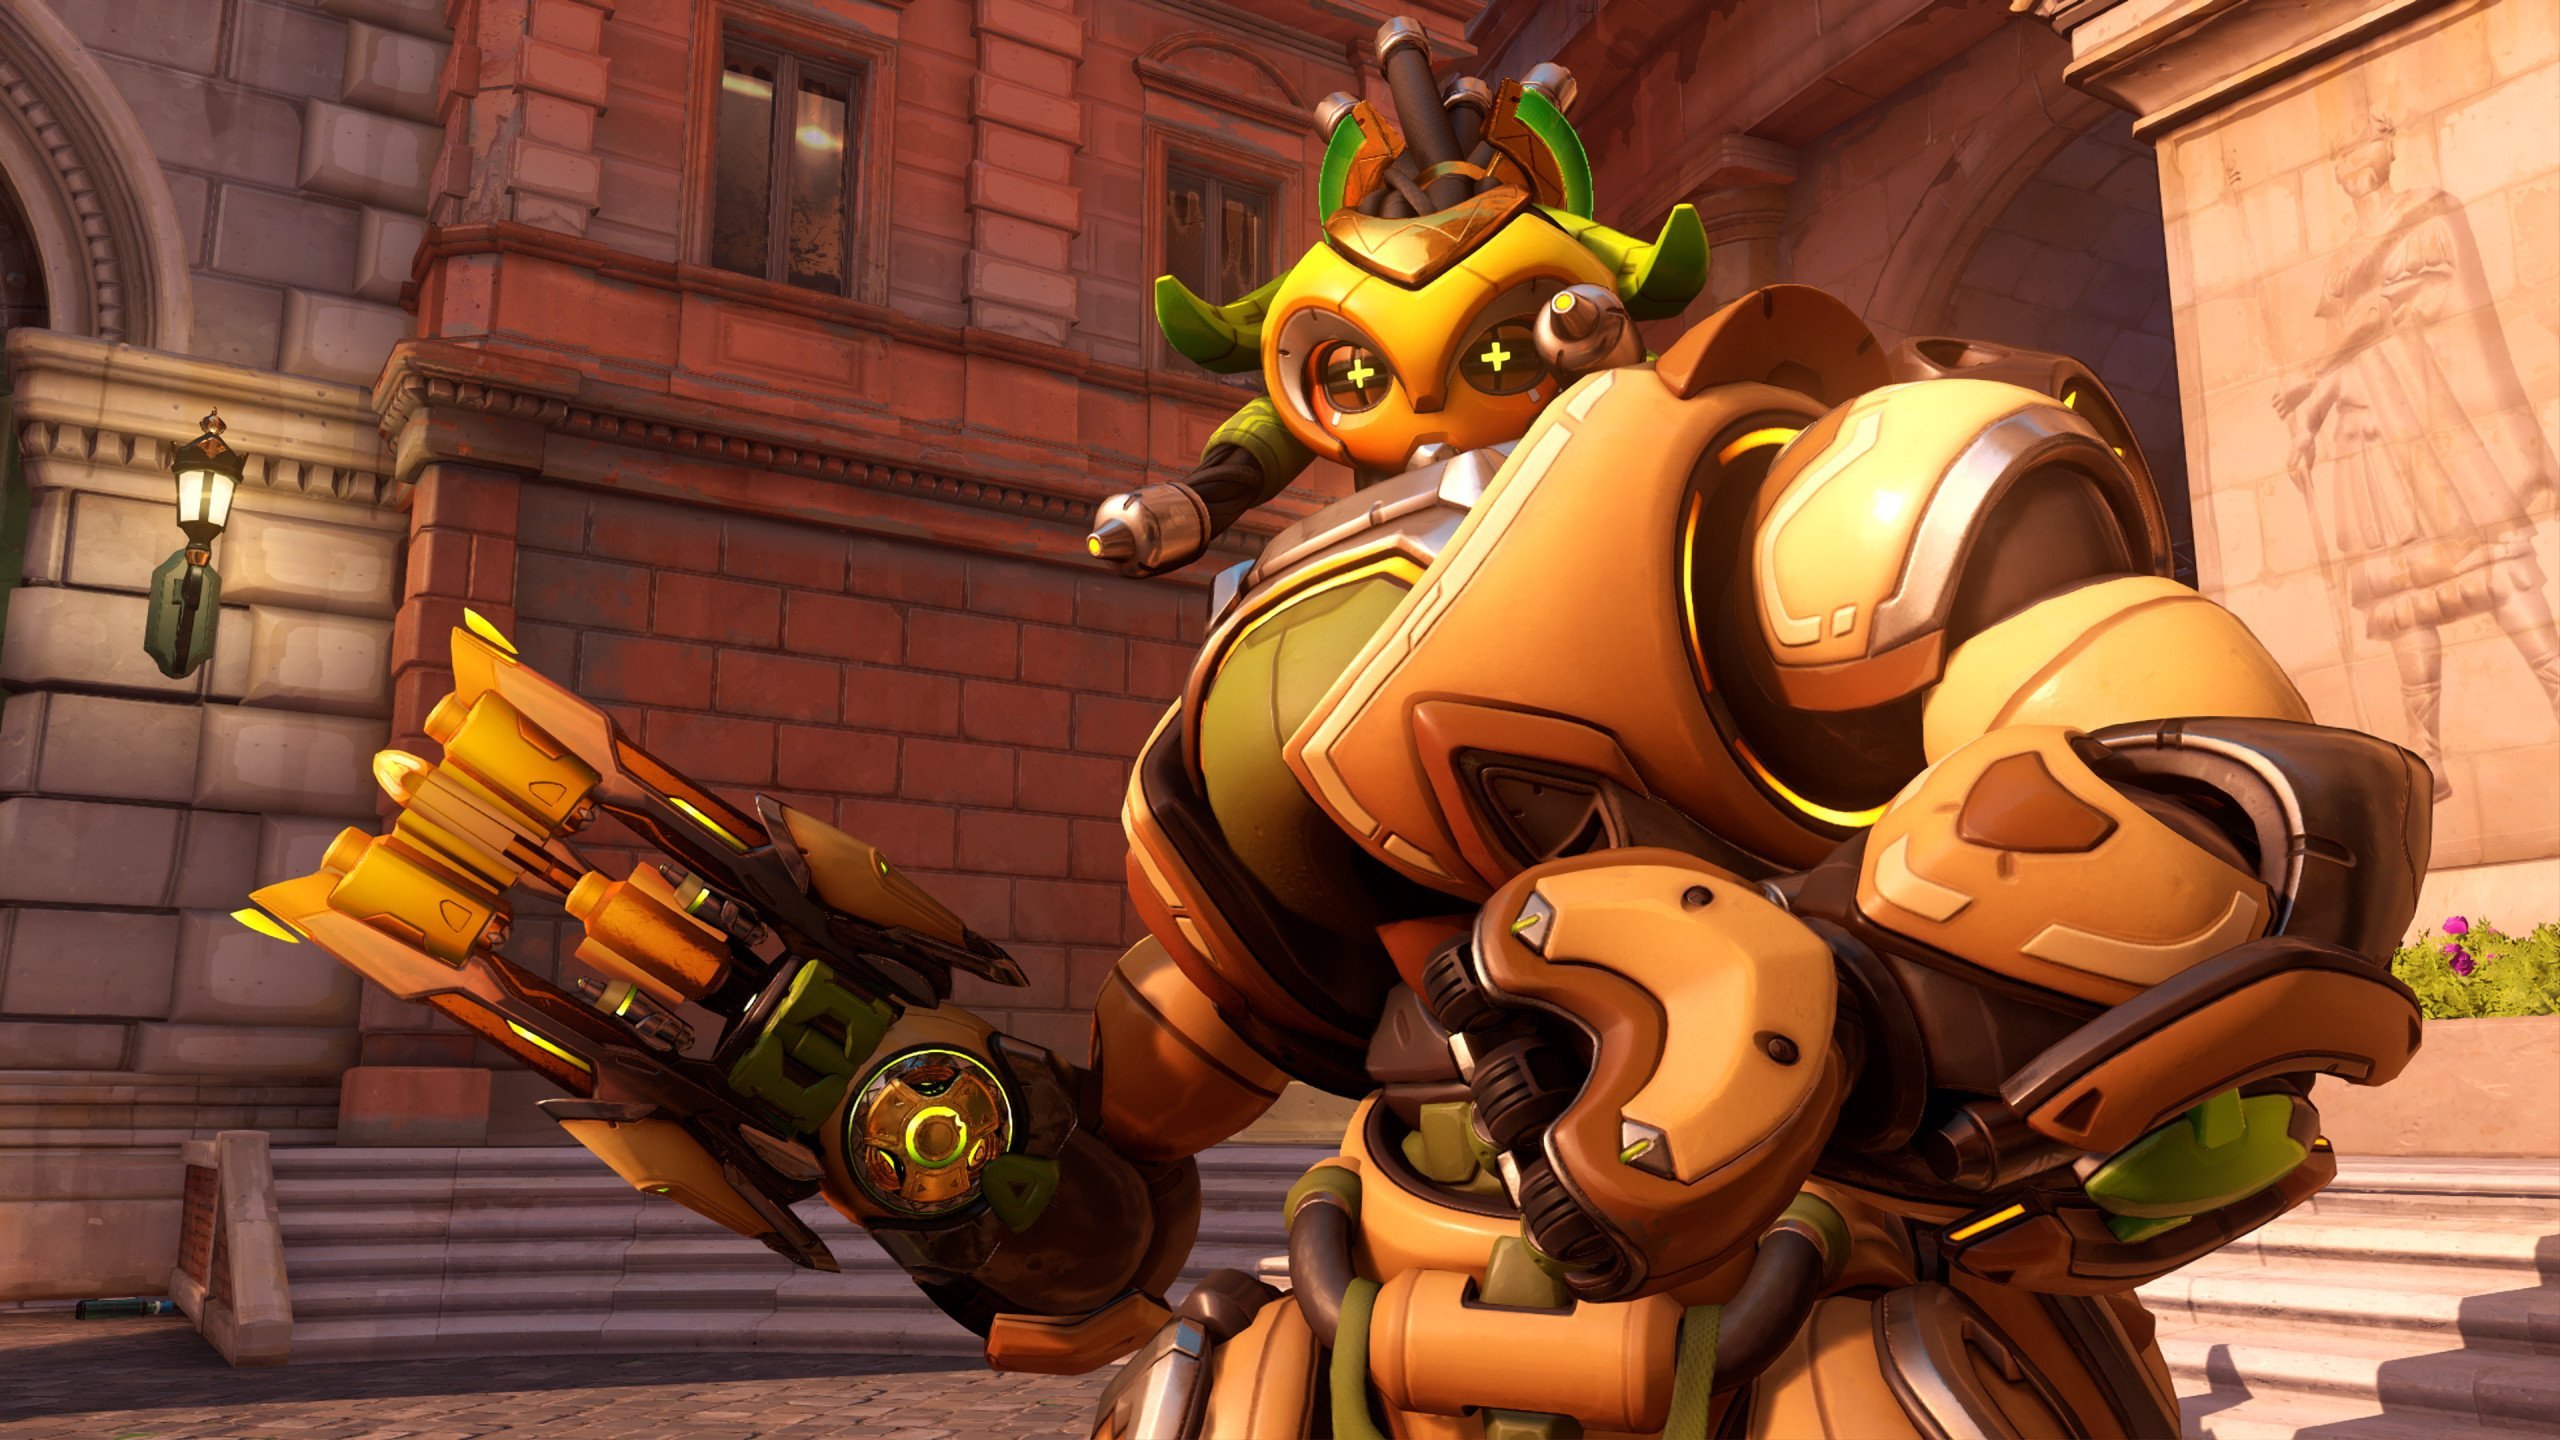
This build turns Orisa into a self-healing anchor who never has to back down. Everything centers around Fortify—buffing it to heal you, protect your team, and cycle your abilities faster. When done right, you’ll rotate between Fortify, Javelin Spin, and Energy Javelin almost nonstop, with your Ultimate acting as a reset button for everything. You’re not just tanky—you’re constantly active and keeping your team alive just by existing.
Powers
- R1 – Centripetal Charge: Using your Ultimate resets all ability cooldowns and costs 25% less—essentially a teamfight reset button.
- R3 – Restorify: Fortify heals you for 10% of your max life every second—massive sustain with zero input.
- R5 – Ride with Me: While Fortify is active, allies in line of sight gain Overhealth and move faster—turning your defense into a party-wide buff.
- R7 – Hooves of Steel: After Fortify ends, gain shields equal to half the damage you took—punishes enemies for focusing you during it.
This turns Fortify into a do-it-all ability: it heals, shields, buffs, and buys time for cooldowns to come back. Pair with cooldown reduction and you’ll feel like you always have something ready to press.
Recommended Items
| Item Name | What It Does | Why Buy This |
| Crusader Hydraulics | +25 Armor, 10% reduced Weapon Damage while armored | More uptime on damage reduction, synergizes with Fortify |
| Multi-Tool | +5% Ability Power, +10% Cooldown Reduction | Reduces Fortify downtime, boosts healing and utility |
| Charged Chassis | +25 Health, Fortify grants extra Overhealth | Makes Fortify stronger as an emergency button |
| Iridescent Iris | +20% Ability Power, +10% Cooldown Reduction, gain 100 Overhealth after ult | More Fortify and utility with free sustain on ults |
| Efi’s Theorem | +20% Ability Lifesteal, +50% Fortify Duration | Longer Fortify = more healing and more team buffs |
| Martian Mender | +25 Health, +10% Cooldown Reduction, regen 3% Life per second | Adds passive healing to carry you between ability windows |
Between the passive regen, healing during Fortify, and Overhealth from multiple sources, Orisa becomes incredibly hard to shift. Lean into that. Don’t be afraid to hold space aggressively—your presence alone forces pressure. Time your ult to get back your cooldowns, use it as a reset, and repeat the cycle until the match is yours.
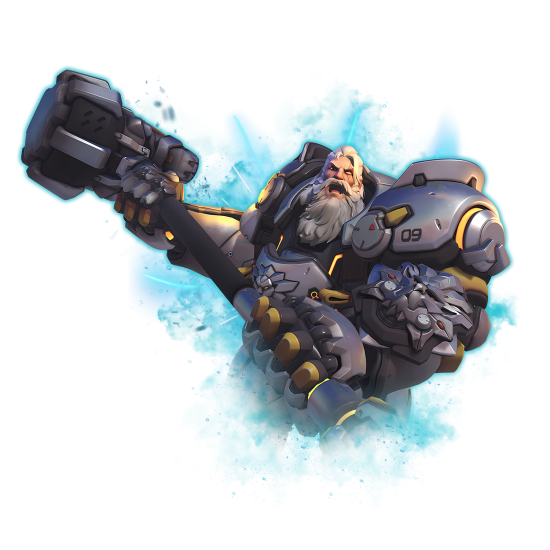
Best Reinhardt Build

This Overwatch build guide is one for the hammer enjoyers. Instead of playing bodyguard behind a barrier, this build turns Reinhardt into a forward-charging, fire-swinging menace. It’s all about ramping up Weapon Lifesteal, stacking movement speed, and fueling your barrier’s health with every hit. The more you swing, the more damage and sustain you get, and with the right timing, you can slam into a team, spin through them, and survive long enough to do it all again.
Powers
- R1 – Smashing: Rocket Hammer hits grant 5% Movement Speed and 4% Weapon Lifesteal for 3s, stacking up to 5 times—turning each fight into a self-sustaining rampage.
- R3 – Barrier Reconstruction: Every Rocket Hammer or Fire Strike hit restores 10% of your Barrier's health—your shield becomes reusable with pure aggression.
- R5 – Feeling the Burn: Every third swing applies a Burn effect, dealing 30% Rocket Hammer damage over 2 seconds—chip damage that stacks and pressures squishies.
- R7 – Wilhemwagen: While your shield is up, you heal for 15% of the damage it blocks and gain 30% movement speed—perfect for re-engaging or tanking a retreat.
You become an engine of damage with a fire trail of lifesteal and burn effects, recharging your shield between brawls and constantly pressing forward.
Recommended Items
| Item Name | What It Does | Why Buy This |
| Talon Modification Module | +15% Weapon Power | Core stat for hammer swings—scales everything |
| After Market Firing Pin | +10% Attack Speed, +5% Move Speed | Faster swings and easier chase potential |
| Icy Coolant | +10% Weapon Power, +5% Cooldown Reduction | Keeps Fire Strike up more often while increasing damage |
| Eye of the Spider | +25% Weapon Power, +10% damage to low-health targets | Excellent finisher item for hammer-heavy gameplay |
| Booster Jets | +20% Attack Speed, +20% Move Speed after using an ability | Great synergy with charge or Fire Strike engagement |
| Codebreaker | +15% Weapon Power, ignore 50% of Armor's damage reduction | Helps burn through tanky targets without slowing down |
This build thrives on keeping pressure high and never letting up. Start swinging to gain lifesteal and movement speed, then weave in Fire Strikes and keep an eye on barrier health for a quick fallback. You’ll be surprised how many fights you can out-sustain, even without playing behind a shield. Keep chasing, keep swinging, and never stop moving forward.
Best Zarya Build

Zarya is all about momentum—her damage ramps up fast and stays high with the right bubble timing. This build dials in on her secondary fire and cranks it into overdrive. Rather than split your attention between beam and grenades, this version turns her alternate fire into a relentless barrage of charged shots that barely need reloading. You'll snowball fights by using your bubbles for energy and utility, then rain down explosive AoE damage that chunks squishies and presses tanks alike.
Powers
- R1 – Lifelift: Increases Particle Barrier size by 50% and boosts its health based on bonus max life—making your bubbles safer and sturdier.
- R3 – No Limits: Raises max Energy to 150; once you hit 100, it decays faster—burst harder and longer while managing the energy cap.
- R5 – Particle Accelerator: Grants +15% Attack Speed for secondary fire, and quadruples that bonus for 5 seconds after using an ability—making bubble timing essential for max output.
- R7 – Volskaya Vortex: Your next secondary fire after a bubble spawns a vortex that slows and deals 100 energy-based damage over 2s—massive AoE value.
With these powers active, your grenades hit like mini-bombs and come out fast. Add vortexes and big energy gains, and you’re a walking artillery platform.
Recommended Items
| Item Name | What It Does | Why Buy This |
| Hybrid Battery | +5% Weapon Power, energy can't drop below 20 | Maintains base-level charge for consistent damage |
| Shieldbuster | +5% Weapon Power, +15% Attack Speed for 1s after hitting shields or armor | Great uptime bonus against bulky enemies |
| Stockpile | +5% Attack Speed, +25% Max Ammo | Key for sustained secondary fire spam |
| Eye of the Spider | +25% Weapon Power, +10% damage to low-health enemies | Excellent finisher when your shots already chunk |
| Commander’s Clip | +10% Attack Speed, +40% Max Ammo, restores 10% ammo on ability use | Near-infinite ammo when timed well with bubbles |
| Light Launcher | +15% Weapon Power, secondary shots cost less ammo (up to 60% reduction) | Core synergy—lets you fire almost endlessly |
This build is made for players who love sustained output and bubble-based dueling. Prioritize bubble timing, keep your energy high, and always fish for ability procs to trigger your Vortex and speed buffs. You’ll control zones, punish grouped enemies, and turn any tight choke into a no-go zone. Just remember—keep an eye on energy decay past 100, and get your shots out while the juice is flowing.
Browse our hottest Overwatch Boosting services


Damage Dealer Builds
When it comes to dealing damage in Overwatch Stadium, raw output is only part of the equation. With the game mode’s unique power system, your favorite DPS heroes can turn into unrecognizable threats—sharpened into hyper-mobile assassins, long-range executioners, or burst-heavy frontline brawlers. In this section, we’re covering the best builds for the Damage role that not only maximize kill potential, but also let you stay alive long enough to dominate the field.
Heroes whose Overwatch Stadium meta builds are missing at the moment and will be added later:
- Cassidy
- Best Reaper
- Best Sojourn
- Soldier: 76
We’ll update this section as soon as we find the best builds for these heroes.
Best Ashe Build

This build turns Ashe into a midrange powerhouse that thrives on quick picks, pressure, and huge ult uptime. It leans into precision gunplay with scoped shots, but keeps her mobile and unpredictable with high dynamite value and well-placed Coach Gun jumps. By focusing on fast reloads, cooldown synergy, and pure Weapon Power, you’ll be setting up early kills and charging Bob before the enemy can even respond.
Powers
- R1 – Quickdraw Stock: Reloads 2 bullets per second while scoped in. Perfect for weaving reloads between shots without giving up pressure.
- R3 – Detonation Sync: Dynamite’s explosion applies Burn to all enemies hit, dealing 100 extra damage over 5 seconds.
- R5 – Big Game Ammo: Headshots deal 25% more damage to targets above 70% HP, letting you open fights with devastating shots.
- R7 – Frontier Justice: While Bob is active, gain 20% Weapon Power and 20% Attack Speed. Your ultimate becomes a massive tempo swing.
With this setup, Ashe becomes a tempo-driving DPS that can open fights, win mid-fight duels, and cycle Bob more quickly than almost any other ult in the game. Proper timing on Dynamite and Coach Gun makes her slippery and deadly.
Recommended Items
| Item Name | What It Does | Why Buy This |
| Eagle-Eye Enhancer | +15% Weapon Power | Core damage scaling for scoped shots |
| Matchstick Belt | +20% Burn Damage, +5% Cooldown Reduction | Juices Detonation Sync for massive AoE pressure |
| Tactical Tumbler | Reload 1 bullet every 0.5s while moving | Lets you reload between positions and kites |
| Iron Sights | +10% Weapon Power, +10% Crit Damage | Makes every headshot sting harder |
| Frontier Bandolier | +25% Max Ammo | Solves reload downtime—essential for long fights |
| Vulture Visor | Gain 10% ult charge on Elims while scoped | Snowballs Bob uptime with kill momentum |
Play Ashe like a midrange sniper with control over spacing. Use Coach Gun to take high ground early, then rain down dynamite to soften groups or finish off targets. Scope in for long shots, but stay mobile and keep a mental timer on reload. Don’t waste Dynamite when Bob is ready—save it to fuel his firepower instead. When Bob hits the field, you’re not just zoning—you’re shredding.
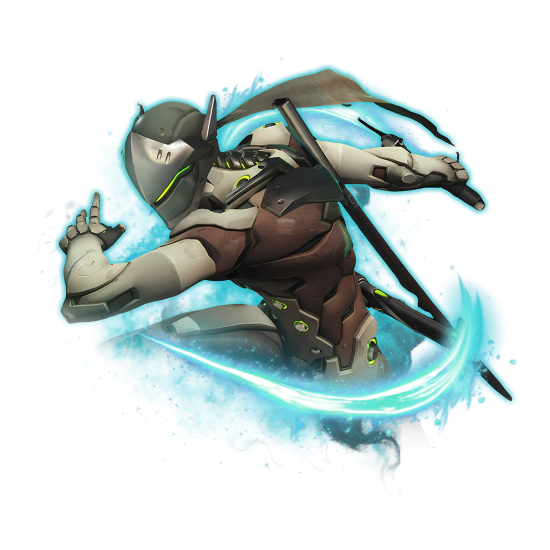
Best Genji Build

Genji’s traditionally been seen as a high-risk dive assassin—but in Stadium mode, that identity doesn't always cut it. With longer rounds and higher team sustain, diving often means feeding. That’s why this build flips the script. Instead of burst, you become pressure. “Machine Gun Genji” turns your shurikens into a relentless barrage of scaling damage, attack speed, and burn effects. It’s a hyper-consistent poke setup built to shred tanks, harass squishies, and carry with sheer uptime.
Powers
- R1 – Sacred Shuriken: Primary fire throws 5 shurikens instead of 3, instantly increasing your poke output and synergy with scaling effects.
- R3 – Cybernetic Speed: Shuriken hits grant stacking attack speed (up to 15%), letting you snowball fire rate over extended fights.
- R5 – Worm: Enemies hit by shurikens take 10% more damage for 4 seconds (stacks up to 4). Synergizes perfectly with your high fire volume.
- R7 – Dragon’s Breath: Shurikens apply burn on hit, dealing damage over time and helping confirm kills through cover or peel.
While this may look like a slow-burn playstyle, it’s exactly what makes Genji oppressive in the late game. You don’t need to dive—just exist on the edge of the fight, spamming shurikens and stacking power. Worm, Dragon’s Breath, and Cybernetic Speed all scale off volume and uptime, not precision. The longer you live, the more dangerous you get. And thanks to burn and stacking debuffs, you’re not just harassing—you’re wearing teams down to nothing. Focus on tempo, farm ults off chip damage, and save Blade as a finisher when the momentum’s already yours.
Recommended Items
| Item Name | What It Does | Why Buy This |
| Eye of the Spider | +25% Weapon Power, +10% damage vs low-health enemies | Boosts your finishing power and gives you late-round punch |
| Commander’s Clip | +10% Attack Speed, +40% Max Ammo, refund ammo on ability use | Core sustain for constant spam; you’ll rarely need to reload |
| Light Launcher | Reduces ammo cost the longer you shoot | Lets you hold M1 forever—essential for sustained poke |
| Techno Leech | +15% Weapon Power, +10% Weapon Lifesteal | Keeps you alive while trading damage; a great choice in brawlier matches |
| Weapon Jammer | -10% enemy attack speed on hit, +10% attack speed, +25 Armor | Anti-duel power and a bonus bit of bulk—excellent if you're drawing aggro |
| Frenzy Amplifier | +15% Attack Speed, +15% Reload Speed | Pushes your fire rate into overdrive |
Focus on uptime over burst. You're not here to dive or assassinate—your job is to pelt the enemy with endless pressure. Start each round by building Cybernetic Speed stacks and keeping your distance. As the burn and damage amp effects kick in, you’ll melt through tanks and support lines without ever needing to overcommit. Watch your spacing, anchor from safe sightlines, and use abilities to reposition rather than engage. In late rounds, you become a walking turret—just keep shooting.
Best Mei Build

In Stadium mode, Mei transforms from a backline disrupter into a rolling menace that thrives on chaos, map control, and sheer survivability. This build is all about momentum—literally. You’ll become a mobile fortress, speeding across the battlefield with zoning tools, crowd control, and a cryo-kit that makes you nearly unkillable in scrappy fights. Think of it like playing Wrecking Ball… if Wrecking Ball could throw up walls and freeze everything.
Powers
- R1 – Cryclone: When exiting Cryo-Freeze, spawn a mini Blizzard that slows enemies. Great for creating chaos in tight fights or on objective.
- R3 – Frost Nova: Upon ending Cryo-Freeze, knock back all nearby enemies. Gives you disengage or space-creating utility at the push of a button.
- R5 – Frozen Ground: Mei moves faster while standing on ice created by her own Ice Walls. Turns each wall into a launchpad for faster rotations and flanks.
- R7 – Midair Wall: Jumping while airborne now spawns an Ice Wall beneath you. The ultimate movement tool—launch over gaps, block enemies mid-air, or escape. BLOG20
This build is less about traditional DPS and more about disruption, map abuse, and tempo control. You’ll constantly be moving, throwing up Midair Walls to climb or escape, Cryo-ing to bide time while your team regroups, and using your speed from Frozen Ground to reposition between fights. The key is momentum—once you’re rolling, it’s hard for the enemy to pin you down. And when you finally get caught? Cryo-Freeze into Cryclone and Frost Nova will peel for you and punish anyone who dares chase.
Recommended Items
| Item Name | What It Does | Why Buy This |
| Martian Mender | +20% Healing Received, +15% Health, +10% Cooldown Reduction | Boosts Cryo uptime, survivability, and makes your peel tools cycle fast |
| Booster Jets | +20% Move Speed for 10s after using an ability | Synergizes with Mei’s constant casting and lets you zoom around walls |
| Iceheart Core | +25% Cryo-Freeze Duration, +15% Cooldown Reduction | Turns Mei into a tanky anchor with even more Cryo uptime |
| Glacial Resonator | Enemies near Ice Wall or Blizzard are Slowed and Weakened | Cranks up the utility of your zone tools; perfect for brawl control |
| Electrolytes | Gain 100 Overhealth at the start of each round | Adds a health buffer so you can dive in and start the fight on your terms |
Use third-person view to get the most out of your Midair Walls—they’re easier to place and aim when you can see the whole map. Open rounds by tossing up Ice Walls in creative angles to block routes or claim high ground, and always have an exit wall in mind. Cryo-Freeze is more than a panic button—it’s a setup tool. Time it when enemies cluster so your Cryclone slows them all, then knock them away with Frost Nova. You won’t be topping damage charts, but you’ll outlive everyone else—and make the enemy’s life miserable doing it.
Support Builds
When making the Stadium mode Overwatch builds you can actually completely change how some support heroes play.
Support heroes in Stadium might not always top the scoreboard, but the best ones quietly control the pace of every round. Whether it’s peeling for teammates, landing clutch heals, or turning fights with a timely ultimate, these builds are designed to turn support mains into backline nightmares. Each one leans into a different identity—some focus on raw healing output, others on hybrid pressure, and a few take the word “support” and throw it out entirely.
Best Ana Build

Ana’s utility is unmatched, but in Stadium mode, you can take her further—into full healing machine territory. This build leans hard into her unscoped shots, extending her uptime with a massive ammo pool and making her healing output more consistent and rapid. It’s for players who want to feel like Ana’s rifle is a firehose of support, letting you keep your team healthy without stopping to reload every few seconds.
Powers
- R1 – No Scope Needed: Unscoped shots grant 10% Attack Speed for 2 seconds, stacking up to 3 times. Great for tempo healing.
- R3 – Our Turn: Nano Boost affects all allies in line of sight at reduced duration. Great for turning the tide during group fights.
- R5 – Your Full Potential: Nano now grants the target 200 Overhealth and 20% Ultimate Charge. Feels like a real "last push" moment.
- R7 – Dreamy: Sleep Dart can be used on allies to heal them over time. Adds clutch sustain when things go sideways.
Ana’s greatest strength in this build is the ability to maintain a relentless pace. Instead of ducking for cover to reload, you’ll be laying down constant healing, empowered by rapid reload tricks and a massive mag size. Unscoped shooting becomes second nature, and once Nano Boost comes online, it becomes a team-wide rally tool that can flip an entire round.
Recommended Items
| Item Name | What It Does | Why Buy This |
| Potent Projectiles | +10% Weapon Power, Unscoped shots are 100% larger | Makes shots easier to land and more impactful |
| Stockpile | +5% Attack Speed, +25% Max Ammo | Increases uptime and efficiency in extended fights |
| Aftermarket Firing Pin | +10% Attack Speed, +5% Move Speed | Great for weaving shots and repositioning quickly |
| Booster Jets | +20% Attack Speed, +20% Move Speed after using an ability | Helps Ana reposition or push with the team after Nade/Sleep |
| Unscoped Resources | +4 Max Ammo, 50% chance unscoped shots don’t consume ammo | Let the healing never stop |
| Commander’s Clip | +10% Attack Speed, +40% Max Ammo | Supercharges your sustain healing potential |
You’ll want to stay mid-range—close enough to keep your team healthy, far enough to avoid dive. Tap unscoped shots at a steady rhythm to keep buffs rolling, and don't be afraid to Sleep your own tank when they’re low. This build hits a groove where it feels like you never stop healing, and that's exactly the point.
Best Juno Build

Juno’s strength lies in flooding the field with healing and damage at the same time—and this build lets her do exactly that. It turns her Pulsar Torpedoes into heat-seeking multi-tools, dishing out splash damage and healing while rarely going on cooldown. It’s all about high uptime, glide mobility, and building momentum.
Powers
- R1 – Cosmic Coolant: Pulsar Torpedoes reduce their cooldown by 1s for each enemy they hit. Encourages smart positioning and multi-target hits.
- R3 – Pulsar Plus: Gain a second charge of Pulsar Torpedoes. Lets you string together healing and damage bursts.
- R5 – Medicinal Missiles: Torpedoes heal for extra and buff healing on targets for 3s. Sneaky strong for sustain support.
- R7 – Torpedo Glide: While using Glide Boost, dealing damage reduces Torpedo cooldown. Great for aerial control and constant pressure.
You won’t need to aim perfectly here—just keep moving, flying above the fray, and letting your abilities do the work. With cooldowns constantly resetting and splash healing flying everywhere, you feel like a mobile artillery unit that supports your team by simply existing.
Recommended Items
| Item Name | What It Does | Why Buy This |
| Nano Cola | +20% Ability Power | Boosts all your torpedo damage and healing |
| Boosted Rockets | +25 Shields, +25% Glide Boost Duration | Keeps you airborne and harder to hit |
| Lock-On Shield | +10% Ability Power, Gain Overhealth while aiming Torpedoes | Protects you during those vulnerable aiming windows |
| Pulsar Destroyers | +15% Ability Power, Pulsars explode for 20 damage | Adds consistent AoE pressure |
| Solar Shielding | +25% Ability Power, Hyper Ring grants allies 25 Shields per second | Makes you a flying lifeline in teamfights |
| Divine Intervention | +50 Shields, heal after taking big damage, regen shields | Prevents being burst down mid-flight |
Don’t try to duel—play around corners, arc shots over cover, and glide to safety if needed. She’s best in slow burn fights where your splash healing can slowly wear down the enemy while keeping your team topped up. Let your cooldowns carry.
Best Kiriko Build

If you’ve ever been scared of a Kiriko in a duel—this build is why. It focuses on amping up her Kunai damage until she becomes a terrifying skirmisher, able to burst squishies and melt tanks with surgical precision. It’s not all aggression though—added mobility and survivability options keep her alive while she racks up eliminations.
Powers
- R1 – Foxy Fireworks: After reloading, next 3 Kunai explode on contact. Adds AoE burst potential to her already-lethal crits.
- R3 – Two-Zu: Gain a second charge of Suzu. Safety net for those deep flanks or bad situations.
- R5 – Clone Conjuration: Swift Step spawns a clone for 5s. Extra chaos, distraction, and mind-games.
- R7 – Fleet Foot: Swift Step can be used in any direction, not just toward allies. Insane repositioning power.
This setup makes Kiriko feel more like a stealth assassin than a traditional support. The explosive Kunai give her early pressure, while double Suzu and the clone allow her to take way more risks. Her healing keeps pace, too, as many item picks boost both Kunai damage and Ofuda speed.
Recommended Items
| Item Name | What It Does | Why Buy This |
| Talon Mod Module | +15% Weapon Power | Boosts Kunai lethality from the start |
| Farsight Focus Sash | +10% Weapon Power, 200% Ofuda Speed on damage | Healing becomes instant after a few hits |
| Asa’s Armaments | +10% Attack Speed, Kunai bounce once | Wild angles and double-taps on retreating targets |
| Eye of the Spider | +25% Weapon Power, Bonus damage to low-HP targets | Helps finish enemies when they think they’re safe |
| The Closer | +20% Weapon Power, +10% Crit Damage, reveals on crit | Punishes tanks and supports alike—burst and tracking all-in-one |
| Spirit’s Guidance | +15% Weapon Power, +100% Ofuda Speed | Makes swapping from DPS to clutch heal seamless |
Use walls and verticality to your advantage—this build lets you poke from safe angles and disappear instantly. You’re looking for picks, but don’t forget you can instantly turn a fight by Suzu-bailing your frontliners. Kiriko becomes a menace when you’re confident and aggressive—don’t play her like she’s made of glass.
Best Lucio Build

This one’s all about the boop. Lucio becomes a knockback king with big burst healing to support his dive-y playstyle. You're trading poke healing for explosive moments of value, bouncing enemies off the map and slamming down AoE support every time you go in.
Powers BLOG20
- R1 – Crowd Pleaser: After a Soundwave, allies in your Crossfade radius get a massive healing burst. Turns offense into instant support.
- R3 – Reverb: Gain a second charge of Soundwave. Twice the fun, twice the control.
- R5 – Let’s Bounce: Soundwave does more knockback and deals bonus damage if enemies hit a wall. Excellent for confirming kills.
- R7 – Vivace: While airborne or wallriding, Soundwave cooldown is faster and grants bonus ammo. Keeps you zooming.
Lucio in this setup is the brawler’s support. You’re always moving, always looking to disrupt enemies while keeping your team alive through clever positioning. The more aggressive you play, the more healing and value you get.
Recommended Items
| Item Name | What It Does | Why Buy This |
| Nano Cola | +20% Ability Power | Solid boost to healing and Soundwave power |
| Multi-Tool | +5% Ability Power, +10% Cooldown Reduction | Makes your rhythm smoother—faster boops, more uptime |
| #1 Single | +10% Ability Power, Crossfade lingers for 2s after leaving | Buffs your passive healing footprint significantly |
| Champion's Kit | +40% Ability Power | Pure strength for both offense and healing |
| Liquid Nitrogen | +25 HP, +10% Ability Power, slows enemies hit by abilities | Makes your boops even more disruptive |
| Cybervenom | +10% Ability Power, healing reduction on ability damage | Great into sustain-heavy comps |
Stay near walls, use verticality, and keep a mental cooldown of your boops. The more you move, the more chaos you cause—and this build thrives on creating that storm around the objective.
Best Mercy Build

Sometimes healing and mobility aren’t enough—you want to survive the chaos, fly through danger, and still come out resurrecting half your team. That’s what this Tank Mercy build is all about. With stacking damage reduction, bonus health on rez, and boosted mobility, you’re not just a support—you’re the unkillable core of the team.
Powers
- R1 – First Responder: When you Resurrect an ally, both of you gain 250 Overhealth for 6 seconds. Core to your tanky identity—every rez makes you harder to kill.
- R3 – Renaissance: Successfully resurrecting a teammate activates Valkyrie for 5 seconds. Turns clutch moments into tempo swings.
- R5 – Rambulance: Guardian Angel dashes grant 30% Move Speed and 15% Damage Reduction for 4 seconds. Fly through fire and keep beams connected.
- R7 – Wambulance: While healing, Mercy gains 2% Damage Reduction every second, stacking up to 20 times. Stacks reset after 2 seconds of not healing.
You’re no longer just slipping past enemies—you’re barreling through them. The longer you stay healing, the harder you are to kill. Combine this with Valk uptime from rezes, and you become an anchor the enemy can’t peel.
Recommended Items
| Item Name | What It Does | Why Buy This |
| Electrolytes | Grants 100 Overhealth at the start of each round | Pairs perfectly with First Responder and Wambulance |
| Overclocked Core | +15% to HP, Armor, and Shields | All-around durability boost |
| Lightweight Alloy | +10% Move Speed, +10% Cooldown Reduction | Keeps Guardian Angel snappy and helps trigger Rambulance more often |
| Champion's Kit | +40% Ability Power | Scales your healing and damage boost numbers in Valk |
| Martian Mender | +25 Health, +10% Ability Power | Small but strong bonus to sustain |
| Angelic Booster | +15% Weapon Power, +15% Ability Power, +50 Armor | One-stop shop for tankiness and hybrid scaling |
With this build, your job isn’t just to heal or damage boost—it’s to live. Stack your reduction by constantly beaming allies, save Guardian Angel for repositioning through danger, and use Resurrect not just as a support tool, but as a way to reenter fights fully buffed. You’ll walk away from fights other Mercys would die in—and you’ll look good doing it.
Best Moira Build

This version of Moira isn’t hiding behind her team—she’s front-lining. With her secondary fire chaining, scaling, and regenerating Biotic Energy, she becomes a relentless duelist that also brings strong group sustain. It’s all about weapon uptime and damage synergy.
Powers
- R1 – Chain Grasp: After Orb, secondary fire chains to two targets. Easy multi-pressure.
- R3 – Deconstruction: After spending 50 Energy, deal 20% more damage for 6s. Encourages healing to enable damage.
- R5 – Precarious Potency: Heals give a small HoT buff. Smooths out your team’s health bars.
- R7 – Ethereal Excision: Headshotting with secondary grants speed, lifesteal, and energy regen. Makes you slippery and deadly.
This Moira thrives in scrappy fights—dipping in and out, topping up allies, and melting flankers that overstep. You’ll feel tankier than expected and hard to pin down.
Recommended Items
| Item Name | What It Does | Why Buy This |
| Talon Mod Module | +15% Weapon Power | Strong baseline for both healing and damage |
| Bio-Needles | +10% Attack Speed, 50% more Biotic Energy regen | Reduces downtime and increases sustain |
| High Capacity Tubing | +10 Weapon Power, +50 Max Biotic Energy | Bigger pool, more uptime |
| Eye of the Spider | +25% Weapon Power, Bonus damage to low-HP targets | Excellent for finishing chains |
| Amari’s Antidote | +25 HP, +15% Weapon Power, bonus healing to low-HP allies | Adds burst and clutch healing capability |
| Subatomic Splitter | +10% Weapon Power, +15% Secondary Fire Range | Boosts Moira’s zoning power |
Be deliberate with orbs—open with one to enable chain beams, then kite and reposition with fade. This Moira wants to control tight spaces and out-sustain enemies with smart positioning and frequent swaps between damage and support.
F.A.Q.
How to make the best build in the Overwatch Stadium?
Focus on a specific strength—damage, survivability, or utility—and build around it. Synergize powers and items for your chosen role and adapt based on the flow of the match.
Will there be more heroes in the Overwatch Stadium?
Yes, developers have confirmed more heroes will be added over time as builds are balanced and tested.
Can I save a custom build in the Overwatch Stadium?
No, you can’t save a custom build yet—choices are made round-by-round during each match.
What is the best D.Va build in the Overwatch Stadium?
The Baby D.Va carry build is currently top-tier:
- Focus on piercing shots, bonus damage, and fast remechs.
- Key powers: Emergency Reboot, Pierce the Core, Ignite the Jets, Sparkplug.
Can I reset the build mid-game in the Overwatch Stadium?
No, once you lock in powers and items, you can’t fully reset. You can, however, sell items between rounds to shift your strategy.