Dallon Avery
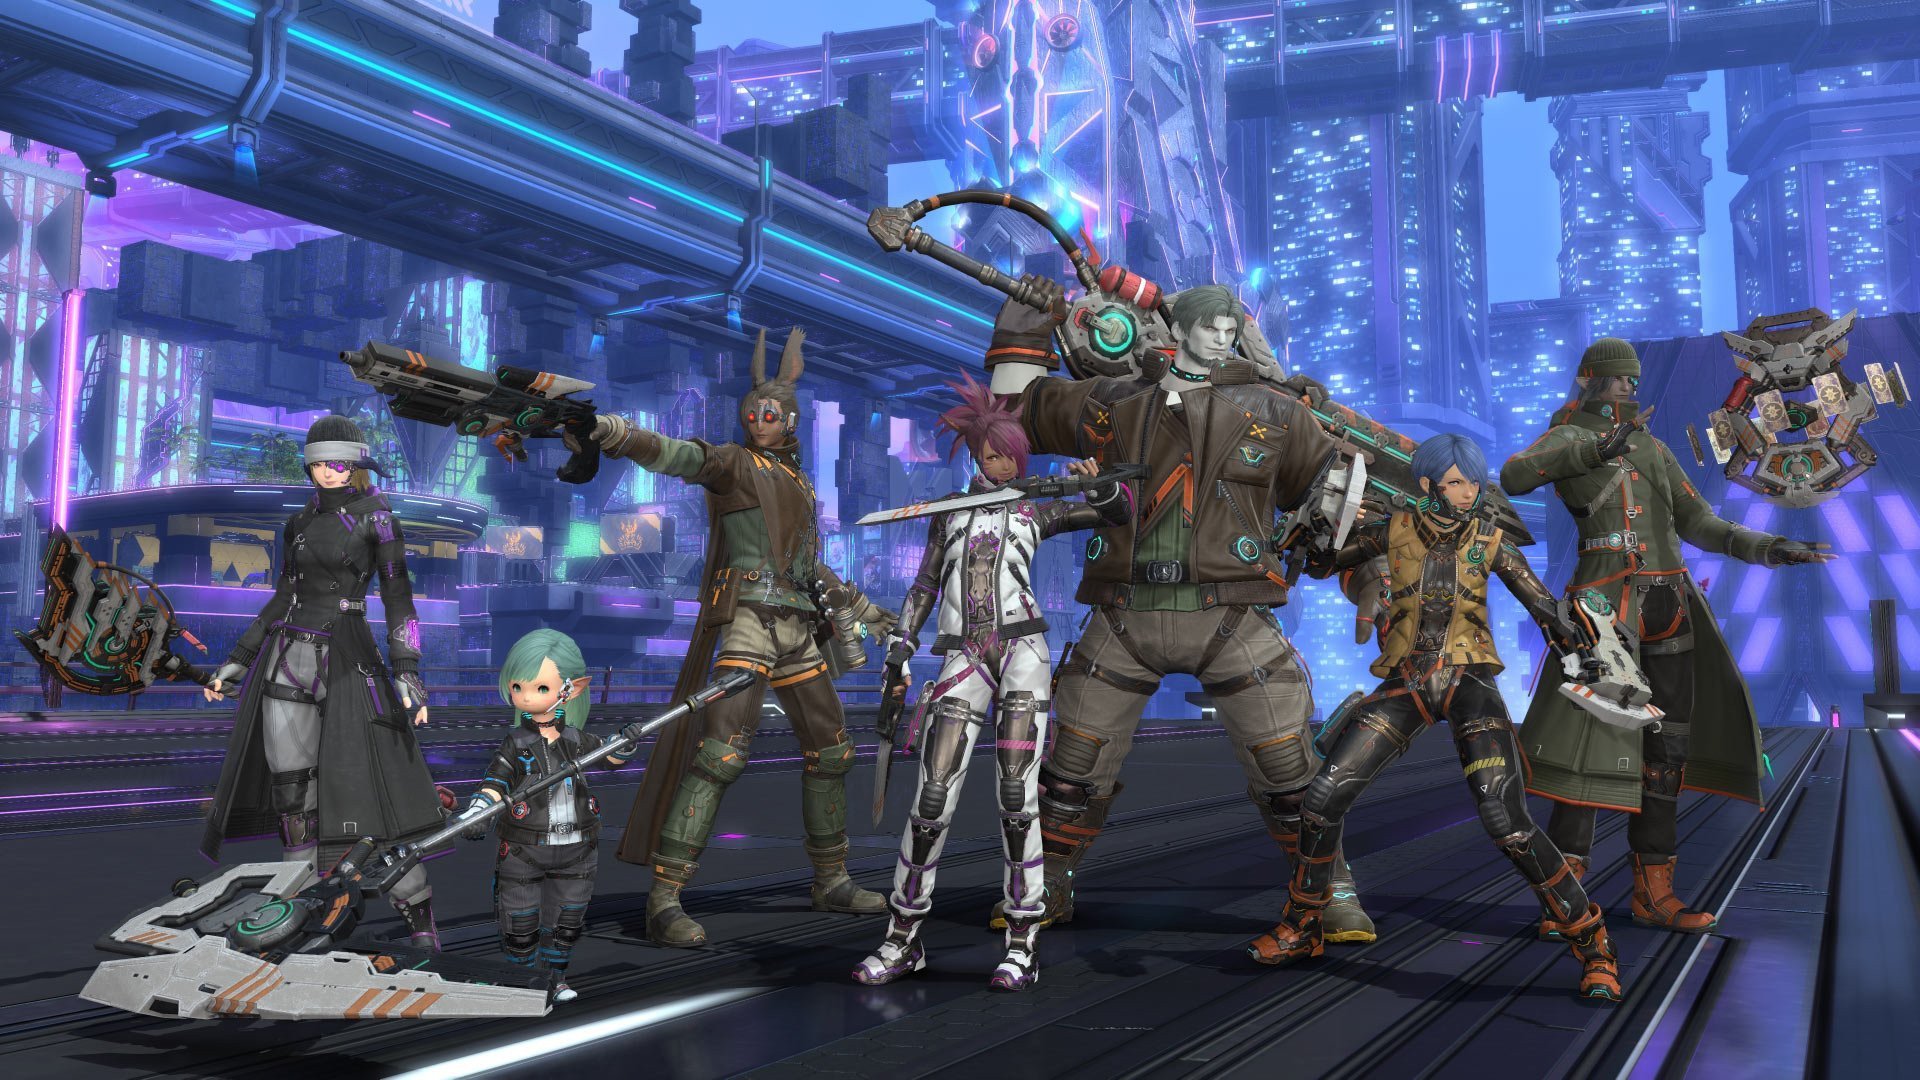
Welcome to the FFXIV AAC Cruiserweight guide for both Normal and Savage versions. AAC Cruiserweight Tier marks the second raid tier of The Arcadion series introduced in the Dawntrail expansion, raising the stakes with even more complex mechanics, unforgiving execution checks, and four brand-new bosses that will put your coordination and resolve to the test. Available in both Normal and Savage difficulties, this tier continues the fast-paced spectacle that defines The Arcadion — only now with higher item level rewards and tighter DPS checks.
If you're looking for a competitive edge or simply want to skip the frustration of repeated wipes, we can help you conquer AAC Cruiserweight (Savage) without the stress. Our expert players are ready to carry your team through any wing of the raid, deliver the rewards you're after, and help you stay ahead of the patch cycle. With Skycoach, victory is always within reach.
Check out more FF14 guides:
- FFXIV FRU Futures Rewritten Ultimate Raid Guide
- FFXIV AAC Light-heavyweight Raid Guide
- FFXIV Everkeep Extreme Guide
- FFXIV Worqor Lar Dor Extreme Guide
- Best Final Fantasy 14 Settings
Note: At Skycoach, you can Buy Final Fantasy 14 Boost for the best prices with fast delivery. Use our special PROMO CODE (in green) hidden in this article for a 20% DISCOUNT.
Browse our hottest FFXIV Boosting services


How to Unlock AAC Cruiserweight
If you're wondering AAC Cruiserweight how to unlock AAC Cruiserweight, you must meet the following requirements:
- Complete the Chronicles of a New Era quest: Souls under Siege - This quest becomes available after finishing the feature quest The Neoteric Witch.
- Start the quest by speaking with Yaana in Solution Nine (X:22.2, Y:16.6).
- Be a level 100 Disciple of War or Magic.
- Subsequent raid floors unlock sequentially — complete one to unlock the next.
- Speak to the Stylish Stranger at (X:19.1, Y:18.8) to begin.
To get the Savage AAC Cruiserweight unlock — available starting April 1st — follow these steps:
- Complete the quest: The Lone Wolf (feature quest).
- Speak to Gabbro in Solution Nine (X:22.3, Y:17.1).
- You do not need to have cleared previous Savage tiers to enter.
- Must be a level 100 Disciple of War or Magic.
Item level requirements per floor are as follows:
- M1 (Savage) – iLvl 730+
- M2 (Savage) – iLvl 735+
- M3 & M4 (Savage) – iLvl 740+
Keep in mind: when you complete a Savage floor, your weekly progress locks to that point. Skipping ahead forfeits loot from previous floors until the reset. Reward eligibility resets every Tuesday at 8:00 GMT.
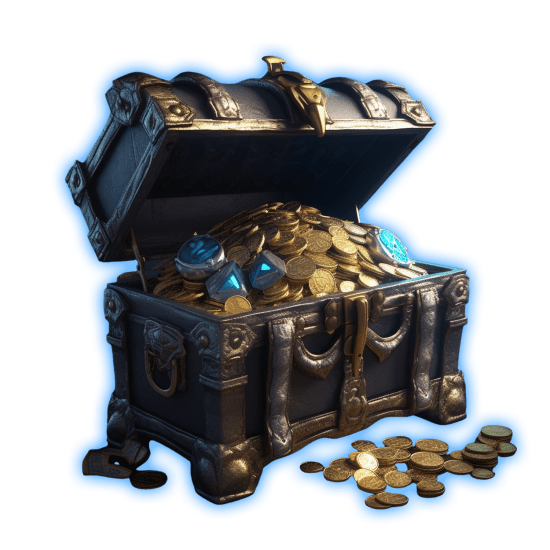
AAC Cruiserweight Rewards
If you're looking to gear up from AAC Cruiserweight, both the Normal and Savage difficulties offer powerful AAC Cruiserweight gear — but in different ways. Normal mode drops tokens instead of direct gear, while Savage offers direct coffers, upgrade items, and exclusive loot. BLOG20
AAC Cruiserweight (Normal) Rewards
Clearing each floor of AAC Cruiserweight (Normal) will reward you with tokens that can be exchanged for raid gear. These tokens drop from treasure coffers and can be traded in at Hhihwi in Solution Nine (X:8.7, Y:13.4).
Depending on the gear piece, you'll need a different number and type of token:
| Gear Slot | Tokens Required | Token Name |
| Head | 2 | Cruiser Holohelm |
| Body | 4 | Cruiser Holosurcoat |
| Hands | 2 | Cruiser Hologauntlets |
| Legs | 4 | Cruiser Holotrousers |
| Feet | 2 | Cruiser Holosabatons |
| Accessories | 1 | Cruiser Holobrooch |
In addition, clearing M4 once per week rewards a Cruiser Holosaber, and collecting seven of these lets you purchase a Universal Tomestone 2.0, which can be traded for powerful AAC Cruiserweight weapons (cost: 500 Allagan Tomestones of Mathematics).
Loot resets weekly, every Tuesday at 8:00 GMT.
AAC Cruiserweight (Savage) Rewards
Savage difficulty offers more prestigious and direct loot. Each duty rewards a single treasure coffer containing Babyface Champion’s Coffers, which transform into IL 760 gear for your current job. Completing M4 also drops an IL 765 weapon directly.
The gear breakdown is as follows:
| Item Type |
Gear |
Source |
| Weapon | IL 765 | M4 |
| Head | IL 760 | M2 |
| Chest | IL 760 | M3 |
| Hands | IL 760 | M2 |
| Legs | IL 760 | M3 |
| Feet | IL 760 | M2 |
| Earrings | IL 760 | M1 |
| Necklace | IL 760 | M1 |
| Bracelets | IL 760 | M1 |
| Ring | IL 760 | M1 |
Coffers will not duplicate gear types within the same clear. If five or more players in your party have already cleared the fight that week, no coffer will drop.
Upgrade Items & Extras (Savage)
Some Savage fights also drop materials to upgrade IL 750 Historia gear to Augmented Historia (IL 760):
| Item | Use | Source |
| Universal Tomestone 2.0 | Purchase IL 750 Weapon | M2 |
| Evercharged Ester | Weapon Augmentation | M3 |
| Evercharged Twine | Armor Augmentation | M3 |
| Evercharged Glaze | Accessory Augmentation | M2 |
AAC Cruiserweight M4 (Savage) also drops:
- Peerless Orchestrion Roll
- Air-wheeler C9 Mount
- Groovy Glasses facewear (also available in Normal)
But there's more!
AAC Illustrated: CW Edition (Savage Token Exchange)
Each Savage fight also rewards a guaranteed AAC Illustrated: CW Edition token, which can be exchanged at Hhihwi for guaranteed raid gear.
| Gear Slot | Token Type | Tokens Needed |
| Weapon | CW Edition IV | 8 |
| Gladiator's Arm | CW Edition IV | 5 |
| Shield | CW Edition IV | 3 |
| Head | CW Edition II | 4 |
| Body | CW Edition III | 6 |
| Hands | CW Edition II | 4 |
| Legs | CW Edition III | 6 |
| Feet | CW Edition II | 4 |
| Accessories | CW Edition I | 3 |
| Ester (Augment) | CW Edition III | 4 |
| Twine (Augment) | CW Edition III | 4 |
| Glaze (Augment) | CW Edition II | 3 |
Each token type can also be converted into lower tiers using CW Edition IV.
Loot by Floor (Savage)
- M1: CW Edition I + coffer for rings, necklace, bracelet, earrings
- M2: CW Edition II + coffer for head, gloves, feet, and tomestone accessory mats
- M3: CW Edition III + coffer for chest, legs, and upgrade materials for weapons and armor
- M4: CW Edition IV + weapon coffer, random weapon, mount, facewear, orchestrion roll
Weekly lockouts reset every Tuesday at 8:00 GMT.
AAC Cruiserweight Bosses
The AAC Cruiserweight Tier raid consists of four intense encounters. All AAC Cruiserweight bosses are going to throw some crazy and unique mechanics, challenges, and dramatic flair, continuing the spectacle introduced in The Arcadion. As with previous tiers, the community commonly refers to them as M5 through M8. Below is a brief overview of each fight and what to expect going in:
Dancing Green (M1)

Dancing Green, the flamboyant showman and soul-wielding toad, opens the Cruiserweight Tier in style. This boss fight is a flashy rhythm-based duel where players must move with precision across a dynamically shifting arena. Think less brute force, more dance floor awareness—his mechanics reward timing, movement, and coordination. Players who lose their footing will find themselves punished harshly by overlapping AoEs and pattern-based attacks.
Sugar Riot (M2)

Next up is Sugar Riot, the pudding-powered pop artist who turns the battlefield into a surreal splash of pastel chaos. Her abilities revolve around art-themed mechanics—paint strokes, color mixing, and shape-based AoEs. Expect a lot of visual clutter and reactive positioning. Staying alive means interpreting her brushwork on the fly and staying clear of increasingly complex layered patterns.
Brute Abombinator (M3)
He’s back—and even more unhinged. The Brute Bomber returns in M7 after being overloaded with multiple feral souls, turning him into an uncontrollable beast. This version of the fight is heavier on damage checks and punishing knockbacks. Expect volatile arena hazards, high-damage combos, and a clear need for tight team coordination. It’s a brutal escalation of his Light-heavyweight version, with barely a pause between explosions.
Howling Blade (M4)

The title match: you vs. the Howling Blade. As the capstone of Cruiserweight Tier, this fight is cinematic and punishing in equal measure. It combines everything you’ve learned so far—movement, mechanics, and damage control—into one final brawl with massive stakes. The arena itself changes dynamically as phases shift, with hard-hitting tankbusters, fast-paced AoE rotations, and a nail-biting DPS check near the end. Victory earns more than bragging rights—it’s your claim to the Cruiserweight crown.
Dancing Green (M1)
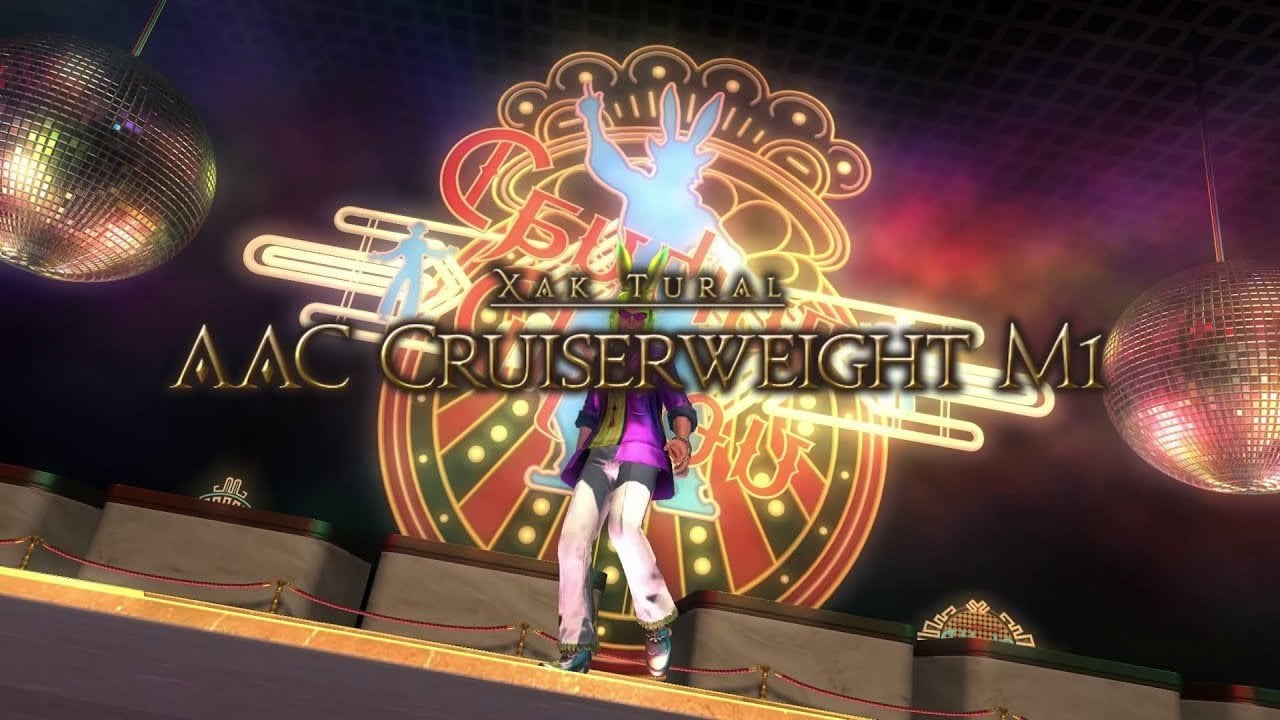
Dancing Green, also known as M1, is your first challenge in the AAC Cruiserweight Tier. Unlike traditional brawlers, this flamboyant foe brings rhythm, flair, and a deadly sense of choreography to the fight. The entire encounter unfolds on an 8x8 tiled arena, and success hinges not only on positioning but also on reading the rhythm of attacks and reacting in time. Expect fast-paced, dance-themed mechanics, group coordination, and some very flashy footwork.
Touching the edge of the arena will result in instant death, and avoidable mechanics will apply Vulnerability Up, so precision is key.
Dancing Green Abilities
This flashy toad-themed boss uses an extensive variety of dance-based moves that emphasize movement, timing, and pattern recognition. BLOG20
| Ability | Description |
| Do the Hustle | Half-room cleave in the direction of rainbow tiles. No telegraph on the ground. |
| 2-snap Twist | Two successive cleaves on one side, then a third untelegraphed cleave on the opposite side. |
| 4-snap Twist | Four cleaves on one side, followed by a fifth on the opposite side. |
| Deep Cut | Magical conal tankbuster, one per tank. |
| Funky Floor | Checkerboard tile AoEs in five waves. During the third, a stack marker (Full Beat) appears. |
| Full Beat | Stack marker that goes off during Funky Floor. Stack on a safe tile to resolve. |
| Disco Infernal | Raid-wide AoE plus Burn Baby Burn debuffs. Players must stand in moving spotlights when debuffs expire. |
| Celebrate Good Times | Raid-wide AoE. No extra mechanics. |
| Ride the Waves | North-originating, moving column AoEs. Leaves a single column safe. Appears in two sets. |
| Ensemble Assemble | Spawns 8 adds (Frogtourage) on pedestals, cues follow-up dance mechanic. |
| Arcady Night Fever | Each Frogtourage add raises a hand to indicate the cleave direction. |
| Let’s Dance! | Series of eight half-room cleaves in the order adds posed. Tied to Grooviness gauge. |
| Let’s Pose! | AoE damage scaling with Grooviness gauge. Full gauge = no damage. Perfect performance grants a party Limit Break bar and buff. |
| Frogtourage (Phase 2) | Summons moonwalking adds that telegraph AoEs in arena sections. First set leaves middle safe. |
| Eighth Beats | Stack marker on all players, resolves during Frogtourage AoEs. |
| Funky Floor + 2-snap Twist | Forces players to reposition quickly mid-pattern. |
| Disco Infernal (Phase 2) | Same as before but faster. Spotlights now expire while other mechanics resolve simultaneously. |
| Directional Disregard | Buff causes boss cleaves to no longer align with visual indicators. Used during Ride the Waves and dance phases. |
Now, let's see how to beat this encounter.
Browse our hottest FFXIV Boosting services


How to Beat Dancing Green
Dancing Green is all about positioning, rhythm, and staying aware of debuffs and movement-based mechanics. The fight unfolds in distinct phases, each escalating the complexity of overlaps and patterns.
Phase 1 – Warm-Up Routines
This phase introduces Dancing Green’s signature cleaves and tile-based AoEs. You’ll mostly be reacting to visual tells.
- Do the Hustle: Half-arena cleave toward the jazzy rainbow tiles. Move to the opposite side.
- 2-snap Twist: Boss flicks his wrist twice, cleaving the same side. Then switches. Start opposite, move after the second flick.
- 4-snap Twist: Same as above, but four flicks before switching. Timing is tighter — wait for the fourth flick.
- Deep Cut: Conal tankbusters on both tanks. Everyone else stay out of front-facing cones.
- Funky Floor: Alternating checkerboard tile AoEs. Dodge between two adjacent tiles.
- Full Beat: Stack marker appears during Funky Floor. Stack on a safe tile near the boss to soak while dodging.
Phase 2 – Spotlight Debuffs
Spotlight mechanics are central to this phase. Timing and spatial awareness matter most here.
- Disco Infernal: Raidwide AoE. Each player receives two debuffs with separate countdowns.
- Stand in any spotlight right before each timer expires.
- Spotlights move in fixed paths — don’t chase early. Wait until ~5s left, then step in.
- Celebrate Good Times: Simple raidwide AoE. Just heal through it.
- Ride the Waves: Two waves of vertical tile AoEs.
- Stand in the safe column during wave one.
- Quickly reposition for the next wave, avoiding the gap between them.
This phase tests your reaction to directional cues and builds toward a damage check.
Arcady Night Fever / Let’s Dance!: Eight Frogtourage adds appear across the north. Each raises one hand (left or right), indicating the danger side for a cleave.
- Cleaves resolve left to right.
- Always dodge to the opposite side of the raised hand.
- Perfect dodges increase the party’s Grooviness meter.
Let’s Pose!: Raidwide hit that scales with Grooviness.
- Full meter = no damage.
- Flawless dodging = Limit Break bar + Perfect Groove buff.
Overlap Overload
In the final phase, the fight stacks mechanics on top of each other.
- Frogtourage Moonwalk: Two adds walk across either the center or outer lanes, mapping unsafe zones.
- Identify the safe zone (middle or edges).
- Prepare to spread for Eighth Beats — personal AoEs.
- Funky Floor + Twist Combo: Tile-based AoEs + cleaves happening together. Pay attention to tile pattern AND boss hand cues.
- Disco Infernal (2nd use): Now with shorter and longer debuff timers.
- While dodging Frogtourage and cleaves, find a safe spotlight in time for debuff expiration.
These patterns repeat with tighter windows and faster execution. Continue stacking, dodging, and dancing — literally — until the boss is defeated.
Sugar Riot (M2)
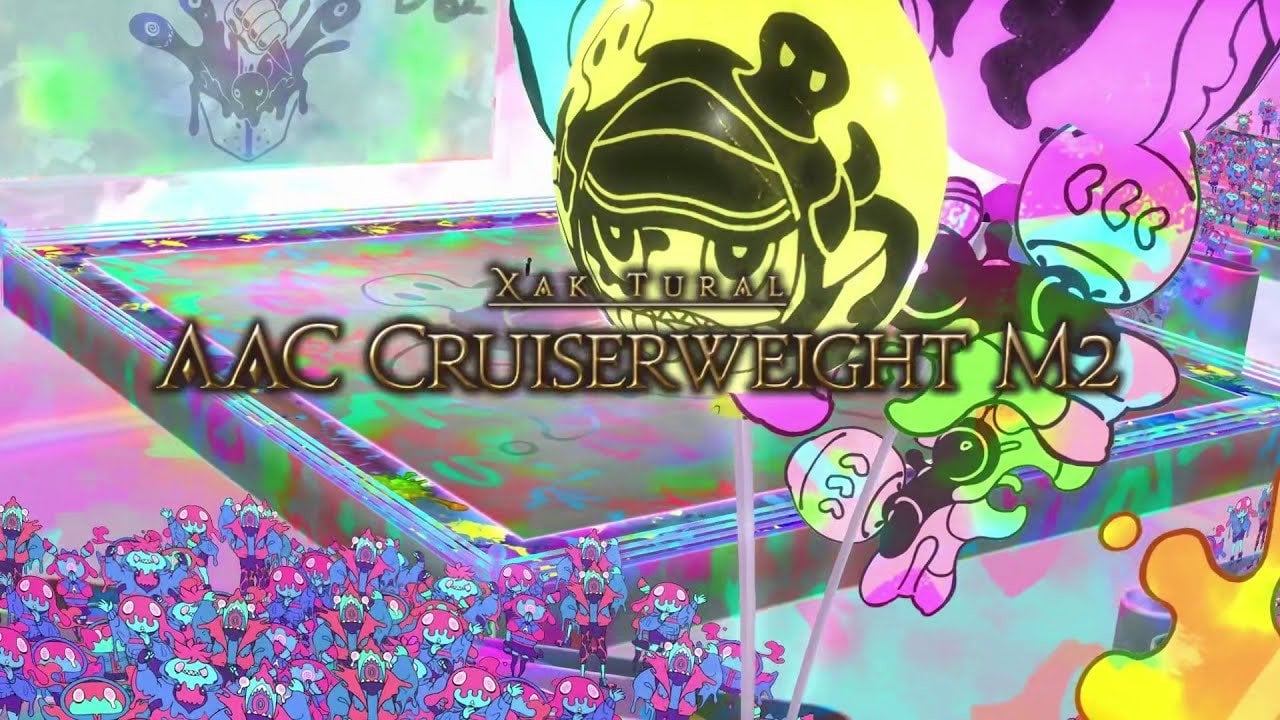
Sugar Riot is a chaotic artist who turns the battlefield into her canvas. Throughout the fight, she creates unique environments, layering themed mechanics with her “Single Style” and “Double Style” drawings. Each Sugarscape acts as a temporary phase with different hazards and layout changes, demanding precise movement and awareness.
Sugar Riot Abilities
This boss introduces mechanics in stages, beginning with her “Single Style” drawings, then building into complex environmental hazards. Many AoEs are late-telegraphed or behave unexpectedly — watching for visual cues is crucial.
| Ability | Description |
| Mousse Mural | Raidwide AoE. Used to mark transitions. |
| Single Style | Draws one object. Each has a unique AoE effect. |
| Paint Bomb | Large delayed AoEs from three bombs with tethers. |
| Heaven Bomb | Winged bombs that jump forward before exploding. |
| Sweet Shot | Arrows outside the arena fire line AoEs, leaving safe lanes. |
| Throw-up Target | Arrows converge on a central bullseye in a burst pattern. |
| Pudding Party | 5-hit stack marker on a random player. |
| Color Riot | Dual tankbusters with color-coded hits. |
| Mousse Touch-up | Spread AoEs on all players. |
| Double Style | Combines two previous Single Style patterns. |
| Sugarscape: Desert | Changes arena to sand with new hazards. |
| Sugarscape: River | Changes arena to rivers and grass with elemental interactions. |
| Layer (Desert) | Adds sun (DoT debuff), cacti (exploding AoEs), and sand pits (insta-death zones). |
| Layer (River) | Adds rain (water becomes dangerous) and storm clouds (massive AoEs). |
| Taste of Thunder | Spread AoE that deals high lightning damage. Fatal if overlapped or used while in water. |
| Taste of Fire | Dual stack markers on healers. Fatal if failed or taken outside of water pre-storm. |
| Highlightning | Tempest Piece add casts a massive point-blank AoE. Must be avoided entirely. |
Sugar Riot’s fight feels more like a reactive dance — with setpiece transformations and high-stakes movement puzzles. The real challenge lies in quickly identifying what she’s painted and adjusting accordingly.
How to Beat Sugar Riot
The fight against Sugar Riot blends visual chaos with tight positional mechanics. She creates AoEs by painting objects into the arena, each one representing a specific danger — from bombs and arrows to bullseyes and layered battlefield hazards. The key to success is quickly reading her drawings, recognizing how they’ll behave, and reacting accordingly while managing consistent party-wide pressure.
Phase 1: Painting Practice
Sugar Riot begins by drawing objects on the battlefield using her Single Style and Double Style casts. These determine how mechanics resolve — for example, bombs will explode, arrows will fire in lines, or multiple effects will overlap. Most of the danger here comes from baiting players into reacting too early.
At the start, watch for the drawn symbols. Heaven Bombs (with wings) don’t explode where they land — they jump forward halfway across the arena before going off. When arrows appear, position in the gaps between them to avoid their line AoEs. Bullseyes signal that several arrows will converge on a single point, so steer clear of the center. Later, she’ll start combining two types at once — like Heaven Bombs and arrows — forcing you to find safe zones that account for both. There’s also a five-hit stack marker that needs everyone grouped up, and a tankbuster that hits both tanks at once, so proper positioning is crucial. The goal is to stay light on your feet and adapt to her painting combinations without being baited by early telegraphs.
Phase 2: Sugarscape – Desert
At the midpoint of the fight, Sugar Riot paints a desert scene across the top of the arena, replacing the normal floor with sand. This phase introduces sustained damage and restricted movement. The sun she paints applies a persistent Sweltering debuff, which deals minor damage over time. Soon after, she adds cacti that sprout in random locations and explode in delayed circular AoEs. Navigating safely means watching which ones are about to go off and weaving between them.
She eventually paints a massive sand pit in the center or at the edges of the arena. Stepping into it for too long applies the Six Fulms Under debuff and leads to instant death. If it spawns center, the safe zones are in the corners — if it spawns off-center, adjust accordingly and stay mobile. The cacti and sand pits often appear together, creating intense overlaps. This part of the fight demands sharp awareness and fast reactions as safe spots shift rapidly. She’ll also cast another round of spread AoEs here, so don’t stack by habit.
Phase 3: Sugarscape – River
In the final phase, the battlefield transforms again — this time into grassy sections divided by rivers. Standing in the water gives players Fire Resistance Up but also Lightning Resistance Down II, which matters depending on the incoming mechanics. When she casts Taste of Thunder, all players must avoid standing in water or risk being hit for lethal damage. When she casts Taste of Fire, everyone must stand in the water to survive the explosion.
Eventually, the painting gains rain effects, turning all water into dangerous terrain that inflicts the Dropsy DoT. During this stormy segment, Sugar Riot paints a large thundercloud add that moves across the arena and casts Highlightning — a massive point-blank AoE from its current location. Players must track its movement and stay in the opposite section to avoid the blast. Once the thundercloud moves twice, the fight begins to repeat earlier patterns with increased speed and layering, gradually escalating to the end.
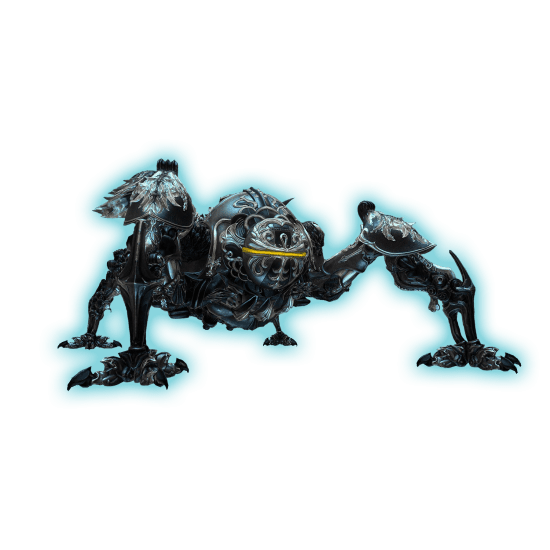
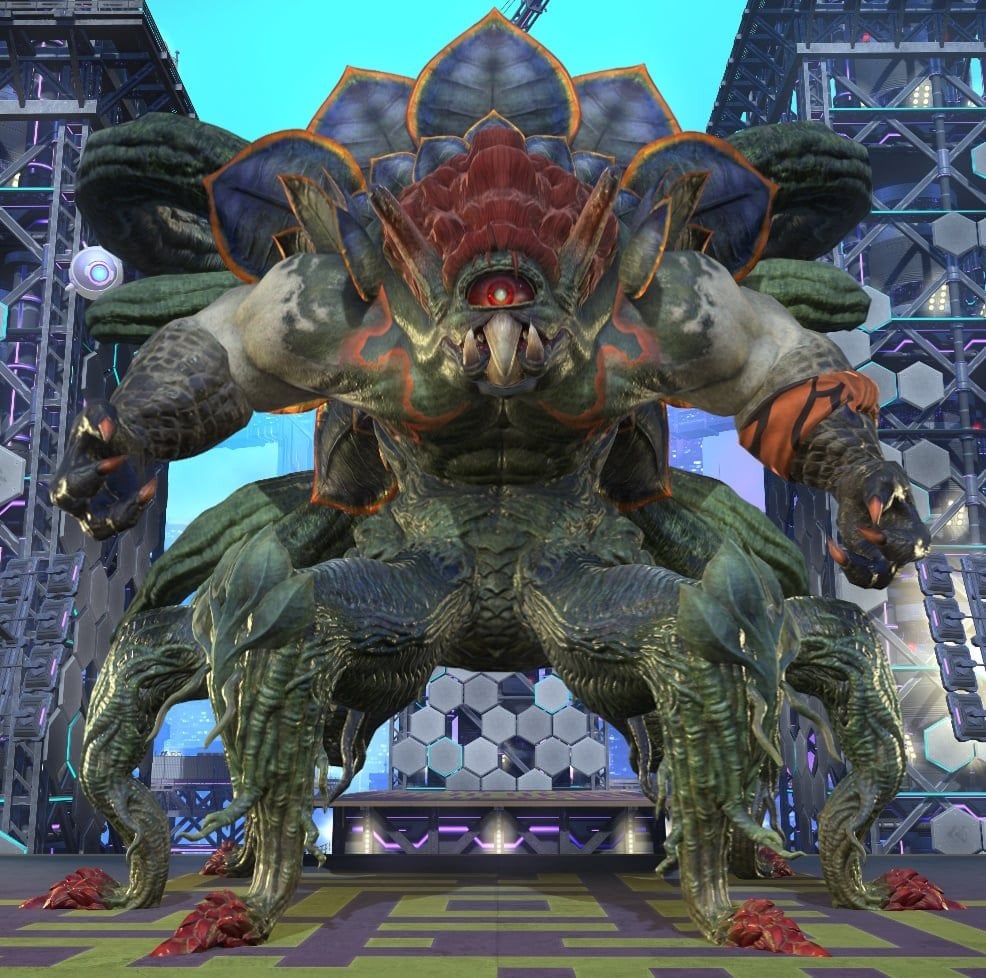
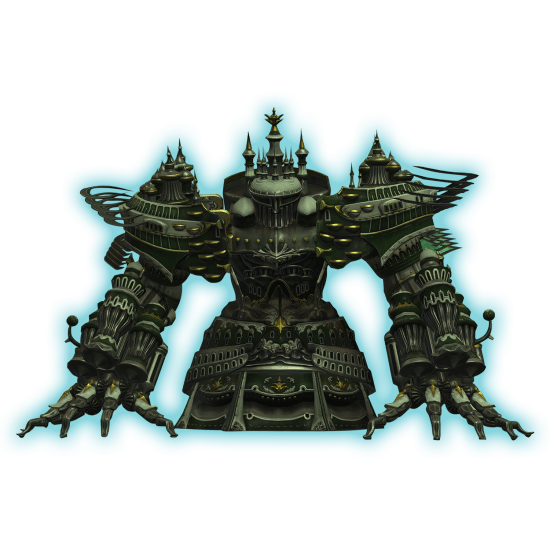
Brute Abombinator (M3)

Brute Abombinator, also known as M3, brings a chaotic and heavy-hitting brawl to the AAC Cruiserweight tier. Once the flamboyant Brute Bomber, he’s now a twisted fusion of feral souls and raw aggression. This fight spans three arenas with a shifting mechanical focus: precise positioning, quick pattern recognition, and teamwork for avoiding deadly raidwides. Expect heavy tankbusters, expanding AoEs, and high movement demands from start to finish.
Brute Abombinator Abilities
The fight against Brute Abombinator is split across three phases, each with unique mechanics and environments. Many abilities build on earlier ones, so players must adapt quickly as new layers get added.
| Ability | Description |
| Brutal Impact | Triple-hit raidwide physical damage. |
| Stoneringer: The Bludgeoning | Boss draws a club; stores a point-blank AoE for later. |
| Stoneringer: The Stabbing | Boss draws a sword; stores a donut AoE for later. |
| Brutish Swing | Tankbuster that resolves alongside stored AoEs. Target depends on weapon drawn. |
| Spore Sac | Spawns AoEs and spores that spread additional circle attacks. |
| Pulp Smash | Stack marker followed by exploding conal AoEs from the impact point. |
| Blooming Abomination | Adds that spawn from spores. Use various AoEs and leave corpses that can block mechanics. |
| Quarry Swamp | AoE that petrifies players. Must hide behind a corpse or add to avoid it. |
| Explosion | Rotating proximity AoEs. Mitigate by rotating away from spawn pattern. |
| Neo Bombarian Special | Knocks players off the stage. Must be launched to a platform to survive. |
| Glower Power | Line AoE plus spreads on all players. |
| Abominable Blink | Flare marker on one tank; must move far from group. |
| Revenge of the Vines | Magic raidwide that becomes instant when paired with other mechanics. |
| Sporesplosion | AoE circles paired with Stabbing and Brutish Swing. Requires quick movement and awareness. |
| Lashing Lariat | Large line cleave from a glowing arm. Leaves one third of the arena safe. |
| Slaminator | Large stack tower in the middle. Group up to share incoming damage. |
| Powerslam | Destroys the current arena, sending players into the next phase. |
Brute Abombinator’s phases escalate the danger by introducing new arena layouts and forcing fast decision-making. The shifting safe zones and AoE overlaps require players to track weapon indicators and position precisely to avoid being overwhelmed. The transition between phases is both a reset and an escalation, with new visual cues and deadlier punishments for mistakes. Mechanics from earlier are recycled with new modifiers, pushing the group to stay alert as the fight ramps up.
How to Beat Brute Abombinator
This fight is a wild, high-octane mess of swinging weapons, AoEs, knockbacks, and shifting arenas. You’ll move through three phases, each ramping up complexity while building on familiar mechanics. Expect a lot of visual tells—weapon types, glowing limbs, tethers—that dictate your positioning and survival.
Phase 1: Demolition Ring
The fight begins in a circular arena with fall potential on all sides. Brute Abombinator starts by drawing either a sword or a club. A sword means a donut AoE is coming soon—stay close. A club means a point-blank AoE—move away.
After setting this up, the boss targets both tanks with Brutish Swing, a double tankbuster. Tanks stack, and everyone else stays clear. BLOG20
Next, Spore Sac drops four AoEs that explode, then spawn lines that branch off and explode again. You’ll find two safe spots near the center each time. Right after that comes Pulp Smash: a group stack that leaves behind an AoE and radiating cones. Move out between the cones to avoid damage.
Blooming Abomination adds will spawn. Three of them cast large cross AoEs, while one casts a hard-to-dodge donut. Tanks and ranged should try to interrupt this one, or have the group burn it down first.
Quarry Swamp follows—an arena-wide petrify unless you break line of sight by hiding behind a corpse from the earlier adds. Just be out of view; you don’t need to turn away.
Afterward, a sequence of three rotating proximity AoEs will appear. Start on the far side, then move into the first explosion’s safe zone as it clears.
Then comes Neo Bombarian Special. The boss flings you off the platform—survive by standing near the edge closest to the second arena you saw earlier.
Phase 2: Pillar Platform
Now on a long, narrow rectangular arena, the boss attaches itself to a wall and gains Directional Disregard. It’ll still draw a sword or club and perform the appropriate AoE. The trick now is that it tethers to a wall, jumps there, and then performs its AoE. Move to the tethered wall first, then close or far depending on the weapon.
Glower Power combines a line AoE in front of the boss with spreads on each player. Scatter out, but don’t be in front.
Abominable Blink puts a proximity marker on one tank—this tank should run far away from the group.
Then comes Sporesplosion, a sequence of three large AoEs. Head to the corner opposite the boss’s tether to stay clear and prep for the next jump and AoE.
Powerslam ends the phase with a heavy raidwide and smashes the arena, dropping you into the final zone.
Phase 3: Core Cage
The final arena has no fall hazard but is surrounded by deadly fire. Brute now wields both a sword and club, but only one will glow—that’s the AoE type he’ll use. Once again, he tethers to a wall, jumps, and performs the matching attack.
Lashing Lariat slashes one half of the arena (the side with the glowing yellow arm). Move far to the opposite side—it extends well past the center line.
Familiar adds appear but don’t cast any attacks this time. Then the boss drops the Slaminator, a big stack marker in the center. Group up to soak it.
Mechanics from earlier will start repeating: Stoneringer AoEs, tankbusters, spreads, and raidwides. Stay sharp and ride it out to the finish.
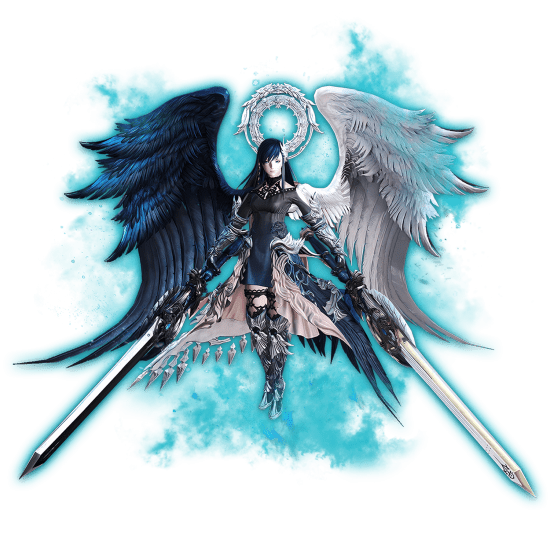
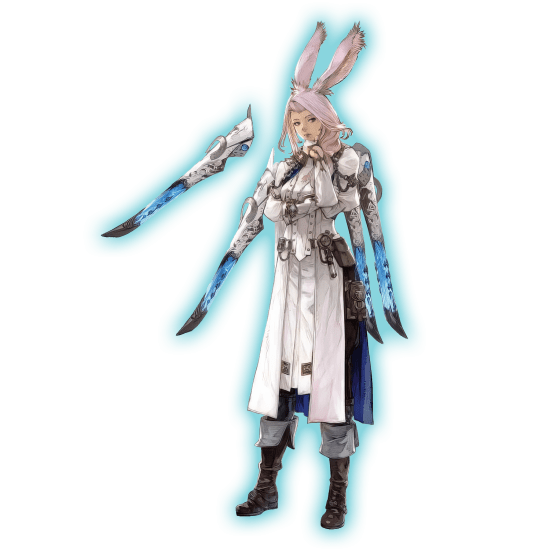
Howling Blade (M4)
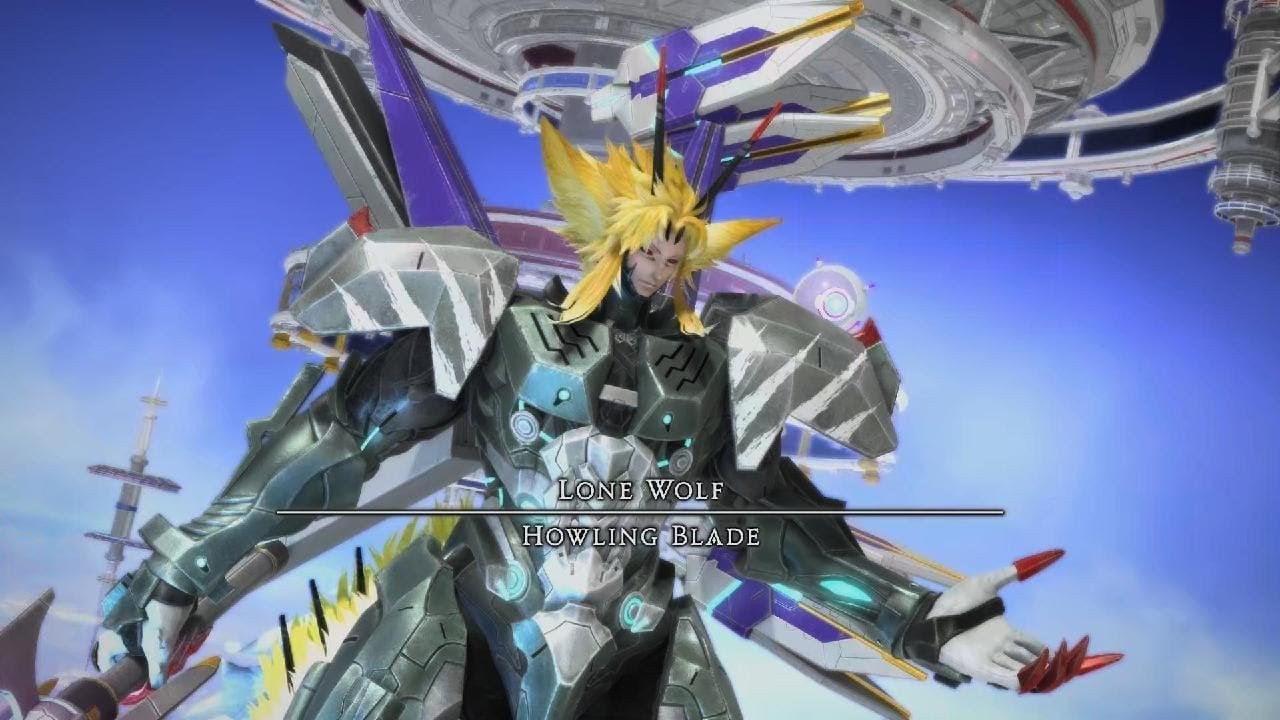
The final challenger in the Cruiserweight tier, Howling Blade is a relentless duelist who combines rapid movement, clone mechanics, and AoE coordination with surgical precision. This fight unfolds across multiple phases and includes an intense add phase, requiring awareness, positioning, and timing to come out victorious.
Howling Blade Abilities
Howling Blade shifts between swift melee assaults, illusion tricks, and arena manipulation, frequently layering AoEs with add mechanics.
| Ability | Description |
| Extraplanar Pursuit | Raid-wide physical damage. |
| Great Divide | Line stack tankbuster targeting the main tank. Both tanks must share. |
| Wolves' Reign | Multi-part combo with point-blank AoE, clone AoEs, boss jumps and frontal/conal cleaves. |
| Heavensearth | Random-target stack marker. Deals magical damage. |
| Beckon Moonlight | Summons four Moonlit Shadow adds. Each indicates a half-room cleave (left/right). Resolves in spawn order. |
| Shadowchase | Boss disappears, five clones form a pentagon, each casting frontal line AoEs. Dodge behind any one. |
| Bare Fangs | Four Gleaming Fang drones align. Two glow first, charging untelegraphed line AoEs, then the remaining two. |
| Terrestrial Rage | Baited circle AoEs at players’ locations, then another Heavensearth. |
| Tactical Pack (Adds Phase) | Boss becomes untargetable. Wolf of Stone and Wolf of Wind spawn. Must be defeated before Saber Intensity hits 100. |
| Weal of Stone / Wind | Adds use frontal line AoEs. Occur alongside party spreads or stacks. |
| Ravenous Saber | Five-hit physical raidwide. Arena shrinks afterward. |
| Terrestrial Titans | Spawns three stone pillars. Each is cut and falls as untelegraphed line AoEs in the direction of the slice. |
| Tracking Tremors | Five-hit magical stack AoE on a random player. |
| Roaring Wind | Used by Wolf of Wind adds. Frontal AoEs accompanying Shadowchase in later phases. |
After the table, Howling Blade enters a second phase of the fight with quicker pacing and layered mechanics. Pillar slicing, faster clones, and additional add-enhanced AoEs raise the pressure significantly. Proper positioning and reacting to visual cues like sword direction and glowing drones become key to survival.
How to Beat Howling Blade
Howling Blade is a multi-phase boss fight that mixes clone mechanics, telegraphed cleaves, and visual puzzles that demand sharp awareness. The fight intensifies as it progresses, so understanding positioning early on is crucial for success.
Phase 1
The fight opens with Extraplanar Pursuit, a raidwide hit, followed by Great Divide, a tankbuster requiring both tanks to stack. When Wolves’ Reign begins, three shades appear and aim in different directions—stand in the gap between two of them to avoid the initial AoEs. Once the boss jumps, immediately move to the opposite side of the arena to avoid the follow-up wide cleave.
Next is Heavensearth, which is a simple group stack. Then, during Beckon Moonlight, five clones spawn at the cardinals. Each holds its sword either left or right, signaling a half-arena cleave on that side. Move to a quadrant that avoids the first two cleaves, then shift after the first one resolves.
In Shadowchase, five clones appear in a pentagon formation. Stand behind any one to dodge their frontal attacks. When Bare Fangs triggers, two line AoEs from drones go off first—stand in their paths, then move after the first blast resolves to avoid the second pair. Terrestrial Rage drops baited AoEs under players—keep moving to avoid them.
Add Phase
Tactical Pack begins when two adds—Wolf of Stone and Wolf of Wind—appear. Burn both down before the Saber Intensity gauge reaches 100%. They’ll use frontal AoEs while players juggle spread markers or stacks.
Phase 2
The arena shrinks after Ravenous Saber, a 5-hit raidwide. Wolves’ Reign returns but adds two line AoEs from dragon heads—dodge them before handling the usual combo.
When Terrestrial Titans begins, three pillars appear. The boss slices them, and they fall based on cut direction. Identify one tower’s fall direction by checking the center of the slice. Then, determine a safe zone based on where others fall—usually the center or the opposite side of a falling tower.
The rest of the fight loops mechanics at a faster pace, layering old ones together. Bare Fangs now overlaps with Wolves’ Reign. Shadowchase includes dragon head clones—hide behind any one of them. During Terrestrial Rage, pathing AoEs combine with dragon head attacks, so reposition carefully. The final threat, Tracking Tremors, is a heavy 5-hit stack—mitigate and heal through it.
If your group stays alert to directionality, clone tells, and falling pillars, you’ll outlast the Lone Wolf and claim the Cruiserweight crown.
Conclusion
The AAC Cruiserweight tier takes everything introduced in Light-heavyweight and cranks it up with faster pacing, sharper visuals, and a more cinematic feel. From the flashy footwork of Dancing Green to the haunting elegance of Howling Blade, each encounter offers unique mechanics that demand attention, teamwork, and clean execution. Whether you're here for the spectacle, the challenge, or the loot, clearing all four bosses is a rewarding and memorable experience.
F.A.Q.
How many bosses are there in AAC Cruiserweight?
There are four bosses in the AAC Cruiserweight raid tier:
- Dancing Green
- Sugar Riot
- Brute Abombinator
- Howling Blade
Each one has both a Normal and Savage version.
How long is the AAC Cruiserweight fight?
A clean run of all four Normal fights usually takes about 40–60 minutes. With learning, wipes, or Duty Finder queue times, it can take up to 90 minutes. The Savage versions are significantly more demanding and time-consuming — expect each fight to take 30 minutes or more, especially while progressing.
How to unlock AAC Cruiserweight?
- To access AAC Cruiserweight (Normal), players must:
- Complete the Chronicles of a New Era quest: Souls under Siege
- Speak with Yaana in Solution Nine (X:22.2, Y:16.6)
- Be a level 100 Disciple of War or Magic
- Unlock each floor sequentially — clearing one unlocks the next
- Speak to the Stylish Stranger (X:19.1, Y:18.8) to begin
What are the rewards for AAC Cruiserweight?
Normal fights reward Allagan Tomestones and gear tokens that can be exchanged for Cruiserweight Holo gear. Savage fights drop higher item level gear, crafting materials, and special trophies or titles for completion.