Extreme Trials are a great way to test your skill and readiness before taking on a raid. Today, we’re covering the Extreme version of the battle against Valigarmanda, a boss you encounter during your journey through the Dawntrail MSQ. In this Worqor Lar Dor guide, we’re going to go over the unlock requirements, explain how to better prepare for the fight, and give you a detailed strategy for each of the phases, the boss's abilities, etc. Then, we’re going to wrap up with a list of rewards that you’ll get for defeating the boss.
Fighting Valigarmanda can be a challenge, especially for someone who doesn’t have a lot of experience doing these kinds of Trials. Plus, farming for the right rewards usually takes several successful runs. If your time is precious to you, you should buy Worqor Lar Dor Extreme Boost at Skycoach. Not only will it give you any amount of successful runs, but each run will be done much faster, saving you the time to look over the rewards. Skycoach employs a team of professional MMO players who have the necessary skills to run this kind of activity day in and day out, which makes them extremely efficient at it. If you’re only interested in the rewards from this Trial and are not prepared to waste your time on it, place an order today and enjoy the loot. More details about the offer can be found inside the link.
IMPORTANT NOTE: Apart from learning about Worqor Lar Dor Extreme trial, you can also Buy Final Fantasy XIV Boost from Skycoach. We offer a wide range of products at the lowest market price and with the fastest delivery. You can make your first purchase even CHEAPER if you find a special PROMO CODE (highlighted in green) hidden in this article and get a 20% DISCOUNT.


How To Unlock Worqor Lar Dor Extreme
Extreme Trials are the endgame content. Downtrail expansion has introduced two Extreme Trials, both of which are unlocked in the same way:
- Worqor Lar Dor
- Everkeep
To get access to them, you must first complete the Dawntrail MSQ and attain level 100. Once you do that, you’ll be able to locate and come in contact with the Wandering Minstrel NPC, who resides in Tuliyollal. Go to these coordinates: X:11.1, Y:14.6 or use our map for reference:

All you have to do next is go to the marked spot and speak with Wandering Minstrel. After that, just open the Duty Finder and queue up for these two Etreme Trials. There’s no quest associated with Worqor Lar Dor How To Unlock function. Just skip a few dialogue windows, and you’re good to go!
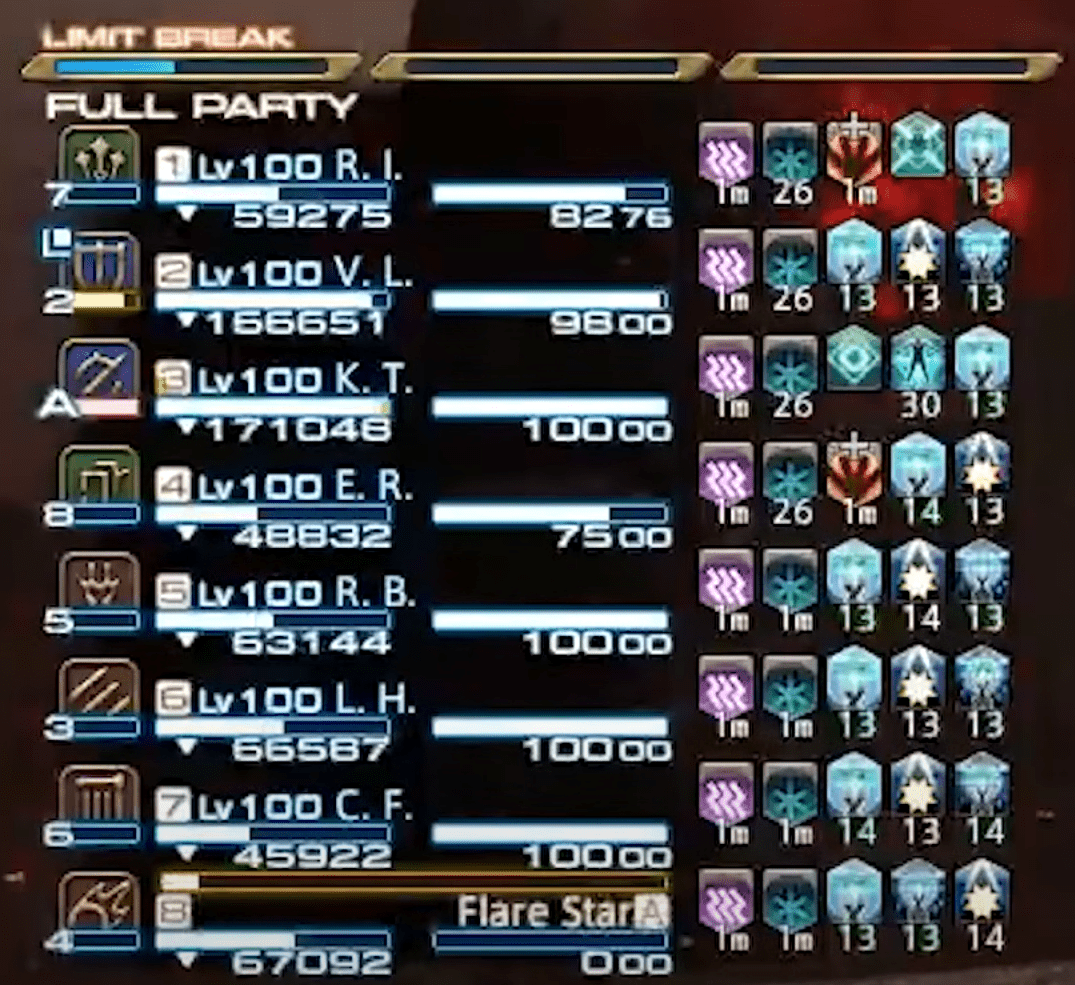
Just be mindful of the fact that the minimum item level for these activities is 690, and you’ll need a party of 8 players to join. BLOG20

Extreme Valigarmanda Guide
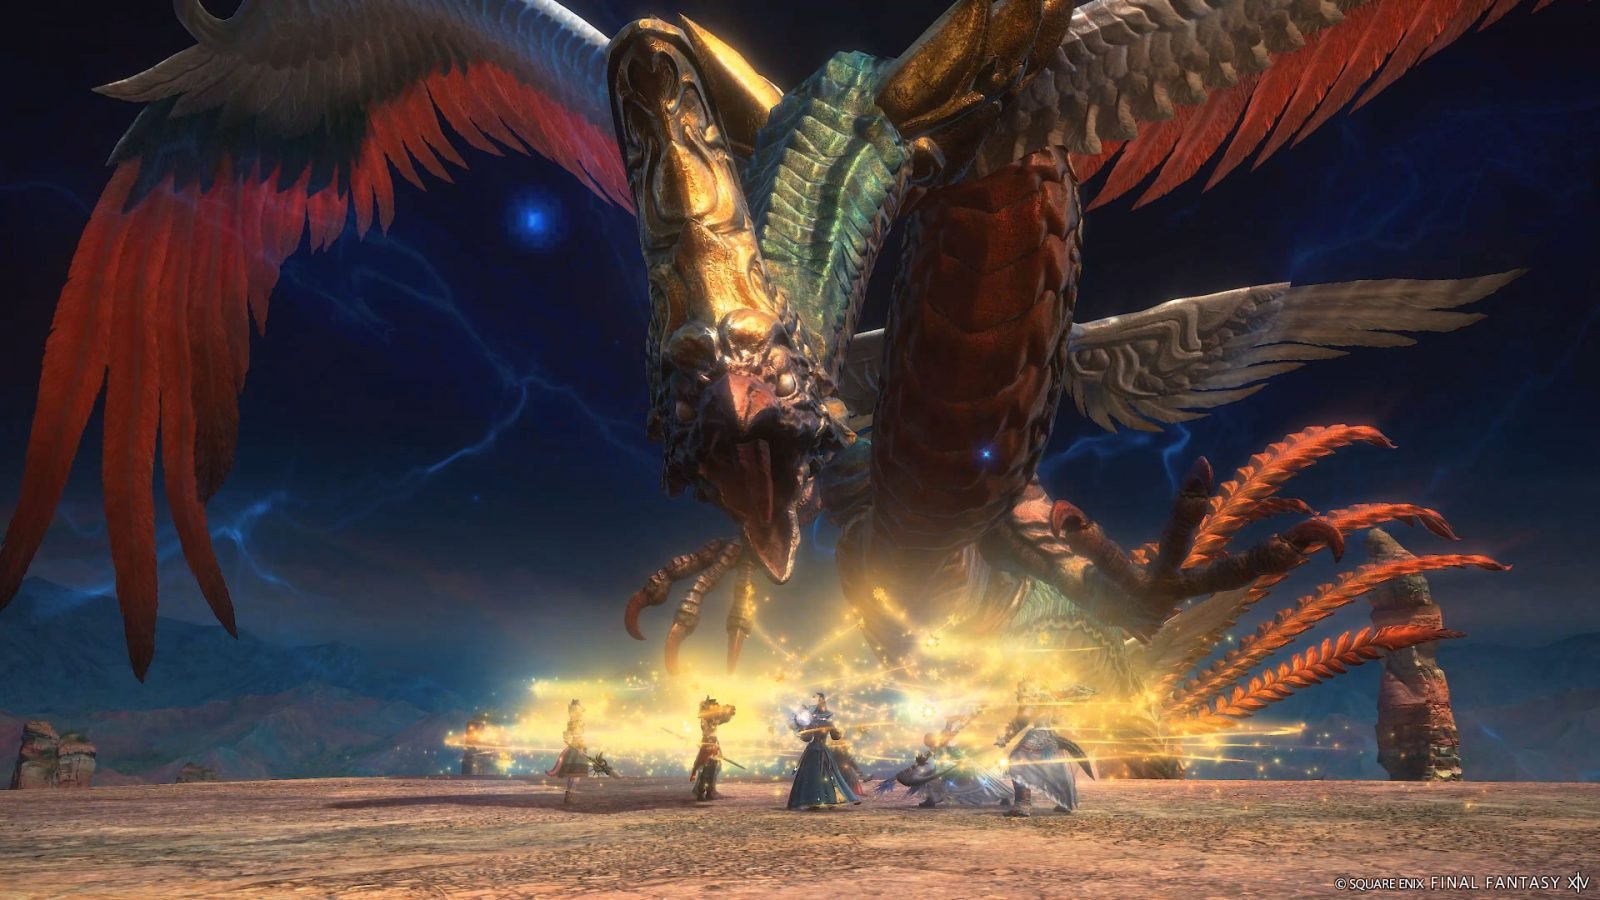
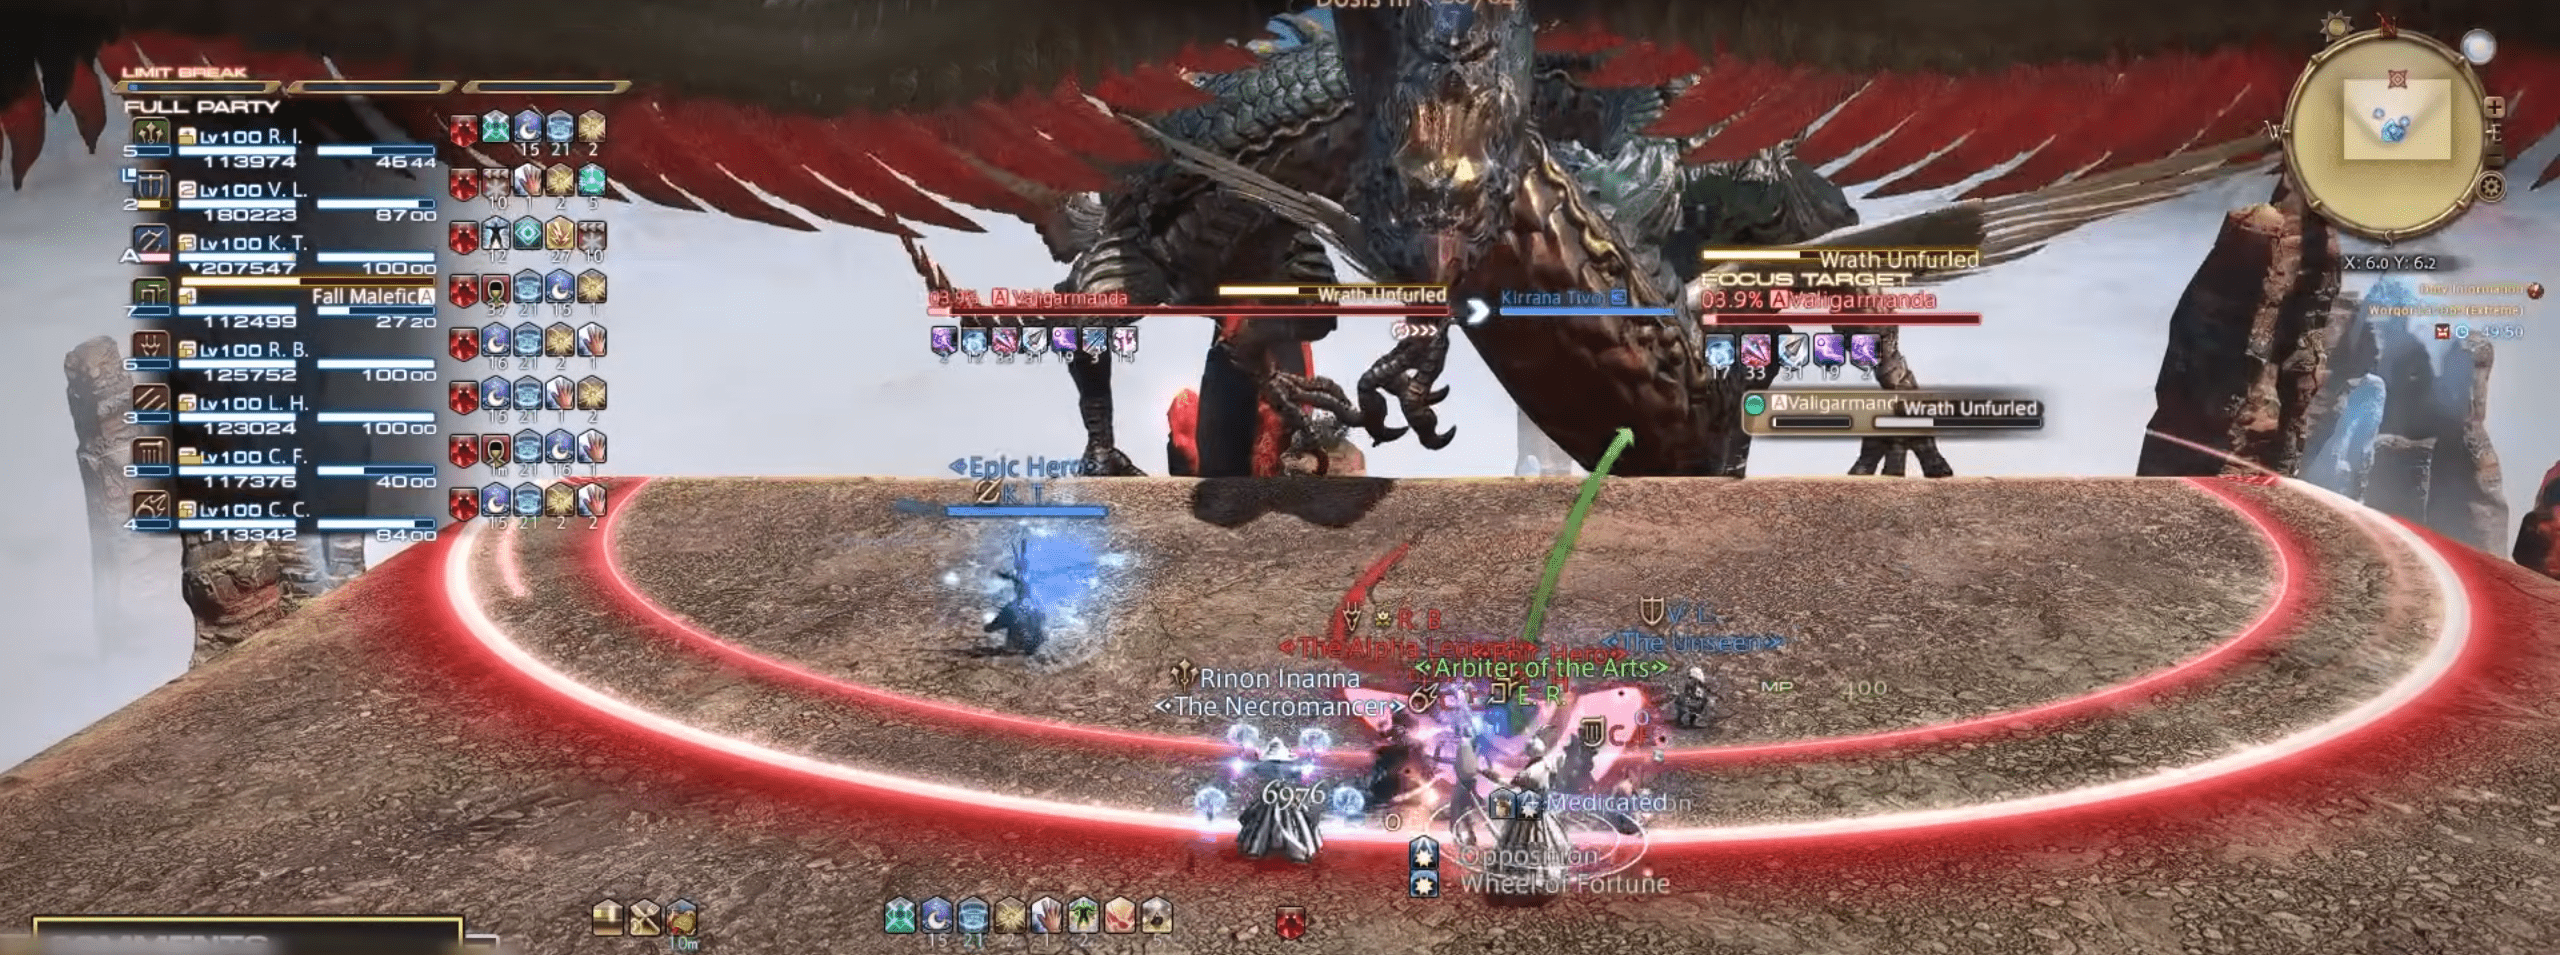
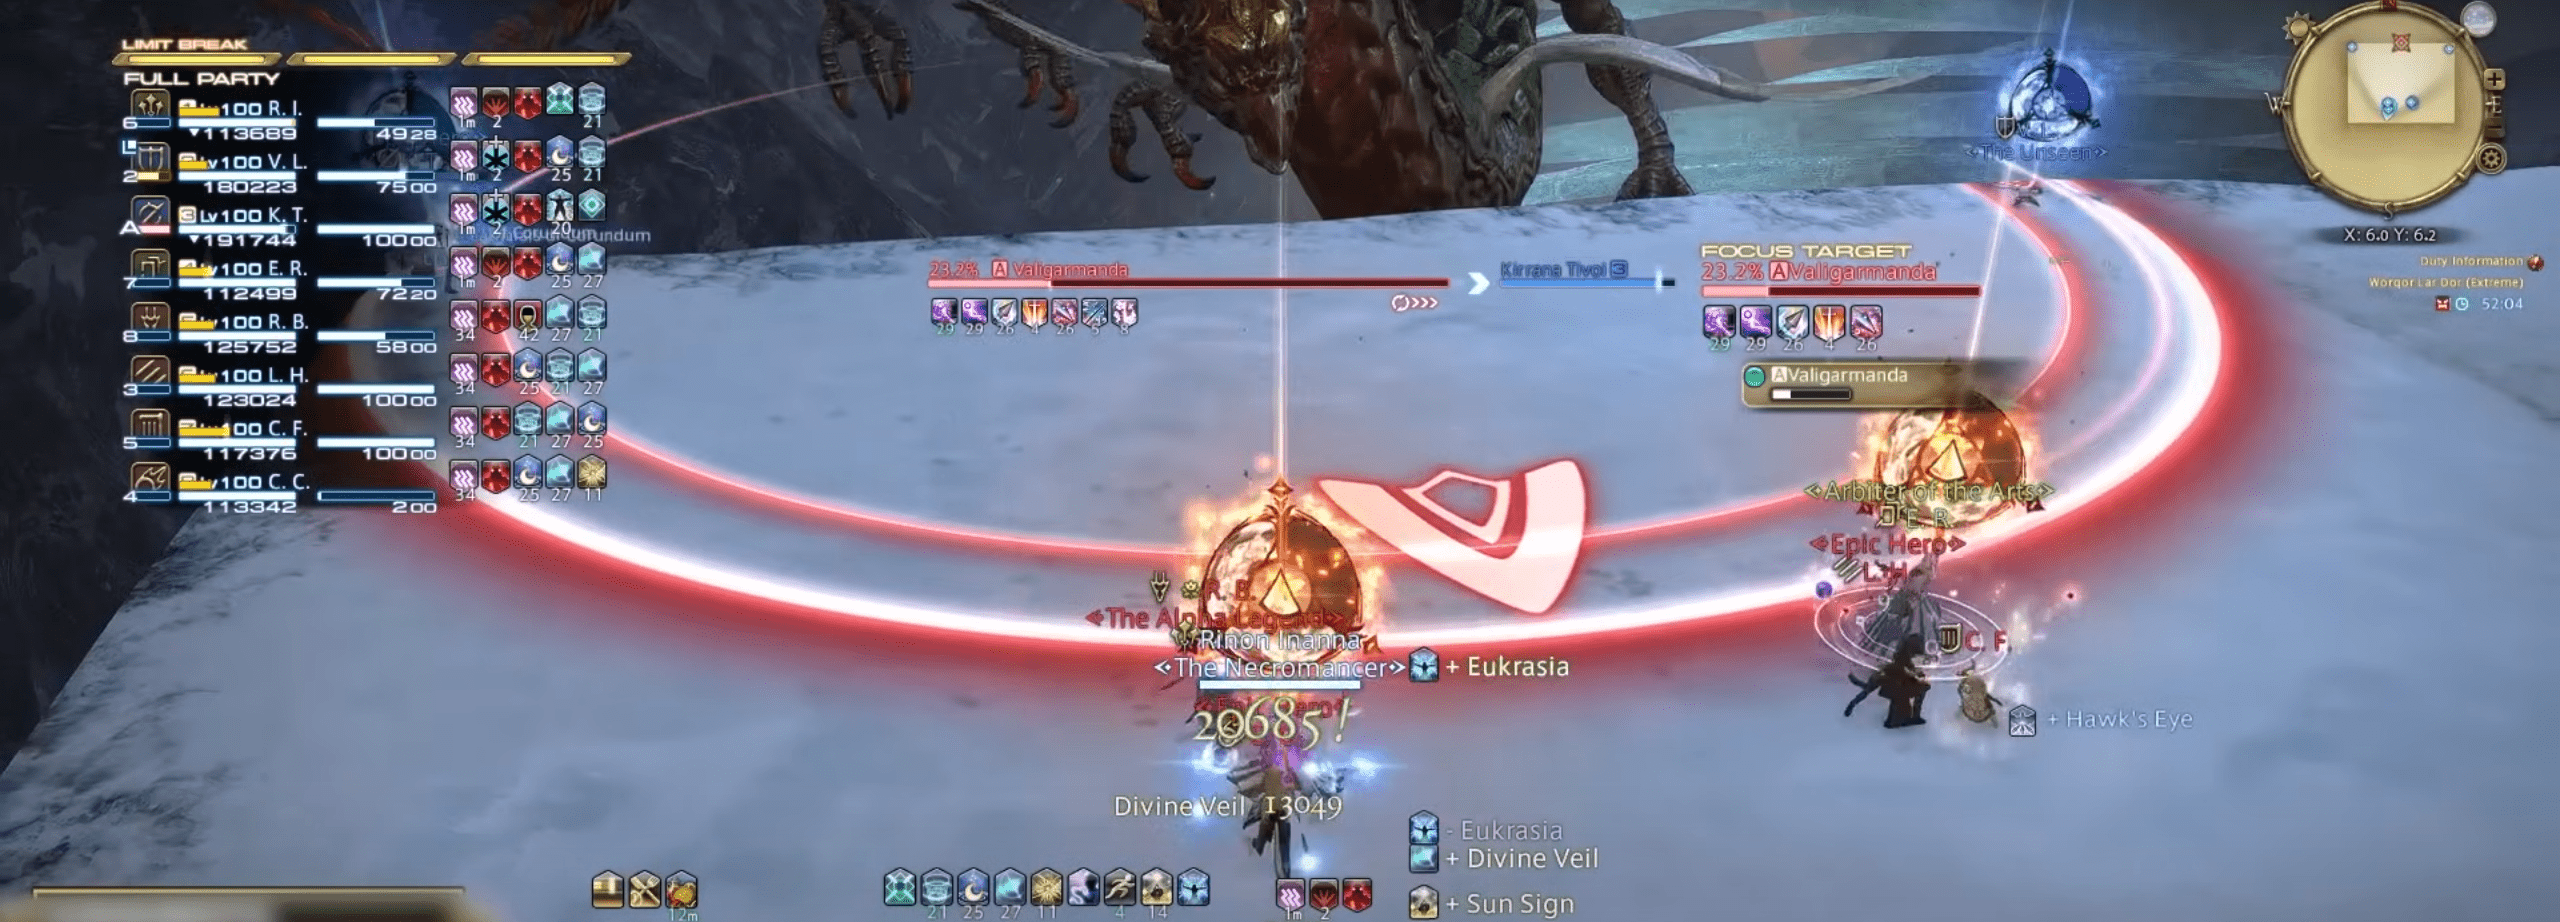
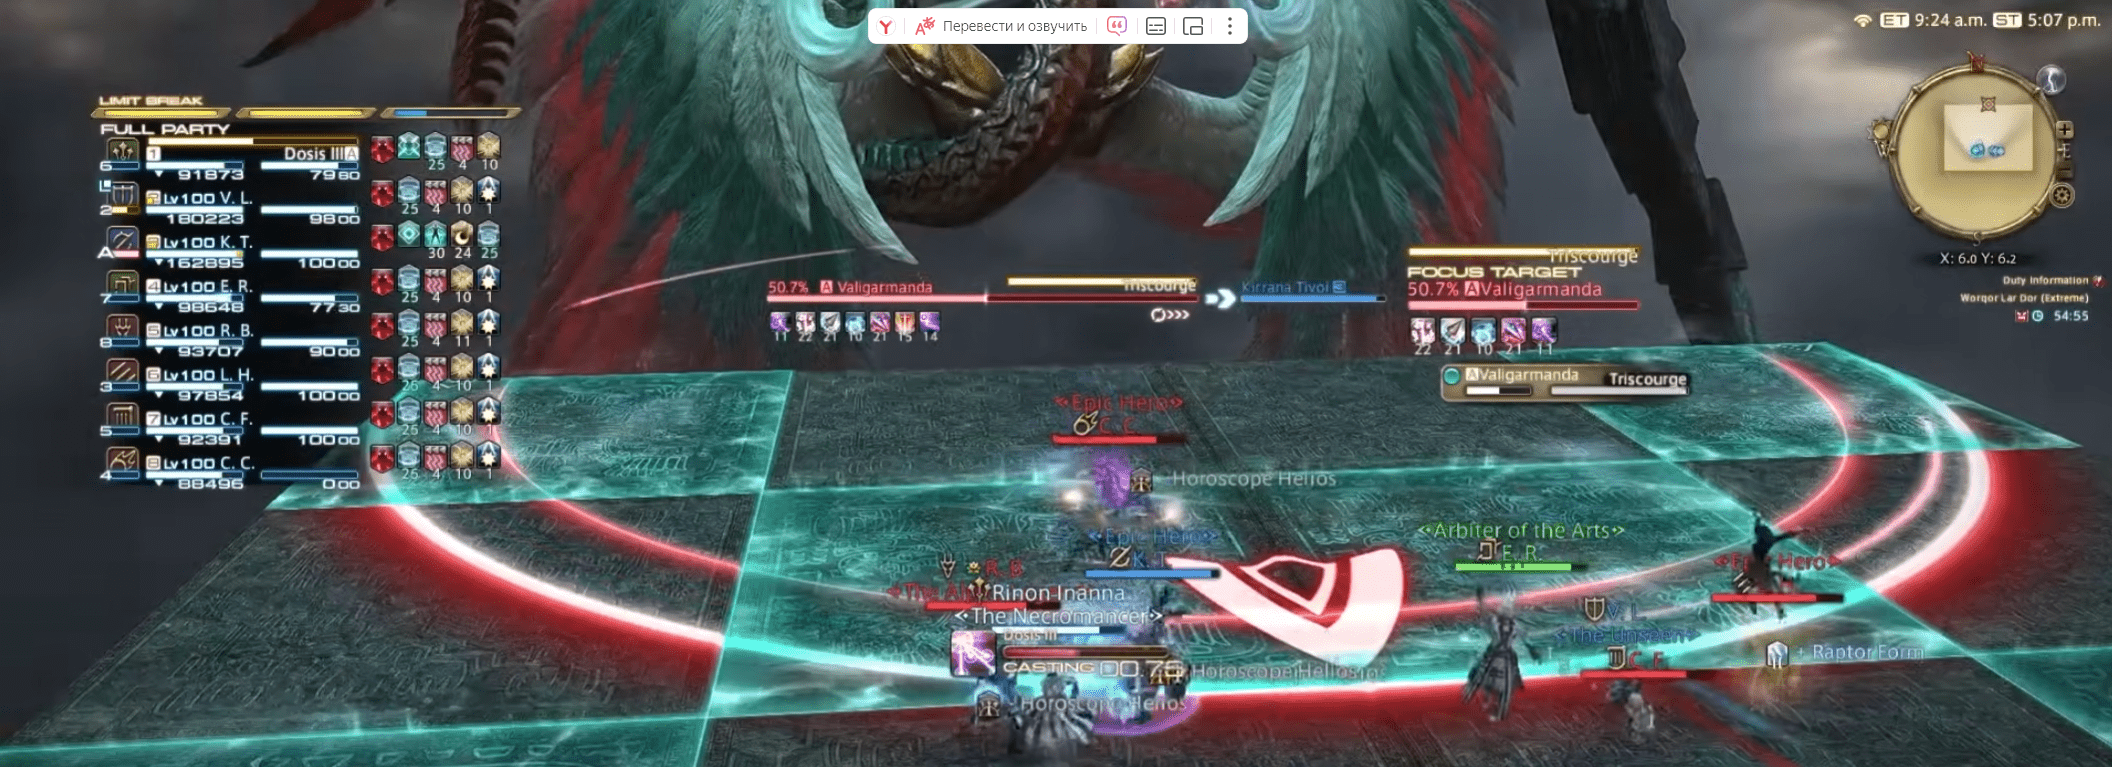
In Worqor Lar Dor (Extreme), you’re fighting a boss called Valigarmanda. Even though there’s only one encounter, it’s extremely difficult and complex. There are multiple phases with distinct elemental themes and mechanics.
The fight revolves around the Skyruin mechanic, which occurs three times, each time dropping new dangers on the arena and introducing unique challenges associated with one of three elements: flame, lightning, and ice phases. During each battle phase, the boss casts Triscourge – an epic attack that deals damage to everyone in your group and also applies unique debuffs. The debuffs increase the damage received from elemental attacks, such as the ones that deal fire, lighting, and ice damage. These debuffs last a different amount of time, and it will be imperative to keep track of which debuff expires faster so that you may use it to your advantage.
Here’s a short overview of all four Worqor Lar Dor Phases:
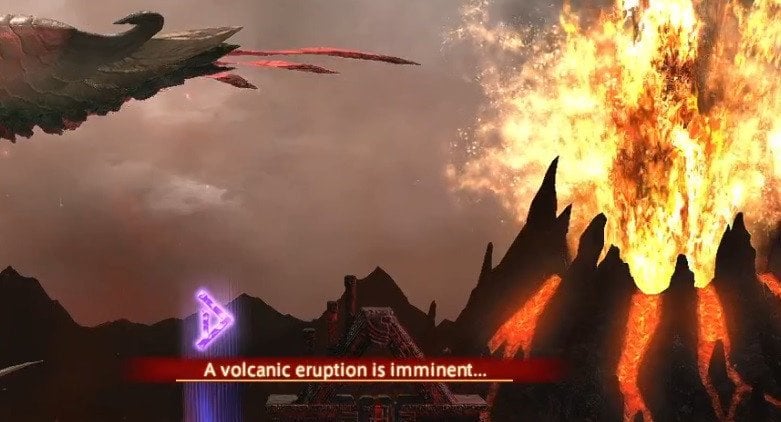
- Phase One: Skyruin of Flame This phase takes place on a raised platform where players can fall off the edge. Valigarmanda employs fire-based abilities, including explosive ice blocks, large volcanic eruptions, and towers that tanks must soak while avoiding subsequent arena-wide fire. The phase features various debuffs requiring specific movements or positioning.
- Phase Two: Elemental Beacons Valigarmanda moves away from the battle arena and becomes impossible to target and deal damage to. Instead, the boss summons elemental beacons, which need to be destroyed. Your group needs to split into light parties to defeat these adds while managing abilities that jump between tanks and healers, causing stacking damage. The phase culminates in a massive attack that damages everyone.
- Phase Three: Skyruin of Ice The arena changes once more for the ice phase, featuring abilities that freeze players if not handled correctly. So, your party has to deal with large line AoEs, and evade exploding chunks of ice, as well as manage various debuffs requiring movement to avoid being frozen in place or to minimize damage. This phase also introduces tank killers inflicting damage over time.
- Phase Four: Skyruin of Lightning The final phase involves levitation mechanics, where you must alternate between being levitated or grounded based on the debuffs. This phase includes proximity AoEs, ground AoEs requiring immediate movement, and abilities that necessitate precise dodging to avoid massive damage. The fight culminates with a final enrage, where your party must defeat Valigarmanda before it wipes the raid.
For this battle, you’ll need to divide your raid party into two teams. Each team must consist of:
- 2 DPS
- 1 Tank
- 1 Healer
It’s important that one DPS job must be melee-specialized while the other is ranged (physical or magic doesn’t matter) DPS. The Ranged DPS must be paired up with a healer, while the melee DPS has to be paired with the tank.
Skyruin - Trial Mechanic Explained
Valigarmanda will cast Skyruin, which signifies a phase change. Therefore, it will happen three times during the fight.
- First cast – deals fire damage
- Second cast – deals lightning damage
- Third cast – deals ice damage
Each cast deals its own raid-wide elemental damage and applies a DoT (Damage over Time) debuff.
Additionally, right after casting Skyruin, Valigarmanda also casts Trisourge which adds elemental debuffs to the entire group with different timers based on the player’s group role as well. Finally, throughout the fight, Valigarmanda will throw at you the following attacks:
- Slithering Strike: In this move, Valigarmanda takes a special pose and launches a close-ranged AoE slightly larger than its hitbox. In normal mode, the phrase "Valigarmanda gathers its strength..." appears.
- Susurrant Breath: When Valigarmanda opens its beak, it unleashes a wide arc-like AoE. This attack can be recognized by this phrase: "Blinding energies build within Valigarmanda's wide-open beak..."
- Strangling Coil: A donut-shaped AoE appears in the center of the arena as Valigarmanda coils around it. The phrase "A tempestuous wind surrounds Valigarmanda..." signals this attack.
All you have to do is watch out for these messages because they’re the only indication of an incoming attack. There are no cast bars or anything else besides them.

Valigarmanda Phase One: Flame
The first phase takes place on a platform in the air, which you can fall off or be knocked off, so be careful. There are going to be several Valigarmanda skills that you’ll need to deal with:
| Ability | Description |
| Spikesicle | An Area of Effect (AoE) attack that moves in a curved direction starting from either one of the corners of the arena. It can be dodged by following a specific tactic described below. |
| Volcanic Drop | A volcano that appears on the left or right side of the arena and starts bubbling, causing a large AoE on that side. Smaller ground AoEs also target random party members. |
| Triscourge |
Deals decent amount of magical damage to all party members and inflicts various debuffs:
|
| Charring Cataclysm | Marks pairs of players on DPS or supports that reduce Fire Resistance by a large amount. Pairs of players must get closer to each other to mitigate damage. |
| Mountain Fire | Summons a tank-busting tower at the front of the arena, attacking it six times in a row. Each tower hit results in scorched earth everywhere except a small area in front of the boss. Valigarmanda changes the angle between hits, so the safe area also changes. |
| Disaster Zone | Inflicts insanely high magical damage and resets the arena to its normal state. |
| Ruin Foretold | Delivers a gigantic amount of magical damage to all party members and changes the battle phase to the one with the adds. |
| Strangling Coil | Valigarmanda flies around the arena, creating a donut-shaped AoE in the center, signaled by a gust of wind. |
| Susurrant Breath | Valigarmanda screams, releasing a wide conal AoE, preceded by a buildup of blinding energies. |
The encounter begins with Spikesicle, where Valigarmanda launches curved line AoEs across the arena, culminating in explosive ice blocks. Party members must position themselves near the initial AoE edges and move inward to avoid both the incoming curved lines and subsequent ice block explosions.
Before Triscourge is cast, the party must be healed up and players should note the timing for Calamity's Chill. When the warning appears, party members need to identify the non-bubbling side of the arena and quickly evade the ensuing AoEs.
Following this, Valigarmanda executes Strangling Coil, a mechanic that necessitates immediate attention to safe spots indicated by animations or phrases said by the boss. Players must then stack with their designated partner for Charring Cataclysm, adapting their position based on the specific skill (Strangling Coil, Susurrant Breath, or Slithering Strike). BLOG20
After handling these initial challenges, players face Susurrant Breath, where continuous movement is crucial to mitigate Calamity's Chill debuffs.
As the phase progresses, tanks manage Mountain Fire by alternating tower soaks with mitigation, positioning themselves relative to Valigarmanda's movement to mitigate fire damage and apply necessary debuffs.
Calamity's Inferno follows, prompting party members to split into light teams and move southward to avoid lingering fire puddles. Mitigating damage and healing effectively between each stack is essential.
Throughout the phase, party members must navigate through volcanic eruptions, Valigarmanda's Cataclysm combinations, and promptly spread for Calamity's Bolt to minimize raid-wide damage.
Preparing for subsequent phases, healing up after the Disaster Zone, and anticipating Ruin Foretold is vital to transitioning smoothly into the adds phase.
Valigarmanda Phase Two: Fighting Adds
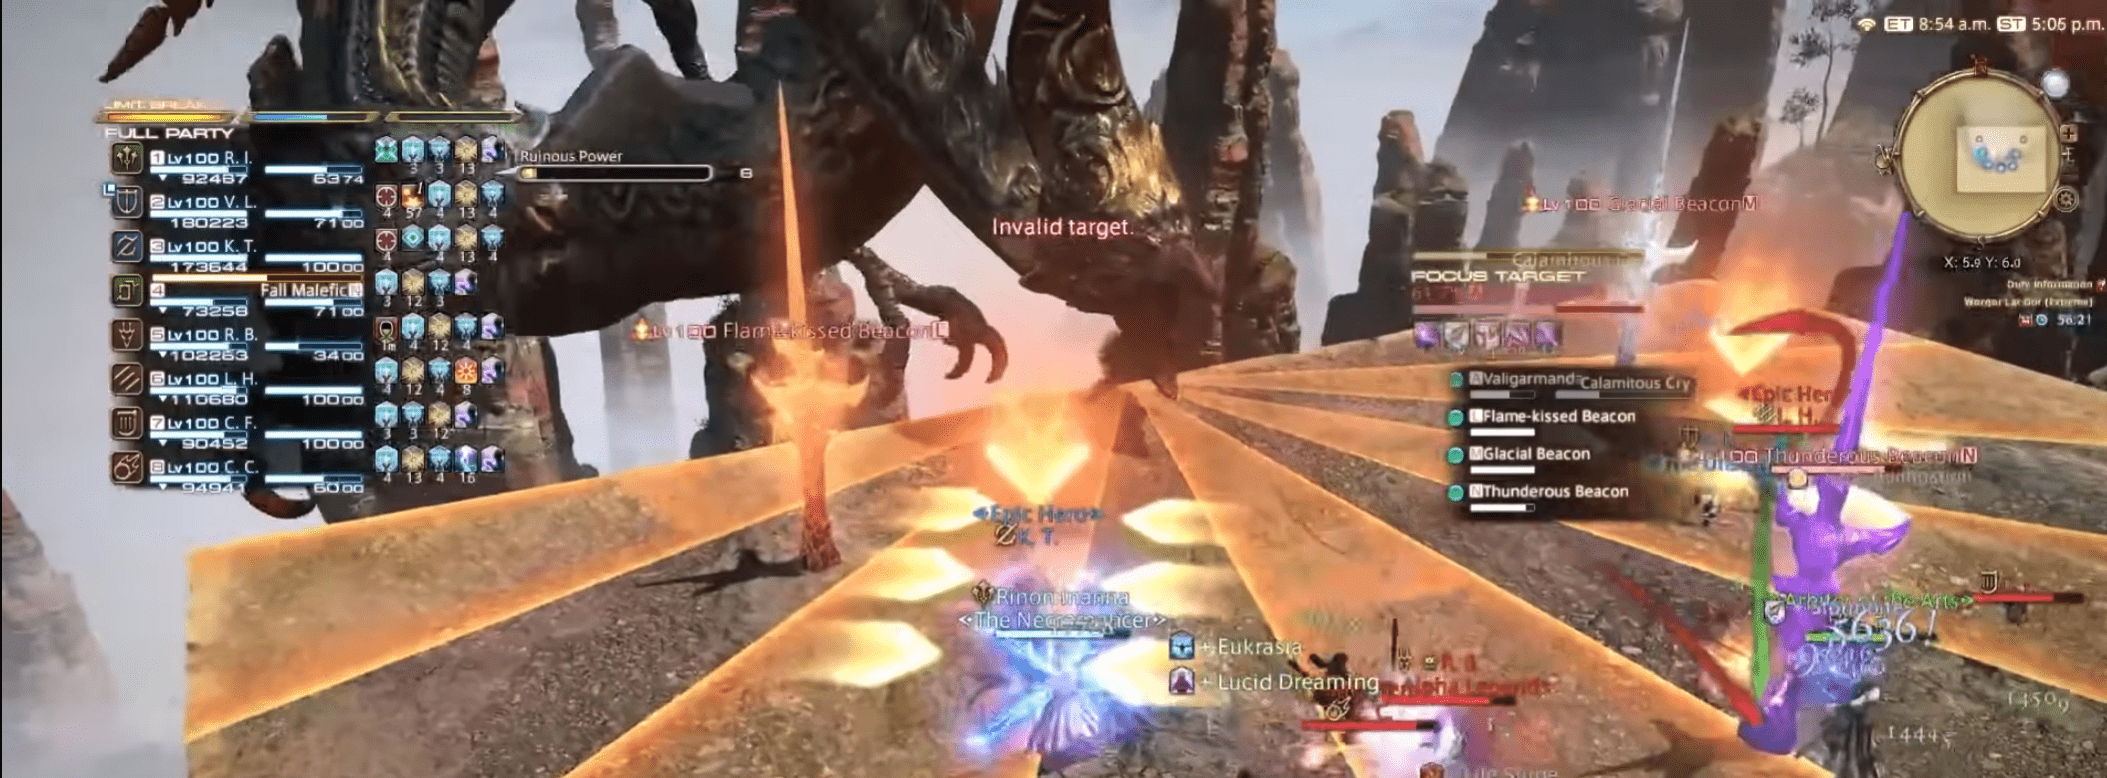
In this phase, you’ll be dealing with adds, summoned by Valigarmanda while the boss stays out of reach and cannot take any damage. Here are Valigarmanda's abilities in the second phase:
| Ability | Description |
| Calamitous Cry | Marks tanks and healers with a set timer. When the timer is out, inflicts heightened damage on the player in the closest proximity to Valigarmanda. Imposes a debuff increasing magic vulnerability. Each use empowers Valigarmanda with a damage-boosting buff. |
| Tulidisaster | Executes Valigarmanda's ultimate attack: delivers three successive waves of devastating magical damage to all party members, escalating in intensity with each hit. Inflicts Perpetual Conflagration on all targets, causing continual light damage over time throughout the encounter. |
Here’s how you deal with all of this. Your job is to defeat all of the adds that spawn on both sides of the platform. Make sure that both groups of players stand between the adds and the center of the arena, which will help them avoid the AoE attacks of Calamitous Cry. After the adds are defeated, Valigarmanda will rejoin the fight and cast Tulidisaster, which just needs to be survived. After that, the next phase will begin. It will be either Ice or Lighting phase; it’s always random.
Valigarmanda Phase Three: Ice
In this phase, the only new mechanic to worry about is being hit by a specific ability that turns party members into a block of ice that needs to be broken down to free them. Here are the abilities:
| Ability | Description |
| Triscourge | Deals decent magical damage to all party members. Throughout the ice phase, party members acquire specific debuffs: Calamity's Bolt inflicts significant damage over time (unmarked AoE, with varied timers for DPS and supports), Calamity's Bite delivers a substantial magical tank killer to tanks, and healers receive Calamity's Flames, a stackable unmarked attack dealing magical damage. |
| Northern Cross | Initiates with the signature phrase, "A rumbling avalanche approaches from the southeast..." followed by a substantial line AoE traveling according to indicated arrows at the rear of the arena. |
| Chilling Cataclysm | Spawns Arcane balls that deal linear AoE attacks. Party members must locate a safe spot between two lines to avoid damage. |
| Freezing Dust | Requires continuous movement for approximately two seconds following the cast to prevent freezing. |
| Ice Talon | Executes an AoE magical tank killer on both tanks, inflicting a massive DoT effect. |
In this phase, party members will endure ongoing damage-over-time effects, necessitating continuous attention to their health. The phase initiates with another Triscourge. Tanks must quickly mitigate Calamity's Bite, while healers handle Calamity's Flames. Tanks position themselves in the top corners for mitigation while the rest of the party splits into teams and bundles up together.
Following this, you and your friends will face Northern Cross and a simultaneous Valigarmanda Cataclysm. Positioning is crucial: players must most quickly move to one of three safe spots on the arena:
- Closer to the boss
- Away from the boss
- At the corner
As the Arcane Spheres appear, identify the safe spot between both lines; the absence of spheres at one waymark indicates it's safe. BLOG20
Next, Spikesicle returns alongside Northern Cross. Just run and evade exploding ice blocks the same way you did in the first phase, while remaining in the safe zone for the large line AoE. Though challenging, surviving one AoE hit is manageable if not hit by multiple simultaneously.
Subsequently, Valigarmanda unleashes Cataclysm, Arcane Spheres, and Northern Cross in succession. Party members must dodge each in turn. Afterward, prepare for Freezing Dust, followed by the dispersion of the final Calamity's Bolt debuffs, prompting all players to spread out.
Prioritize healing and mitigation for Disaster Zone. Tanks must mitigate Ice Talon before gearing up for the phase's conclusion.
Valigarmanda Phase Four: Lightning
In this phase, you and your teammates can fly into the air using special panels spawned across the arena, which will allow you to dodge certain attacks. There will also be attacks that will one-shot you if you’re in the air. Here’s the list of abilities for this phase:
| Ability | Description |
| Triscourge | Inflicts Calamity's Fulgur, a hidden AoE with different durations for healers and DPS who are avoiding levitation. All players receive Calamity's Frost, an ice boulder with stagger-timers for DPS and supports, requiring them to hover in the air. Healers receive Calamity's Embers, which is an invisible debuff that has no UI indication. |
| Hail of Feathers | Spawns six targetable and explosive feathers around the arena that blow up after a set time dealing AoE damage. You have to take down at least one of them. |
| Blighted Bolt | Destroys all feathers in an AoE. |
| Crackling Cataclysm | AoE centered on all players after the initial attack. |
| Thunderous Breath | Map-wide conal AoE requiring levitation to dodge. Arcane Spheres spawn for a line AoE across the arena. |
| Ruinfall | The middle arena tower is to soak and mitigate by both tanks. Front arena knockback follows the tower, with AoEs at the rear. |
Start by stacking with your healer to absorb Calamity's Embers, ensuring no one is levitating. Just take a position across the arena from the Hail of Feathers spawn and start moving around the arena in a clockwise direction. Destroy the first feather and hold position.
Identify which debuffs are expiring first for each role. Party members with Calamity's Fulgur should take refuge on non-levitating platforms, while those with Calamity's Frost should use levitating tiles. Melee and tanks should position forward, while healers and ranged take the back.
Prepare for Valigarmanda's Cataclysm combination. Crackling Cataclysm places an unreadable ground AoE under everyone, requiring immediate movement post-initial dodge. Then. evade Thunderous Breath by standing on platforms for flying. As the final debuffs expire, repeat the spreading strategy or reverse it from the first time. Keep dodging a barrage of various AoE attacks. At some point, Disaster Zone switches the arena, followed by Ruinfall's tank mitigation.
In the ultimate sequence, Valigarmanda increases his damage by using Wrath Unfurled. It precedes Mountain Fire and eventually enrages with Tulidisaster. Focus on defeating the boss swiftly to avoid wiping.
Worqor Lar Dor Extreme Rewards

Once the boss is defeated, each player will receive a number of Worqor Lar Dor rewards that include:
- Valigarmastered achievement
- 15 Allagan Tomestone of Aesthetics – used to buy level 700 gear at Solution Nine (X:8.7 Y:13.5)
- Valigarmanda Card – an epic (4-star) Triple Triad card.
- 1 Skyruin Totem per boss kill – can be used to exchange for a weapon at Solution Nine (X:8.7 Y:13.5)
- Treasure Coffer – contains a random reward.
The coffer contains one of 25 items with 710 item level. Here’s the full list:
| Item Name | Type |
| Paladin's Skyruin Arms | Other |
| Skyruin Bardiche | Marauder's Arm |
| Skyruin Faussar | Dark Knight's Arm |
| Skyruin Gunblade | Gunbreaker's Arm |
| Skyruin War Scythe | Reaper's Arm |
| Skyruin Baghnakhs | Pugilist's Arm |
| Skyruin Blade | Samurai's Arm |
| Skyruin Cleavers | Rogue's Arm |
| Skyruin Twinfangs | Viper's Arm |
| Skyruin Longbow | Archer's Arm |
| Skyruin Musketoon | Machinist's Arm |
| Skyruin War Quoits | Dancer's Arm |
| Skyruin Staff | Two-handed Thaumaturge's Arm |
| Skyruin Index | Arcanist's Grimoire |
| Skyruin Rapier | Red Mage's Arm |
| Skyruin Round Brush | Pictomancer's Arm |
| Skyruin Cane | Two-handed Conjurer's Arm |
| Skyruin Codex | Scholar's Arm |
| Skyruin Orrery | Astrologian's Arm |
| Skyruin Wings | Sage's Arm |
| Skyruin Weapon Coffer (ilvl 710) | Other |
| Wings of Ruin | Other |
| Faded Copy of The Skyruin | Orchestrion Roll |
| Ruinous Plume | Material |
Some of the items from this Worqor Lar Dor Loot table have Blue rarity, while some only Basic. Still, this coffer is one of the main reasons for doing the trial.
Conclusion
Worqor Lar Dor Extreme Trial feature one complex boss encounter with four stages and hugely different mechanics in each of them. Remember to split your group into two teams and watch out for those curved AoE attacks.
This boss will throw everything it has at you – high-damage attacks, long-lasting DoT, all kinds of debuff and summons. Keep your eyes peeled for the phrases that the boss says before special attacks that he throws in each phases, as its the only way to tell what attack its going to be.
Once you’ve mastered the mechanics, you’ll easily defeat Valigarmanda and claim your well-deserved ilvl 710 rewards.
F.A.Q.
How to unlock Worqor Lar Dor Extreme Trial?
Finish the Dawntrail MSQ, reach level 100, and speak with Wandering Minstrel in Tuliyollal.
How many phases are there in Worqor Lar Dor Extreme Trial?
Valigarmanda has four phases, and the mechanics of the last two phases may be random.
What is in the loot table of Worqor Lar Dor Extreme Trial?
The loot table includes a number of rewards:
- Valigarmastered achievement
- 15 Allagan Tomestone of Aesthetics
- Valigarmanda Card
- 1 Skyruin Totem per boss kill
- Treasure Coffer
How do I kill Valigarmanda in Worqor Lar Dor Extreme Trial?
You need to split your team into two even teams with 2 DPS, a healer, and a DPS. Then, you must evade the boss’s attacks in each of the phases while finding the window of opportunity to deal damage. Follow our guide for more information.