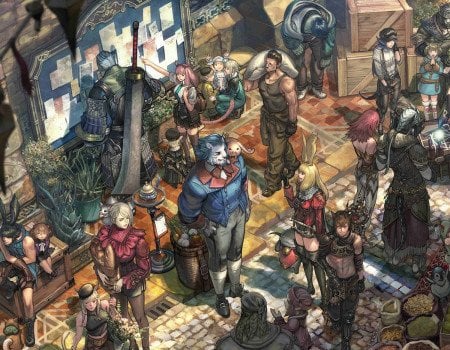
AAC Light-heavyweight comes as the first raid tier of The Arcadion added with the Dawntrail expansion release. You will face off against four bosses, each featuring their distinct abilities and mechanics. In our FFXIV AAC Light-heavyweight raid guide, we will cover them all and provide a complete walkthrough for each boss.
If you need help with any section, we can help you Complete The Arcadion Raid in a jiffy. Our professional players will finish it on either Normal or Savage difficulty if you choose. Get the desired rewards, and do not waste your time anymore. Skycoach has you covered!
IMPORTANT NOTE: Apart from reading the raid guide, you can also Buy Final Fantasy XIV Boost from Skycoach. We offer a wide range of products at the lowest market price and with the fastest delivery. You can make your first purchase even CHEAPER if you find a special PROMO CODE (highlighted in green) hidden in this article and get a 20% DISCOUNT.
Browse our hottest FFXIV Boosting services


How to Unlock AAC Light-heavyweight
Since we are dealing with a brand-new raid here, you need to unlock AAC Light-heavyweight first. You will have to meet several requirements, starting with the 7.0 Dawntrail main scenario completion.
Once you do this, follow these instructions on how to unlock AAC Light-heavyweight:
- Complete the "A New Challenger Appears" quest
- Finish the "The Claw in the Dark" quest
To start the "A New Challenger Appears" quest, talk to Stylish Stranger at Solution Nine. You can find this NPC easily if you follow the x19.1, y18.8 coordinates.

AAC Light-heavyweight Rewards
If you are hunting for the best AAC Light-heavyweight rewards, including gear, you need to wait for the raid’s Savage version. When playing on a Normal difficulty, you can only get tokens to exchange for gear you like.
Depending on what AAC Light-heavyweight gear you are looking for, the number of tokens required will vary accordingly:
| Gear Slot | Tokens Required | Token Name |
| Head | 2 | Lightheavy Holohelm |
| Body | 4 | Lightheavy Holoarmor |
| Hands | 2 | Lightheavy Hologauntlets |
| Legs | 4 | Lightheavy Holochausses |
| Feet | 2 | Lightheavy Hologreaves |
| Accessories | 1 | Lightheavy Holoearring |
To exchange your tokens, talk to Hhihwi in Solution Nine. So far, we know the maximum item level of gear you receive from the Normal mode is capped at 710. As for the Savage difficulty, this number is set at level 730. Remember that AAC Light-heavyweight weapons come with five levels higher than the gear you obtain from the raid. BLOG20
Browse our hottest FFXIV Boosting services


AAC Light-heavyweight Bosses
The entire AAC Light-heavyweight raid consists of four phases. During each phase, you will encounter a boss with a set of unique abilities and mechanics. While each of these bosses has their respective names, the community often calls them M1, M2, etc. Here is a short AAC Light-heavyweight bosses description to introduce you to all the enemies in more detail:
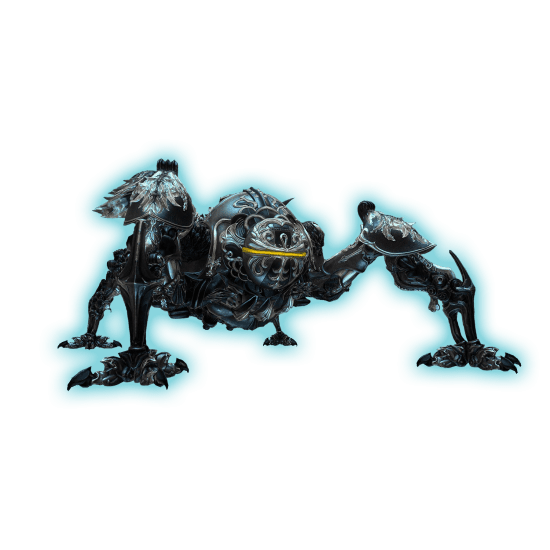
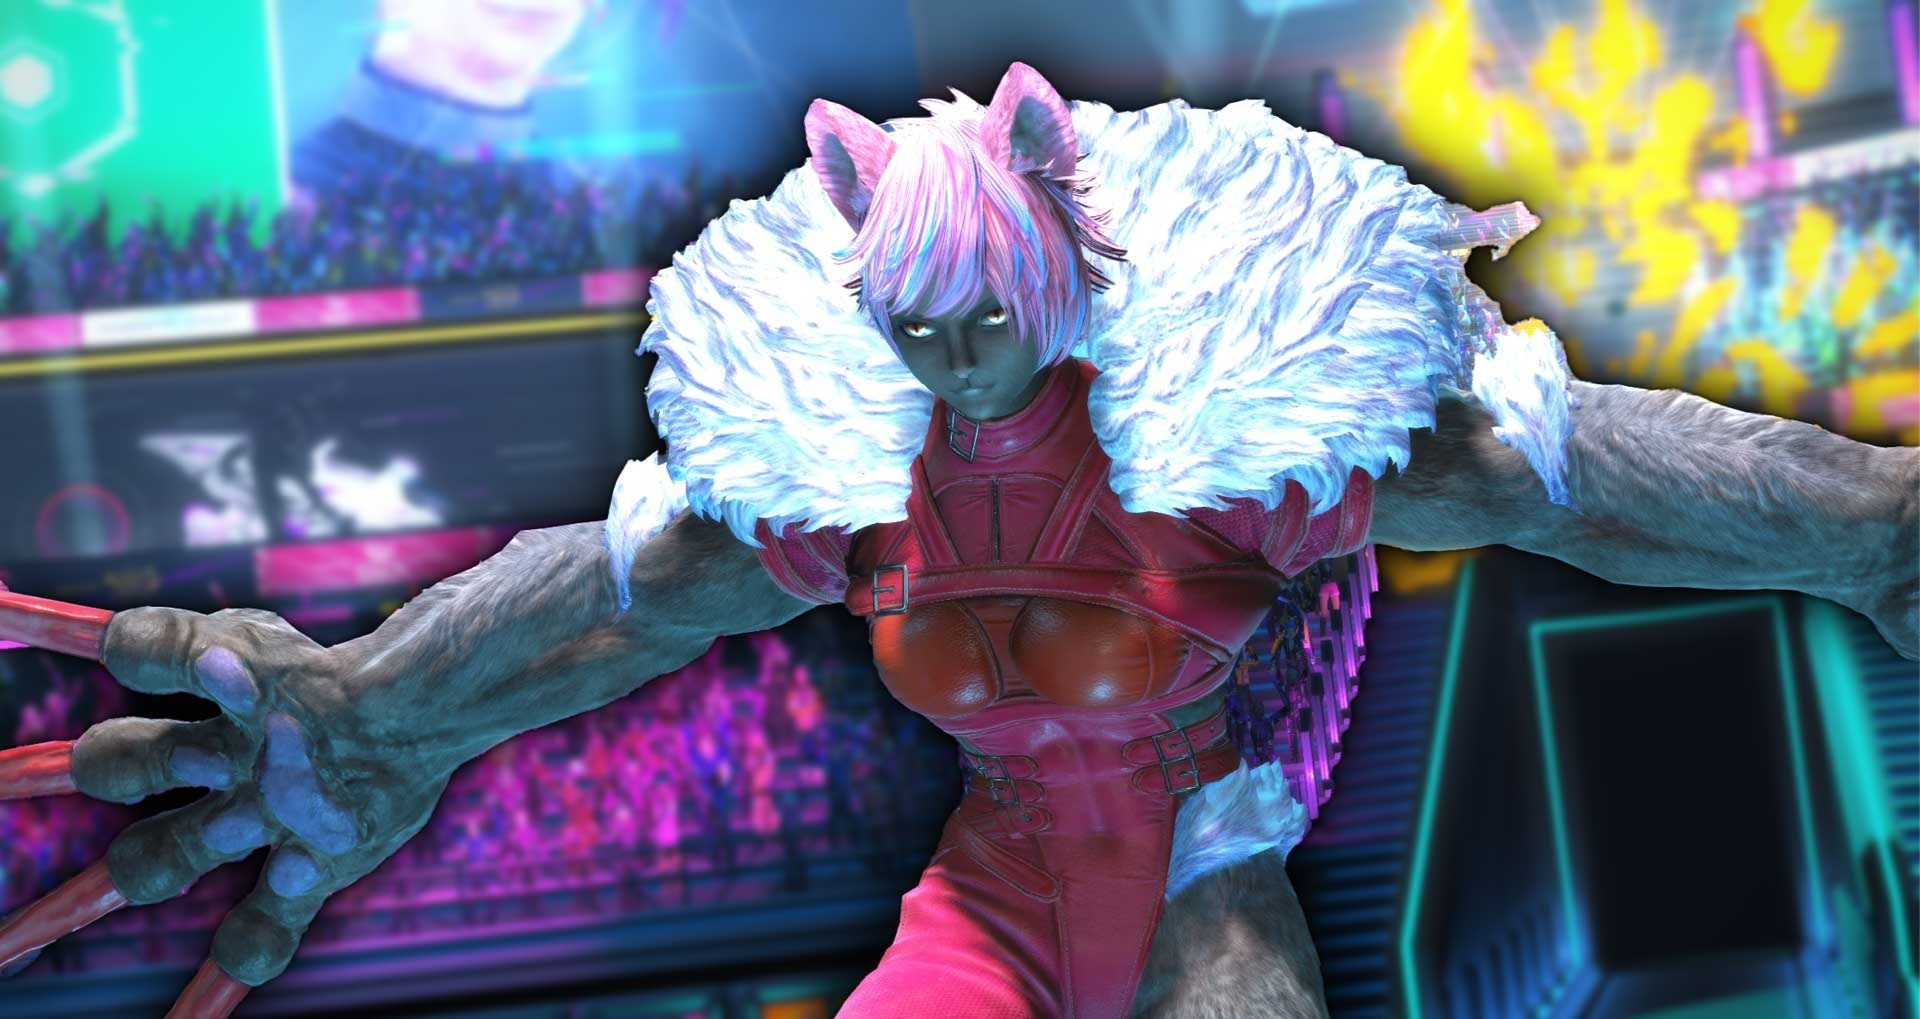
- Black Cat
The fight with Black Cat, aka M1, unfolds on a 16-square area. You can be knocked off this platform if hit by a specific boss’s abilities. If one of the squares breaks, you can also fall off. The boss will constantly try to break these squares by hitting them with specific mechanics twice. If you notice visible cracks on a square, it is about to break.
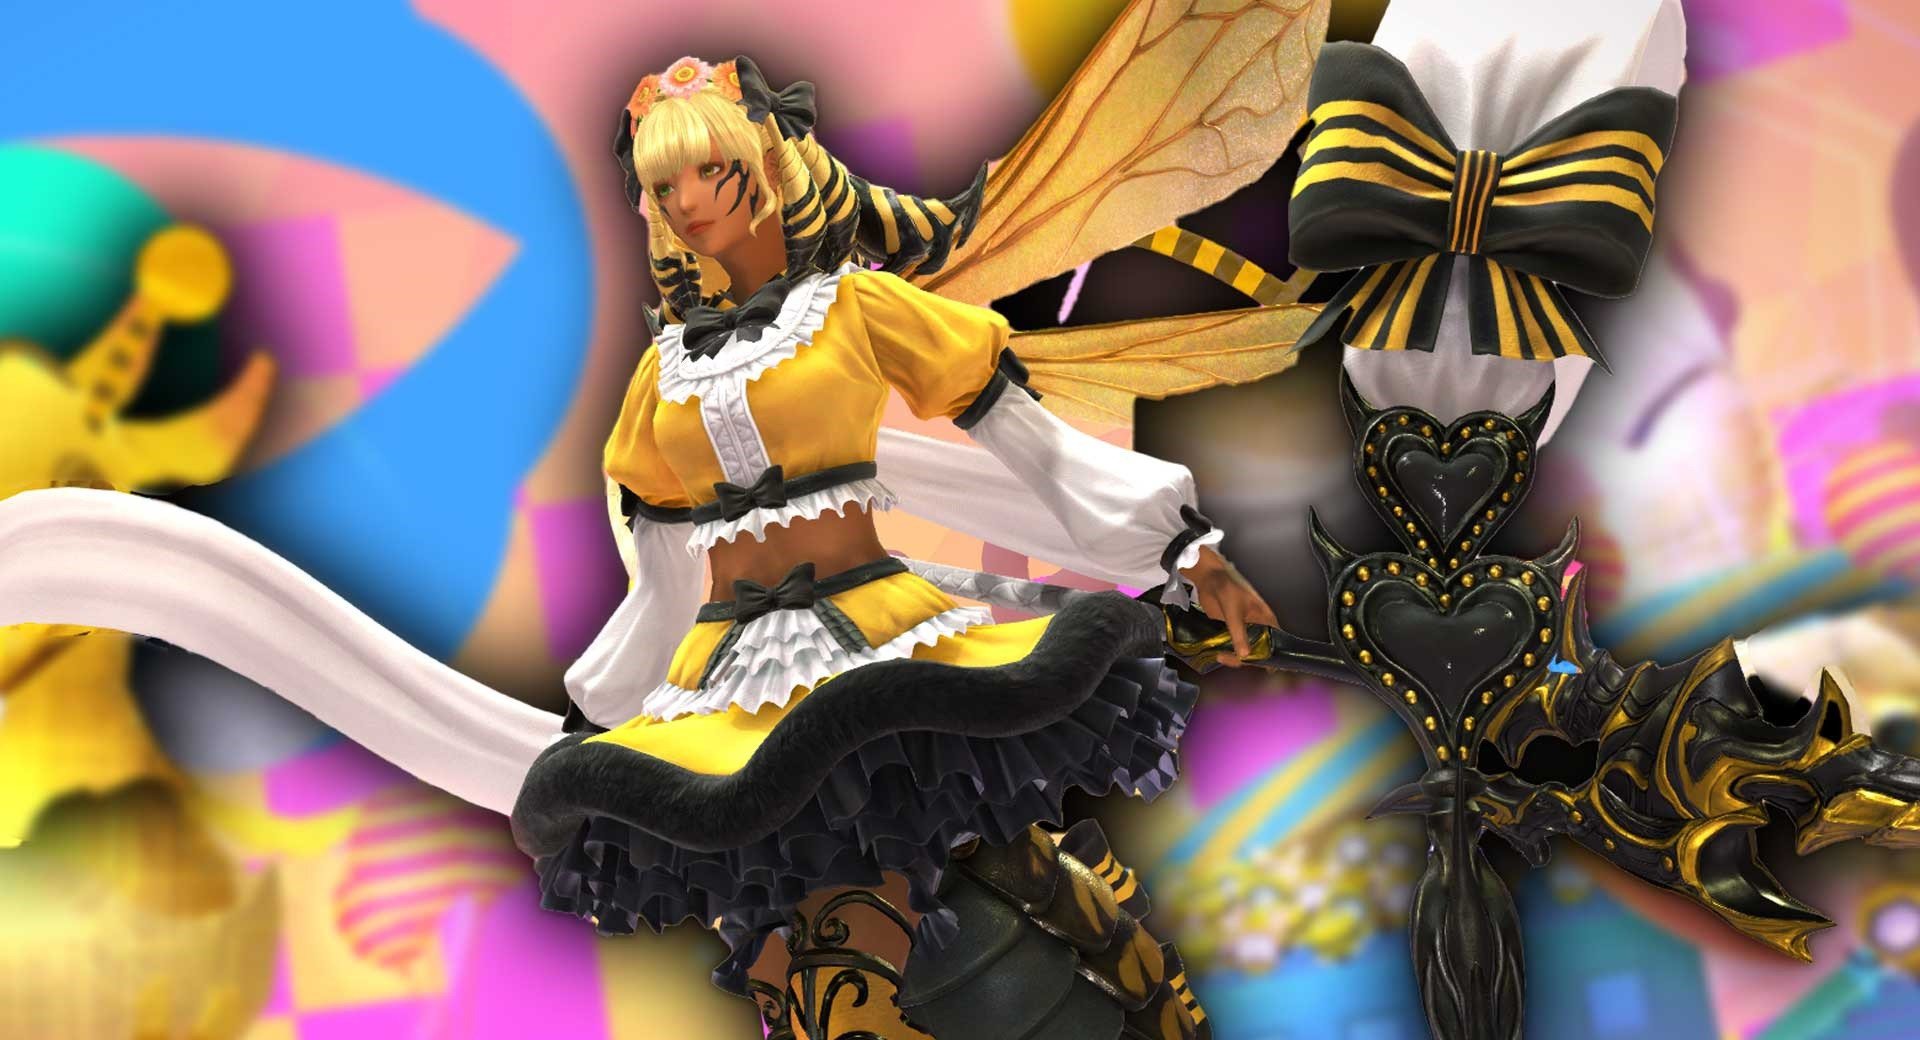
- Honey B. Lovely
The battle with Honey B. Lovely, aka M2, revolves around the heart bar. Your task is to not get hit by her mechanics that fill this gauge up. If that happens, you will experience the Fatal Attraction debuff. This does not let you move or do anything else to help your raid.
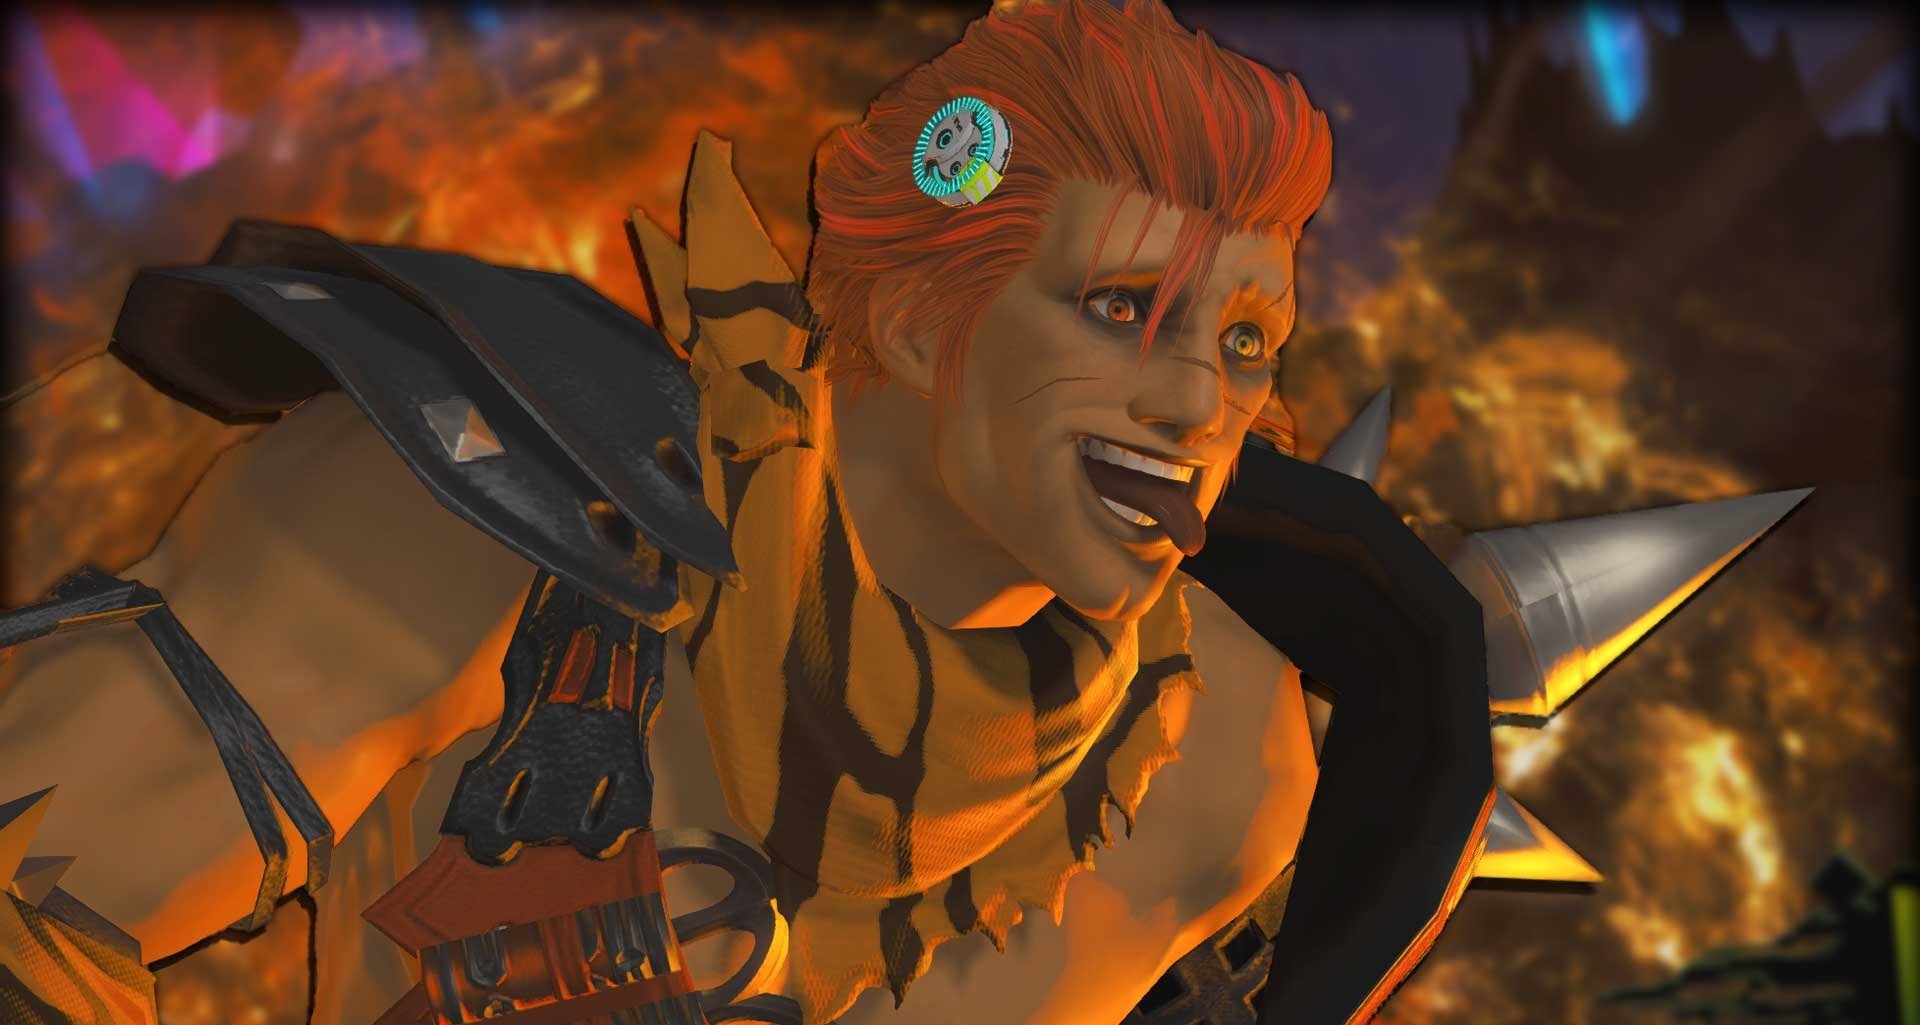
- Brute Bomber
Brute Bomber, aka M3, punishes all knocked players or those who get out of the arena with Fire DoT damage.
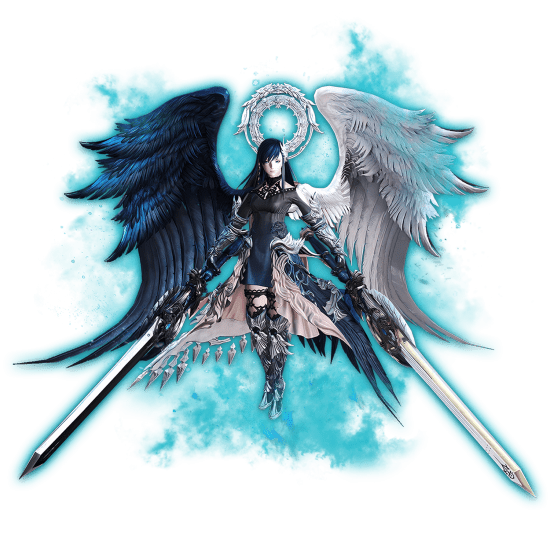
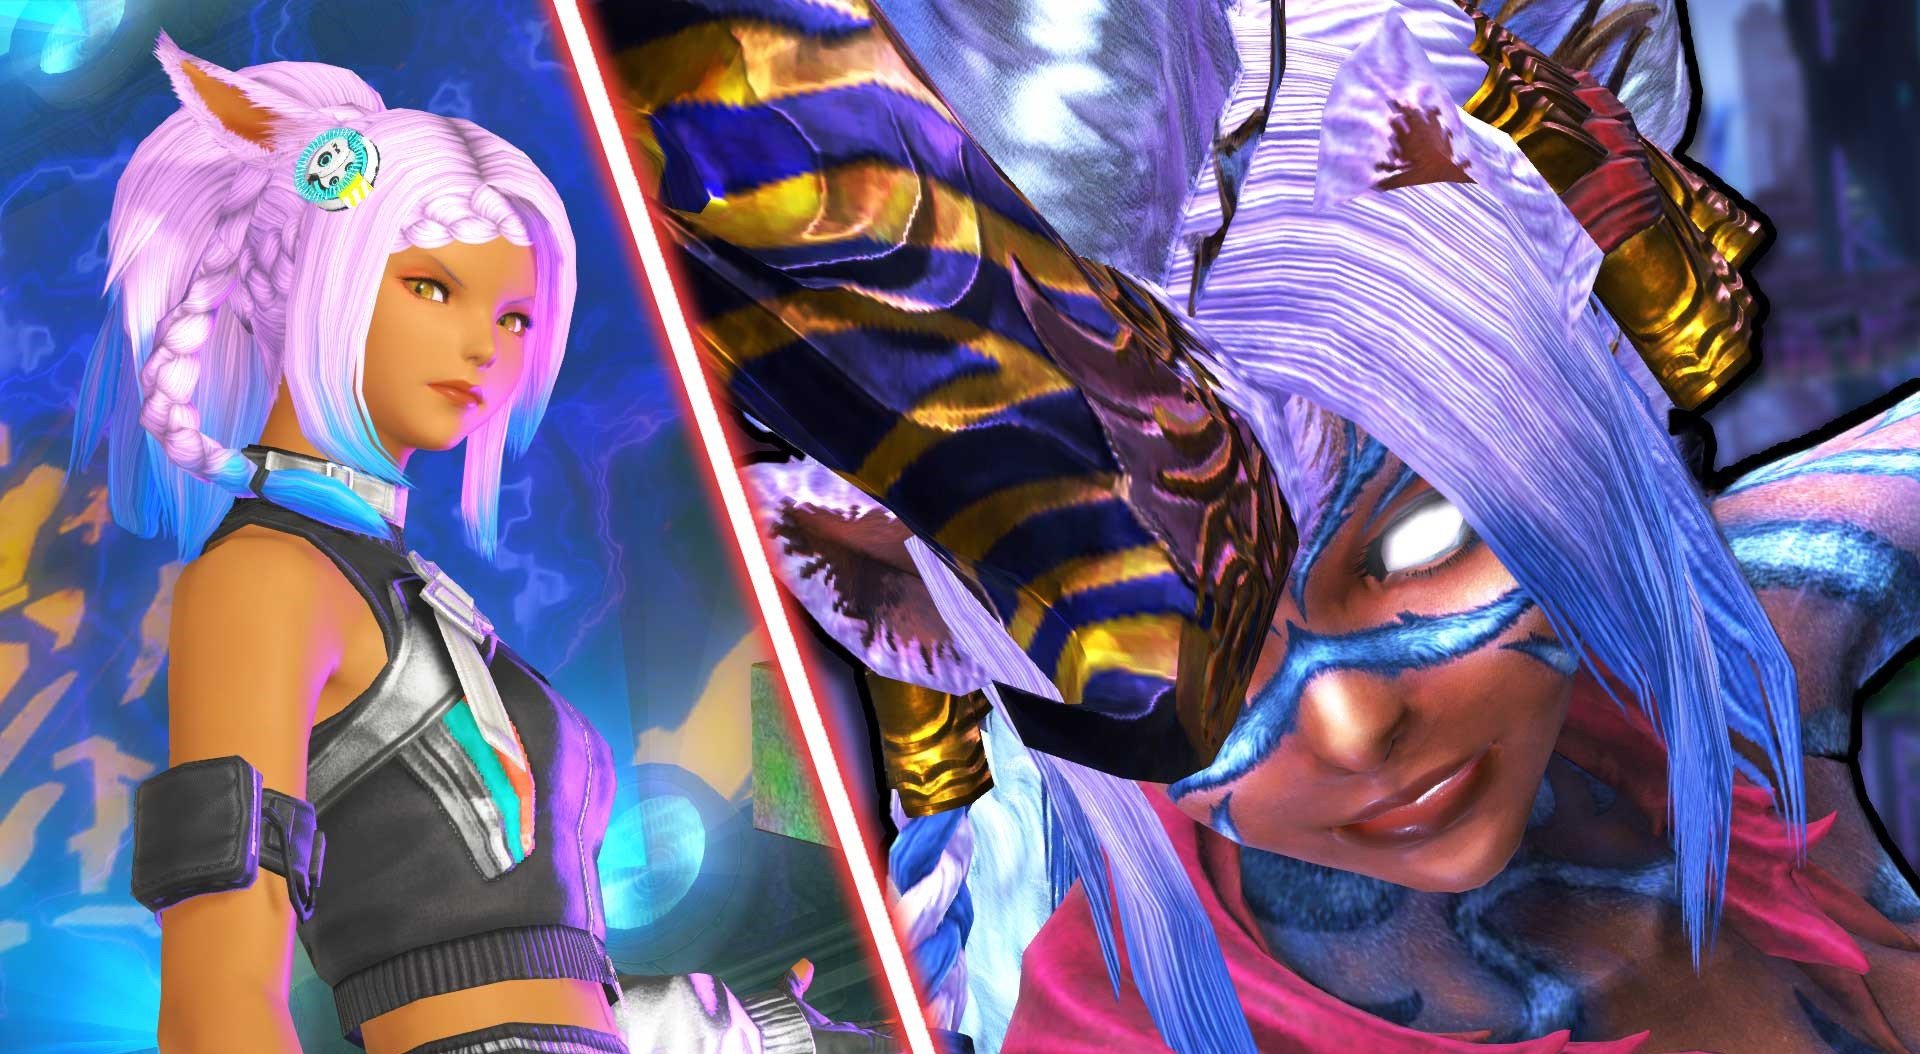
- Wicked Thunder
Fighting Wicked Thunder, aka M4, is quite similar to M1. The battle happens on a 16-square area you can fall off from. It can happen in case you slip off the edge or if a square is destroyed.

Black Cat M1 Guide
Black Cat (also referred to as M1) is the first boss you will encounter in AAC Light-heavyweight. You can unlock M1 by finishing "The Claw in the Dark" quest. To queue up for this battle by using the Duty Finder, you need to have at least 685 item level of gear.
Black Cat Abilities
First, let’s take a closer look at Black Cat abilities and define the deadliest ones:
| Ability | Description |
| Bloody Scratch | Deals Magic damage to the entire raid. |
| One-two Paw | This ability makes the boss’s claws extend and glow in succession, clearing either her left, followed by right, or vice versa. |
| Black Cat Crossing | When cast, it will telegraph four conal AoEs on either the cardinals or intercardinals before telegraphing a second set in the alternate position. |
| Biscuit Maker | A simple single-hit tankbuster. |
| Clawful | Acts as a shared damage stack AoE. |
| Mouser |
When cast, it will telegraph a series of attacks on the various tiles in the arena. Like most of Black Cat’s attacks, getting hit with it will inflict a DoT. If this ability hits a square two times, it will be destroyed, and you can fall off. |
| Elevate and Eviscerate |
Targets four players in succession with a knock up attack. This knock up shows a telegraph of where the player will land. The distance is around one square from the boss’s position. |
| Shockwave | This is a radial knockback from the center of the arena. It is immunable with Arm’s Length and Surecast. |
| Predaceous Pounce |
It will telegraph a series of column and circle AoEs that will be executed in rapid sequence. The corners of the arena are relatively safe if you are ranged or need to stand still to cast. |
| Grimalkin Gale | Targets the entire raid with spread markers. |
| Leaping One-two Paw | This is the same mechanic from the start of the fight, but at the end of the cast, the boss will relocate to the telegraph beacon to execute the attack. |
| Leaping Black Cat Crossing | It will likewise execute the attack from earlier in the raid only after first leaping to the beacon. |
| Copycat | Summons an echo of Black Cat, which will begin targeting the other four players with Elevate and Eviscerate and other abilities. |
| Overshadow | A shared line stack. |
You can split the entire fight into two phases. The second phase starts when Black Cat uses Leaping One-two Paw for the first time. We will explain how to survive the deadliest mechanics and abilities in the next part of the guide.
How to Beat Black Cat
Here is how to beat Black Cat in the AAC Light-heavyweight raid:
- Phase 1
The battle starts with Black Cat casting unavoidable AoE that hits the entire raid. Avoidable mechanics like One-two Paw and Black Cat Crossing should be easy to deal with. Just stand in a safe spot and watch the boss’s animations to predict what is going to happen next.
If a tile gets hit twice by Mouser, it will break leading to death of everybody standing on it. Always look for a square that has no cracks on it. Remember that several tiles will be restored after the Mouser cast.
Quick Mouser Tip: Four tiles on the outside of the arena will never be targeted. Black Cat will not move from the center during this attack. Our advice is to focus on the two of the centermost squares. Two of these will always survive, one North and one South.
The direction players are knocked during Elevate and Eviscerate is relative to Black Cat’s angle to them. Players can reposition to ensure they are being knocked to an undamaged square. Knocking onto a damaged tile will cause it to shatter, and the player will once again fall to death. This ability seems to target all Support rather than DPS or Tanks.
Shockwave’s knockback is survivable, but we highly advise that you use immunity abilities to dodge it. If no immunity is available, the safest course of action is to knock diagonally into a corner that is not missing too many tiles.
During Predaceous Pounce, you need to stay in the arena’s corners to reduce the chances of being hit. This is important to keep in mind for ranged characters. Alternatively, you can observe the pattern and dodge into a position that will not be struck again. Your entire party should spread once Grimalkin Gale is cast.
- Phase 2
You can see the fight has entered Phase 2 when Black Cat starts using Leaping One-two Paw and Leaping Black Cat Crossing. After another Clawful and Bloody Scratch, the boss will once again cast Mouser.
The clone summoned with Copycat will target all four DPS in your party. This will be paired with Overshadow, a shared line stack. After four stacks and four knock ups, Black Cat will recenter to cast another Shockwave.
The boss will use Biscuit Maker before summoning another Copycat, which will telegraph Predaceous Pounce. This will be immediately followed by One-two Paw. Be ready to dodge it and other leaping mechanics. No new abilities will appear during this stage. Black Cat will simply repeat her pattern, starting with another Mouser. BLOG20
Honey B. Lovely M2 Guide
Honey B. Lovely (also referred to as M2) is the second boss you will encounter in AAC Light-heavyweight. You can unlock M2 by finishing "Sweet Poison" quest. Queuing up for this fight through the Duty Finder is only possible if you have 685 item level of gear or higher.
Honey B. Lovely Abilities
Just like with the previous encounter, let’s see what Honey B. Lovely abilities are:
| Ability | Description |
| Call Me Honey | Deals damage to the entire raid. |
| Tempting Twist | Telegraphs stingers around Honey, signaling an arena-wide AoE with a safe point in the boss’ target ring. |
| Honey Beeline | Telegraphs stingers in a vertical column AoE relative to Honey’s facing. |
| Honeyed Breeze | Cleaves both tanks with a conal tankbuster. |
| Honey B. Live |
Transforms the arena and begins the Top of the Hive phase. All players receive infatuation meters above their heads. |
| Love Me Tender | Targets the entire raid with circle AoEs that will increase their infatuation when struck. |
| Fracture |
Four towers will subsequently appear. Soaking a tower increases infatuation by one for the soaking player. Missing a tower will cause the entire raid to gain a heart stack. |
| Loveseeker |
It will begin with a point-blank circle AoE that emits heart projectiles from the boss. If a target is hit with this spell, they gain another heart stack. |
| Blow Kiss | Telegraphs a wide conal AoE in the direction the boss faces. |
| Honey B. Finale | Deals damage to the entire raid and removes infatuation, ending the Top of the Hive phase. |
| Splash of Venom |
Once this spell is cast, the Lovely Poison phase begins. The boss will coat her stinger with poison that will augment all future attacks. |
| Drop of Venom | Coats her stinger with poison one more time. It also summons a set of globs that target a particular raid member. |
| Alarm Pheromones | Summons Groupbee adds on the outside of the arena that will begin telegraphing Blinding Love column AoEs. |
As always, keep reading further to learn how to counter the deadliest boss’s abilities.
How to Beat Honey B. Lovely
Here is how to beat Honey B. Lovely in the AAC Light-heavyweight raid:
- Phase 1
The battle starts with the basic abilities you either cannot dodge or should soak anyway. They are Call Me Honey or Honeyed Breeze and a few others. Upon casting Honey B. Live, all raid members will have a heart bar on top of their heads. Once this bar is filled with three pink hearts, they will be charmed. Being charmed means you cannot move or attack, leaving your party at a disadvantage for 4 seconds.
When the boss casts Love Me Tender, make sure to spread out. After that, the Fracture cast will follow. To dodge extra stacks, define the order when a particular person should soak a tower. Dodge the projectiles and circle from Loveseeker, as well as AoEs from Love Me Tender. Remember that your main goal at this point is to avoid unnecessary heart stacks.
Once you spot Blow Kiss is being cast, stay behind the boss. This spell only hits the frontal part, and you should have enough time to dodge it. Prepare for the next phase before she casts Honey B. Finale by restoring HP and avoiding unnecessary heart stacks until this stage is over.
- Phase 2
As the second phase starts, start looking for a safe spot from the blobs. They will appear after Tempting Twist or Honey Beeline casts. These globs of poison explode as circle AoEs after a short delay. Immediately after the globs resolve, you need to spread to avoid overlapping the Splash of Venom targeted circle AoEs.
Once Groupbee adds are summoned, stay near the middle to minimize the movement needed to dodge AoEs they cast. Getting struck by Blinding Love will knock you back a short distance and deal a DoT, making the arena wall especially dangerous.
This part of the fight is immediately followed by another set of adds, firing a bowtie-shaped pattern this time. The boss will once again cast Honey B. Live for another Top of the Hive phase. While this is mostly the same as the first, it will begin with two random split damage AoEs. Six towers will appear after that and resolve in succession. This mechanic is followed by another Loveseeker that leads into another heart bullet hell sequence. Honeyed Breeze will be cast again, followed by Alarm Pheromones.
The pattern of the adds summoned will be more erratic this time. Closer to the end of the fight, do your best not to get knocked into the wall. The boss will continue alternating between the Top of the Hive and Lovely Poison phases until she is defeated.
Brute Bomber M3 Guide
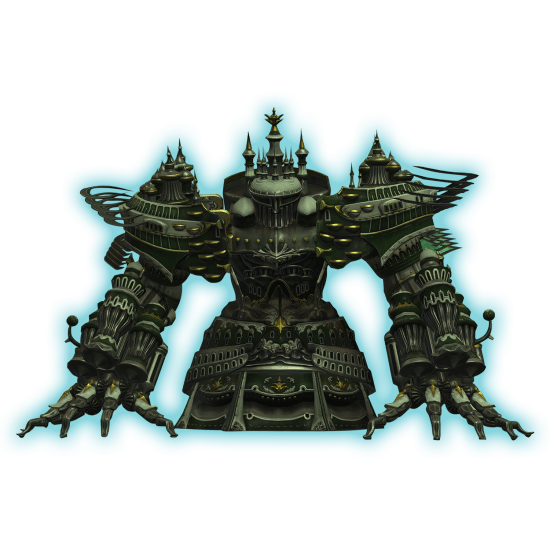
Brute Bomber (also referred to as M3) is the third boss you will encounter in AAC Light-heavyweight. You can unlock M3 by finishing the "Vile Heat" quest. To queue up for this battle through the Duty Finder, make sure you have reached 685 item level of gear or higher.
Brute Bomber Abilities
As always, let’s start our walkthrough with Brute Bomber abilities detail description:
| Ability | Description |
| Brutal Impact | Acts as a series of four rapidfire AoEs dealing damage to all raid members. |
| Knuckle Sandwich | The boss turns and faces the off-tank, targeting them with a shared stack tankbuster. |
| Brutal Lariat |
He jumps to the edge of the arena, raising one of his arms before it begins to glow. This will cleave that side of the boss along with the entirety of his target ring. |
| Murderous Mist | Faces a random player, cleaving 270 degrees in the direction he faces. The only safe spot is the boss’s backside. |
| Barbarous Barrage | Spawns four towers, knocking back, soaking players in a radial pattern when they resolve. |
| Fire Spin | Telegraphs a conal AoE with a total of eight cleaves rotating in the telegraphed direction. |
| Fuses of Fury |
Spawns bombs all around the arena. Some of them will have a short fuse, while others will have a long fuse. The short-fused bombs will explode as large circle AoEs, followed by the long-fused ones. |
| Doping Draught | Serves as a buff to increase the damage of the boss’s attacks and start the transition phase. |
| Lariat Combo |
This spell functions in the same way as Brutal Lariat. After the first attack, players must check which side a second attack will strike and adjust accordingly. |
| Brutal Burn | A shared stack AoE, which is always cast before Brutal Impact. |
| Brutal Impact | Acts as a series of six rapidfire AoEs dealing damage to all raid members. |
| Infernal Spin |
Takes the Fire Spin you have seen before and layers a set of ring AoE on top of it. The center of the arena detonates first, and the explosions travel outwards. |
By reading all the abilities of this boss, you can see how important timing is in this fight. Move on to the strategy section to learn how to survive and defeat Brute Bomber.
How to Beat Brute Bomber
Here is how to beat Brute Bomber in the AAC Light-heavyweight raid:
- Phase 1
As the fight starts, you need to heal up all the damage coming from Brutal Impact. When you see Brutal Lariat being cast, you can dodge this attack by moving to the opposite side of the boss. Being struck by this spell will inflict a bleed and a 45-second stack of Trauma. Reaching two stacks of Trauma will stun players in place for six seconds.
Murderous Mist can be easily avoided by just getting behind the boss. We highly advise saving immunity spells for the Barbarous Barrage. If you have no Arm’s Length or Surecast to negate the knockback, aim to be knocked into the opposite corner.
During Fuses of Fury, you need to stand near the long-fused bombs and wait for the short-fused ones to explode. Once this happens, move into a safe spot and wait for the long-fused bombs to detonate afterward. Wait for the transition phase to be over when the boss casts Doping Draught. This will significantly amplify most of the abilities you will face during the second stage of the fight.
- Phase 2
At this point, you need to heal up Brutal Impact right after the boss starts casting it. Otherwise, your casters and healers are taking the risk of dying in a single cast. Lariat Combo becomes a bit more difficult to predict. As you enter Phase 2, the boss will always hit an alternate side with the second hit. Once he uses this spell again, he will cleave the same side of the arena.
You can easily dodge Fuses of Fury by staying close to the boss and moving around him. After that, another Lariat Combo will be cast. Do not get hit by circle AoEs that appear beneath random players. Being struck by these inflicts Vulnerability Up.
During this phase, be prepared to cope not only with Fuses of Fury but also with Lariat Combo. First, the short-fused bombs will detonate. Dodge into one of these detonations depending on where you need to dodge the first Lariat hit. The long-fused bombs will resolve at the same time as the first Lariat. Finally, you can adjust to dodge the second Lariat as normal.
After another Brutal Impact and Knuckle Sandwich, the boss layers Barbarous Barrage along with Fuses of Fury. The short fuses explode about two seconds after the knockback towers resolve. We would suggest using Arm’s Length or Surecast and then immediately adjust to long fuses to dodge as normal. From now on, the boss will repeat the same abilities and mechanics until he is defeated. BLOG20
Wicked Thunder M4 Guide
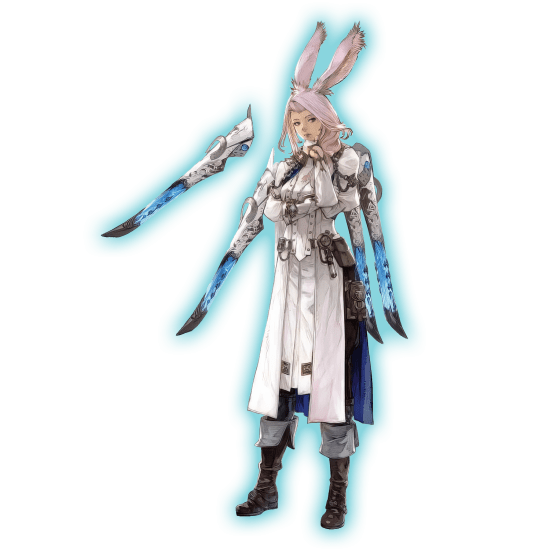
Wicked Thunder (also referred to as M4) is the fourth boss you will encounter in AAC Light-heavyweight. You can unlock M4 by finishing "The Neoteric Witch" quest. To queue up for this battle through the Duty Finder, you need to have at least 685 item level of gear or above.
Wicked Thunder Abilities
Here is a list of all Wicked Thunder abilities explained in detail:
| Ability | Description |
| Wrath of Zeus | Deals Magical damage to all raid members. |
| Sidewise Spark | Acts as a 180-degree left or right cleave on the electrified side of the boss. |
| Shadow’s Sabbath | Summons clones of the boss that will cast their own Sidewise Sparks in sequence. |
| Wicked Jolt | A column AoE tankbuster targeting the main tank. |
| Electrope Cannon | The boss jumps North and constructs a massive electrope cannon, aiming at the arena and blasting all of it save for one column with Stampeding Thunder. |
| Stampeding Thunder | Deals five hits of AoE damage to the entire party, with the final one destroying the affected part of the arena. |
| Threefold Blast | Telegraphs a series of alternating column AoEs from the boss. This makes you alternate the side of the arena you are standing on to avoid the blasts. |
| Wicked Bolt | A 5-hit shared stack AoE. |
| Electrope Wings |
Electricity will begin emitting from the wings, and the boss will dash forward. Along with that, she will strike the arena with columns of lightning and leave safe spots in the gaps. The trails left will expand before resolving in a wider column AoE. |
| Witch Hunt | A large number of circle AoEs will telegraph, either going from the center of the arena and rotating around to the outer edge, or vice versa. |
| Soaring Soulpress | Another stack AoE that serves as a single large hit of damage. |
| Wicked Hypercannon | A stack AoE that strikes the entire arena and deals persistent damage. It ticks once per second up to ten times in total. |
This is by far one of the most exciting fights of the entire AAC Light-heavyweight raid. Keep reading further to learn how to stay alive during this battle and defeat the M4 boss.
How to Beat Wicked Thunder
Here is how to beat Wicked Thunder in the AAC Light-heavyweight raid:
- Phase 1
The battle will always start with Wrath of Zeus you need to heal up from, as well as Sidewise Spark. Make sure you are standing on the safe side to avoid getting hit by the latter. Once Shadow’s Sabbath is cast, two clones will cast Sidewise Spark horizontally, followed by Wicked Jolt. After she destroys one of the arena’s parts, you should be safe at either the left-most or right-most platforms.
Getting hit with Threefold Blast will deal high damage and inflict a 15-second DoT. This cast is followed by Fourfold Blast, which functions in the same ways as the previous ability. The only difference is that one of the blasts will repeat. Three players will be targeted with baited circle AoEs following the blasts before the arena is restored to normal.
Make sure you have enough HP when the Wicked Bolt cast starts. During Electrope Wings, circle AoEs will continue appearing until the boss recenters to cast another Sidewise Spark.
- Phase 2
Following another Wrath of Zeus, the boss will again cast Shadows’ Sabbath. This time, it will summon four clones in quick succession before readying her own Sidewise Spark. This is followed by another Wrath of Zeus and Wicked Jolt.
The boss will leap North and repeat the Stampeding Thunder arena destruction sequence. This is followed by Fivefold Blast, which once again will have one of the shots repeating. After Fivefold Blast, you need to quickly spread to safely resolve the targeted Thunderstorm circle AoEs. Then, be prepared for another Wicked Bolt stack.
She will once again construct Electrope Wings before casting Shadows’ Sabbath. This time, she will summon a clone that will perform an electric wing attack perpendicular to hers. Stand in an intersection of gaps to dodge the initial hit before starting to dance around the various expanding column AoEs. Wicked Thunder will continue rotating between Cannon, Wing, and cleave phases until her health falls below about 20%.
- Phase 3
After Stampeding Thunder, the boss will gain Directional Disregard and jump to the North end of the safe arena part to begin casting Wicked Hypercannon. It will be cast once again after the two sets of three baited circle AoEs appear. This part of the fight repeats until the boss is defeated.
Conclusion
This brings us to the end of our FFXIV AAC Light-heavyweight raid guide. Within these pages, we have covered all four bosses you encounter and described their most intricate mechanics. We have also shared a complete loot table and explained how to unlock AAC Light-heavyweight after you finish the Dawntrail campaign. This guide will be gradually updated if we find better strategies for any of the bosses featured. Until then, we wish you good luck, and we will see you in the game!
F.A.Q.
How many bosses are there in AAC Light-heavyweight?
You will have to defeat four bosses in AAC Light-heavyweight, such as:
- Black Cat
- Honey B. Lovely
- Brute Bomber
- Wicked Thunder
How long is the AAC Light-heavyweight fight?
If you are aware of the bosses’ mechanics and abilities, you can complete a full raid in around 90 minutes or so.
How to unlock AAC Light-heavyweight?
You need to complete the "A New Challenger Appears" and "The Claw in the Dark" quests. Also, make sure you have finished the main Dawntrail campaign.
What are AAC Light-heavyweight rewards?
Completing AAC Light-heavyweight raid grants tokens you can exchange for Lightheavy Holo gear parts.