 Crispy Jackie
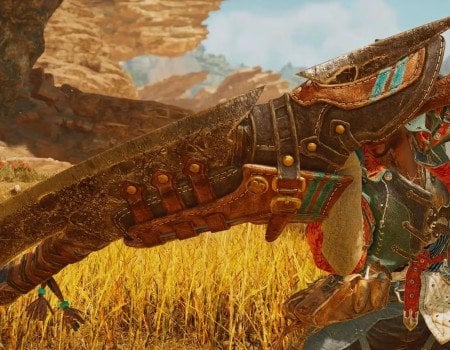
Welcome to our complete Monster Hunter Wilds Bow guide, hunters! Today, we’re taking a look at one of the few ranged weapons available in the game. The Bow is a high-speed, high-damage ranged weapon that blends mobility, precision, and devastating combos. It’s perfect for taking down monsters at a distance, yet it can do miracles when you get up close as well.
With new mechanics like Tracer Arrows, Focus Fire: Hailstorm, and Thousand Dragons, this weapon is deadlier than ever. But mastering it isn’t just about shooting – it’s about managing Stamina, optimizing range, and landing the perfect combos. This guide will break down everything you need to know, from mechanics to the best combos. Don’t waste a second and more, and let’s get to it.
Only starting out? You can easily Rank Up Your Hunter with Skycoach. No more grinding and farming. Let our PROs take care of this job for you. We will help you climb all the way to rank 100 and enjoy the game for real.
Read our other articles:
- Great Sword Guide
- Long Sword Guide
- Switch Axe Guide
- Leveling Guide
- Best Armor Sets
- Best Weapons Tier List
- Beginner's Guide
Note: At Skycoach, you can Buy Monster Hunter Wilds Boost at the best prices with fast delivery. Use our special PROMO CODE (in green) hidden in this article for a 20% DISCOUNT.
Browse our hottest Monster Hunter Wilds Boosting services


Bow Overview
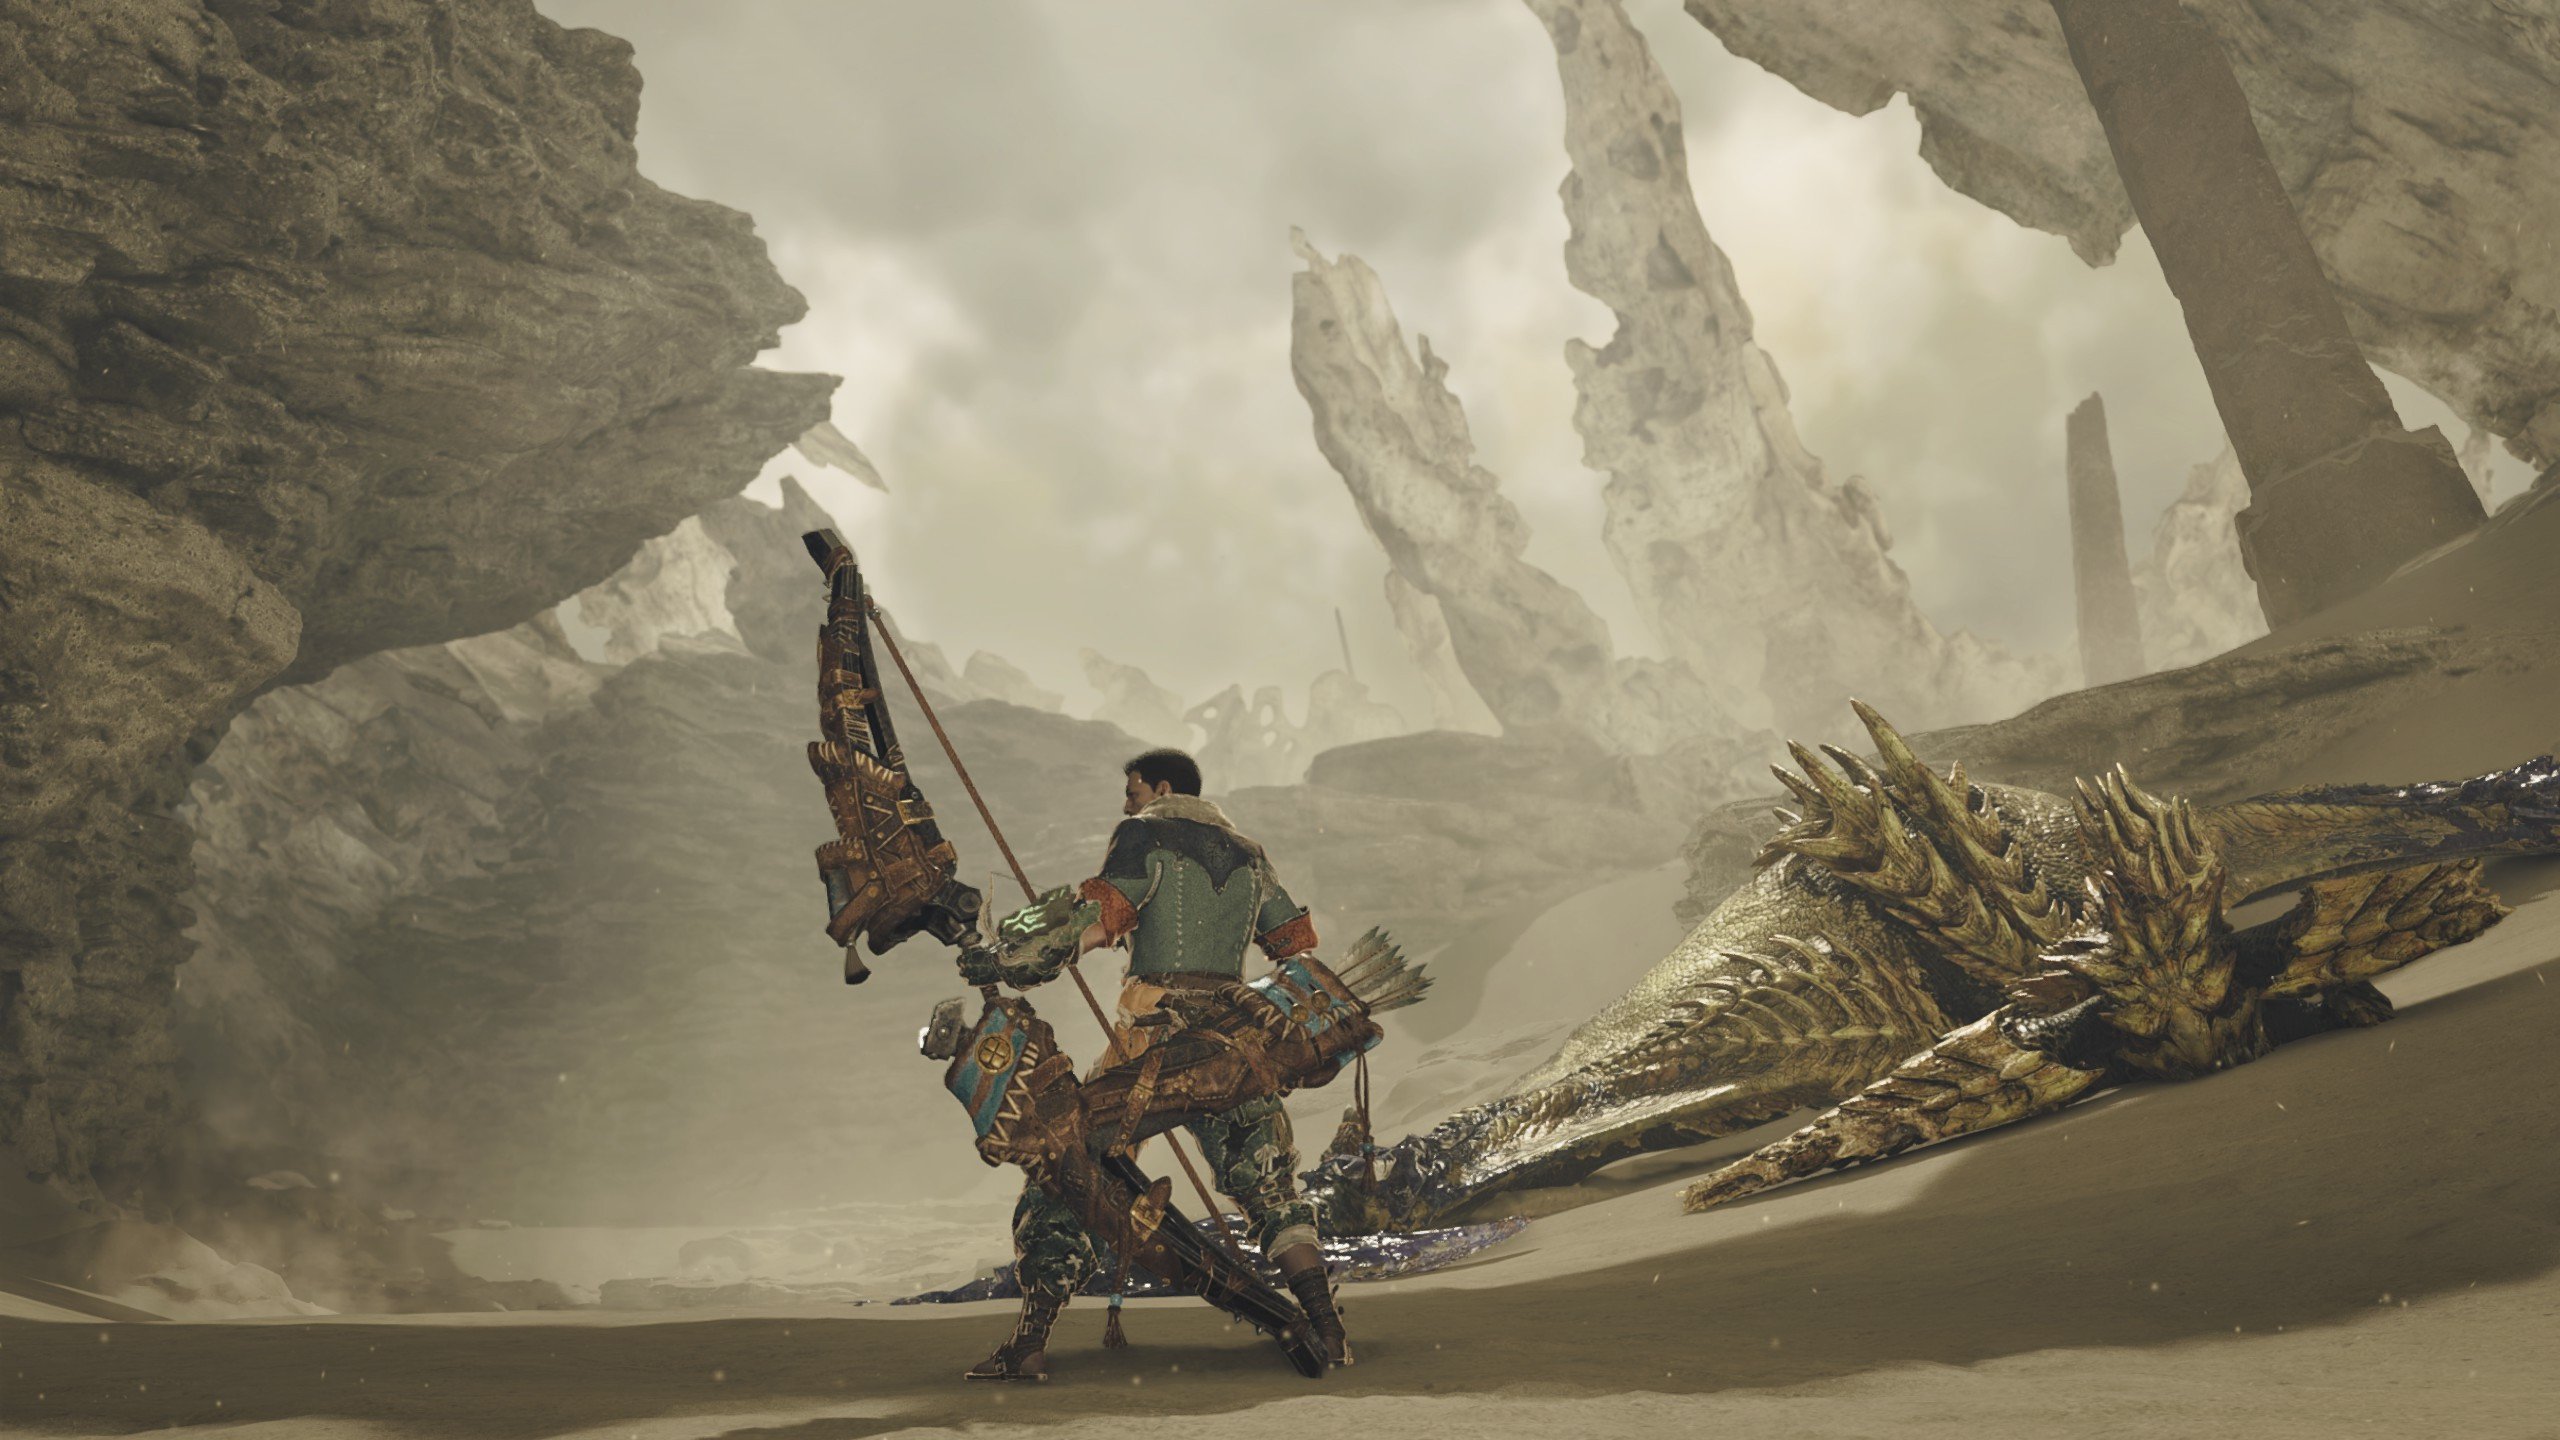
The Bow in Monster Hunter Wilds is a fast and versatile ranged weapon that offers a perfect balance between mobility and consistent damage output. Unlike other ranged weapons, it doesn’t rely on ammo but instead consumes Stamina to unleash a variety of powerful shots. You use Tracer Arrows to guide your attacks and Focus Fire: Hailstorm to deliver massive damage. Your only goal is to stay in a safe range. The Bow rewards precision and strategy.
Thanks to Charging Sidesteps, you can keep moving while maintaining your attack pressure, making it one of the most fluid weapons in the game. Spreading status effects with Coatings or unleashing charged power shots both make the Bow a powerhouse for dealing high damage while staying agile. Its versatility allows you to adapt your playstyle, making it a top choice for hunters looking forward to trying something new.
Bow Pros & Cons
The first thing you need to know concerning how to use Bow in Monster Hunter Wilds is its strengths and weaknesses. This weapon has its own pros and cons, just like any other one in this game. We have gathered a list of the most important factors to keep in mind before choosing to play with it. This will help you make a decision on if you really want to try it at all.
Let’s start with Bow Pros first:
- Consistent Damage Output – The Bow allows for rapid-fire attacks with charged shots, meaning you can continuously deal damage without long cooldowns or recovery times.
- High Mobility and Evasion – With Charging Sidestep and Discerning Dodge, the Bow lets you reposition quickly while maintaining pressure on the monster.
- Versatile Coatings and Playstyles – You can adapt to any fight by switching Coatings, allowing for extra damage, status effects, or crowd control options.
As for Bow Cons, they include the following:
- Stamina Dependent – Every action, from shooting arrows to dodging, consumes Stamina, requiring careful management to avoid exhaustion mid-fight.
- Requires Precise Positioning – To maximize damage, you need to stay within the Critical Distance zone, which means constantly adjusting your positioning.
- Limited Defense – Unlike melee weapons with guards, the Bow relies solely on mobility and distance for survival, making mistakes more punishing.
To sum up, this weapon looks more than balanced. It offers a range of strong points, especially when fighting at a distance. However, you kind of sacrifice your defense and have to think about Stamina all the time.
Bow Mechanics
Most Bow mechanics in Monster Hunter Wilds are connected with using your Stamina timely and properly. You have no ammo, but you need to monitor closely to make sure you have enough of this resource to keep the fight going. There are plenty of moves, including charged shots, coatings, and mobility-focused mechanics interlinked with it:
- Stamina-Based Attacks – The Bow consumes stamina with each shot and sidestep, meaning stamina management is crucial for sustained damage output.
- Charge Levels – Holding down the fire button increases the charge level, boosting damage, arrow count, and effectiveness of special shots.
- Coating System – Instead of traditional ammo, the Bow uses coatings that apply different effects, such as increased damage, poison, or paralysis.
- Arc Shots – A unique mechanic that allows you to fire arcing projectiles, which can apply stuns or tracers to help set up stronger attacks.
- Dragon Piercer and Thousand Dragons – These powerful finishing moves deal massive damage but require precise positioning and a clear shot.
Start by mastering Stamina management and using your Charge Levels correctly. The Coating System is also extremely vital, but we will get to this in a second. All these things combined are the key to your playstyle and impact how fast you will take monsters down. BLOG20
Trick Arrow Gauge Explained
The Trick Arrow Gauge is a core mechanic that makes the Bow’s playstyle in Monster Hunter Wilds different from anything else. This resource is essential for using Tracers, Coatings, and other advanced techniques.
This mechanic is divided into three segments, which gradually fill as you land attacks or perform a Discerning Dodge (a perfectly timed sidestep that avoids damage). You can then spend this resource to load special coatings or apply Tracer arrows for homing attacks.
Unlike previous games where Coatings were consumable items, Monster Hunter Wilds streamlines the system by making them a renewable resource powered by the Trick Arrow Gauge. Each time you apply a Coating, one bar of the gauge is used to refill it, providing eight coated shots before requiring another refill.
Here, you can find all possible Coatings to apply as a part of our Monster Hunter Wilds Bow tutorial. Each Coating offers unique bonuses and is compatible with a particular bow type:
- Power Coating – Increases overall damage output.
- Close-Range Coating – Boosts damage at close distances but reduces range.
- Pierce Coating – Enables arrows to pierce through enemies.
- Poison Coating – Inflicts poison damage over time.
- Paralysis Coating – Paralyzes monsters, creating attack windows.
- Sleep Coating – Puts monsters to sleep, allowing for wake-up attacks.
- Blast Coating – Builds up explosive damage that detonates over time.
- Exhaust Coating – Stuns and drains a monster’s stamina.
By spending a Trick Arrow Gauge segment, you can fire a Tracer Arrow, which lodges into the monster and marks a weak point. Subsequent shots will home in on this marker, ensuring consistent damage even against fast-moving targets. This is particularly useful when dealing with aggressive or airborne monsters.
Never forget that this mechanic is one of the most vital Monster Hunter Wilds Bow tips we can share with any player. It significantly empowers this weapon and makes your gameplay different from all angles.
Bow Moves
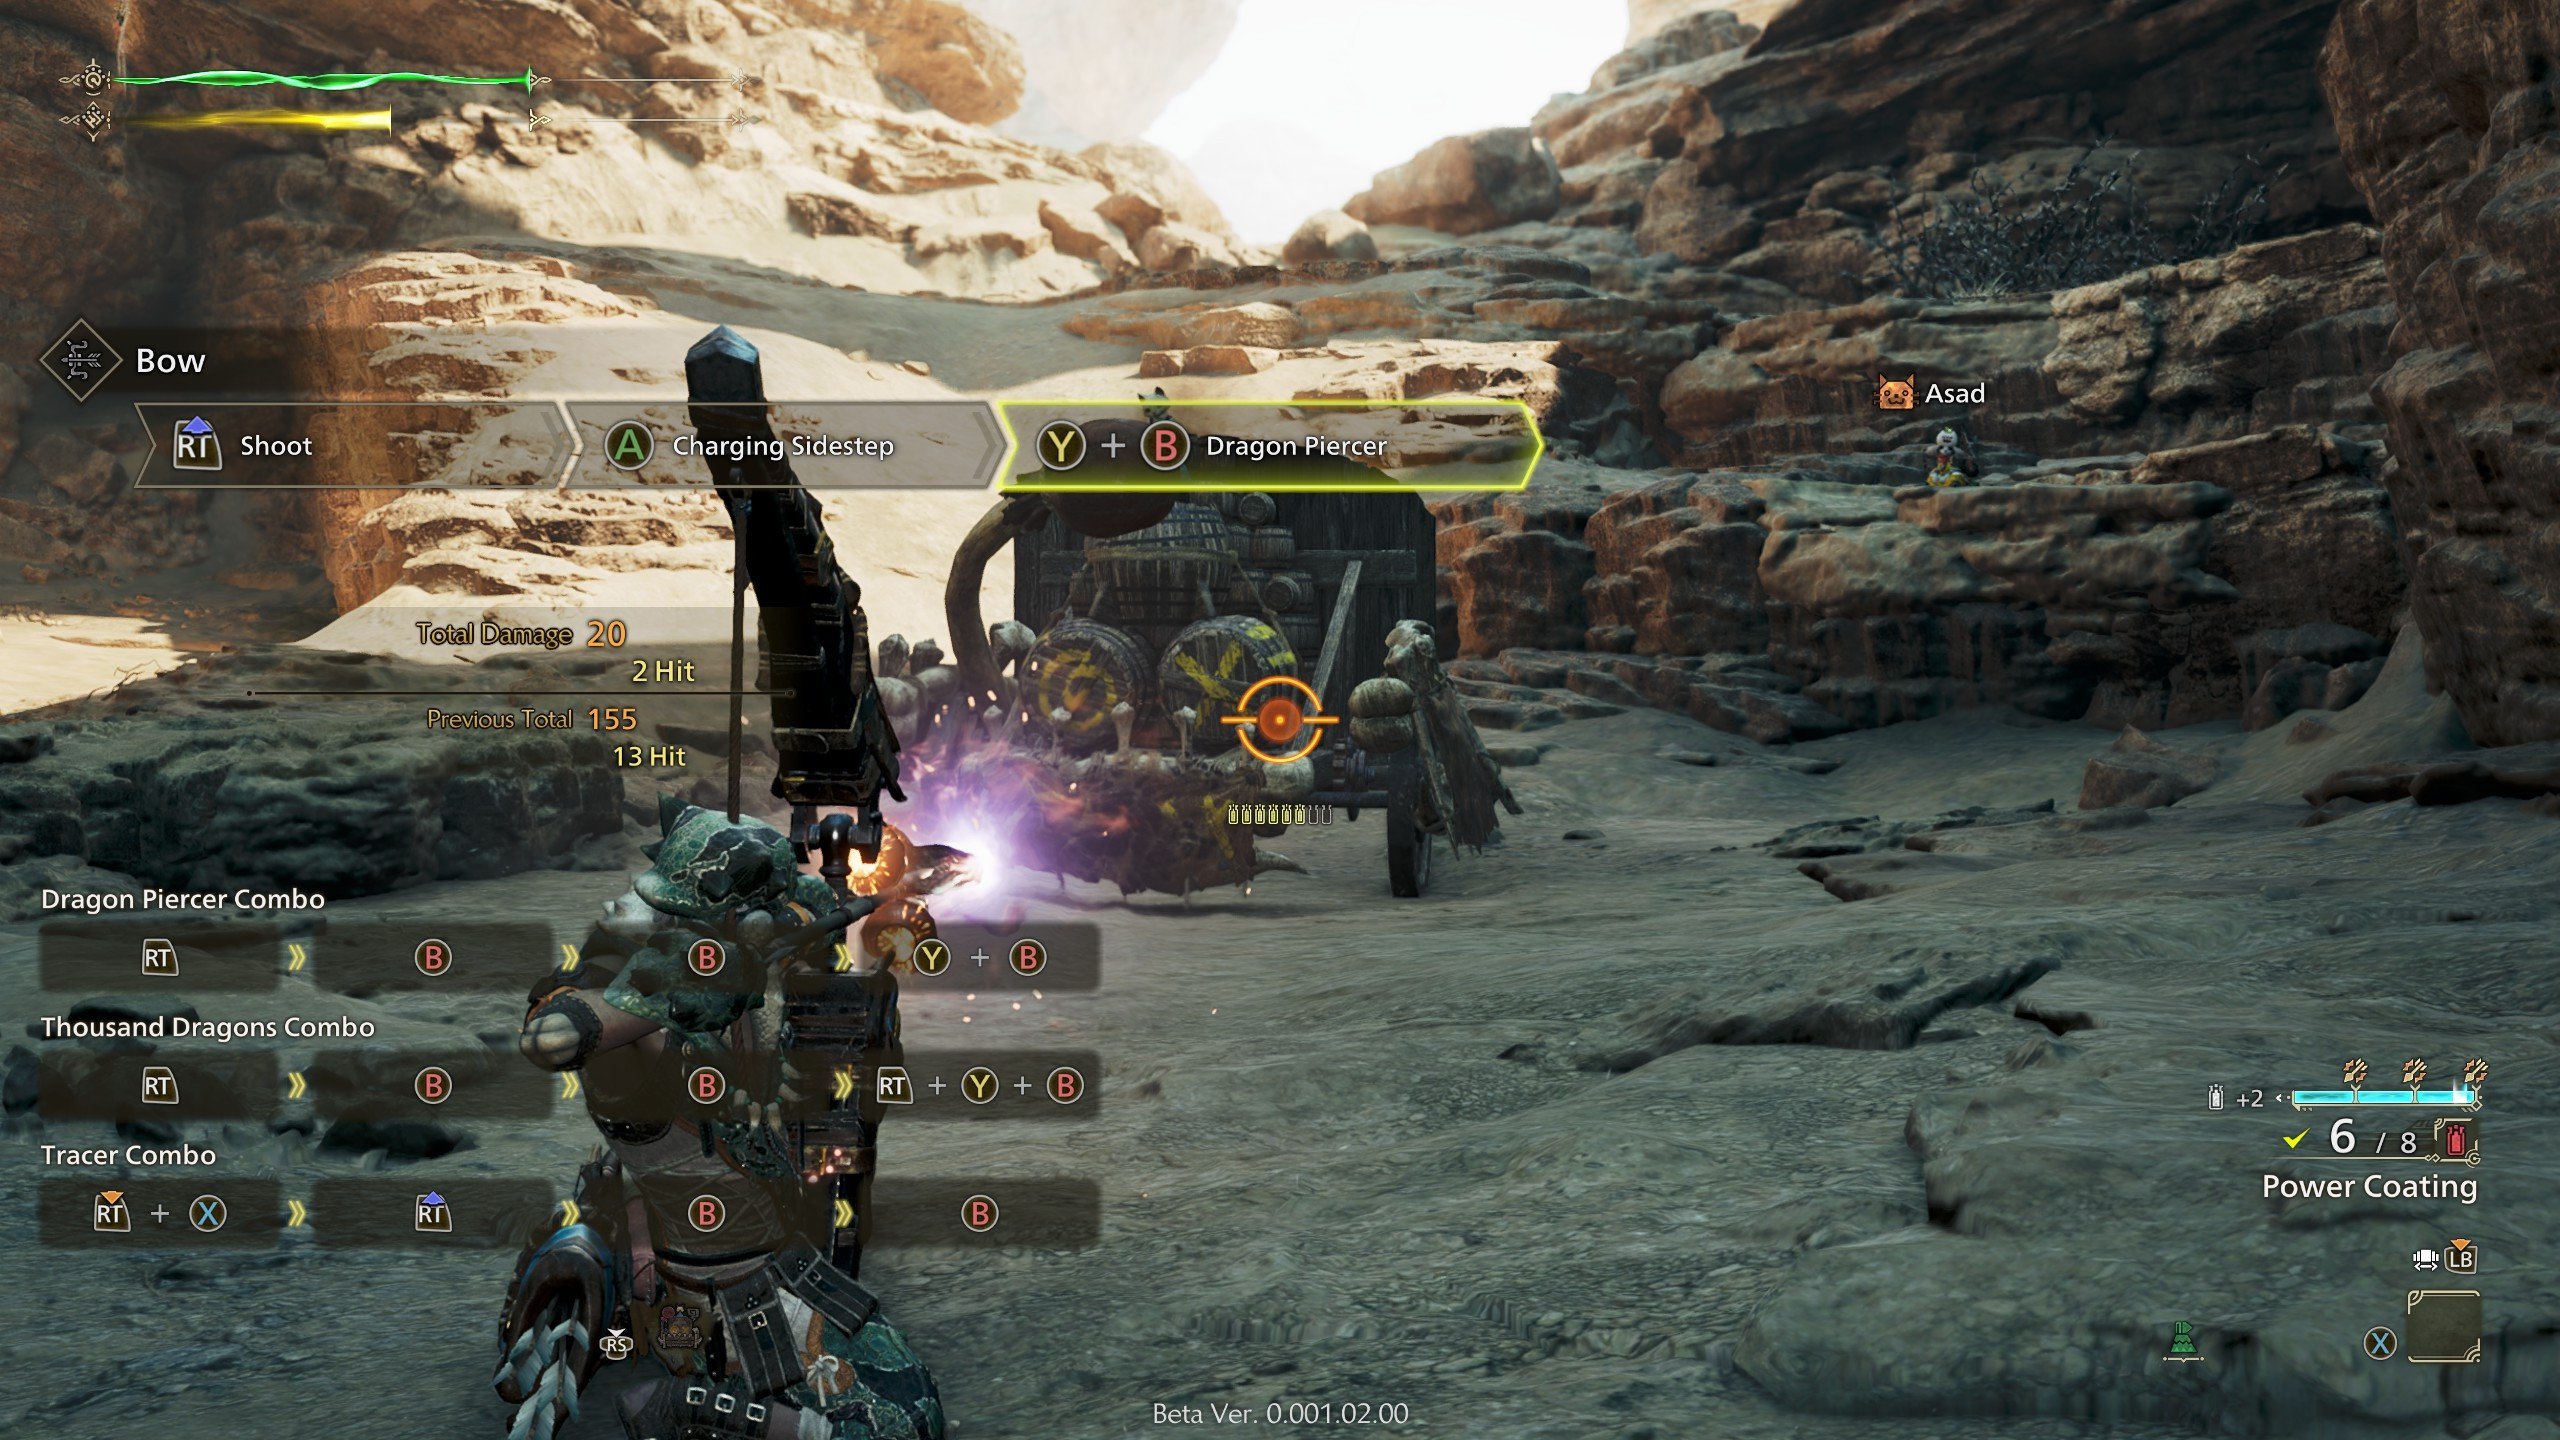
Your Bow moves in Monster Hunter Wilds range from rapid-fire shots to high-damage charged attacks, as well as supportive Arc Shots and devastating finishers. The addition of Tracers and Focus Fire: Hailstorm further expands its arsenal. Combining all this, we have one of the most versatile ranged weapons in the game.
Basic Attacks
Getting to know your basic attacks is key when only starting out. Some of them will also serve as a basis for more advanced combos and techniques. We have gathered a list of Bow basic attacks in MH Wilds to take a look at in this table:
| Name | PS5 | Xbox | Description |
| Charge / Shoot | Hold |
Hold |
Charges an arrow before firing; higher charge levels deal more damage. |
| Aim / Focus | Hold |
Hold |
Enables precise aiming for better accuracy and control. |
| Quick Shot | A fast, low-damage shot that can be chained into other attacks. | ||
| Power Shot → Power Volley | Fires multiple arrows in succession for increased damage output. | ||
| Arc Shot | Fires arrows in an arc, raining down damage over a wide area. | ||
| Charging Sidestep → Flying Swallow Shot | Sidesteps while maintaining charge; follow up with a fast aerial shot. | ||
| Dragon Piercer | A high-powered piercing shot that travels through multiple enemies. | ||
| Instant Dragon Piercer | A faster version of Dragon Piercer, executed mid-combo. | ||
| Thousand Dragons | A devastating spread shot finisher, best used at close range. | ||
| Select Coating | Switches between available arrow coatings for added effects. | ||
| Apply Coating | Applies the selected coating to arrows for enhanced effects. | ||
| Ready Tracer | Fires a Tracer Arrow that causes all subsequent shots to home in. | ||
| Focus Fire: Hailstorm | Fires a barrage of homing arrows at wounds or Tracer Arrows. |
Your Bow moveset is indeed large, but you need to start working from the easiest moves first. Otherwise, mastering more advanced ones will be extremely challenging and less useful. Combining all that with the fact your defenses are limited, you need to keep the distance to make the most of your DPS.
Advanced Moves
Once you get the hang of the basics, it’s time to move further. Let’s take a look at more advanced moves and see how to perform them in action:
| Name | PS5 | Xbox | Description |
| Tracer Arrows |
A new addition to Monster Hunter Wilds, Tracer Arrows embed into a monster and cause subsequent shots to home in on that location. This is perfect for fast-moving enemies or when targeting specific weak points. |
||
| Focus Fire: Hailstorm |
This attack unleashes a storm of homing arrows onto a wounded area or Tracer, dealing massive burst damage. If used on a monster’s wound, it automatically follows up with Dragon Piercer, making it one of the strongest finishers in the Bow’s arsenal. |
||
| Charging Sidestep |
Lets you dodge while maintaining your charge level. This can be followed up with Flying Swallow Shot, an acrobatic arrow strike that grows stronger depending on your charge level. |
You also need to remember about Discerning Dodge. Executing Charging Sidestep at the perfect moment activates this move. It completely negates damage, instantly maxes out your charge level, refills Trick Arrow Gauge, and restores stamina.
Browse our hottest Monster Hunter Wilds Boosting services


Best Bow Combos
Knowing when to chain attacks, apply coatings, and use Trick Arrows will significantly improve your performance. They are your bread and butter for consistent damage and control over monsters. We have gathered all the best Bow combos in Monster Hunter Wilds to master:
| Name | PS5 | Xbox | Description |
| Arc Shot Combo |
This combo begins with Arc Shot, which rains down arrows and applies multiple Tracer Arrows to the monster. While the Arc Shot does its damage over time, follow up with Charging Sidestep to reposition and keep firing Quick Shots. Once the Tracers are stacked, use Focus Fire: Hailstorm to set them off for massive burst damage. |
||
| Dash Dancing Combo | Hold |
Hold |
A classic Bow strategy, Dash Dancing allows you to fire fully charged arrows while constantly repositioning with Charging Sidestep. This technique lets you stay agile, making it harder for monsters to hit you while keeping your charge level high. |
| Low Stamina Cost Combo |
For moments when Stamina is running low, this combo allows you to keep attacking without exhausting yourself. Simply fire a Tracer Arrow to set a target, then fire repeated Charged Shots while your Stamina regenerates. Close with Focus Fire: Hailstorm for a final burst of homing arrows. |
||
| Power Volley and Tracer Combo |
This all-around combo opens with a Tracer Arrow, allowing subsequent shots to home in on a target. Following up with a Charging Sidestep maintains mobility while setting up Power Volley, which delivers high burst damage. Finally, Focus Fire: Hailstorm detonates any Tracers for additional damage. |
Understanding and mastering these core combos will help you balance damage output, mobility, and Stamina management. Experiment with different coatings, Trick Arrows, and evasive techniques to optimize your gameplay. BLOG20
Managing Stamina
The Bow is one of the most Stamina-dependent weapons in the entire game. Every shot, sidestep, and charge level relies on Stamina, and mismanaging it can leave you vulnerable. Learning how to balance damage output and Stamina conservation is crucial for mastering the weapon.
- Use Charging Sidestep Efficiently: Charging Sidestep is one of the most Stamina-draining moves in your kit, but it's also essential for maintaining charge levels and repositioning. Instead of spam-dodging after every shot, time your sidesteps wisely – preferably when you're already at Charge Level 3 to make the most of it.
- Take Advantage of Power Shots and Power Volley: While Charged Shots drain Stamina, Power Shots (
 /
/  ) and Power Volley do not. These attacks allow you to continue dealing damage while recovering Stamina, making them a key part of sustainable Bow play.
 - Perfectly Time Your Dodges: Performing a Discerning Dodge (a perfectly timed sidestep right before an attack lands) will restore Trick Arrow Gauge and help manage Stamina more efficiently. Instead of constantly dodging, use precise, well-timed sidesteps to maximize your stamina economy.
To truly excel with the Bow, you must balance Stamina usage with smart movement and attack choices. Instead of spamming dodges or draining Stamina too fast, focus on charging efficiently, using Power Shots, and timing your sidesteps wisely.
Optimal Range for Damage
Being too far or too close to the monster can severely reduce the effectiveness of your arrows. Understanding the Critical Distance system and how to properly position yourself is essential for maximizing DPS.
Critical Distance refers to the ideal range where your arrows deal maximum damage. The game provides a visual cue to indicate when you're within this range – your aiming reticle will glow orange when you’re at the optimal distance.
- Too Close? Your arrows lose power, indicated by a thin, pale yellow reticle.
- Too Far? Your shots lose effectiveness, and the reticle remains pale yellow or even says "Out of Range."
- Just Right? The reticle glows orange, meaning your arrows hit with full force.
Each Bow shot type functions differently, and its optimal range may vary.
- Normal Shots – Best at mid-range, ensuring all arrows hit the target with full power.
- Pierce Shots – Require longer range, as arrows need time to pass through the monster for full hits.
- Spread Shots – Most effective at close range, where every arrow can land on the target.
- Thousand Dragons – Deals maximum damage when fired point-blank at the monster’s weak spot.
- Arc Shots – These are not affected by range but are best used when the monster is stationary.
Even though Critical Distance ensures your arrows hit with full power, other factors can affect your total damage output. Power Shots and Thousand Dragons require closer proximity to ensure all arrows hit. Some coatings modify your effective range (e.g., Close-Range Coatings increase power up close). If the target is moving too much, adjust your position rather than wasting shots.
The Bow rewards players who can stay at the right distance while maintaining consistent damage output. If you master the Critical Distance system, adjust your positioning without wasting stamina, and choose the right shot types and coatings, your Bow will become a devastating force in the hunt.
Conclusion
This brings us to the end of our Monster Hunter Wilds Bow guide. With the Trick Arrow Gauge, powerful Coatings, and deadly combos, you can continuously pressure monsters from a safe distance. Mastering Critical Distance, Charging Sidesteps, and Tracer Arrows will maximize your DPS and keep you mobile. Good luck on your next hunt, and we will see you in the game!
F.A.Q.
Is Bow hard to use in Monster Hunter Wilds?
The Bow has a moderate learning curve, requiring good stamina management and positioning, but its high mobility and ranged attacks make it easier to survive compared to melee weapons.
What is the best weapon in Monster Hunter Wilds?
The best weapon depends on your playstyle, but many players consider the Bow to be top-tier due to its consistent damage, mobility, and ability to apply status effects with coatings.
How to get good with Bow in Monster Hunter Wilds?
Master Stamina management, learn to stay in the optimal range, and use Charging Sidesteps and Trick Arrow Gauge effectively to keep up damage while avoiding attacks.
How to use Bow properly in Monster Hunter Wilds?
Use charged shots, Power Volleys, and Tracer Arrows while maintaining the correct distance for maximum damage, and always manage stamina wisely to avoid getting caught off guard.
Is Bow good in Monster Hunter Wilds?
Yes, the Bow is an S-tier weapon, offering consistent ranged damage, great mobility, and versatility with coatings that apply powerful effects.
What are the best Bow combos in Monster Hunter Wilds?
Some of the best Bow combos include Power Volley and Tracer Combo, Arc Shot Combo, and Low Stamina Cost Combo, all of which maximize damage while keeping you mobile.