 Dallon Avery
Adventurers, prepare yourselves for an exhilarating journey into the depths of Zekvir's Lair, the thrilling 13th delve introduced in Season 1. This WoW The War Within Zekvir's Lair delve guide is designed to equip you with all the essential knowledge and strategies needed to conquer this unique challenge. Whether you're a seasoned veteran or a newcomer eager to explore, you'll find valuable insights on navigating the lair, understanding its mechanics, and defeating the formidable boss that awaits. Let’s dive in and uncover the secrets of Zekvir's Lair together!
IMPORTANT NOTE: Apart from reading our guide, you can also Buy WoW Boost from Skycoach. We offer a wide range of products at the lowest market price and with the fastest delivery. You can make your first purchase even CHEAPER if you find a special PROMO CODE (highlighted in green) hidden in this article and get a 20% DISCOUNT.
Browse our hottest WoW Boosting services


What is Zekvir's Lair in The War Within?
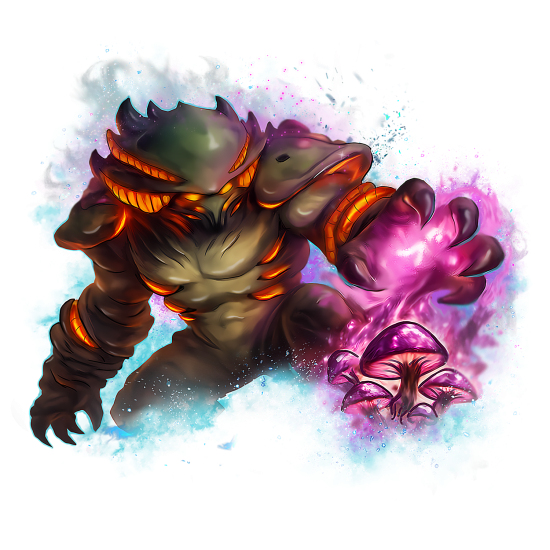
Let’s start our Zekvir's Lair guide by introducing what this delve is about. It is a special challenge delve introduced in Season 1 of The War Within expansion for World of Warcraft. It is considered the 13th secret delve and is designed for players between levels 70 and 80. Located in the Old Sacrificial Pit, Zekvir's Lair features unique mechanics and challenges, including the spawning of a Web Terror if certain conditions are not met during the encounter. Completing this delve rewards players with unique items and titles, making it a sought-after experience for players looking to enhance their gameplay.

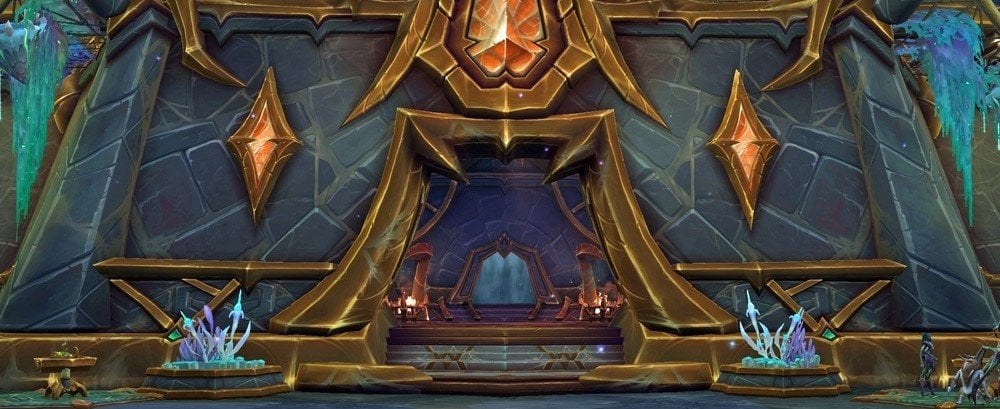
Zekvir's Lair Location
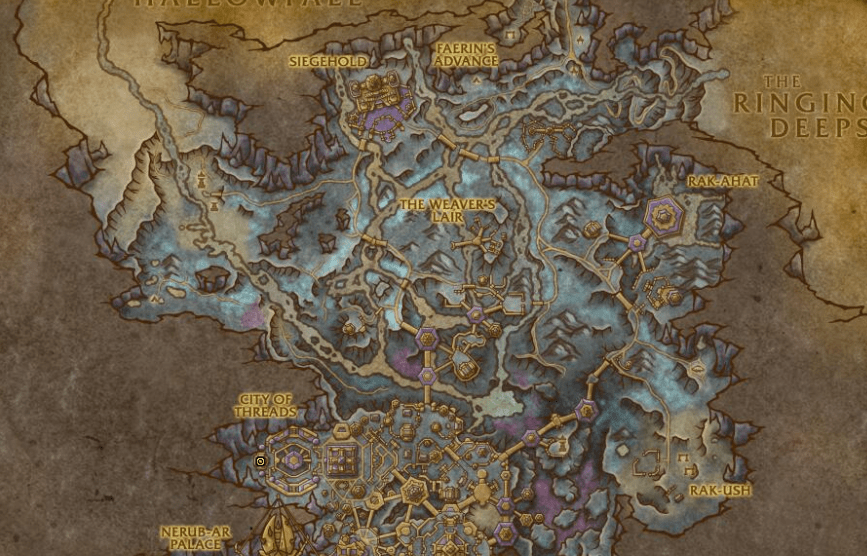
Zekvir's Lair location is in the Old Sacrificial Pit within Azj-Kahet. To find it, head to the northwest area of the City of Threads. The exact coordinates for the entrance are approximately [35.0, 78.2].
To locate the entrance to Zekvir's Lair, players should navigate to the northwest region of the City of Threads. This area can be reached via a series of movement paths leading through the city, and it presents a blend of environmental storytelling and mechanical challenges that players may face.
The precise coordinates for the War Within Zekvir's Lair entrance are approximately [35.0, 78.2]. Utilizing these coordinates can significantly expedite your search; however, players should also familiarize themselves with the broader geography of Azj-Kahet to facilitate navigation through the zone, particularly if they are new to the area. BLOG20
Your primary destination is the Old Sacrificial Pit, which serves as the landmark for the lair's entrance. The coordinates for the Old Sacrificial Pit are approximately [35.0, 78.2]. It is recommended that you familiarize yourself with the surrounding terrain before making your way to the lair. The Old Sacrificial Pit is not just a point of interest; it is surrounded by various enemies, resources, and potential quest items, making the journey engaging and rewarding.
As you approach the area, look for any signs or markings that could suggest hidden pathways. The environment may include natural obstacles such as cliffs, dense foliage, or ruins that could mask the entrance to Zekvir's Lair. Utilize your character’s abilities to navigate effectively; some characters may have skills that enhance their mobility or visibility in complex environments, allowing them to scout ahead or discover hidden routes.
Pay careful attention to your surroundings—while the entrance isn't marked with official signage, players have reported finding it by observing unusual terrain formations or disturbances such as broken rocks or worn paths leading into the depths below. It can also be beneficial to engage with NPCs or other players in the area to gather information about the lair’s location and any lesser-known tips on how to access it.
How to Unlock Zekvir's Lair:
- Complete Tier 8 Delve: You must first complete a Tier 8 delve while retaining revives. This is a prerequisite for unlocking Zekvir's Lair.
- Difficulty Tiers: Zekvir's Lair features two difficulty levels. The first tier unlocks after completing the aforementioned Tier 8 delve. The second tier becomes available after additional requirements are met, typically involving further challenges in the delves.
In order to obtain all of the available Zekvir's Lair loot, you’ll need to unlock both difficulties.

How to Do Zekvir's Lair in The War Within
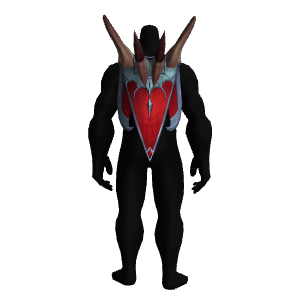
 Zekvir's Lair is a single-boss fight, which should answer the question - “how to do Zekvir's Lair.” In fact, you might have already encountered the protagonist, Zekvir, as he appears in other delves at difficulty tier 8 or higher. If you did, then you already know what to expect from him on the first of two difficulties this delve is available in. Below, we’ll explain every ability and mechanic as well as how to deal with them. Further down below, we’ll talk about the difficulty tiers and how the boss’s toolkit changes based on the chosen difficulty. As for the rest of this section, consider it a Zekvir's Lair walkthrough.
Here’s how to deal with this boss:
- Positioning Relative to Brann:
- Stay Close to Zekvir: Position yourself closer to Zekvir than Brann. This is crucial because it allows you to manage Zekvir's mechanics, such as Claw Smash and Angler’s Web, without interfering with Brann’s tanking. If you let Brann tank, he may not effectively handle the damage, leading to a quick defeat.
- Avoid Edge of the Room: Do not tank Zekvir near the edges of the arena. This positioning can complicate dodging mechanics, especially if you need to move quickly to avoid attacks. Staying more toward the center gives you more room to maneuver.
- Targeting Web Terror Cocoon:
- Prioritize the Cocoon: The Web Terror Cocoon is a critical target. Focus on it as soon as it appears. By doing so, you will force Brann to switch his attention to it, which is vital since his damage output is significant. The sooner you eliminate the cocoon, the less time it has to affect the fight.
- Utilizing Movement Skills:
- Save Movement Abilities for Horrendous Roar: Zekvir’s Horrendous Roar is a powerful attack that can knock players back. Ensure you have your movement skills available to dodge this attack effectively. Timing is key; using these skills at the right moment can prevent significant damage and keep you in the fight longer.
- Defensive Cooldowns:
- Maintain High HP: Throughout the encounter, it’s crucial to use your defensive cooldowns wisely. Keeping your health high will allow you to withstand Zekvir’s attacks. Monitor your health and be proactive in using these abilities, especially when you anticipate heavy damage.
- Understanding Zekvir’s Mechanics:
- Claw Smash: This attack can deal significant damage in a cone in front of Zekvir. Position yourself to avoid this attack while still being able to deal damage.
- Angler’s Web: This mechanic can ensnare players, making it essential to avoid its area of effect. Staying close to Zekvir allows you to better predict and dodge this attack.
- Team Coordination:
- Communicate with Your Team: If you are in a group, ensure that everyone is aware of their roles. Brann’s damage output is crucial, so make sure he is focused on the right targets. Coordination can make a significant difference in managing Zekvir’s mechanics.
- Practice and Adaptation:
- Learn from Each Attempt: Each encounter with Zekvir can provide insights into his attack patterns. Take note of what works and what doesn’t, and adjust your strategy accordingly. Practice makes perfect, and understanding the timing of his abilities will enhance your performance.
It's recommended that you assign Brann as your primary damage dealer. Equip the Porcelain Arrowhead Idol as your Combat Curio, and pair it with either the Amorphous Relic or Relic of Sentience as your Utility Curio. This setup will provide a solid damage boost, which is crucial since Brann's damage output plays a key role in this encounter.
Zekvir's Lair Tiers
If you’re a solo player, Zekvir will have 89.9m HP; however, with the 2 difficulty Zekvir's Lair tiers marked by the symbols "?" and "??", his abilities are vastly different with added layered mechanics making every mistake fatal. First, let’s take a look at the “?” abilities:
| Ability | Description |
| Claw Smash | Short cast frontal cone attack aimed at a player or Brann. |
| Angler's Web | Short cast line attack that hooks and likely kills whoever is hit. |
| Call Web Terror | Zekvir spawns a web that will become a Web Terror if not killed within 15 seconds. The Web Terror has double HP and casts Web Blast (can be interrupted), which stuns all players. |
| Enfeebling Spittle | Short cast that applies a massive DoT and slow to all players if not interrupted. |
| Horrendous Roar | Short cast AoE fear around Zekvir, requiring players to move out of its range. |
Now, let’s have a look at what makes Zekvir vastly more difficult at a higher of the two Zekvir's Lair variants: BLOG20
| Ability | Description |
| Regenerating Carapace | An interruptible cast that heals Zekvir for 10% of his maximum health. |
| Black Blood | At 60% health, Zekvir moves to the center of the room and casts Black Blood for 10 seconds, gaining 99% damage reduction. Afterward, he gains a new ability and upgrades two existing ones. |
| Unending Spikes | Triggered by Black Blood, Zekvir creates small void portals that fire spikes, which chase the player. |
| Blood-Infused Carapace | An upgraded version of Regenerating Carapace, healing for 25% of Zekvir's maximum health instead of 10%. |
| Infinite Horror | An upgraded version of Horrendous Roar, where the fear effect becomes permanent if Brann is hit. |
These changes, especially the upgraded healing and the potential for permanent fear make the higher difficulty far more challenging to manage. To put it simply – you cannot mess up positioning at “??” difficulty.

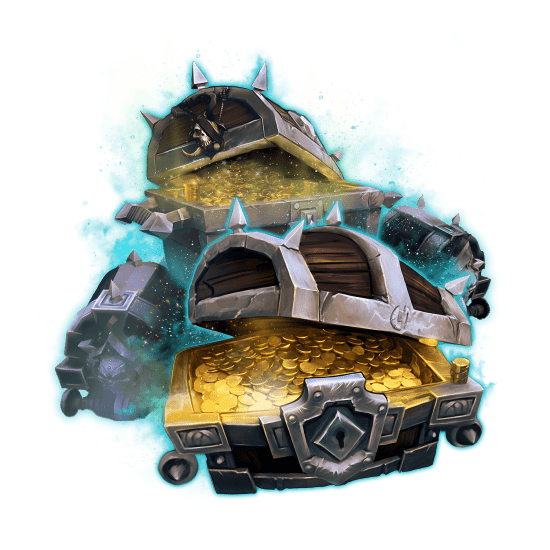
Zekvir's Lair Rewards
There are a few cool rewards that you can get by completing this delve. If you manage to beat the boss on “??” difficulty, you’ll get some way cooler rewards. Here’s the list:
- Zekvir's Raptorial Spine – Found in the chests behind Zekvir after defeating him. A cloak transmog item.
- Toxic Victory – Earned from completing the seasonal quest Zekvir, Hand of the Harbinger. The toy creates spider circles on your shoulder pads.
- Void Appearance – Unlocked by completing Let Me Solo Him. Changes the appearance of your Delver's Dirigible mount to a Void theme.
A transmog cloak, a toy, and a new skin for your Delver's Dirigible would surely be a nice addition to your growing collection. But that’s not all Zekvir's Lair rewards on offer.
Zekvir's Lair Achievements
As it goes for all of the delves, there are a few Zekvir's Lair achievements to earn:
- Nemesis – Awarded for defeating Zekvir in his lair on any difficulty.
- Hunting the Hunter – Earned by defeating Zekvir on "??" difficulty before the next season. Grants the title "Ascension Breaker."
- Let Me Solo Him – Requires soloing Zekvir on "??" difficulty. Unlocks the Void appearance for the Delver's Dirigible mount.
- Heavy-Handed – Obtained by being killed by Zekvir during the encounter.
Guess which one is an easter egg referencing another game!
Conclusion
Zekvir's Lair is a pretty unique delve. Unlike the others, it only challenges you to one enemy encounter. However, this encounter is not an easy one. It will surely take a few attempts to beat the boss on both difficulties, but the rewards are well worth it.
With powerful abilities that intensify in higher difficulties, players must manage mechanics such as Claw Smash, Web Terrors, and Black Blood while focusing on key interrupts and movement. The rewards for defeating Zekvir, including prestigious achievements, unique transmog items, and a distinctive mount appearance, make the effort well worth the challenge. As with any delve, preparation, and teamwork are the keys to overcoming this formidable foe and claiming victory.
We hope that this guide will be useful to you in your quest to defeat Zekvir and help you obtain those rewards and achievements.
F.A.Q.
How to complete Zekvir's Lair in WoW The War Within?
All you have to do in Zekvir’s Lair is defeat the one and only boss –Zekvir, who will put your gear and your game knowledge to the test.
Where is Zekvir's Lair in WoW The War Within?
The entrance into this delve is located in the Old Sacrificial Pit within Azj-Kahet. The coordinates are – 35.0, 78.2.
What are Zekvir's Lair rewards in WoW The War Within?
The rewards for beaing this delve on both difficulties include:
- 4 achievements
- A toy
- A transmog cloak
- A skin for the Delver's Dirigible
Is Zekvir's Lair difficult to do in WoW The War Within?
Yes, Zekvir’s is a pretty challenging delve, and many players are struggling to beat it. Make sure to learn the boss’s abilities on both difficulties and read the guide on how to survive the fight.
What are Zekvir's Lair variants in WoW The War Within?
There are two difficulty options for this delve, with the higher one adding a few more abilities to the boss while making the other ones a bit more challenging.
What is the highest tier in Zekvir's Lair in WoW The War Within?
The highest tier or difficulty in Zekvir's Lair is marked by “??”. It has no strict ilvl requirement, but it is expected that you have at least ilvl 610 gear.


