Welcome, Apocalypse survivors! It’s time for the Black Ops 6 Zombies Liberty Falls main quest guide! Last time, we explored Terminus Island and its main quest, and now, it’s time for the quiet little town in West Virginia, plagued by a zombie outbreak. The map features various classic American locations, including a video store, motel, gas station, bowling alley, comic shop, and church. Although it's smaller compared to larger maps like Terminus, it still includes a variety of hidden secrets and extends into the eerie Dark Aether dimension, adding depth to its relatively compact layout.
In this BO6 Liberty Falls guide, we’ll walk you through each step to complete the main quest and face the final boss. However, if you would like to skip this whole process of completing hidden objectives while surviving never-ending waves of zombies, you can just buy BO6 Zombies Liberty Falls boosting service at Skycoach. This way, you can get all of the rewards for completing Liberty Falls without wasting your own time.
Read our other Black Ops 6 guides:
- Terminus Main Quest Guide
- Zombies Best Weapons Tier List
- How to Level Up Fast
- Best Settings
- Zombies Guide
- Best Weapons Tier List
- How to Unlock All Mastery Camos
Note: At Skycoach, you can Buy Black Ops 6 Boost at the best prices with fast delivery. Use our special PROMO CODE (in green) hidden in this article for a 20% DISCOUNT.
Liberty Falls Main Quest Walkthrough
The storyline of this Zombies main quest BO6 centers around the corruption of Samantha Maxis by the Dark Aether, following events from previous Black Ops games where she had contained herself and the entity known as The Forsaken. The Liberty Falls map narrative sees Maxis breaking free, catalyzing the outbreak in town. Notably, Edward Richtofen makes an appearance, wielding the iconic Wunderwaffe DG2 weapon against the zombie threat. The map also includes the return of the Jet Gun, first seen in the Black Ops 2 TranZit map, as a powerful Wonder Weapon. The presence of both the Wunderwaffe and the Jet Gun adds a nostalgic element for long-time fans, while the map’s design and story development tie back to key elements of the ongoing Dark Aether saga.
Liberty Falls captures the haunting atmosphere of a forgotten American town, its classic storefronts and public buildings left eerily deserted amid the outbreak. The faded neon signs of the video store and motel, along with the echo of bowling pins in the vacant alley, bring an unsettling stillness to each corner. Hidden pathways lead deeper into shadows where the Dark Aether breaches reality, intertwining this familiar place with otherworldly horror. The comic shop and church feel like relics of a bygone era, drawing players in with reminders of normal life—now twisted by the strange, unnatural calm that has settled over Liberty Falls.
Step 1: Get the Jet Gun
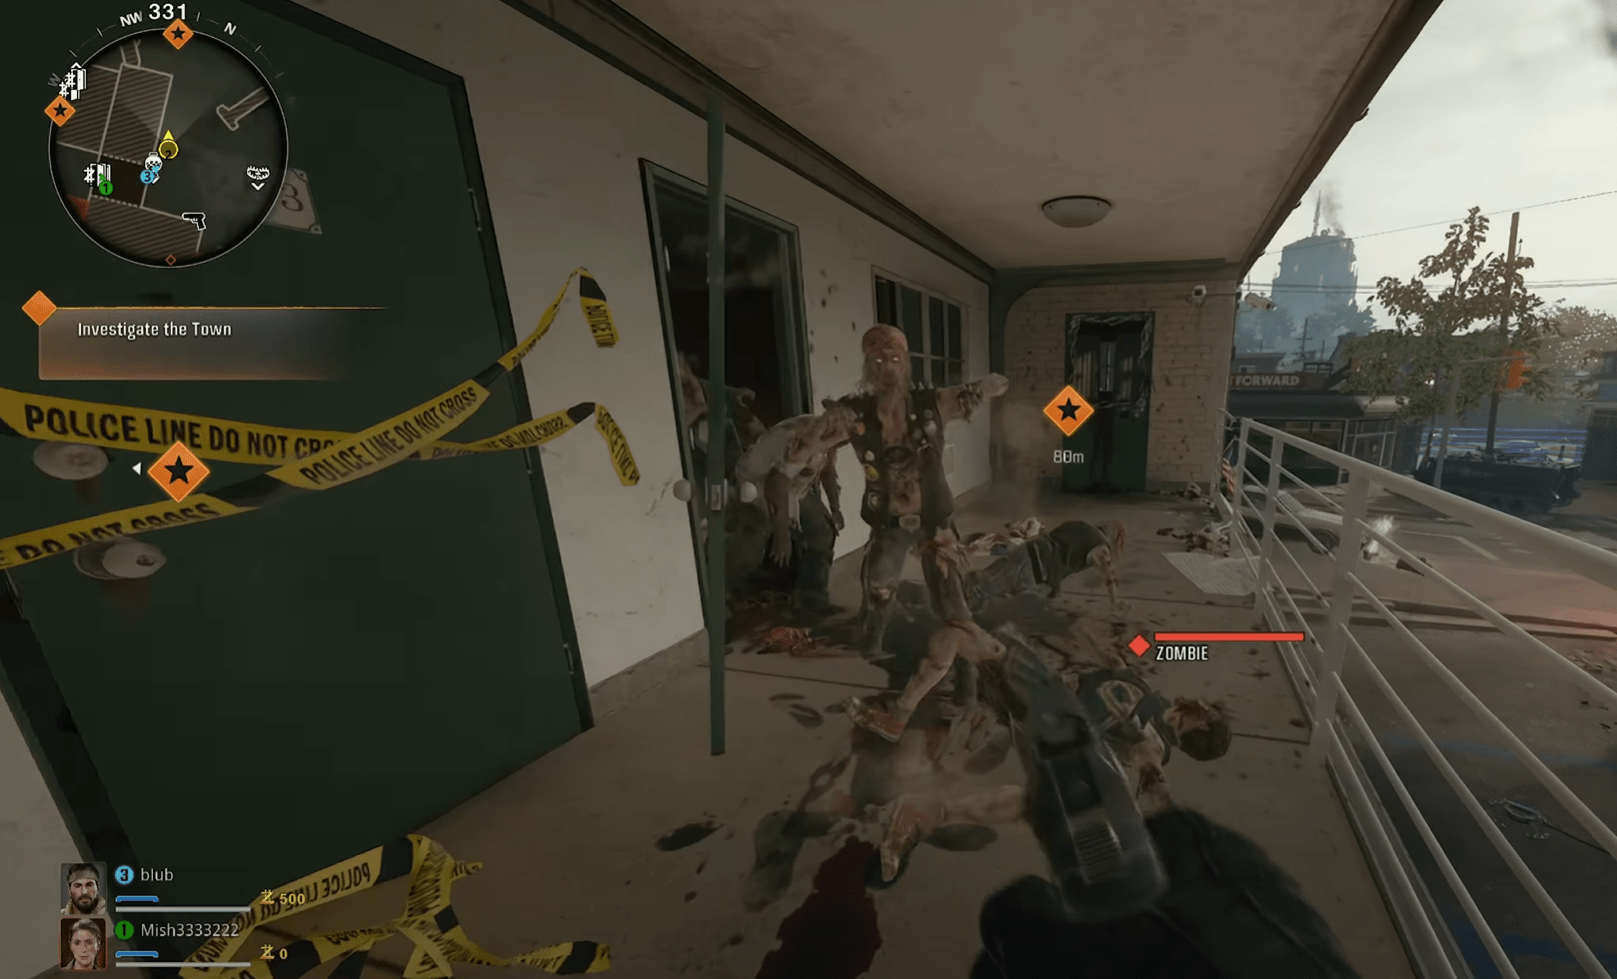
Let’s begin with the BO6 Liberty Falls Wonder Weapon guide. When you spawn in Liberty Falls, you’ll see a little cozy motel with several floors directly in front of you. Head upstairs to the second floor, where a door will explode open, releasing zombies as you approach it. Clear out the zombies to trigger the first objective of the Jet Gun crafting quest. Inside this room, you’ll also find the crafting table where the Jet Gun will eventually be assembled. BLOG20
Collet All Jet Gun Parts
Tap Handle
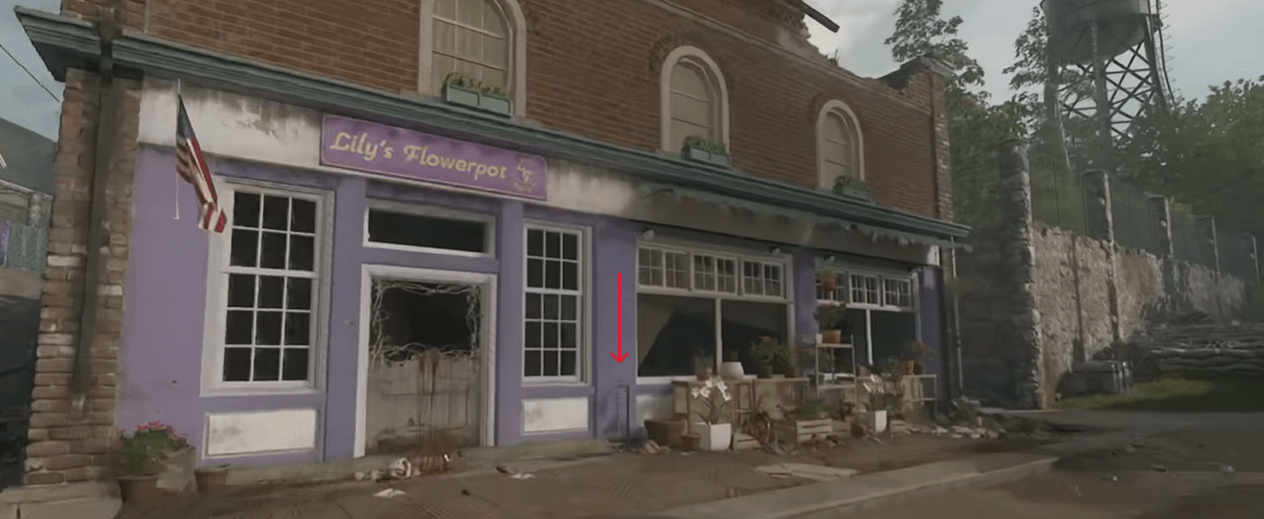
To collect the Tap Handle, head towards the flower shop. Unlock any gates you encounter along the way to access it. Once you reach the front of the flower shop, interact with the Tap Handle using the interact key—note there won’t be a prompt. With the handle in hand, make your way to the bowling area.
Water Pressure Gauge
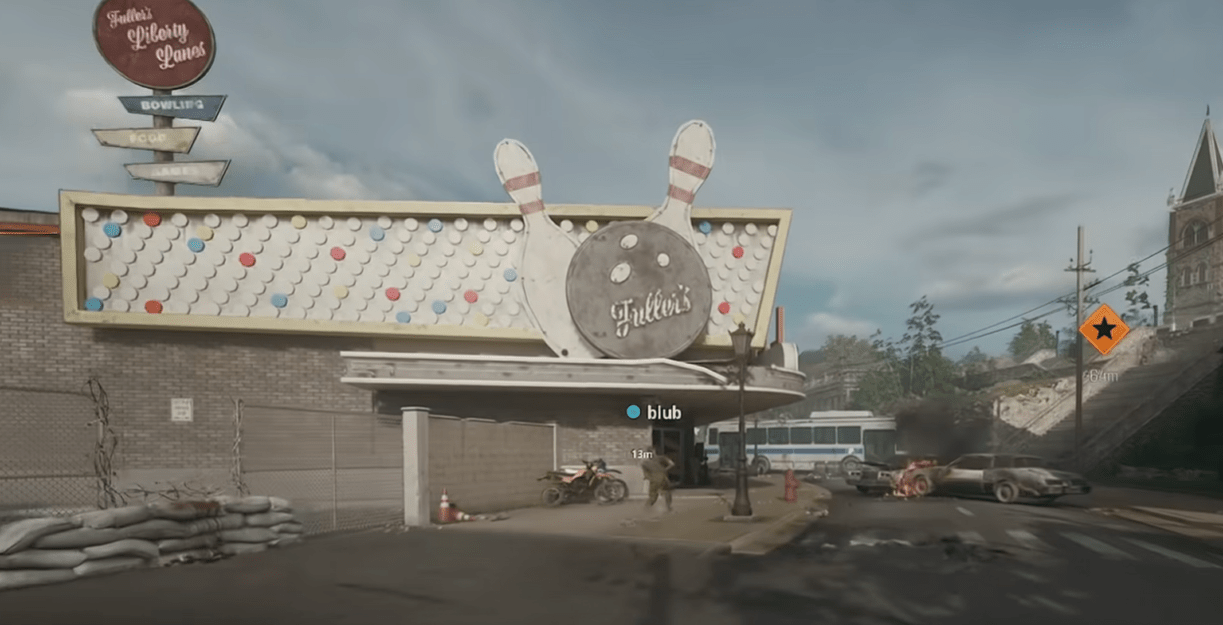
Once you arrive at the bowling area, locate a panel on the wall where you can attach the Tap Handle. Begin cranking the handle to build pressure; this takes some time, so it’s wise to have decoys or monkey bombs if you’re playing solo. If you’re in co-op mode, your teammates can help cover you. After cranking, a Water Pressure Gauge will drop to the ground. Pick it up to continue.
Handbrake
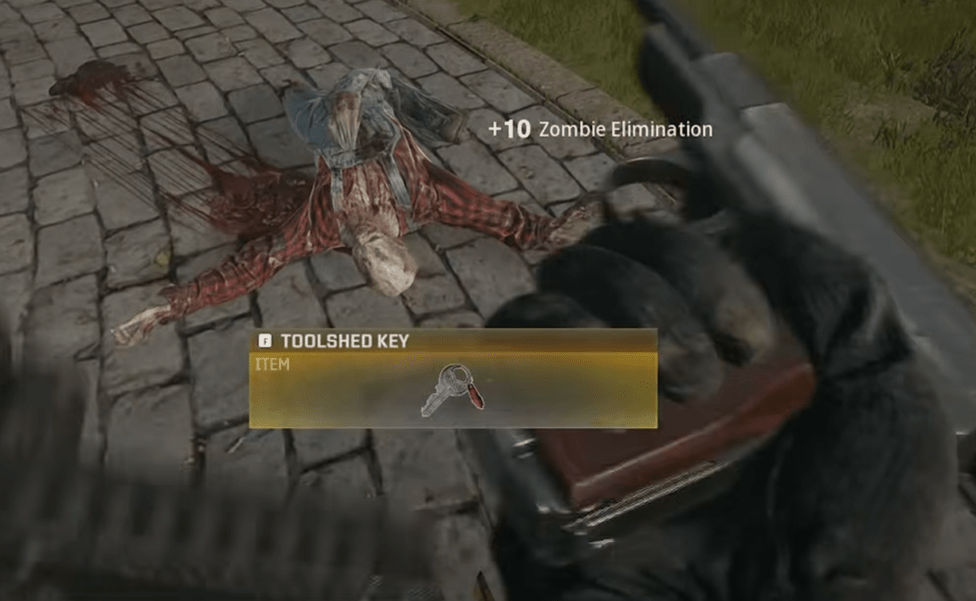
Navigate to the church area and find the nearby graveyard on the right side of it. It’ll be open, you don’t have to pay to gain access to it. It’s rather small and obvious, so you won’t miss it. Move to the center until you encounter the Groundskeeper dead guy (pay attention to the nameplate if you struggle), a unique zombie with different clothing. Defeat this enemy, and it will drop the Toolshed Key. Proceed through the passageway east of your location, open the tool shed, and grab the Handbrake from the table on the right.
Wires
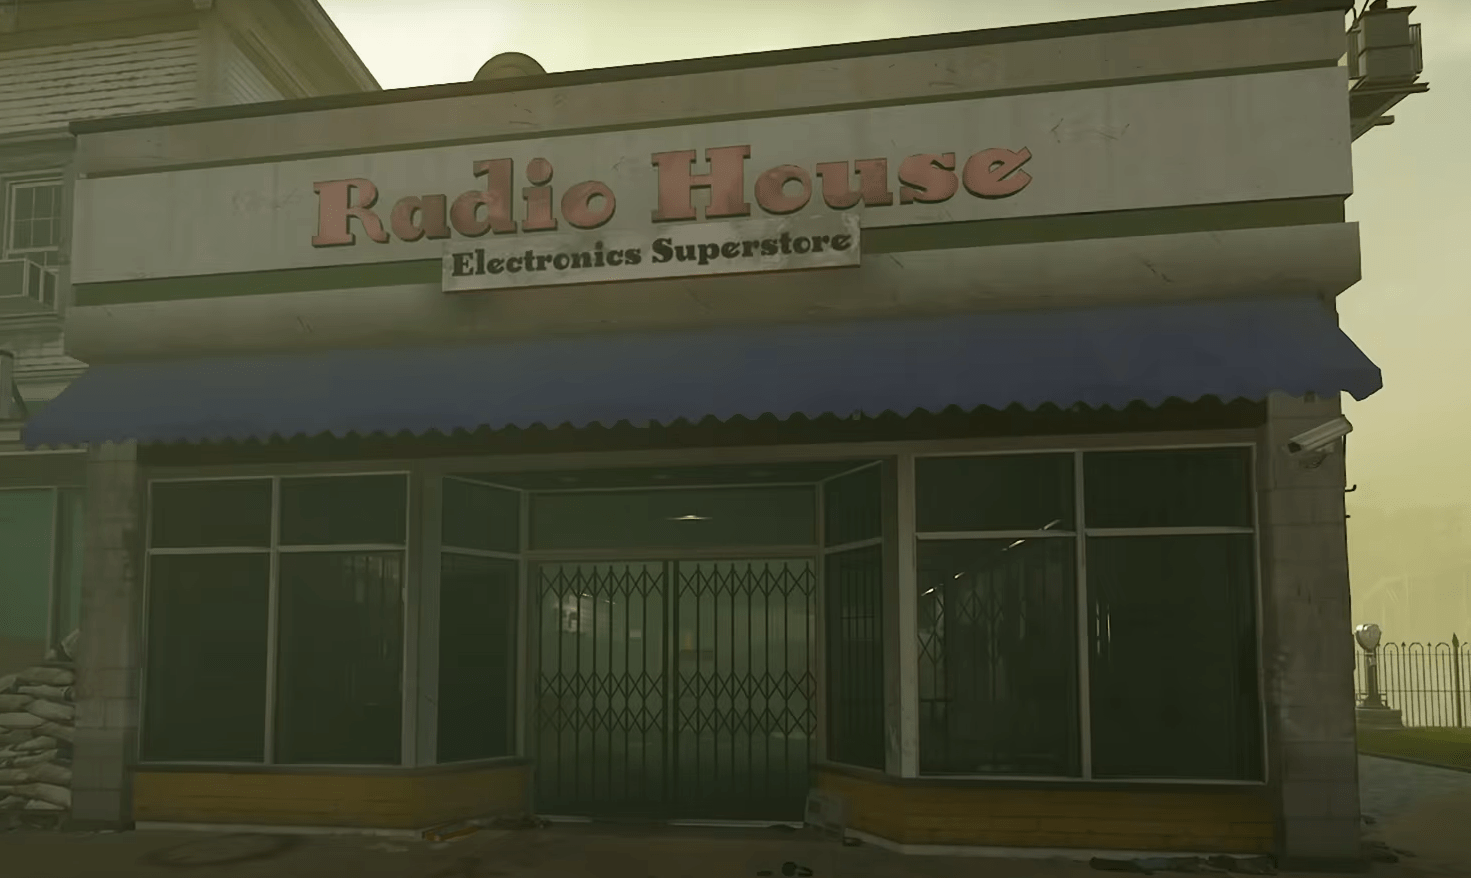
For the final item, head to the far east side of the map to the radio house, located opposite the comic shop. To enter, you can either bait a Mangler to shoot the door open (available at round 11) or craft a Mangler Cannon for 1,250 scrap at the nearby crafting table. Use the Mangler Cannon to blast the door, then enter the room and check each scrap pile until you find the Wires.
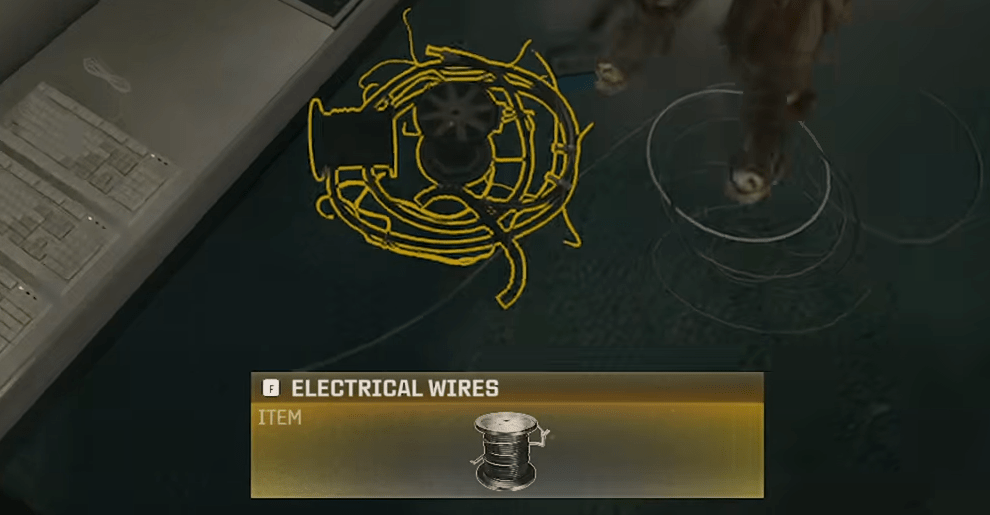
Return to the motel where you started the game. Inside the room where the crafting table is located, use all the collected items to craft the Jet Cannon. This is how to craft Jet Gun in BO6. In your future runs, you’ll be able to complete this part of the quest much faster when you know where to go.
BO6 Jet Gun Review
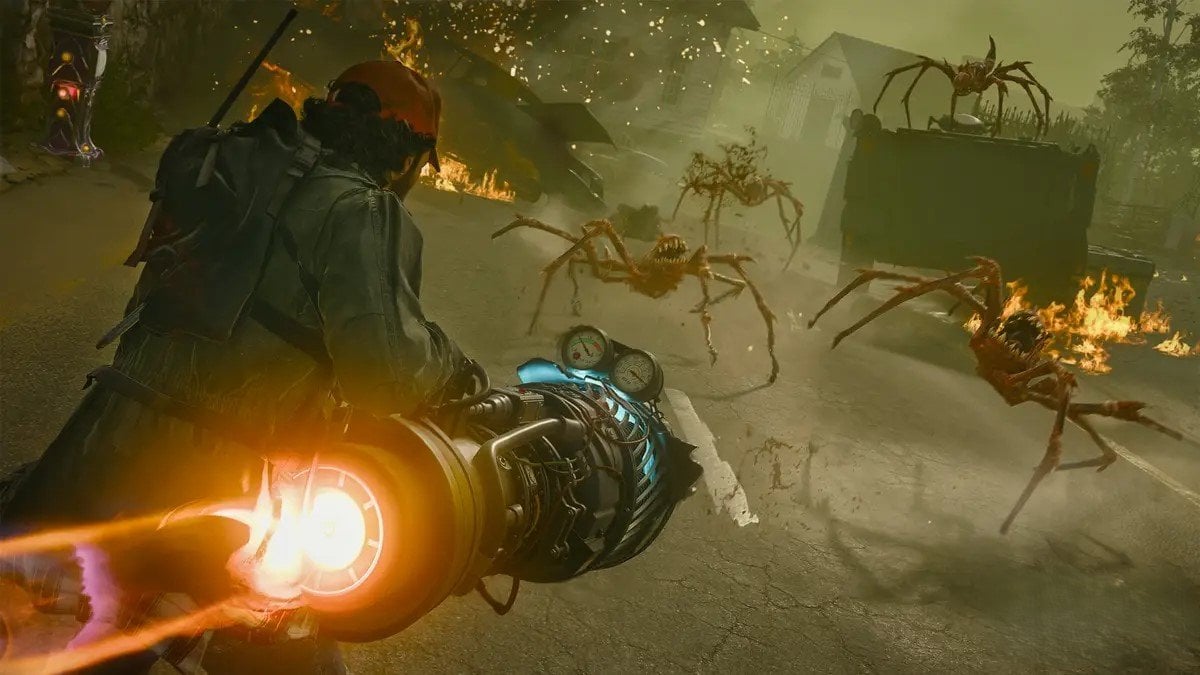
The Jet Gun, known as the Thrustodyne Aeronautics Model 23, in Black Ops 6's Liberty Falls map is a powerful yet unconventional wonder weapon. Visually, it's crafted from parts like a water valve and an old handbrake, giving it a rugged, improvised look with rotating blades at the front. This design reflects its unique function: it doesn’t fire traditional bullets but instead uses a high-speed turbine to create a suction force, pulling zombies in and essentially shredding them on contact. BLOG20
The Jet Gun operates by spinning its turbine to create an intense vacuum effect, ideal for crowd control. However, its primary fire mode is limited by durability—overuse can cause it to break, requiring players to take breaks to avoid overheating or breaking it, which would necessitate repairs. This weapon’s powerful yet temperamental mechanics make it a high-risk, high-reward choice for skilled players looking to clear zombie hordes quickly
Step Two: Craft the LTG
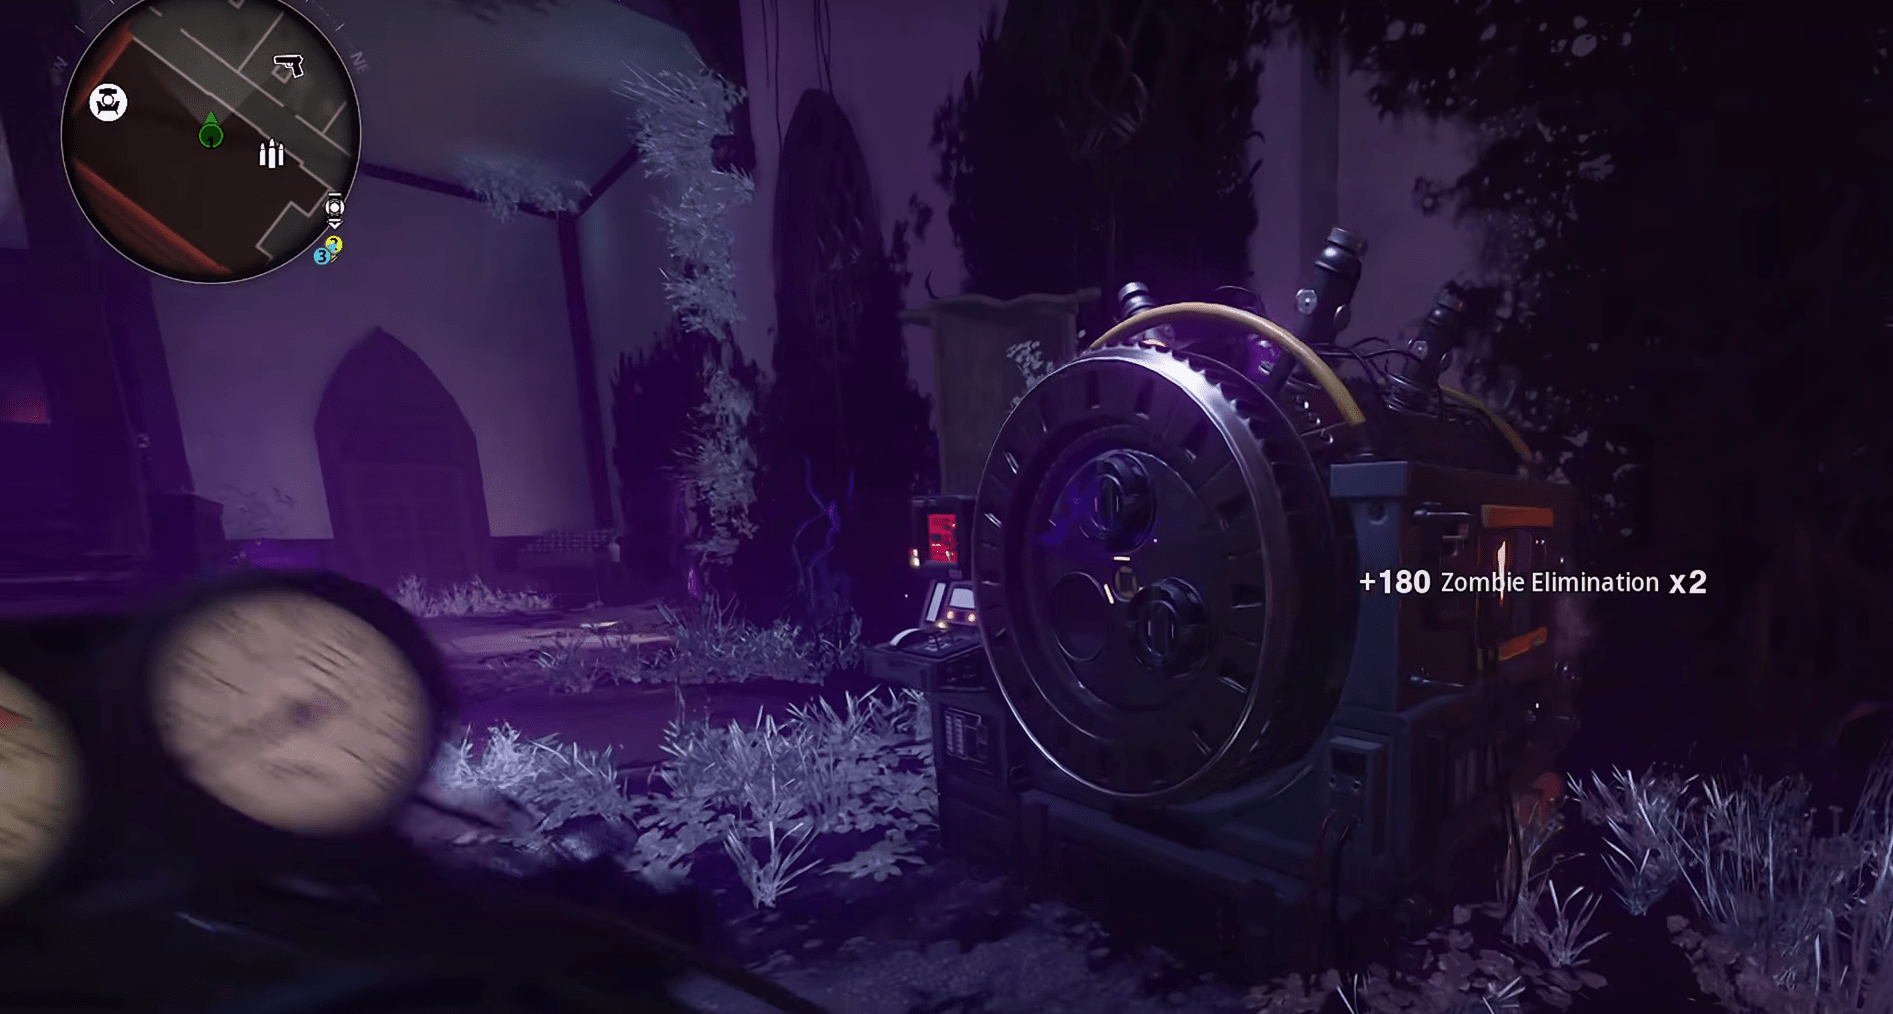
With the Jet Cannon, head back to the church. Interact with the strange machine inside to start the LTG crafting quest. This will unlock the next steps needed to assemble the LTG device.
Collect LTG Components
- Church Hat Collection: Inside the church, use the Jet Cannon to vacuum up a floating hat near the ghostly figure speaking to you.
- Flower Shop Roof: Exit the church, climb onto the flower shop roof, then jump down onto the truck in the street. Use the Jet Cannon to capture the next component from across the street.
- Comic Shop Roof: Head to the comic shop, get on its roof, and retrieve the final item to complete the LTG setup.
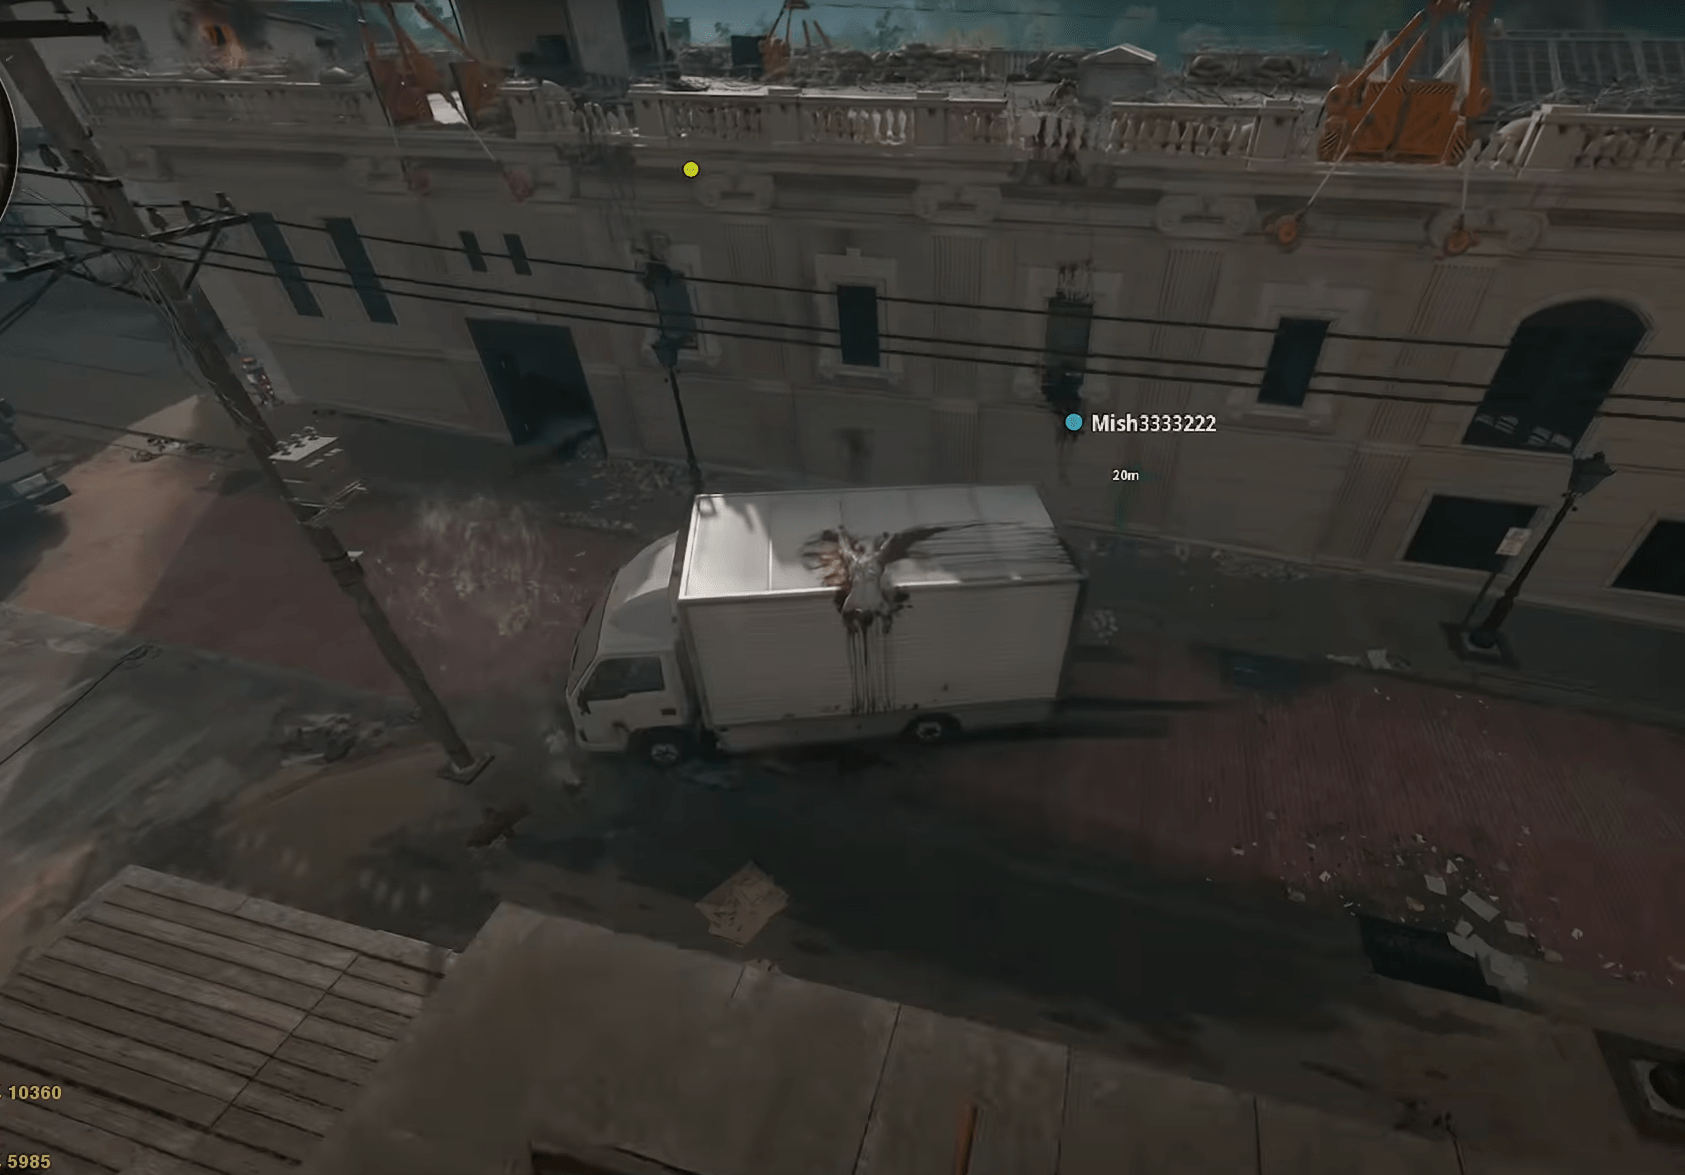
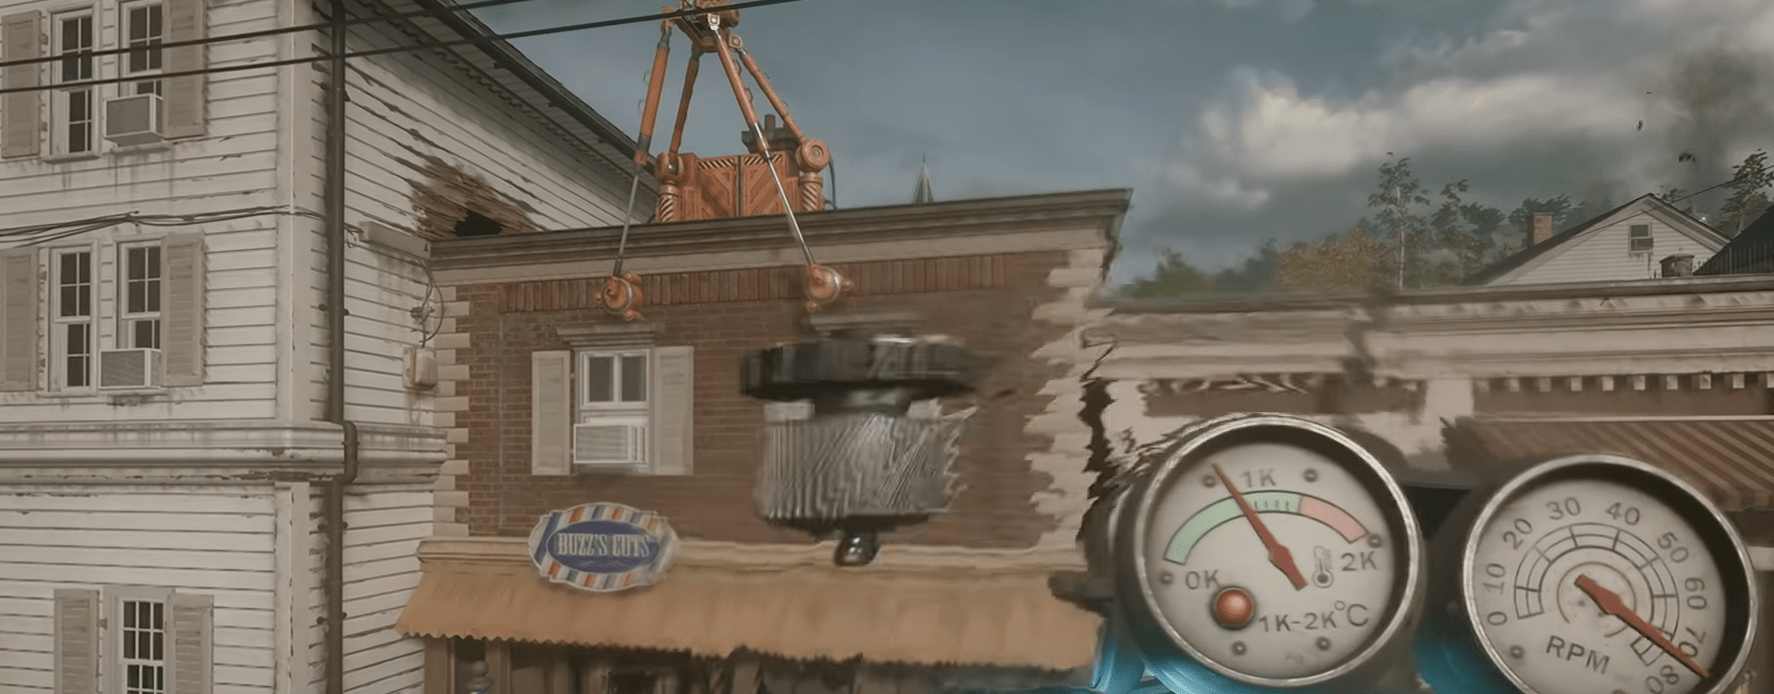

Return to the large roof area accessible by zip lines from the flower shop or the church, where you’ll find the crafting table to assemble the LTG.
Place and Protect the LTG
Upon reaching the comic book store, position the LTG beneath the lightning rift. This action triggers a thrilling one-minute defense sequence where your primary goal is to safeguard the LTG from an onslaught of zombies. Should you fail to protect it during this timeframe, you will need to complete the current round before trying again.
Once you successfully defend the LTG, prepare for the appearance of a mini-boss, either a Mangler or an Abomination. It's crucial to avoid defeating this mini-boss immediately, as it will be integral to your next objective.
Step 3: Obtain and Charge the Canister
Return to the church and interact with the strange machine to receive a canister. Find an appropriate spot on the map to place the canister; this is where you’ll kill the mini-boss.
Charge the Canister
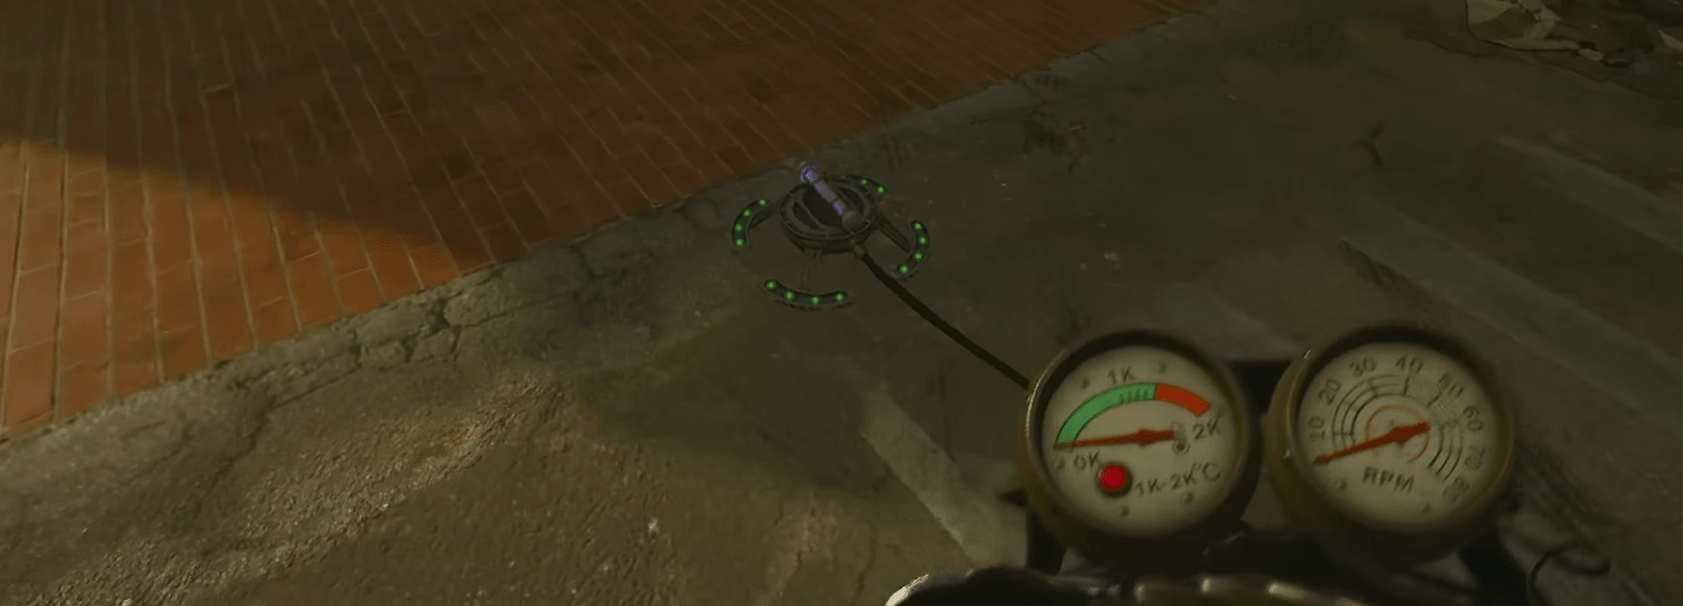
Place the canister down and use trap-like shock traps to slow down the mini-boss, allowing you to kill it close to the canister. Ensure the wisp of energy from the mini-boss moves toward the canister. If successful, the canister will begin a countdown. If this doesn’t happen, complete the round and retry the steps. When the countdown starts, quickly bring the canister back to the church.
Step 4: Adjust the Color-Coded Devices
Inside the church, collect the Strauss Counter, a tactical device used to adjust the color-coded devices around Liberty Falls. Use the Tactical button to equip it and monitor its color output.
Change the Colors of Each Device
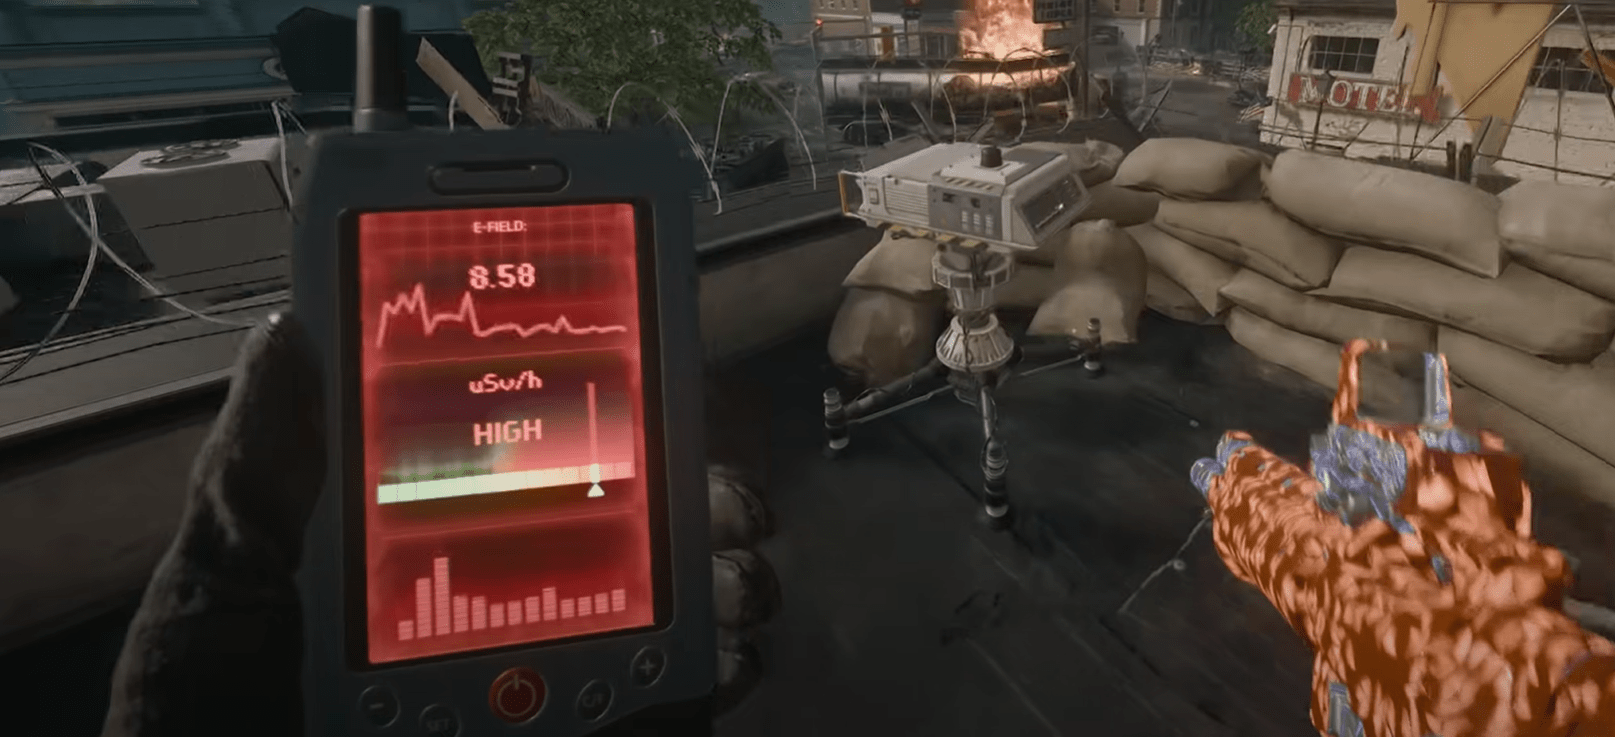
Each device needs to be set to the opposite color of what the Strauss Counter displays:
- Device 1: Near the cemetery. Adjust the color as needed.
- Device 2: In front of Liberty Lanes, where you managed the water pressure. Set this device’s color opposite to the one displayed.
- Device 3: On the large roof near the gas station. You’ll need to purchase access to the roof’s small wall for 750 credits to reach it. Adjust the color here. BLOG20
So if your device shows green, set it to red. If it shows red, set it to green, and if it shows yellow, just set the device to yellow. After setting each device, lasers will connect to a previously inaccessible device near the gas station. Interact with it to receive a second canister.
Step 5: Second Canister and Mini-Boss Encounter
Position the Canister at the Second Rift
Take the canister back to the cemetery near the church. Place it under the second rift, which will initiate another one-minute defense phase. Successfully defending the rift will spawn another mini-boss.
Charge the Second Canister
Once the mini-boss spawns, repeat the canister-charging process by defeating the mini-boss near the canister using shock traps. Wait for the wisp to enter the canister and verify that the countdown begins. Once charged, bring the canister back to the church and insert it into the same device to continue the storyline.
Step 6: Final Battle
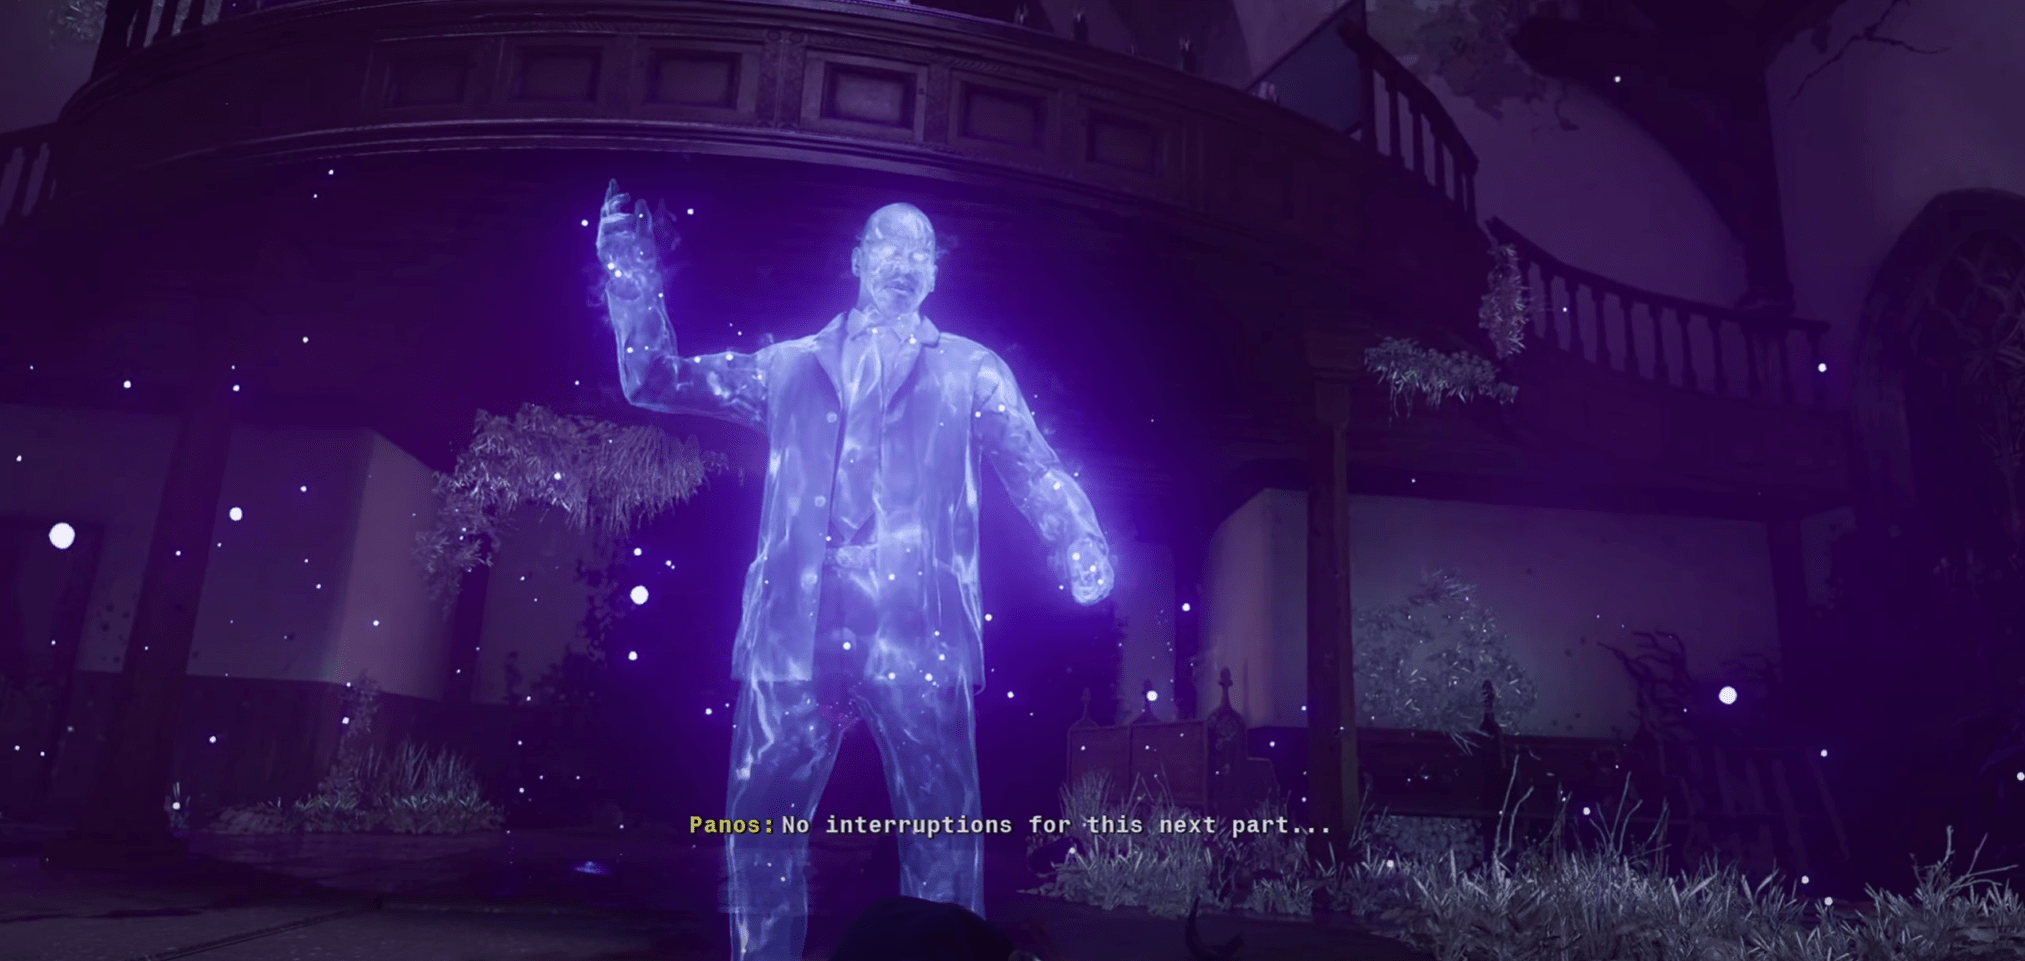
Once all previous steps are completed, a vote will appear to initiate the final phase of the Liberty Falls storyline. This battle will take place in the confined space of the church and features a challenging wave of zombies and possibly mini-bosses. Prepare well and only begin the vote when you’re ready, as you’ll be locked inside the church once the battle starts. The BO6 Liberty Falls Pack-a-Punch location is the church, so do upgrade your weapons.
Speaking of upgrades, don’t forget to buy as many perks as you can. Here’re all the locations:
- Juggernog: Inside Savings & Loan Bank, West Main Street.
- Quick Revive: Olly's Comics, accessed through Riverside.
- Speed Cola: Outside a yellow building on Washington Avenue.
- Stamin-Up: Fuller’s Liberty Lanes, near arcade games.
- PhD Flopper: By the church near Hilltop Stairs.
- Melee Macchiato: Left of the Forecourt by the church wall.
- Deadshot Daquiri: Unlocked through trials or at level 25 at the Wunderfizz machine.
- Elemental Pop: Found in bank vaults or by completing specific trials.
The final battle is you survive 3 waves of zombies in a rather small church. There’s not enough space to rotate and no cover to hide behind, so you better be prepared. The final wave will have the Abomination mini-boss, which can be killed faster if you use the killstreak that turns you into a Mangler. Obviously, the chopper killstreak that was extremely handy in Terminus will not even work here.
If you manage to survive all the waves, you’ll see a cutscene where Panos gets free, after which you can either finish the mission right there or keep playing with a bunch of extra rewards. So, if you want to stay and farm camos or get a new personal record, it’s the best time to do so. Then you’ll be able to Exfil to end the run.
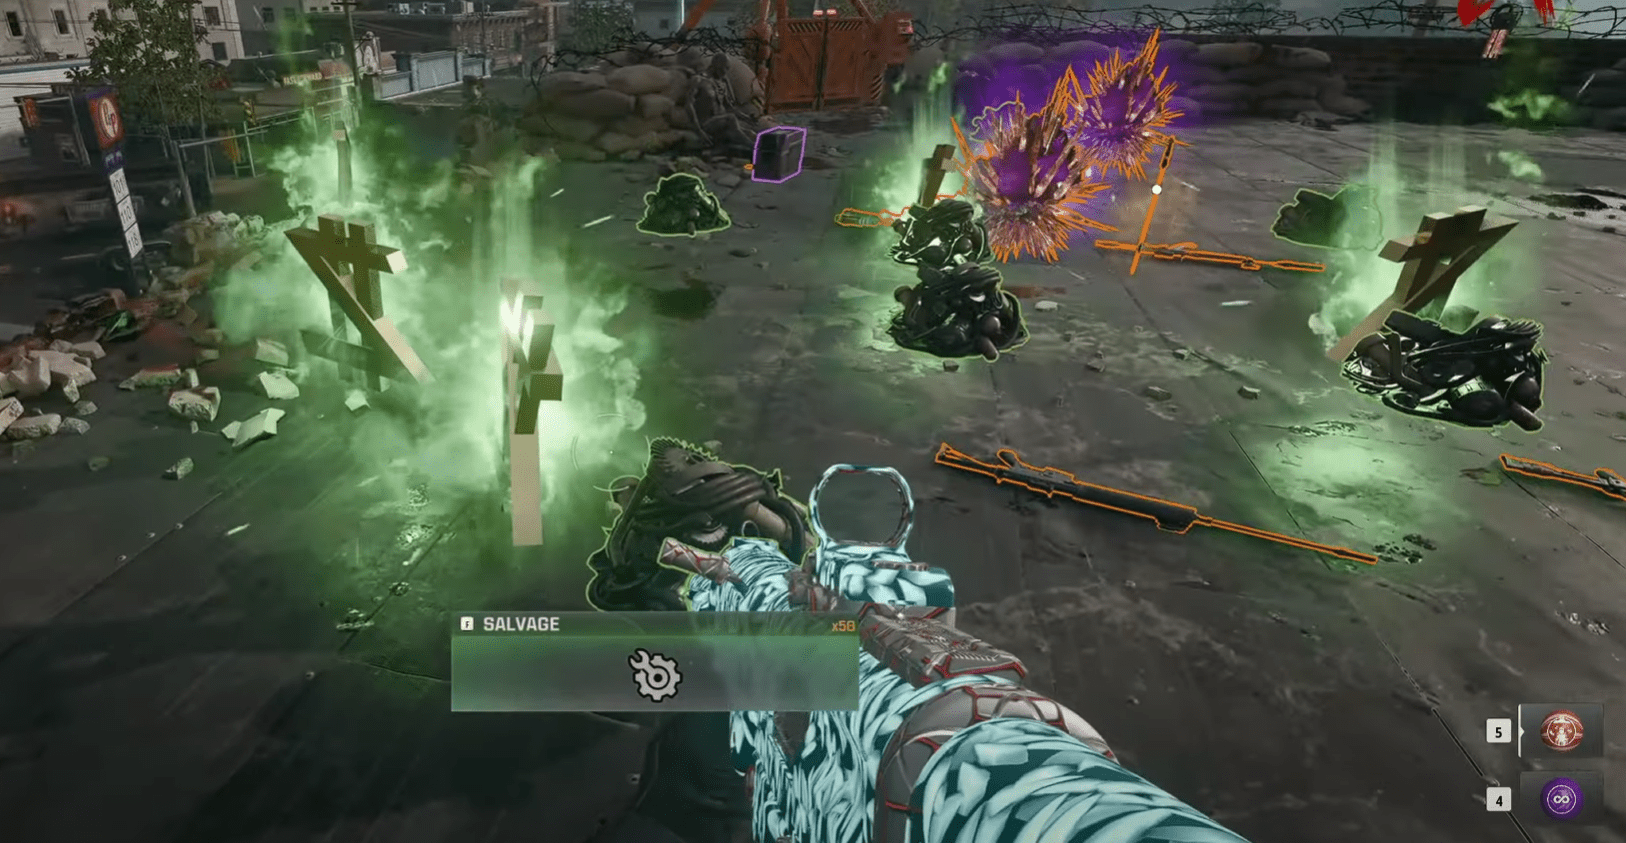
BO6 Liberty Falls Top-5 Tips and Tricks
When it comes to mastering gameplay, every detail counts. Here are five unique insights that can give you a strategic advantage, based on our analysis of the provided guide.
- Position Awareness — Use the environment to control sightlines and maintain cover, limiting opponent visibility while maximizing yours.
- Predictive Movements — Anticipate enemy rotations based on prior patterns, especially during high-stakes moments.
- Cooldown Tracking — Maintain an internal timer for abilities, allowing you to engage when opponents are vulnerable.
- Adapt to Weapon Behavior— Each weapon has unique recoil and range; familiarizing yourself with these can drastically improve precision.
- Resource Management — Save valuable resources for clutch moments, optimizing your impact during critical rounds.
With these strategies, you’ll have a solid foundation for taking your gameplay to the next level. Good luck!
Conclusion
Liberty Falls’ main quest may seem a little easier than Terminu’s because there are no puzzles where you need to calculate stuff or run around the map looking for clues that contain code digits. Nevertheless, there are some pretty difficult steps that are easy to fail. The most amount of problems come from the chagrin the canisters baiting the mini-boss. The other difficult challenge is attuning the color-coded devices.
With our guide, you should be able to easily find all of the items required to craft the Wonder Weapon, the quest device, and locate all the other objects for the quest. As with the other Zombies map, the preparation for the final battle cannot be underestimated. You do need to spend time to Pack-a-Punch your weapons, get the perks, and collect any killstreaks that will help you out in that last stretch. Good luck, survivors!
F.A.Q.
What is the main quest in Black Ops 6 Zombies Liberty Falls?
The main quest in Liberty Falls centers on Samantha Maxis' corruption by the Dark Aether, which leads to the zombie outbreak. Players assist in stopping her and the spread of the Dark Aether by facing increasingly difficult objectives, culminating in a final showdown in the church.
How to craft Jet Gun in Liberty Falls BO6?
To craft the Jet Gun, gather these items:
- Tap Handle from the flower shop
- Water Pressure Gauge from the bowling area
- Handbrake from the church graveyard
- Wires from the radio house.
Where is the Pack-a-Punch machine in Liberty Falls BO6?
The Pack-a-Punch machine is located inside the church.
Who is the final boss in BO6 Zombies Liberty Falls?
The final boss encounter is a multi-wave battle featuring zombies and the Abomination mini-boss, ending with a cutscene revealing Panos escaping.


