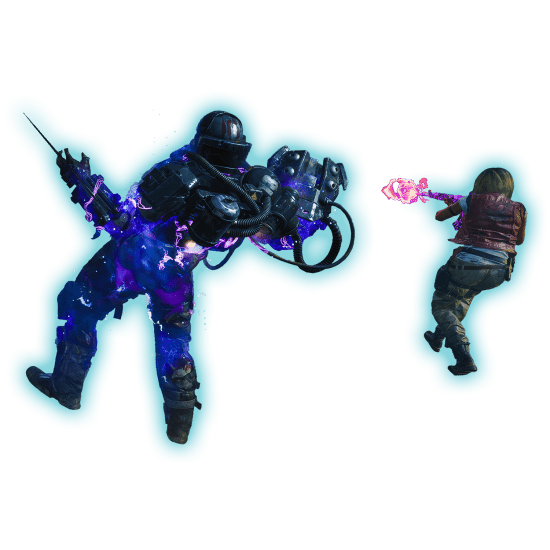
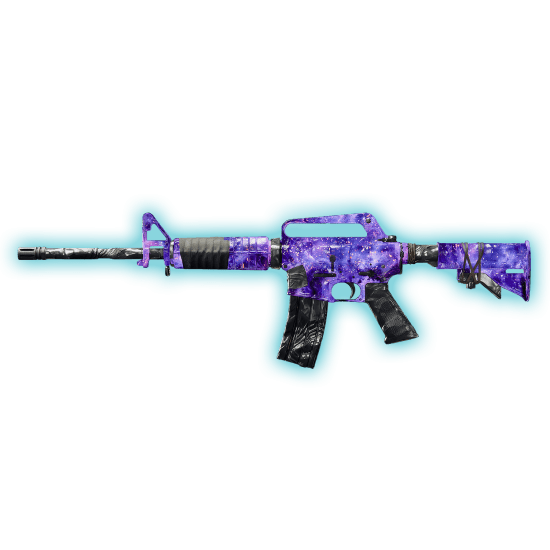
Welcome, Zombie-slaying legends! Today, we’re giving you the Black Ops 6 Zombies Terminus main quest guide. As you may know, every Zombies map in the game has its own main quest that consists of several objectives that can include anything from a simple defense to something more obscure like solving math puzzles, picking up items that don’t show up on the map, and so on.
Terminus Island has one of the most exciting quests because it’ll have you travel all across the map doing all kinds of stuff. The quest itself is not really straightforward, and there are sections where you need to go from objective to objective before the timer runs out without knowing where you need to go. This guide is going to explain each objective and provide screenshots so that you know exactly what to do and where to go. Sounds good?
Well, before we start going that path, you should know that in case you want to get past the quest and enjoy its rewards, you can do so by purchasing the BO6 Zombies Terminus Island boosting service at Skycoach. You can check out the full list of things that you’ll get if you follow the link, but in short, it includes the main quest completion, the completion of time-limited challenges, as well as a ton of additional stuff like EXP, camo progression, etc. So, do check out the service if you’re on a tight schedule or just don’t want to bother with all that quest nonsense.
Read our other Black Ops 6 guides:
- Zombies Best Weapons Tier List
- How to Level Up Fast
- Best Settings
- Zombies Guide
- Best Weapons Tier List
- How to Unlock All Mastery Camos
- Best Perks Tier List
- How to Rank Up Fast in Ranked Play
Note: At Skycoach, you can Buy Black Ops 6 Boost at the best prices with fast delivery. Use our special PROMO CODE (in green) hidden in this article for a 20% DISCOUNT.
Terminus Quest Walkthrough
Activating the Pack-a-Punch Machine
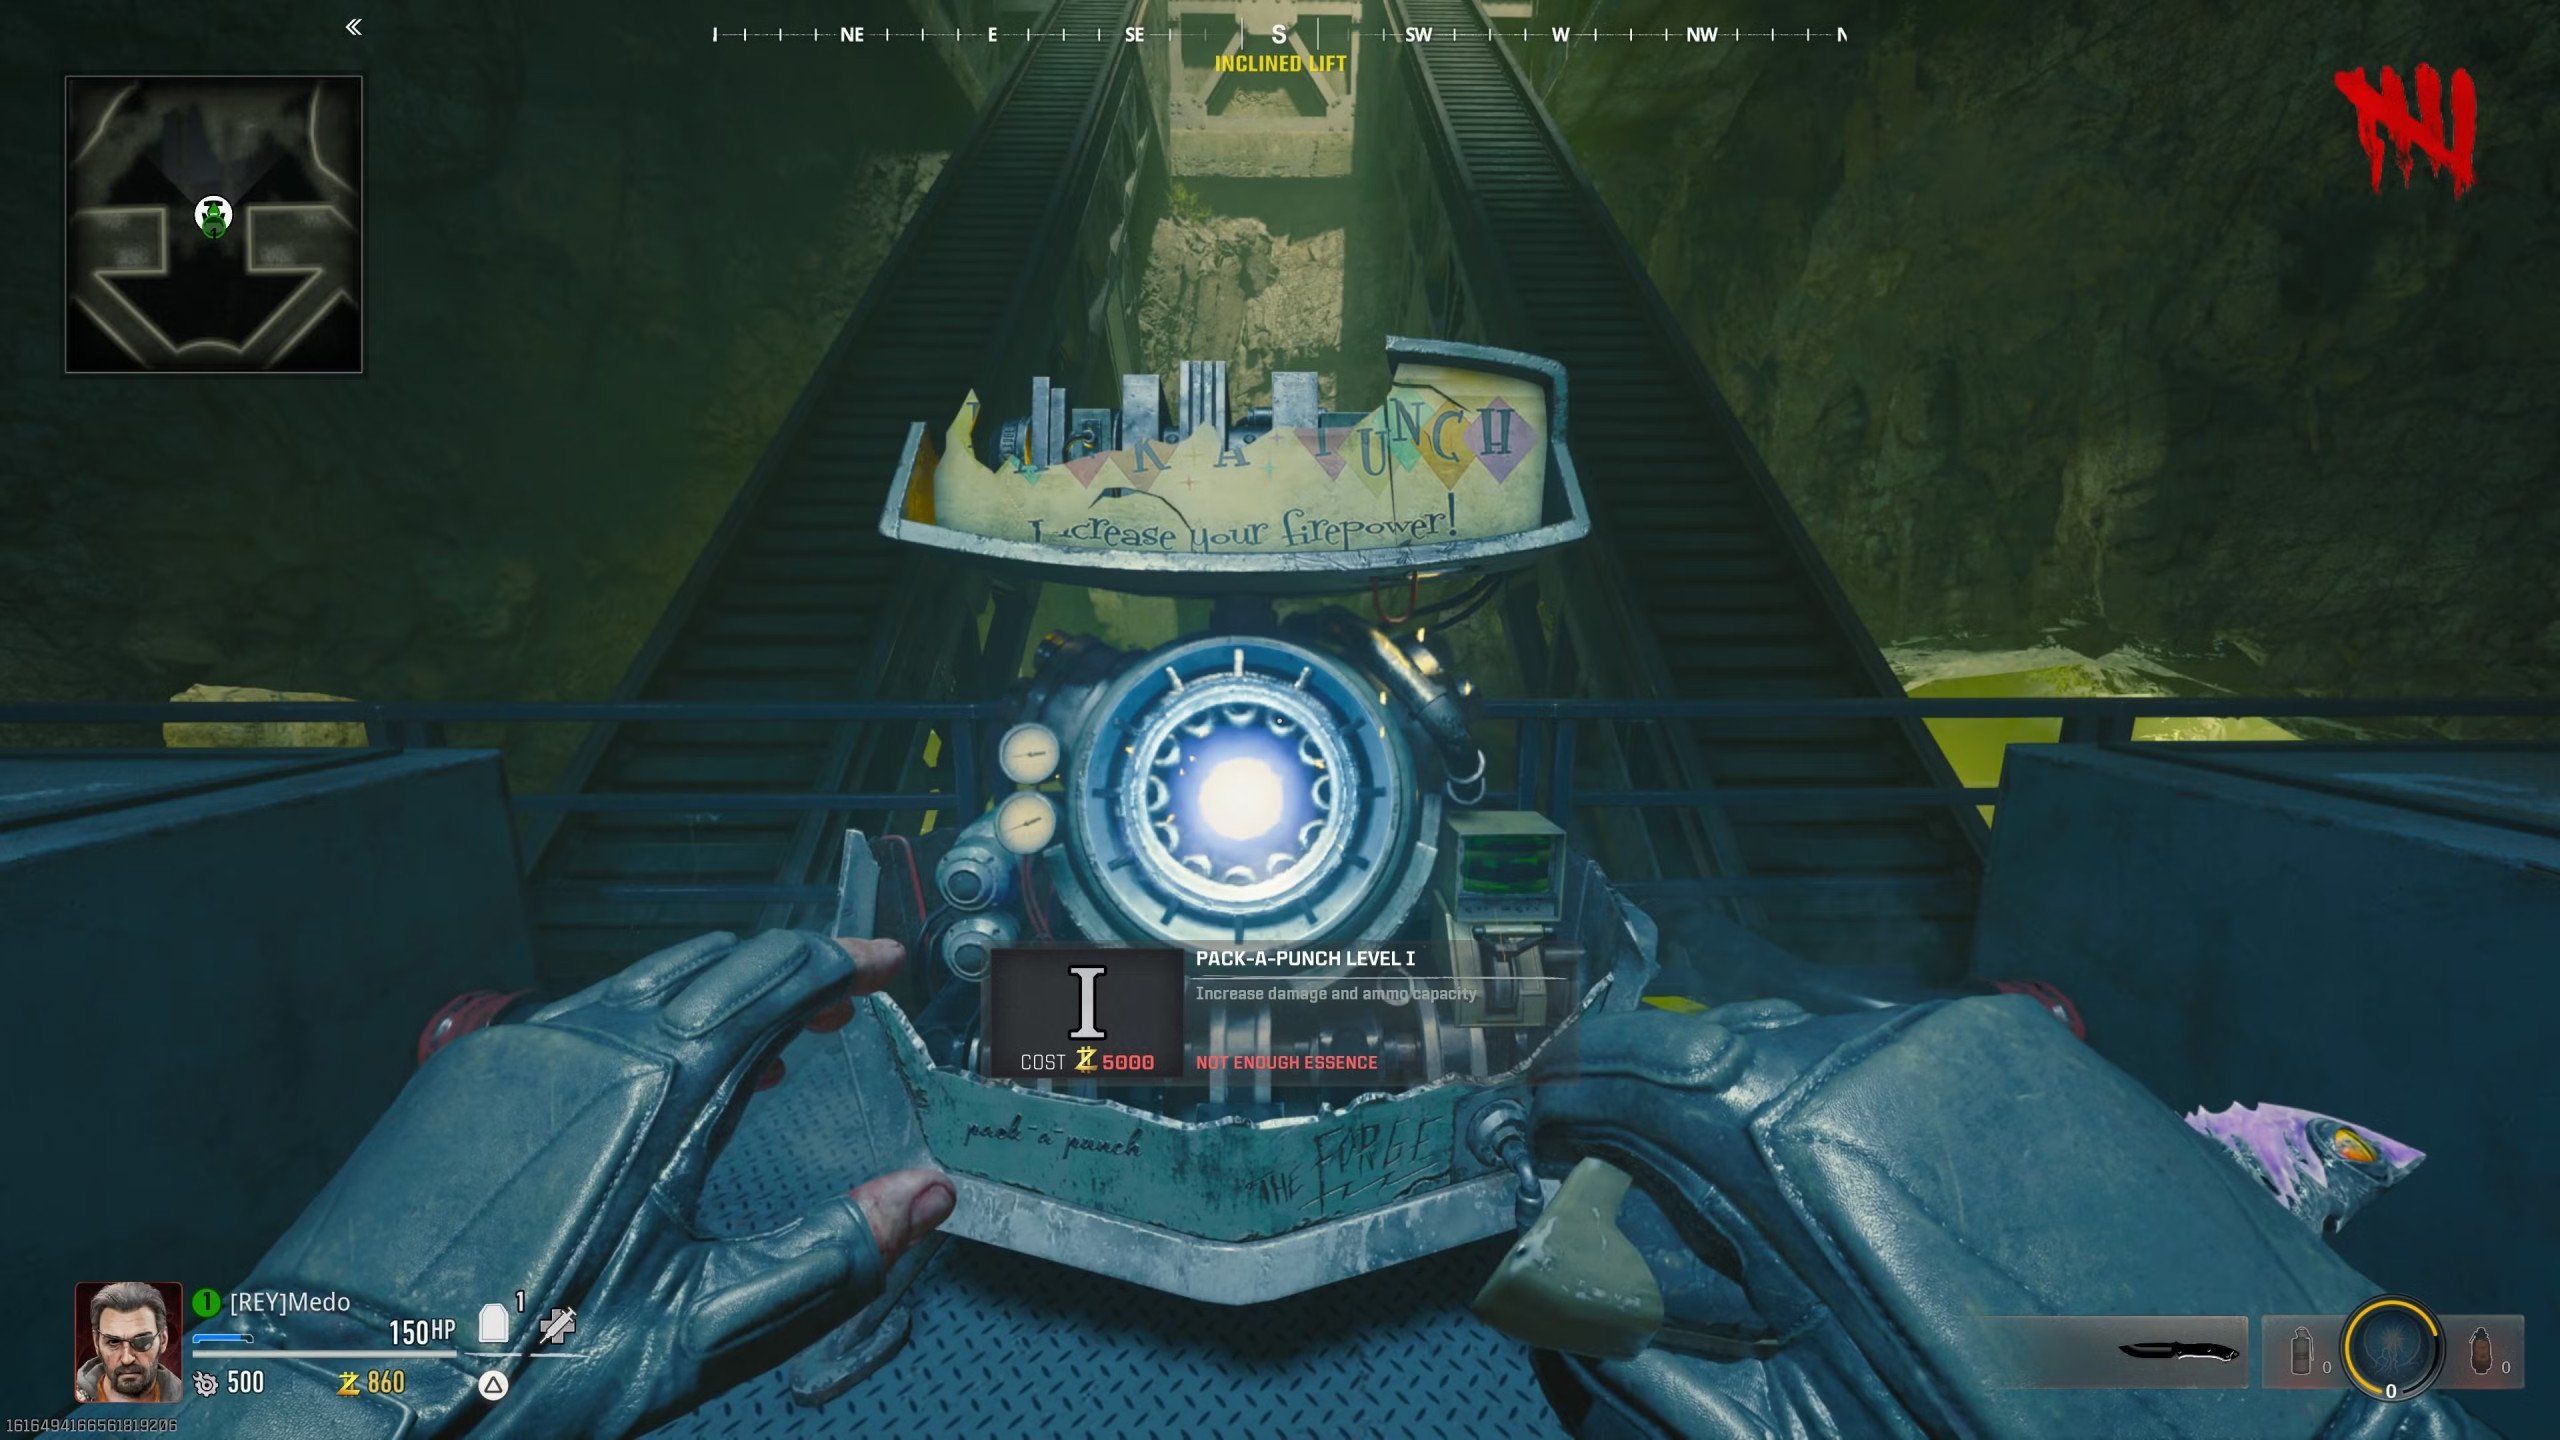
To kick off the Zombies main quest BO6, you’ll need to activate the Pack-a-Punch machine. This first mission’s easy to follow, with all locations marked for you. Open each designated door, interacting with the vending machines you find along the way for 500 credits each. Hold off the purple-eyed zombies for about 30 seconds per machine. After successfully defending all three stations—one at the start, one in the central room with Juggernaut, and a third near the main facility at the map's lower level—you’ll unlock access to the BO6 Zombies Pack-a-Punch location. The platform allows travel between the lab and upstairs areas, which will come in handy soon.
Get the Dead Wire Ammo
Now, gather enough cash to access an upgrade machine, like the Arsenal on the lab’s northeast side, and buy the Dead Wire ammo Black Ops 6 Zombies. With this, ride the platform up, ensuring you have one last crawler or lone zombie to keep things calm. As you ascend, locate three electric boxes:
- one right behind you
- another to your left
- one ahead
Shoot each a few times until you see electricity sparking from them, then move upstairs to the Juggernaut room and hit the panel outside on the left. Now, head upstairs into the Juggernaut room and shoot the panel on the left outside wall. By hitting the final panel here, you’ll unlock access to the Wonder Weapon crafting room. From here, take down remaining zombies and prepare for the next steps in the story quest line!
Solving Puzzles
Start by eliminating the zombie crawling on the floor to pick up the EMF fob, which unlocks the workbench right in front of you. This workbench is essential for crafting the Wonder Weapon known as the Beamsmasher. Once you’re set, turn to your left to see three math problems on the board labeled X, Y, and Z.
Before the Zombies math puzzle Terminus quest, your next objective is to activate three specific computers located throughout the map. The first computer, representing X, is found near the dock, just under PhD Flopper, slightly up the stairs. Interact with it by pressing F. Once you see the display, move to the next computer for Y, located through the door by Quick Revive on the far Northwest side of the map. After activating Y, return across to the opposite side of the map to find Z in a room connecting to the bridge you just crossed. Activate Z as well.
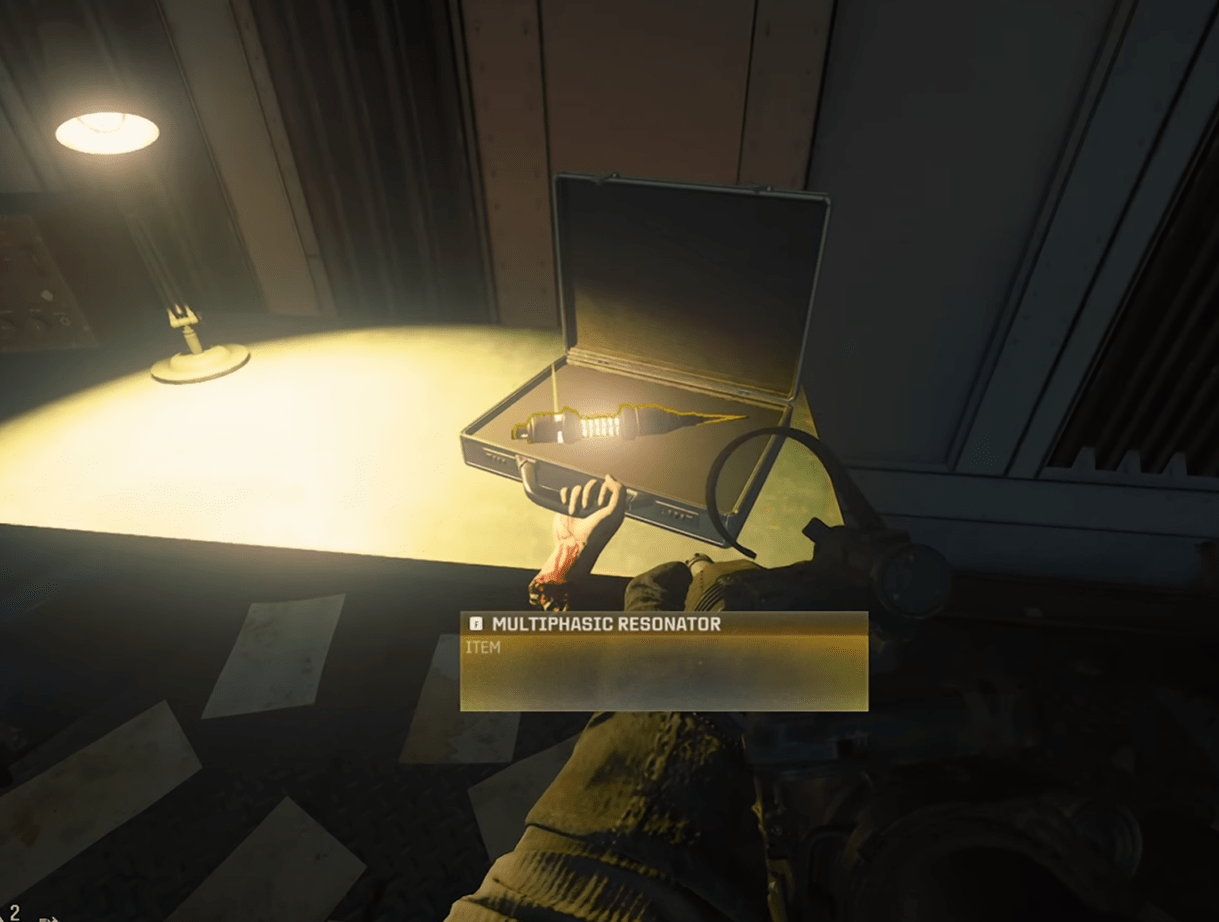
Once all three computers are activated, make your way back to the PhD Flopper area. Inside this same room, you'll find a scary-sounding device on the table along with a briefcase containing a multiphasic resonator. With this device in your possession, eliminate the Vermin that spawn behind you, then head back to the room connecting to the bridge. There, on a table, you’ll discover a battery. BLOG20
After picking up the battery, which is the second item you'll need (found in the Engineering building on a table), return to the crafting room. If you're playing single-player, you can pause the game to think through the next steps. You’ll encounter a math problem; however, you can opt to pay 5,000 credits to The Man Behind the Glass at Quick Revive for the answer, or you can solve it yourself. The math problems aren't difficult, but they can be tricky if you can't pause in multiplayer.
Locating the Island Using the Computer
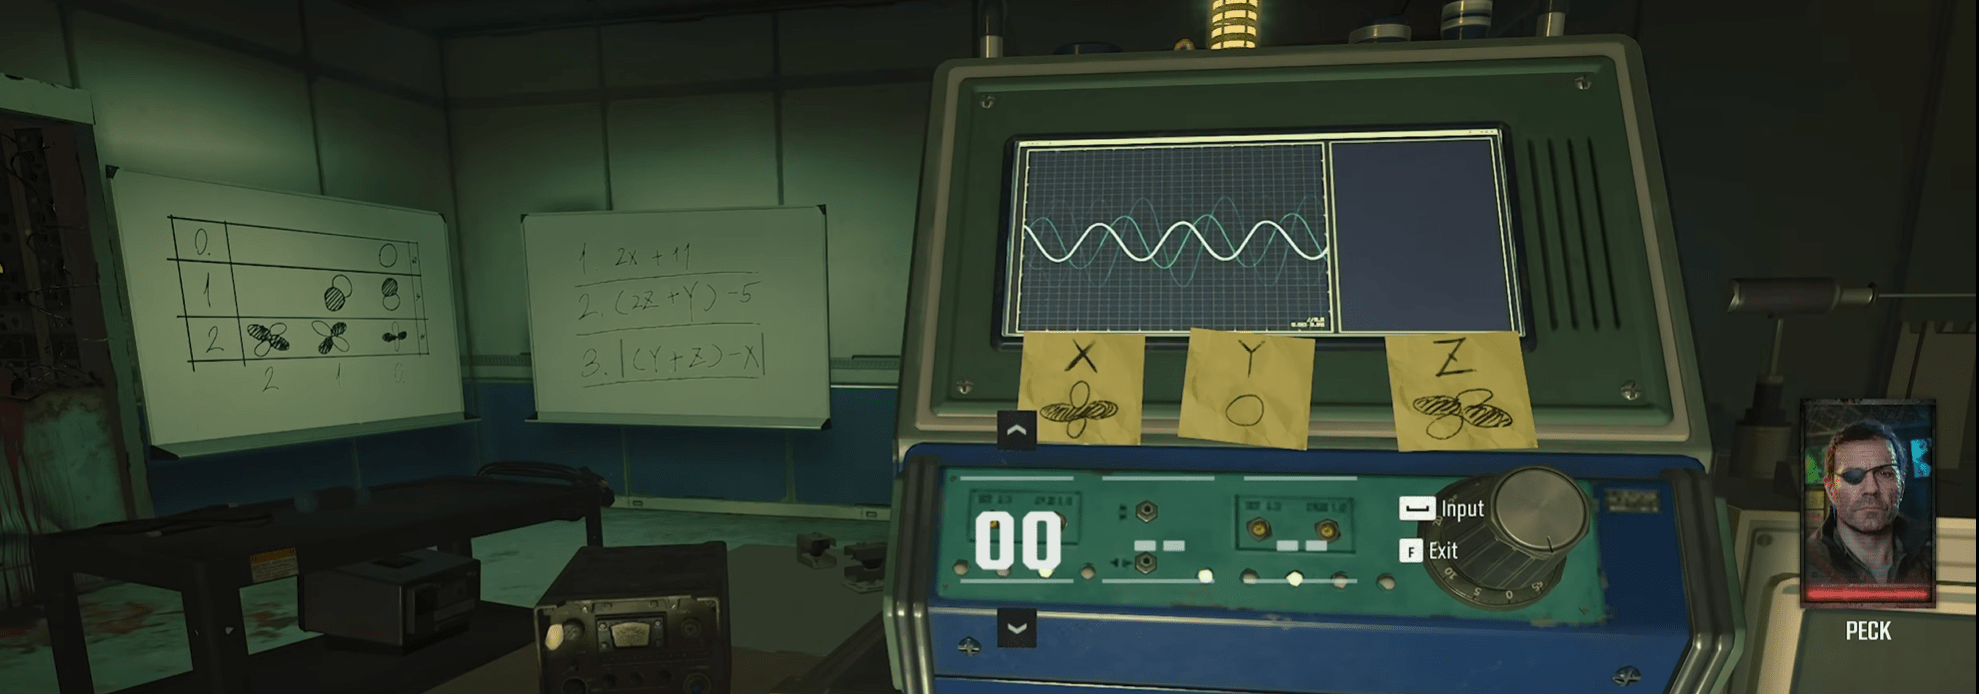
Approach the device, press F, and it will display X, Y, and Z along with three different shapes below them. Take a screenshot of these shapes or note them down, then compare them to the board to solve the math. For example, X might show two vertical white circles and two horizontal black circles corresponding to the bottom right shape. This means you’ll take the numbers associated with X—let’s say 2 and 0—resulting in 20. Continue this process for Y and Z to determine their values.
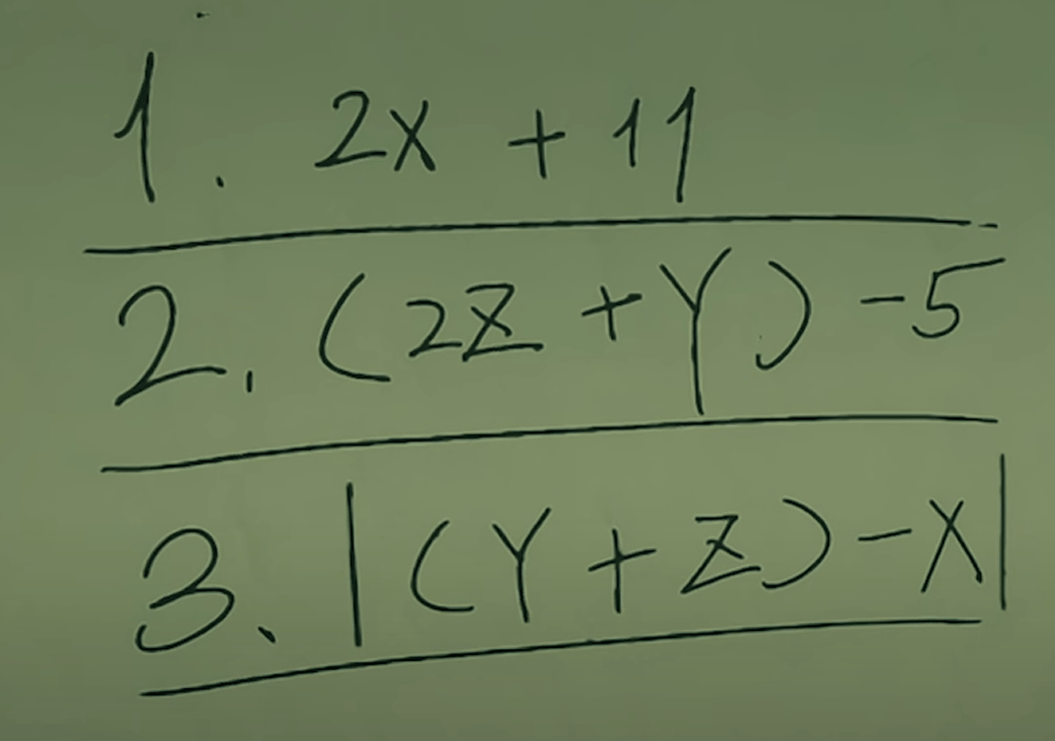
Once you have the values for X, Y, and Z, look to the right where another board contains math problems. Substitute the values you found into the equations using basic order of operations (BODMAS) and head back to the machine to enter your answer. In single-player mode, take your time; once you enter the correct code, the map will begin to triangulate a point of interest. This process may require you to progress through a few rounds, so be prepared for that.
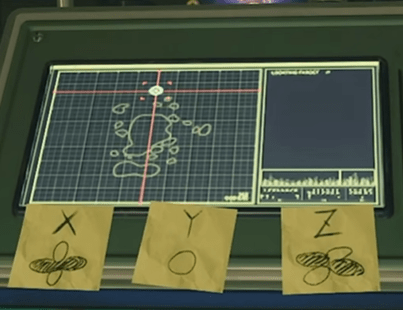
After some time, you’ll eventually receive a voice line confirming that the triangulation is complete. A marked island will appear, which is one of three major islands with ammo caches. Once you identify the island, make sure to grab the multiphasic resonator from the table before heading down to the dock to spawn or grab a boat. Navigate to the marked island, where you’ll find a blue or green ball of energy. Activate it by pressing F with the resonator; without this device, you won't be able to proceed.
Visiting Islands
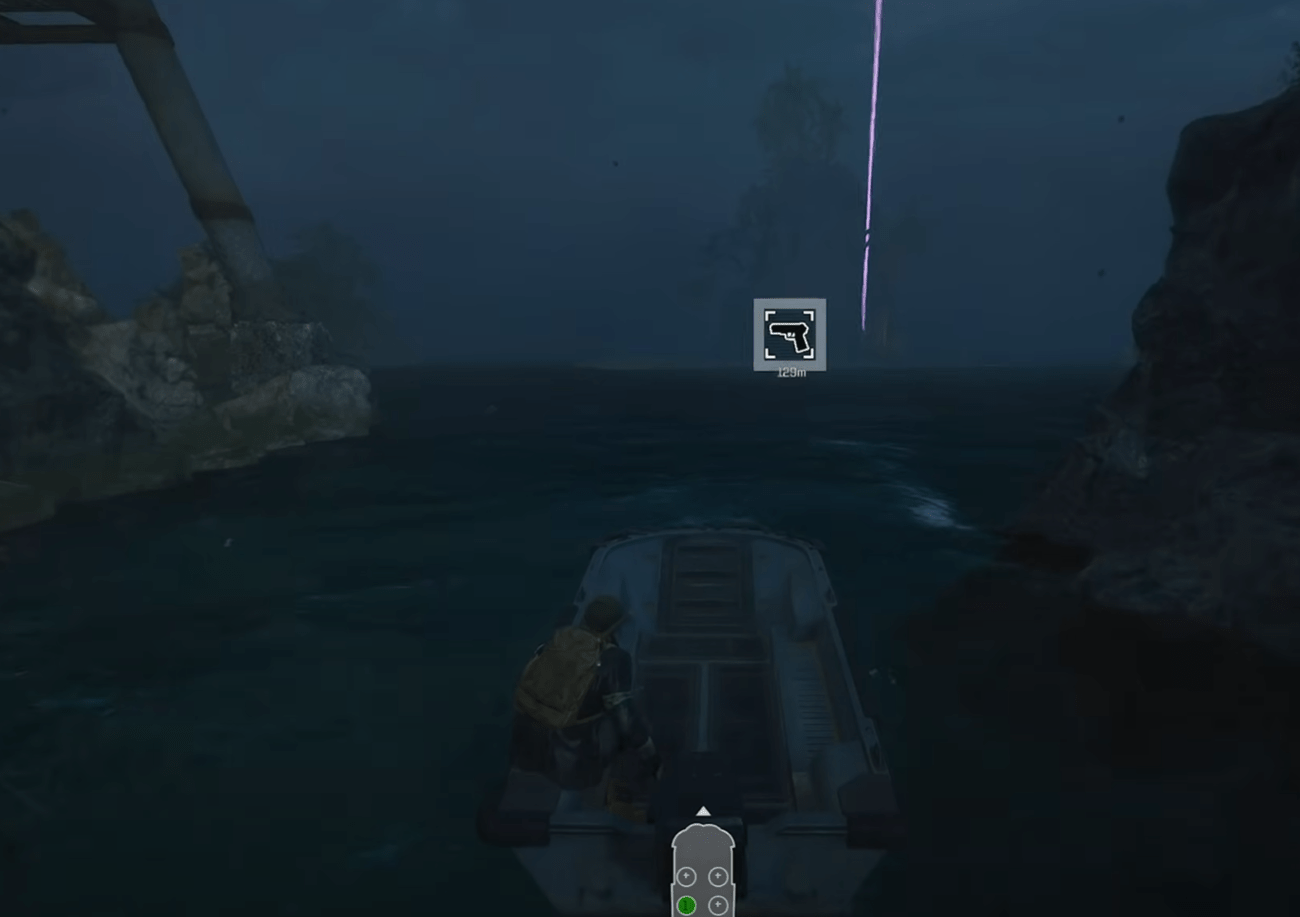
The following steps can be considered a Terminus Island Wonder Weapon guide, as you can do them each time you repeat the visit to Terminus.
Prepare for multiple waves of zombies that will spawn around the area. Survive these waves until a smaller energy ball matching the color of the orb appears. Pick it up by pressing F and carry it towards the main orb, walking through it to deposit the energy. Remember not to press any keys during this process, or you’ll drop the energy ball. Only hip-fire is allowed, and if you reload, you'll need to pick the ball up again.

Repeat this process: after successfully depositing two or three energy balls, the orb will take off, leaving an item behind. Make sure to take note of the direction in which the orb flies. It will land on one of the other two major islands. Travel to the new marked island, where you may encounter a different color orb (e.g., green). Follow the same steps: activate the main ball, fend off zombies, collect smaller energy balls, and deposit them until you receive another item.
Afterward, head to the final island, which could be purple this time, and repeat the process once more. After obtaining the third item, return to the crafting room next to the Juggernaut, where you can craft the CR11 Beamsmasher, the Wonder Weapon needed for the next phase of your mission. BLOG20
Boss Encounter: Nathan
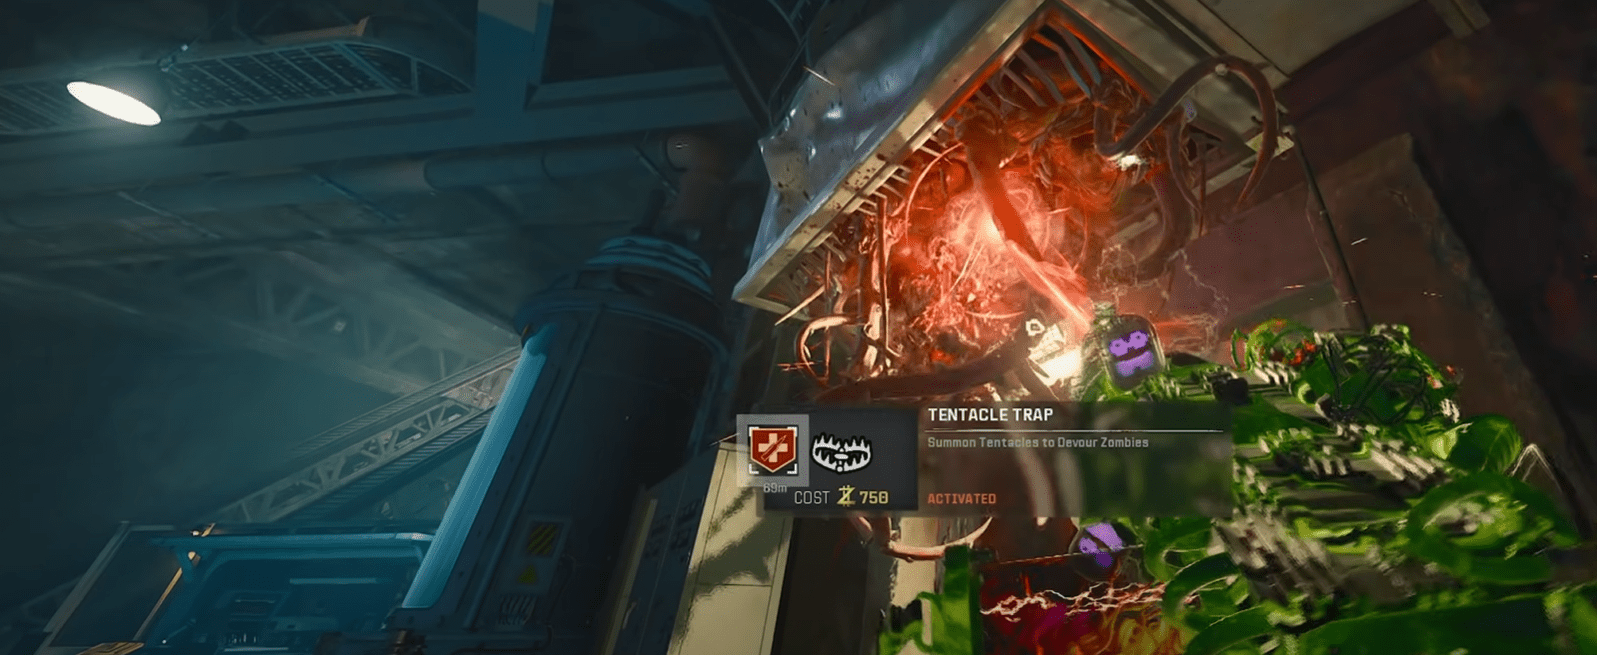
Memorise how to craft Beamsmasher in BO6, as you can do this every time you’re playing on this map. Anyway, with the Beamsmasher ready, head back down to the elevator to Pack-a-Punch it to level one. Your next objective involves navigating to three specific traps on the map to find a card on the floor beneath each broken grate. For instance, one trap might be in the main lab area; activate it and blast it using the primary fire on your wonder weapon. After some time, it will drop a hard drive. The traps are meant to be activated and then destroyed with the Beamsmasher.
Be aware that this hard drive can appear in three locations:
- the trap in the main lab area,
- another on the far southeast side of the lab,
- one near Juggernaut room.
After collecting the hard drive, return to the same man near Quick Revive who previously offered answers to the math problem. Interact with him to deposit the hard drive, which leads to another set of numbers you will need later.

- Your first number is found in the Quick Revive room, looking at the clock on the wall. Note the hour hand—let’s say it points to 7.
- Next, head to the southwest side of the map, where you’ll find a playing card on a board. Take note of its value, such as a four of hearts.
- Finally, check the crafting room for a poster stating the days since the last injury; in this case, it says 8.

With these three numbers gathered—7 for the clock, 4 for the playing card, and 8 for the injury poster—return to the lab. From the central point, hit F on the keypad and listen to the dialogue that follows. Once completed, input the numbers in the order you noted them: clock, playing card, and days since the injury. Successfully entering these numbers will unlock the keypad.
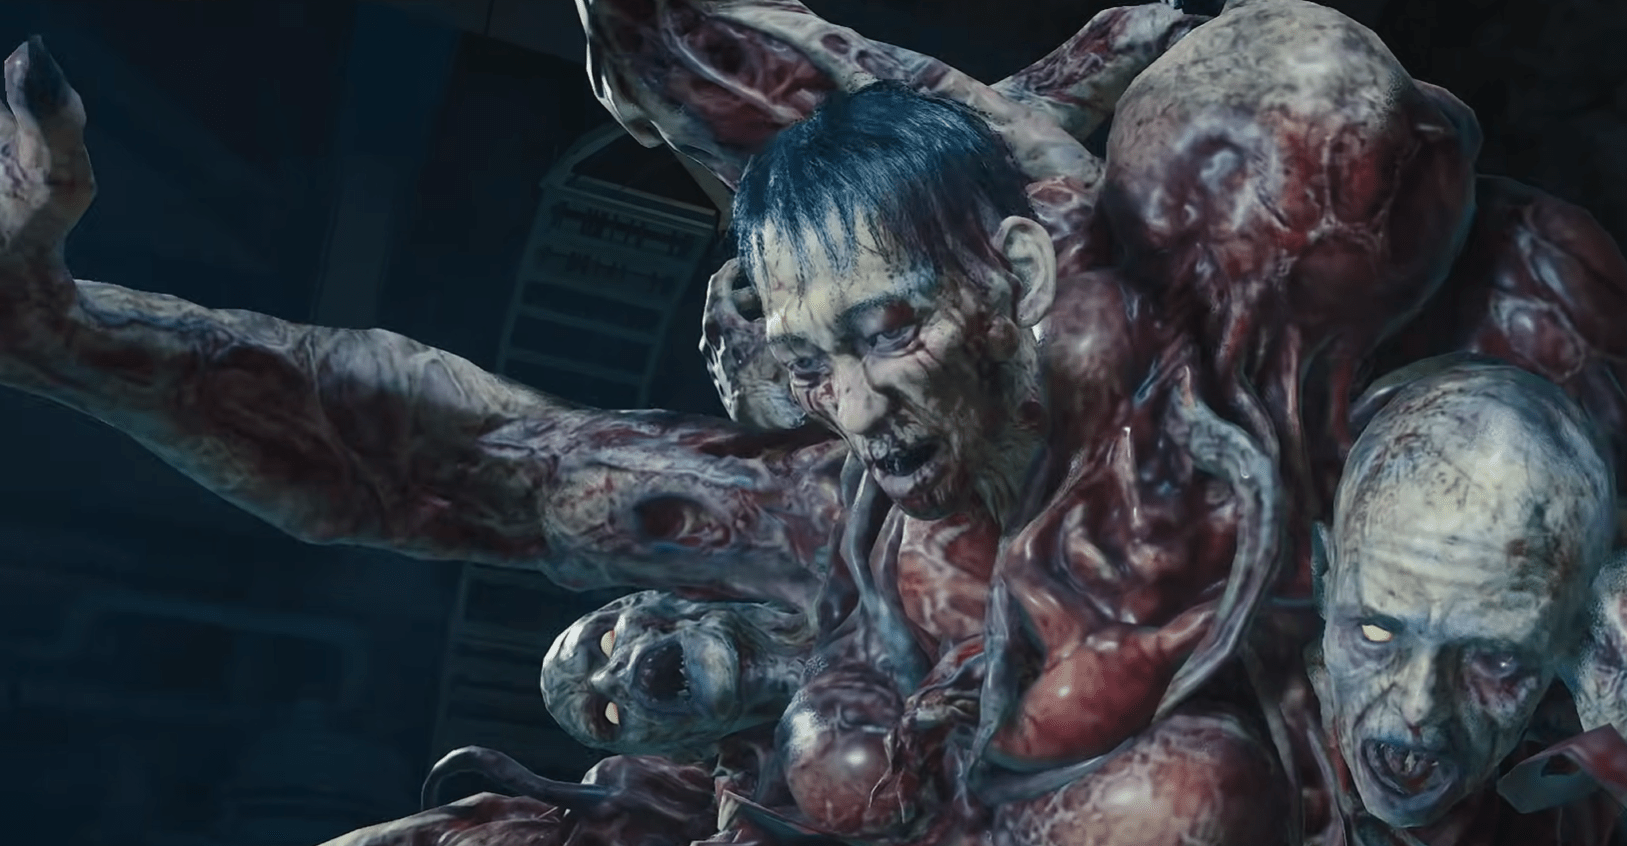
In single-player mode, just press F at each lock to start the process. In multiplayer, coordinate with your team to press F around the same time at their respective locks. After unlocking, a mini-boss battle will commence as Nathan spawns in. Aim for his weak spots—his head—and once defeated, a cutscene will play, giving you a brief reprieve.
The Crab Island
Once the cutscene ends, dive into the water to retrieve a key card located on the southwest side. After obtaining the key card, take your boat to the center of the ocean; you're going to that big ship. Ascend the ladder to find a claustrophobic room with an ammo pack and a crafting table featuring two items. Grab one Node Connector; if you're in a team, your partners should take the second one.
Prepare for three waves of zombies that will assault this room from four entrances. If you have a full team, cover all entrances; if you’re solo, you can only take one canister with you.
After clearing the waves, return to your boat and make your way to Crab Island, where you can test the canister. Look for separated pipes with an air gap; if you find them, interact with them to place the canister and fix the pipe. The second location is just beneath the Sea Tower, so just take your boat there and fix the second pipe.

If the pipes are already fixed, head back to PhD Flopper, where the pipes should be open. After placing the canister here, return to grab the second item, noting that there won’t be any waves of zombies this time. With the second item, go to the final location, which is the underground area near Speed Reload. You might need to purchase another door (unlock it) if you haven’t been this way before.
Behind Speed Reload, along the wall, you should locate the last place to place the canister. Completing this will initiate more dialogue and progress the story slightly. Afterward, return to Quick Revive, where the hard drive was previously deposited. Interact with the spot to trigger more dialogue, leading to the spawn of a hacking device.
Hacking Buoys
Once you have the hacking device, head back to your boat and prepare to hack three buoys. Travel straight east from the PhD Flopper dock, stop nearby, and exit your boat. Stand close to the buoy and hold F to begin the hacking process. There won't be a prompt, so just hold the key until you see a decrypting message appear. After this is complete, you’ll have two minutes to hack the remaining buoys.
Next Step: Defuse 3 Bombs
Head to the central lab and make your way to the far northwest side. Ideally, you’ll encounter Modi announcing the imminent start of the self-destruct sequence. This initiates a timed segment, giving you five minutes to diffuse three bombs before the entire area explodes. Begin by approaching the first two bombs on the left and right sides of the northwest door. Hold F to start diffusing, though, in solo play, you may need to alternate between them, partially disarming each before returning to complete both. BLOG20
With these two bombs diffused, ascend to the second level above, where the third bomb awaits on the far northern side of the lab. Successfully disarming this bomb triggers more dialogue, signifying the near completion of the main storyline. At this stage, focus on gathering as much money as possible to purchase shields and a self-revive for 1,500 scrap at a workbench as you prepare for the challenging final boss encounter.
Final Boss: Patient 13
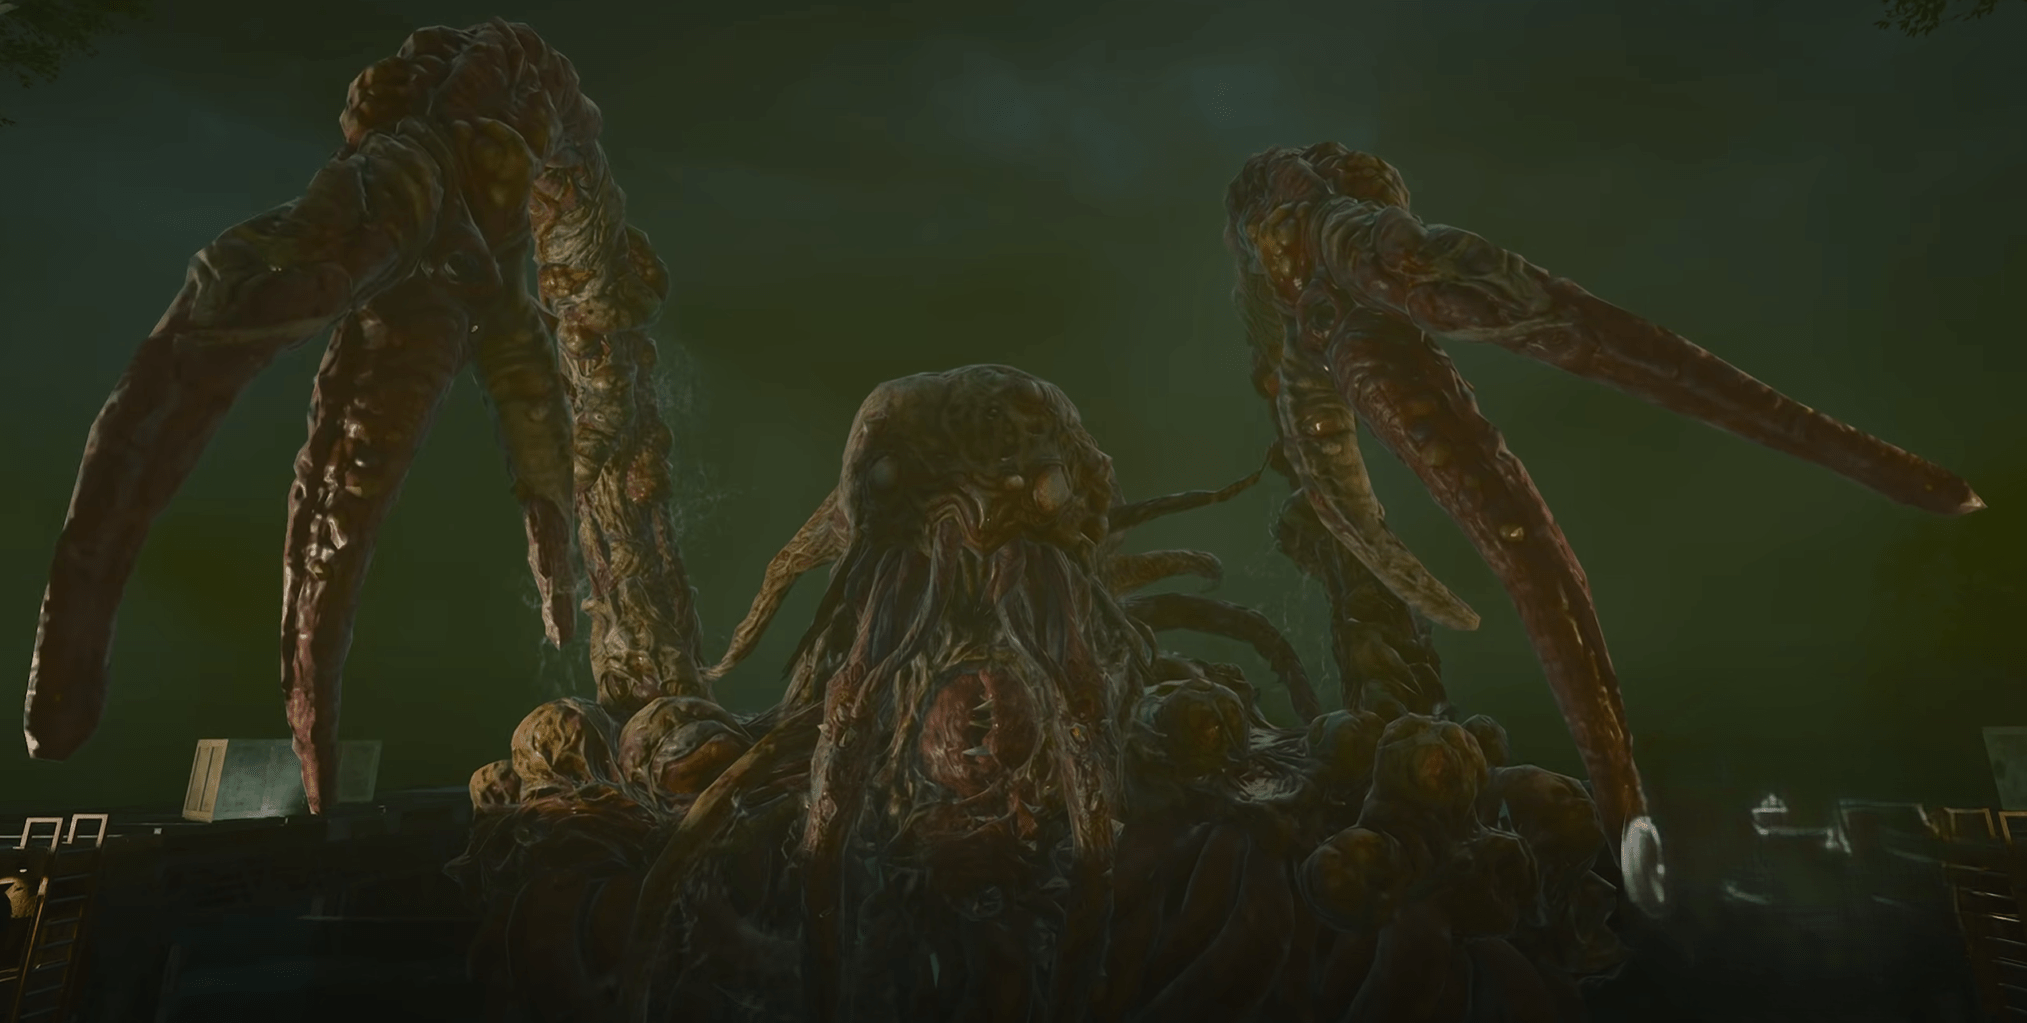
Once fully prepared, proceed to the extreme north side of the lab, descending to the water level where the two bombs were previously diffused. A door with a keypad should now display green. Activating it initiates the boss battle against Patient 13, a massive creature with formidable attacks. Expect a smash attack and a sweeping attack, both dealing considerable area damage.
- During the first phase, stay close enough to bait out an attack, then target the red weak points that emerge. In multiplayer, weak points stay visible longer, giving more opportunities for damage.
- Following this initial phase, all tentacles around the area become vulnerable, signaling the start of Phase 2. Attack the tentacles until the boss re-emerges, this time with its mouth as the primary weak point. After dealing enough damage, the boss will retreat, and the tentacles become targets once more.
- In the third phase, focus on the tentacles attached to the boss, which will glow yellow. Once these are damaged sufficiently, the boss prepares for an EMP-like attack, emitting a deadly shockwave. Take cover on the southern side of the island, using available boxes and structures to shield against each wave. Between shockwaves, target the boss’s eyes, now the critical weak points.
Continue this process, and with persistence, the boss should eventually be defeated.
Terminus — Tips & Tricks For Completing the Main Quest
The main quest can be very difficult to complete, and not just because there are many steps. Waves of zombies obviously get in the way, and if you take too long, it becomes almost impossible to follow through with each step. So, here's just a handful of tips & tricks that you MUST KNOW if you want to finish the main quest.
Tip #1. Stack the Boats
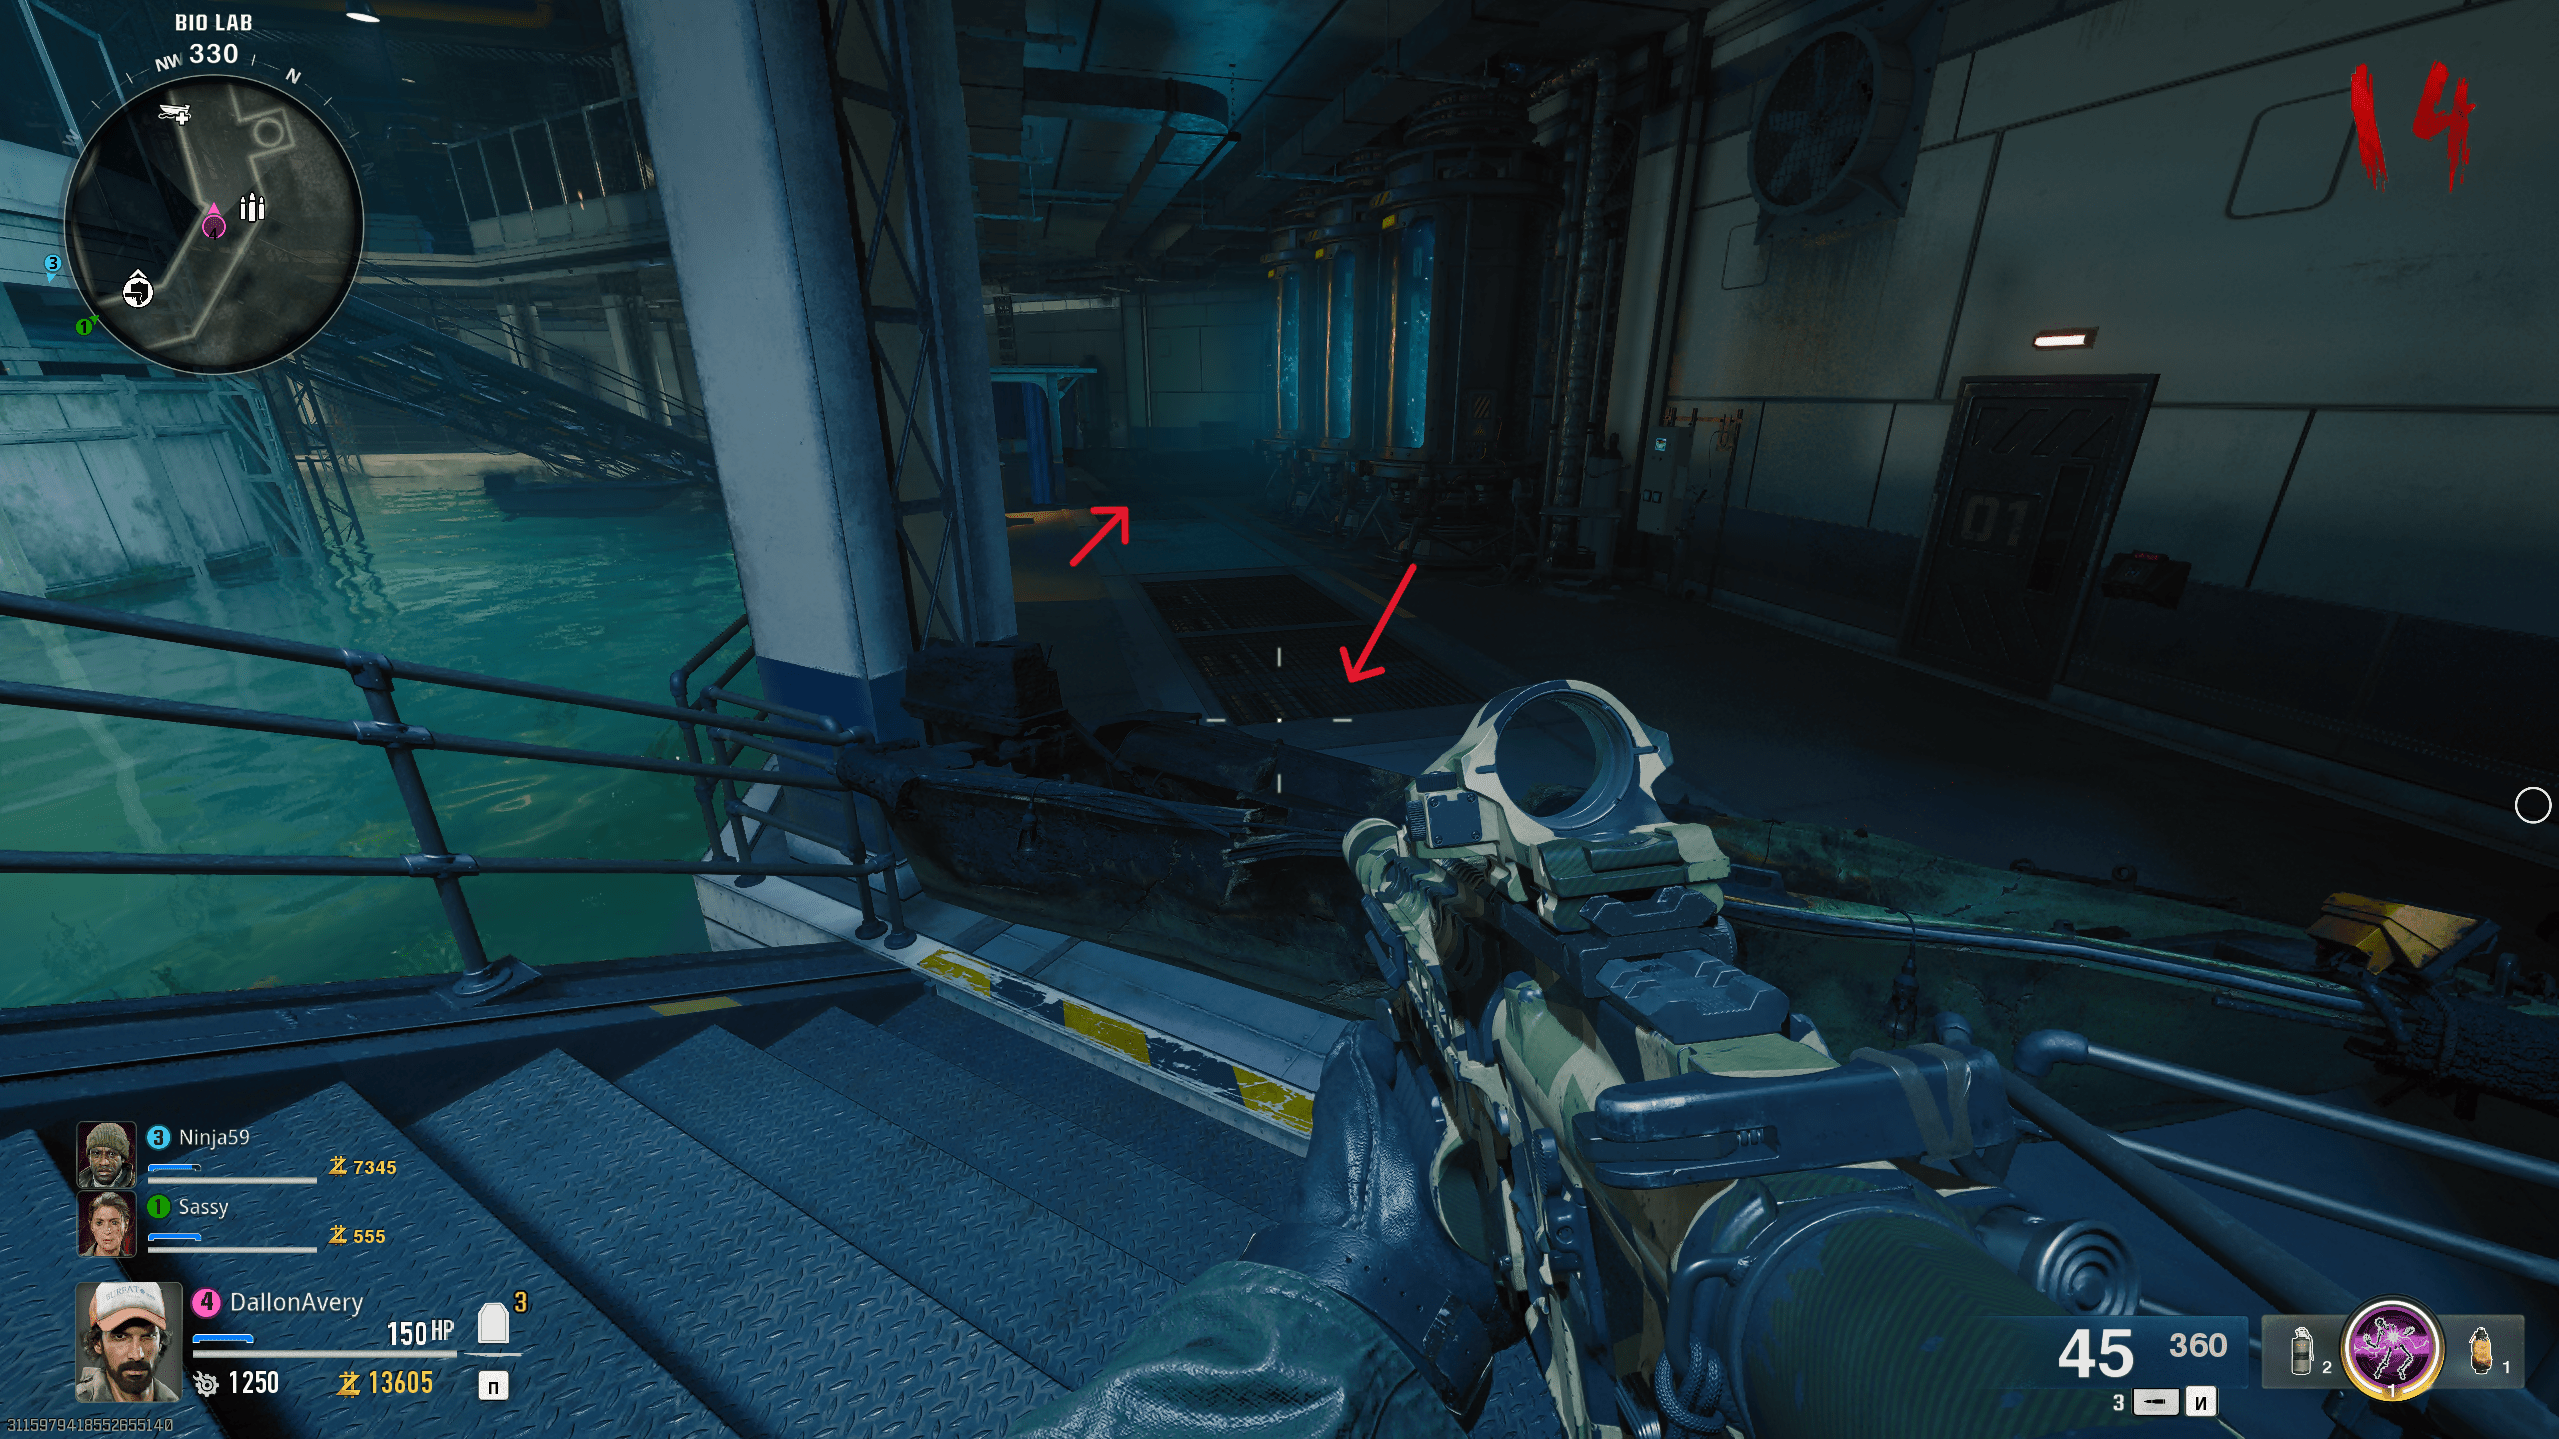
The Bio Lab room, where you find the Pack-a-Punch machine, is perfect for farming the currency and managing waves.
- Go to the lower level of the lab, to a place where you can spawn two boats. There's a cooldown on the boat spawner, keep it in mind.
- Drive both boats out of the water and onto the floor and then use melee attacks to move the boats to block both stairs. Look at the screenshot for reference.
- Blow up the boats, and they will create a safe space for your team to defeat ANY WAVE because, in 90% of cases, the zombies will not get through.
In order for this to work, at least one player must be standing next to a boat, killing zombies. Otherwise, they will eventually get through. Doing this trick is PARAMOUNT if you want to get the main quest done. It's also the best method if you want to farm for camos or just level up.
Tip #2. Don't Kill The Last Zombie in The Wave
This should be obvious: if you want to go and do the quest steps safely, one player must keep the last zombie chasing them (preferably the weakest and slowest one) until the rest are focused on the quest objectives. If you just keep clearing waves, then you'll get through the easy waves super fast, and the harder waves will not let you finish the quest, no matter how good you are. Use the boat trick to keep count of zombies.
Tip #3. Don't Lose the Wonder Weapon
Whoever gets the Wonder Weapon must not die, or the Wonder Weapon is lost. If that happens before you get to destroy the tentacle traps, which is a step right after you get the weapon, the main quest is as good as failed. So, whoever picks up the Beamsmasher, make sure they're the most skilled player. If a player dies, they will respawn with their loadout weapon, and the only way to get the Wonder Weapon then would be to get it from the secret chest that gives you random crap. So, don't lose it!
Tip #3. Prepare before the final boss battle!!!
Don't just think that you can take on Patient 13 just because you've reached that point in the main quest. Don't repeat my mistake! Use the boats to farm zombies, even though each new wave becomes more difficult. Here's what you need to get:
- Make sure every teammate has the Chopper killstreak — it's super powerful and useful during that last battle, as it will keep you safe and help you either clear out the zombies for your friends or deal massive damage to the boss's weak points.
- Get the second weapon and get both weapons Pack-a-Punched to the max (each weapon is upgraded separately)
- Level 1: 5000 Essense
- Level 2: 15000 Essense
- Level 3: 30000 Essense
- Get as many perks as you can afford, here's the locations:
- Juggernog – Living Quarters
- Stamin-Up – Control Center
- Elemental Pop – Sea Tower
- PhD Flopper – Mining Tunnels
- Quick Revive – Interrogation Rooms
- Deadshot Daiquiri – Seaside Path
- Speed Cola – Sea Caves
- Melee Macchiato – Bio Lab
- Der Wunderfizz – Shipwreck
- Juggernog – Living Quarters
- Buy Self-Revive kits & Buy 3-slot Armor
Yes, that's a lot of Essence, and it will take you a lot of time to get it all using the boat's trick, but do it. Otherwise, everything you've done up to this point would be for naught!
Conclusion
The Terminus Island’s main quest in BO6 Zombies gives you a nice tour around the map, making you go through all kinds of challenges, both in terms of combat challenges and various puzzles. Doing the main quest with a group of friends might prove a bit more difficult compared to a solo run in some cases. But, with this guide, you should have no issues following through the series of tasks until you encounter that huge final boss and defeat it. Good luck out there!
F.A.Q.
What is the main quest in Black Ops 6 Zombies Terminus?
The main quest in Black Ops 6 Zombies Terminus Island involves completing a series of objectives across the map, from solving puzzles to defeating waves of zombies. Each task brings players closer to the story's conclusion and the final boss battle.
How do you activate the Pack-a-Punch machine on Terminus Island?
To activate the Pack-a-Punch machine, players must defend three stations across the map. Successfully completing each station unlocks access to Pack-a-Punch, enabling weapon upgrades.
Where are the Dead Wire ammo upgrades located on Terminus Island?
Dead Wire ammo can be purchased from an upgrade machine in the lab area. After acquiring it, players can proceed to unlock and activate electric boxes needed for the main quest.
How do you solve the X, Y, Z math puzzles in Terminus?
To solve the math puzzles, locate and activate three computers, each marked X, Y, or Z, around the map. Then, use the numbers shown to solve equations back at the main computer and progress in the quest.
Who is the final boss in the Terminus Island quest?
The final boss is Patient 13, a powerful creature encountered at the end of the main quest. It requires careful strategy and upgraded weapons to defeat.


