
Final Shape has been out for a week now, and pretty much everyone has already completed the story, unlocked some exotics, and possibly even beat the raid. So, is this it? No, the game is far from being done with us. As of the rest of week 2, players received the new story episode along with a quest that rewards players with exotic class items.
This Dual Destiny exotic mission guide is going to explain how to unlock the exotic class items. This is kind of a hidden mission, so we’ll talk about the requirements needed to be completed in order to unlock this quest. Then, we’ll go over the quest’s objectives and walkthrough.
By the way, if going through the trouble of completing this quest and all of the requirements leading up to it doesn’t sound too appealing to you, we’ve got an offer for you! You can just buy Dual Desitny completion service at Skycoach. That way, you won’t have to do anything yourself. Instead, you’ll just get the exotic class item for your Guardian after Skycoach’s veteran Destiny players complete the quest for you. This will save you lots of time and put you ahead of other players who are still figuring out how to do it all. Click the link to find out more!
IMPORTANT NOTE: Apart from learning how to complete Dual Destiny, you can also Buy Destiny 2 Boost from Skycoach. We offer a wide range of products at the lowest market price and with the fastest delivery. You can make your first purchase even CHEAPER if you find a special PROMO CODE (highlighted in green) hidden in this article and get a 20% DISCOUNT.
Browse our hottest Destiny 2 Boosting services


How To Unlock Dual Destiny Quest
Starting from the Wednesday reset on June 11th, 2024, and with the release of Episode 1: Echoes, Dual Destiny is available to all players. However, there are some things you need to do to unlock it.
You don’t actually have to do any Echoes-related content, such as going to Nessus and completing the first Arena: Breach Executable.
Another extremely important tip – the Dual Destiny quest can only be done in a fireteam of two. Not more, nor less.
This is a secret mission, and therefore, it is not featured in the Destiny 2 exotic mission rotator. To unlock this quest, you must go to the Pale Heart and do the Overthrow public activity. You need to complete all of its objectives and do it as fast as possible. If you’re doing it in a fireteam, perhaps you could split up and complete several objectives at the same time.
Once you defeat the final Overthrow boss, you’re going to loot the reward chest as usual, but if everything was done correctly, you’ll see a message on the left side of your screen just above the Super meter saying: “A Secret-Keeper of the Witch Queen is near…”
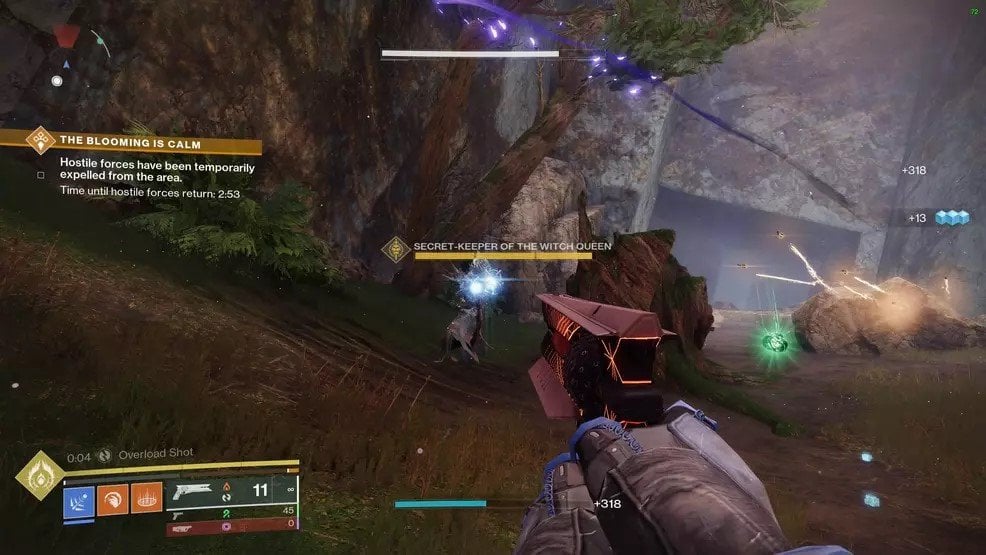
Once you see it, you’ll need to search the area you’re in for the Secret-Keeper enemy. Defeat the enemy to see another message saying: “A Secret-Keeper of the Witch Queen is vanquished!” Here are the Secret-Keeper locations in each zone:
- The Landing – southeastern cave close to the Lost Sector.
- The Blooming – in a purple cave near the eastern part of the zone.
- The Impasse – in the southwest part of the zone where the Taken create a shield in Overthrow activity.
It is not confirmed, but you should complete Overthrow, then find and kill the Secret-Keeper in all three zones.
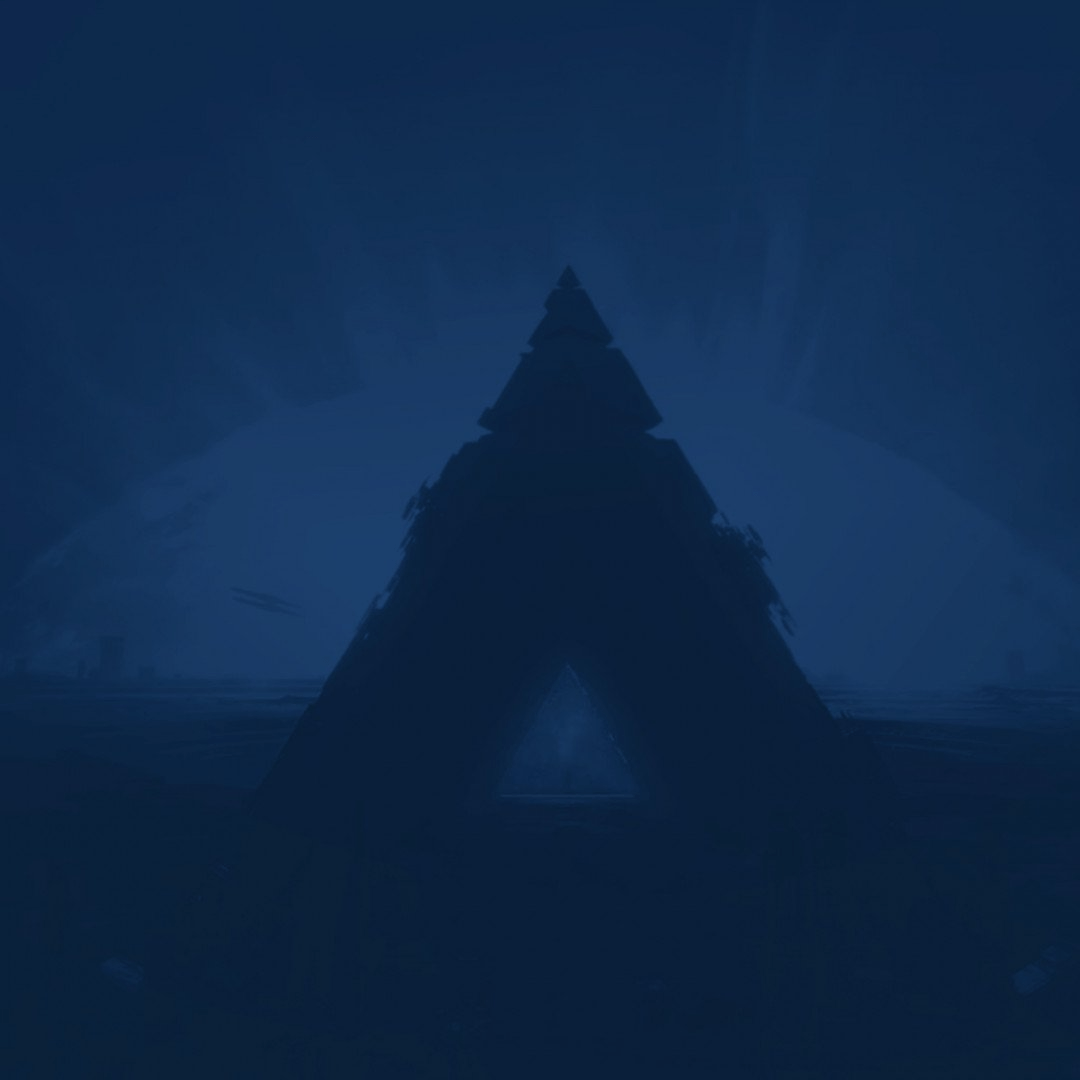
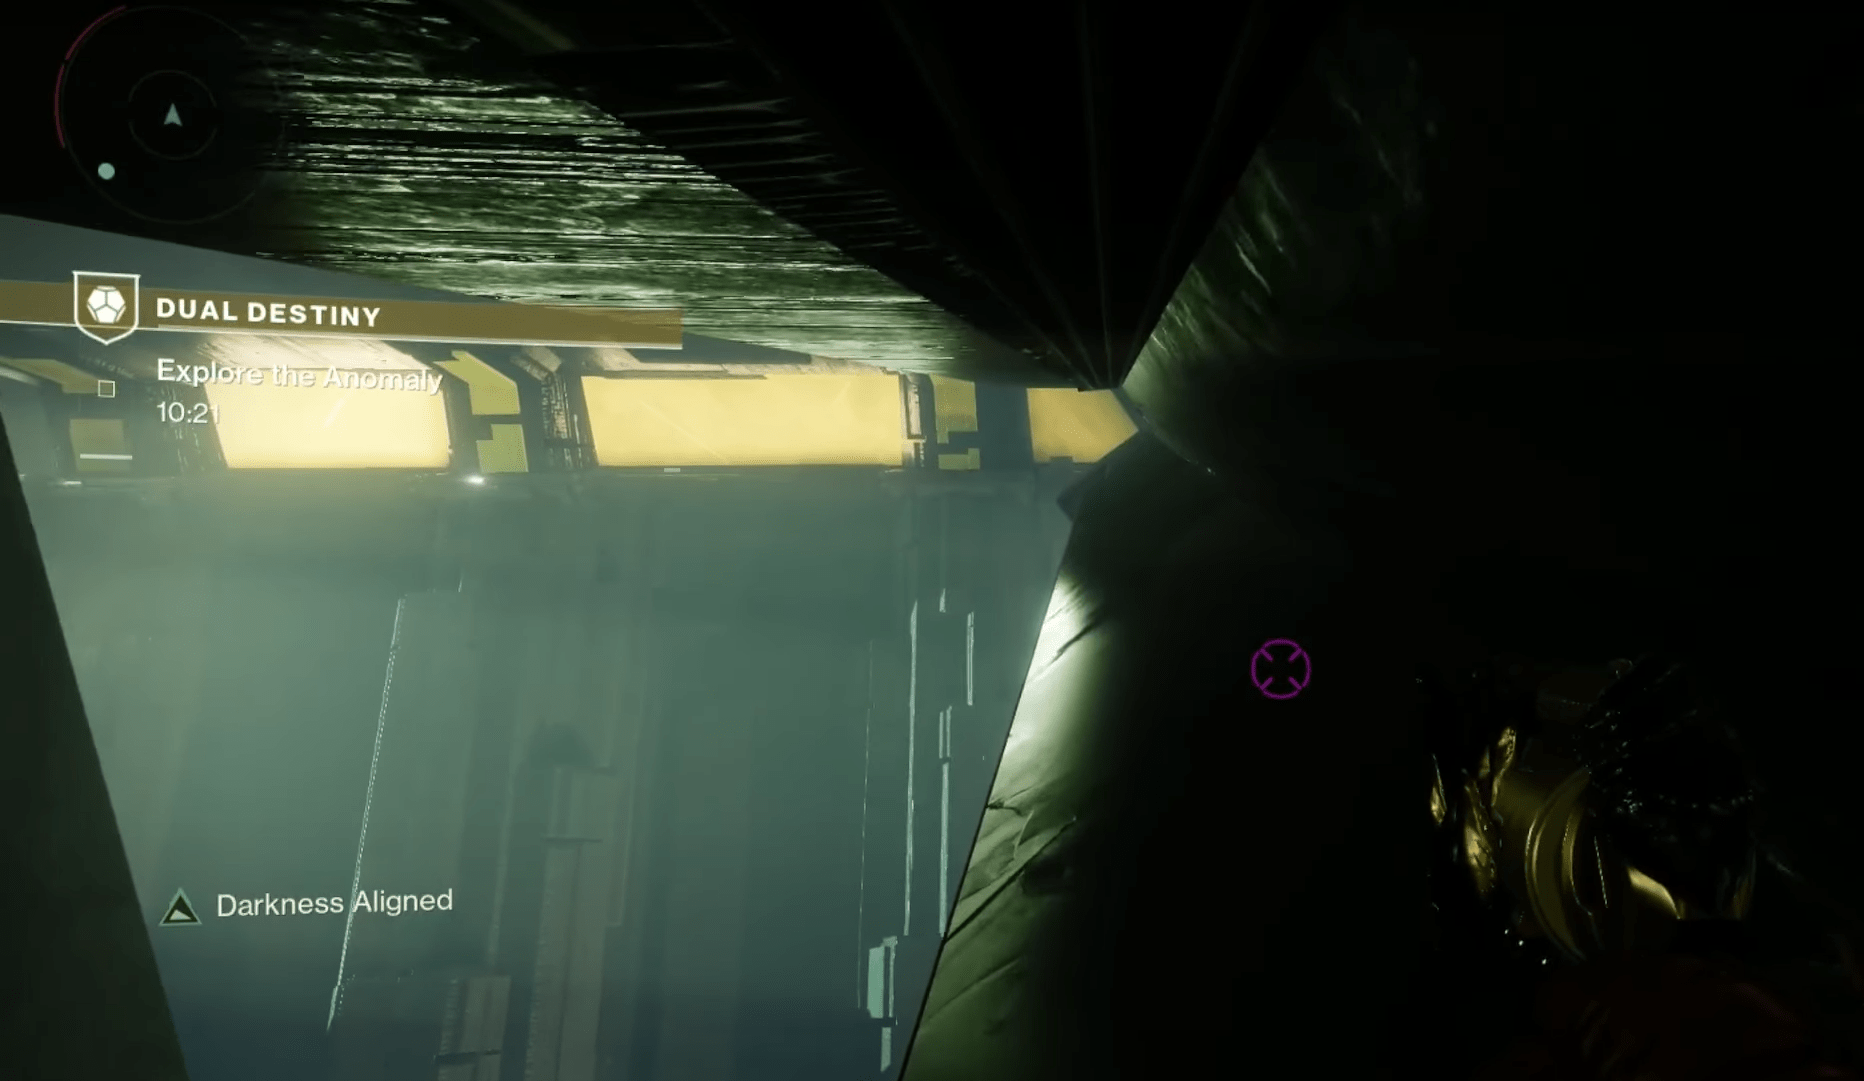
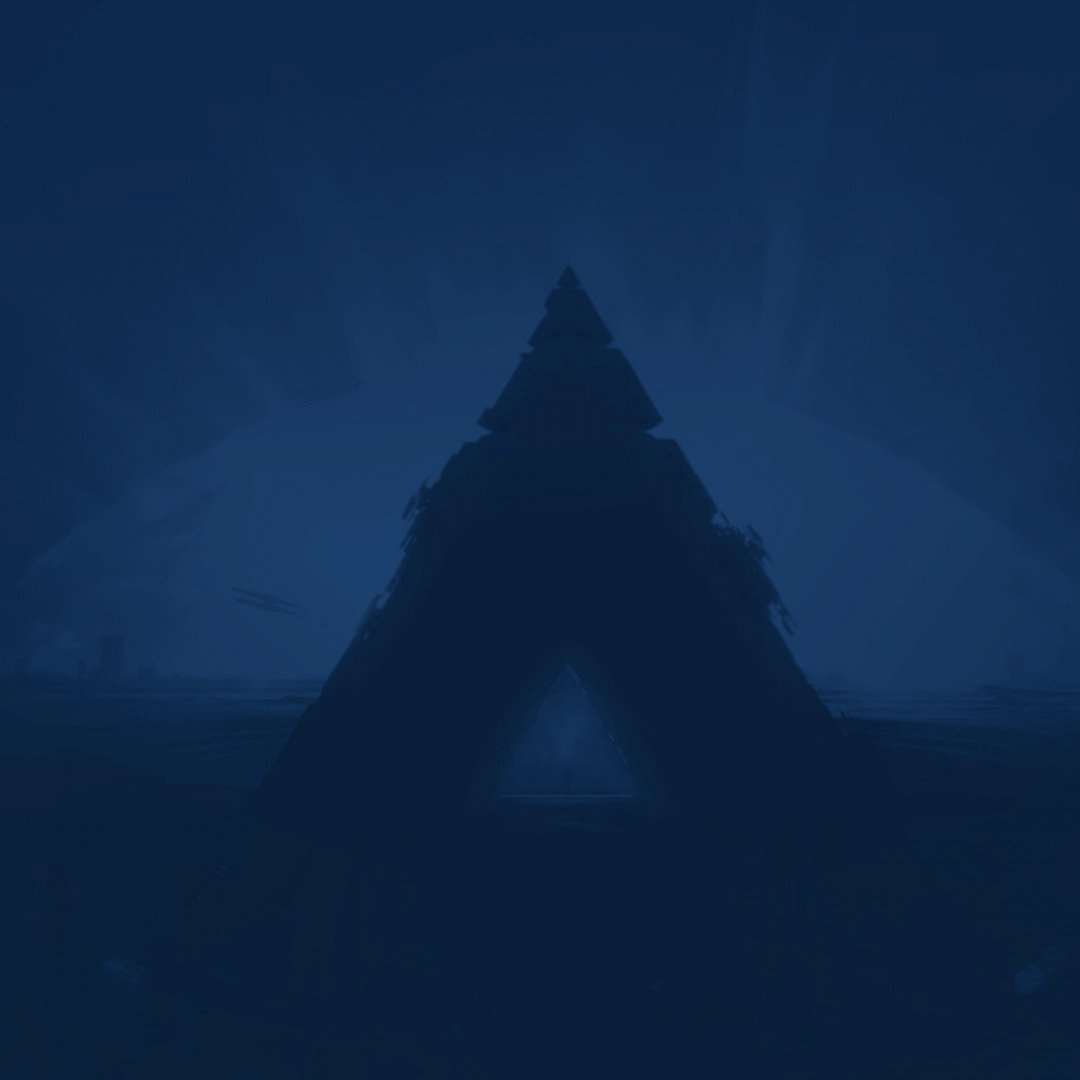
When all 3 Secret-Keepers are defeated, head over to the Refraction and keep going until you see a huge beam of light. This would be the Destiny 2 Dual Destiny location. Start moving towards it, and you’ll eventually end up in another cave. Inside that cave, you’ll see the Savathun’s statue, and upon getting close to it, you’ll get the buff called “Savathun’s Envoy.”
Exit the cave with the buff active, and you’ll see new objective markers on your mini-map that will lead you to a few small pyramids and some enemies. Defeat the enemies until a miniboss called the Expector, who is a Subjugator. Damage the boss enough until he drops the ball of reflected light. Grab that ball, take it back into the cave, and then plant it on the light platform by the statue. BLOG20
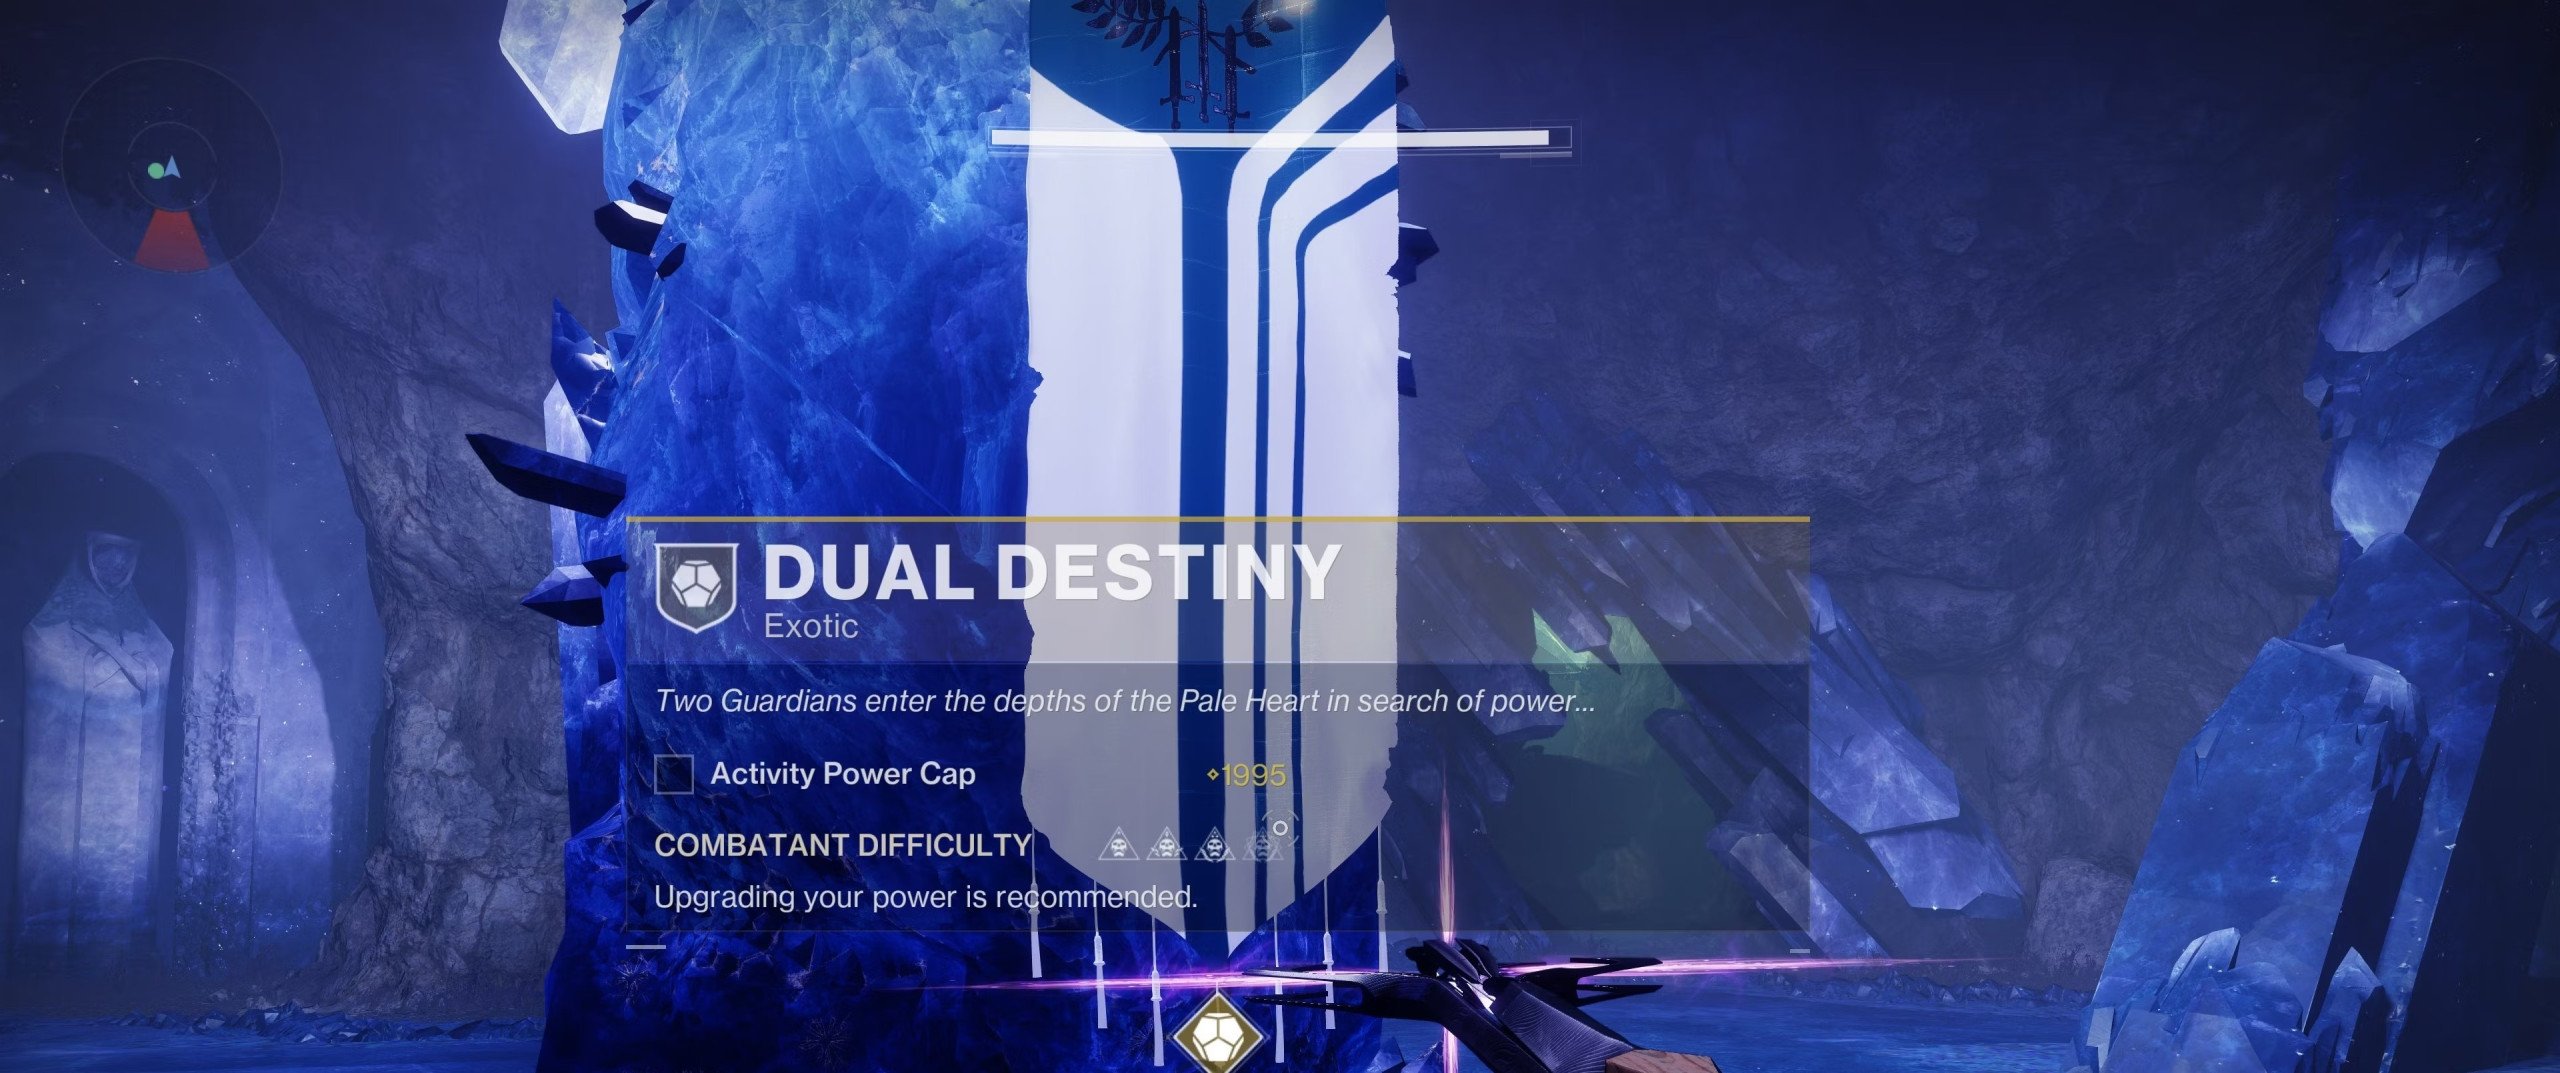
Return to the boss and finish him off. Then, he’ll drop the darkness ball, which you will also need to take back into the cave and plant it into its platform. That is how you gain access to the Dual Destiny exotic mission. If you have too many people in your fireteam, you’ll see the message: “There are too many players for this activity. Please choose a different activity.” This is a reminder for you that this mission can only be played with two players. The activity’s power cap is 1995, so make sure your gear is up to the task. This mission is also timed; however, you’ll get bonus time for completing different encounters.

Destiny 2 Dual Destiny Quest Walkthrough
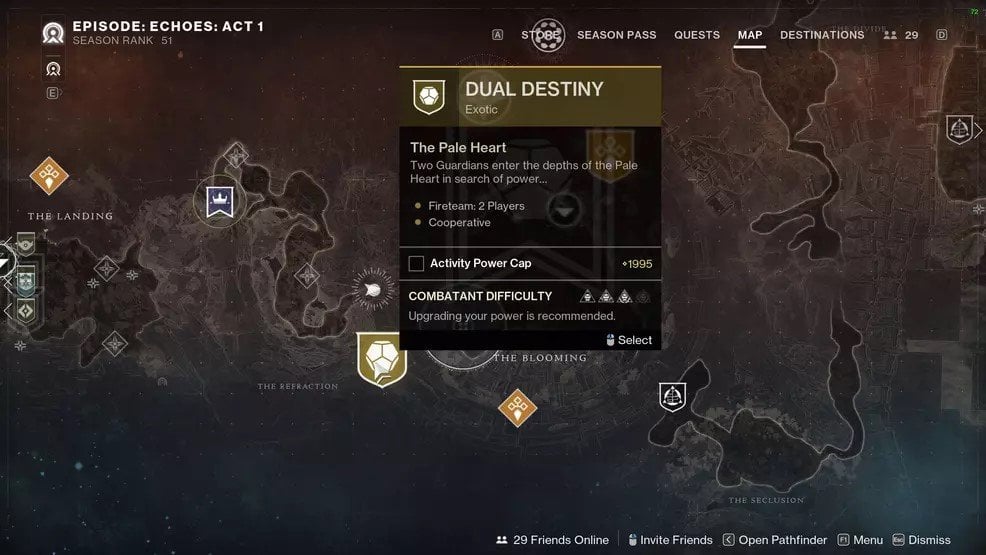
“Two Guardians enter the depths of the Pale Heart in search of power…”
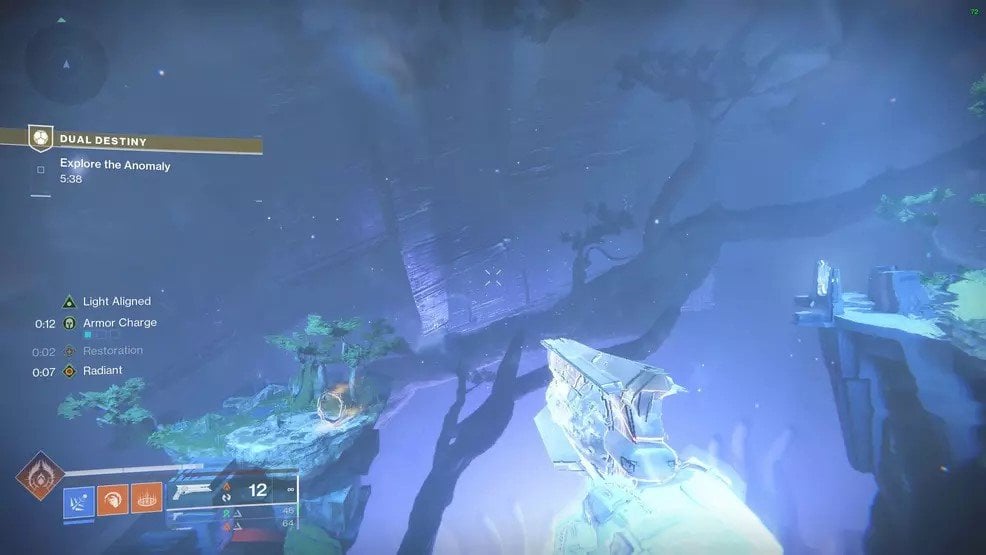
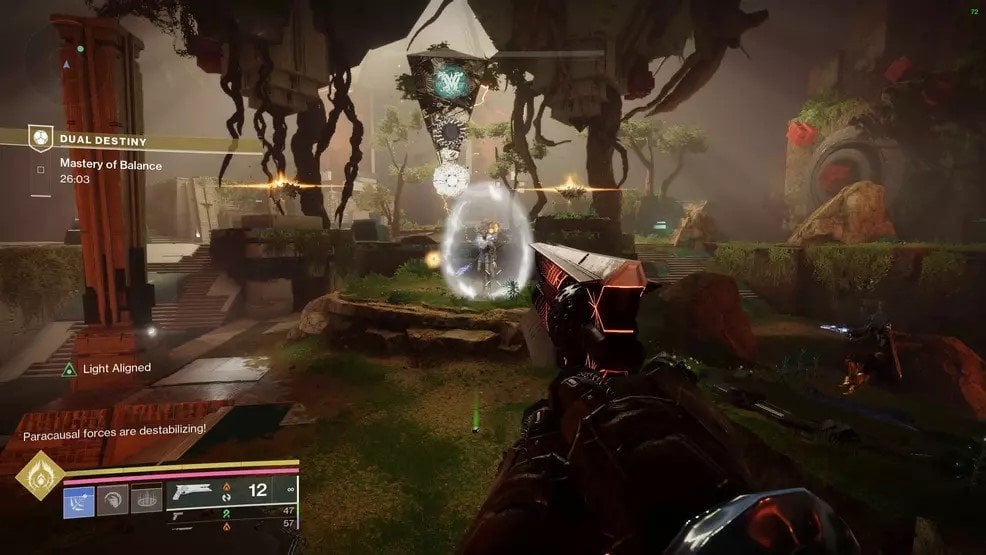
The main mechanic in this mission is pretty simple. One of you will be Light-aligned, and the other will be Darkness-aligned. Both of you will need to stand on the correct platforms and solve other puzzles where the correct position of both players is mandatory. Both buffs will remain the same for the entirety of the mission.
And just to remind you, you need to do this mission at least once, because this is how to get exotic class items, that combine two exotic perks!
Encounter #1: Starting the Mission
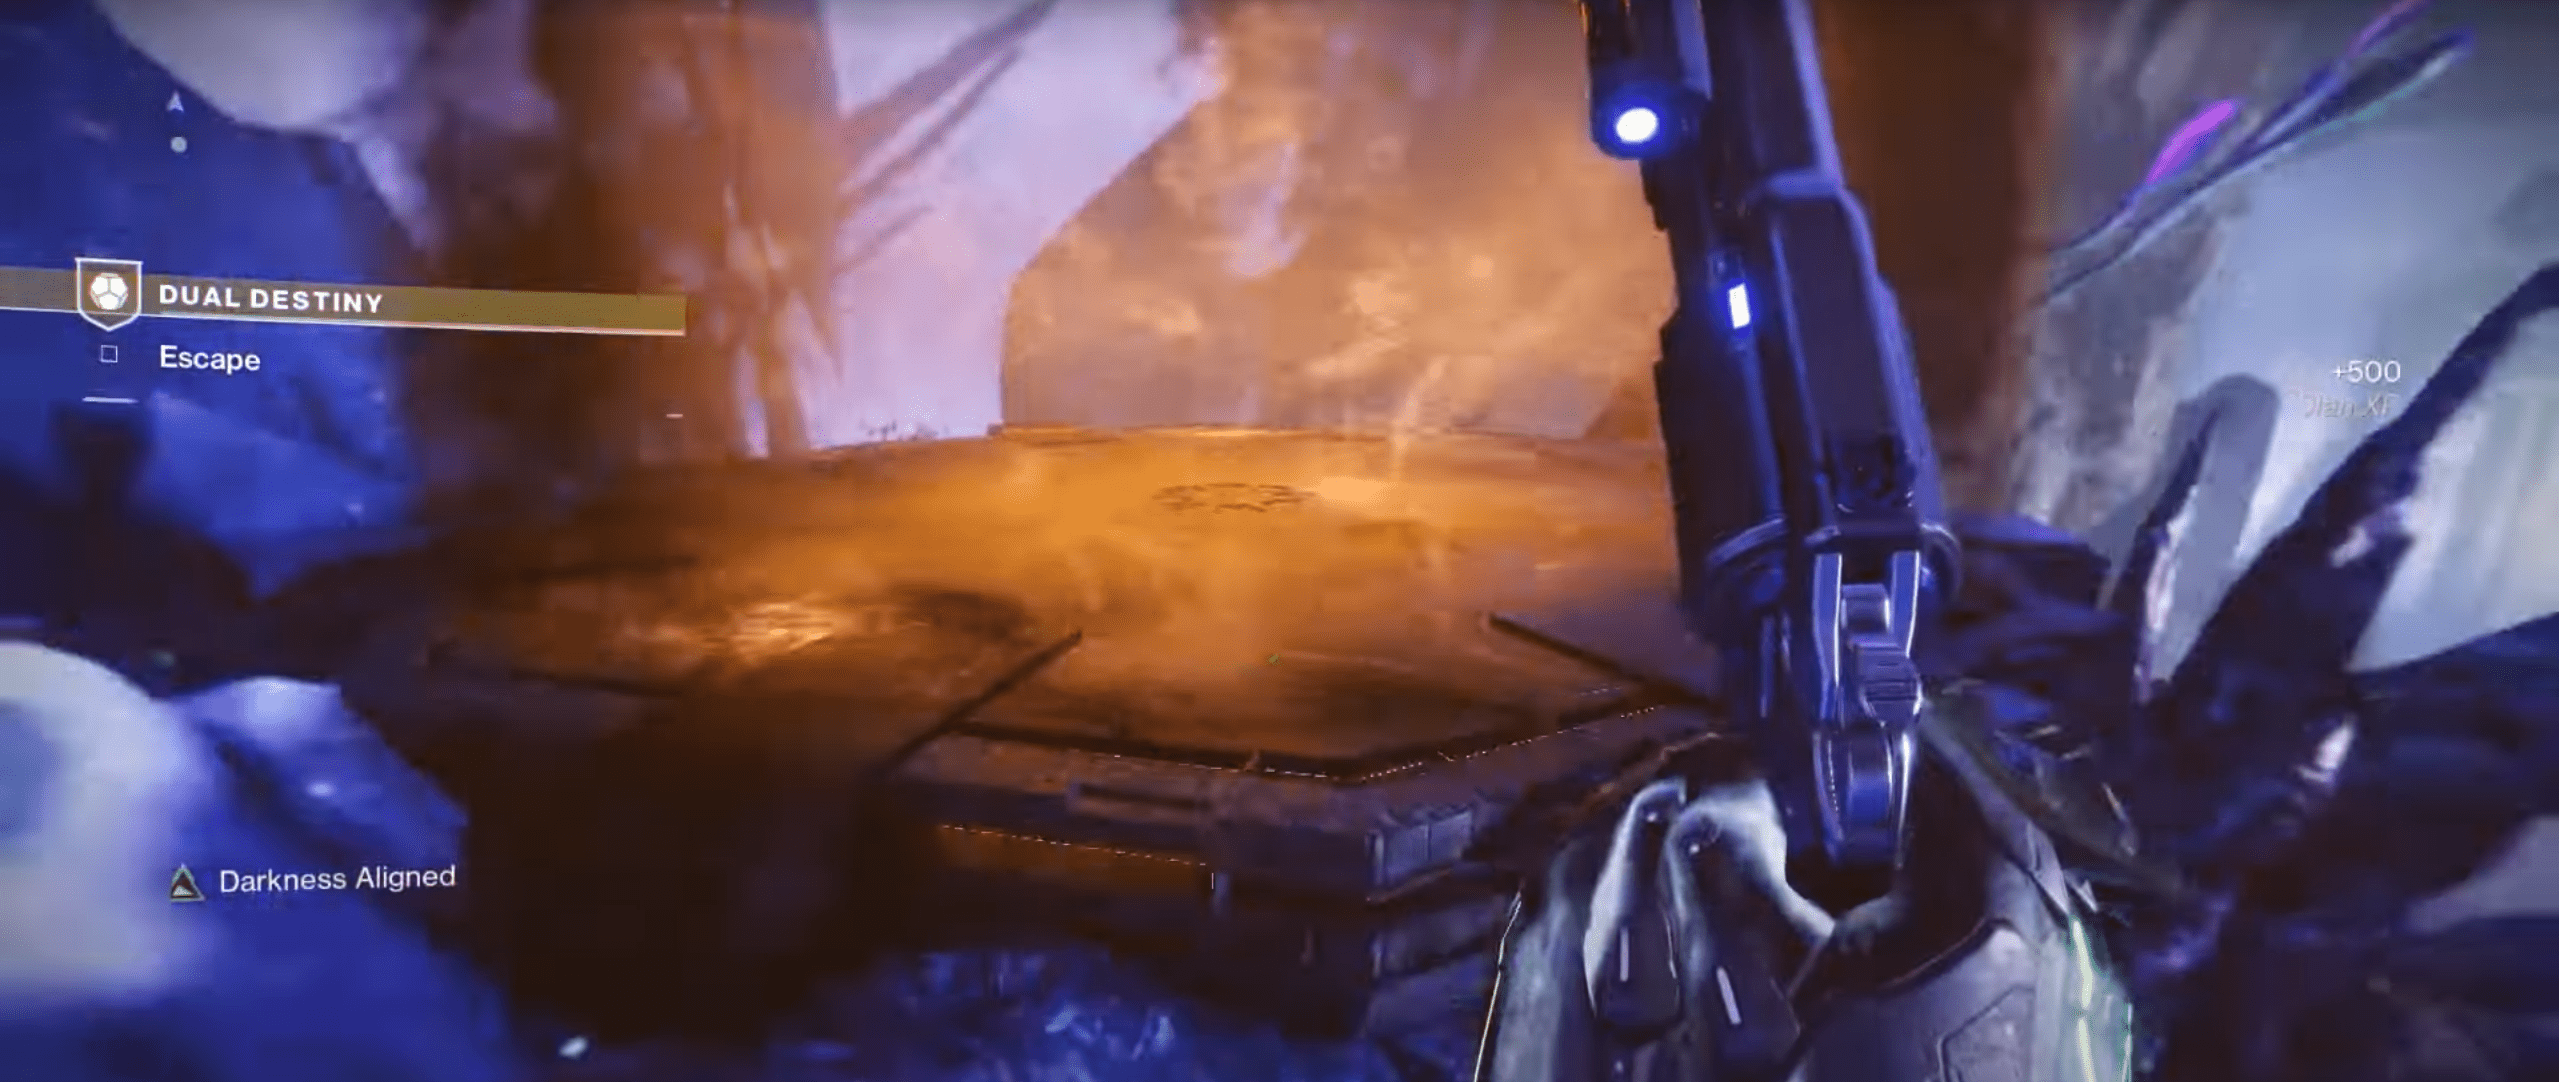
At the start of the mission, you’ll load in the same cave where you started the mission. The only difference will be – that the two platforms will appear: one for the light player and the other for the darkness player. Once the path forward is open, keep going outside, in the direction of the Landing, until you reach another set of platforms and a barrier.
Encounter #2: First Symbol Puzzle
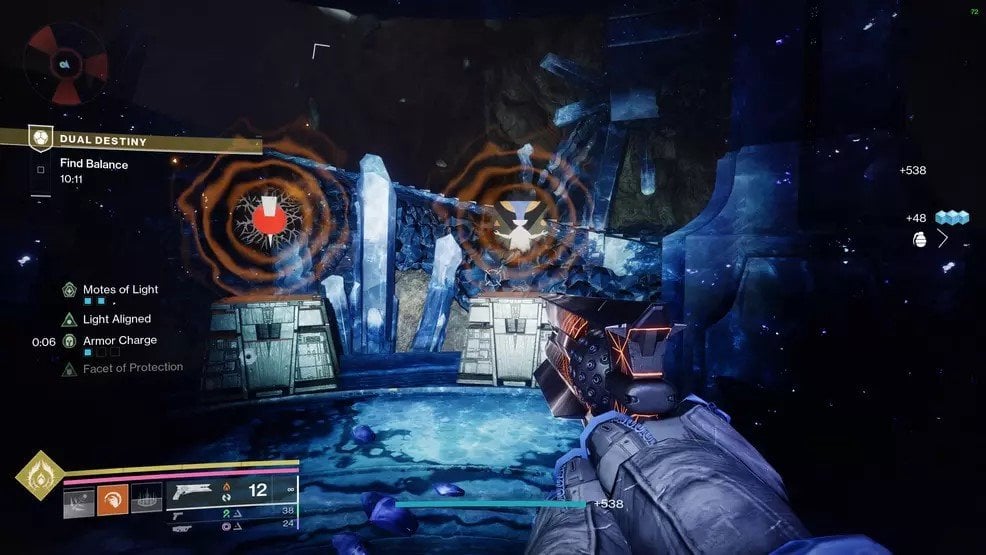
Once you reach the place where you can plant the rally flag, you’re going to enter a room with two platforms. This is going to be the second encounter of the Destiny 2 Dual Destiny quest. One platform (dark one) is on the top, and the other one (light) is below. Stand on the correct platforms as usual to spawn enemies. Your first challenge in this encounter would be to stand your ground.
At some point, you’ll see enemies that can only be killed by one of you. The other player will not be able to deal any damage. Once you kill them, they’ll drop motes of Light and motes of Darkness.
- Darkness Aligned player: When you pick up the mote, you’ll see different symbols that you can shoot around the arena.
- Light Aligned player: when you pick up the mote, you’ll be able to see specific symbols appear on the podiums around your platform.
Together, both players need to communicate and shoot down the correct symbols in order of their appearance on the podium. After each correct guess, more enemies will spawn, and you’ll be able to pick up the second mote, revealing the next correct symbol to shoot.

Encounter #3: Second Symbol Puzzle
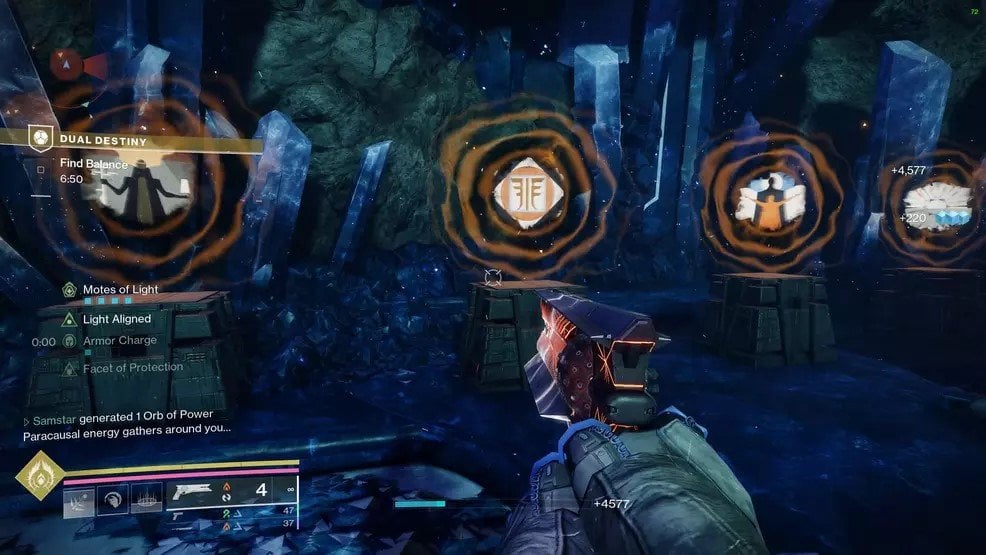
In the next room, you’ll be doing much of the same stuff, except the roles will be reversed:
- Darkness Aligned player: when you pick up the mote, you’ll be able to see specific symbols appear on the podiums around your platform.
- Light Aligned player: when you pick up the mote you’ll see different symbols appear around the arena that you can shoot.
On top of that, there’ll be a total of 3 motes for each player that you’ll need to pick up from enemies.
Then, in the next room, you’ll do all of this again, except for the fact that there’ll be four motes in total to collect.
Also, it’s worth noting that you have a choice – you can either shoot down the correct symbols as the information about them becomes available to the other player, or you can both collect all of the motes and then shoot down all of the symbols in one sequence, as long as it's in the correct order.
Encounter #4: Jumping Puzzle
There’s not much to say about this part of the mission, except for the fact that you’ll probably struggle the first way through because sometimes the path forward isn’t always obvious.
In certain places along the jumping puzzle, you’ll see enemies spawn and harass you as you try to continue. Moreover, the jumping puzzle will include a few places with traps that could push you from the platform you’re on and kill you. So, watch out for those.
At some point, you’ll come across two platforms. Stand on them and then continue moving until you find the next set of platforms. Doing so will split you up a little bit because the platforms will be located in different parts of the corridor. BLOG20
Encounter #5: Clock Puzzle
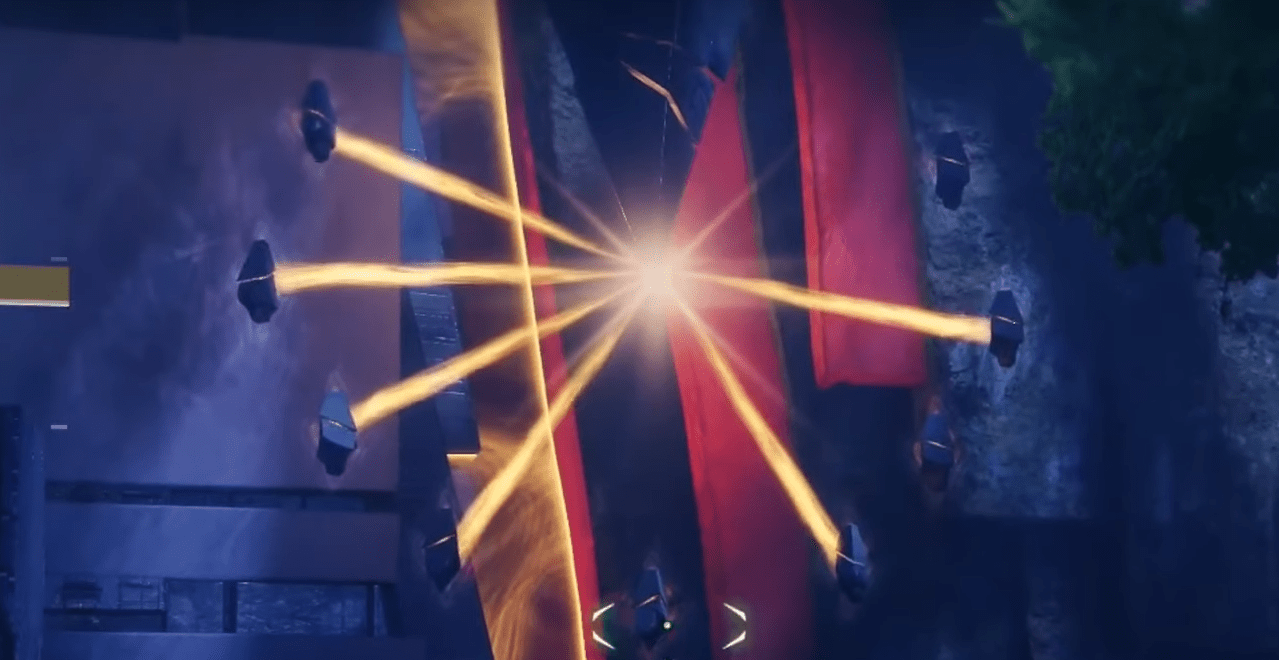
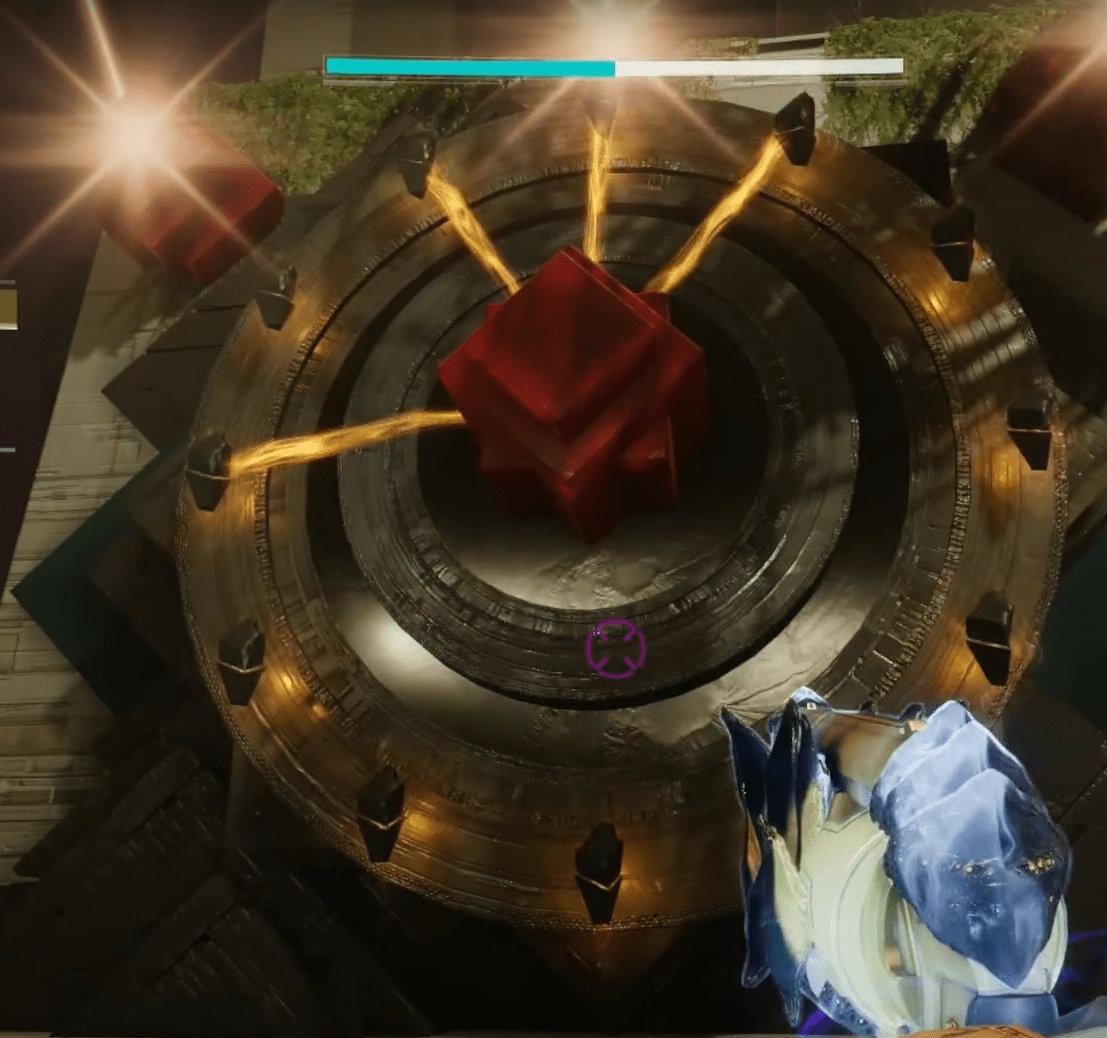
The next section will begin when both players find another rally point. To start the encounter, stand on the platforms. This will spawn nine shards that are connected to a larger pyramid through an energy beam. The whole thing looks like a clock.
Each player will see a set of 3 shards that aren’t connected. They’ll be different for each player. Both players will need to communicate and share what they see with each other to shoot the correct shards. You must shoot the shards that neither of you name.
To be able to shoot the shards, you’ll need a buff called “Harmonic Sundering” that drops from the Tormentor. Only the player who deals the final blow will get this buff. They will be the ones who will shoot the shards.
You will have to repeat this process three times, all while being attacked by enemies.
Encounter #6: Arena Challenges
The next section includes several smaller arenas where you’ll have to survive several waves of enemies. Once the last wave is defeated, the platform will spawn, and you’ll stand on it. This will create two boosters that will take you to the next arena.
There’s nothing too complicated about this encounter. You just have to claw your way through hordes of enemies until you can progress further.
Browse our hottest Destiny 2 Boosting services


Encounter #7: The Boss
The final encounter begins, once again, with a rally banner. In this last encounter, you’ll be fighting with two bosses at the same time. Both of these bosses are Subjugators. What’s more important is that all of the mechanics you’ve used before will be used in this boss fight.
Initiate the encounter by standing on the platforms. Doing so will spawn the first boss – Expector Selin.
Deal enough damage to the boss until they go immune. At this point, you’ll need to look around the arena and find darkness or light-imbued wizards. Both players need to kill their matching wizards to spawn symbols, just like in one of the first puzzles. You’ll need to communicate with your buddy and shoot down three correct symbols to disable the boss’s shield. Then, you’ll be able to deal enough damage to make the boss escape.
Once that happens, the second boss, Expector Yemiq, will appear. The tactic with this boss will be the same:
- Deal enough damage until the boss becomes shielded and immune to damage
- Find and kill matching Wizards
- Determine the correct order of symbols and shoot them in that order
Once the second boss is defeated, they’ll become sort of imprisoned, at which point, you’ll need to seek out and kill the matching wizards for the third time. However, this time, you’ll receive the “Harmonic Sundering”. Once again, you’ll need it to complete the clock puzzle.
You’re going to see a full clock with 12 shootable shards and two clocks, one for each player. Only this time, this clock is flashing different codes. The clock will show four different shards connected to the center that disappear after a short while. Then, shortly after, another set of 4 shards will become connected to the centerpiece. Both of you need to tell each other the 4 sets of shards that appear on each clock. There’s always going to be one matching shard out of each set of 4. Both players will need to shoot that matching shard.
Once again, you just need to figure out which shard both of you have and shoot it. This will progress the encounter. Repeat the process three times. If you mess up and shoot the wrong shard, this will change the codes of both clocks, and you’ll need to start over.
When done correctly, this will unleash both bosses with 30% health left on each of them so that you can finally finish them off.
Claiming the Reward
After defeating the bosses, you’ll finally see the last two platforms and the exotic items that you can claim. At this point, you must expect to just stand at the platforms and claim your rewards. But not this time.
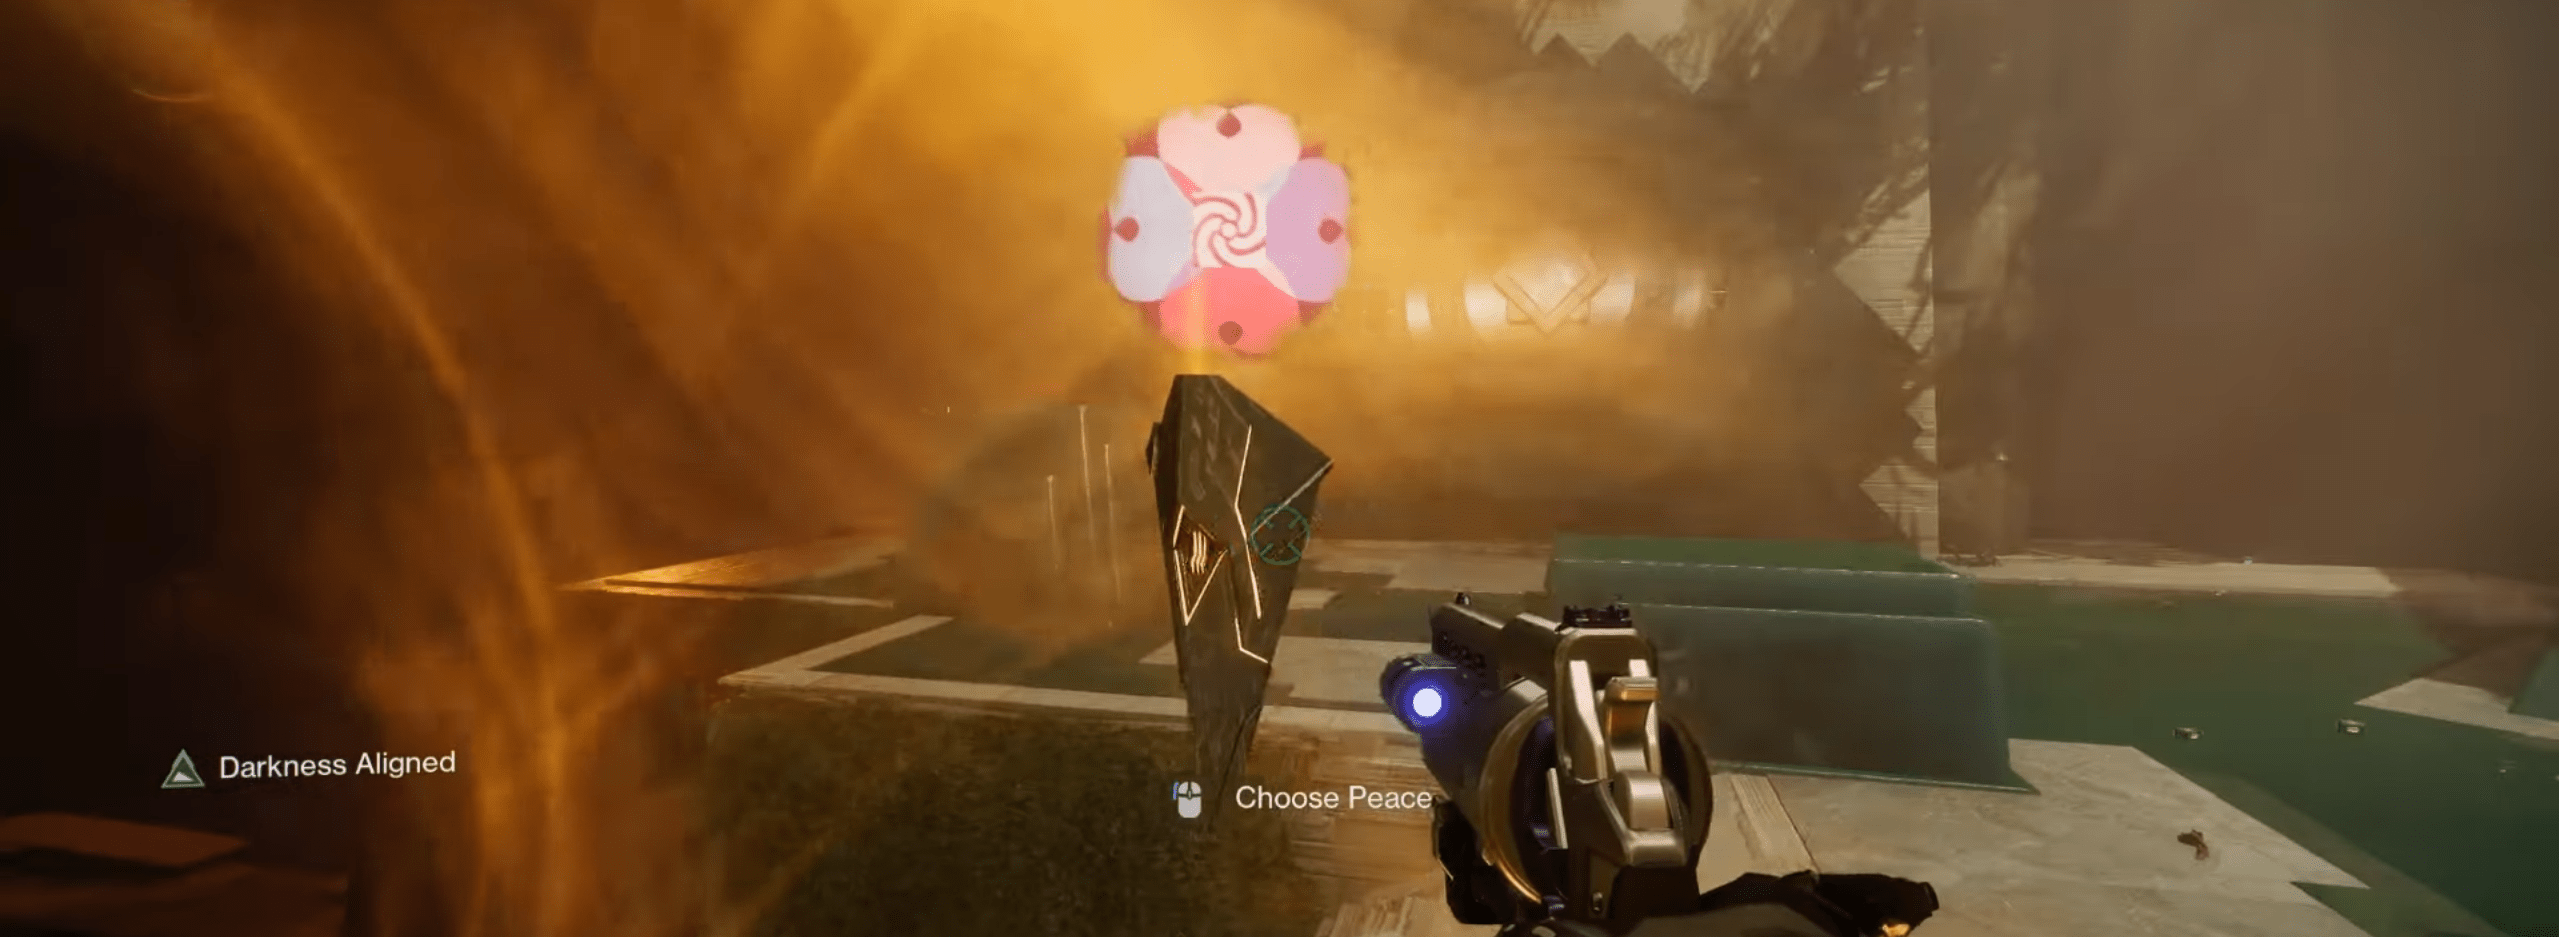
Once both players are on their platforms, they’ll become locked by shield cages and presented two choices:
- Choose Peace – you will die, and then you’ll be able to get your rewards
- Prepare for Battle – you will have to fight your friend in PvP, after which both of you will claim your rewards.
The actual choice doesn’t really matter; both players will get their guaranteed exotics. However, this final moment is something that was worth talking over anyway.
Dual Destiny Exotic Quest Rewards
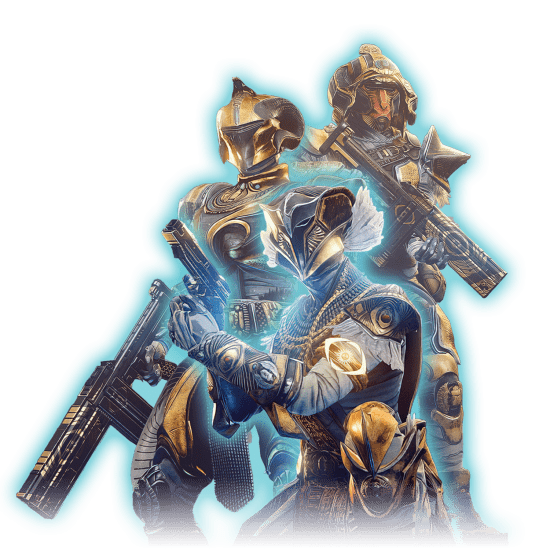
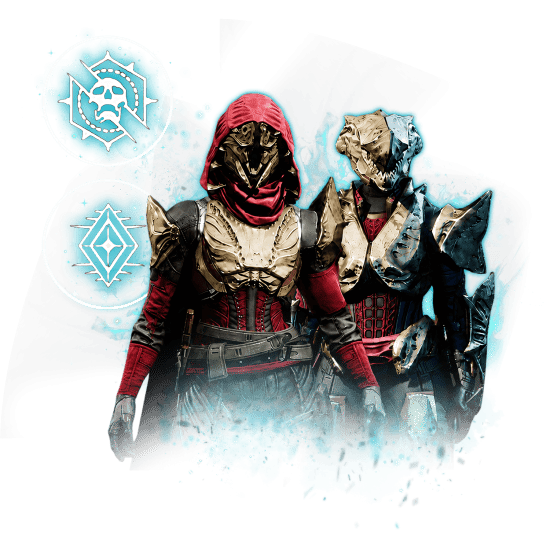
You’ll go through all of this to get one of three exotic class items as Dual Destiny rewards. These items can have 16 different perks, 8 perks per two columns. All of these perks are actually reworked perks from other existing exotic armor pieces. But what makes these particular items so cool is that you can actually combine any 2 of the 16 perks together! Another thing to note is that these exotic items will only work whenever you have the Prismatic class active. Those perks won’t be active if you use any of the other sub-classes. Below, we’ll post a complete list of perks for each of the exotic items.
Titan Exotic Mark – Stoicism
Description: "We are the final stand. The fortress in the storm.
I'm not one to navel-gaze; that is better suited to the mystics and so-called philosophers who are ill at ease with the quiet absence of war. No offense to the late "Speaker" of our fair city, but I have come to view any person with big ideas with suspicion. Many think you're a big idea because they do not understand you.
Not long ago, I fought alongside an Eliksni and a Cabal—both capable and proud warriors. We were on Neptune, and as I scanned the aftermath of battle, I thought of… home. Somehow, light-years and galaxies from where they'd been born, these two had become my comrades. They fought with an intensity warriors exert when defending their home.
You aren't the meaning of the universe, or the meaning of life, are you? I don't pretend to know your intentions; not my business. But I feel it has to do with home. I just feel it, the way you stand guard over us—and that is what you're doing—that you know the importance of home. Hell, one day you might decide to leave for good, but I would still like to believe that, at least for a little while, this was your home. "
| Column #1 | Column #2 |
|---|---|
|
Assassin's Cowl Finishers and powered melee final blows grant invisibility. |
Star-Eater Scales While your Super energy is full, picking up an Orb of Power overcharges your Super, granting it bonus damage. |
|
Heart of Inmost Light Using an ability empowers the other two abilities, granting them improved energy regeneration |
Synthoceps Improved melee damage when you're surrounded. |
|
Severnace Enclosure Powered melee or finisher final blows unleash a damaging explosion. |
Point Contact Brace Damaging a target with a powered melee causes all nearby enemies to suffer lightning strikes and become jolted. |
|
Hoarfrost-Z Your Barricade becomes a wall of Stasis crystals that slows nearby targets when created. |
Precious Scars Final blows with weapons that have a damage type matching your Super's element create a burst of healing around you that grants allies restoration. |
|
Eternal Warrior Gain a damage bonus for weapons matching your Super's element when your Super ends. |
Khepri's Horn Your Barricade unleashes a blast of Solar energy that scorches targets |
|
Abeyant Leap Improves Drengr’s Lash. Drengr’s Lash projectiles track targets more aggressively and travel further. |
Crest of Alpha Lupi Generates a healing pulse when Barricade is activated. |
|
Ursa Furiosa Move faster while guarding with the Unbreakable shield. Damage blocked with Unbreakable is converted to Super energy. |
Armamentarium Gain an additional grenade charge. |
Hunter Exotic Cloak – Relativism
Description: "We watch, and we listen. We are the first to see the danger lurking in the abyss.
You were the first wanderer. Navigator. Searching for an answer to a question you've yet to ponder.
I am the watcher. Invisible. The eyes of the Last City. The very nature of my duty necessitates solitude.
We were both adrift. Along the brinks of space, under the black sky. You enter the lives of people that grow to resent your desertion. But we share the same heart, and I know you. You aren't disaffected.
We are not walking away. We are looking to the horizon." BLOG20
| Column #1 | Column #1 |
|---|---|
|
Assassin's Cowl Finishers and powered melee final blows grant invisibility. |
Star-Eater Scales While your Super energy is full, picking up an Orb of Power overcharges your Super, granting it bonus damage. |
|
Heart of Inmost Light Using an ability empowers the other two abilities, granting them improved energy regeneration |
Synthoceps Improved melee damage when you're surrounded. |
|
Ophidian Aspect Weapons ready very quickly. |
Verity's Brow Weapon final blows with a damage type matching your grenade grant a stacking grenade damage bonus. |
|
Dragon's Shadow Using your class ability reloads all weapons and increases weapon handling speeds for a brief time. |
Cyrtarachne's Facade Gain Woven Mail when you use your grenade. |
|
Shards of Galanor Hits and final blows with your Super will return Super energy after it ends. |
Gyrfalcon's Hauberk Your Void weapons gain Volatile Rounds after you emerge from being invisible. |
|
Foetracer Damaging a powerful combatant or Guardian with an ability grants you a temporary damage bonus for weapons matching that ability's element. |
Liar's Handshake Dealing damage with a powered melee or being hit by a melee attack will allow you to follow up with an extremely powerful melee counterpunch. |
|
Caliban's Hand Powered melee final blows trigger an ignition. |
Wormhusk Crown
Dodging gives a small health and shield bump. |
|
Renewal's Grasp Allies inside the Duskfield take reduced damage, and targets inside the area deal reduced damage. |
The Sixth Coyote Gain an additional class ability charge. |
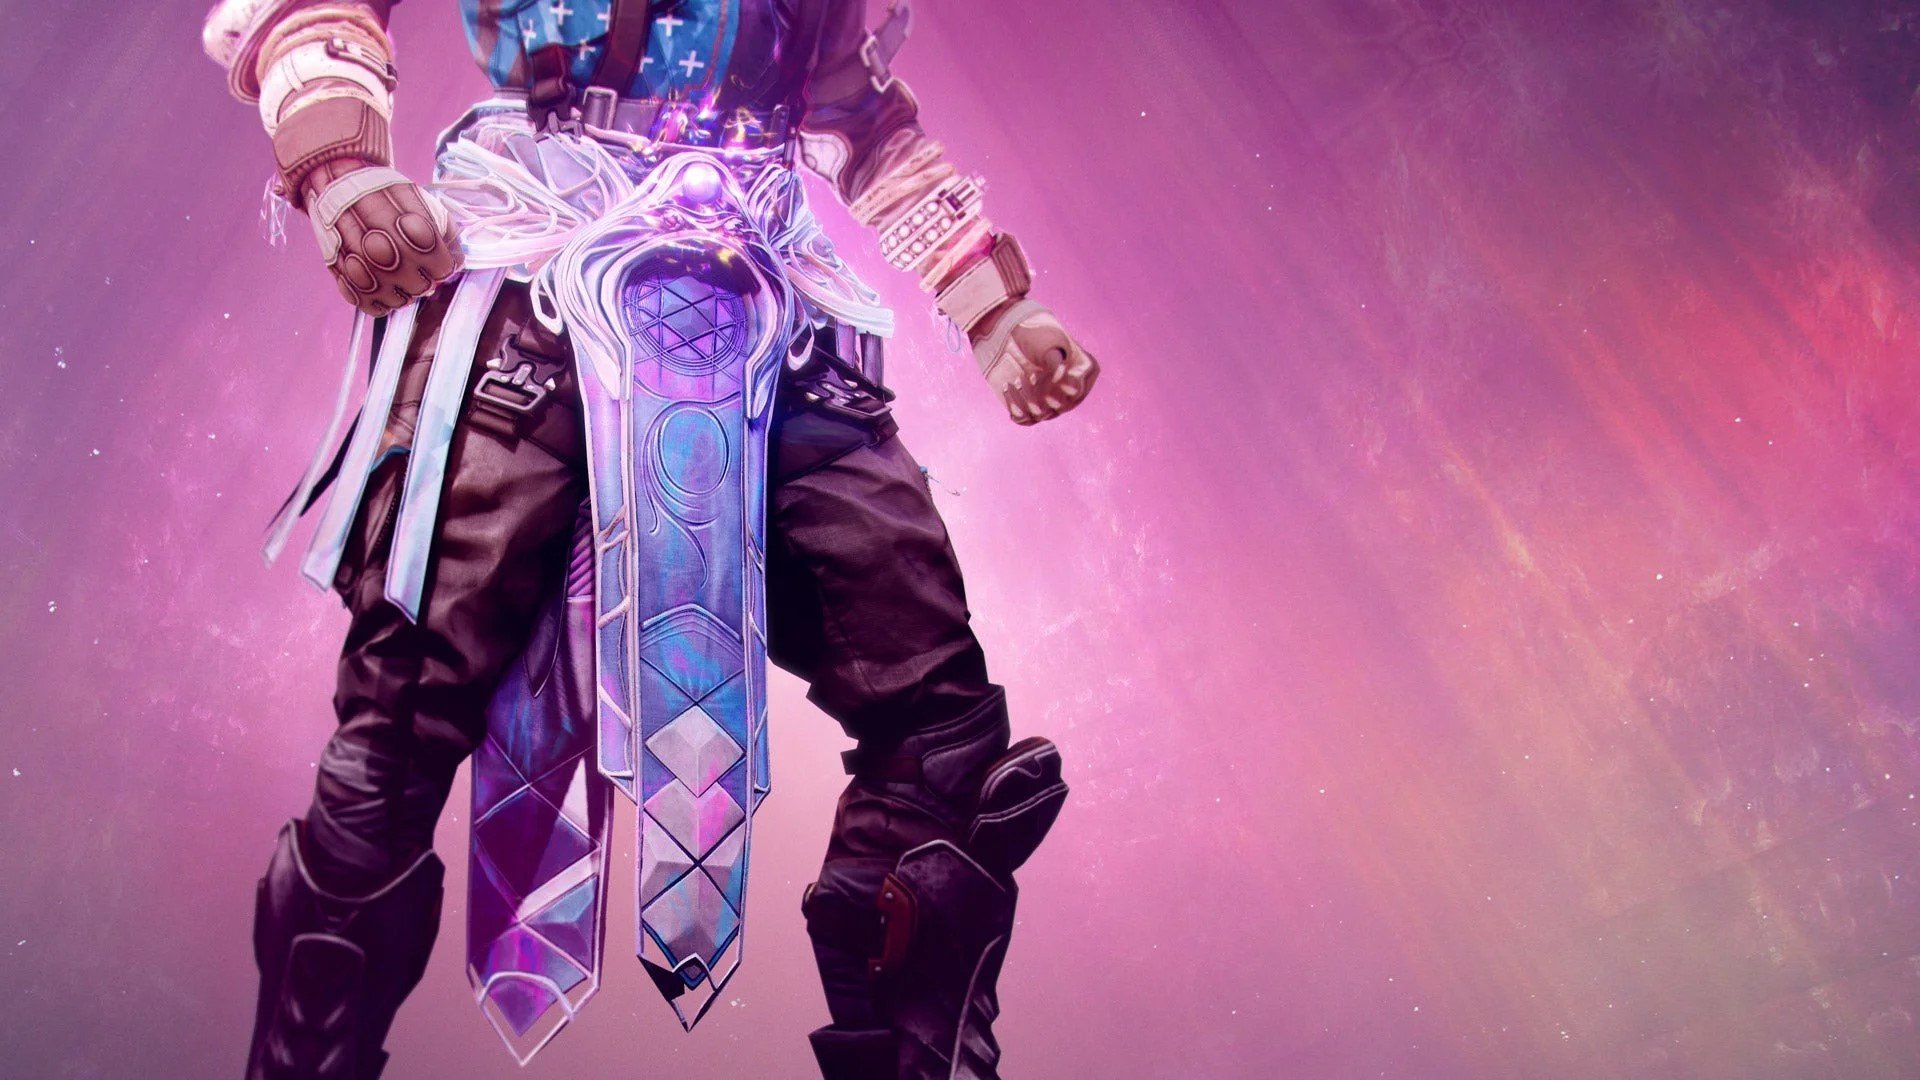
Warlock Exotic Bond – Solipsism
Description: "We are thinkers, daring to dream about the universe and its infinite expanse.
I see an abyss. Small and distant shapes. I'm walking in your nascent memories. Flickering motes. I sense… curiosity. You've always pondered, from the very beginning. As did we.
I see tessellation. The pulsating hum of cosmic structure; a kaleidoscopic symphony of Light and Dark. What was the Veil to you?
Since I woke, I've always felt like I was still dreaming. I'd like to think that's how you feel as well. Those of us that hunger for a great truth—we dream with you."
| Column #1 | Column #2 |
|---|---|
|
Assassin's Cowl Finishers and powered melee final blows grant invisibility. |
Star-Eater Scales While your Super energy is full, picking up an Orb of Power overcharges your Super, granting it bonus damage. |
|
Heart of Inmost Light Using an ability empowers the other two abilities, granting them improved energy regeneration |
Synthoceps Improved melee damage when you're surrounded. |
|
Ophidian Aspect Weapons ready very quickly. |
Verity's Brow Weapon final blows with a damage type matching your grenade grant a stacking grenade damage bonus. |
|
The Stag Your Rift provides damage reduction to allied Guardians standing in it. |
Vesper of Radius Rifts periodically release Arc shockwaves. |
|
Secant Filaments Casting an empowering rift will grant you Devour. |
Mantle of Battle Harmony Final blows with weapons that have a damage type matching your Super's element grant you Super energy. |
|
Necrotic Grip |
Starfire Protocol Grenades recharge from empowered weapon damage, with empowered weapon final blows granting more energy. |
|
Osmiomancy Gloves Your grenades recharge quicker on hits. The seeker spawned from Coldsnap grenades travels further. |
Swarmers Destroying a Tangle spawns Threadlings. |
|
Apotheosis Veil Temporarily gain greatly increased melee and grenade regen after your Super ends. |
Claws of Ahamkara Gain an additional melee charge. |
Conclusion
Dual Destiny is an epic exotic mission with a pretty unique ending. Unlocking it requires you to farm Overthrow in each area of the Pale Heart and then find and defeat a unique enemy. The mission itself features several encounters with pretty interesting puzzles where you and your buddy need to communicate with each other and act together to advance through the sections. This mission also includes a pretty lengthy jumping section and a boss fight where you get to fight two bosses while solving the puzzles from previous encounters.
But the ending of this mission is pretty unique. Instead of claiming your rewards, you’ll be given a choice of either fighting your friend or choosing peace. Luckily for everyone involved, regardless of your choice, you’ll get the promised exotic class item. Since these exotics can have random rolls, you can redo this mission to get more rolls. We hope that this Dual Destiny quest walkthrough will help you complete this mission without any difficulty. Good luck, Guardians!
F.A.Q.
How do I unlock the Dual Destiny exotic mission in Destiny 2?
Unlocking Dual Destiny requires you to farm Overthrow in each area of the Pale Heart and then find and defeat a unique enemy.
How to do Dual Destiny mission in Destiny 2?
Dual Destiny must be done in a group of two players. Both players will receive different buffs that will persist throughout the mission and will be used in all of the encounters and puzzles.
How do you get the exotic class items in Destiny 2?
Exotic class items can be obtained by completing the Dual Destiny mission for the first time. After that, these items will drop from Pale Heart chests with different rolls.


