
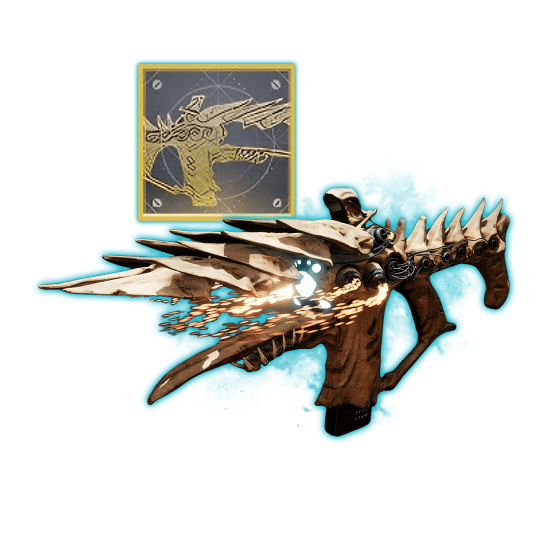
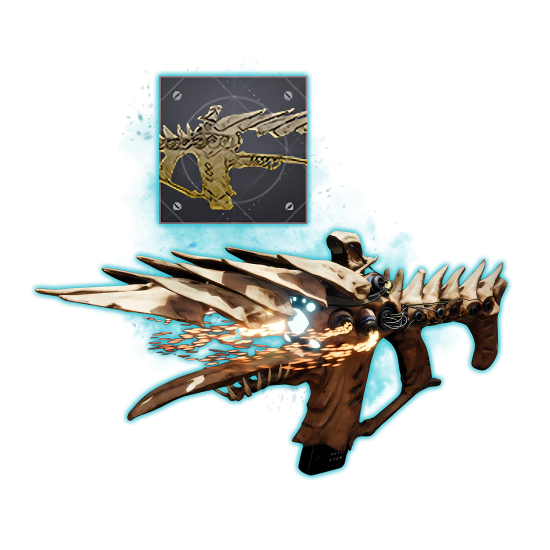
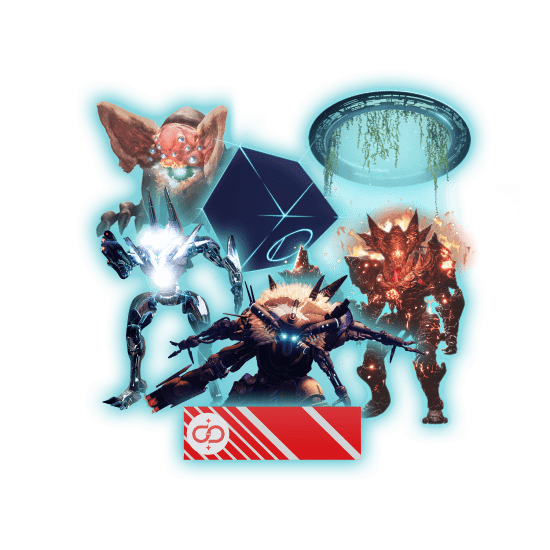
One of few exotics added in the Final Shape is the heavy trace rifle called Microcosm. In this guide we’ll explain how to get Microcosm Destiny 2 and walk you through each individual step.
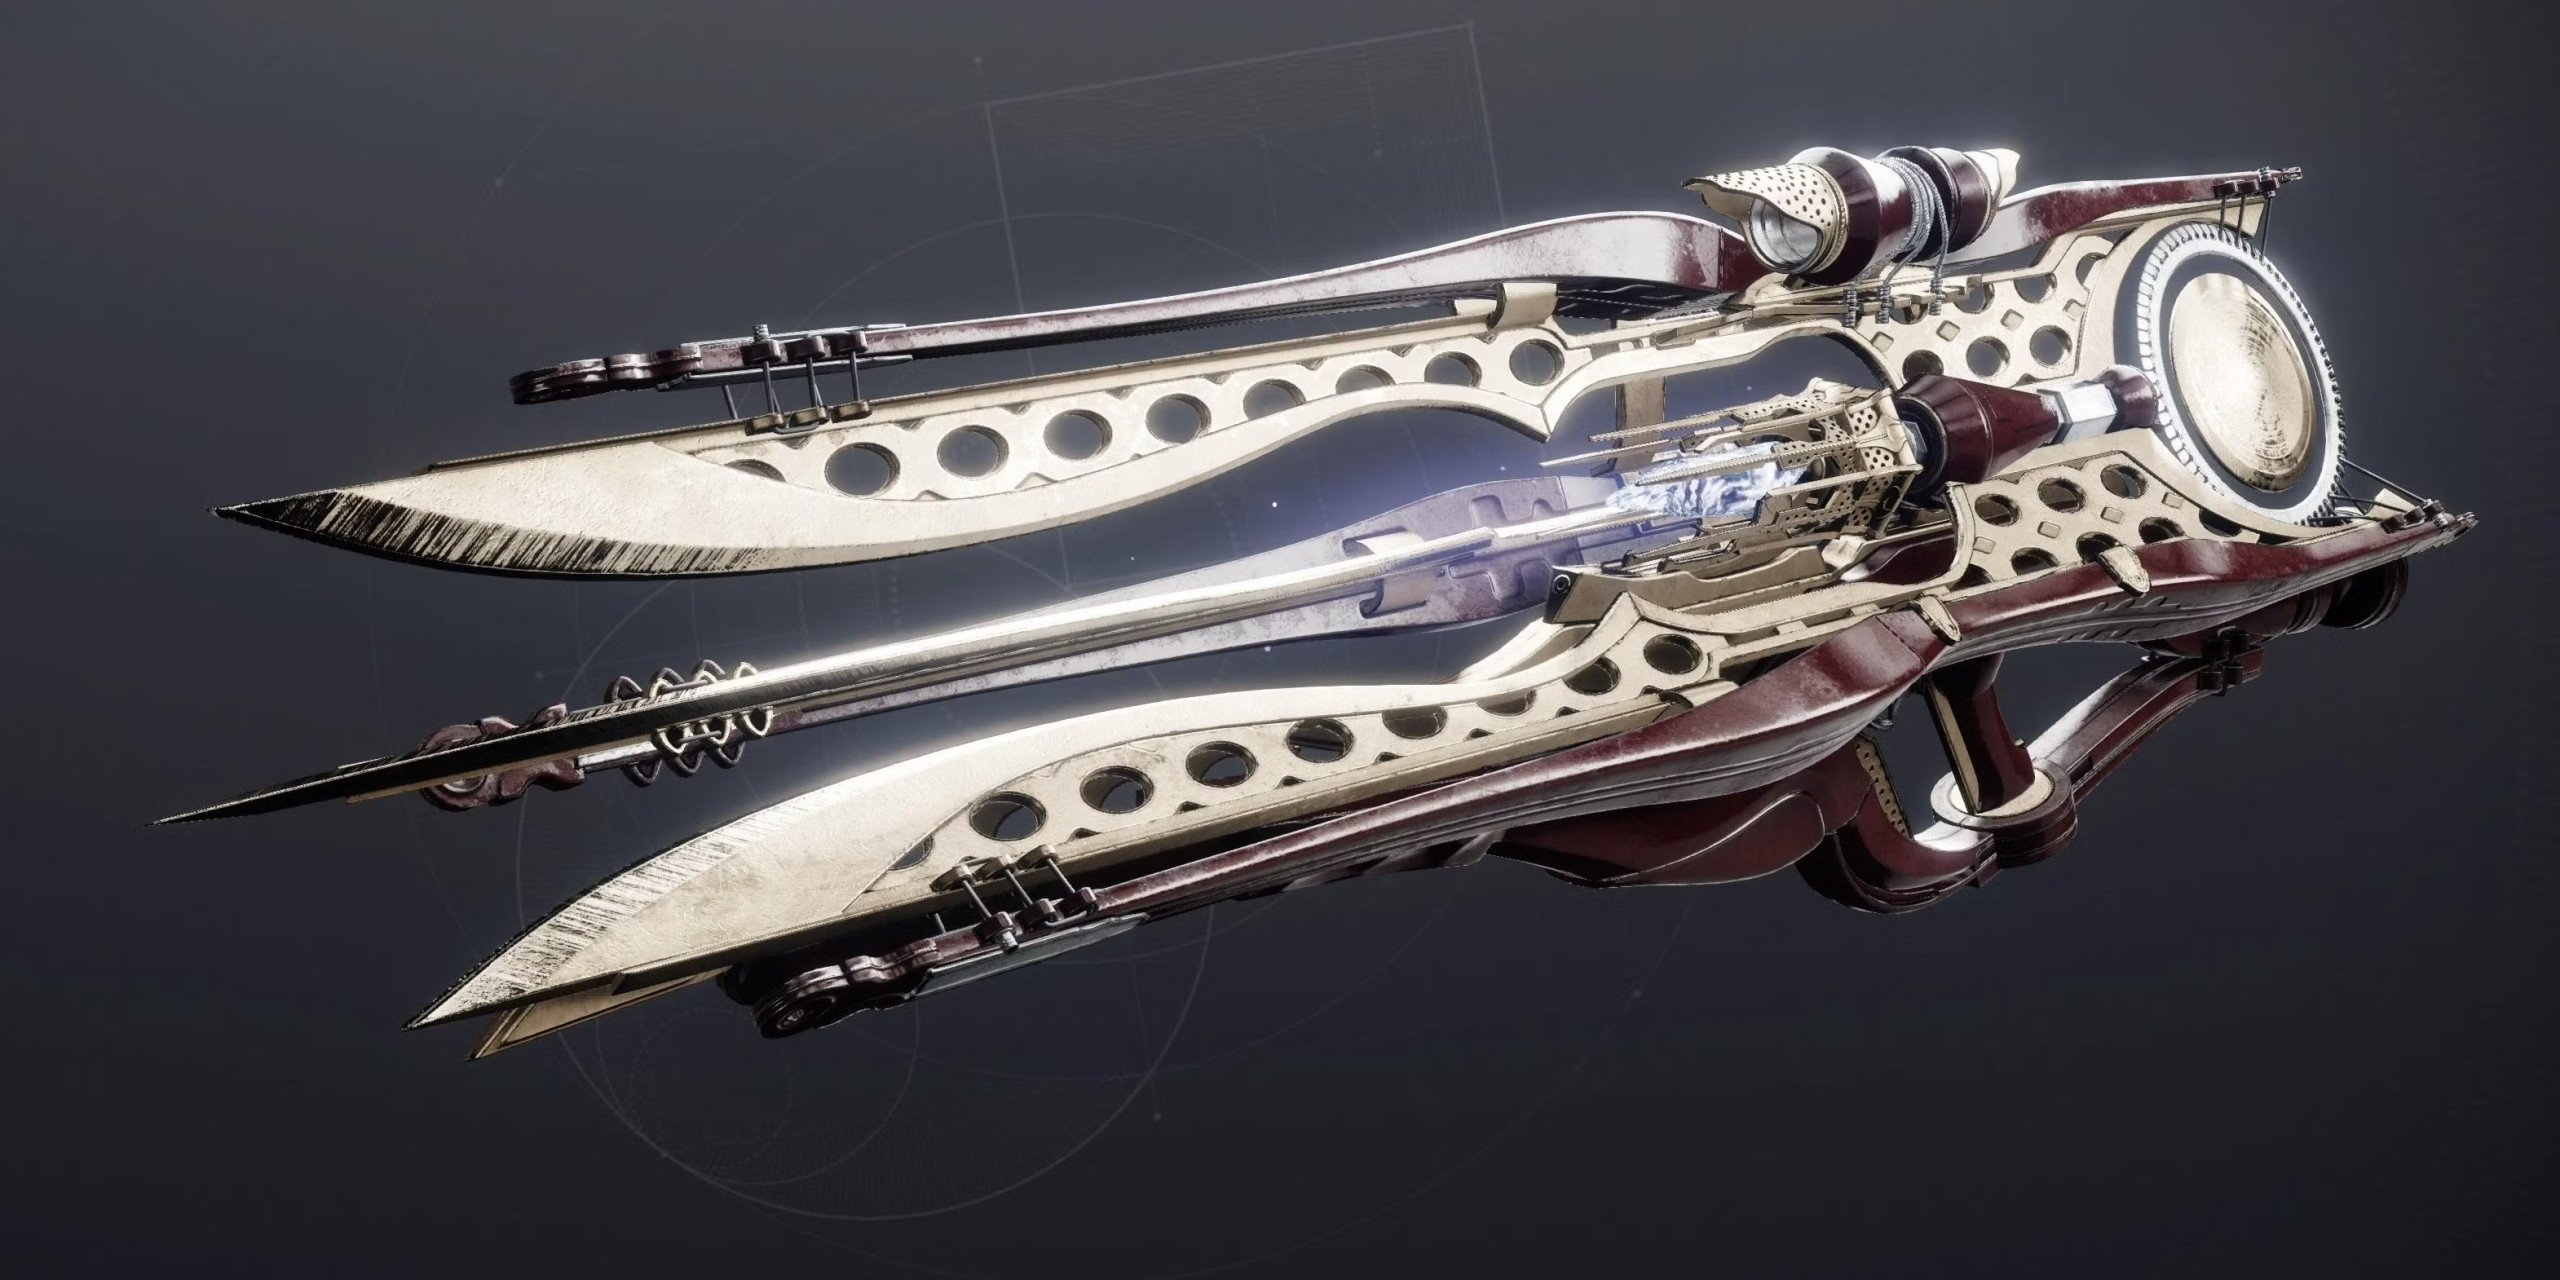
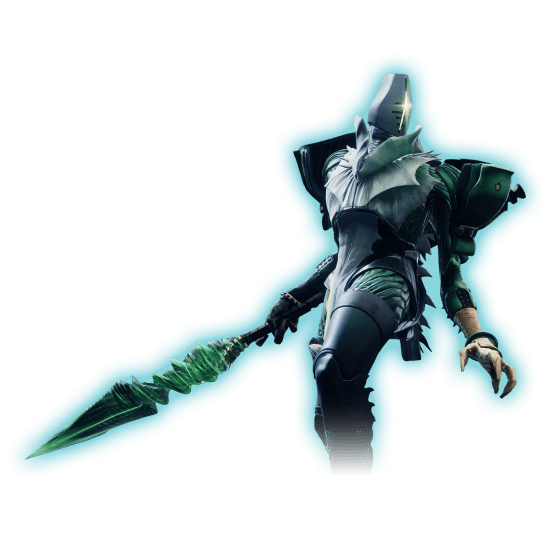
But first, a few words about the gun itself. This weapon fires a beam that deals bonus damage to shields, as described by its Exotic Perk - Paracasual Beam. Plus, the Paracausal Ibuement perk also makes the final blows with this weapon grant Super Energy. When your Super expires, Microcosm deals bonus damage. This sounds pretty exciting if you’re a Crucible fan. Either way, let’s talk more about how to unlock Microcosm and what steps must be made to obtain its catalyst.
By the way, if you’re in a rush to add this weapon to your collection, you could simply buy Microcosm from Skycoach. Our veteran D2 players have already helped other Guardians obtain their arsenal. So, all you need to do is place an order, and they’ll take care of the rest.
IMPORTANT NOTE: Apart from learning how to get Microcosm, you can also Buy Destiny 2 Boost from Skycoach. We offer a wide range of products at the lowest market price and with the fastest delivery. You can make your first purchase even CHEAPER if you find a special PROMO CODE (highlighted in green) hidden in this article and get a 20% DISCOUNT.
Browse our hottest Destiny 2 Boosting services


How to Get Microcosm in Destiny 2
Microcosm exotic Trace Rifle will be yours after you have completed the final quest in the Convalescence questline. If the name of the questline sounds familiar, it's because a few Convalescence quests are also the necessary steps to obtain other exotic weapons like Ergo Sum, Khvostov, and others.
This time, however, you’re required to complete the entire questline, which consists of 4 quests:
- Rootbound
- Underbrush
- Greenery
- Budding
A quick note – you obviously have to finish the Final Shape story to get access to these quests. Another requirement is completing the first part of the Destined Heroes quest called “Queens, part 1”.

Destined Heroes: Queens, part 1
You will start by accepting the Destined Heroes Microcosm quest that rewards you with Ergo Sum in the end if you decide to go through with its completion. For now, though, you only need to focus on its first step, called “Queens, part 1”.
Talk to your ghost after completing the Final Shape and accept the Destined Heroes quest. Its description will say this:
“The Vanguard radio frequency is being overridden by a Hive broadcast signal. Listen to the message and find out who is behind the comms disruption”.
The radio mentioned is right by the Ghost, so, listen to the recording and you’ll see a marker to start the mission.
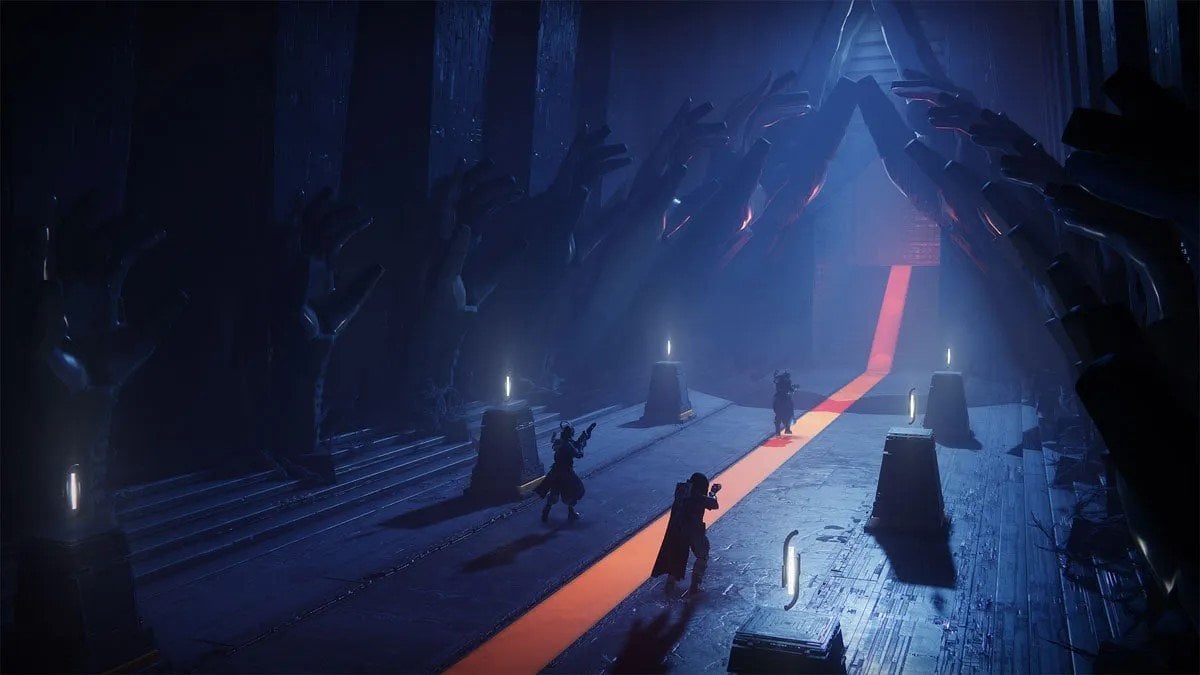
As soon as the mission starts, you’ll need to go a few levels below where you are and grab the Sword, usually wielded by the Hive Knights. BLOG20
The path forward is blocked by a hive rune glowing with Void Energy. This is where you’re going to learn this mission’s main mechanic. To unlock the path, you must block incoming fire using the sword’s guard button and reflect the enemy fire into that rune. If you do it correctly, the rune will dissipate, and you can get through.
This mechanic will keep repeating for the rest of the mission. At some point, you’re going to come across runes protected by shields with some orbs floating over them. Simply reflecting bullets back at them won’t do anything. What you need to do here is use the Sword’s heavy attack, which launches an energy projectile. If you attack the orb this way, it’s going to remove the shield, and then you can use the guard button to reflect enemy fire into the runes like before.
In the final encounter of this mission, you’re going to be fighting Savathun. She will be protected by the shield that can be broken by throwing energy cores at multiple Hive runes surrounding the boss arena. Just make sure that you throw cores at the runes with the matching element. Once the boss’s shield is down, you can deal damage.
In the second phase, it’ll be the same tactic, with the only difference being that the runes will be covered in shields, so you’ll need to use the Sword’s heavy attack to destroy the little orbs above them. Then, repeat the same things you did in the last phase.
Convalescence: Rootbound
This is the first Microcosm exotic quest in the Convalescence questline. You’ll pick it up by interacting with the Micah-10’s console. Its description will read:
“Micah-10’s flock of unpartnered Ghosts have scattered through the Pale Heart, called by something no one else can hear. They have not returned, and they have no partners to protect them. Follow the traces they have left to bring them home safely.”
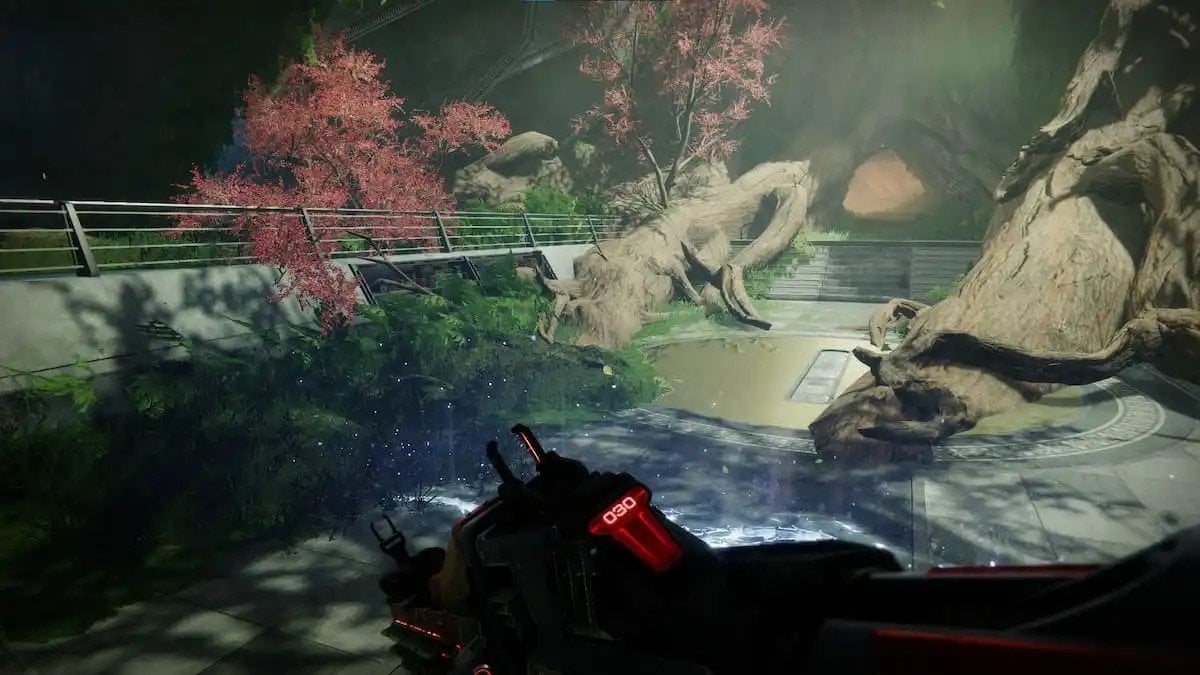
Go to the Landing spawn and follow the mission marker as it leads you into a Lost Sector called the Forgotten Deep.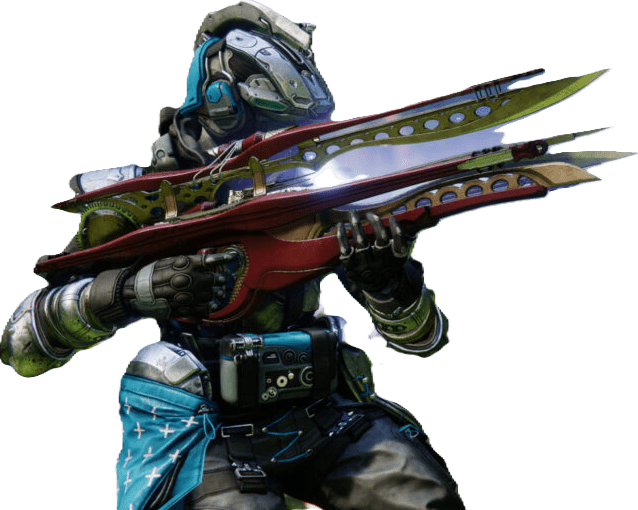
In the first room, you’ll fight some Orgres and other lesser Hive enemies. Once all enemies are defeated, shoot a seemingly Stasis crystal to open the path forward. Keep going through multiple enemy encounters and following the marker.
In one of the rooms, you’ll see a message pop up:
“You’ve entered a search area. The waypoint has disappeared, indicating your goal is nearby. Look closely at your surroundings to find it.”
Your task here is to find a Ghost somewhere in this room. Luckily, you won’t have to go far, as it is very close to the room’s entrance. When you enter this room, you’ll see a massive tree in the middle; get down to its base, and you’ll see the lost Ghost.
The next step in the quest is to investigate the new growth in the Arbor of Light. Return to the Lost City and follow the marker. Interact with the Ghost, and your pal will make a comment about the Traveller’s doing a little better since the place you’re in has become overgrown.
Go speak with Micah’s Conduit to accept the reward and accept the next quest.

Convalescence: Underbrush
For this quest, you’ll need to acquire a Flickering Blessing mod by opening chests anywhere in the Pale Heart. Pathfinder field assignment chests have a massively higher chance of granting Traveler’s Blessing mods. You’ll need to collect two. Just in case you’re confused at this point, this is still how to get Microcosm exotic Trace Rifle, and it’s just a slightly different quest compared to what you’ve been doing so far.
You can see Pathfinder objectives on the map, including various objectives. Complete those, and you’ll have a chance to receive a mod as a reward.
Once you have any two mods, you need to equip them. These mods give you various advantages, but they’re only active when you’re in the Pale Heart. They can be equipped in the Traveler’s Blessings menu accessed from the Pale Heart Map. Here are all obtainable Traveler’s Blessings:
| Name | Description |
| Traveler’s Animus | Defeating a combatant might drop an Orb of Power or a random elemental Orb. |
| Traveler’s Fervor | Sliding after a short sprint creates a burning line of fire ahead, causing Solar damage and Scorched. |
| Traveler’s Abundance | Defeating combatants with grenades may spawn Special ammo; using Super damage may spawn Heavy ammo. |
| Traveler’s Transference | Sprinting briefly grants Amplified; melee hits while Amplified release area-effect lightning bolts. |
| Traveler’s Multiplicity | Finisher kills convert your thrown grenade into an additional frag grenade. |
| Traveler’s Diffraction | Defeating combatants with Void damage might spawn Void seeker rounds that track, damage, and Suppress others. |
| Traveler’s Proliferation | Defeating combatants with Strand damage spawns Threadlings; defeating Powerful combatants spawns multiple Threadlings. |
| Traveler’s Sublimation | Quickly defeating combatants with Stasis damage spawns a Stasis mine that damages and Freezes nearby enemies. |
Equip any two of those, and you’ll be asked once again to go back to the Lost City and check out the new growth. After that, speak with Micah’s Conduit again to receive your reward and accept the next quest in the questline called Greenery.
Convalescence: Greenery
This quest is, unfortunately, a bit more grindy than the rest. Your job is to farm Overthrow activity and open its chests in the Landing, specifically to gain access to the location Micah indicated. One complete Overthrow will give you around 15-30% progress towards the quest goal.
But that’s just the first step. The next step would be to follow the vision of the Light into the depths of the Pale Heart and fight the infection found there. In other words, you’ll need to complete the Sword Dance Cyst. BLOG20
Sword Dance Cyst Walkthrough
Follow the marker from the Landing spawn point and then follow the celestial bird as it leads you to a massive door locked by three Hive runes. Shoot the correct symbols on the wall behind the door, and you will unlock the path forward.
Clear the first wave of enemies, and then summon the Sword at the statue. Similarly to the Queens part one, you’ll be using this sword to complete this mission. You’ll see several crystals with the red sword icon on them. Use the sword to smash these crystals and open the way to the next section. Keep working that sword to clear the debris as you go.
In the final encounter, you’ll be up against several Hive enemies protected by the shields, which can be broken by your sword. If you die, there are lots of places where you can summon a new sword.
When you have defeated all of the enemies, return to the Lost City to complete the quest.
Browse our hottest Destiny 2 Boosting services


Convalescence: Budding
This is the final quest, after which you’ll get the Microcosm D2. Its objective is to complete campaign missions in Cooperative Focus mode:
- Ascent
- Dissent
- Iconoclasm
This means that you need to replay specific Story mode missions in a fireteam with at least one more Guardian. Since these missions don’t scale, for faster completion, it’s recommended to go in with a full fireteam.
The missions themselves are located on the Pale Heart map. These missions can be tackled in any other. The Cooperative Focus mod also introduces three new mechanics in these missions, so they’re not exactly the same as in the campaign mode.
Ascent
When starting the mission Ascent, begin by proceeding through the cave system and defeating enemies as usual. Focus on the new elements:
- New Enemy Type: Encounter a Berserker who is protected by an arc shield. One teammate must shoot the Berserker's back while the other shoots his chest to make him vulnerable.
- Synergy Switches: After defeating the Berserker, shoot objects simultaneously with your teammate to progress.
- Fracture Mechanic: One player will be fractured by the Witness. The teammate must transfer the fracture between them, being mindful of the recovery period.
- Glyph Touched Mechanic: Only one player can see the symbols. Communicate these symbols to progress.
Descent
In the mission Descent, similar mechanics are in play:
- Fracture Juggling: Manage the fracture debuff by transferring it between teammates.
- Berserker Battles: Defeat Berserkers and synchronize objects to progress.
- Symbol Communication: One player sees symbols and must communicate with the other.
- Boss Fight: Only one player can pick up the Shield Relic and must use it strategically. Juggle the fracture while escaping as the stairs fall.
Iconoclasm
For the final mission, Iconoclasm, you’re going to encounter these mechanics:
- Glyph Site: One player sees symbols and communicates them to the teammate.
- Berserker Mechanics: Continue dealing with Berserkers and synchronize objects.
- Ogre Boss Fight: Split up to complete objectives and communicate symbols.
- Witness Encounter: Handle the Berserkers and synchronize objects to remove the immunity shield. Use the Shield Relic carefully.
Overall, these missions introduce new enemy types, mechanics involving fractures, and symbol communication, requiring teamwork and strategic coordination.
Once you’ve completed all three missions, go back to the Lost City and speak with Micah-10 to get the Microcosm.
Conclusion
Getting the Microcosm is going to put you through a series of missions and challenges. While some of them are pretty straightforward, there are moments when you need to grind to reach the objective. The final step is the most interesting one – you need to replay three missions of the campaign, including the final mission in coop with other players with new mechanics.
All of this is for a brand-new exotic trace rifle that does extra damage to shields and bonus damage when you just used (or wasted) your Super. If you liked this Destiny 2 Microcosm guide, leave this guide a rating and check out our other exotic weapons guides. Good luck!
F.A.Q.
How to get Microcosm Exotic?
You need to complete the Convalescence questline that consists of the following parts:
- Rootbound
- Underbrush
- Greenery
- Budding
Is Microcosm free to get?
No, like all the other exotics in the Final Shape, Microcosm requires you to complete the expansion story before you can start doing the Convalescence questline.
What is Microcosm God Roll?
One of the better rolls for this weapon is:
- Paracausal Beam
- Hammer-forged Rifling
- Enhanced Battery
- Paracausal Imbuement
- Hand-Laid Stock
Is Microcosm a good exotic?
Yes, Microcosm is extremely good for dealing with shielded targets, which will come in handy in PvP.


