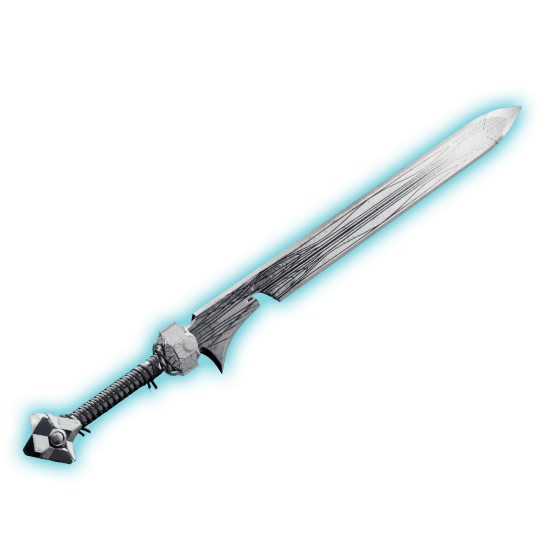
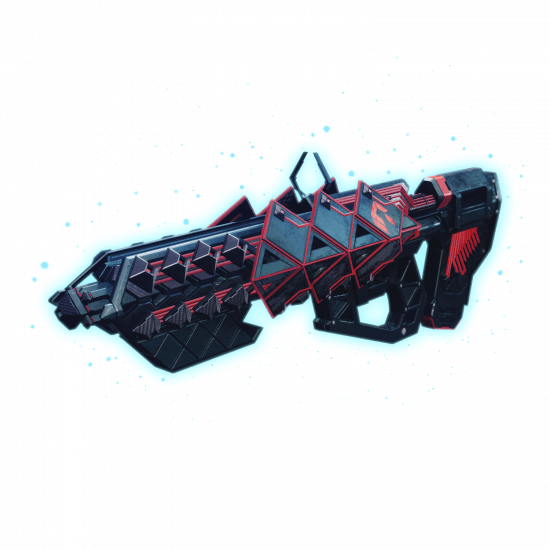
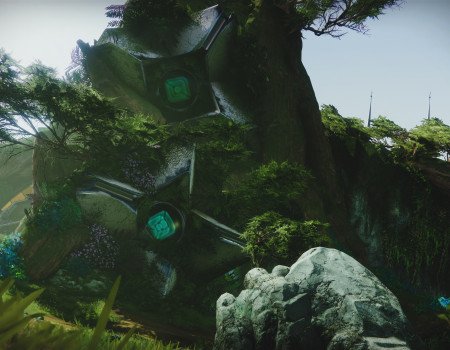
The new Exotic sword is something incredible. Welcome, Guardians, in this guide we’ll explain how to get Ergo Sum Destiny 2.
The Ergo Sum is an exotic that goes into the second (energy) weapon slot instead of the third. Unlocking it is not going to be easy, as you’ll have to go through and complete a number of quite tedious quests with some boss fights and simple mechanics. Below is a comprehensive guide to help you acquire it.
If you’re still doubting whether or not you should get the sword, you definitely should. The fact is, as you complete the series of quests, you will get rewarded with a bunch of additional aspects and abilities for your Prismatic class. Moreover, on the way, you’ll pick up a quest for another exotic. So, all in all, this is worth doing, even if you’re not really interested in the sword.
To sway you more towards unlocking it, Ergo Sum drops with a random energy alignment. Meaning it can be Arc, Void, Solar, Stasis or Strand. How about that?
Part of the challenge of getting this sword is completing the Final Shape campaign, which usually takes a pretty long time to do, especially on Legendary difficulty. Skycoach offers you the option to buy Ergo Sum Exotic Sword. With this service, you can get access to endgame content and post-campaign rewards faster, including this sword. So, if you want to skip the storyline and get to the fun stuff, choose Skycoach’s experts.
IMPORTANT NOTE: Apart from learning how to get Ergo Sum, you can also Buy Destiny 2 Boost from Skycoach. We offer a wide range of products at the lowest market price and with the fastest delivery. You can make your first purchase even CHEAPER if you find a special PROMO CODE (highlighted in green) hidden in this article and get a 20% DISCOUNT.
How To Get Ergo Sum: Step By Step Guide
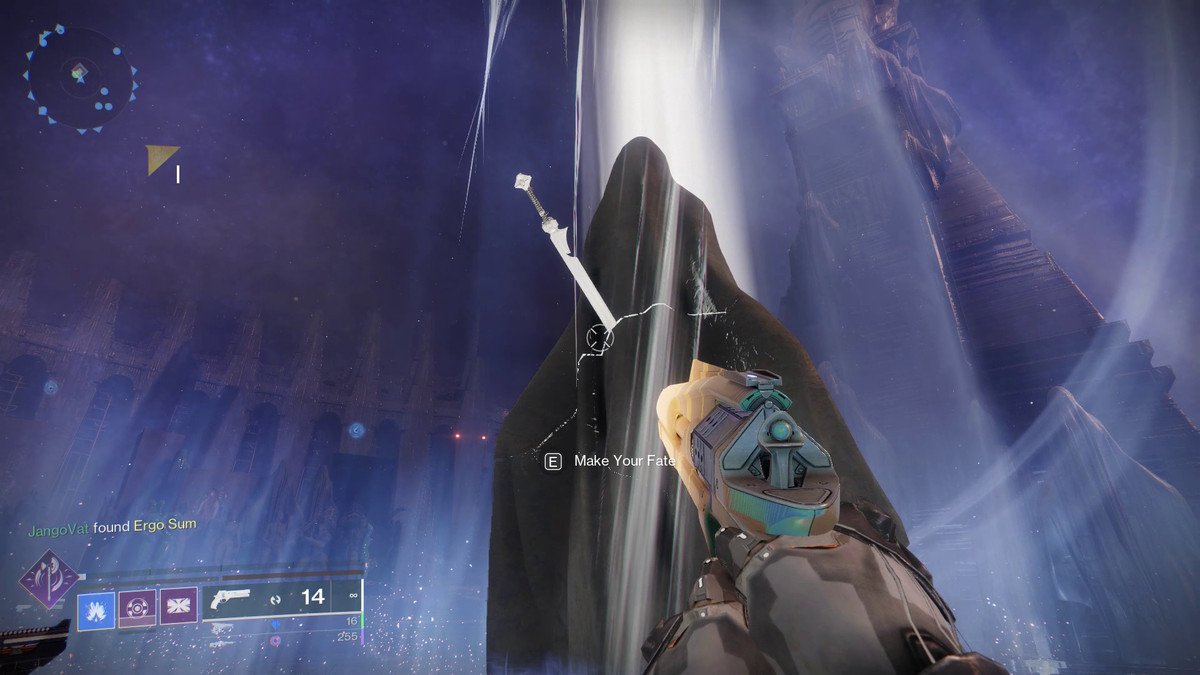
Ergo Sum is the first energy sword (not heavy ammo slot) with some pretty broken mechanics and different roll combinations that you can get. Additional rolls can be farmed either by either completing one of the Pathfinder paths or by completing a specific Overthrow activity found on the Pale Heart map. It has been teased before that one of the rewards in the Pathfinder would be an exotic. Anyway, let’s explain how to get Ergo Sum exotic sword for the first time.
Beat the Campaign
Your journey to obtain the Ergo Sum exotic sword begins with completing the Final Shape campaign. This campaign can be tackled on either Normal or Legend difficulty. Once you successfully finish the campaign, you will then get access to a new quest called "Destined Heroes." Its description reads:
“Even though your last confrontation with the Witness ended in retreat, you were still able to land a devastating blow – proof that your newfound powers are strong enough to defeat it.
The Witness was not the only one wounded by the encounter. Ghost’s condition has rapidly deteriorated, and it’s clear to you that he’s only holding himself together so the two of you can finish this.
And you’ll need the Traveler’s full power behind you to do so.
Work with allied reinforcements to weaken and sever the Witness’s hold on the Traveler. Only then will you be able to use your mastery over both Light and Darkness to unmake humanity’s most ancient enemy.
The quest itself doesn’t take very long to complete, but it's the beginning of a long line of quests.”
Begin the Destined Heroes Quest
The "Destined Heroes" quest is critical for obtaining both the Ergo Sum and the Still Hunt exotic sniper rifle.
- The quest’s objective is – “Investigate the activity of Savathun’s Lucent Hive near the portal.
To start this Ergo Sum quest, you need to listen to a hidden radio message from Savathun that activates in the Pale Heart’s version of the Lost City. There’s a radio right next to your Ghost vendor location. After you’re done listening to radio waves, you should be able to see a mission flag somewhere near you. Just activate it and let the adventure commence!
Exotic Mission: Queens Part One Walkthrough
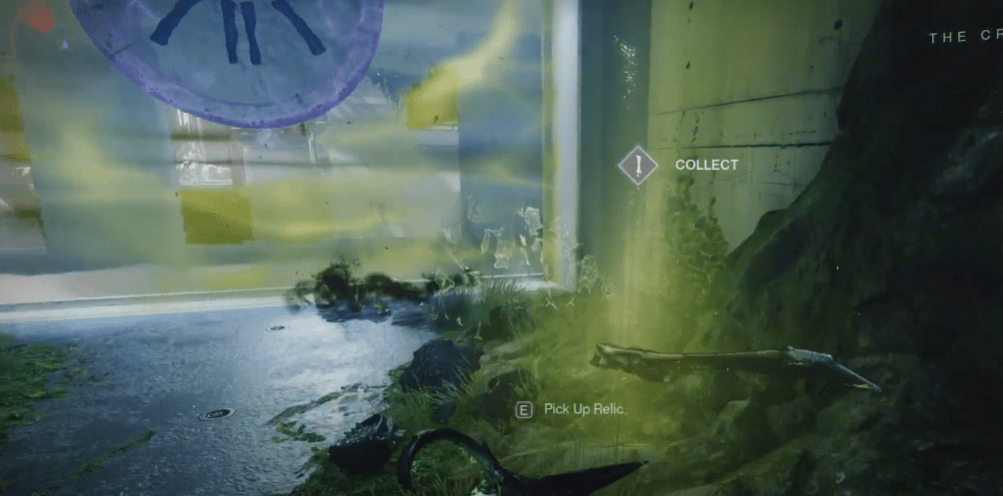
Let’s start the Destiny 2 Ergo Sum guide with the first part of the quest line. This mission revolves around stopping the Lucent Hive ritual by completing some light puzzles. You’ll be briefed by Queen Mara Sov and The Crow as you progress. Here’s the course of action to complete this mission:
- Descend into the opening once you see the Lucent Hive from a window.
- Kill the Hive Knight and pick up the key he drops.
- Pick up the sword and hold the block button.
- Let the Acolyte shoot at you while blocking while you’re looking at the relic, causing it to reflect the fire and overload with Void energy.
- Once the relic is destroyed, the door will open and let you progress.
- Repeat the process for nine other runes.
Enemies that have energy shields use specific types of attacks. They need to be matched with the correct color of a relic. After you’ve progressed, you’ll need to repeat the same process for three other runes, all of which are protected by the green barrier. To break the barrier, aim at the sphere above the barrier of each rune and press attack while holding the Knight’s sword. Your guardian will conjure a projectile that breaks the shield.
After that, you’ll fight three Arc Wizards and one Shrieker. Use the sword to block the attacks and quickly deal with both enemy types. Then you’ll fight three Knights whose Ghosts need to be broken, or they will rise from the dead!
There’s nothing left to do but to keep moving. Try and ignore the enemies on your way to the next challenge. BLOG20
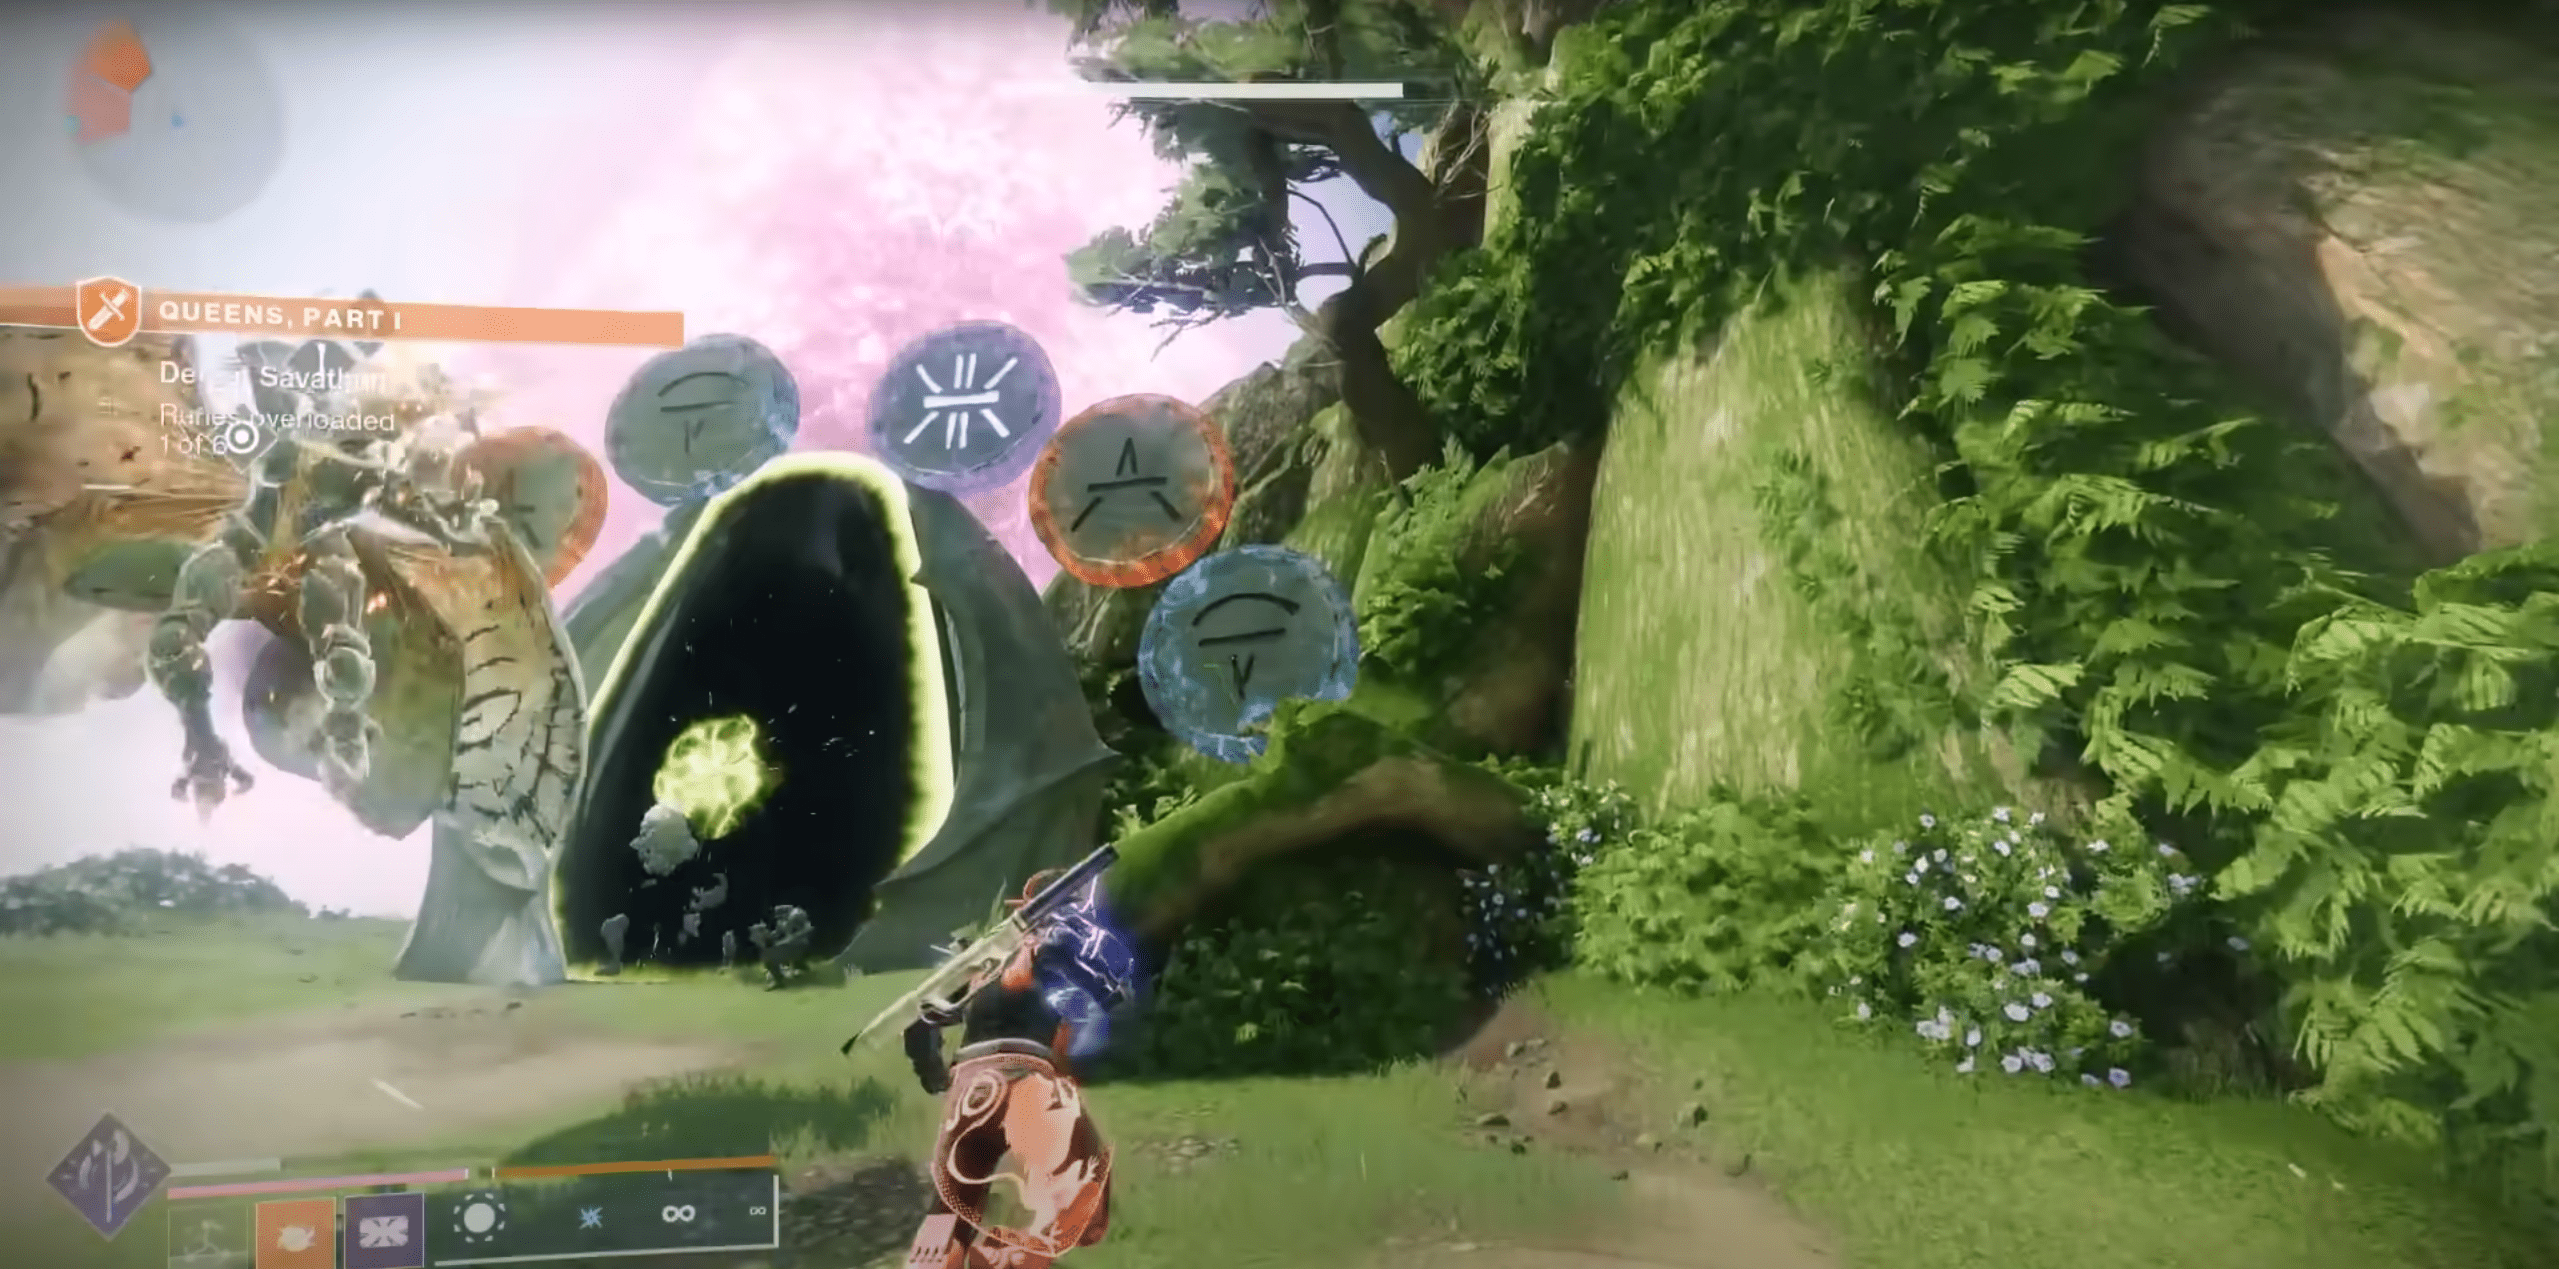
The last ritual site will see you charging three runes using spheres held by Hive statues. You need to use the spheres contained in the statues and use them on the right runes that have matching colors. As you do all of that, you’ll be attacked by multiple Thralls and Savathun herself. You have to deal with those runes by reflecting the damage of the appropriate energy, overcharging them and then, finally, Savathun will become vulnerable to your weapons. At 50% of health, Savathun will change the arena to the next one with six runes instead of three.
In the final moments of the battle, Savathun will flee, and you’ll be instantly taken to a new location, where you’ll find a terminal. Interact with it to receive the next step of the Ergo Sum exotic quest from Micah-10, aka Micah Abram, the shepherd of Lost Ghosts.
Complete Convalescence: Rootbound
Convalescence: Rootbound leads to two additional quests with their own rewards, where you’ll be tasked with locating a Lost Ghost.
- The quest’s objective is – “Explore the search area to find the missing, possibly injured, Ghost.”
Micah-10 tells you about her mission to find and save unpartnered Ghosts. They returned to help the Traveler as soon as they could, but the Witness’s infection caused chaos. They need help. She also says that some of the Ghosts have helped scout safe zones within Pale Heart. You should be able to use them as LZs to travel more efficiently.
After completing the "Queens Part One" mission, you will need to go back and talk to Mr. loudmouth, Cayde-6. Upon speaking with him, he will provide you with a new exotic quest named "Wild Card."
- The quest’s objective is – “Investiage an unknown threat with Cayde and Crow.”
You, Cayde, and Crow set out to investigate an unknown threat that is stirring in the Pale Heart. Track it down and destroy it.
It is recommended that you complete the Destiny 2 wild card quest to prepare for the Final Shape raid and enhance the overall story experience.
Lost in the Light Walkthrough
Activate this quest in your quest tab to be able to see the marker, then go to the Landing spawn point in the Pale Heart.
- The quest’s objective is – “Find a manifestation of the Light in the cage in Refraction.”
Ghost says your actions have caused paracasual ripples throughout the Pale Head. He thinks these ripples may manifest in a wellspring of power in the cave in the Refraction.
Following the marker on the mini-map, you’ll soon end up in a cave. Continue moving through it until you’ll end up in front of a Prismatic Chest. Inside, you’ll find a new grenade based on what class you have active at the time of opening. A new step in the quest called The Hollow Part One will become available. Go ahead and launch it.
The Hollow Part One
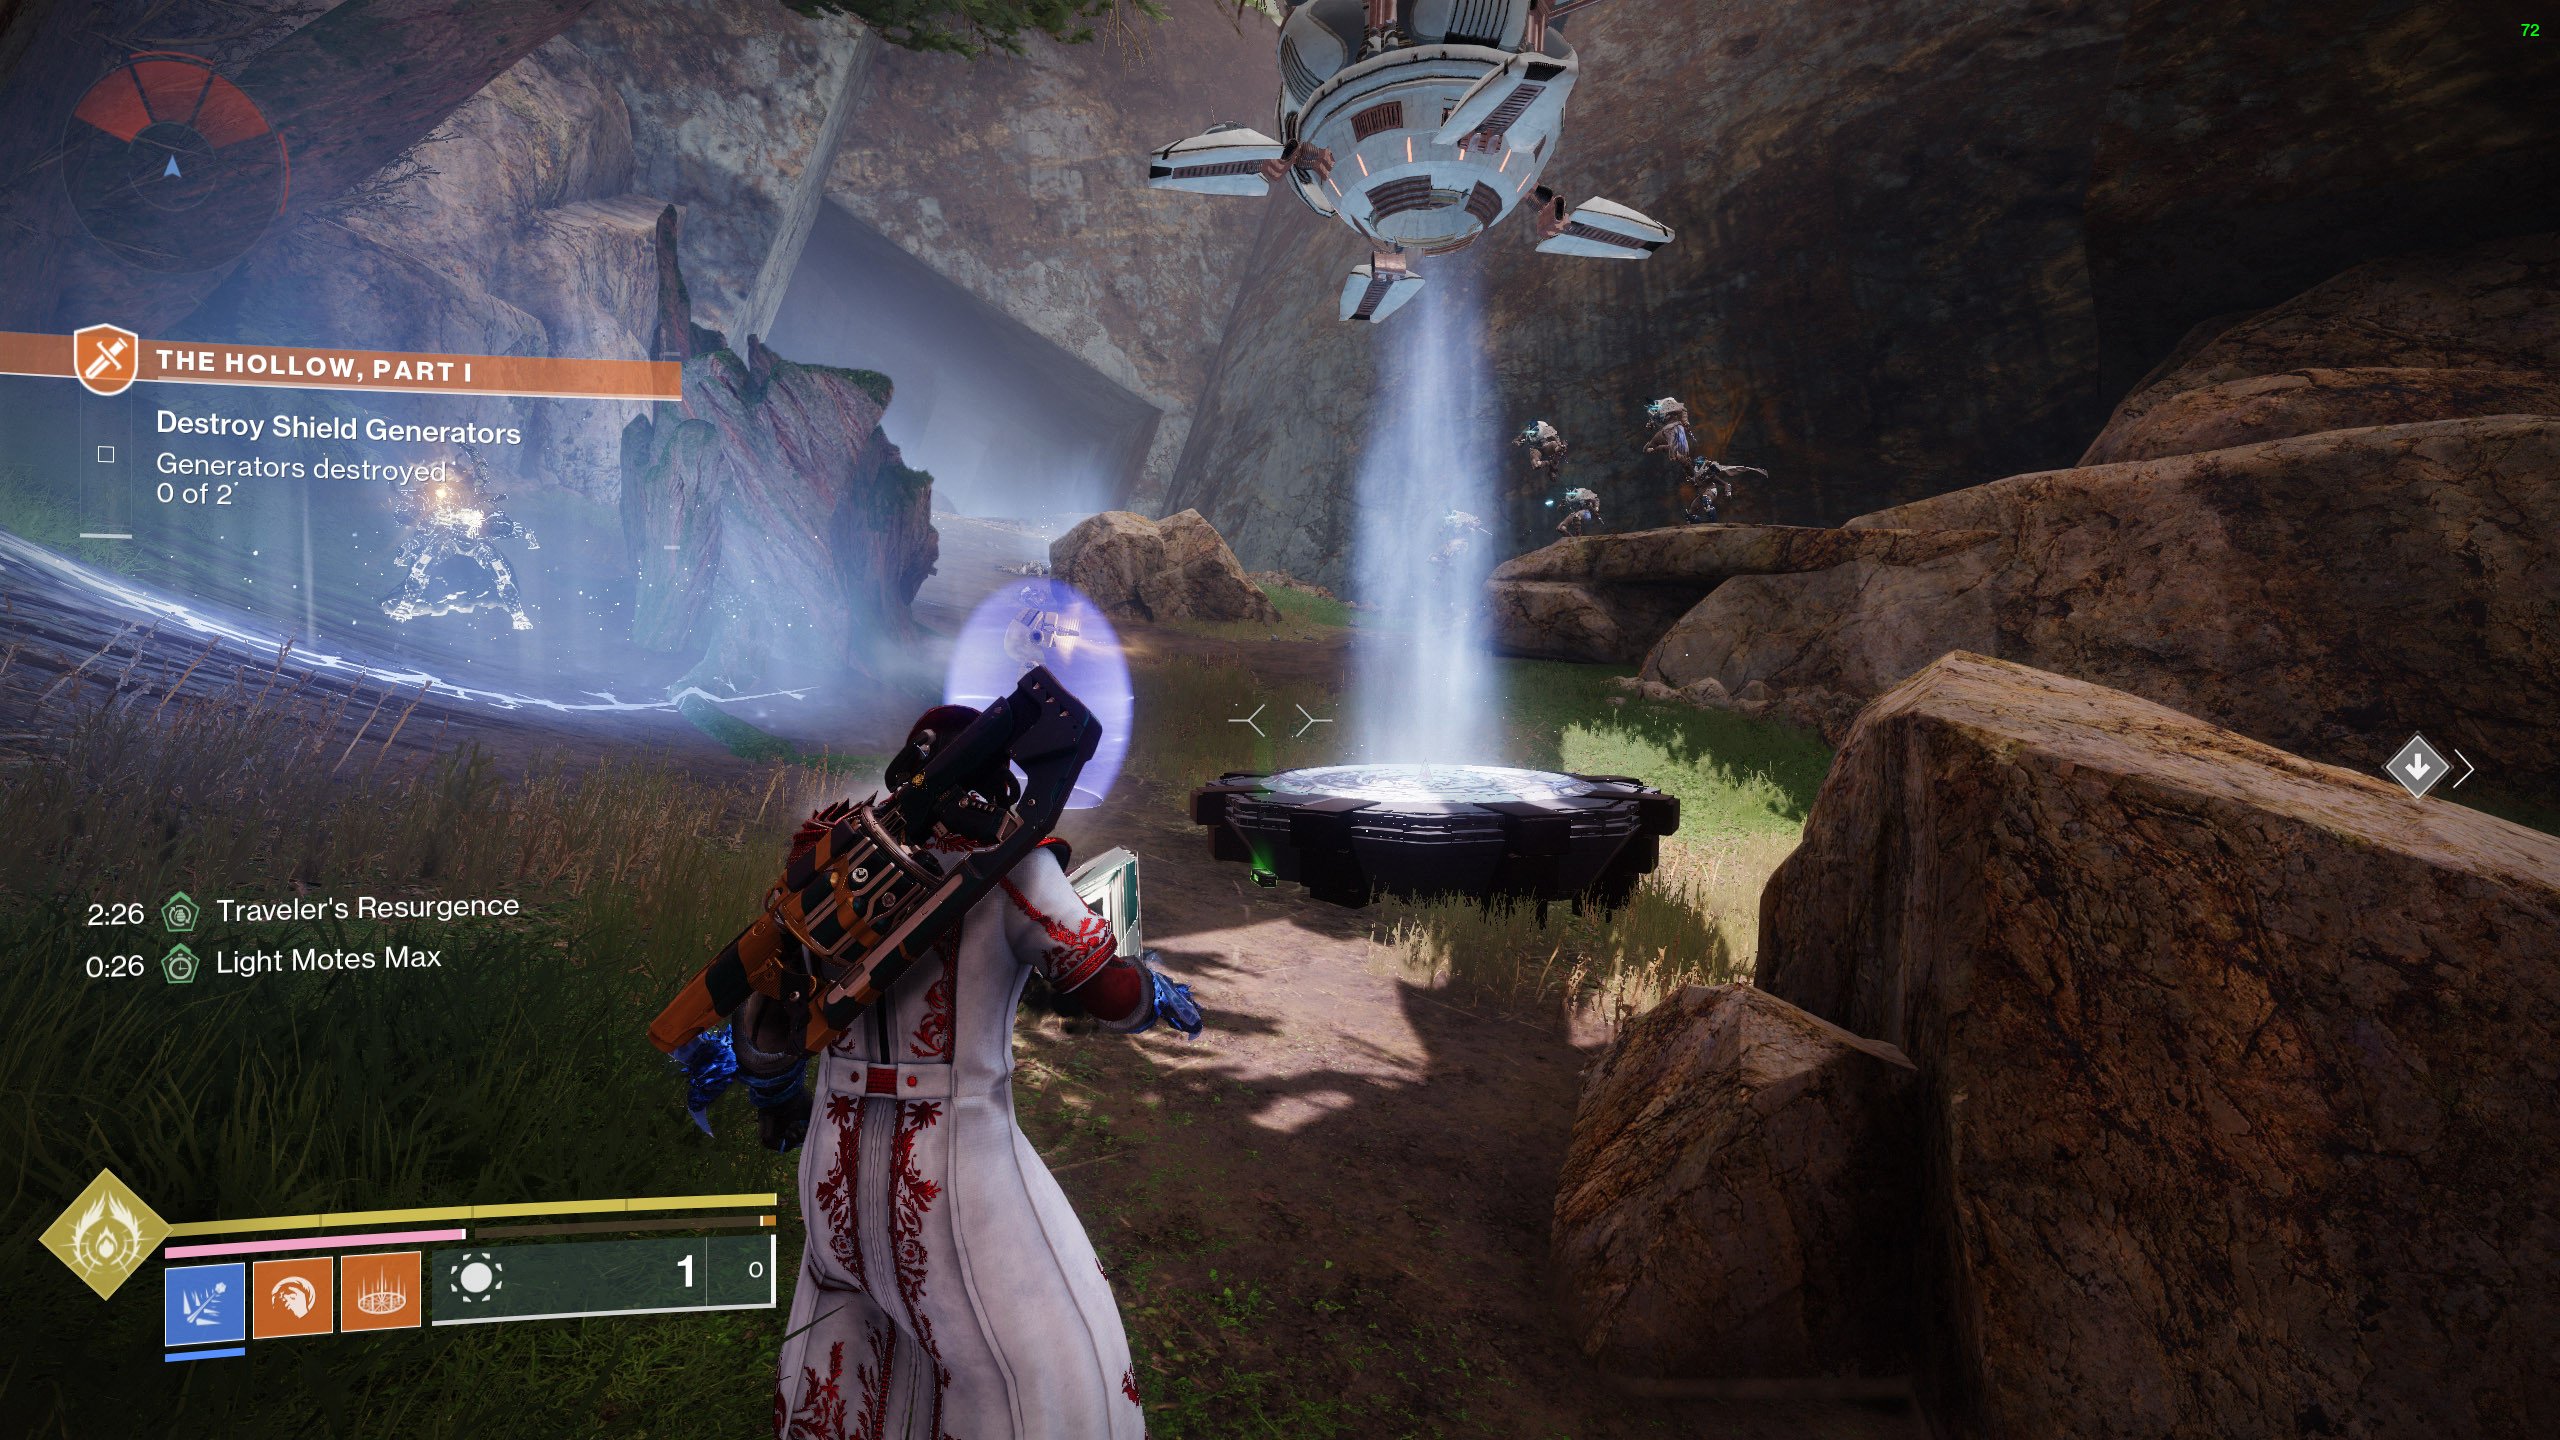
- Objective – “Uncover House Salvation’s operations in the Blooming.”
Interact with the flag in the same cave next to a chest to start the mission. In this mission, you’ll actually meet a familiar face; our old friend Mithrax will accompany you through this new system of caves. Defeat the attacking Fallen from the House of Salvation and go jump into a hole next to a console to get to the other side of a barrier.
Moving on to the next step, you’ll need to destroy all of the turrets and other defenses and then hack into a big computer in the center of the arena. You’ll need to stay your ground until the hacking process is complete. Prepare yourself for some pretty difficult waves of enemies, and use everything you’ve got.
Once the hacking is done, the barrier will be disabled, and you will need to return to the previous room. Continue following the mark on the mini-map until you end up in the Blooming zone of Pale Heart. Use the Sparrow to quickly get past the enemies until you reach a barrier in the center of the location. It can be disabled by destroying two generators.
Both generators are in a cave located directly to the east of the barrier. Your job is to kill Eaters of Light that drop Gambit-like motes. But the Eaters are protected by an army of weaker opponents. You need to carry those motes and place them onto the dark platform guarded by two Eaters of Dark. Placing the mote will destroy one of two generators. You can’t place them on the light platform, the motes must be placed on opposite platforms.
Now, proceed to kill the Eaters of Dark. Then, carry and place their motes onto the white platform, thus disabling the second generator.
Return to the barrier that’s now disabled and enter the cavern, where you’ll face a mini-boss called Korha the Hollow. At half of her health, she’ll get a shield that cannot be penetrated. It can only be disabled by gently turning off two generators the same way you did it before. With a fraction of health remaining, Korha will flee, marking the successful completion of this little adventure. Don’t quit and don’t go back to the orbit, you’ll be taken to the place where you’ll claim another reward for your Prismatic sub-class. This will also activate the second part of the Hollow.
The Hollow Part Two
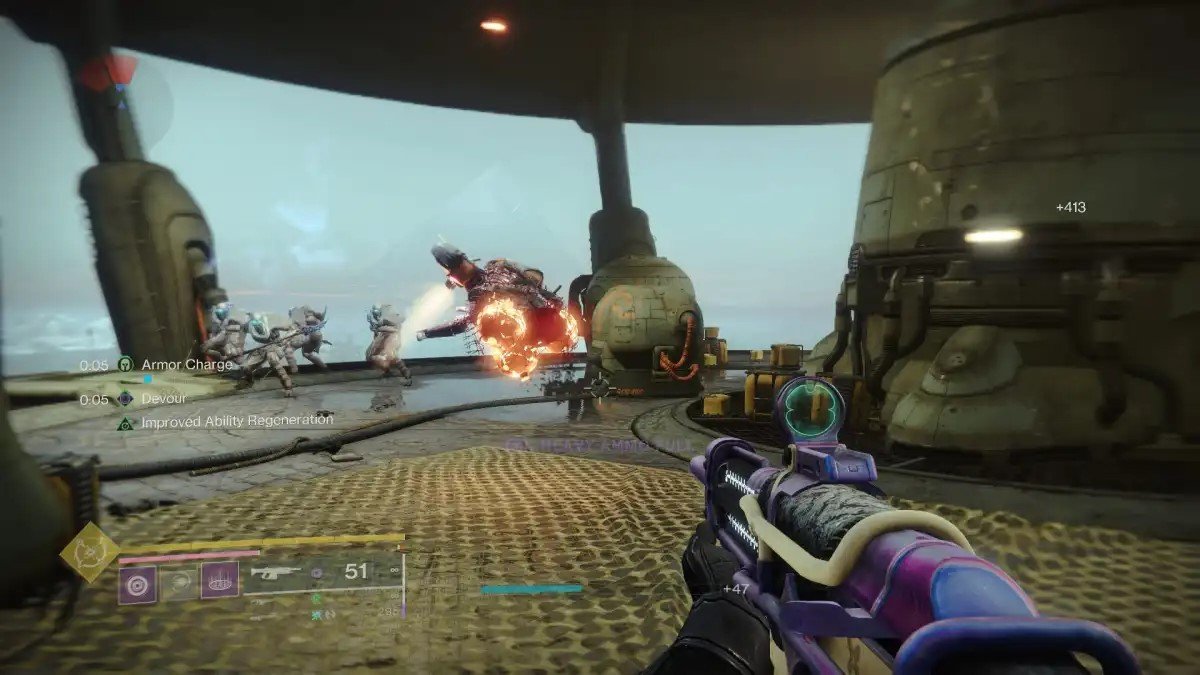
- Objective – “Travel to Europa and eliminate the Wrathborn threat.”
In this part of the quest, you’ll be accompanied by Mithrax as you make your way through the Fallen barracks on Europa, a place that you’ve visited many, many times during the Beyond Light campaign. At some point, you’ll encounter an enemy with an unbreakable Arc shield. To break it, you’ll need to kill the Servitors and then carry and store the charges that they drop into one of four receptacles. This will spawn a friendly explosive Shank that will move toward the shielded enemy and blow them to bits. At least their shield will be gone!
Once all enemies have been defeated, follow Mithrax into the portal on the other side, where you’ll find and befriend another Shank. In this encounter, your goal is to protect the shank from the Fallen while it slowly moves towards the door. Once it is close to the door, you’ll need to destroy it yourself so that the blast creates an opening for you to proceed.
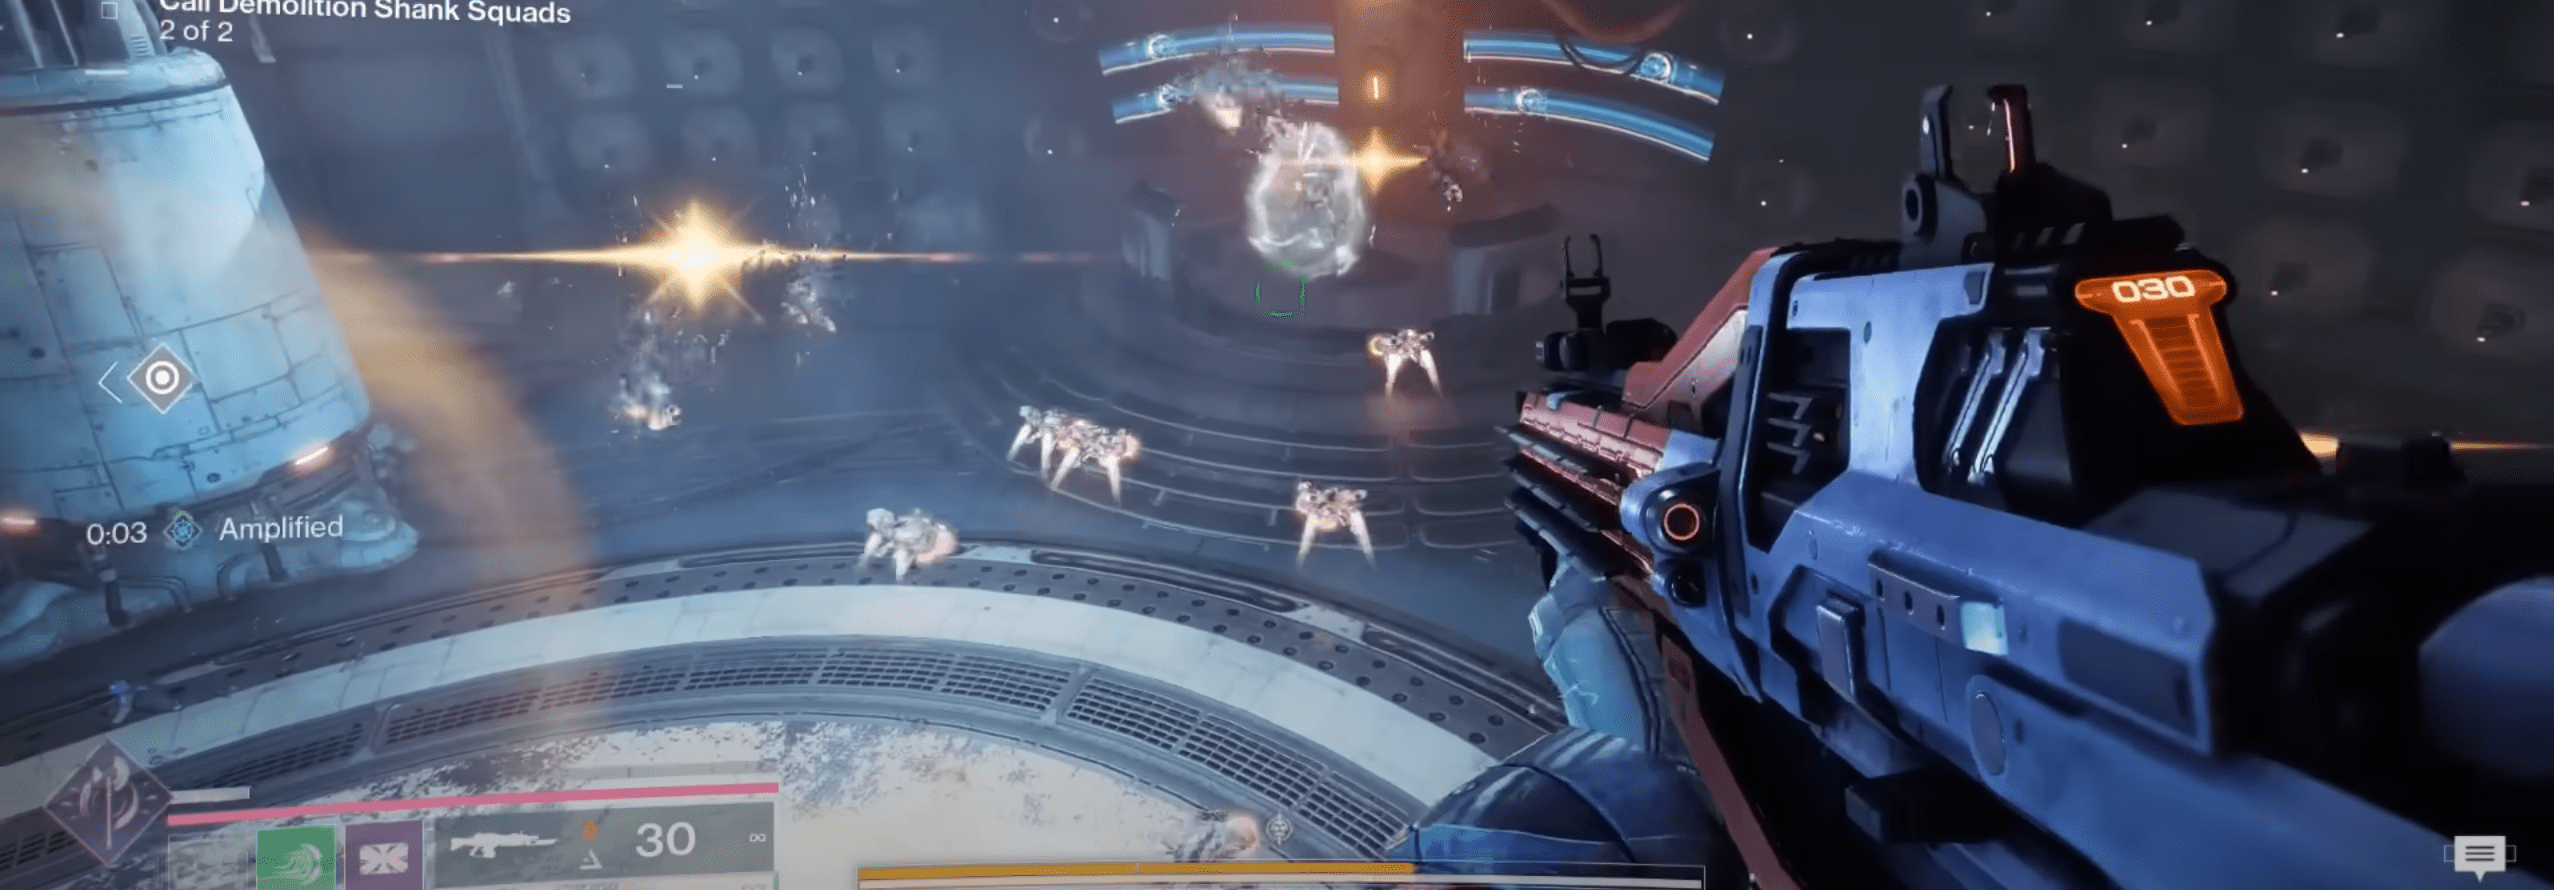
Time to fight Korha one more time and finish it once and for all! In this fight, the boss will gain a shield, which you will have to break by killing the servitors and depositing the Arc charges into a terminal. Doing so will spawn multiple homing Shanks that will move toward Korha and explode, bringing down the shield. The whole process must be repeated several times in order to deal enough damage to the boss and defeat him.
At the mission’s finale, you’ll end up back in the Refraction zone cave, where you’ll be able to claim Stormtrance, another ability to use with the Prismatic class. This will signify the end of the Lost in Light questline. BLOG20
Found in the Dark Walkthrough
This questline begins the same way as the last one. Go to the Blooming by teleporting to the Landing spot there. Once you’re there, follow the marker that will lead you to the Prismatic Chest that will contain a Strand Grenade and a new task - Home Path One.
- The quest’s objective is – “Find a manifestation of Darkness in the cage in the Seclusion.”
Home Part One
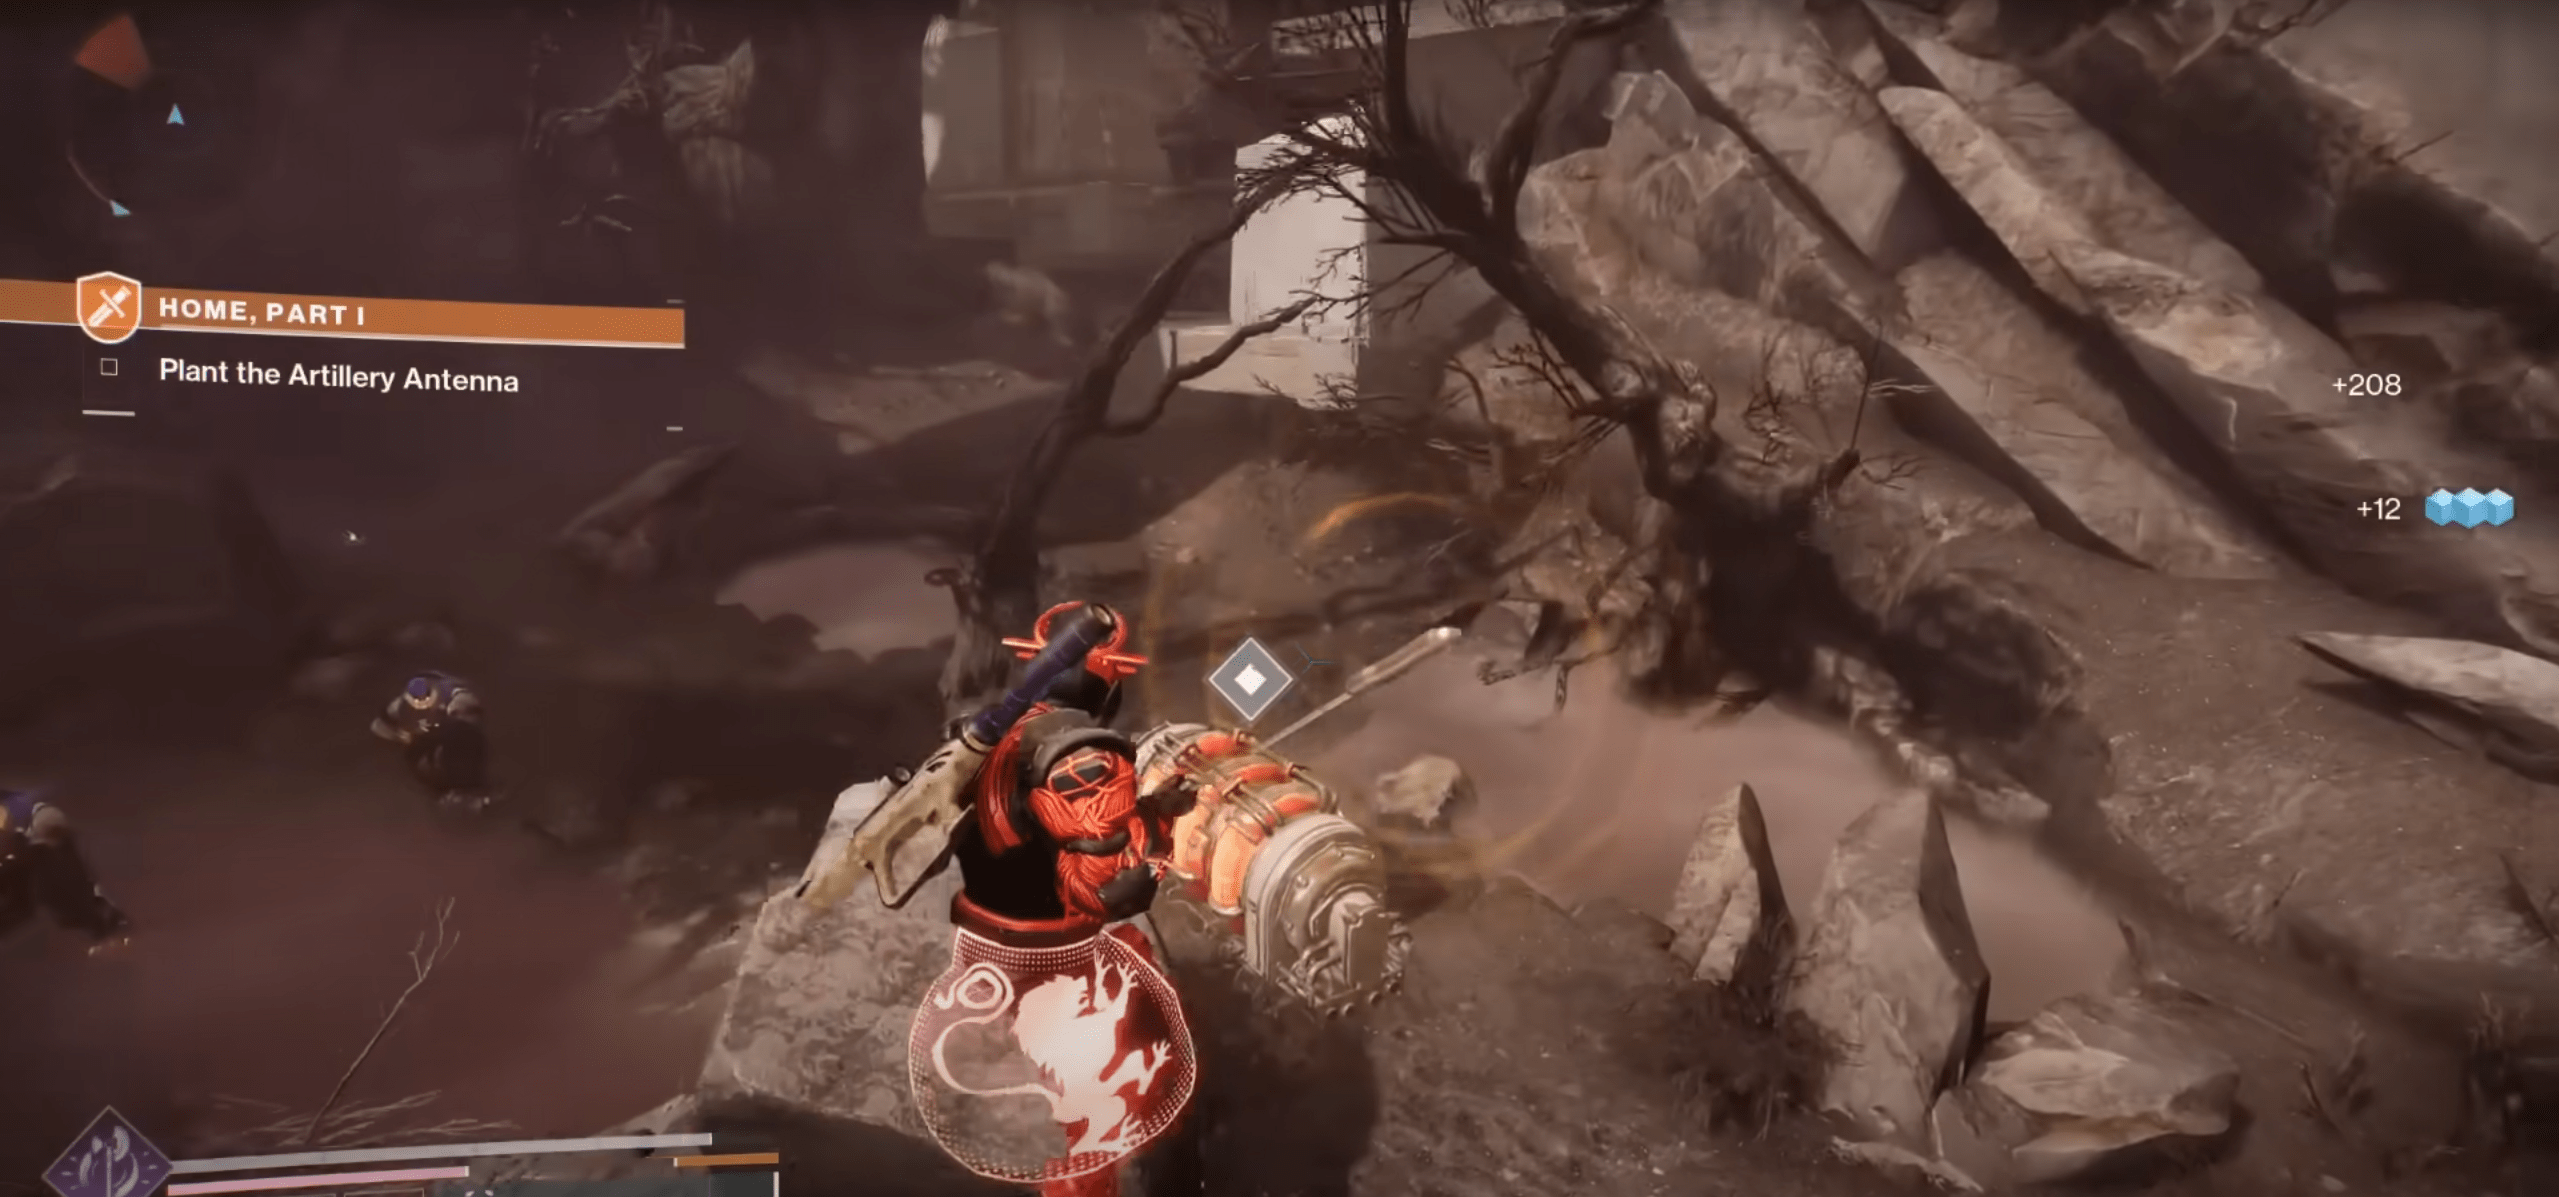
- Objective – “Investigate Shadow Legion activity in the Transgression.”
Keep going until you find a huge shield blocking the path to the next room. There’s a Psion found on a floor below whose shield can be taken down using melee attacks.
In the next arena, you’ll have two generators that must be blown up using an artillery antenna. These will drop if you keel the Antenna Commander, who will challenge you only after you’ve killed enough enemies. Don’t slow down when holding the antenna and trying to place it next to the genny, as you’ll be targeted by the air strikes the whole way. But once you leave the antenna at the generator, it will get blown up by an air strike, so don’t stand near it.
Once you’re done smelling the namaplm, you’re going to have to repeat the whole thing again for another set of opponents and generators.
In the next arena, you’ll also need to dispose of generators, but this time, they’re protected by the shields. And just like before, to take down a shield, you enter the Psion’s shield and use melee attacks and defeat them. Then, defeat those bulky artillery-calling Cabal Commanders and place antennas next to generators to destroy them.
At some point, this grind is going to end and you’ll be finally allowed to take on the boss, but not solo! The Cabal Empress Caital will assist you in this fight. After the fight is done, you will be taken to Solitude and get one of the Strand aspects. Then, proceed to accept the second part of this quest.
Home Part Two
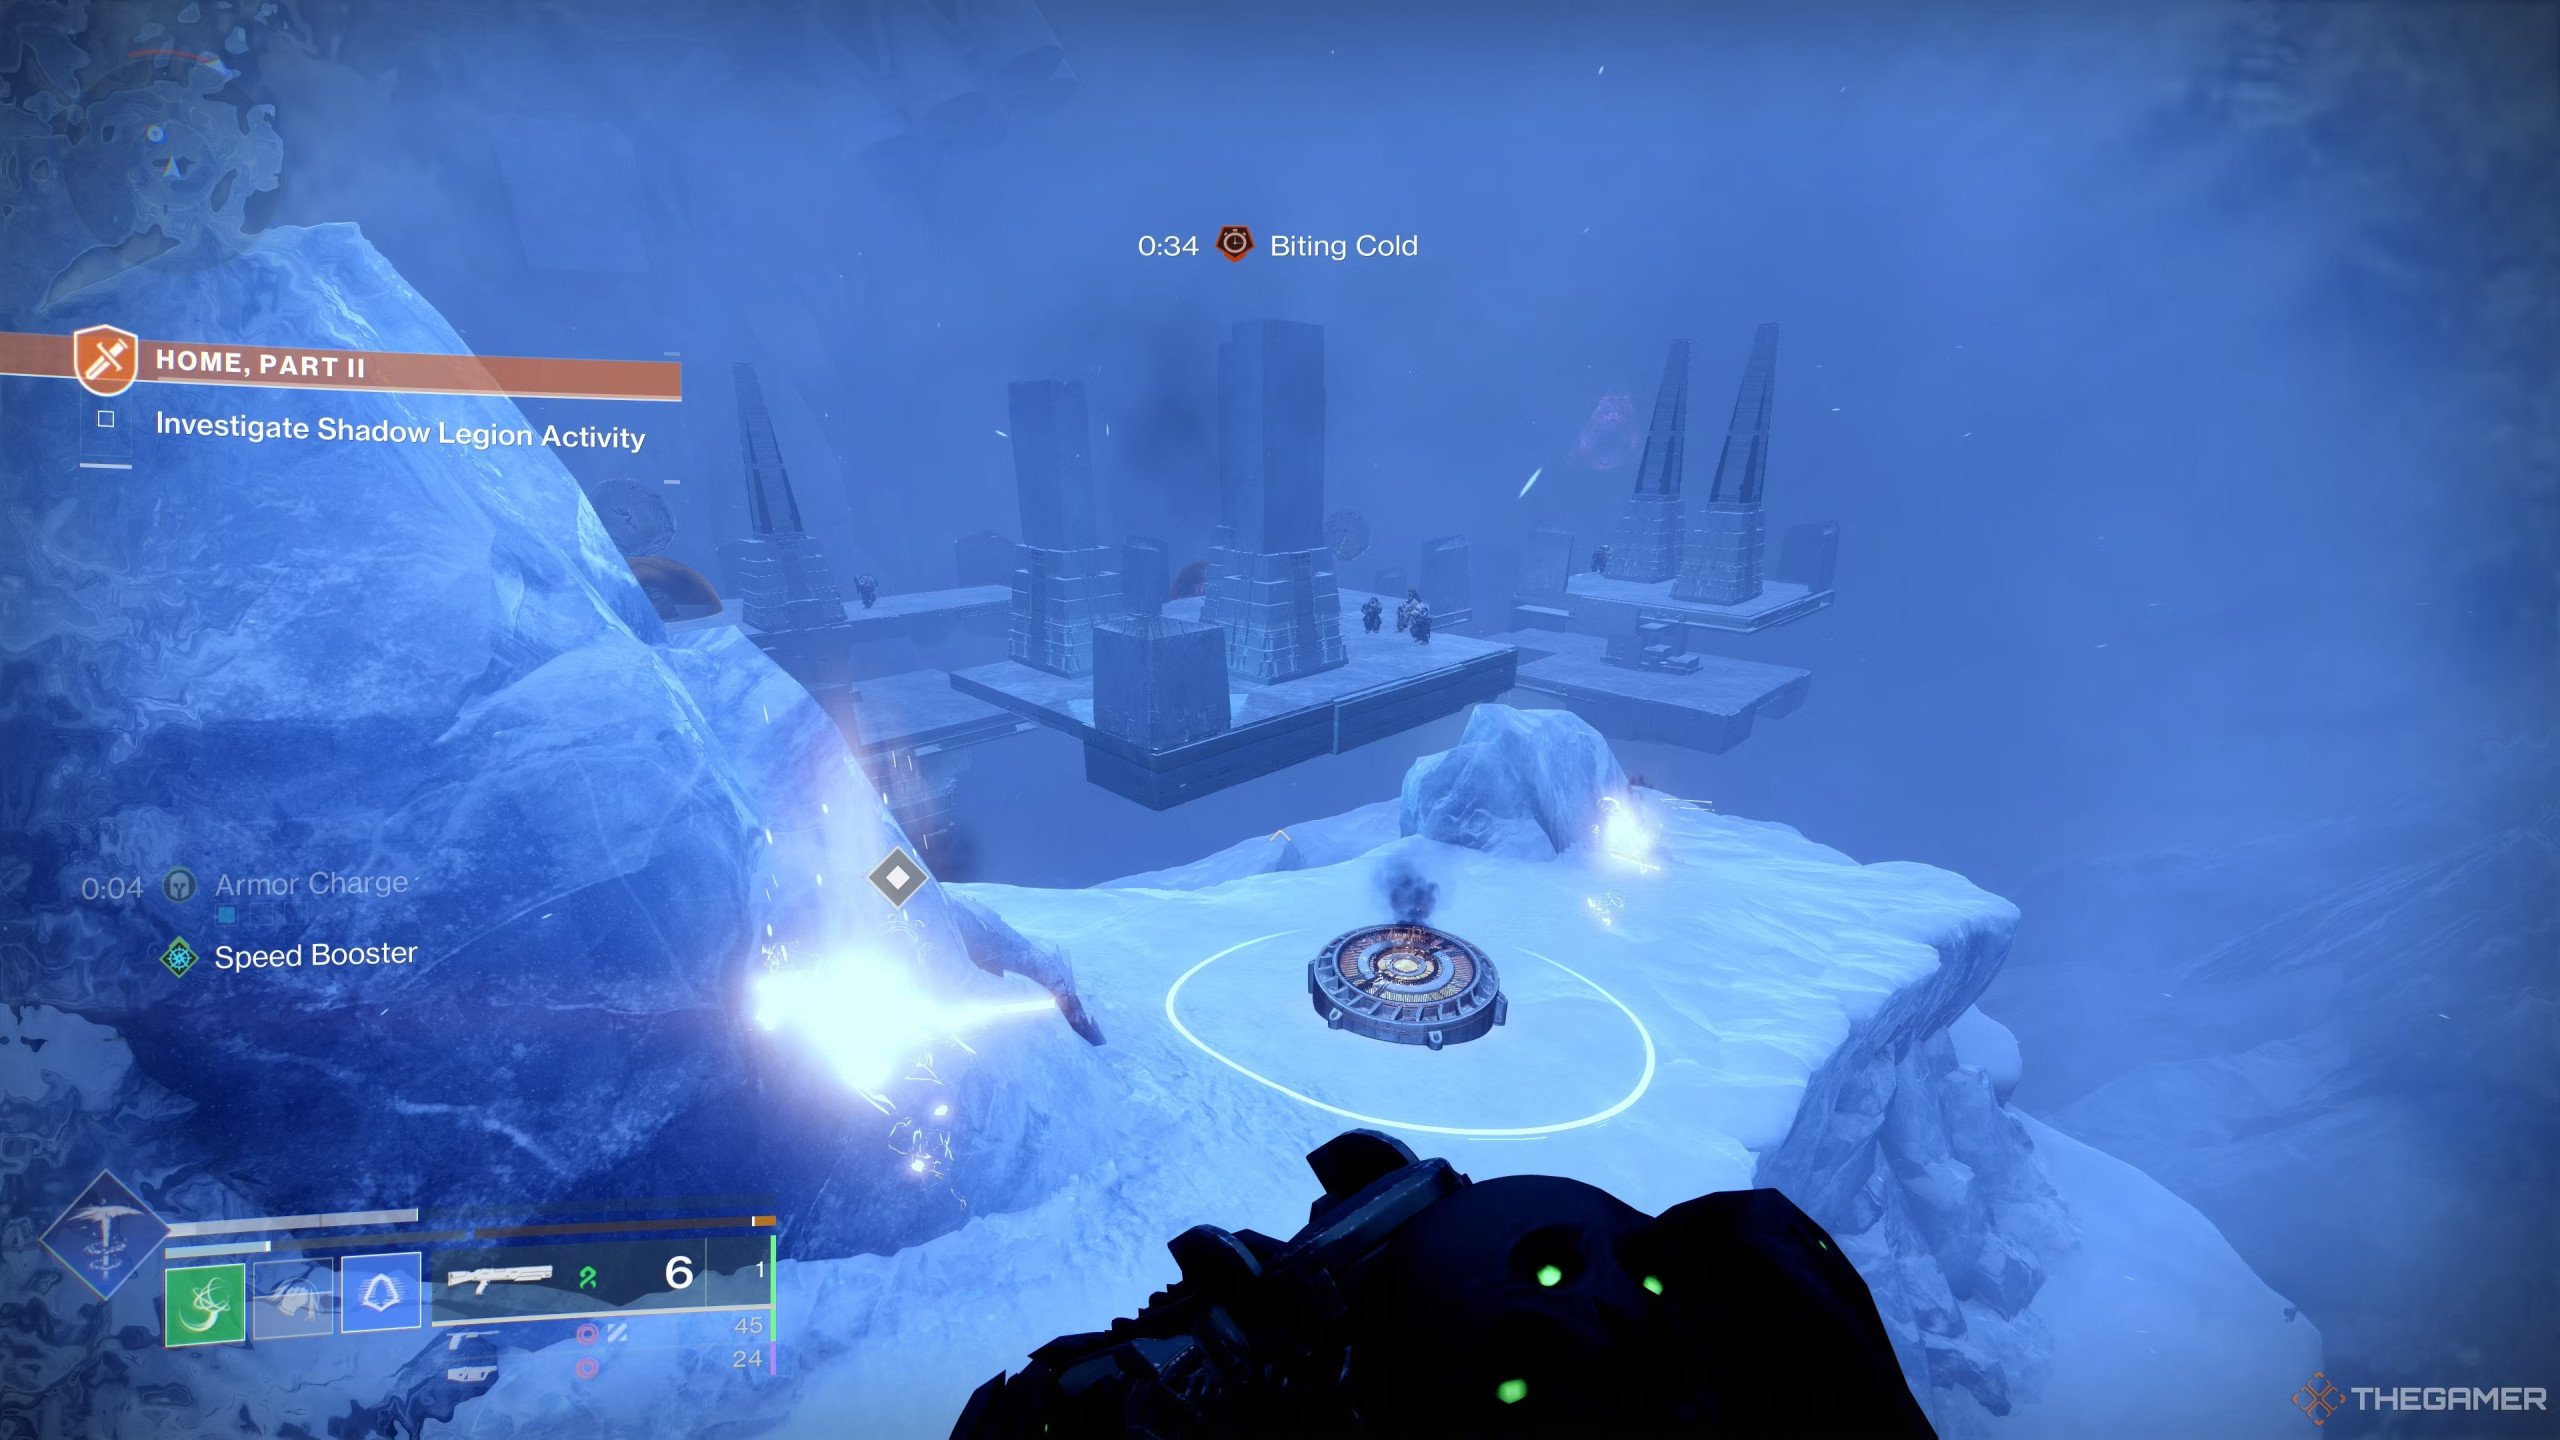
- Objective – “Destroy Shadow Legion mining operations in the Divide.”
In this mission, you’ll also encounter Psions and generators protected by shields on Europa. However, on top of that, you’ll also have to worry about a debuff called Biting Cold. You need to watch the status of the debuff and not let it get to zero. You can stay safe by being close to one of the burners placed all over the mountain you’re on. As you go about destroying generators, one of them will require an unstable charge, which can be obtained from Honed Centurions, who can be sniped from afar.
You should see a huge turbo engine near you. Once both generators are dealt with, you should see a way inside a cave near that engine. The debuff inside the cave is not active. Continue moving deeper into the cave and take the left path once you reach the split. Eventually, you’ll end up in another familiar arena, which you should recognize if you’ve finished the campaign.
Now, guess what are you supposed to do next? That’s right, you’ll be forced to do the same thing again – destroy generators covered in shields by killing the Honed Centurions and using their unstable charges.
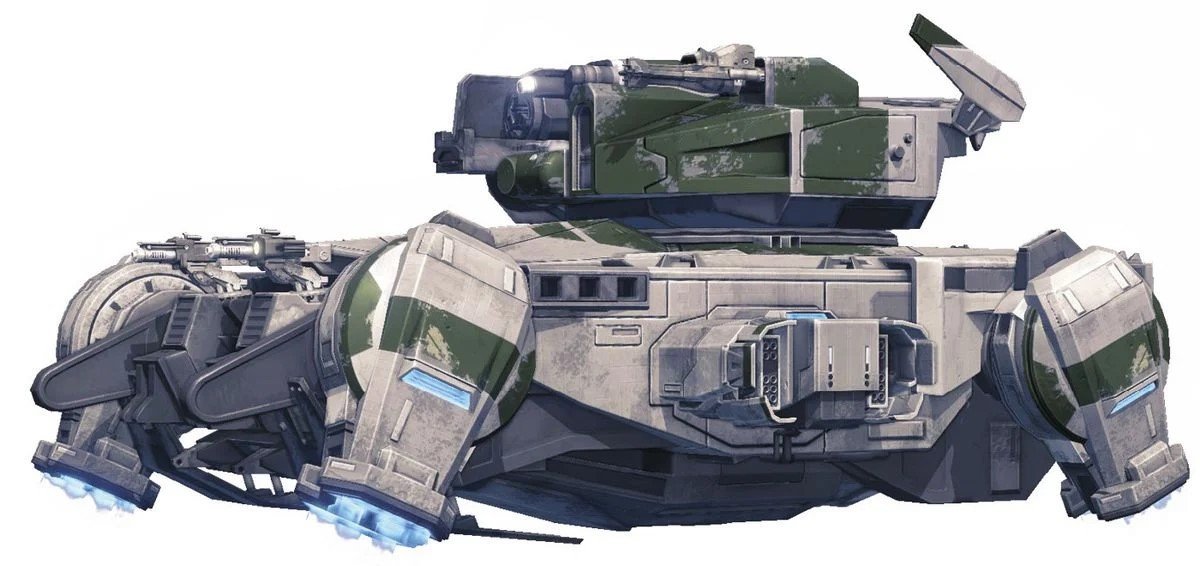
Once you’ve obliterated the pesky generators, you’re going to have to face the Goliath Tank and take it down as well. You should keep in mind that at half health, there’ll be a shield phase, which you already know how to get through.
Thankfully, this was the last fight, and you will be returned to a cave where you’ll get yet another Prismatic sub-class goodie. Take a breather and get ready to do one final mission.
Queens Part Two Walkthrough
- The quest’s objective is – “Investigate spikes in Taken energy in the Refraction.”
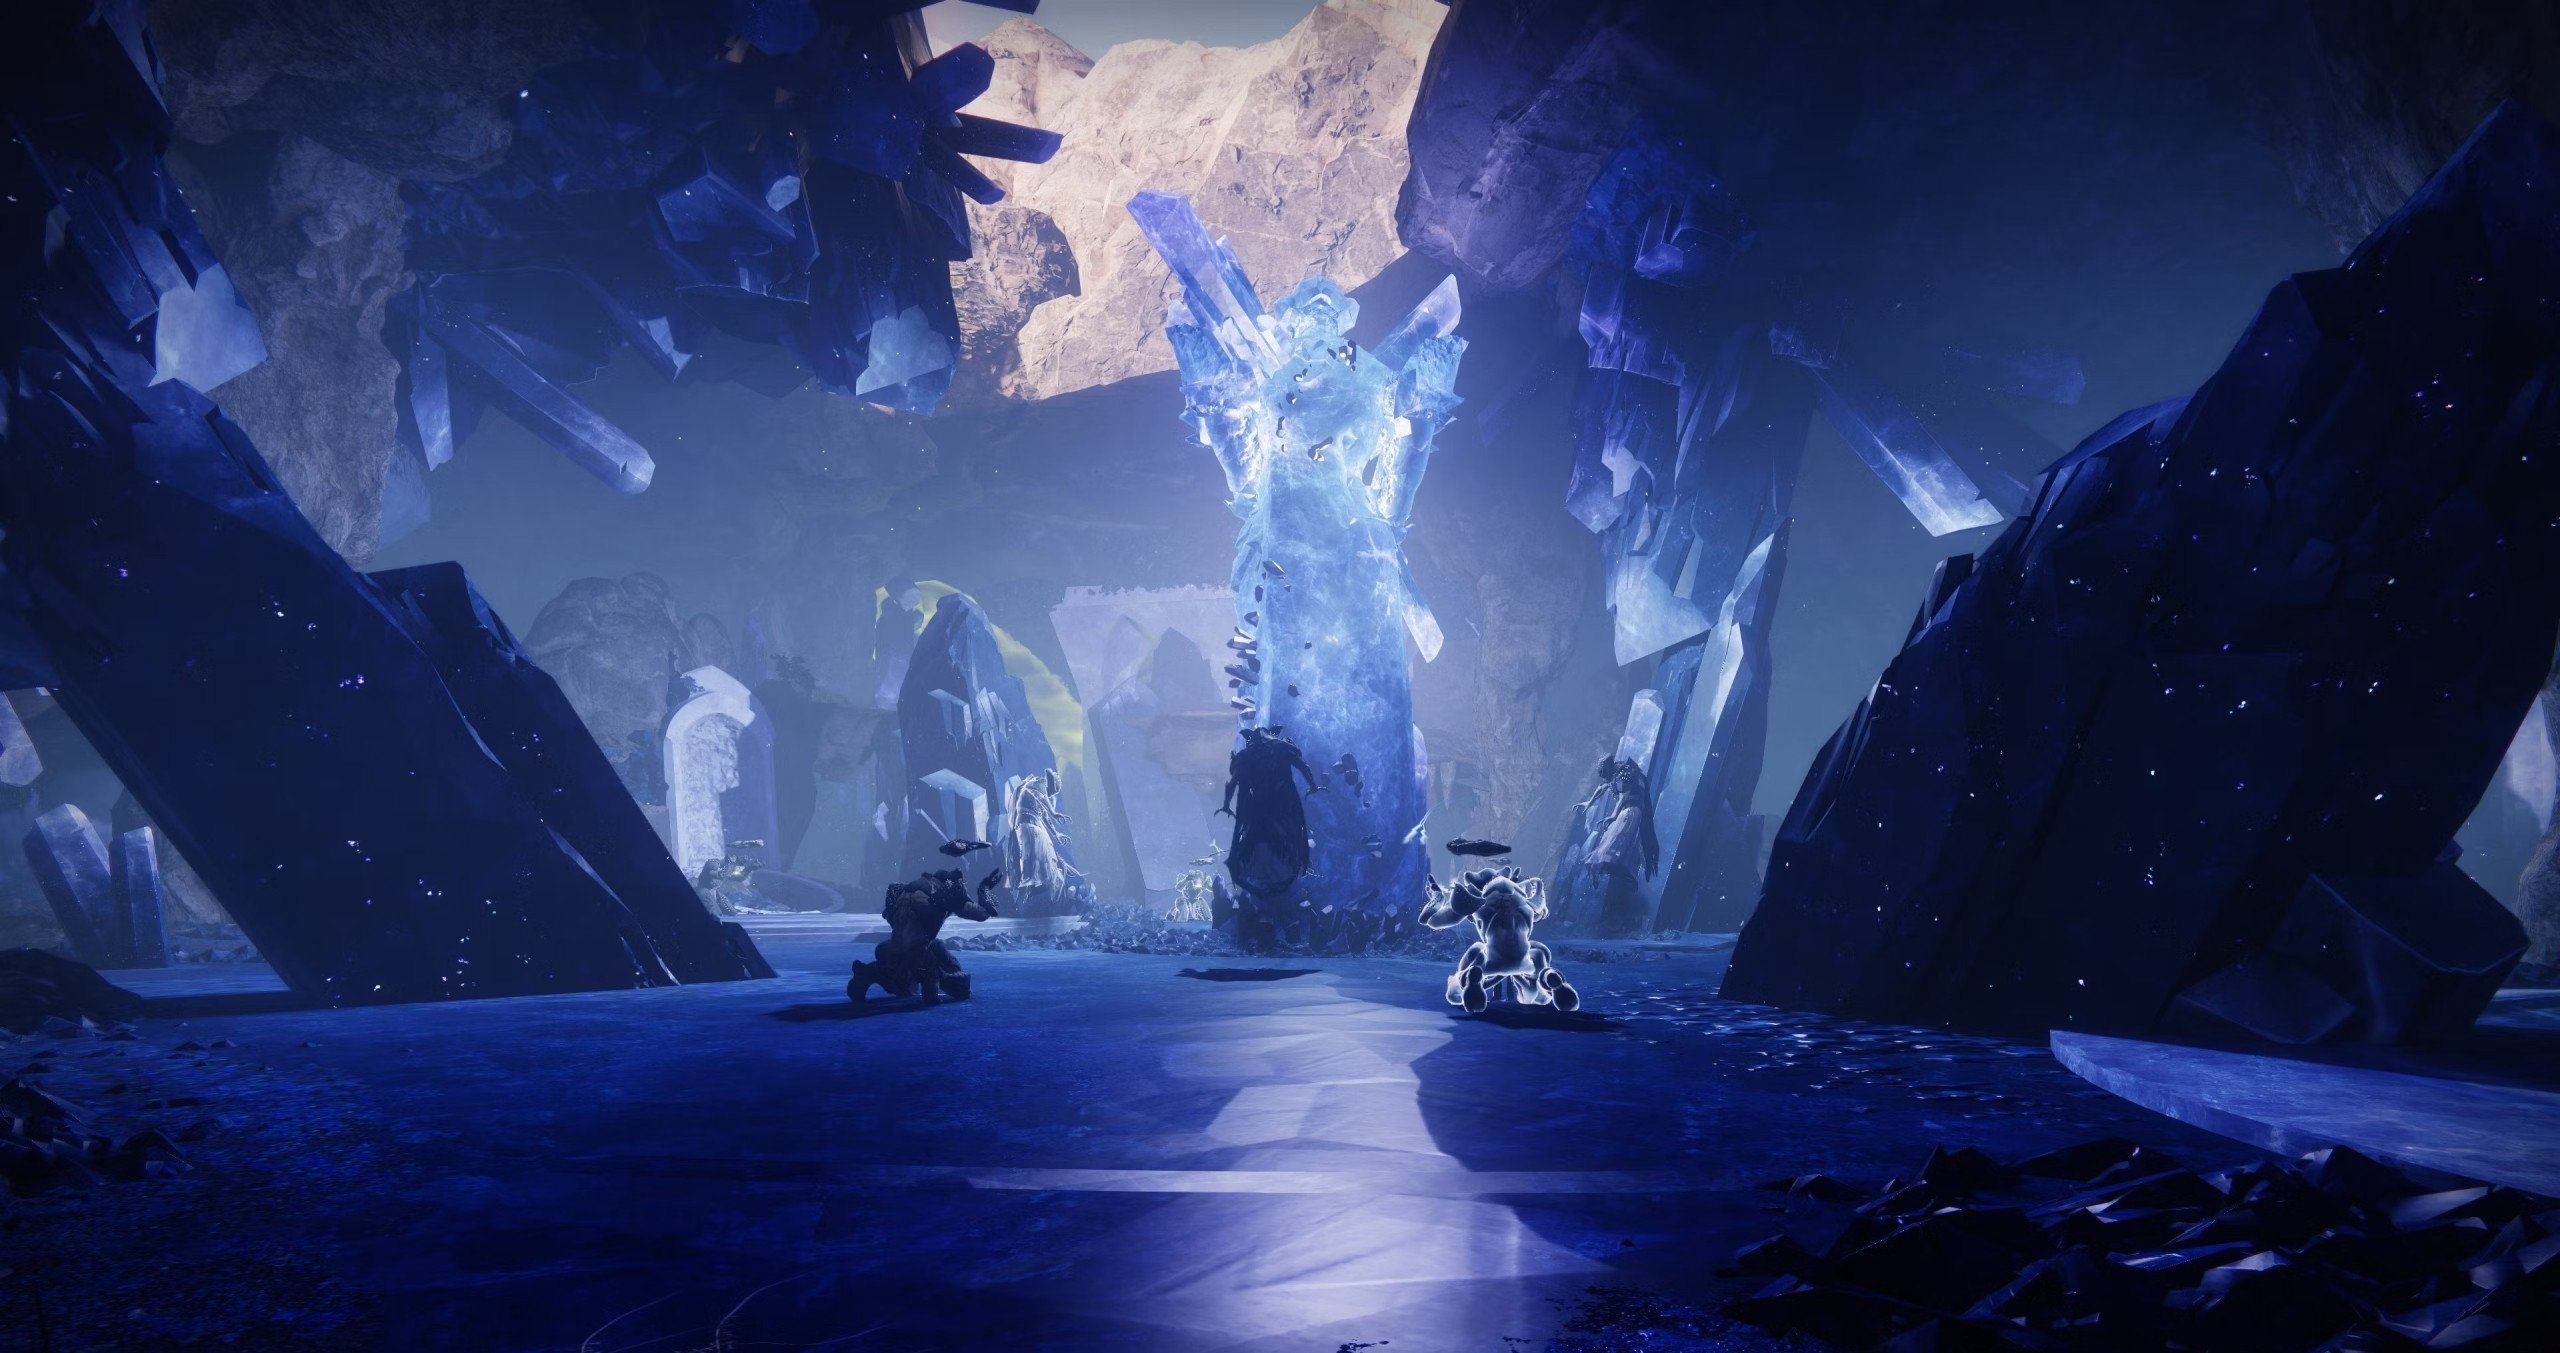
This is the final step on your way to getting the Ergo Sum D2. The quest starts with you clearing your way from the Lost City to the Refraction part of the Pale Heart, fighting Hive as you go. Your adventure through a tunnel will end at the ledge that will lead you outside and into the next open arena, where you’ll continue to fight Hive, who will unleash a horde of Ogres at you. But you should make quick work of this enemy at this point.
As you continue forward, you’ll witness Taken and Hive fighting each other. This is where you’ll be instructed to kill Taken until the meter reaches 100%. Once that happens, your vision becomes black and white. You’ll be able to spot some platforms and use them to move forward.
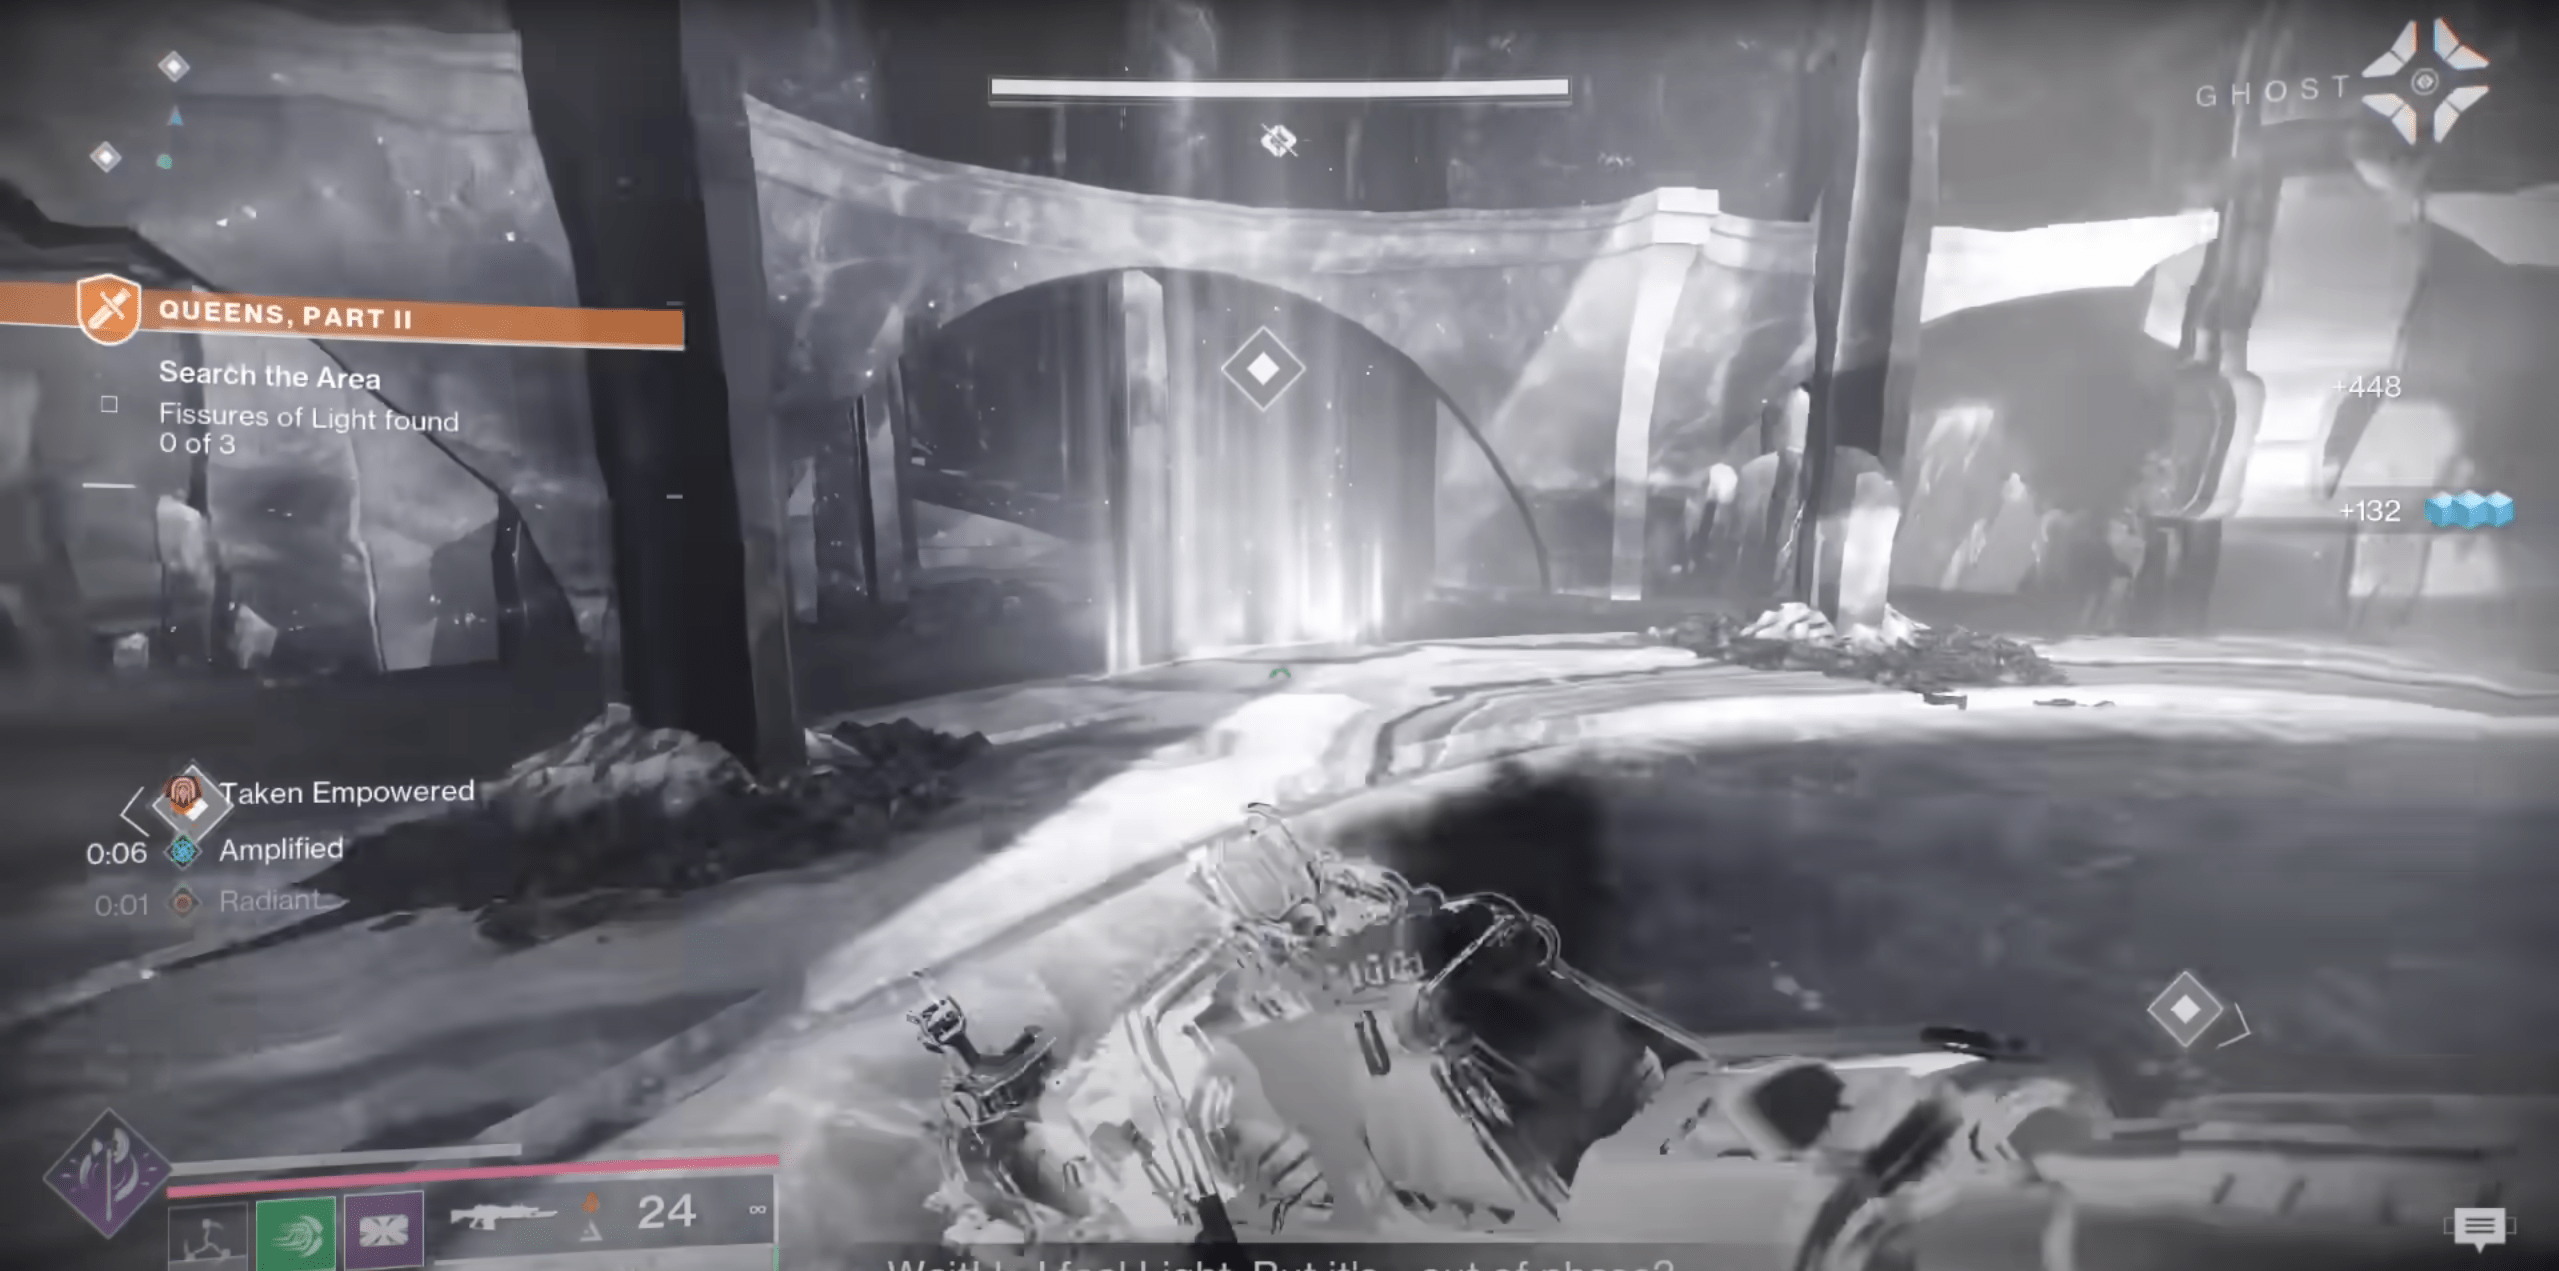
When you reach the big open doors, that’s where you need to go. Keep going until you reach a room filled with blue crystals. Inside that room, there should be a way down to the arena with the boss.
Your next job will be killing enough Taken to reveal three Light beams (sort of). This is done by collecting the Taken-created energy and storing it in the light beams marked on the mini-map. After that, you’ll fight several Tormentors. Do your best to defeat them because this is the last time you need to use your weapons to get that sword.
Now, all that’s left to do is go back to your Ghost in the Lost City and talk to it. He’ll tell you:
“Guardian, I think we’re in completely new territory. Light and Darkness are powerful but unbalanced. We need to unify them into one coherent force, or they’ll tear us apart. The Dyadic Prism resonates. It’s leading us to unify Light and Darkness”.
You’ll be rewarded with the Dyadic Prism – a peculiarly flawless crystal. Within it, motes of Light and Darkness tumble and twist, both attracted and repelled by one another. This is sort of a key. Take it to the Sacarium and use it on a veiled statue to retrieve the sword!
Is Ergo Sum Worth It?
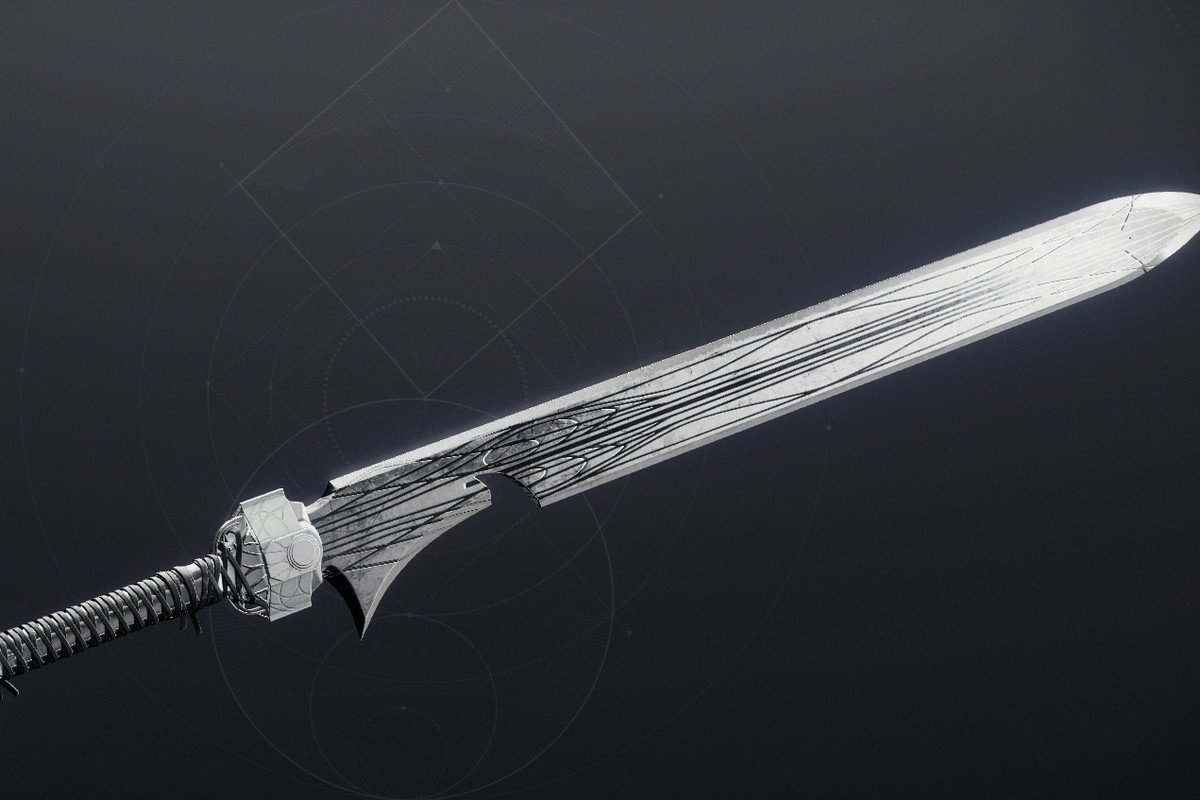
Ergo Sum is basically an Exotic copycat capable of having one of eight exotic perks along with the typical sword mods for the blade, guard basic intrinsic trait, and a basic trait. Here’s the full list of all components:
If you’re looking for the best roll, then Wolfpack Rounds would be ideal for some D2 bosses like Crota, who takes extra damage from swords.
Conclusion
Ergo Sum is not a typical sword; it possesses unique qualities that make it unique from any other exotic sword. Its main appeal is the fact that you can get different rolls of this sword with widely different exotic perks. The sword can have one of eight exotic perks, some of which are copied from existing exotic guns.
And now you know how to unlock Ergo Sum. Sadly, it involves you going through several complex quests, which can be described as nothing short of a mini-campaign. While the objectives in each quest aren’t particularly difficult, and the mechanics that you have to deal with are also quite simple, the repetition and sheer volume of enemies you have to deal with on the way to the sword is just astonishing. This whole thing may take several hours, but the reward is definitely worth the trouble!
F.A.Q.
How to get Ergo Sum Exotic?
Obtaining Ergo Sum involves completing several quests:
- Queens Part One
- Lost in the Light
- Hollow Part One
- Hollow Part Two
- Found in the Dark
- Home Part One
- Home Part Two
- Queens Part Two
Is Ergo Sum free to get?
No, you must have finished the Final Shape campaign in order to get access to the quests for Ergo Sum.
What is Ergo Sum God Roll?
The God Roll for Ergo Sum depends on what you’re going to be using it for. One of the greatest roles discovered so far is:
- Wolfpack Rounds + Tempered Edge + Burst Guard + Wave Sword Frame + Transcendent Duelist.
Is Ergo Sum a good exotic?
Since Ergo Sum can have one of several exotic traits, it allows for some really overpowered combination of mods, which makes this one of the best exotic swords in the game so far.


