Welcome Guardians. In this Destiny 2 Pantheon bosses guide, we’ll provide tactics and strategies to winning every boss encounter in this new gauntlet-style game mode. Just to refresh your memory, Pantheon is a new game mode where you and your fireteam get to fight against several raid bosses in succession. Once you defeat one of them, you proceed to the next. There, of course, exclusive rewards, a chance for you to obtain raid-themed weapons. On top of that, Pantheon has increasing difficulty setting. It will launch with 4 bosses first, and over the weeks, higher difficulties will be added, featuring an increasing amount of encounters.
In this Destiny 2 Pantheon strategy guide, we’ll cover all 8 encounters that will be featured in the Nezarec Sublime difficulty. Even though these are all the bosses you might have fought in past raids, it’s said that there’d be additional mechanics. We will provide strategies for each of the bosses as they are experienced in their raids. Any of the new mechanics exclusive to Pantheon itself will be added at a later date.
If you’re not sure you can take on Destiny 2 boss gauntlet head-on, you can buy Pantheon Completion boost at Skycoach. With this service, you’ll get all the rewards, but you won’t have to play Pantheon yourself. This is a simple and safe service that is done by veteran D2 players employed by Skycoach. Place your order today and be one of the first players to have completed the boss rush mode!
IMPORTANT NOTE: Apart from learning about how to defeat Pantheon bosses, you can also Buy Destiny 2 Boost from Skycoach. We offer a wide range of products at the lowest market price and with the fastest delivery. You can make your first purchase even CHEAPER if you find a special PROMO CODE (highlighted in green) hidden in this article and get a 20% DISCOUNT.
Encounter 1. Golgoroth, the Hive Ogre
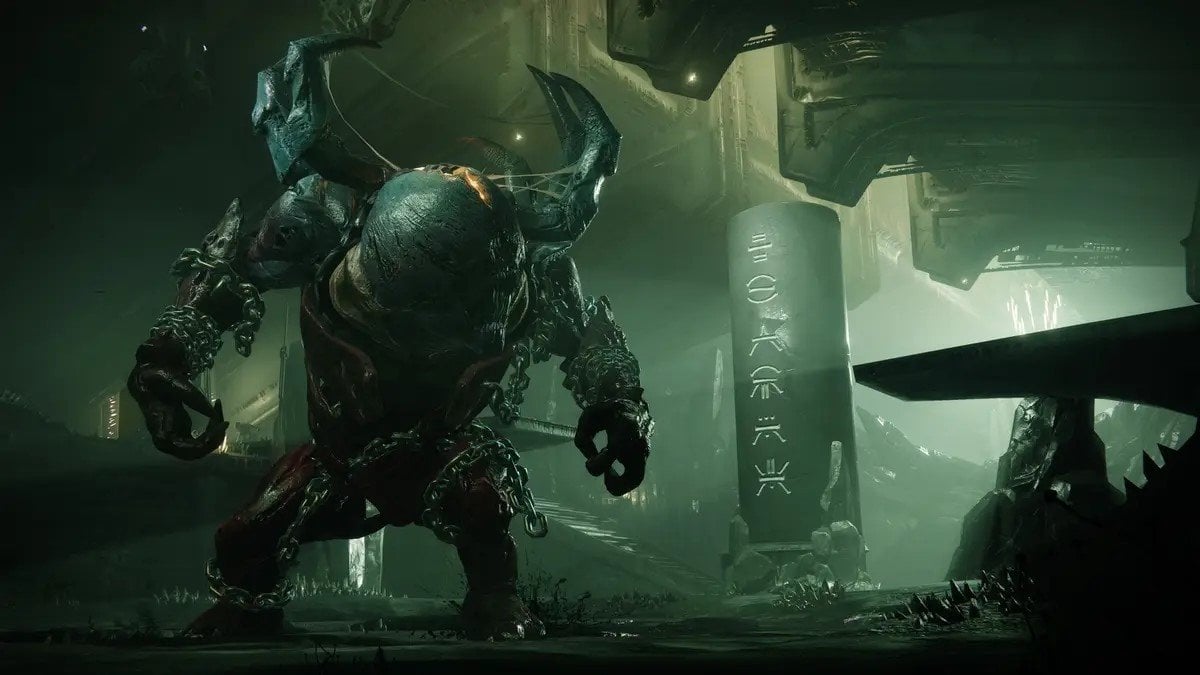
For the Golgoroth boss guide, you must know that his arena is designed with several mechanics, including the use of a gaze mechanic where players must take turns grabbing his attention to expose his weak spot for damage. It's a pivotal encounter in the raid and often requires precise communication and strategy to overcome.
Golgoroth's arena is a long, roughly rectangular space with a central pit. The encounter unfolds in distinct phases: an add-clearing phase, a DPS phase, and the crucial roles of DPS specialists and Taunters.
- Starting the Encounter:
To kick off this Destiny 2 raid boss guide, assemble your team with 4 DPS specialists and 2 Taunters. Begin by shooting the orb tethered to the ceiling, signaling Golgoroth's emergence. As waves of enemies flood the arena, prioritize eliminating the weaker adds while evading Golgoroth's devastating attacks. Keep an eye out for yellow-bar Wizards and swiftly dispatch them.
- Damage Phase Mechanics:
When the time is right, shatter another orb on the ceiling to release a pool of light into the pit. This initiates the DPS phase. The DPS specialists position themselves within the pool of light, focusing their fire on Golgoroth's vulnerable chest. Meanwhile, the Taunters take up positions to draw Golgoroth's attention by shooting his back, acquiring Golgoroth's Gaze status.
- Managing Golgoroth's Aggression:
As Golgoroth fixates on the Taunters, they must skillfully maneuver around the perimeter of the arena, ensuring that Golgoroth faces the DPS team. During this phase, Golgoroth will unleash orbs that track the Taunters. While these orbs cannot be dodged, they can be swiftly destroyed with rapid-firing weapons, minimizing their threat to the team.
- Key Strategies for Damage:
To optimize your damage output, coordinate healing abilities such as Wells of Radiance from
Warlocks and area-of-effect attacks to keep the team alive amidst the onslaught of adds. Utilize weapons with high precision damage to maximize your DPS potential.
- Orb Mechanics and Pitfalls:
Throughout the encounter, a total of six orbs will manifest sequentially, each providing a pool of light for DPS phases. Failing to utilize these orbs effectively not only diminishes your DPS potential but also charges the Tablet of Ruin in the arena's center. If the Tablet reaches critical charge due to missed orbs or failed taunting, it triggers an explosive wipe.
Encounter 2. The Caretaker, the Scorn Abomination
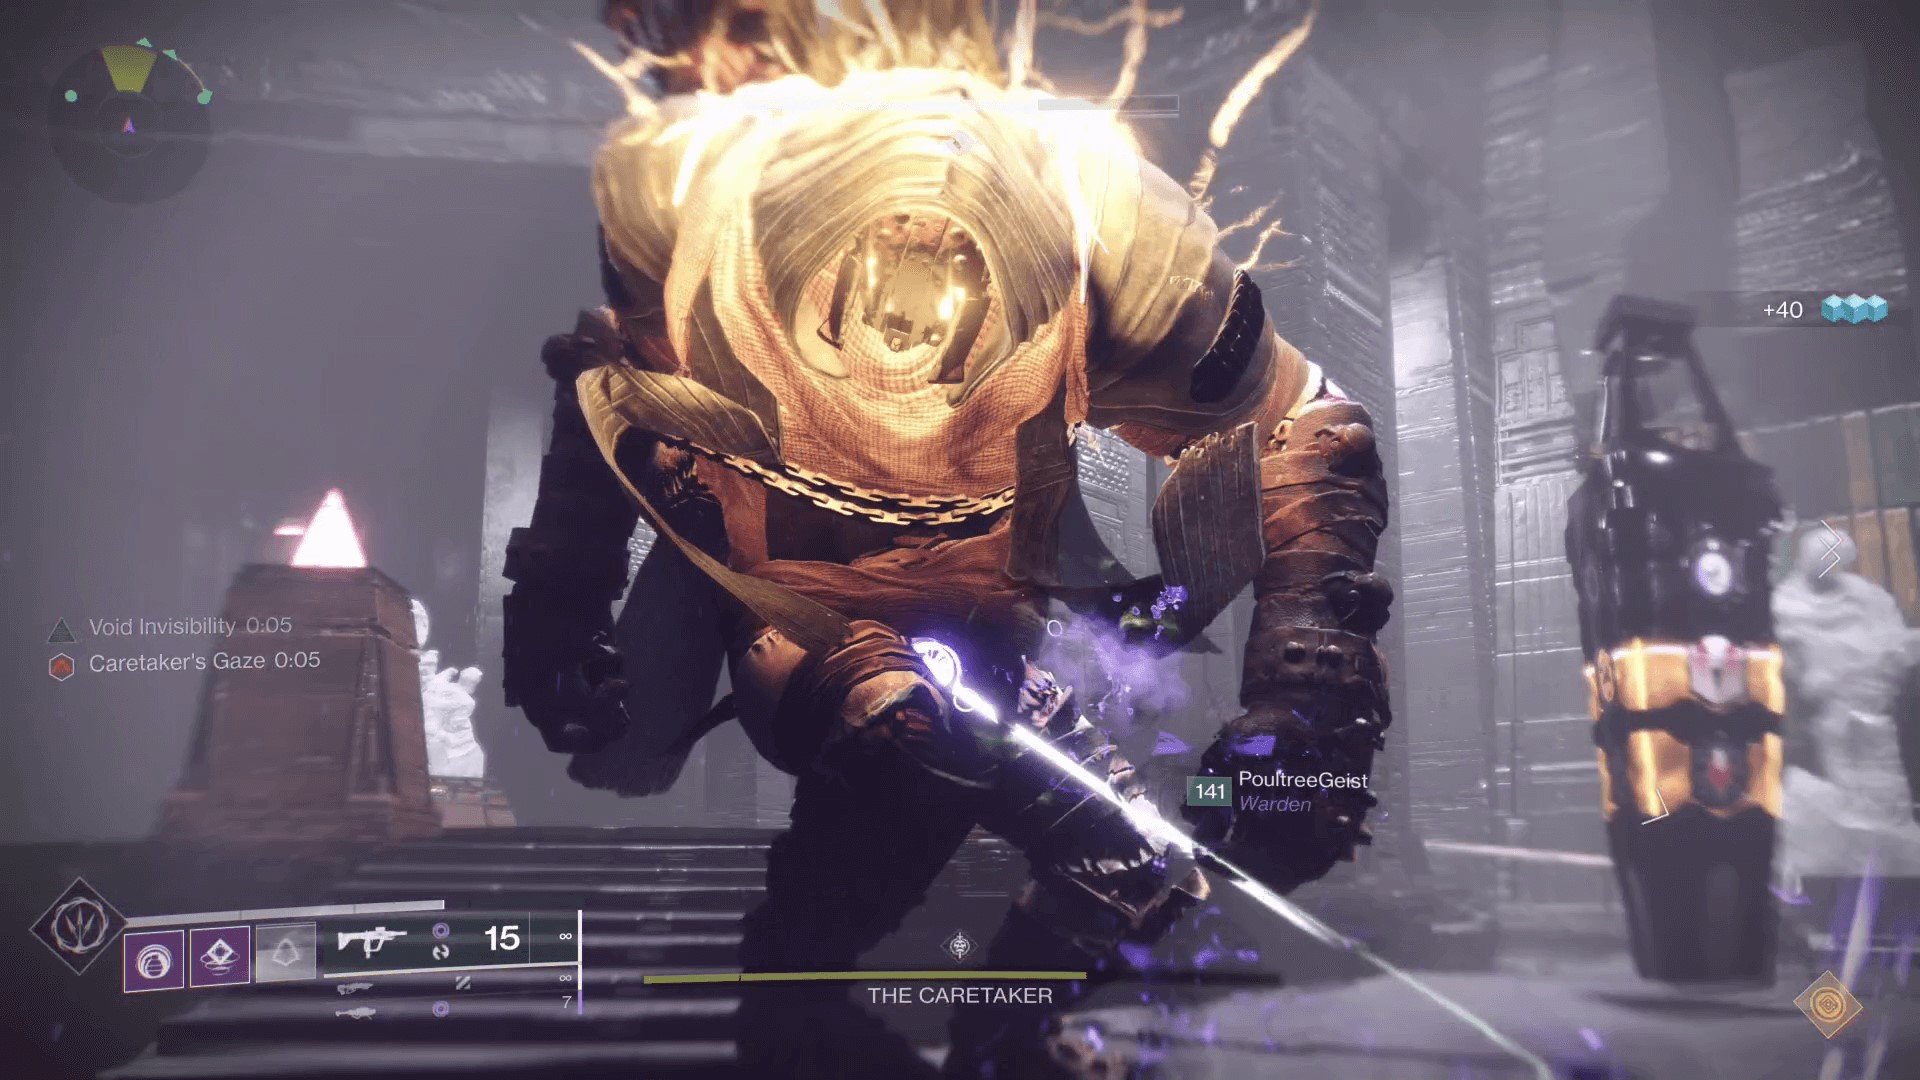
The Caretaker, a monstrous Scorn Abomination, lurks within the depths of a desolate chamber, surrounded by twisted architecture and ominous darkness. Originally, he is the second encounter in The Last Wish raid. Let’s explain the Caretaker how to kill tactics.
- Encounter Overview:
The Caretaker encounter unfolds within a tall, multistory arena, with the objective of stalling the Caretaker's ascent while gathering glyph information to prime him for damage phases. The Destiny 2 Pantheon walkthrough for this boss won’t be any different. Teams must coordinate efficiently to execute their roles and overcome the Caretaker's formidable defenses.
- Team Roles:
Your six-person fireteam should split into duos, each with a specific role during the encounter:
- Caretaker Duo: Engages the Caretaker directly to expose weak points and halt his progress.
- Glyph Temple Team: Retrieves glyph information from the temple and inputs glyphs into the obelisk.
- Add-Clear Duo: Focuses on eliminating enemies and assisting with primary tasks when necessary.
- Executing the Encounter:
The Caretaker Duo engages the Caretaker, exposing weak points on his face and back to temporarily halt his ascent. Meanwhile, the Glyph Temple Team enters the temple to retrieve glyph information and input glyphs into the obelisk. The Add-Clear Duo focuses on eliminating enemies to ensure the safety of the team and assist with primary tasks when possible.
- Glyph Input and Damage Phase:
Once the Glyph Temple Team has inputted nine glyphs into the obelisk, the Caretaker becomes vulnerable to damage. During the damage phase, guardians must stand on the lit circular plates to inflict damage on the Caretaker. It's crucial to move to the next plate as it lights up to maximize damage output throughout the phase. BLOG20
- Final Stand and Defeat:
Repeat the glyph input and damage phases across three floors of the arena. Utilize Supers and heavy ammo during damage phases for maximum effectiveness. In the final hallway, follow the Caretaker from plate to plate, focusing fire to eliminate the last of his health. Watch out for the Caretaker's corkscrew floor bombs during the final stand, but maintain focus and unleash your firepower to secure victory.
Encounter 3. Zo'Aurc, Explicator of Planets
Let’s move on to the Zoaruc boss guide. The encounter with Zo’Aurc, Explicator of Planets, within the Macrocosm, is a challenging battle focused on identifying and manipulating planets to unleash damage phases against the boss. Your fireteam must coordinate effectively to defeat enemies, gather planetary insights, and execute precise strategies to overcome Zo’Aurc's defenses.
- Mechanics Overview:
| Defeat Honored Centurions to spawn Terrestrial Lieutenants and acquire Planetary Insight. |
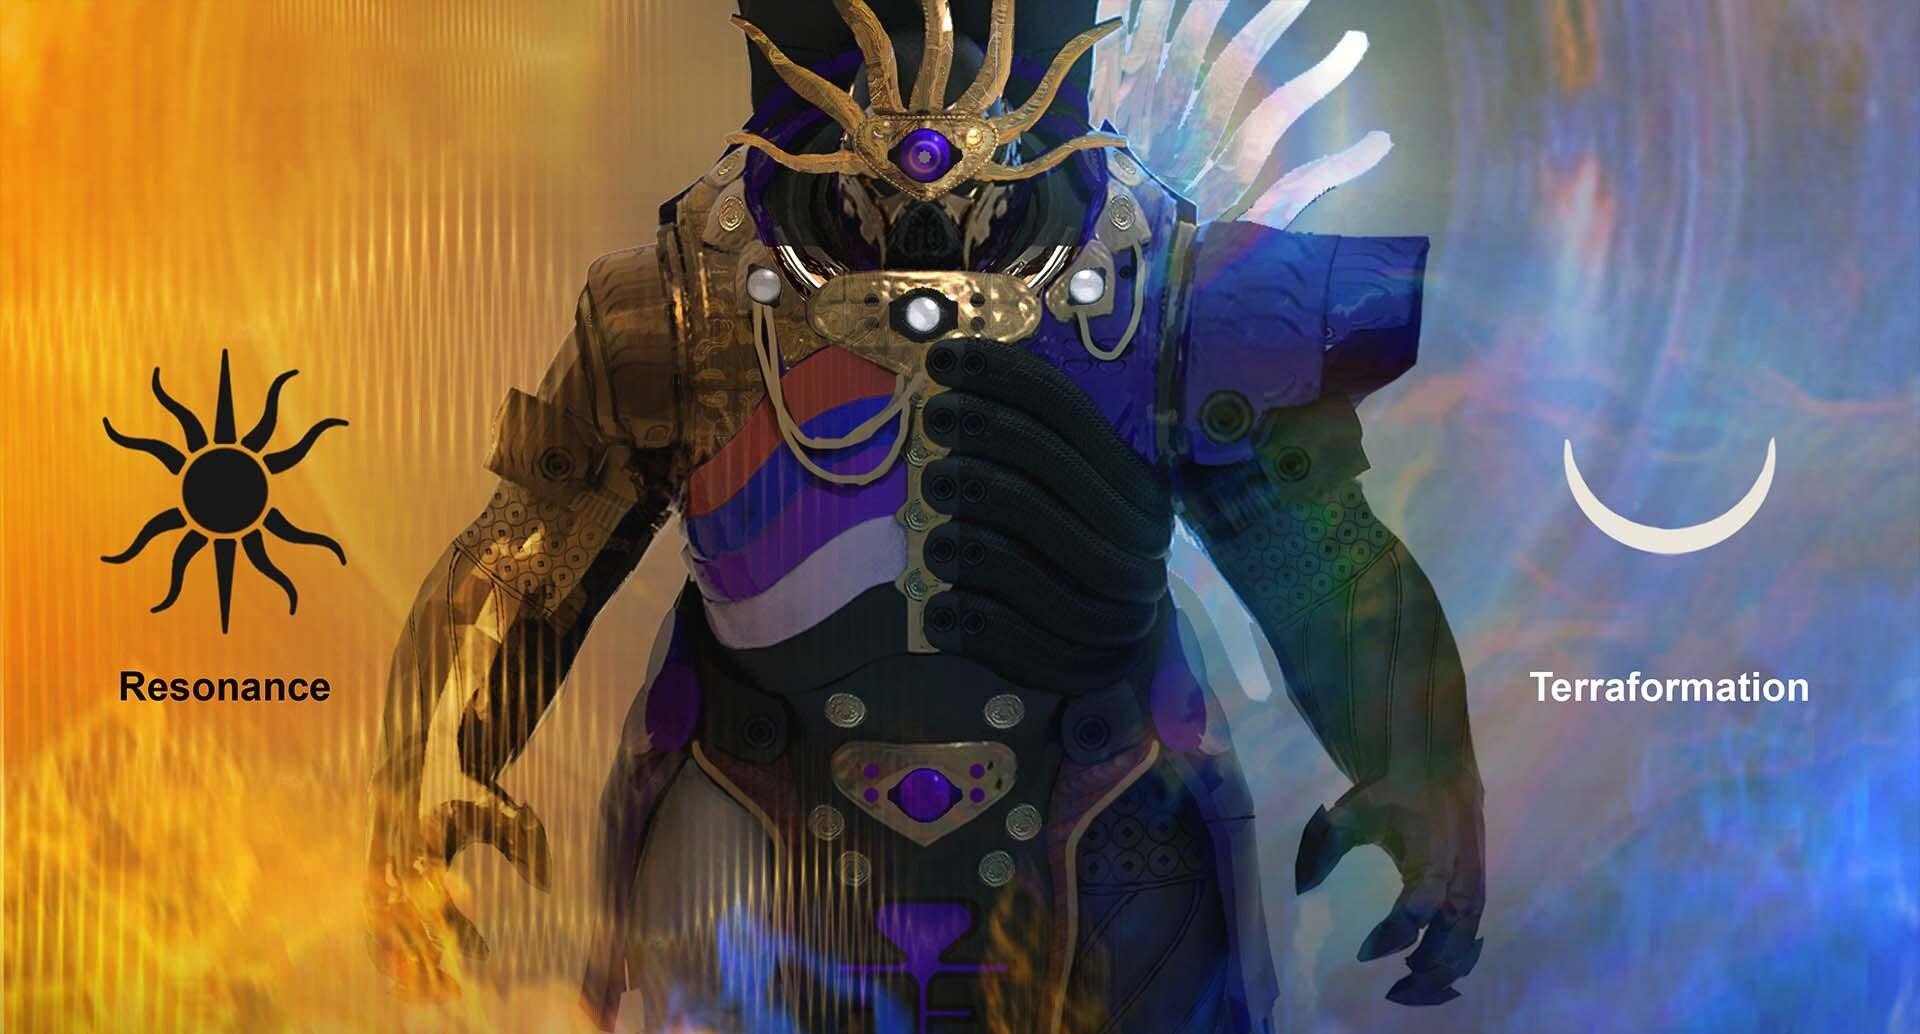
| Call out odd one out planets and swap them to the opposite side of the room (Light on left, Darkness on right). |
| Defeat enemies, including Lieutenants, to acquire Planetary Insight and manipulate planets accordingly. |
| Deposit planets into their correct positions in the middle of the arena to initiate damage phases. |
| Stand on plates matching the boss’s shield during damage phases to deal increased damage. |
- Boss Strategy:
Initiating the encounter involves assigning specific roles within your fireteam. Four players should focus on swapping planets, with two pairs designated to handle close and far planets, respectively, while the remaining two players clear enemies.
Once the encounter begins, defeat Honored Centurions to spawn Terrestrial Lieutenants. Land the killing blow on Lieutenants to acquire Planetary Insight, granting you the ability to discern the true colors of planets.
Identify the odd one out planets, distinguishing between two Light planets on the right and two Darkness planets on the left. Stand below the odd one out planet and interact with it to pick it up.
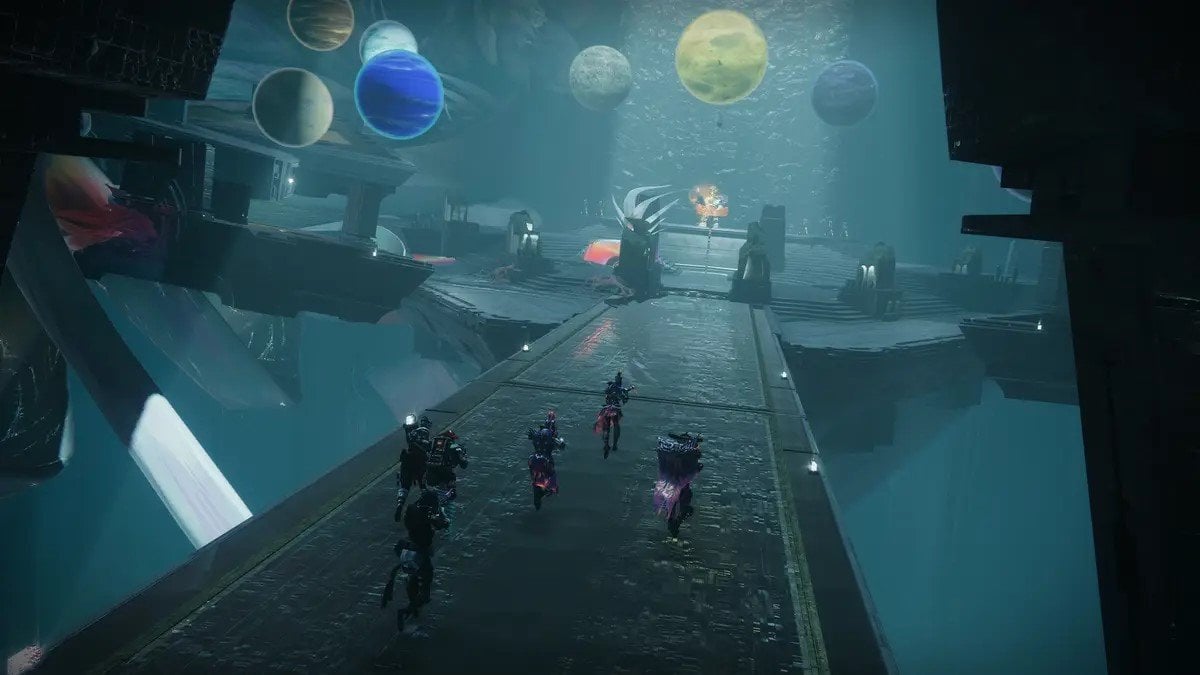
Cross to the opposite side of the room and deposit the odd one out planet in the corresponding location, ensuring all planets are correctly swapped to their designated sides (Light on left, Darkness on right).
Once all planets are correctly positioned, they will be indexed, indicated by an on-screen message. Clear enemies, including Centurions and Lieutenants, to proceed. BLOG20
Acquire Planetary Insight again to perceive the true colors of the three planets in the middle of the arena. Deposit these planets into their corresponding plates based on their colors.
Initiate the damage phase by depositing the planets, standing on plates matching the boss's shield to amplify the damage dealt. Move to the next plate as necessary, ensuring sufficient damage is inflicted to reach the notch in the boss's health bar.
Repeat the process until the final stand, ensuring alignment with the boss's shield to maximize damage output and secure victory.
Encounter 4. Atraks-1 The Fallen Exo

Now, let’s talk about how to kill Atraks-1, a formidable Fallen Exo and former member of the House of Salvation, stands as a formidable adversary within the depths of the Deep Stone Crypt. Enhanced with SIVA technology, Atraks-1 embodies the relentless pursuit of perfection and the ruthless ambition of the Fallen. The battle revolves around combating Atraks-1 Replicants, ejecting debuffs into space, and efficiently managing the Scanner and Operator Augments.
- Initiating the Encounter:
To initiate the encounter, split the team into two groups: three players remain in the Crypt while three venture into space. The Crypt team focuses on defeating Vandals to acquire the Operator Augment and placing it into the terminal. Simultaneously, the space team defeats Vandals and retrieves the Scanner.
- Dealing with Atraks-1 Replicant:
Once Sentinel Servitors are eliminated, the space team collects the Operator buff. Meanwhile, the Scanner identifies the glowing Atraks-1 Replicant, defeats it, and acquires the Atraks-1 Replication debuff before passing the Scanner to the Crypt team.
- Final Stand:
The Replication holder, guided by the Operator, proceeds to the correct airlock and has the debuff removed by the Operator's shot. As this occurs, the Crypt Scanner locates and defeats another glowing Atraks-1 Replicant before ejecting the Replication debuff into space.
This process repeats until four Replication debuffs are ejected, then all players convene in space. During the final stand, the Scanner identifies highlighted Atraks-1s for the team to defeat systematically.
Throughout the encounter, communication and swift action are paramount. The Operator must discern active airlocks and shoot the debuff off players' heads before ejecting them. Meanwhile, the Scanner must swiftly locate and call out the correct targets for elimination.
Encounter 5. Oryx, The Taken King
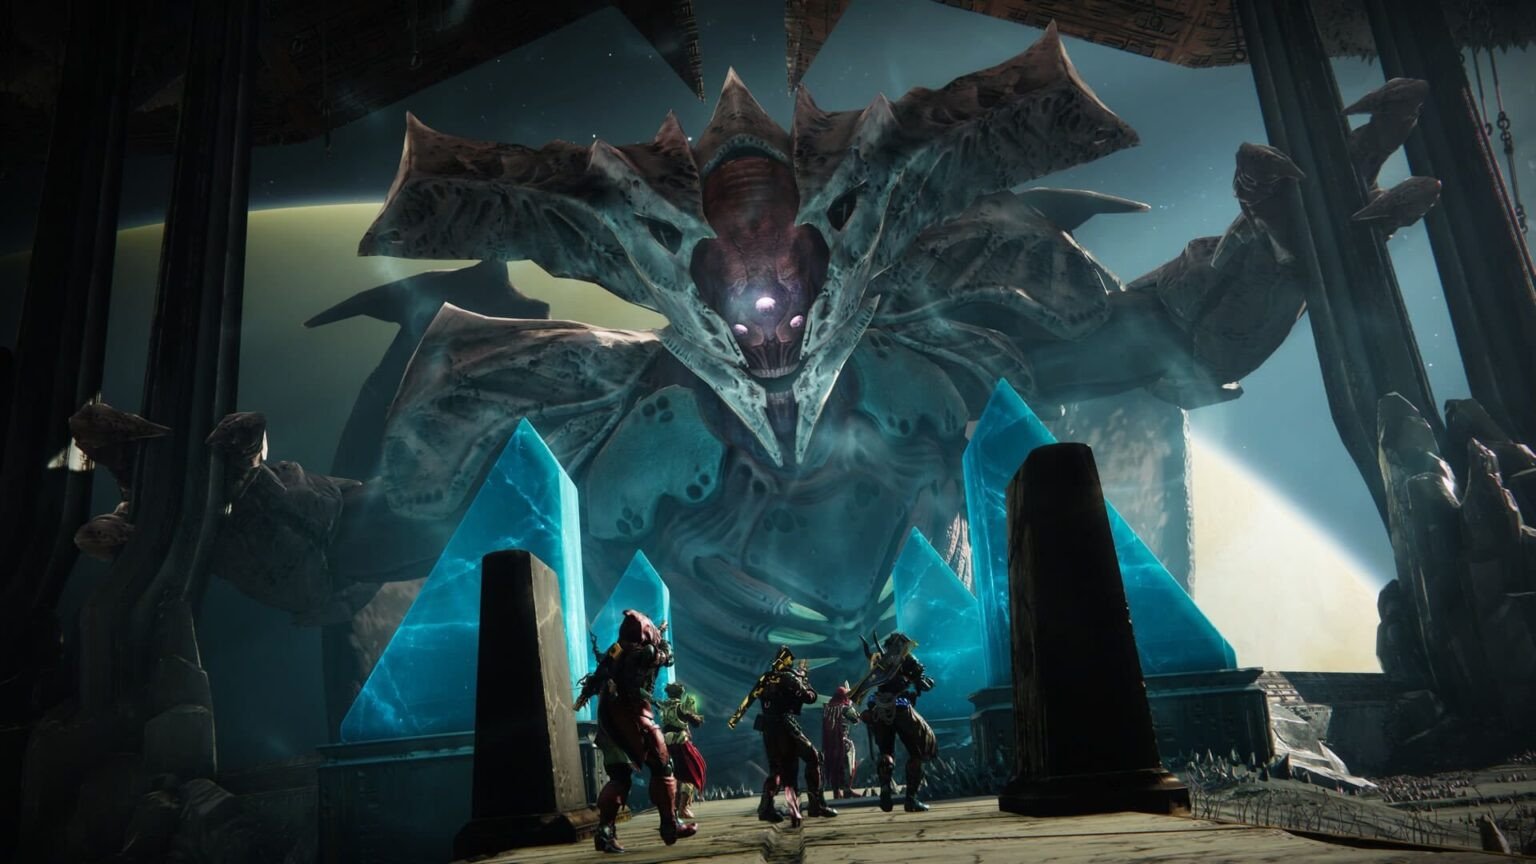
For the Oryx boss guide the encounter with Taken King, demands precision, coordination, and efficient execution of mechanics. Below is a detailed strategy guide to help your fireteam conquer this formidable foe, especially while adhering to the Oryx Challenge rule of not killing the same Light-Eater Ogre and Light-Eater Knight more than once.
- Fight plan:
| Mechanic | Description |
| Torn Between Dimensions | One player is designated as Torn Between Dimensions upon activating the starting platform. The torn player jumps onto the first platform and calls out the end platform. Run across paths to collect Blightguard. |
| Ascendant Path | Formed by standing on the two correct platforms. The torn player traverses the Ascendant path to acquire Blightguard. |
| Blightguard | Three pieces are collected, one at a time, from the Ascendant path. Used to steal Aura of Immortality from the Vessel of Oryx. |
| Corrupted Light | Dropped by defeated Light-Eater Ogres. Activated during the damage phase to stun Oryx. Light-Eater Knights spawn to consume Corrupted Light and must be defeated. |
| Shade of Oryx | Teleports one player at a time into the arena to fight. Defeat the Shade to progress to the next phase. |
| Oryx Bombs | Summoned on top of players during specific phases. Defeated by either completing a short phase or defeating Taken Knights on platforms. |
Upon entering the encounter with Oryx, the Taken King, your team's success hinges on a meticulous execution of each phase. Here's a step-by-step breakdown of the detailed strategy:
- Initiation Phase:
Begin by approaching the wisp at the front of the room and engaging in combat until Oryx selects a side. The player standing on the starting platform becomes the Torn player, who must call out the end platform for traversal.
- Blightguard Acquisition:
Traverse the Ascendant path, guided by the Torn player, to collect Blightguard pieces. While acquiring Blightguard, your team must defeat Light-Eater Ogres and Knights to prevent them from consuming Corrupted Light.
- Brand Claimer Buff:
After acquiring Blightguard three times, the Torn player must interact with the Blightguard piece to receive the Brand Claimer buff. Utilize this buff to steal the Aura of Immortality from the Vessel of Oryx and promptly defeat it.
- Corrupted Light Activation:
Upon Oryx's call to darkness, activate all Corrupted Light bombs simultaneously. Quickly retreat to the safety of Aura of Immortality to mitigate explosion damage. During Oryx's stunned phase, focus fire on his chest to maximize damage output.
- Post-Damage Phase Activities:
Respond swiftly to Oryx's subsequent actions, which may include summoning bombs or teleporting players into the dome. Manage bombs by either defeating Taken Knights or evading them through strategic movement. Inside the dome, coordinate with your team to defeat the Shade of Oryx and progress to the next phase.
- Final Stand:
As Oryx reaches 25 percent health, prepare for the final stand. Detonate additional Corrupted Light bombs dropped by Light-Eater Ogres to extend the damage phase. When Oryx's chest opens and glows, focus all firepower on dealing damage to secure victory.
Encounter 6. Rhulk Disciple of the Witness
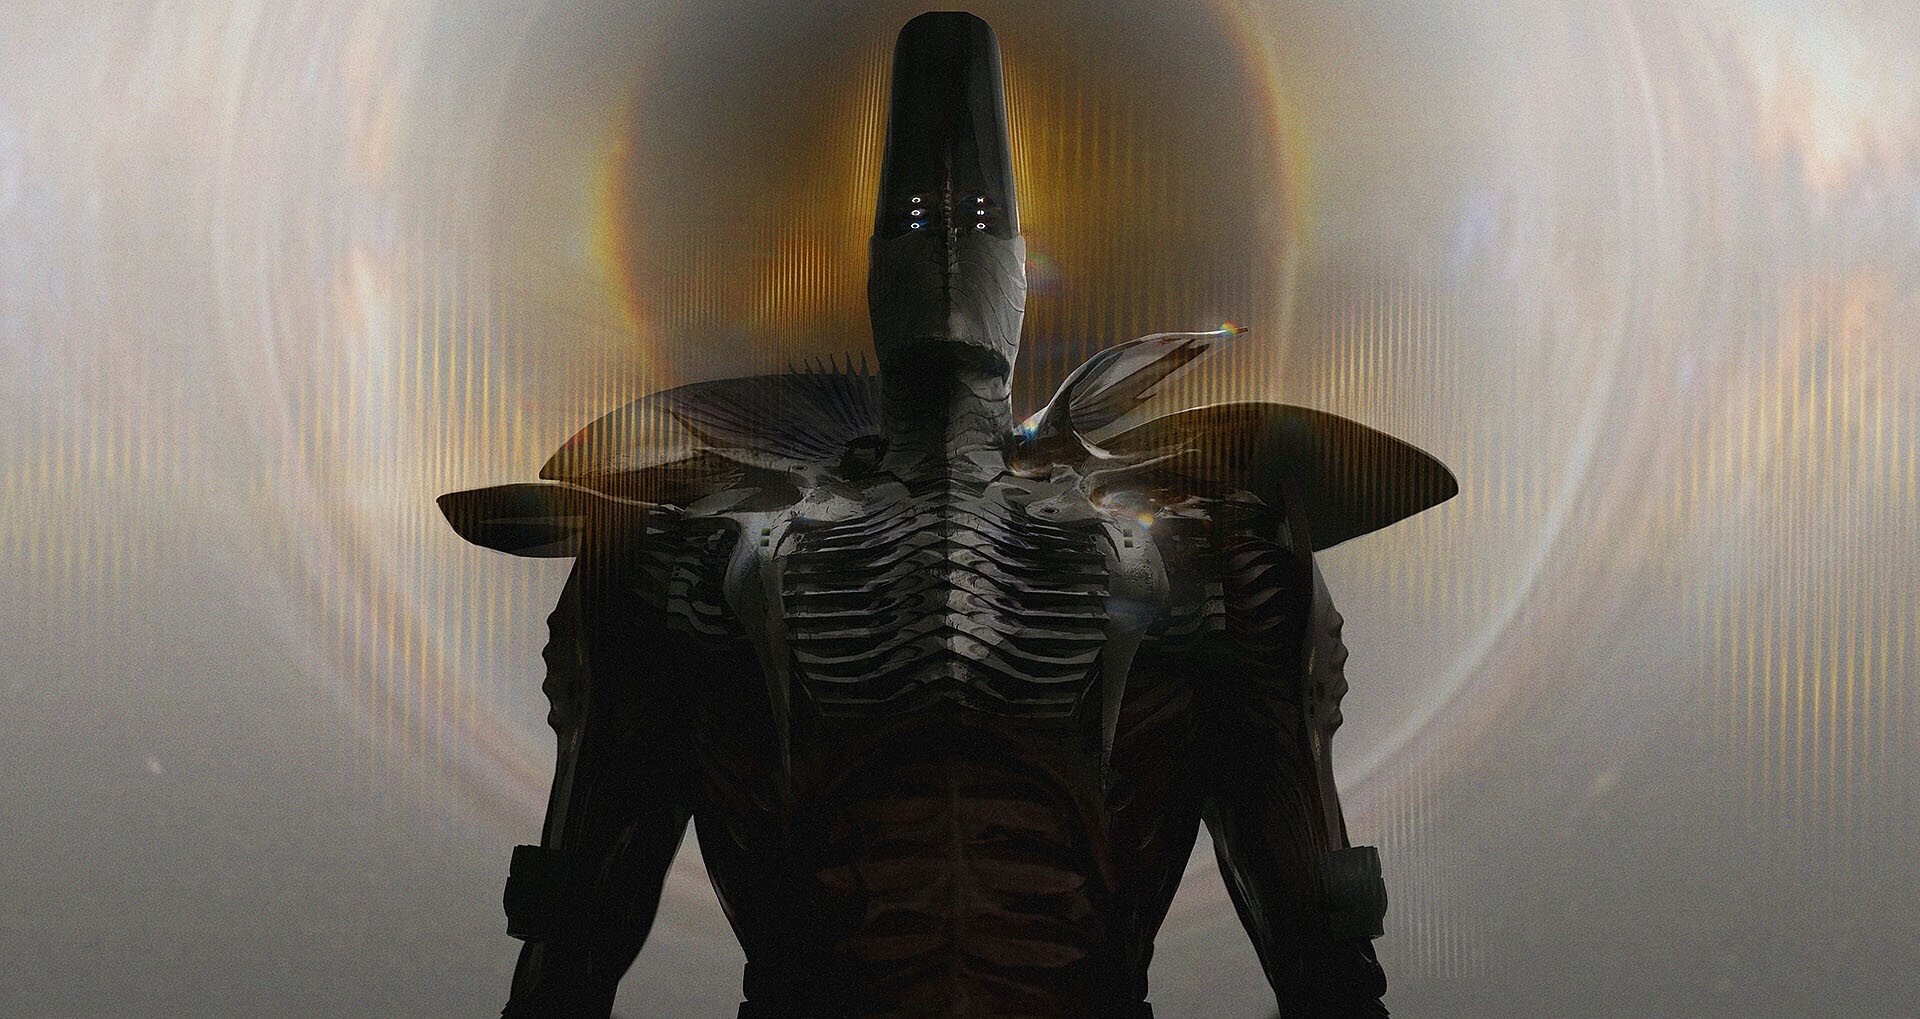
Facing Rhulk, Disciple of the Witness from the Vow of the Disciple raid, you're in for a challenging encounter that demands precision and coordination. If you want to know how to beat Rhulk Destiny 2, here's a detailed guide to help you navigate through the mechanics of this final showdown:
- Initiation Phase:
Commence the encounter by approaching the force field or shooting the crystal to trigger the start of the fight.
- Leeching Force and Emanating Force:
Split the Leeching Force among players, who will subsequently gain Emanating Force by standing in Rhulk's darkness blasts while possessing Leeching Force. This debuff transformation is crucial for the encounter's progression.
- Glyphkeepers and Symbol Matching:
Defeat Glyphkeepers to reveal symbols in the air, visible only to players with Leeching Force. Call out these symbols and deduce their matching counterparts on the obelisks.
- Leeching Force Cycling:
Facilitate the cycling and splitting of Leeching Force among players to maintain a balanced distribution. Ensure that designated players acquire and transfer Leeching Force efficiently while others convert it into Emanating Force.
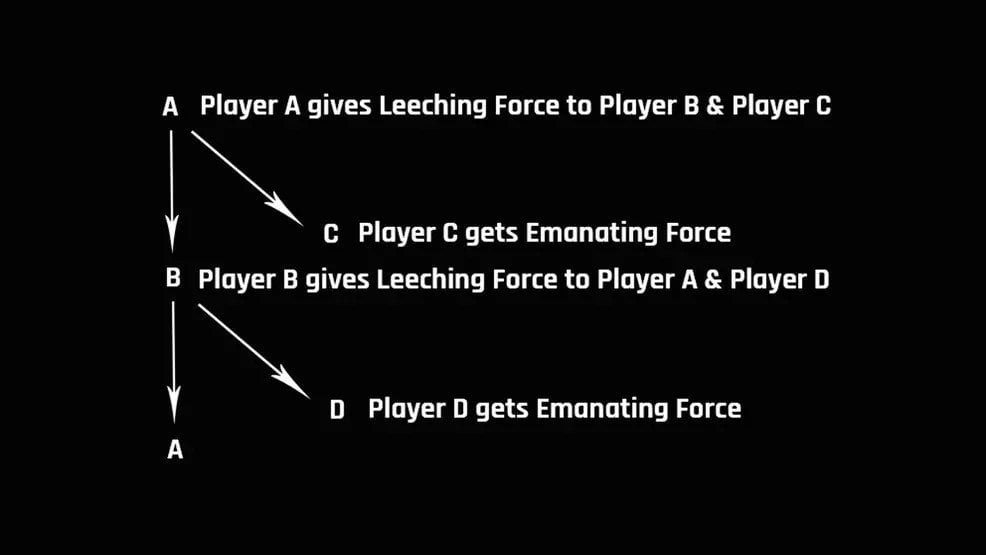
- Obelisk Deposits and Force Field Receding:
Coordinate the deposit of Emanating Force debuffs at the correct obelisks until six debuffs are deposited or the force field recedes to the back stairs. Reactivate Leeching Force as needed by defeating Glyphkeepers if it becomes unavailable.
- Rhulk's Arena Phase:
Ascend to the fight arena when Rhulk retreats. Shoot Rhulk's glaive to acquire Leeching Force, call out symbols, convert Leeching Force to Emanating Force, and deposit it in the designated corners of the room. Repeat this process three times to weaken Rhulk.
- Weak Point Exploitation and Damage Phase:
Destroy the weak points revealed when Emanating Force is deposited, triggering Rhulk's stagger. Utilize this opportunity to deal damage to Rhulk's weakened state. Repeat this sequence four times to initiate the damage phase.
- Final Stand:
During the final stand phase, Rhulk will become more aggressive, continuously moving around and unleashing darkness blasts. Manage Pervading Darkness stacks while delivering sustained damage to defeat Rhulk before reaching Pervading Darkness x10 and wiping the team.
Encounter 7. Riven of a Thousand Voices
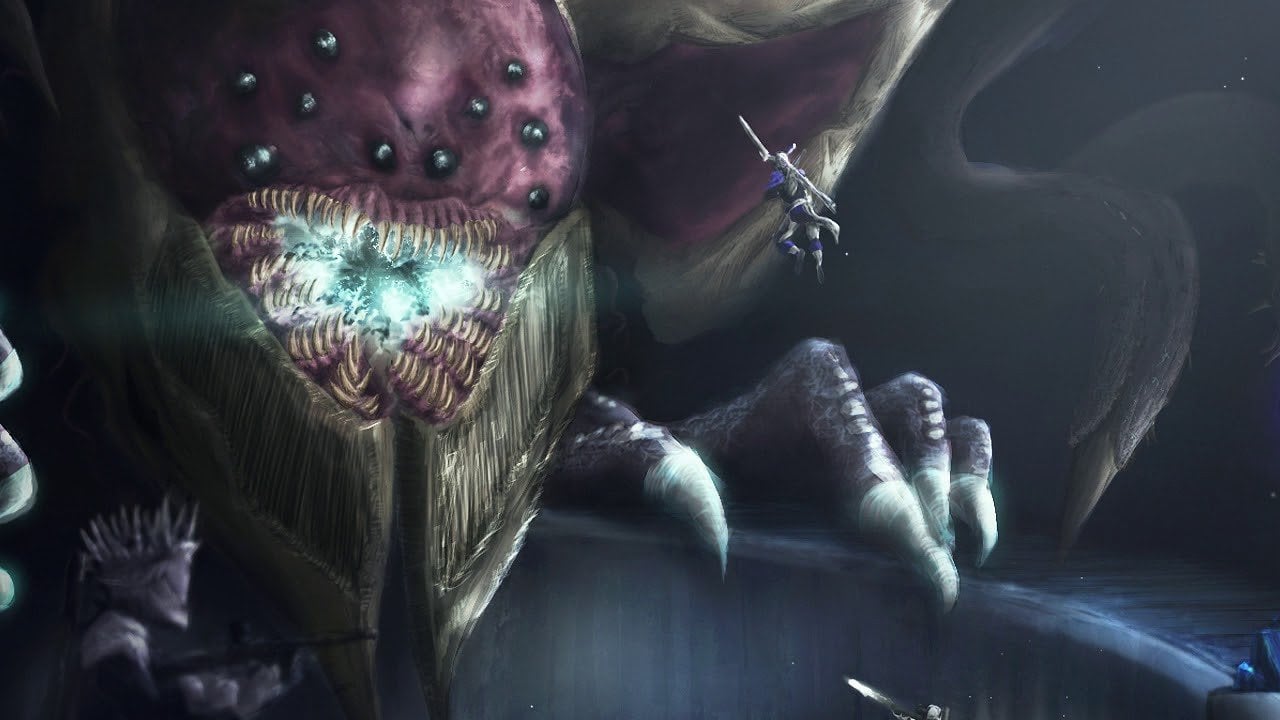
Riven of a Thousand Voices, a powerful Ahamkara corrupted by the Darkness, resides within the heart of the Dreaming City as a creature of immense power and cunning. Riven schemes to manipulate guardians and unleash chaos upon the world.
- Objective List:
| 1 | Gather Taken Essence and cleanse symbols. |
| 2 | Identify and call out the glowing eyes of Riven. |
| 3 | Damage Riven's mouth and tentacles. |
| 4 | Navigate to the next level via the lift. |
| 5 | Clear enemies and damage Riven in the central area. |
| 6 | Destroy Riven's weak points while descending. |
| 7 | Teleport to the Ascendant plane and reach the beam of light. |
| 8 | Prepare for Riven's final stand and destroy her heart. |
Here’s a complete strategy for Destiny 2 Riven boss guide:
- Gathering Taken Essence and Symbol Cleansing:
As the encounter begins, all fireteam members should grab the Taken Essence. One player should call out the observed symbol, while another directs the Taken Essence holder to the correct symbol location for cleansing. While this is happening, the rest of the team should focus on damaging Riven's mouth or tentacles. BLOG20
- Eye Identification and Damage Phase:
Once the symbols are cleansed, players need to identify and call out which of Riven's eyes are glowing to the other team. Coordinate your efforts to damage Riven's mouth and shoot the correct eyes to stagger her. Utilize the lift to progress to the next level and repeat the process.
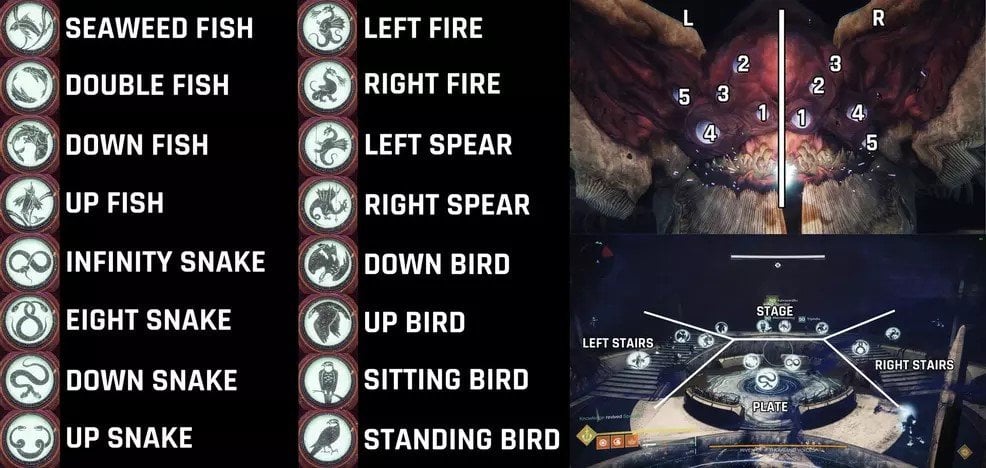
- Central Area Engagement:
Upon reaching the central area, clear enemies and focus on damaging Riven while noting which eyes are glowing. Coordinate your team to damage Riven's mouth and shoot the correct eyes to interrupt the wipe mechanic.
- Destroying Riven's Weak Points:
Stand on the plates to descend and focus fire on Riven's weak points to deal significant damage. Repeat this process on each level until Riven's health is depleted to the last 10%.
- Ascendant Plane Challenge:
Navigate the Ascendant plane, avoiding Taken Phalanx, and make your way to the beam of light. Once there, touch the light to teleport back to the main room.
- Final Stand Against Riven:
Group up and focus your fire on depleting the last portion of Riven's health. Continue dealing damage until Riven's mouth opens. Run into her throat and destroy the Taken Blight to defeat her once and for all.
Encounter 8. Nezarec
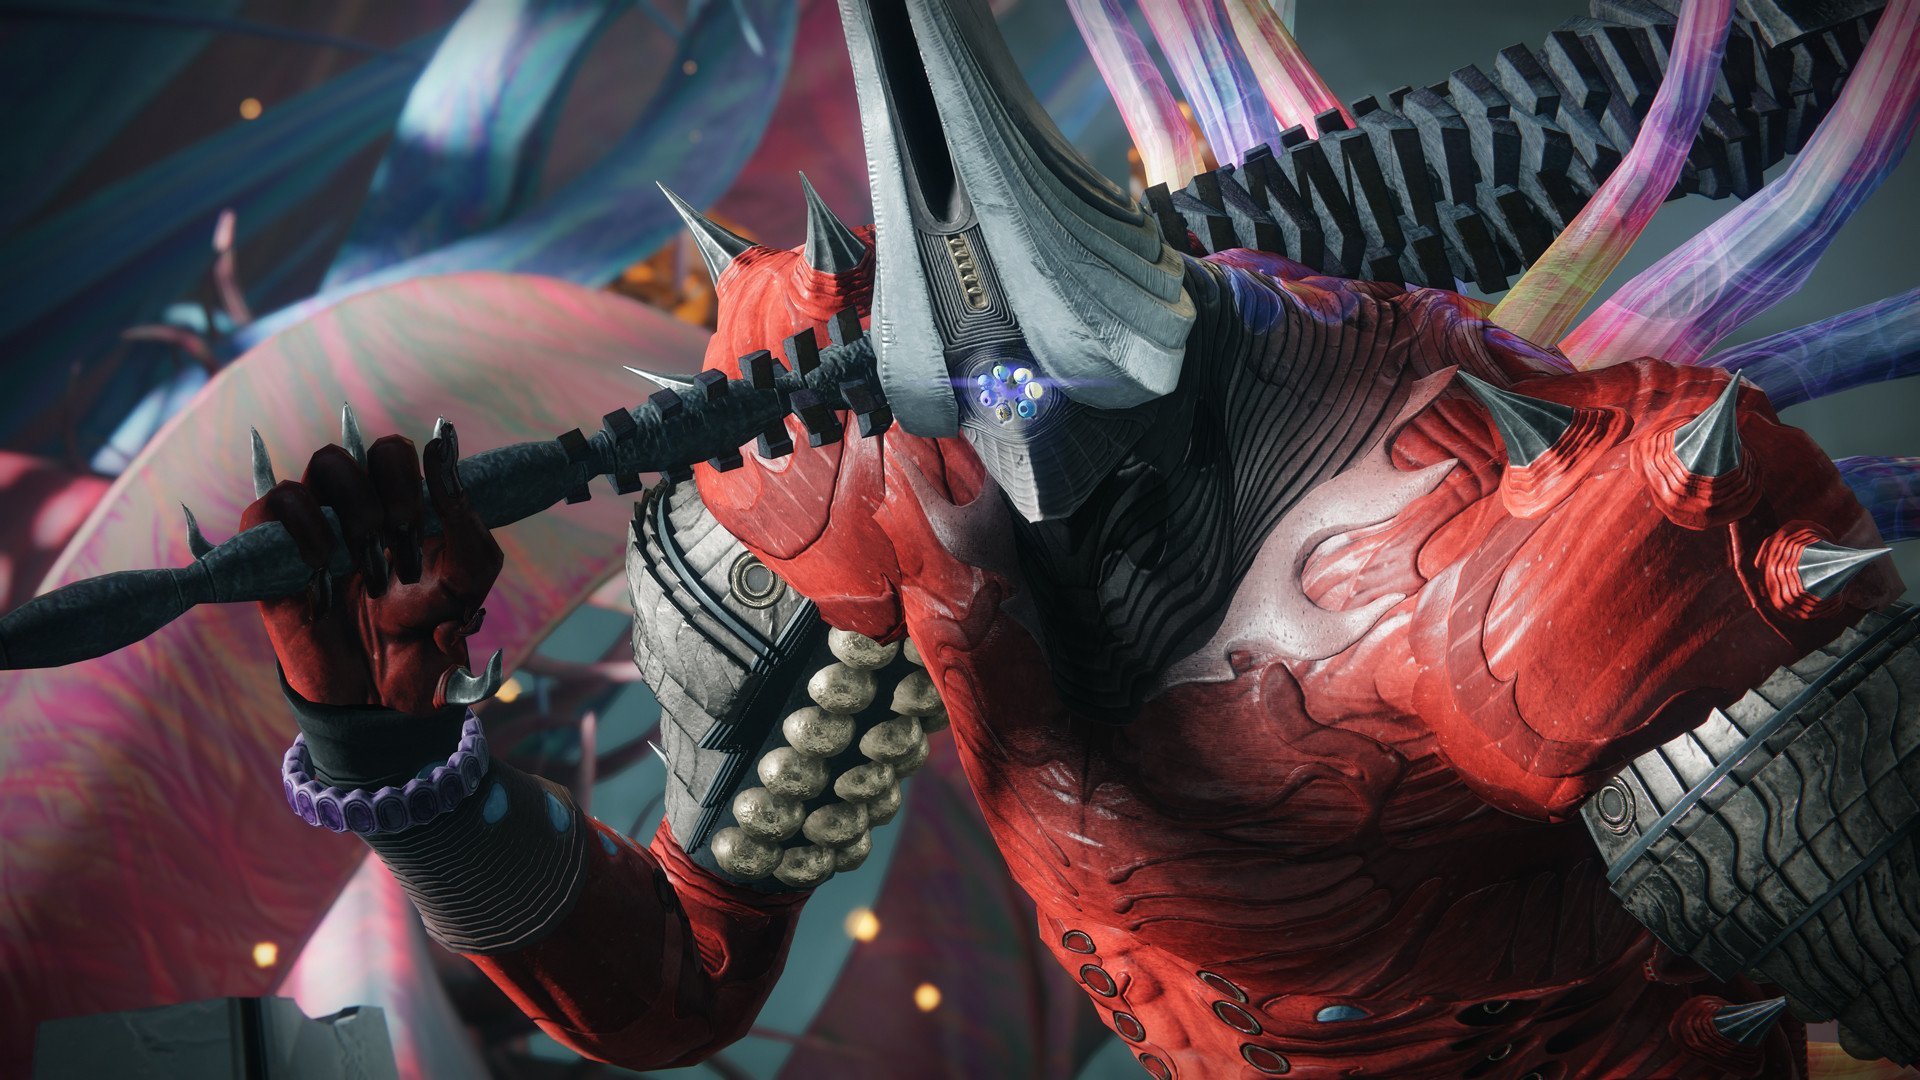
Nezarec, the Abyssal Champion, is a malevolent entity that dwells within the depths of the Void. As a being of unfathomable darkness, Nezarec seeks to corrupt and consume all who oppose him, his sinister presence casting a shadow over the universe.
- Objective:
In this Nezarec boss tactics guide we’ll explain how to defeat the boss by creating networks of nodes, stunning him by shooting weak points, and dealing damage during the damage phase.
- Fight Plan:
| Collect the Field of Light and Flux of Darkness to complete networks of nodes. |
| Shoot Nezarec's weak points (shoulders and chest) to stun him and prevent his wipe mechanic. |
| Create Light's Refuge or Darkness's Refuge to protect from wipe mechanics based on Nezarec's shoulder color. |
| Group up and deal damage to Nezarec after both networks are completed. |
- Detailed Walkthrough:
Begin by having two players create networks of nodes: Light nodes on the left and Darkness nodes on the right. Faster network completion leads to a quicker damage phase.
- Stunning Nezarec:
Nezarec will roam the battlefield once his shoulders and chest are shot while on the platform. Shoot his chest while roaming to stun him; failure results in a team wipe.
- Damage Phase:
When both networks are completed, gather on a platform and unleash damage on Nezarec after he's blasted with a beam of light. Utilize heavy weapons, debuffs, and Supers for maximum damage.
- Building Refuges:
Create Light's Refuge or Darkness's Refuge to protect from Nezarec's wipe mechanic based on his shoulder color. Match the buff to the color by taking the appropriate buff to a node of the opposite type.
During Nezarec's final stand, continue dealing damage to prevent a team wipe. Utilize remaining heavy ammo and Super abilities to secure victory.
Conclusion
In this guide we’ve provided Destiny 2 boss strategies for beginners for the Pantheon game mode. Just a reminder: at first, you’ll only be able to fight two bosses in a row. Later on, longer gaunltets will become available where you need to fight more and more bosses in a row until this number becomes eight. The eight-boss gauntlet is the ultimate difficulty in Pantheon, it will demand a lot from your fireteam, so you better prepare your builds and make sure you have good teammates.
There will be additional challenges and triumphs for you to complete for exclusive rewards. If you want to know more, read our main article for Pantheon game mode. Good luck, guardians!
F.A.Q.
What is Destiny 2 Pantheon?
This is a boss rush mod where you get to fight several raid bosses in quick succession.
How many bosses are In Destiny 2 Pantheon?
There 4 variations of this challenge, with 4,5,6 and 8 bosses in each, representing difficulty levels.
What are the Destiny 2 Pantheon rewards?
You can get a bunch of raid-themed weapons, including legendary and exotic rarities.
What is Destiny 2 Pantheon release date?
The boss gauntlet in Destiny 2 releases on April 30, 2024. The additional tiers will be unlocked in future updates after the release.
Are there Destiny 2 Pantheon Triumphs?
Indeed, this challenge features a seal and 10 triumphs. Completing all of them will reward you with a new title - Godslayer!


