Dallon Avery
Welcome to the most complete Sundered Doctrine dungeon guide for Destiny 2. This guide provides all the details about the dungeon, including information about the day-1 run challenge and its rules, full walkthrough of every encounter, detailed mechanics explanations, and the dungeon’s loot table, including the location of all secret chests.
Before we dive into the details, check out our top-tier offer to Buy Sundered Doctrine Day One Boost at the best price available. Get the latest dungeon cleared effortlessly with the help of our expert PROs, ensuring you secure the Day One badge and all the essential loot before most players even set foot inside. Don't waste time struggling—let us handle the hard work while you enjoy the rewards!
Check out our other Destiny 2 guides:
- How to Get Chatterwhite Shader
- Kell's Fall Exotic Mission Guide
- How to Get Ice Breaker
- Vesper's Host Dungeon Guide
Note: At Skycoach, you can Buy Destiny 2 Boost at the best prices with a fast delivery. Use our special PROMO CODE (in green) hidden in this article for a 20% DISCOUNT.


How to Start Sundered Doctrine Dungeon in Destiny 2
The Sundered Doctrine dungeon launches on Friday, February 7, 2025, after the Friday’s update at 9 a.m. PST/12 p.m. EST. To access it, you’ll need the Dungeon Key Dungeon Key. Before diving in, make sure to pick up the quest called “The Drowning Labyrinth”.
How to Unlock Sundered Doctrine:
- Acquire the Final Shape Dungeon Key (unless you purchased the FInal Shape Deluxe Edition)
- Pick up the The Drowning Labyrinth questline in the Tower.
- Launch the dungeon from the Director
Also, make sure to have the 1995 Power, which is a standard requirement for most endgame content.
Dungeon Race Rules
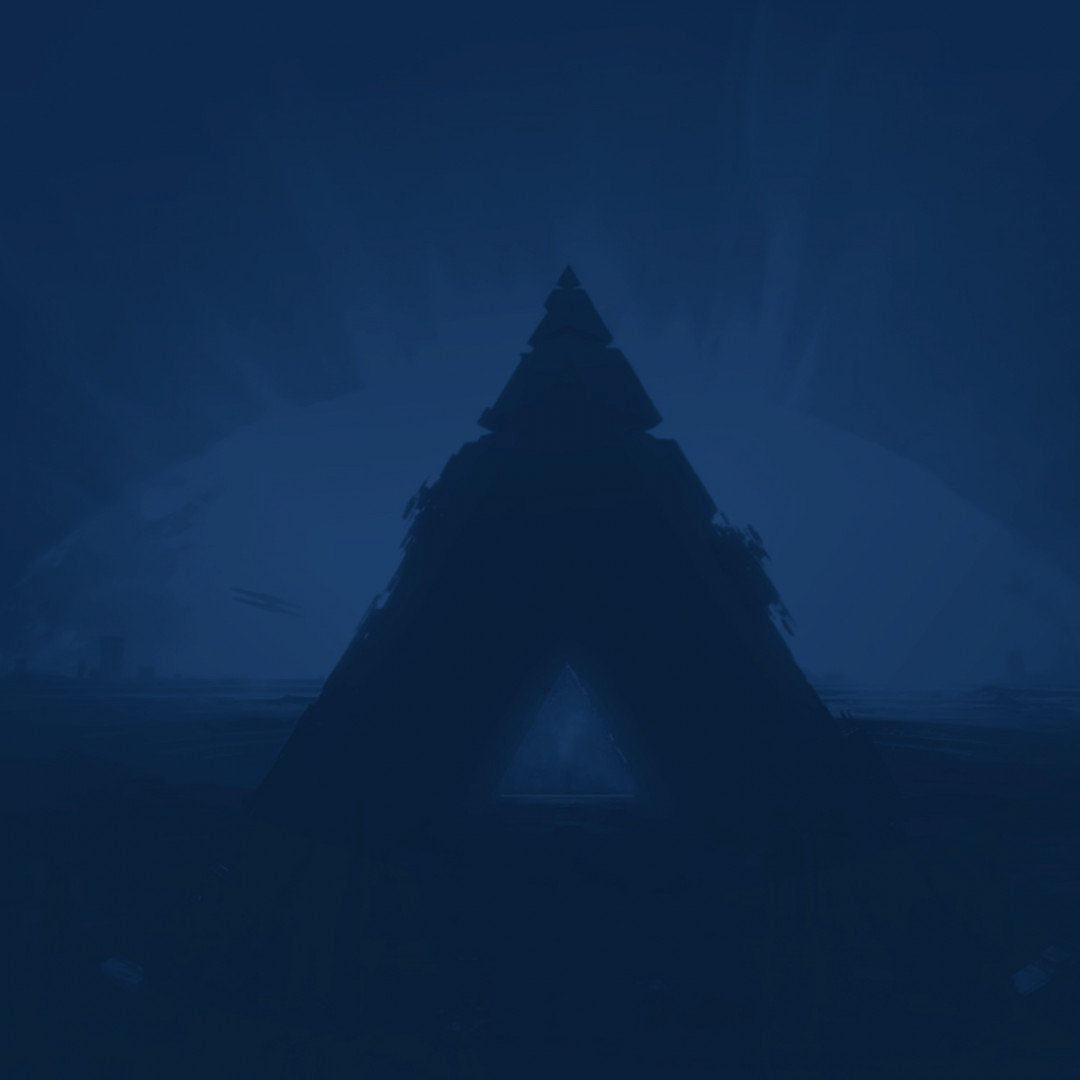
Per tradition, the world’s first race of this dungeon will have certain weapons, armor, and perks will be disabled to maintain a level playing field for the world’s first race. Sundered Doctrine location is set inside Rhulk’s Pyramid Ship in Savathûn’s Throne World, the dungeon will pit players against the Dread and Hive while introducing new mechanics and loot.
As with previous Contest Mode events, Bungie is restricting certain powerful items to prevent unintended advantages. While more updates are expected, here’s what has been confirmed so far:
- Auto-Loading Holster Perk
- Class-Specific Exotic Glaives
- Microcosm (disabled across Destiny 2)
Bungie has stated that additional items may be added to the disabled list leading up to launch, with a final list being locked in by 7 AM PT on Friday. BLOG20
A bit of a disclaimer: the following Sundered Doctrine guide will be written based on the race walkthroughs but adapted for the normal runs.
The Sundered Doctrine dungeon guide is now fully updated with all mechanics and secrets. Thank you for your patience, and we hope this helps you on your run!
Sundered Doctrine Dungeon Walkthrough
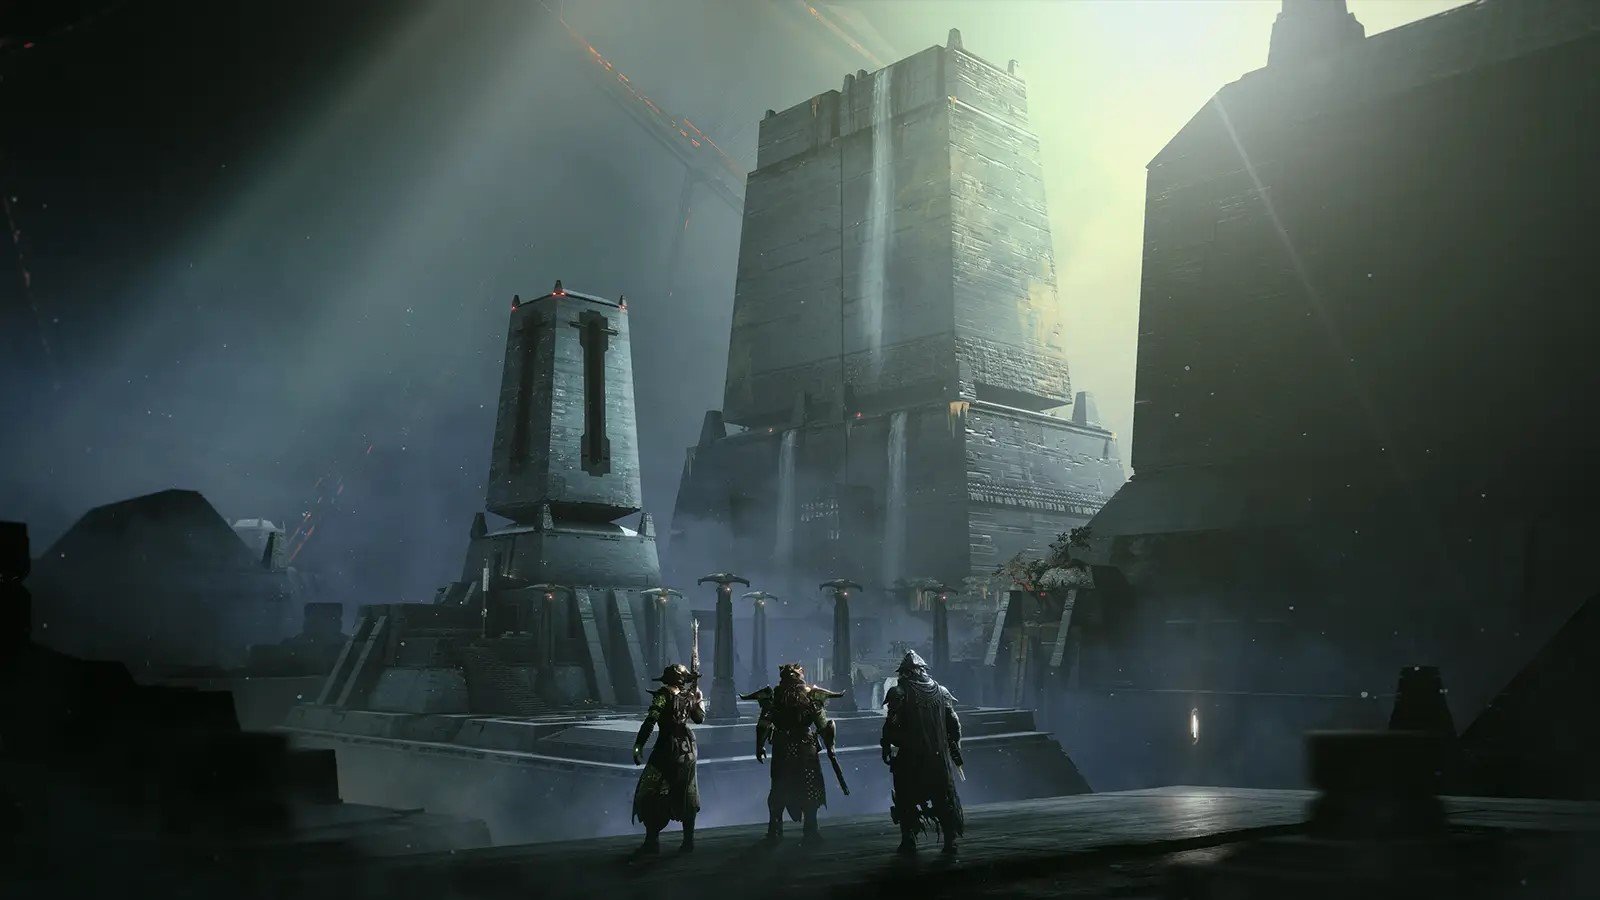
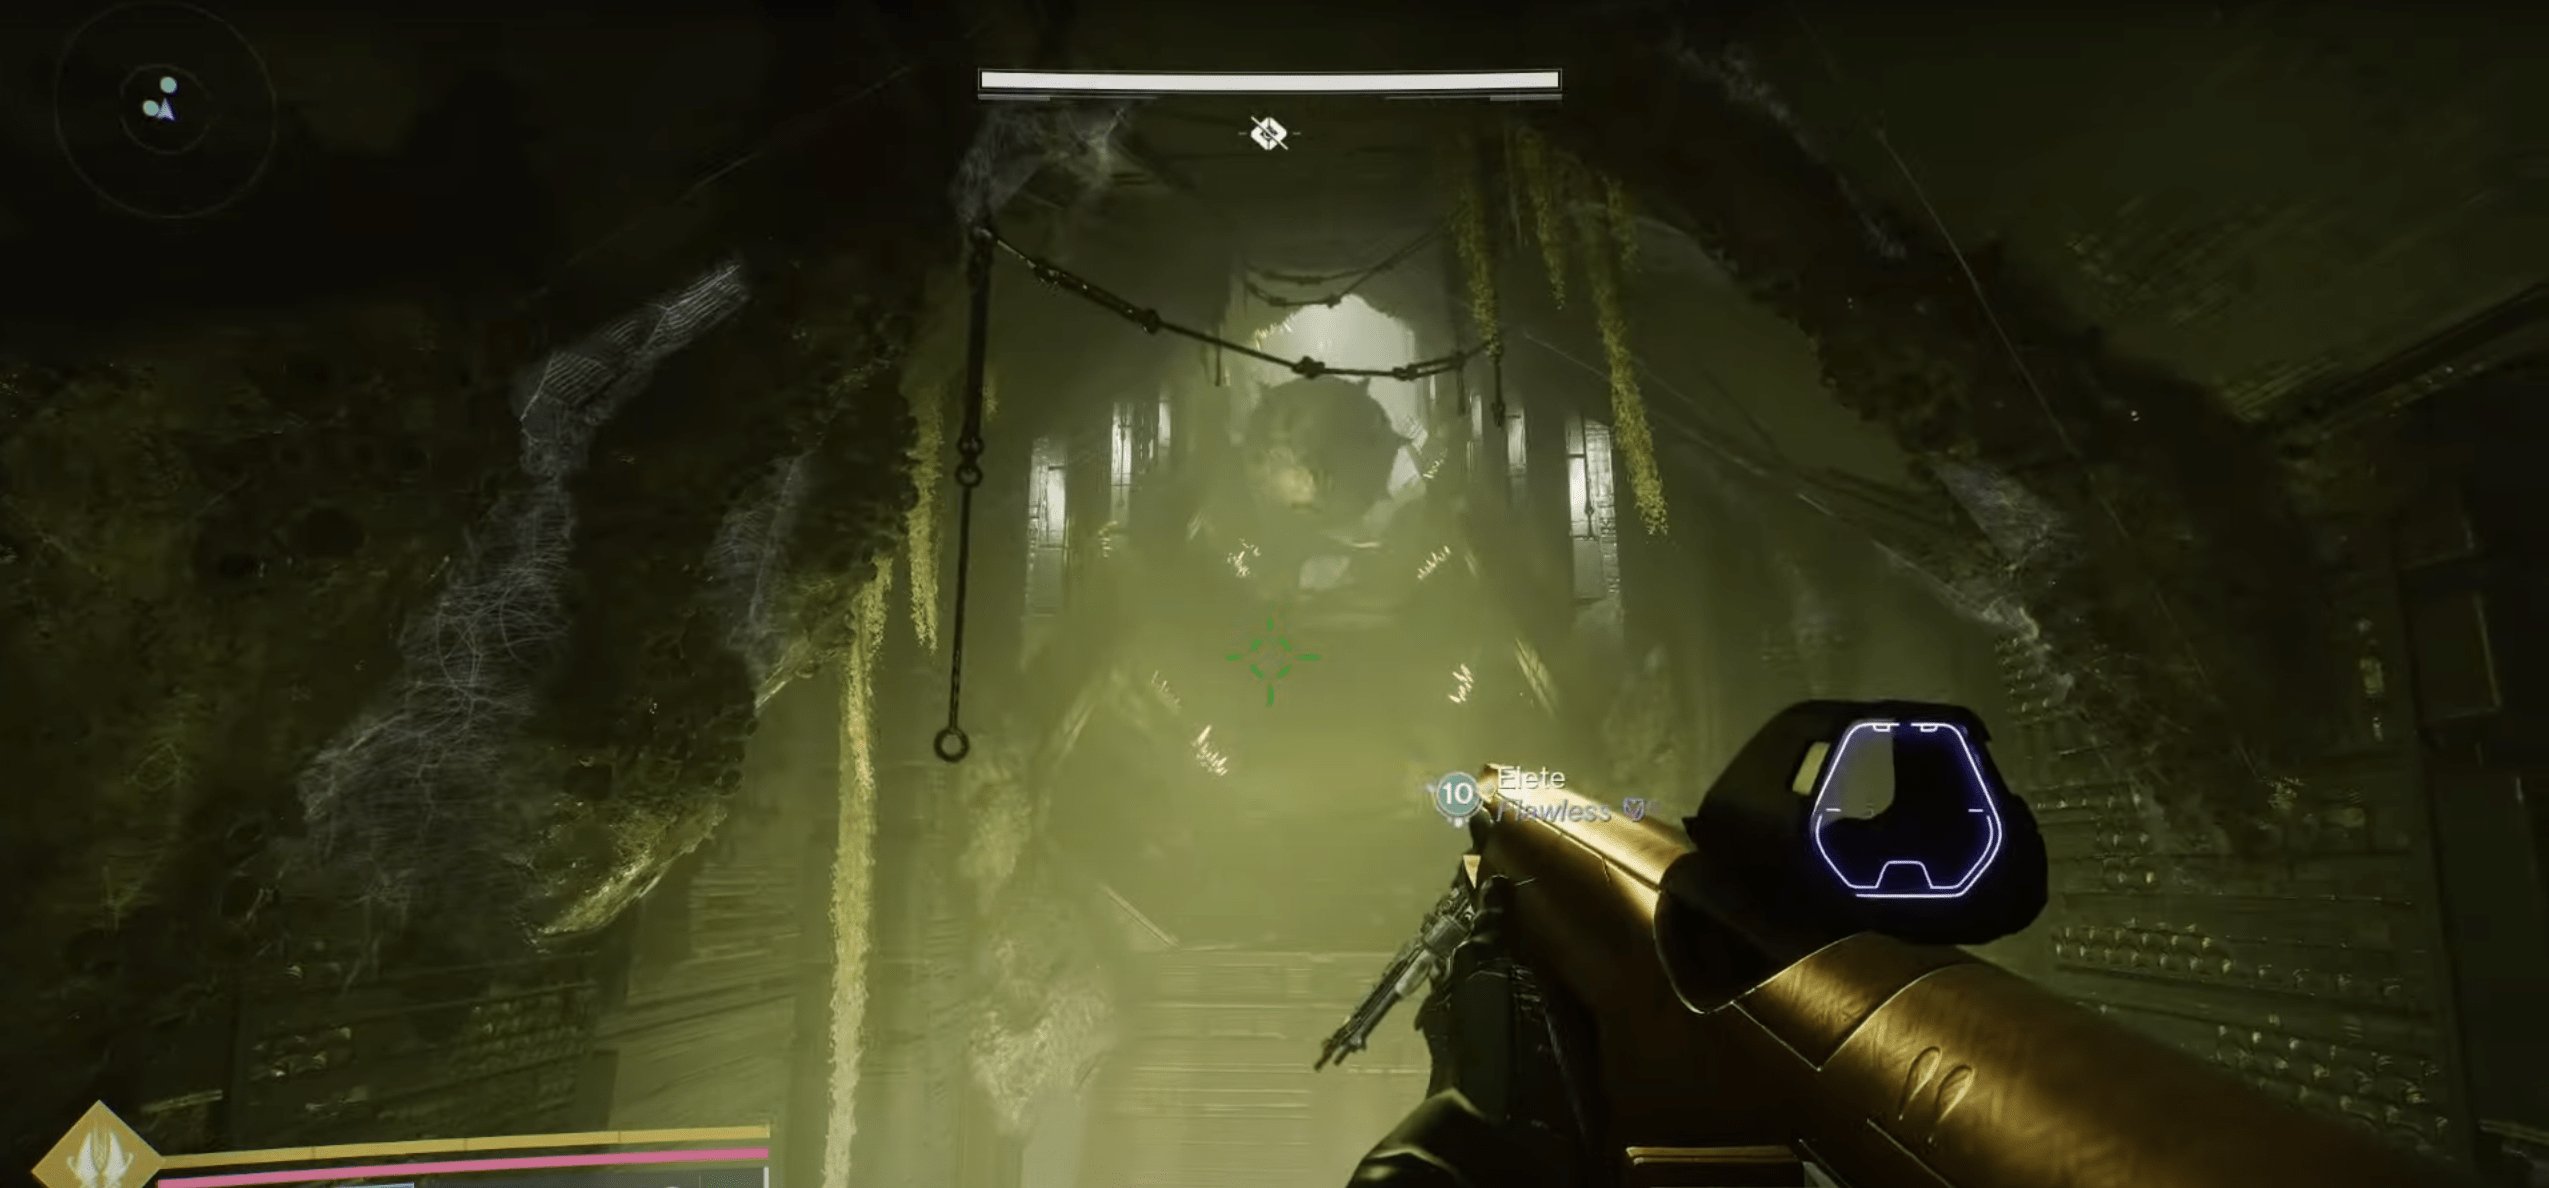
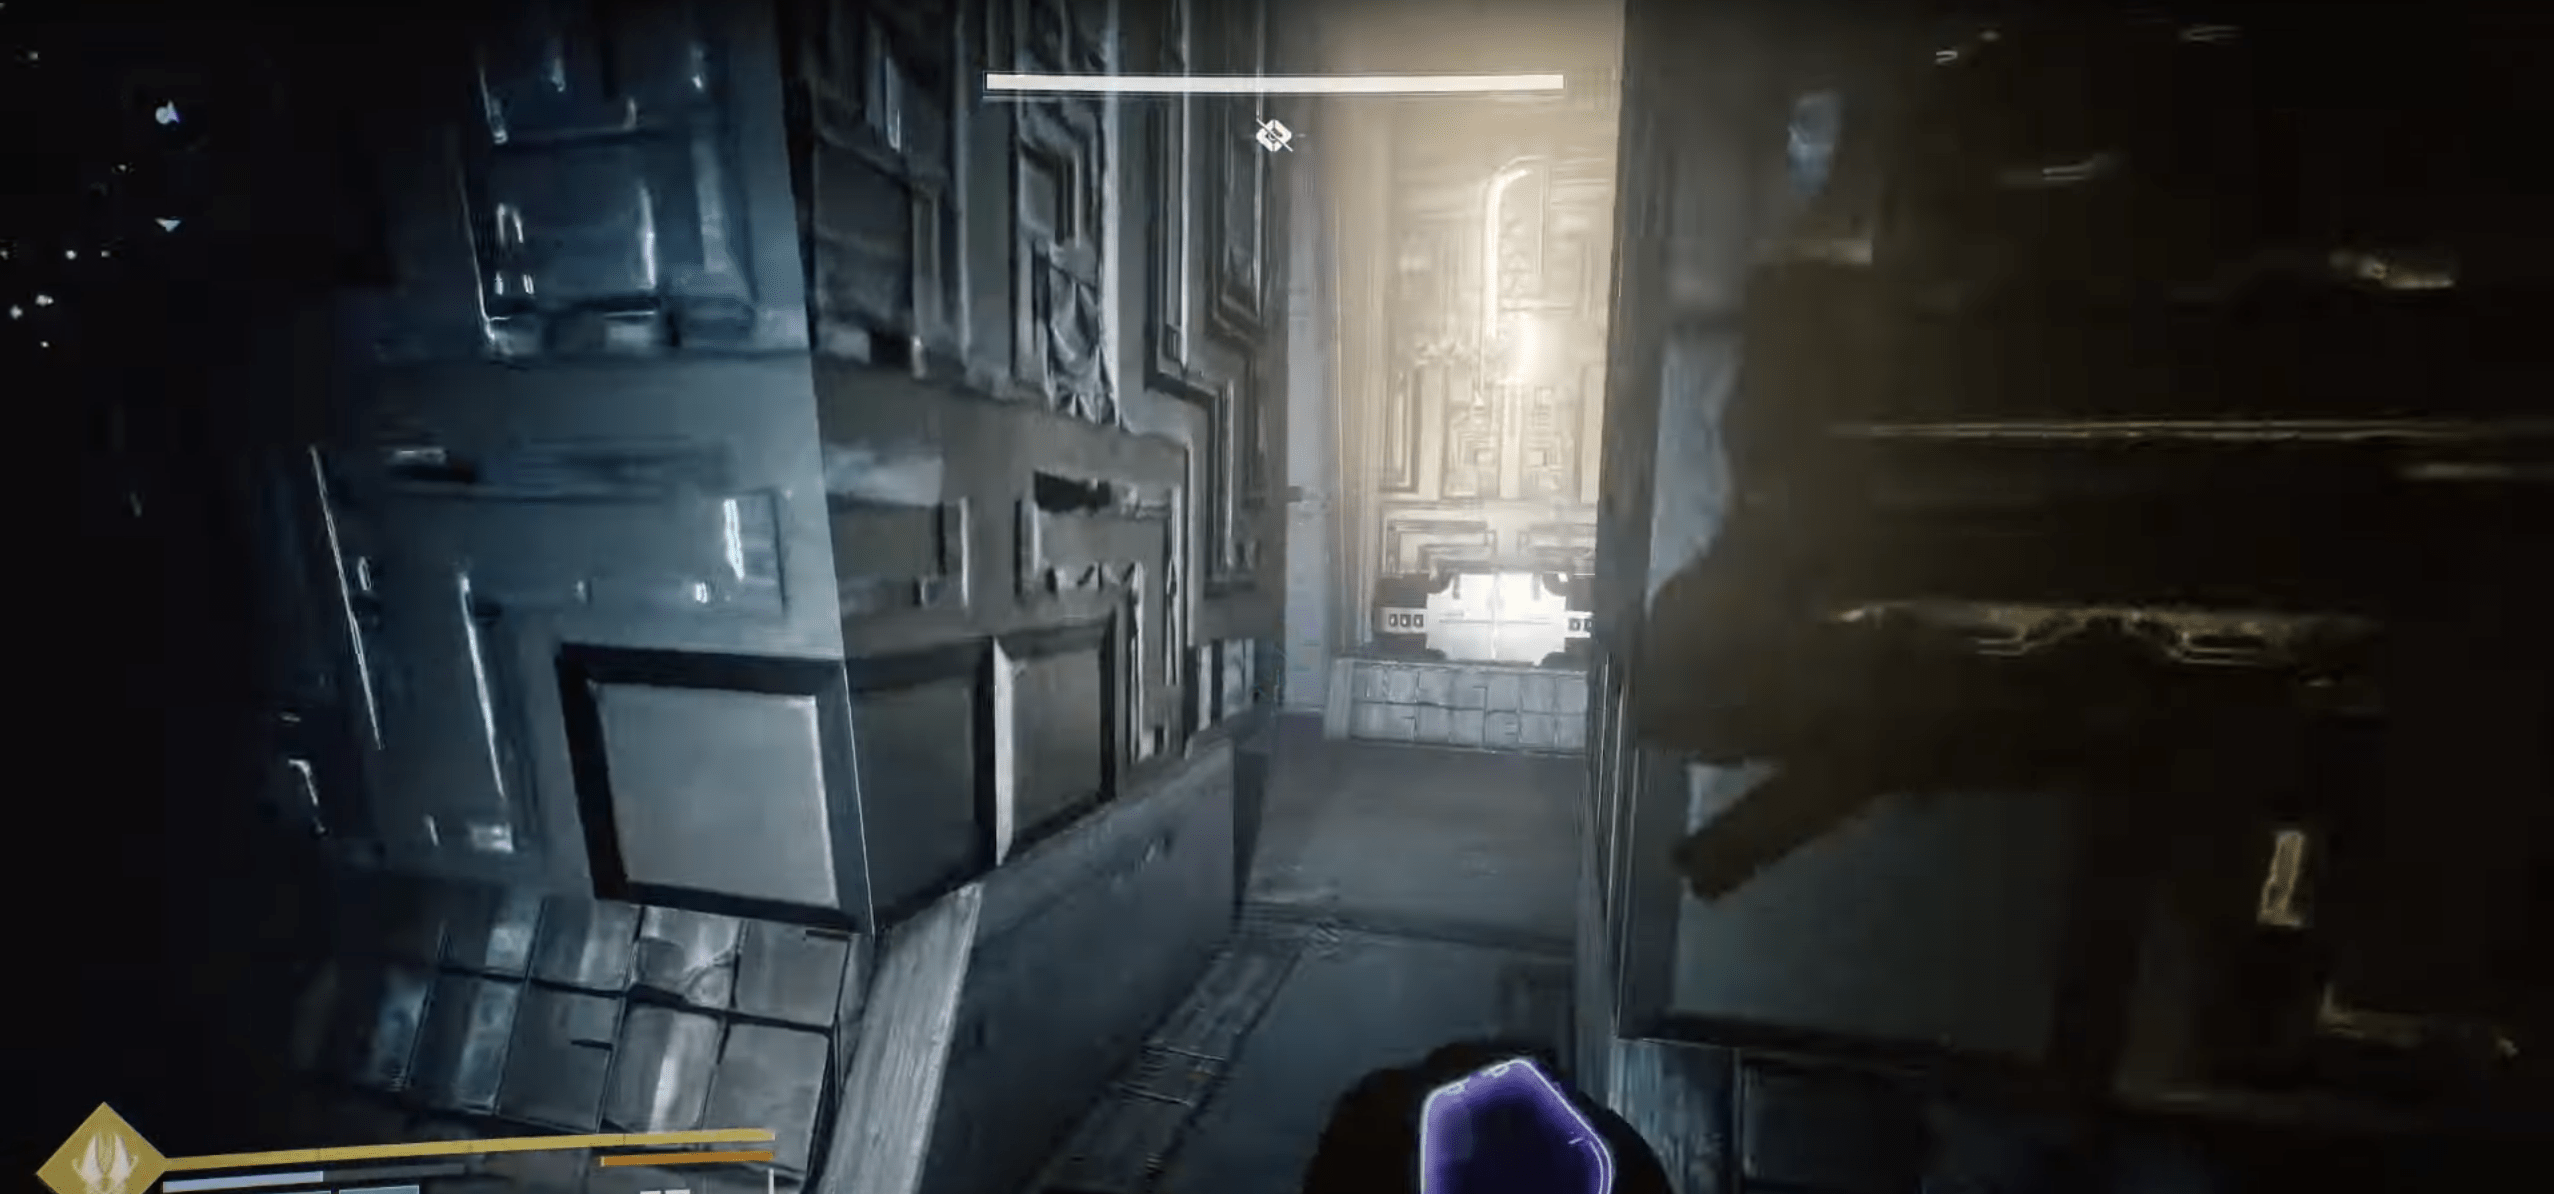
The Sundered Doctrine dungeon takes place inside Rhulk’s Pyramid Ship, and your first objective is to find a way forward. The starting area, Flooded Inspection, is relatively linear. Follow the path while eliminating Dread and Hive enemies, including two Subjugators that can be crowd-controlled and finished off.
Traversal: Entering the Dungeon
After defeating the initial waves of enemies, look for a hidden passage behind a waterfall, marked by two red lights high above in the back of the room. Drop down into this hidden section to proceed.
As you progress deeper, you'll find yourself in a narrow maze-like area filled with crumbling platforms and hidden paths. Be prepared for tight spaces and sudden drops—take your time to avoid falling into bottomless pits. Eventually, you'll encounter a long hallway where a damaging darkness beam cuts across your path. Avoid stepping into the beam for prolonged periods, as it deals continuous damage. Instead, follow the path carefully and look for breaks in the beam where you can move safely.
At the end of this corridor, the beam will be shining onto a circular wall panel with three symbols. This marks your entrance to the first encounter: The Riddle.
Solving the Lens Puzzle
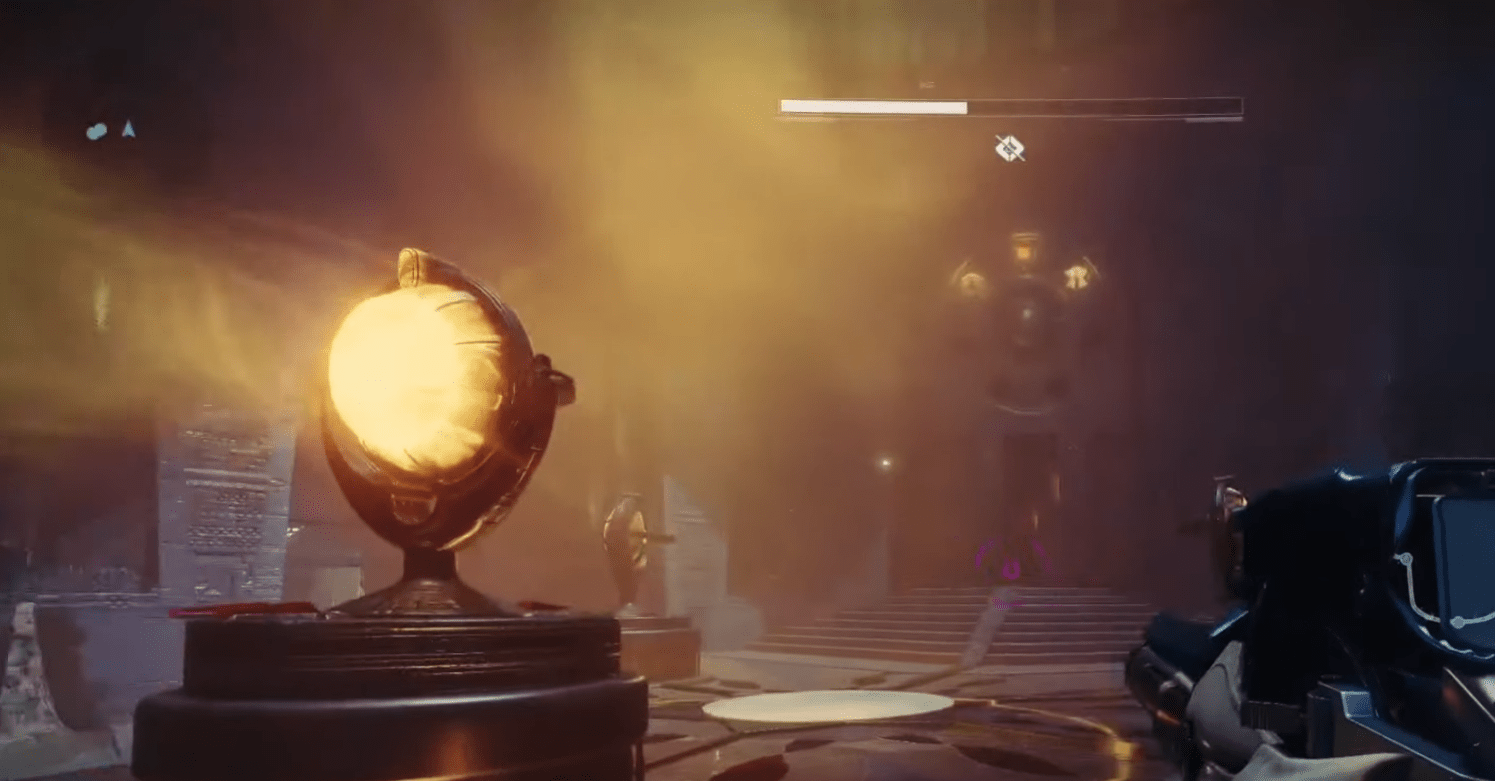
Inside the first encounter room, you'll find three rotating darkness lenses that direct a beam of darkness toward various points in the room. The goal is to redirect the darkness beam to a specific symbol on a circular plate in one of four adjacent rooms.
At the center of the area, you’ll notice a large tablet with seven empty symbol slots—this is your reference point. The symbols on the plates in neighboring rooms will change every time you activate the puzzle.
How to Activate the Encounter
- Rotate a darkness lens to start the encounter. This will randomly assign symbols to the main tablet.
- Darkness nodes will appear over the initial lenses—shoot them to activate the lenses.
- Each lens can point in three different directions—your task is to align them correctly to complete a pathway of darkness.
Finding the Correct Symbol
- Defeat a Truthspeaker Major Grim, a special enemy that drops a hint about which symbol to connect to.
- Find the corresponding circular plate in one of the four rooms.
- Kill a Subjugator to collect a lens. Place it along the beam’s path and rotate it to ensure the beam reaches the target symbol.
Puzzle Progression & Difficulty Increase
- First round – Complete one beam connection.
- Second round – Complete two beam connections.
- Final round – Complete three beam connections.
Only one Major Grim spawns at a time, so you must solve each beam one at a time before progressing to the next.
Failure Consequences
- Connecting the beam to the wrong symbol spawns a Tormentor in the center of the room.
- If a lens is placed and immediately connected to the beam, it breaks after three rotations. Always rotate before placing it to avoid unnecessary resets.
After successfully aligning all three beams, the encounter will end, and you can proceed to the next section of the dungeon.
Traversal: The Rolling Spike Traps
After completing the first puzzle, you’ll move into a new section of the dungeon that serves as an environmental hazard challenge. This area consists of a long, sloped corridor where massive, spiked boulders roll down at high speed. One wrong move can send you back to the start—or worse, eliminate you.
The safest way to navigate this area is by sticking to the side alcoves. These small recesses in the walls provide temporary cover from the rolling spikes. Watch the pattern of the boulders carefully and move forward only when the path ahead is clear. Timing is key here—if you hesitate too long, the next wave of boulders will roll in quickly.
Once you make it past the first rolling section, you'll enter a hallway where boulders now roll across your path instead of down a slope. Here, patience is crucial—observe the gaps between each rolling spike trap and sprint across as soon as there’s an opening.
As you progress toward the second encounter, you'll come across two lenses, each aimed at a symbol wheel on the wall. These wheels determine the symbols required to unlock the door ahead.
1. Defeat Enemies & Collect Resonance Splinters
- Slay enemies in the area, particularly Wizards, which drop Darkness objects (Resonance Splinters).
- Picking up these Splinters grants one of three buffs:
- Heightened Knowledge (1 Splinter) – Moves the symbol one space forward.
- Brimming Knowledge (2 Splinters) – Moves the symbol two spaces forward.
- Overflowing Knowledge (3 Splinters) – Moves the symbol three spaces forward.
2. Match the Symbols on the Door
- The door ahead displays two symbols—one on the left and one on the right.
- Your goal is to rotate the glowing symbols on the wheels until they match the ones on the door.
3. Deposit Resonance Splinters
- Interact with each wheel and deposit Splinters to shift the symbol to the correct number of positions.
- If the symbol needs to move fewer spaces, deposit fewer Splinters.
- If the symbol needs to move in the opposite direction, shoot the Crux above the wheel to change its rotation.
- Once both wheels display the correct symbols, the door will open, leading to the Zoetic Lockset encounter.
At the end of this section, you’ll find yourself in a chamber with multiple large, rotating wheels displaying glowing symbols. This marks the start of the next major challenge: The Zoetic Lockset Encounter.


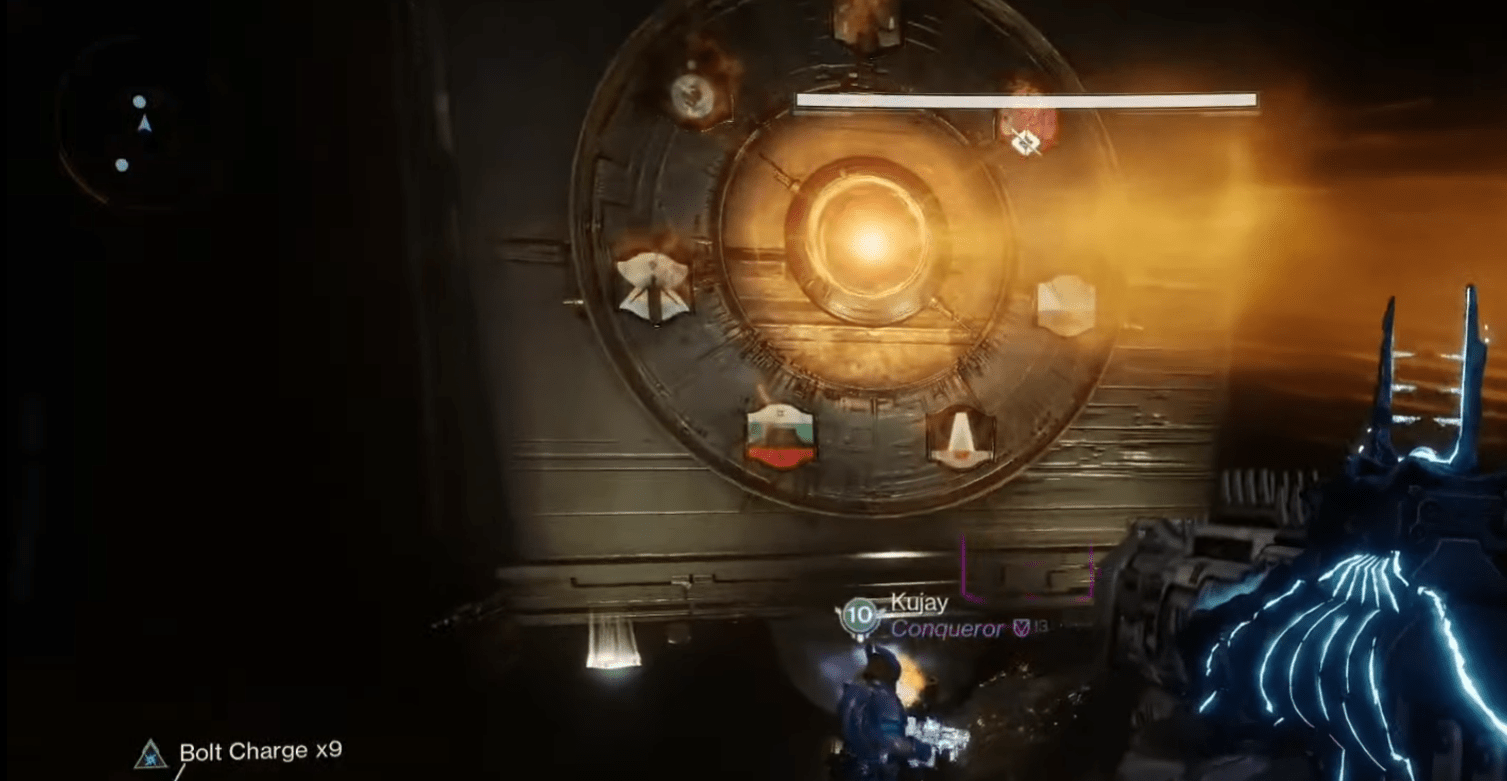
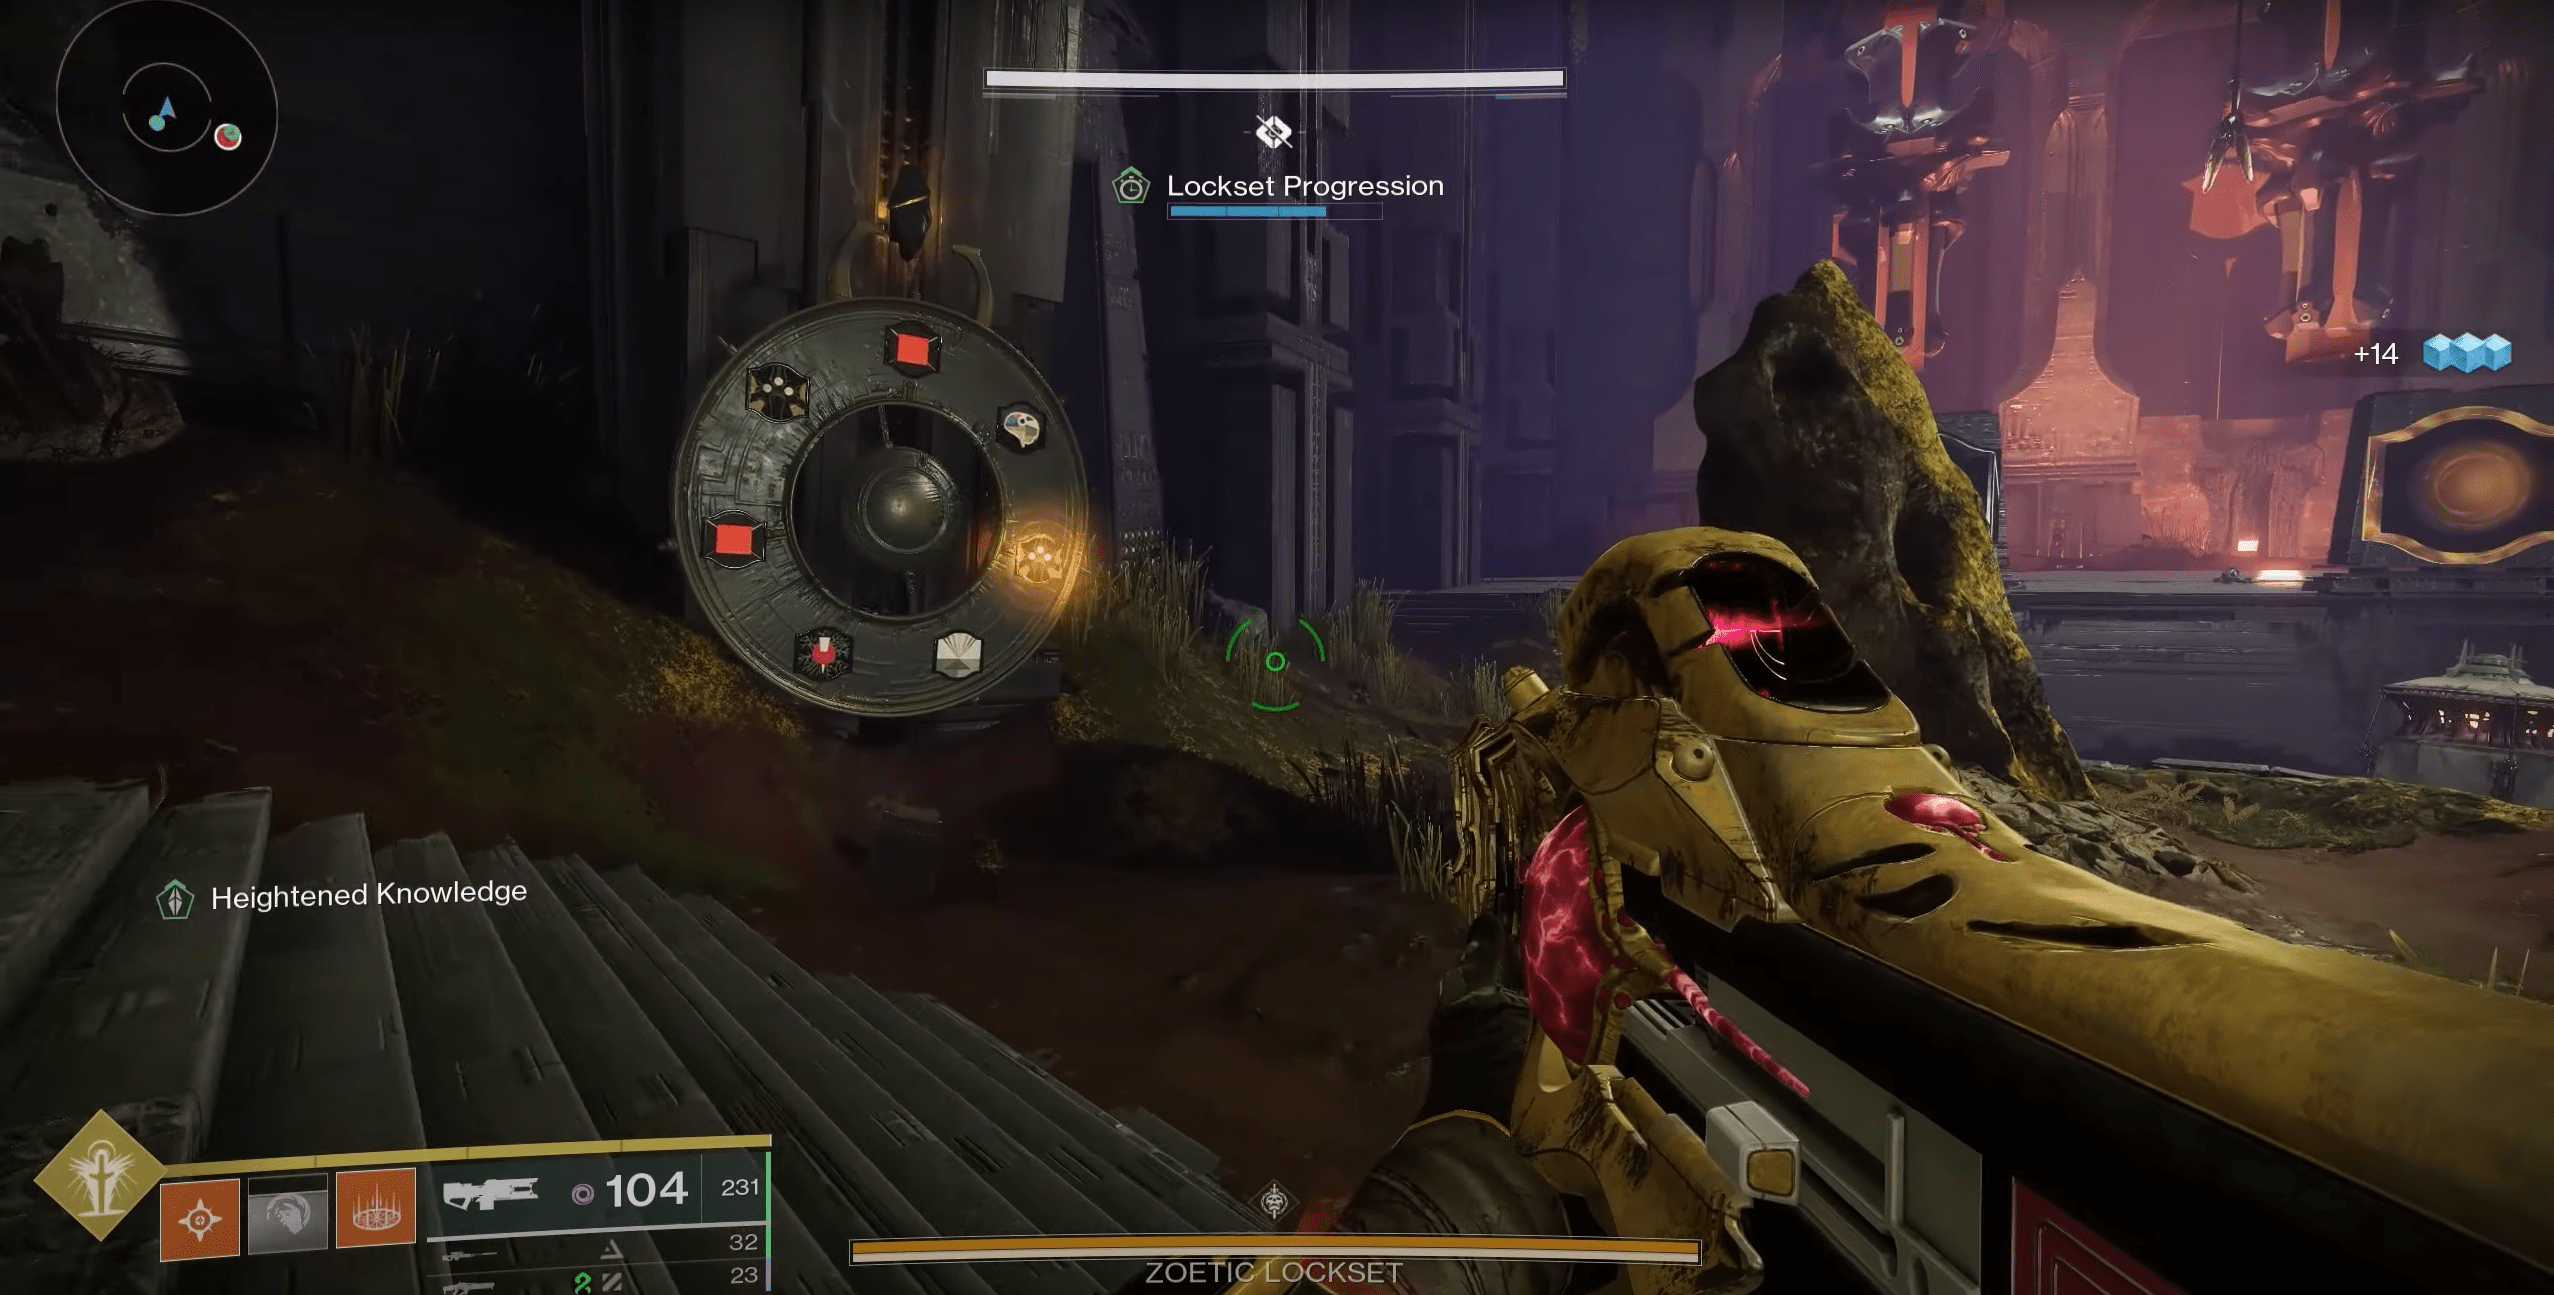
Boss Encounter: Zoetic Lockset
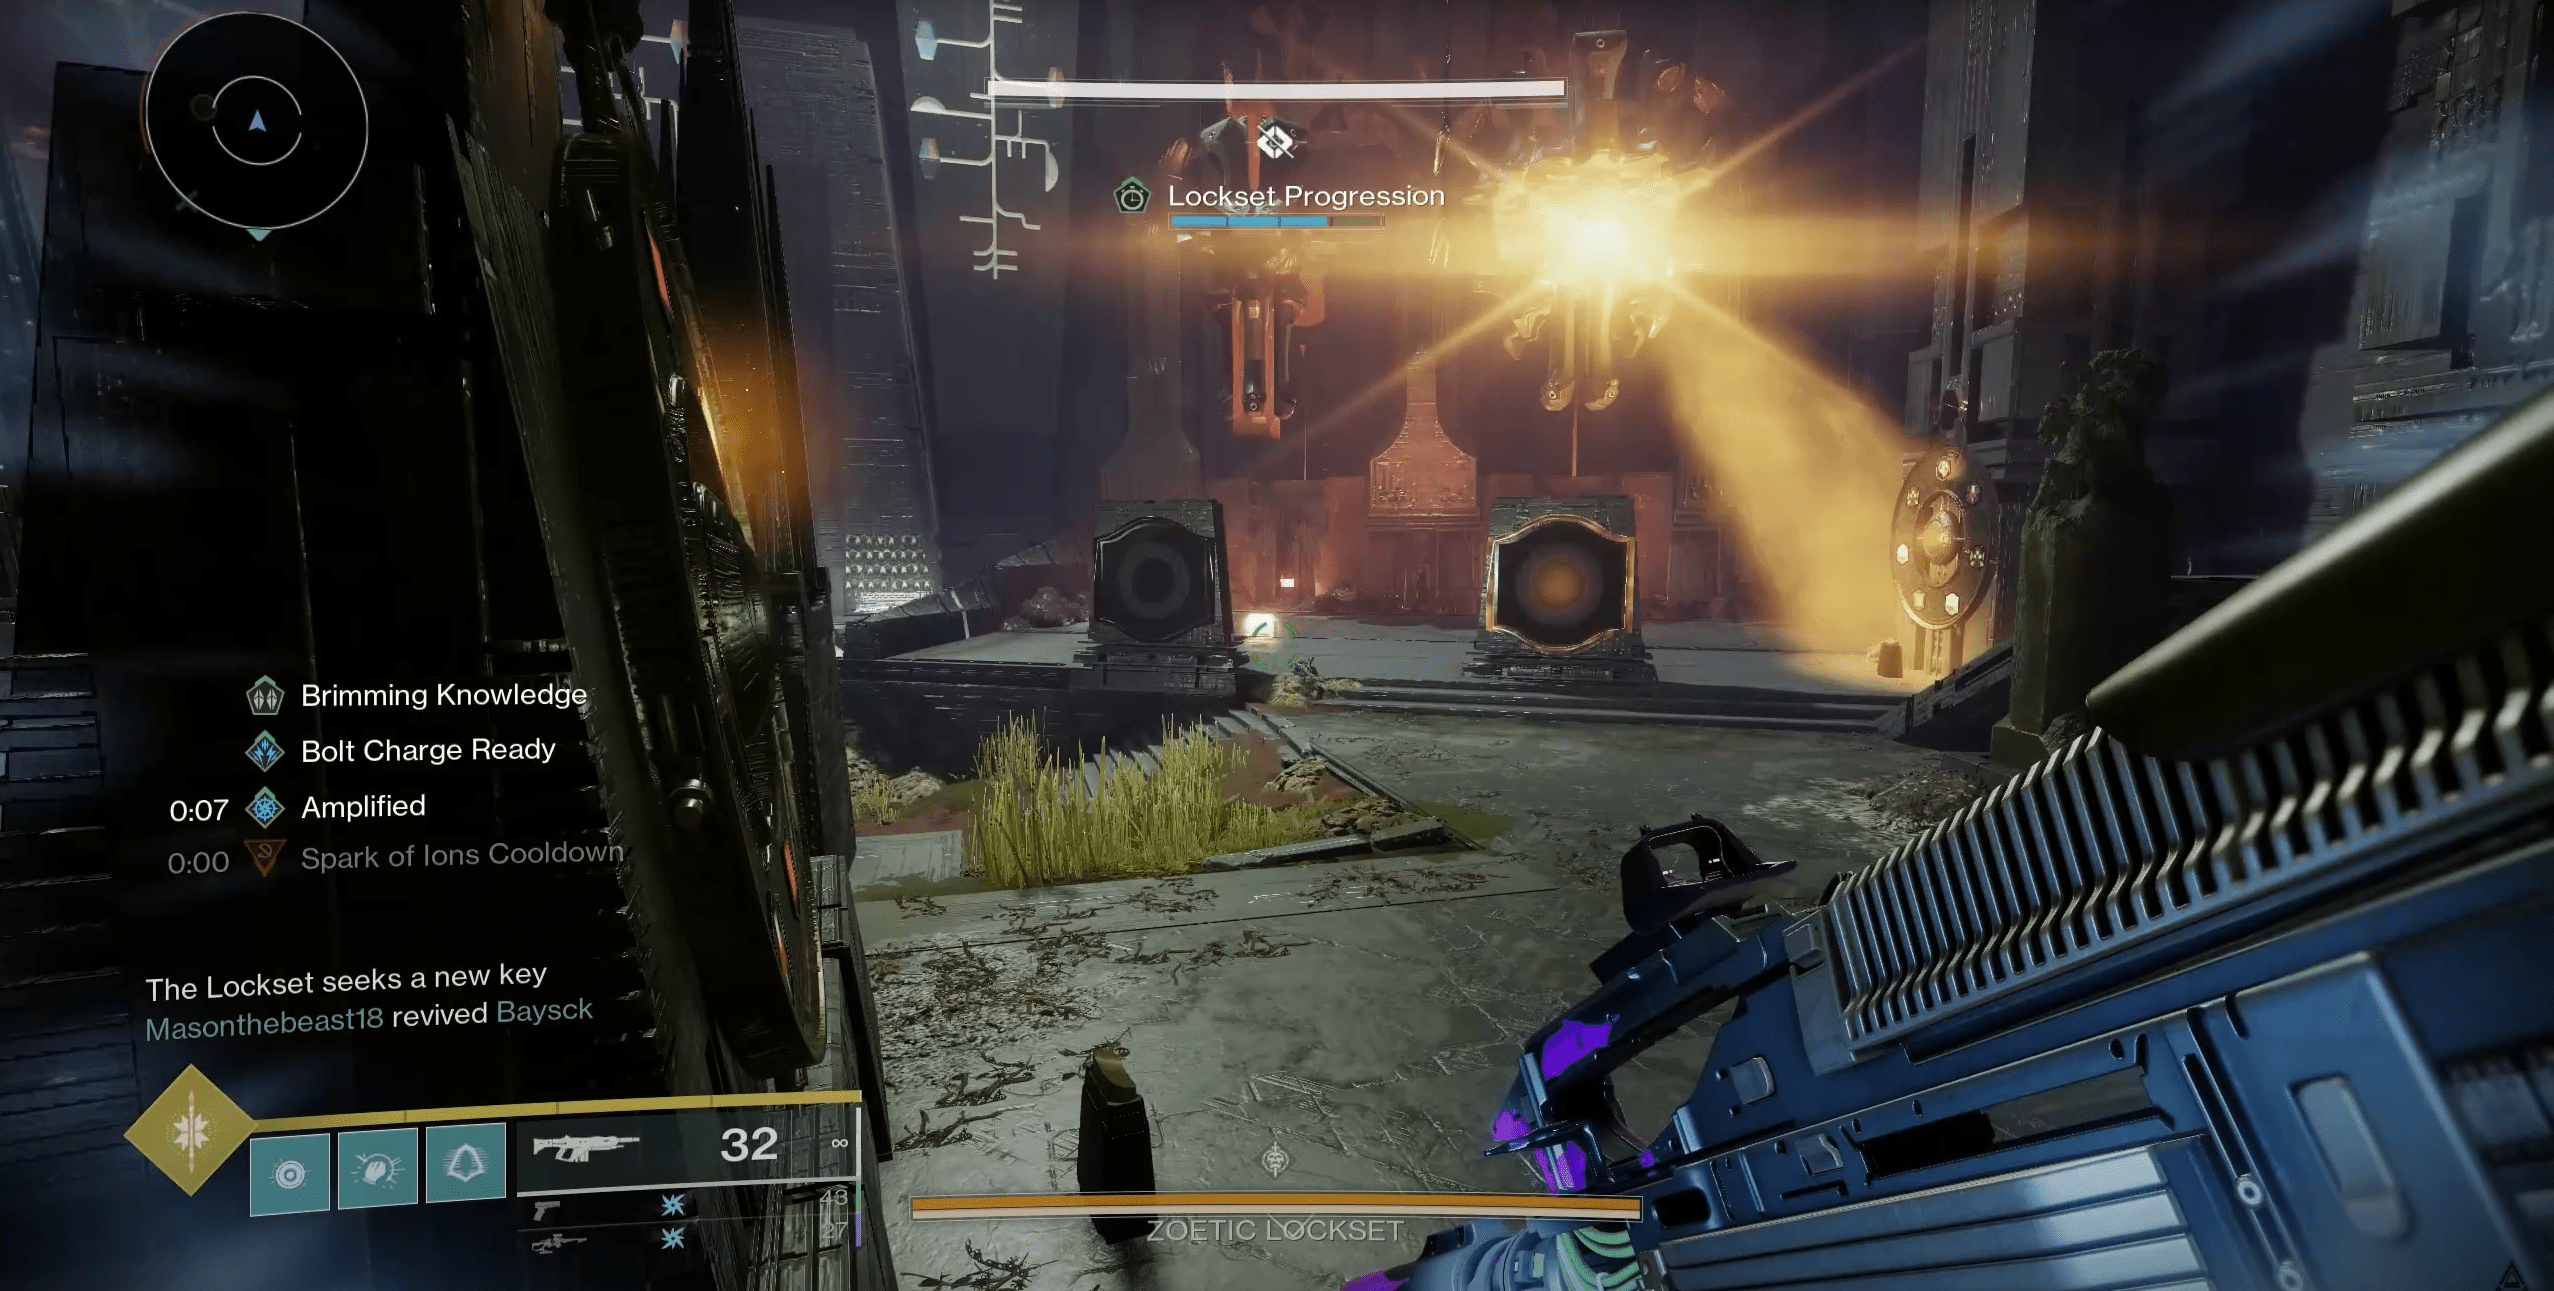
As you enter the arena, a Lockset Progression Bar appears at the top of your screen. This bar tracks the sequence of events as Shriekers gaze at the wheels in four stages (leftmost to rightmost), locking in their glowing symbols one by one.
New symbols appear on the blank wheels as the Lockset Progression Bar advances, meaning players must check back frequently to adjust newly assigned symbols.
The room is filled with tablets bearing symbols, and display panels showing different icons. These symbols determine how the damage phase is triggered, how long it lasts, and what enemies spawn during the fight.
Zoetic Lockset expands upon the lens-based mechanics from the first encounter but introduces rotating wheels with glowing symbols that dictate enemy spawns, extend or shorten the damage phase, and determine whether the boss becomes vulnerable at all. Success in this fight depends on correctly rotating and aligning the symbols before the Shriekers lock them in.
Understanding the Wheel Mechanics
Throughout the arena, you’ll find four large wheels, each with a glowing symbol at the center. These symbols can be rotated to change their displayed icon. Above each wheel, a Crux of Darkness can be shot to reverse the rotation direction.
At the start of the encounter, some wheels will not have symbols yet. As the Lockset Progression Bar advances, these wheels gain symbols, meaning players must check back frequently to adjust newly spawned symbols.
To rotate a symbol, you’ll need to collect Resonance Splinters, which drop from Wizards throughout the arena:
- Heightened Knowledge (1 Splinter) – Moves the symbol one position forward.
- Brimming Knowledge (2 Splinters) – Moves the symbol two positions forward.
- Overflowing Knowledge (3 Splinters) – Moves the symbol three positions forward.
If you need to rotate the symbol in the opposite direction, shoot the Crux of Darkness above the wheel before depositing Splinters.
The Fixed Order of Locking Wheels
Shriekers always gaze at the wheels in the same order:
- Leftmost wheel (Blank at first, later gains a random symbol).
- Second wheel (left of bridge) – This wheel usually gets a Knowledge symbol, triggering Wizard spawns.
- Third wheel (right of bridge) – This wheel is often blank at first.
- Rightmost wheel – This is the final locked-in symbol, so teams should prioritize adjusting this first. Players should start with Stop on this wheel to prevent Ogres and enemy spawns.
After all four wheels have been locked, their final symbol dictates the encounter's next phase.
Choosing the Right Symbols & Preparing for DPS
Each locked-in symbol directly impacts the fight, determining whether the encounter will be manageable or chaotic. Some symbols help you extend the damage phase, while others spawn powerful enemies that can disrupt your run.
Once the Shriekers gaze at a wheel, they lock in that wheel’s glowing symbol, which dictates what happens during DPS.
| Symbol | Effect |
| Kill | Triggers the DPS phase when a Shrieker reads it. |
| Commune | Extends the DPS phase, allowing for more damage time. |
| Hive | Spawns an Ogre to disrupt players. |
| Brain | Spawns a Knight that must be dealt with. |
| Stop | Temporarily stops additional enemy spawns. |
To maximize your damage phase, the ideal setup is:
✔️ Three Commune symbols to extend DPS.
✔️ One Kill symbol to trigger the damage phase.
✔️ (Optional) One Stop symbol to reduce enemy spawns.
Under no circumstances should Hive symbols be locked in, as Ogres can quickly turn the fight into chaos.
Once all four Shriekers have locked in their symbols, the final symbol determines if the DPS phase will begin. If a Kill symbol is locked in last, Zoetic Lockset’s shield will drop, signaling the start of the damage phase. If the symbols are set incorrectly, the boss remains immune, and you must repeat the sequence.
Damage Phase & Managing Additional Mechanics
Once the Kill symbol is locked in, the damage phase begins. However, the length of this phase depends on how many Commune symbols were locked in beforehand. The more Communes, the longer your team has to burn the boss.
During DPS, the Shriekers will periodically open and close, so positioning is key. Your fireteam should stay in an area where you can consistently damage multiple Shriekers, shifting between targets as needed.
Placing a Well where both leftmost and rightmost Shriekers are visible ensures maximum uptime for DPS.
💀 Beware of Enemy Reinforcements
- If a Stop symbol was locked in, enemy spawns will be reduced.
- If Hive symbols were locked in, Ogres will spawn, making survival much harder.
- If Commune symbols were locked in, the DPS phase will last longer.
For maximum damage output, use Linear Fusion Rifles (Sleeper Simulant, Cataclysmic, Queensbreaker with Catalyst) or Rocket Launchers. Divinity is a must-have due to the boss’s frequent movement and small crit spot. Additionally, Particle Reconstruction (artifact mod) significantly boosts Linear Fusion Rifle damage.
If Zoetic Lockset isn’t defeated in one phase, the encounter resets, and players must repeat the wheel alignment process. New randomized symbols will appear, requiring last-minute adjustments. BLOG20
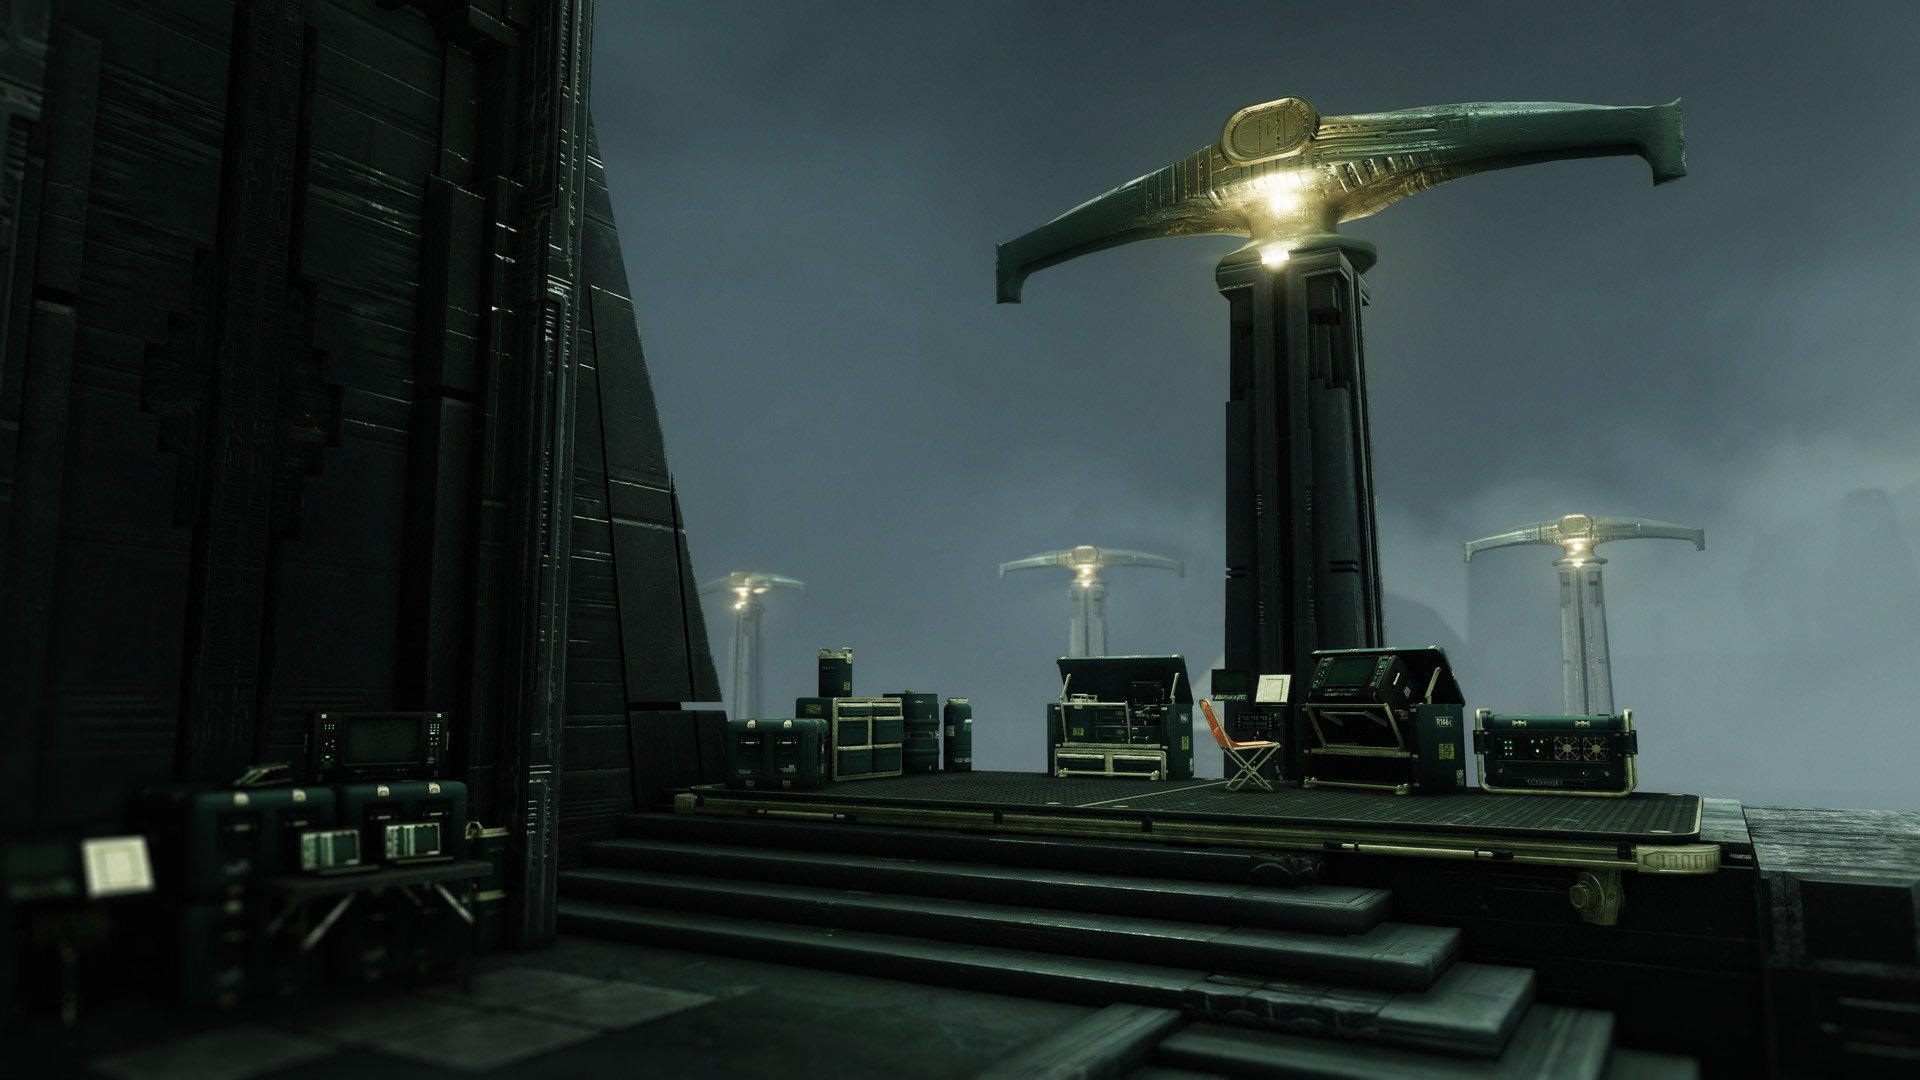
Traversal: Unlocking the Final Encounter
After defeating Zoetic Lockset, the path forward is locked behind a strange mechanism requiring interaction. To progress, you must locate and shoot one of the glowing eyeballs that drop from the defeated boss. Carry this glowing sphere to the center of the arena and place it inside a designated slot on the floor. Doing so will trigger a mechanism that unlocks the next door, allowing you to move forward.
Beyond this, the dungeon presents one final traversal challenge before the final boss. You'll enter an open space where gravity is manipulated—you'll feel an upward force pulling you toward floating platforms. Carefully navigate these floating structures while eliminating enemies stationed along the way. The platforms are unstable, and missing a jump can send you plummeting, forcing you to restart this section.
Near the top of this platforming challenge, you'll find another set of lenses pointing at a tablet with two symbols. To proceed, you must realign the lenses so they correctly illuminate the matching symbols on the nearby wall. This puzzle is similar to the first encounter but requires more precise positioning due to the limited space.
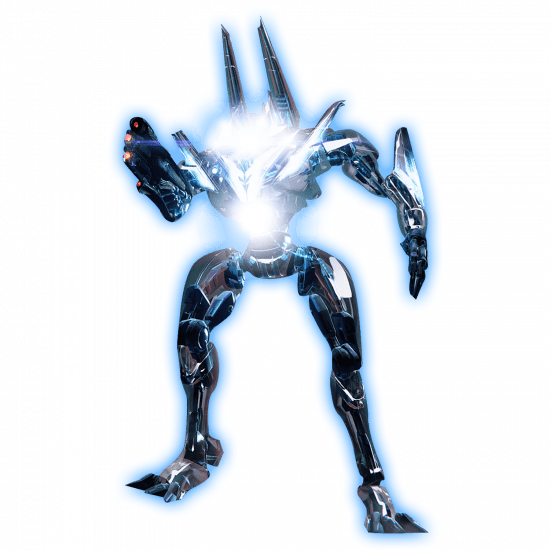
Once completed, a final doorway will unlock, leading to Kerrev, The Erased—The Final Boss of the Sundered Doctrine Dungeon.
Boss Encounter: Kerrev, The Erased
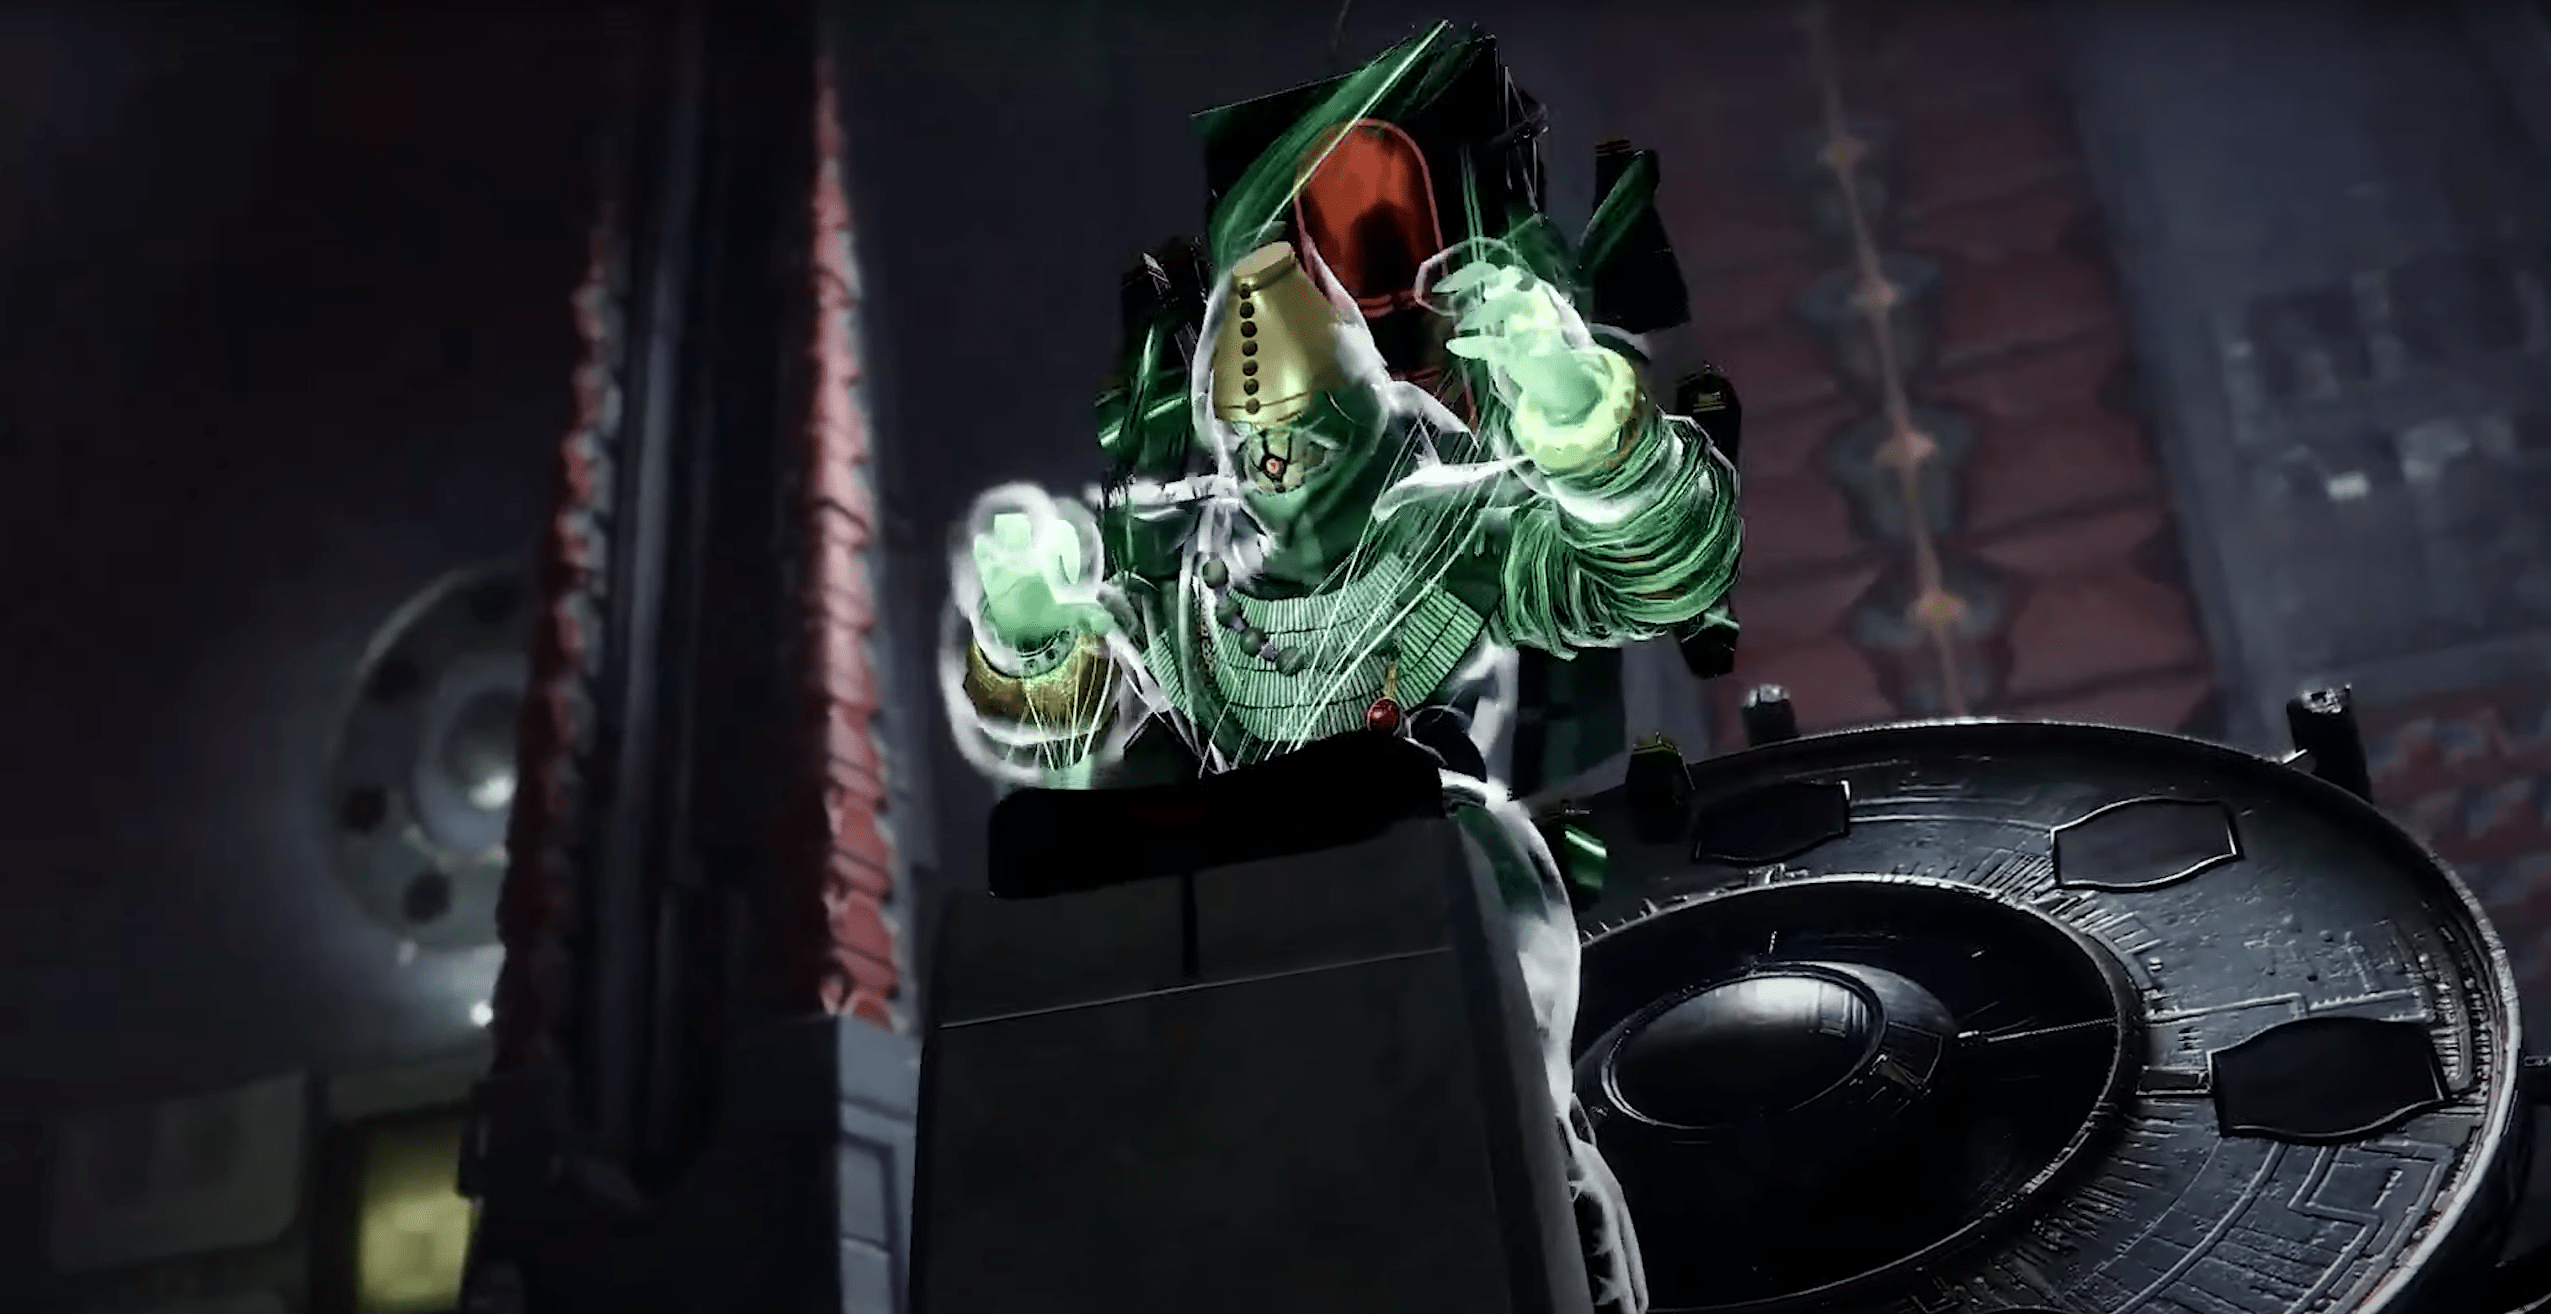
The final boss fight in Sundered Doctrine takes place in Rhulk’s Pyramid Ship and combines the lens mechanics from the first encounter with a new Truth and Lie puzzle system. Expect to rotate lenses, align beams, and input the correct symbols while dealing with a fast-moving Scion-type boss.
Arena Layout & Room Mechanics
The encounter takes place across three primary rooms:
- Middle Room – This is where the boss stands, surrounded by a large circular structure with six symbols (three on each side).
- Right Room – Can be accessed by standing on a pressure plate that lowers, opening a passage.
- Left Room – Accessible by shooting a door open, but the door will close if you stop shooting. Use a Machine Gun, Fusion Rifle, or other rapid-fire weapon to keep it open.
- Lower Room – Beneath the central arena, another passage may need to be accessed for mechanics.
Each of these areas contains symbols, which you’ll need to activate correctly to proceed.
Understanding the Truth & Lie Puzzle
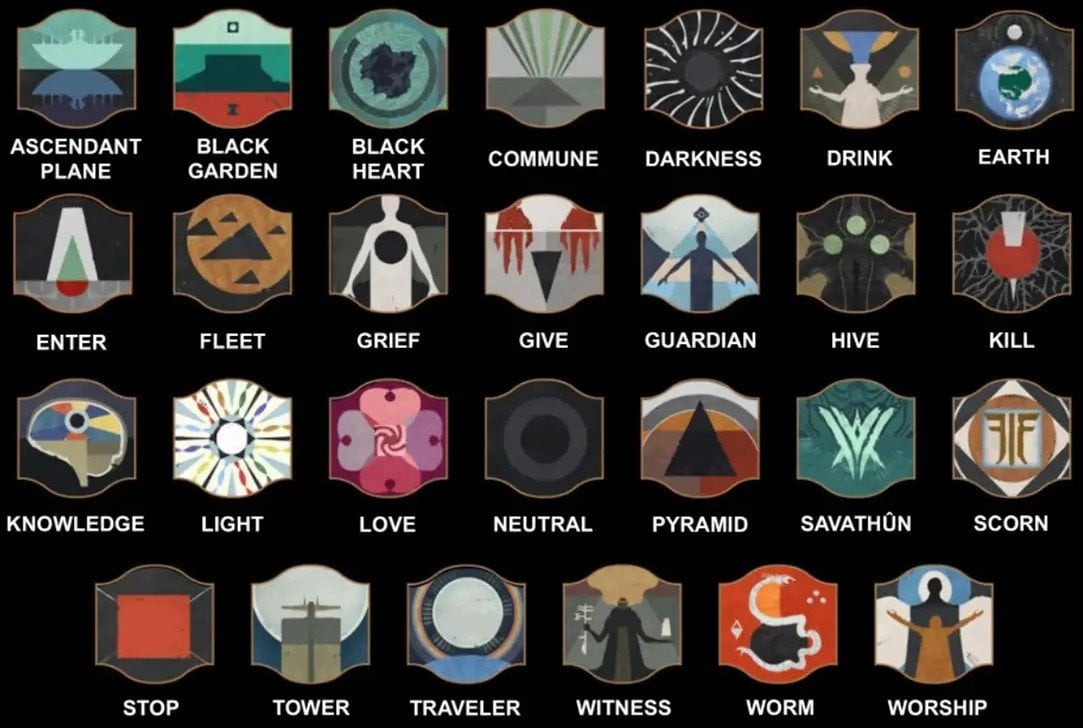
At the start of the encounter, a large symbol display in the Middle Room presents two different symbol sequences—one on the left and one on the right. Each sequence tells a story, but only one of them is true, while the other is a lie.
For example:
- Left Side: Pyramid → Give → Darkness
- Right Side: Hive → Kill → Worm
One of these statements represents an accurate piece of Destiny 2 lore, while the other is false. The goal is to illuminate the incorrect sequence—the lie—while ensuring the truth remains unlit.
To determine which side is false, players can either analyze the symbols manually or rely on a special enemy called the Truthspeaker, which spawns during the encounter. Killing the Truthspeaker reveals a symbol that belongs to the true sequence. The side that contains this symbol is the true side, meaning that the opposite side must be turned off, and the true side must remain on.
Once the lie has been identified, the team must rotate the lenses found in different areas of the arena to shine beams of light onto the three symbols that belong to the false statement.
Unlocking Lenses & Activating Symbols
Unlike the first encounter, where lenses were freely rotatable, many of them are now locked in place by Strand-tethered constraints. To free a locked lens, players must:
- Find and eliminate the red-bar Scions in the arena.
- Obtain the Unwritten Empowerment buff, which grants the ability to shoot and break the Strand tethers binding the lenses.
- Destroy all tethers attached to a lens to unlock it, allowing rotation.
These Strand locks can also affect Darkness pillars, which may block the beam paths to certain symbols. In some cases, players must shoot specific Darkness nodes to raise or lower pillars, ensuring the beams hit their intended targets.
Once all three lie symbols are properly illuminated by the beams, and the truth symbols remain unlit, the central console in the Middle Room will become interactable.
Triggering the Damage Phase
With the puzzle solved, one player must activate the central console to strip away the boss’s shield and begin the damage phase. However, failing the puzzle by incorrectly illuminating the symbols results in a wipe mechanic:
- If the truth symbols are accidentally lit, the Obelisk will unleash a scorching fire effect, forcing players to take cover behind pillars to survive.
- The boss's health will briefly drop to half, then fully regenerate, wasting an entire damage phase.
To ensure success, double-check that all three lie symbols are illuminated before interacting with the console.
Boss Behavior & DPS Strategies
Once the shield is removed, the fight enters a lengthy DPS phase, but there’s a major challenge—the boss is highly mobile. It will frequently teleport, use Strand-based abilities to yank players around, and attempt to disrupt Guardians mid-DPS. Because of this, accuracy and tracking are key.
To maximize damage:
- Use Divinity – Creates a stable crit spot on the boss, counteracting its rapid movements.
- Bring Linear Fusion Rifles – Sleeper Simulant, Cataclysmic, and Queensbreaker (with Catalyst) are all excellent choices for high burst damage.
- Stay mobile – The boss will constantly move and teleport, so repositioning frequently is crucial to maintaining consistent damage output.
If the team fails to one-phase the boss, the encounter resets, generating a new Truth/Lie puzzle. Players must repeat the process of determining the false statement, adjusting the lenses, and activating the console to re-enter the damage phase.
Key Mechanics & Challenges to Watch Out For
Several additional elements make this encounter even more challenging:
- Darkness Pillars Block Lenses – Some lenses may be obstructed by movable pillars, which must be manipulated by shooting Darkness nodes to allow beams to pass through.
- Enemy Reinforcements – Taking too long to align the lenses results in Dread Subjugators and additional enemies spawning, adding pressure.
- Strand Tethers Need to Be Cleared – Players must be quick in unlocking lenses, as failing to break tethers in time can stall the encounter.
- Obelisk Wipe Mechanic – If the wrong symbols are activated, the room will ignite, and players must take cover behind pillars to avoid dying.
The faster players determine the lie and align the lenses, the more time they’ll have for damage phases.
Strong ad-clear, precise lens adjustments, and optimized DPS loadouts will be the key to securing victory in this challenging final encounter.
Destiny 2 Sundered Doctrine Secret Chest Locations & Hidden Quests
The Sundered Doctrine dungeon holds hidden chests that offer extra loot, but they require solving environmental puzzles or finding hidden pathways. Below is a breakdown of how to locate and unlock each secret chest in the dungeon.
Secret chests in the Sundered Doctrine dungeon provide extra loot, including:
- Additional dungeon weapons & armor (previously unlocked items)
- Spoils of Conquest (if applicable)
- Upgrade materials like Enhancement Cores or Prisms
These chests do not drop new loot but instead reward gear you've already unlocked in previous runs. Farming them is great for additional rolls on dungeon weapons.
First Secret Chest – The Dark Maze
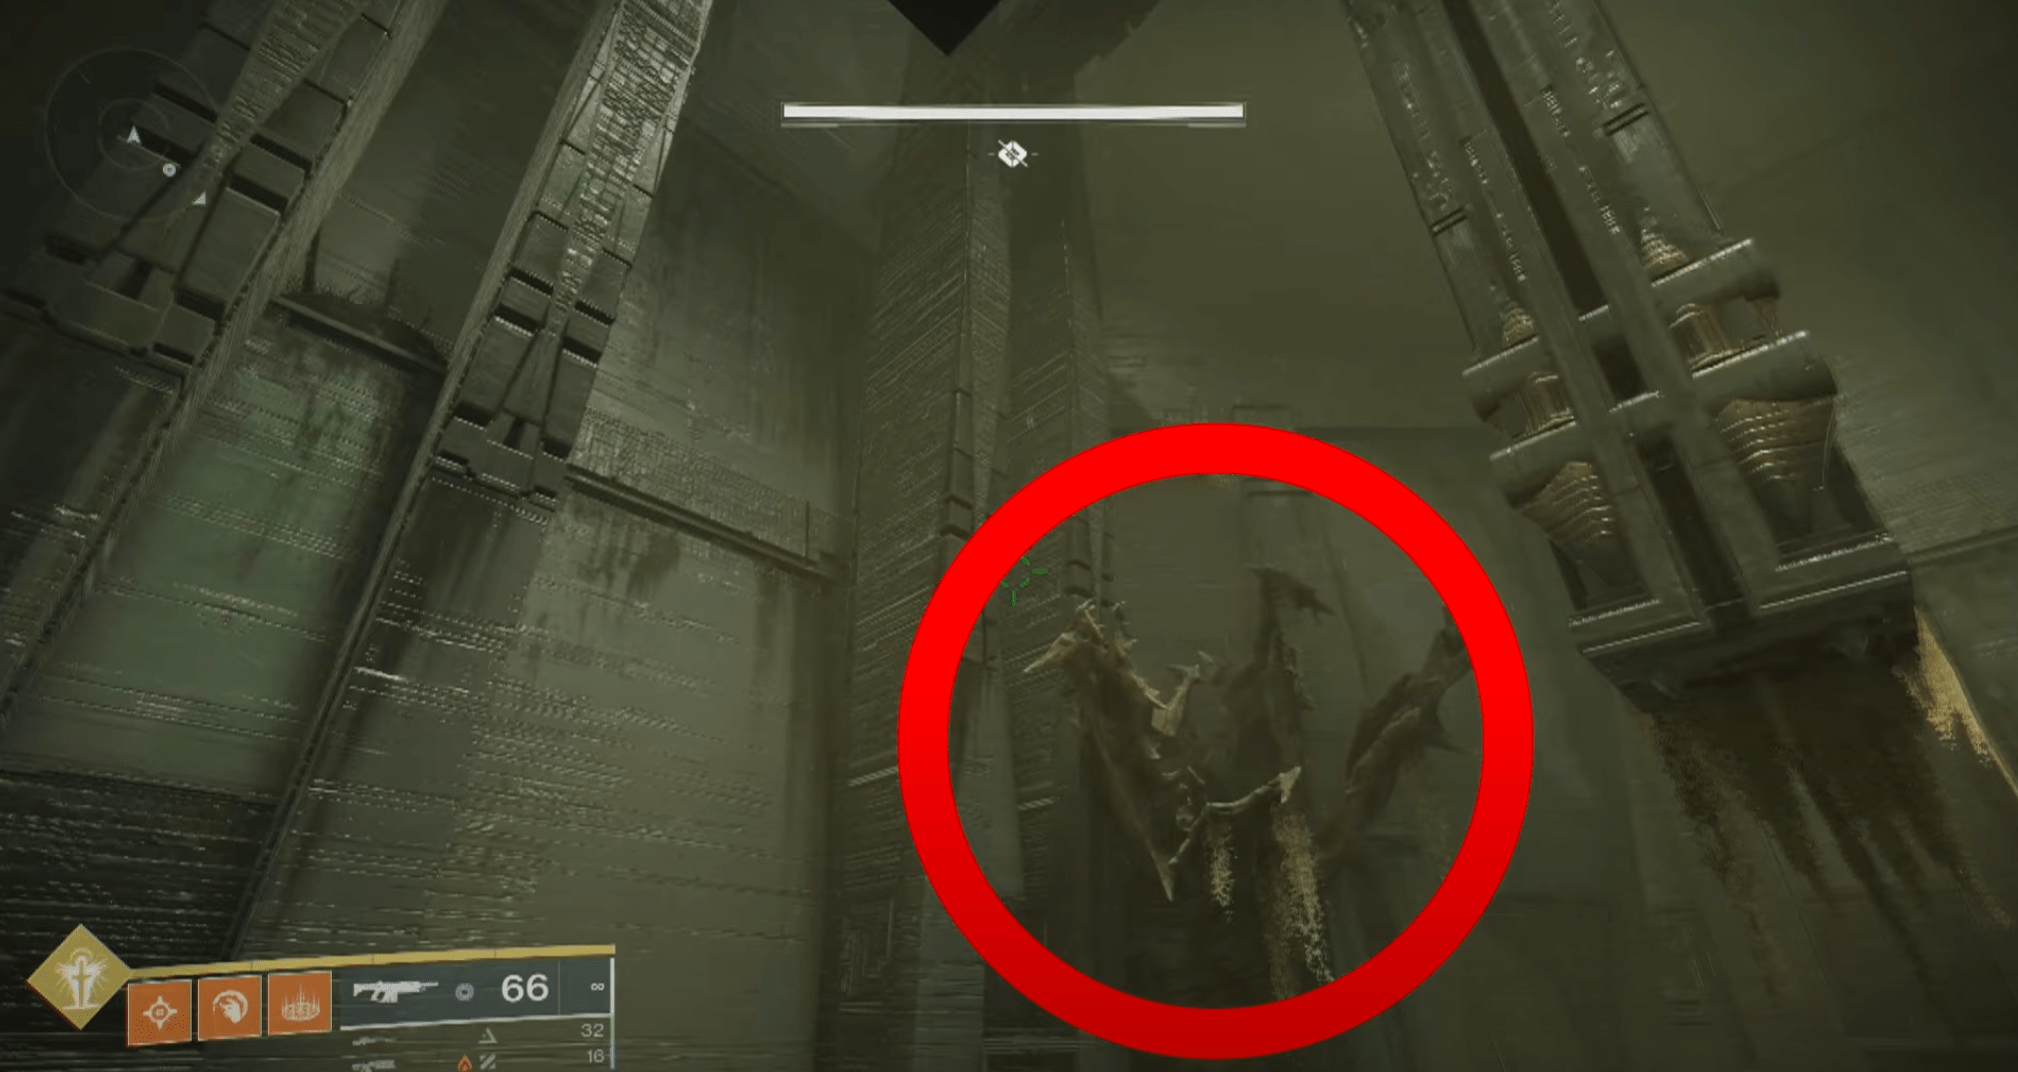
After completing the first encounter, you’ll enter a confusing maze-like area filled with winding paths and dead ends. This is where the first secret chest is hidden.
To unlock it, you must find and destroy three Darkness Nodes scattered throughout the maze. These nodes are small floating black orbs that, when shot, will trigger a message indicating progress toward unlocking the chest.
How to Find the Darkness Nodes & Unlock the Chest
- Navigate the Maze – Progress through the maze, looking for floating black Darkness Nodes hidden in corners and behind obstacles.
- Destroy Three Darkness Nodes – These can be in different locations for each run, so be thorough in checking ledges and alcoves.
- Find the Chest – Once all three nodes are destroyed, a message will appear, confirming the chest is unlocked. It will spawn in the center of the maze.
- Escape the Maze – To continue the dungeon, look for a staircase leading up on the right side of the maze. Then, drop down a rocky ledge to proceed.
💡Tip: If you're struggling to find the nodes, spread out as a fireteam to cover more ground.
Second Secret Chest – The Boulder Gauntlet
The second secret chest is found after the second encounter in a hazardous platforming section filled with rolling spike-covered boulders that can instantly kill you.
How to Find the Chest
- Survive the Boulder Traps – Move carefully through the hallway, using alcoves on the sides to dodge the rolling boulders.
- Look for a Hidden Ledge – Instead of exiting the hallway normally, stop halfway through and check the left wall for a small hidden alcove.
- Enter the Secret Room – Jump into the alcove to find an isolated ledge.
- Claim the Chest – The second secret chest will be inside this hidden alcove.
💡 Tip: The boulders roll at different speeds. If playing with a fireteam, send one player ahead to reach the ledge while others wait to avoid unnecessary deaths.
Sundered Doctrine Loot Table
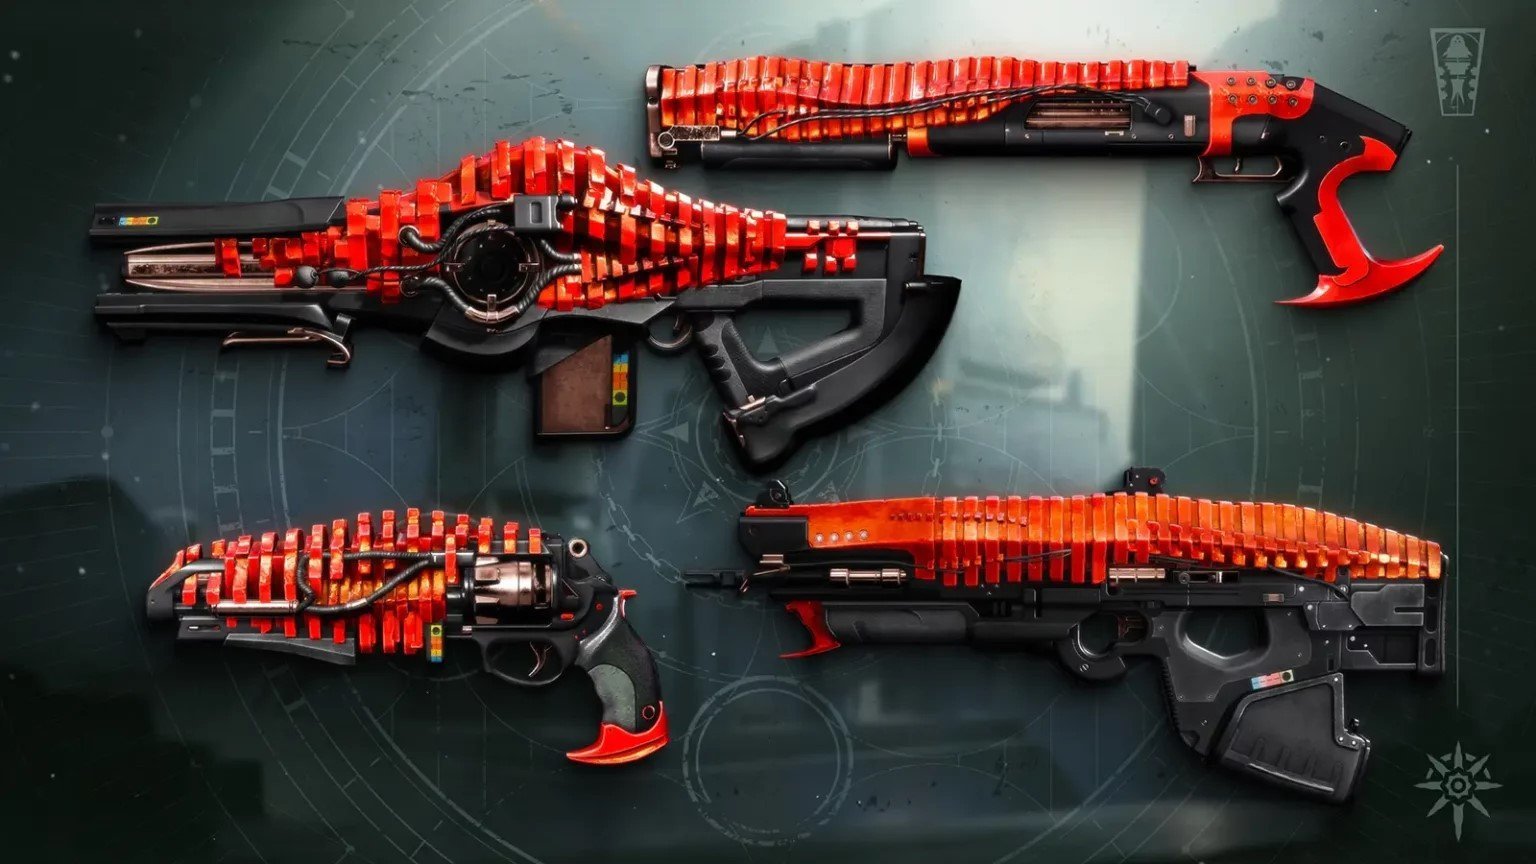
Like previous dungeons, Sundered Doctrine dungeon loot table contains exclusive items and gear. Here’s a breakdown of what drops from each encounter:
| Category | Item Name | Type | Source Encounter |
| Weapons | Unsworn | Trace Rifle | 1st & 2nd & 3rd |
| Weapons | Unworthy | Scout Rifle | 1st & 2nd & 3rd |
| Weapons | Unloved | Hand Cannon | 1st & 3rd |
| Weapons | Unvoiced | Shotgun | 2nd & 3rd |
| Armor | Flain Armor | Full Armor Set | 1st & 2nd & 3rd |
| Exotics | Finality's Auger | Linear Fusion Rifle | 3rd Encounter (Kerrev, The Erased) |
| Emblems |
|
Cosmetic Item | – |
| Sparrow | Future Proof | Cosmetic Item | – |
While not all rewards are yet known, we do already know about the new Exotic Linear Fusion Rifle called Finality's Auger, which is one of the Sundered Doctrine weapons and has a pretty cool design, which you can see on the image preview.
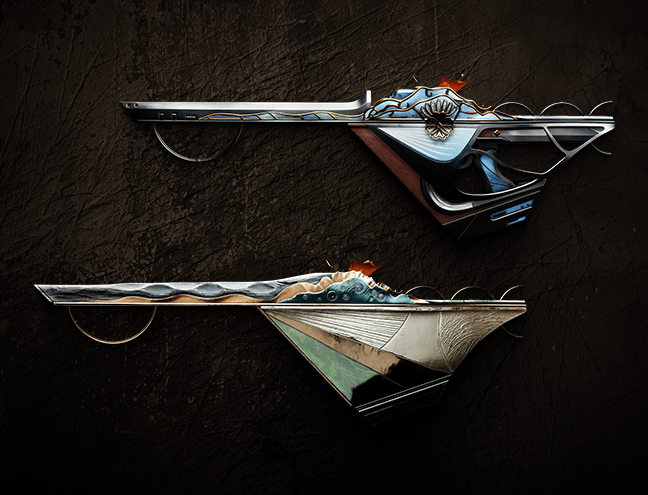
Intrinsic Perk: Ruinscribe’s Forge
- [Alt-Fire] to deploy a Ruinscribe Turret.
- The turret automatically targets nearby enemies and fires at them.
- Deploying the turret costs 3 ammo per shot.
- Tip: Firing the projectile skyward provides better sight lines for the turret, maximizing its effectiveness.
Unique Trait: Ruinscribe’s Beacon
- While a Ruinscribe Turret is active, the weapon’s laser projectiles can "paint" targets.
- The turret prioritizes painted enemies and fires more powerful shots at them.
- [Alt-Fire] to swap between normal fire and laser fire modes, adding flexibility to combat.
With its unique turret mechanics and target-marking feature, Finality’s Auger is shaping up to be one of the most interesting weapons in the Sundered Doctrine dungeon.


Sundered Doctrine Armor Set

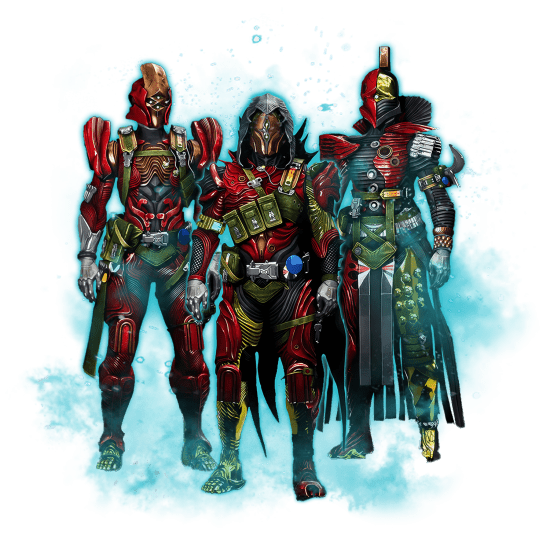
The Hunter armor set from the Sundered Doctrine dungeon blends skeletal aesthetics with high-tech elements, creating an intimidating and battle-worn look. The helmet features a skull-like design with glowing blue eyes, while the chest piece combines metallic plating with leather straps and utility pouches. Jagged shoulder armor and clawed gauntlets add to its aggressive appearance, giving off a cybernetic assassin vibe. The legs feature reinforced plating with an exo-frame structure, and the tattered cloak enhances the set’s rogue-like feel. This armor strikes a balance between ancient warrior themes and futuristic enhancements, making it a standout design for Hunters. BLOG20
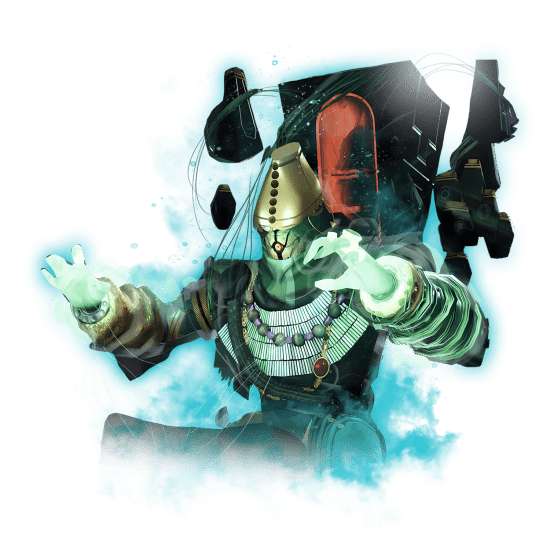
The Warlock armor set from the Sundered Doctrine dungeon features an intricate, almost ceremonial design with a mix of regal and battle-worn elements. The helmet has a sleek, golden faceplate with a sharp, angular hood that gives off a mysterious and intimidating presence. The chest piece is adorned with layered fabric, metallic embellishments, and circular detailing, adding to its arcane aesthetic. The asymmetric leg armor, with studded plates and draped cloth, enhances the set’s worn yet elegant appearance. This armor perfectly embodies a fusion of ancient mysticism and high-tech combat gear, making it a unique choice for Warlocks.

The Titan's armor set from the Sundered Doctrine dungeon features a sleek yet battle-worn design, blending advanced metallic plating with a rugged, almost scavenger-like aesthetic. The helmet has an angular, reinforced structure, giving off a tactical and militaristic vibe, while the layered chest and arm pieces showcase intricate engravings and tubing, suggesting a fusion of old-world craftsmanship and high-tech durability. The armor’s muted silver and bronze tones, accented by glowing elements, add to its futuristic yet worn-in look, making it stand out as both stylish and formidable on the battlefield.
Conclusion
Sundered Doctrine is a challenging but rewarding dungeon in Destiny 2, featuring intense combat, intricate mechanics, and hidden secrets that demand teamwork and strategy. With the introduction of the Dread, a new and formidable enemy faction, every encounter pushes players to adapt and refine their approach, adding an extra layer of difficulty to an already complex activity.
Its powerful loot pool, secret puzzles, and the highly anticipated Finality’s Auger Exotic Linear Fusion Rifle make this dungeon a must-play for both casual and hardcore Guardians. Whether you're looking to test your skill, farm high-end rewards, or uncover every hidden collectible, Sundered Doctrine delivers an experience that will keep players coming back for more.
F.A.Q.
How hard is Sundered Doctrine dungeon?
Sundered Doctrine is expected to be a challenging endgame activity, especially on Day One Contest Mode, where power levels are capped. It features complex mechanics, tough enemies like the Dread and Hive, and puzzle-heavy encounters. Experienced fireteams with optimized builds will have the best chance of clearing it efficiently.
How do I start Sundered Doctrine dungeon?
To access Sundered Doctrine, you’ll need to own the Final Shape Dungeon Key or the Annual Pass. The dungeon can be launched from Savathûn’s Throne World on the Director map. Players may also need to pick up a starting quest from an NPC like Ikora or Zavala.
How do I get to the Sundered Doctrine dungeon in Destiny 2?
Once unlocked, Sundered Doctrine appears as an activity in Savathûn’s Throne World. Navigate to the Pyramid Ship area, where the entrance is expected to be located. The exact access method will be revealed once the dungeon launches.
Is Sundered Doctrine dungeon doable solo?
Yes, Sundered Doctrine can be completed solo, but it will be significantly more difficult. Some encounters may require precise execution of mechanics, making solo clears a challenge. Completing it solo and solo flawless will likely award special triumphs and rewards.