
In our Diablo 4 Infernal Hordes guide, we will cover the brand-new endgame activity released in Season 5. This includes a detailed explanation of how to unlock this mode, a list of rewards, and more. Have you missed a good challenge? This is your time to shine and defeat tons of mobs to earn the most precious loot. This guide now reflects Season 10: Season of Infernal Chaos, including Chaos Waves, Bartuc, Chaos Armor, Chaos Perks, Chaos Rifts, and Fleeting Hordes. Permanent changes are noted.
As we jump into further details, you might want to get help from our professional players. With Skycoach, you can Complete Infernal Hordes at any difficulty. Skip the boring grind and enjoy the well-deserved rewards.
IMPORTANT NOTE: Apart from learning about Infernal Hordes, you can also Buy Diablo 4 Boost from Skycoach. We offer a wide range of products at the lowest market price and with the fastest delivery. You can make your first purchase even CHEAPER if you find a special PROMO CODE (highlighted in green) hidden in this article and get a 20% DISCOUNT.
Browse our hottest Diablo 4 Boosting services


What is Infernal Hordes in Diablo 4
The Infernal Hordes in Diablo 4 is a survival-style endgame mode where you face off against escalating waves of enemies, ending with a major boss fight. Players can access it once they enter Penitent Difficulty by unlocking their first Infernal Compass.
The challenge level is similar to Nightmare Dungeons, with adjustable difficulty for each session. Infernal Compasses and Abyssal Scrolls let you scale Tier level and modifiers. Like Nightmare Dungeons, each run permits a limited number of revives — once they’re gone, the run ends.
Each Tier has a different wave count, and surviving the final wave unlocks a boss encounter. Starting in Season 10, waves may also transform into Chaos Waves for higher difficulty and bigger Aether payouts, and the finale can end against the classic Fell Council or the new optional boss, Bartuc, Lord of Chaos.

How to Unlock Infernal Hordes in Diablo 4
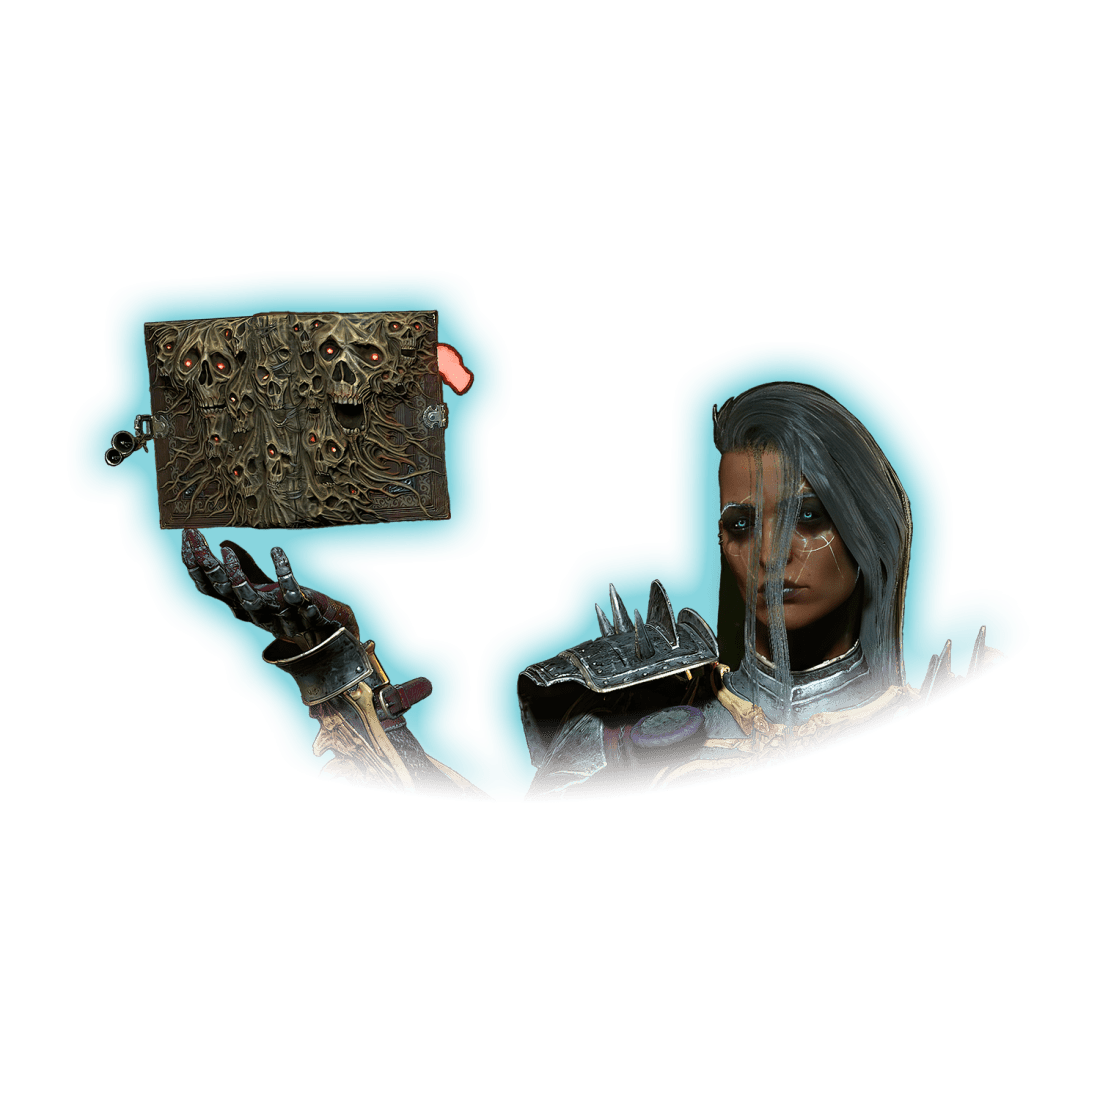
Unlocking Infernal Hordes is possible through finishing The Eyes of the Enemy quest. This questline becomes your priority once you enter Penitent Difficulty. You can begin the Infernal Hordes quest by heading to Zarbinzet, Hawezar. Talk to Istel and follow the instructions given.
To sum up, here is what steps you need to take:
- Get the first Infernal Compass from The Eyes of the Enemy quest.
- Use it to access the very first difficulty and successfully complete it.
- Keep upgrading the compass to progress through the Tiers.
You have several ways to obtain these compasses. They can be discovered as world drops or created by talking to the Occultists.
Let us help you Get Infernal Compasses in any amount you want. Our PROs will take care of the grind for you. BLOG20
Infernal Hordes Tiers
Infernal Hordes currently features 8 Tiers, each more challenging than the last. The system was first introduced in Season 5 and remains capped at 8 Tiers as of Season 10: Season of Infernal Chaos. For example, Tier 1 pits you against level 60 monsters, while Tier 4 already scales to level 120.
| Tier | Monster Level | Number of Waves | Available Revives |
| 1 | 60 | 5 | 8 |
| 2 | 80 | 5 | 5 |
| 3 | 100 | 5 | 3 |
| 4 | 120 | 6 | 3 |
| 5 | 140 | 7 | 3 |
| 6 | 160 | 8 | 3 |
| 7 | 180 | 9 | 2 |
| 8 | 200 | 10 | 2 |
Depending on the difficulty, you will need to tackle different activities to open the corresponding Tier. Starting from Normal to Penitent difficulties, you get the required Infernal Compasses from the following sources:
- Whisper Caches
- Helltide Chests
- Nightmare Dungeons
- Penitent Difficulty
- Torment 1 Difficulty
Season 10 updates: The Urn of Blazing Infernal blessing can now grant guaranteed Wave 10 Compasses from Helltide Chests. Chaos Waves are also less frequent than before: expect about 1 Chaos Wave in a 6-wave run, 1–2 in an 8-wave run, and 2 in a 10-wave run. Their spawn points are more unpredictable, and each type has its own rarity, with Aether Goblins appearing only rarely.
Browse our hottest Diablo 4 Boosting services


Burning Aether Currency
Burning Aether is the core currency earned from Infernal Hordes runs. You’ll spend it on Spoils of Hell chests, which can contain gold, gear, and crafting materials. Completing higher Tiers yields much larger amounts, making it the most efficient way to stockpile Aether.
Baseline Aether income was raised in the latest season, so your earnings rely more on killing monsters and less on specific Offerings. Aether Masses now give 3 (was 1), Fiends give 4 (was 2), and Soulspires give 5 (was 1). Aether Goblins were reduced slightly to 20 (was 25). Chaos Waves remain high-risk, high-reward, granting much larger Aether payouts when cleared.
Focusing on the highest Tier you can safely clear, while stacking efficient Infernal Offerings, is the fastest way to build up Aether and open more Spoils.
Infernal Offers
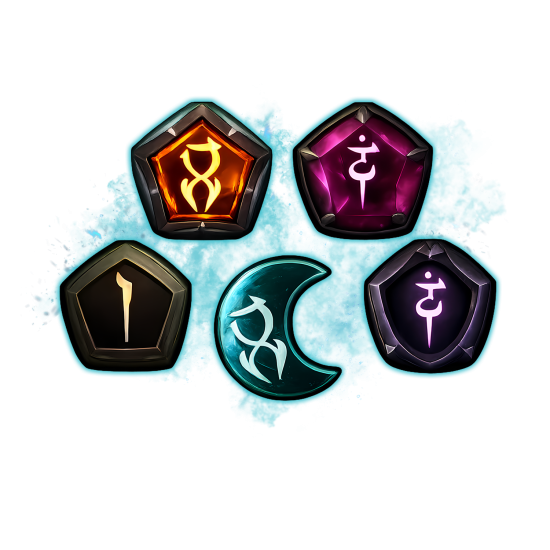
As part of our Diablo 4 Infernal Hordes overview, we would like to cover another vital mechanic called Infernal Offers. Once you reach the end of each wave, you can choose one of three Infernal Offers. Each Offer has one Boon (positive effect) and Bane (negative effect) that remain active until the end of the run.
The effects you gain from Infernal Offers can stack. They become more noticeable depending on the wave you manage to complete. The most insignificant ones belong to the Common category. The most powerful ones come in Legendary or Unique rarity. Here is a list of all Infernal Offers in Diablo 4 Infernal Hordes mode:
| Infernal Offer | Bane | Boon |
| The Burning Rain (Common) | Hellfire rains upon you | At the end of each wave spawn 1-3 Aether |
| The Burning Hellborne (Common) | Hellfire now spawns Hellborne | Hellborne drop 2 additional Aether |
| The Aether Rush (Common) | Normal monster damage +25% | Gathering Aether increases movement speed (8s) |
| The Exalted Hordes (Common) | Normal monsters damage +25% | Killing them spawns Aether Events +50% faster |
| The Draining Spires (Common) | Soulspires drain Life from players in range | Soulspires grant 2 additional Aether |
| The Bursting Masses (Common) | Masses deal unavoidable damage | Waves start, spawn an Aetheric Mass |
| The Gorging Masses (Common) | Slaying Aetheric Mass slows you (8s) | While slowed this way, you have unlimited resources |
| The Exalted Masses (Common) | Aetheric Mass damage +25% | Aetheric Mass grants +2 Aether |
| The Teeming Masses (Rare) | Masses spawn an Aether Lord on death | Aether Lords grant +3 Aether |
| The Bursting Fiends (Rare) | Elite damage +25% | Aether Fiends explode and damage foes |
| The Exalted Elite (Common) | Elite damage +25% | Aether Fiends grant +2 Aether |
| The Surging Elites (Rare) | Chance for Elite to spawn is doubled | Aether Fiends grant +2 Aether |
| The Unstoppable Elites (Rare) | Elites are Unstoppable | Aether Fiends grant +2 Aether |
| The Corrupting Spires (Common) | Soulspires empower nearby foes | Soulspires pull foes inward |
| The Insatiable Spires (Rare) | Soulspires require 2x kills | Soulspires grant 2x Aether |
| The Summoned Lords (Rare) | Aether Lords now spawn | They grant +3 Aether |
| The Summoned Hellborne (Common) | Hellborn are hunting you | Hellborn grant +2 Aether |
| The Exalted Hellborn (Rare) | Hellborn damage +25% | Hellborn grant +2 Aether |
| The Invigorating Hellborn (Rare) | Hellborn damage +25% | Slaying Hellborn invigorates you |
| The Enfeebled Wanderer (Legendary) | Potion Cooldown is increased by 2 seconds | Defeating Fell Council grants +15 Aether |
| The Exhausted Wanderer (Legendary) | Evade Cooldown is increased by 2 seconds | Defeating Fell Council grants +15 Aether |
| The Withered Wanderer (Legendary) | -10% All Resistances | Defeating Fell Council grants +15 Aether |
| The Exalted Council (Legendary) | Fell Council damage +50% | Defeating them grants +15 Aether |
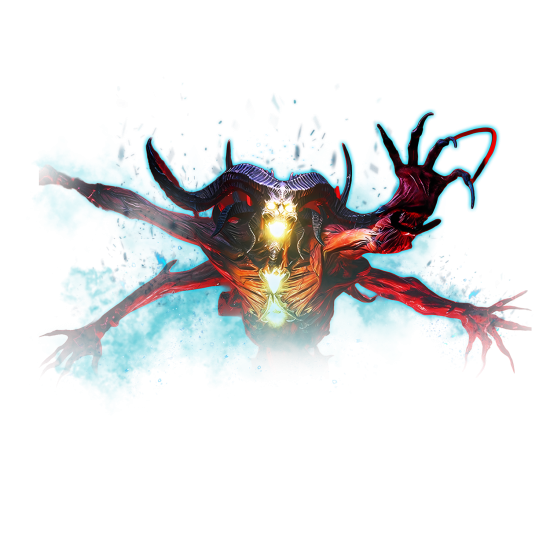
| The Stalking Devil (Unique) | An Infernal Demon has your scent | Slay it to gain +25 Aether |
Since you can only choose one Infernal Offer from three available, you need to think wisely. Plan ahead and think of the bonuses and debuffs you want to have by the end of the run.

Fell Council Bosses
Fell Council is Infernal Hordes bosses you encounter once you make it to the end of the run. They will appear after you successfully clear out the final wave. There are a total of five bosses, but you will only fight three of them simultaneously. This allows you to experience 10 different encounters, each featuring various mechanics and strategies to build for.
Throughout the fight, expect the difficulty to increase. This will happen after you defeat one of the three bosses. In the long run, they will feature room-clearing effects and can easily wipe you. Here is a list of all 5 bosses:
- Bremm the Maelstrom
- Geleb the Flame
- Ismail the Accursed
- Maffer the Cruel
- Wyand the Shadow
Be prepared for various damage types as well. When fighting these bosses, you will encounter Lightning, Fire, Physical, and Shadow abilities. You never know what to expect at the end and should be ready for everything at once. The same goes for the fact that certain bosses specialize in dealing single-target damage while others are more AoE-centered.
With season 10 come new boss-related mechanices:
- One member is now promoted as the Council Speaker, gaining enhanced abilities and creating more pressure on your team.
- At the end of a run, your party can also choose to fight the Fell Council or escalate into Bartuc, Lord of Chaos. If one player selects Bartuc, the choice applies to everyone, and each party member must spend Aether to enter.
- Bartuc uses Chaos Portals to bombard the arena and forces strategic use of teleport pads. He no longer becomes invulnerable; instead, he uses the new shield mechanic shared across lair bosses. At 2/3 and 1/3 health, a shield appears for 5 seconds. If your team breaks it in time, Bartuc skips his invulnerability phase.
- Upon defeat, Bartuc drops rewards directly to the ground, so you don’t need to spend extra Aether to claim them.
All of this means is that you can either choose to fight the Council or spend Aether and fight Batruc instead. BLOG20
Infernal Hordes Rewards
You can spend your well-earned Burning Aether to open Spoils of Hell after each run. Depending on the cost, they will contain different loot. As always, the higher the Tier you manage to complete, the better rewards you can expect to get. Here is a list of Infernal Hordes rewards in Diablo 4:
- Spoils of Equipment: Legendary, Unique, or Mythic Unique items with a chance for GA rolls and costs 20 Aether.
- Spoils of Greater Equipment: Legendary, Unique, or Mythic Unique items with guaranteed GA rolls and costs 60 Aether.
- Spoils of Materials: Herbs, Ores, Masterworking Materials, and Abyssal Scrolls and costs 20 Aether.
- Spoils of Gold: Exchanges all Aether you have for Gold.
Similarly to other activities of this type, you are mainly interested in Unique and Mythic Unique items. They only drop from the Spoils of Equipment chests available in the Greater version as well.
The Greater Materials Chest now costs 400 Aether instead of 200 and always includes Obducite and Gold alongside gear. Unique items and Legendary Aspects that were previously tied heavily to Infernal Hordes have been moved to the general loot pool and added to the drop tables of lair bosses (including Bartuc).
Infernal Hordes Uniques
As you fight endless waves of mobs, you have specific Infernal Hordes Uniques to drop with a higher chance. They are available for each of the five currently existing classes. There is also one Unique you can use no matter what class you are playing.
Target farmable Uniques (Seasons 5–9):
- Crown of Lucion – All Classes (Helm)
- Endurant Faith – All Classes (Gloves)
- Locran’s Talisman – All Classes (Amulet) – also awarded once after completing the Infernal Hordes questline.
- Rakanoth’s Wake – All Classes (Boots)
- Shard of Verathiel – All Classes (One-Handed Sword)
- The Basilisk – Druid (Staff)
- The Mortacrux – Necromancer (Dagger)
- The Third Blade – Barbarian (One-Handed Sword)
- The Umbracrux – Rogue (Dagger)
- Vox Omnium – Sorcerer (Staff)
Season 10 additions:
- Many of these Uniques now also appear as Chaos Armor variants, which shift them into different item slots with maximum affixes and guaranteed Greater Affixes. These drop primarily from Bartuc (guaranteed in Torment III–IV, smaller chance in Torment I–II).
- Other class-specific Chaos Armor pieces and new Uniques (such as Sabre of Tsasgal, Kilt of Blackwing, Gospel of the Devotee, Orphan Maker, Galvanic Azurite, and Hesha e Kesungi) are available as Bartuc or Chaos Rift rewards.
As of Season 10, all Infernal Hordes Uniques can also drop from other endgame sources like Helltides, Tree of Whispers, Nightmare Dungeons, Tormented Bosses, and gambling with Murmuring Obols. Infernal Hordes remain one of the most efficient ways to target farm these items, especially with Burning Aether economy focused on Spoils of Greater Equipment.
Infernal Hordes Best Builds
This part of the guide is devoted to Infernal Hordes best builds to use in Diablo 4. Here are a few S-tier builds for this activity.
How Difficult Is Infernal Hordes?
Infernal Hordes presents a significant challenge, especially for players who enjoy high-stakes gameplay. The difficulty ramps up as players progress through the waves of enemies, culminating in a tough boss fight. Limited player revives add to the intensity, forcing players to be strategic and precise. It is a true test of skill, particularly in higher tiers.
Hydra Sorcerer “Song of Ice & Fire” (Season 10)
Hands-free Hydra DPS melts dense waves, Chaos Waves, Council Speaker, and Bartuc T3–T4 while you kite and farm Aether fast.
Core pieces
Ophidian Iris, Primordial Binding, Serpentine Aspect on 2-Hander, Harlequin Crest (or strong CDR helm), Shroud of the False Death, Tal Rasha’s/Starless Sky ring, high Resource pants (Conduit).
Skills & enchants
Hydra (crit variant), Teleport, Ice Armor, Ball Lightning (utility), Ice Blades, Familiar. Enchantment: Familiar.
Gameplay loop
Keep Teleport/Ice Armor up, spam Ball Lightning to proc Crackling Energy and move, drop Hydras on packs at full mana for big snapshots, keep moving.
Swaps
Speed farm: Unstable Current.
Bossing/push: Inferno ultimate; consider Flickerstep if you need tighter ultimate resets.
Stat aims
100% effective crit during Hydra uptime, big Resource pool + generation, CDR, Attack Speed, Hydra ranks, armor cap.
Evade Spiritborn (Season 10)
Perma-evade resets make this build one of the fastest Aether farmers in Infernal Hordes. Thunder Spikes auto-hit packs and bosses, deleting them instantly. Chaos Waves (esp. Goblin/Spirit spawns) turn into absurd Aether runs.
Core pieces
Harlequin Crest (CDR), Shroud of the False Death, Loyalty’s Mantle, Fist of Fate, Redirected Force, Vauchpa gloves. Spiritboard scaling skyrockets damage with Paragon.
Chaos Perks
Alacrity (core enabler, 2nd attack = 3rd for faster evade resets), Beast Cornered + Marred Guard, Accelerating Chaos.
Skills & playstyle
Evade = primary damage trigger via Thunder Spike. Use Armored Height for Gorilla uptime, cycle Seeker multipliers, maintain Vital Strike. Minimal button presses; evade spam handles almost all content.
Swaps
Speed farm: Stick with Alacrity + Conduit for endless resets.
Push/bossing: Add defensive multipliers (Marred Guard, Vital Strike) and swap runes for sustain.
Stat aims
Crit DMG stacking, triple crit rolls on weapon/gloves, Armor cap, Storm Feather potency, Resource generation.
Death Trap Rogue (Season 10)
Spam-able Death Trap with permanent Overpower deletes bosses and waves, hoovers packs via pulls, and speedfarms Aether; ultra-mobile and tanky.
Core pieces
Harlequin Crest, Scoundrel’s Leathers (makes Traps count as Core), Beastfall Boots (Max Resource), Banished Lord’s Talisman on gloves (free amulet slot), Starless Sky or ring with Death Trap Cooldown temper, Doombringer (optional), Fist of Fate, high Max Resource rolls/masterworks.
Season 10 juice
Paragon Legendary buffs, +pull radius, and Chaos Perk Enervated Strikes (massive Core skill damage multiplier).
Mandatory breakpoints
- 275 Max Energy (potion + gear/masterworks + Beastfall)
- Aftermath passive at Rank 10 (refunds Energy on spend)
- Death Trap cooldown < 15s on skill tooltip (use ring tempers/CDR)
Skills & loop
Set Momentum to 10 (dash/shadow step), pop Concealment → Death Trap, then hold Death Trap and “piano” buffs (Shadow Imbuement, Caltrops, Concealment) as they come up. Each cast spends and instantly refunds Energy, proccing Banished to Overpower every hit; prep specialization keeps cooldowns rolling.
Chaos Perks to slot
Enervated Strikes (core), plus damage/survivability picks to taste (e.g., Marred Guard, Accelerating Chaos).
Stat aims
Max Resource to 275, CDR for sub-15s DT, Attack Speed (toward cap), Overpower Damage, Max Life, Stun Grenade multipliers, resists/armor as needed.
Notes
If you’re short on CDR/Resource, use a non-uber ring with +Max Resource and Death Trap Cooldown temper until you hit breakpoints. Keep Momentum up between rooms so Overpower stays permanent.
Conclusion
This wraps up our Diablo 4 Infernal Hordes guide, survivors. Within these pages, we have covered all the details for the main mode added with the Season 5 launch that continues to exist in Season 6. This mode offers a new layer of complexity to try out your skills and earn the greatest rewards in return.
We have explained everything you need to know from the Burning Aether currency to Spoils of Hell and more. Get ready to reap the rarest Unique and Mythic Items as you progress through all 8 Tiers. Good luck, and we will see you in Sanctuary.
F.A.Q.
Are Infernal Hordes difficult in Diablo 4?
Difficulty still ramps hard by Tier (you’ll feel it from Tier 4+). Season 10 also adds Chaos Waves (spikier moments) and a tougher Council Speaker. There’s also a shorter, easier Fleeting Hordes variant pre-Torment.
What are Infernal Hordes rewards in Diablo 4?
You can earn a variety of chests to get the following rewards:
- Legendaries
- Uniques
- Mythic Uniques
- Herbs
- Ores
- Masterworking Materials
- Abyssal Scrolls
- Gold
What level should I be for Infernal Hordes in Diablo 4?
Level 50+ is still the practical floor. Access comes with Penitent Difficulty. If you’re earlier in progression, use Fleeting Hordes (4 waves) to warm up.
Can you solo Infernal Hordes in Diablo 4?
Yes, but coordinated groups clear Chaos Waves faster and typically earn more Aether per run.
How to beat Infernal Hordes in Diablo 4?
Pick survivable, mobile builds; prioritize Aether Events (Soulspires are stronger this season); take Offers that scale your clear speed; control spawns during Chaos Waves; and decide at the end whether to fight the Fell Council or escalate to Bartuc.
How long should Infernal Hordes take in Diablo 4?
Infernal Hordes is a quick mode where each run should not take more than 10-15 minutes.
Are Infernal Hordes the same as Greater Rifts?
The Infernal Hordes mode is basically a combination of Greater Rifts and Nightmare Dungeons.


