 Crispy Jackie
Welcome to our complete MoCo rifts guide, hunters! Struggling to beat the toughest dungeons to earn your well-deserved rewards? This type of activity can seem a bit chaotic and brutal without the right setup and preparation.
We’ll walk you through all rifts in Mo.Co, give you the best builds, and share the smartest strategies to help you win. Get ready to farm Chaos Cores, crush bosses, and grab those 3-star clears with ease.
At Skycoach, we can also help you Complete Any Rift in the shortest time possible. Don’t waste your time grinding, and trust this job to our PROs. We’ll get the best rewards for you while you explore the game in a way you like.
Read our other MoCo guides:
Note: At Skycoach, you can Buy MoCo Boost for the best prices with fast delivery. Use our special PROMO CODE (in green) hidden in this article for a 20% DISCOUNT.


MoCo Rifts Explained
New to the game? Let’s have MoCo rifts explained briefly. This activity represents dungeon-style challenges with time limits and big rewards. You jump in, fight through enemies, defeat a boss, and try to finish as fast as possible. Right now, there are 12 different rifts, and more will be added in future updates. Each one has a different goal – some need you to clear waves of enemies, others focus on single boss fights. Here’s a list of MoCo rifts we know about so far:
- Dead End
- Street Fight
- Overlord’s Chamber
- Rage Room
- Double Hop
- Twilight Takedown
The faster you complete a rift, the better your rewards. You’ll earn Chaos Cores, XP, and progress toward Projects. Rifts are also one of the best ways to level up your gear and sharpen your skills. But here’s the thing: not all rifts are the same. That’s why having the right build, passives, and gadgets really matters. If you want to crush rifts, you’ll need to learn what type you’re entering and gear up accordingly.
Rift Types
All rifts belong to one of the three types. Each one plays differently and needs its own strategy. Here are three MoCo rift types we’ve outlined:
- Spam Rifts
- Mix Rifts
- Boss Rifts
These are not official in-game categories, of course. We just name them like this for a better understanding of what awaits you inside of each dungeon. Now, let’s see what each rift type in Mo.Co is about.
Spam rifts throw tons of enemies at you. You’ll need strong AoE damage to handle them. These rifts are fast and chaotic, with enemies coming nonstop. Splash weapons like Monster Slugger or CPU Bomb work great here.
Mix rifts have fewer enemies, but they’re much tougher. You’ll need both AoE and strong single-target damage. These rifts test your gear and build balance more than others.
Boss rifts are all about one big fight. These focus on a single, powerful boss enemy. Bring your best single-target damage and healing gadgets here. This type is arguably the toughest when it comes to MoCo rift mechanics because you can get wiped easily.
MoCo Rifts Strategies
The next part of our guide contains detailed MoCo rifts strategies for the first six dungeons. We’ll cover the most important mechanics to be aware of, what attacks to avoid, and so on. After that, you’ll learn about the best builds to use for each rift. Combined all together, this will help you get through each instance with minimum effort.
Get ready to discover a complete MoCo rift walkthrough for the following instances: Dead End, Street Fight, Overlord’s Chamber, Rage Room, Double Hop, Twilight Takedown. Once six more rifts are unlocked, we’ll update this guide to share tips with you. The same goes for new rifts that can be potentially added in future updates.


Dead End Rift Walkthrough
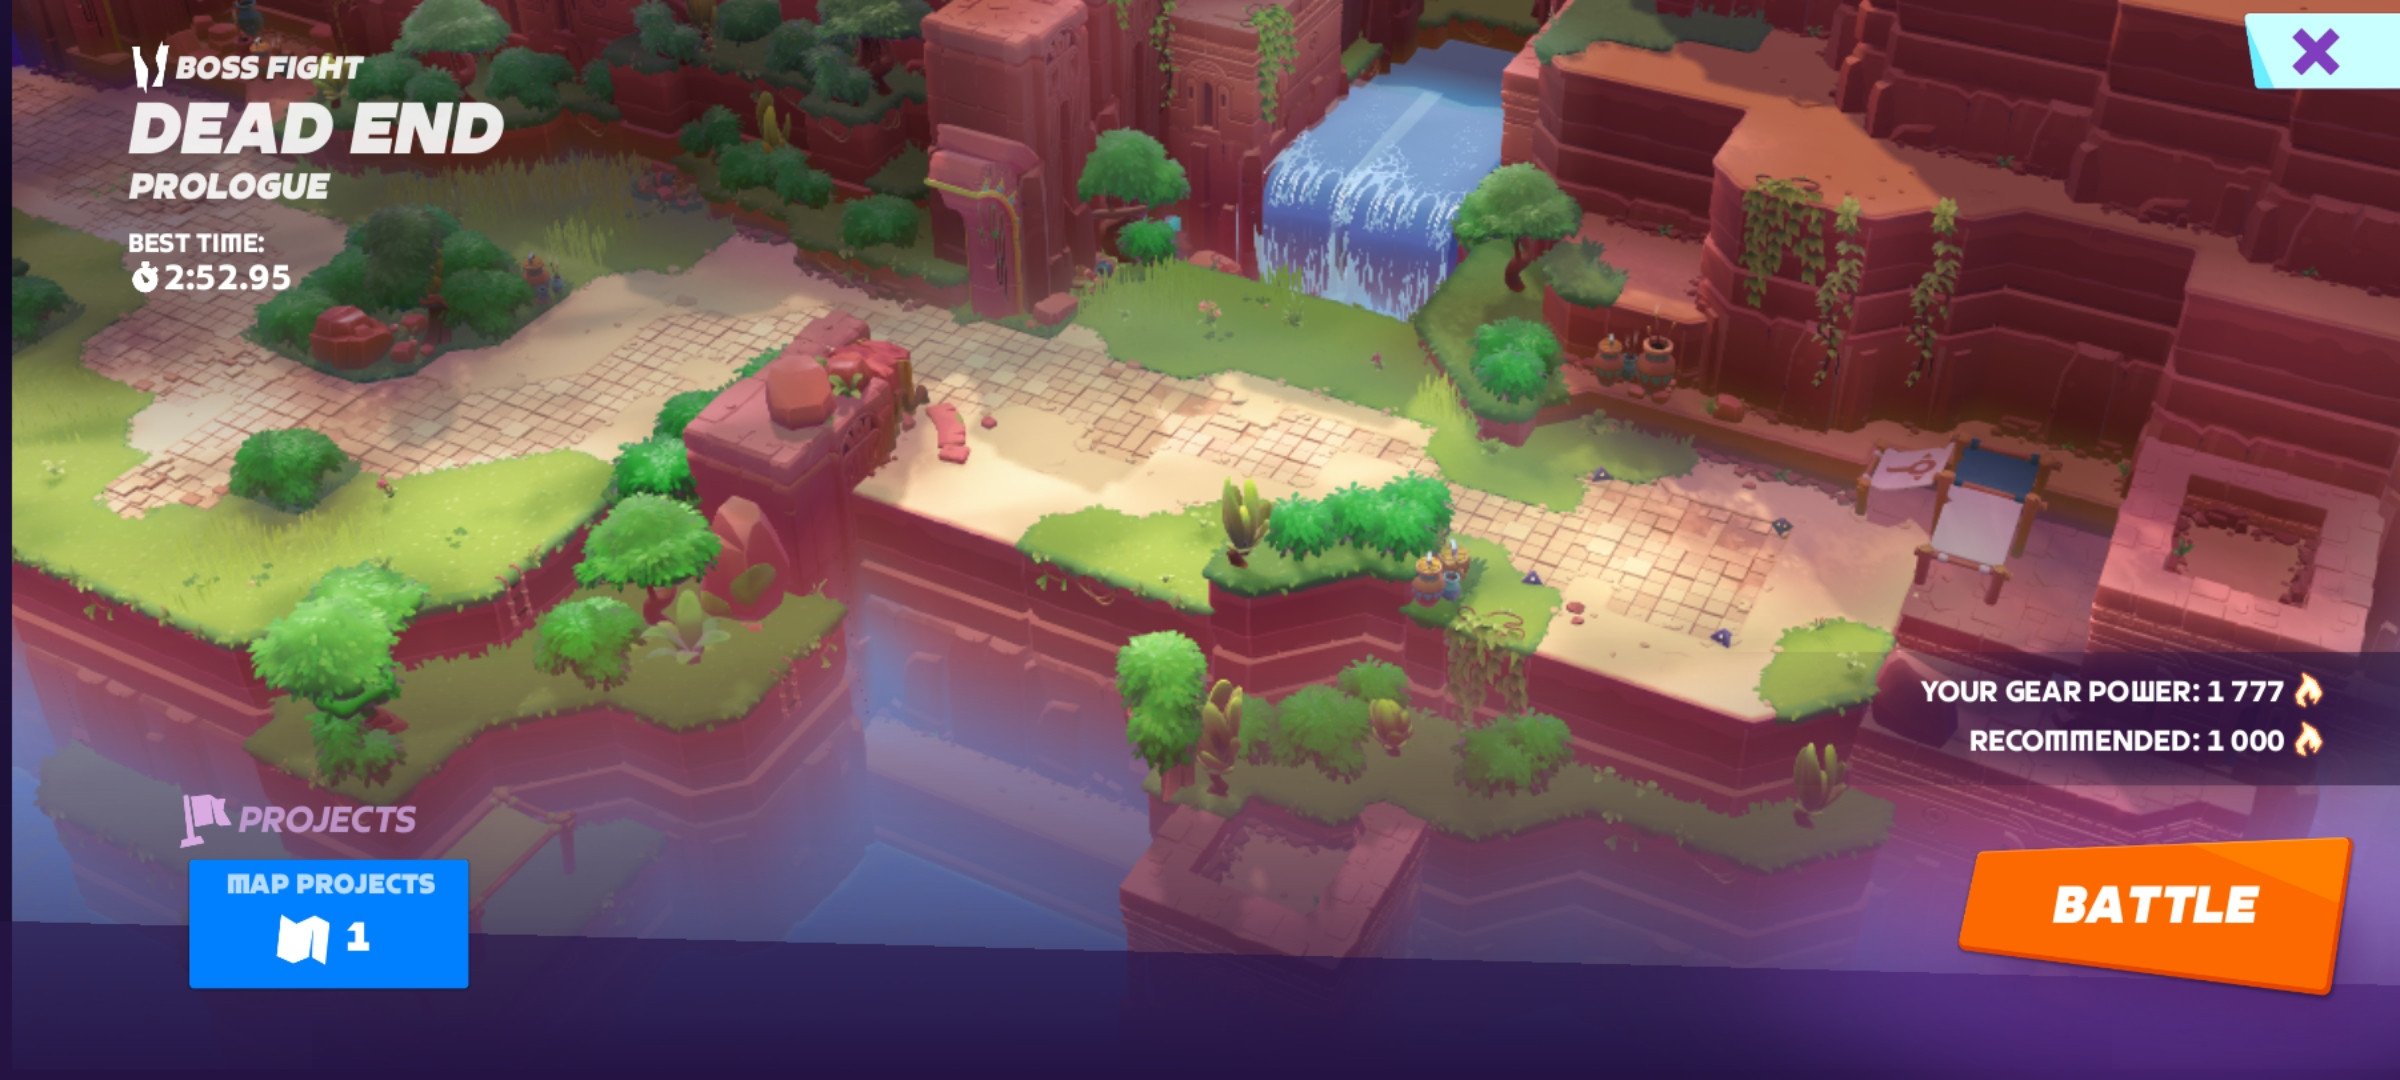
Dead End is a mix rift with a moderate number of enemies. Your goal is to reach the boss fast and finish in under two minutes. The best way to succeed is to run past enemies. Focus on surviving and rushing straight to the end.
Once you reach the boss, go all in on damage. This Mo.Co rift’s boss is Bone Smasher, and he can hit hard. Stay near the bushes to avoid damage. Use splash gadgets to clear adds around him fast.
Here are a few quick tips on how to complete Dead End:
- Avoid frontal cleave
- Dodge the jump
- Lure the boss closer to bushes and behind them
A fast weapon like Monster Slugger or Techno Fists works great here. Use Vitamin Shot for healing and speed boost. Vampire Teeth helps keep your health up while fighting.
Keep pressure on Bone Smasher without stopping. Avoid his knockback and keep attacking. Timing your gadgets is important for damage bursts. You can beat him in under two minutes with good gear and strategy.
Street Fight Rift Walkthrough
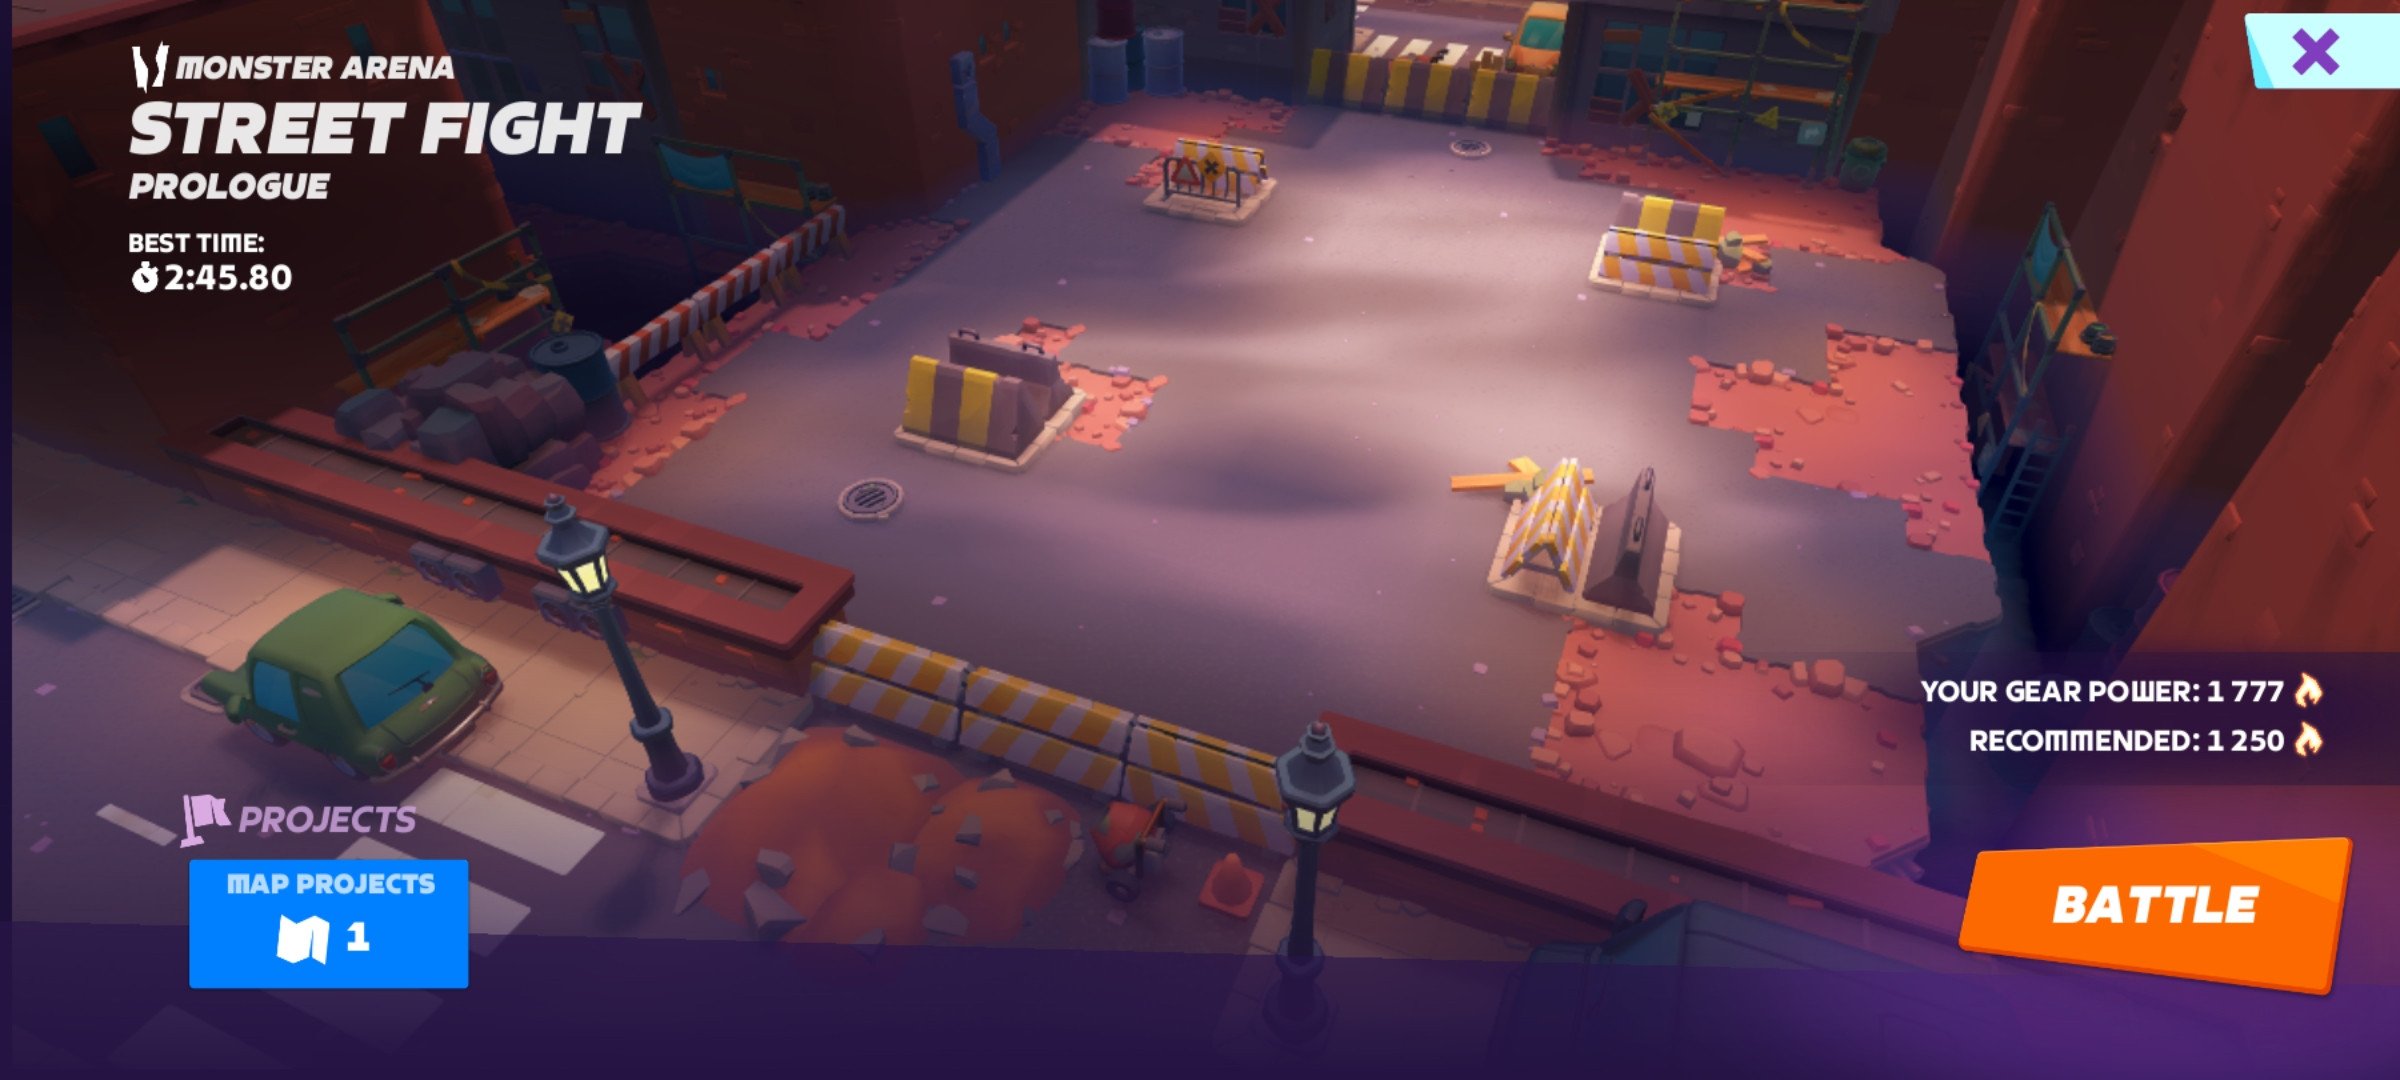
Street Fight is a spam rift with tons of enemies coming fast. Your goal is to wipe out all waves quickly to finish in time. You’ll also encounter Axe-Hopper, a sort of mini-boss inside of this instance. Use weapons with strong splash damage to clear groups fast. Monster Slugger or CPU Bomb works really well here.
Here are a few quick tips on how to complete Street Fight:
- Save your gadgets for a moment when waves come
- Use Vitamin Shot every wave
- Save long cooldowns and avoid using two of them on a single wave
Vitamin Shot helps you stay alive and attack faster between waves. Bring Pepper Spray to deal high damage to crowds. Smart Fireworks or Multi Zapper are great for extra AoE support.
Stay near the center so you can hit enemies from all sides. Use your gadgets as soon as waves spawn for maximum impact. Keep moving to avoid getting overwhelmed or cornered.
Watch your health between waves and heal up fast. Stick with splash-focused builds to survive and complete the rift fast. Be ready for tougher enemies in later waves and adjust your playstyle as needed.
Overlord’s Chamber Rift Walkthrough
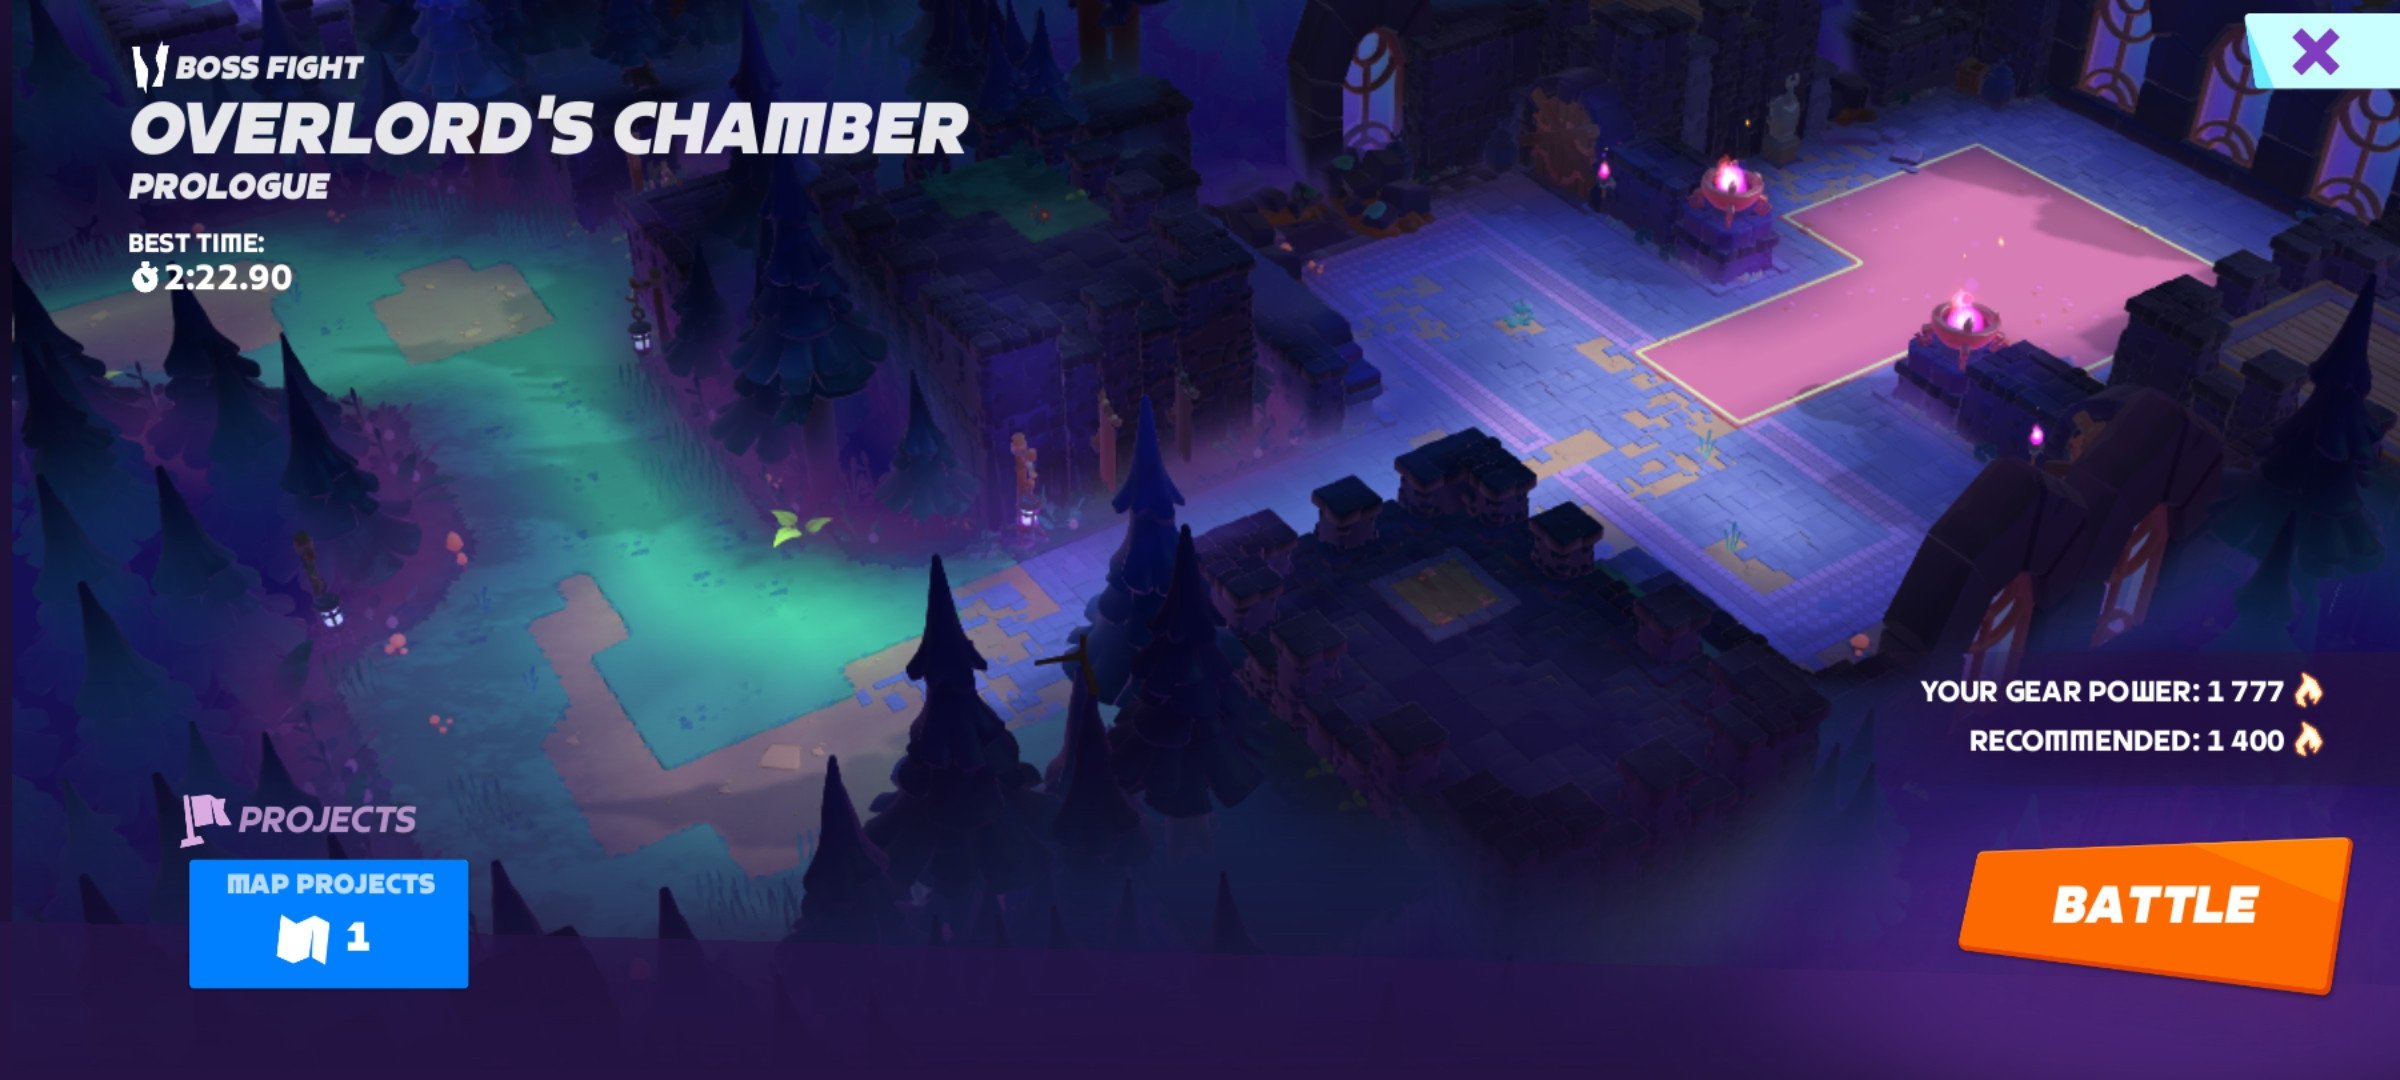
Overlord’s Chamber is a boss rift with a tough fight and annoying bugs. Start by clearing bugs fast before the boss arrives. Use splash gadgets to wipe them quickly. Save rockets for bugs – they’re the biggest early threat.
Once the bugs are cleared, focus on the Overlord boss. He has a big frontal smash and a jump attack. Avoid standing in front of him or behind his wolves. Stay at max range if possible, and always keep moving.
Here are a few quick tips on how to complete Street Fight:
- Avoid jump slam
- Dodge a frontal attack
- Watch for the boss’s spin AoE
- Always clear bugs and other adds first
Use Speedshot, Wolf Stick, or Monster Slugger for damage, depending on your role. Have one teammate run Wolf Stick for strong single-target damage. Bring Vitamin Shot to stay alive and boost your attack speed.
Auto Zapper and Vampire Teeth are strong passives here. Gadget combo: Monster Taser and Fireworks or Multi Zapper. Lightning Gauntlets clear adds fast, helping your team focus on the boss. Stick to the plan, and you’ll crush the Overlord.
Rage Room Rift Walkthrough
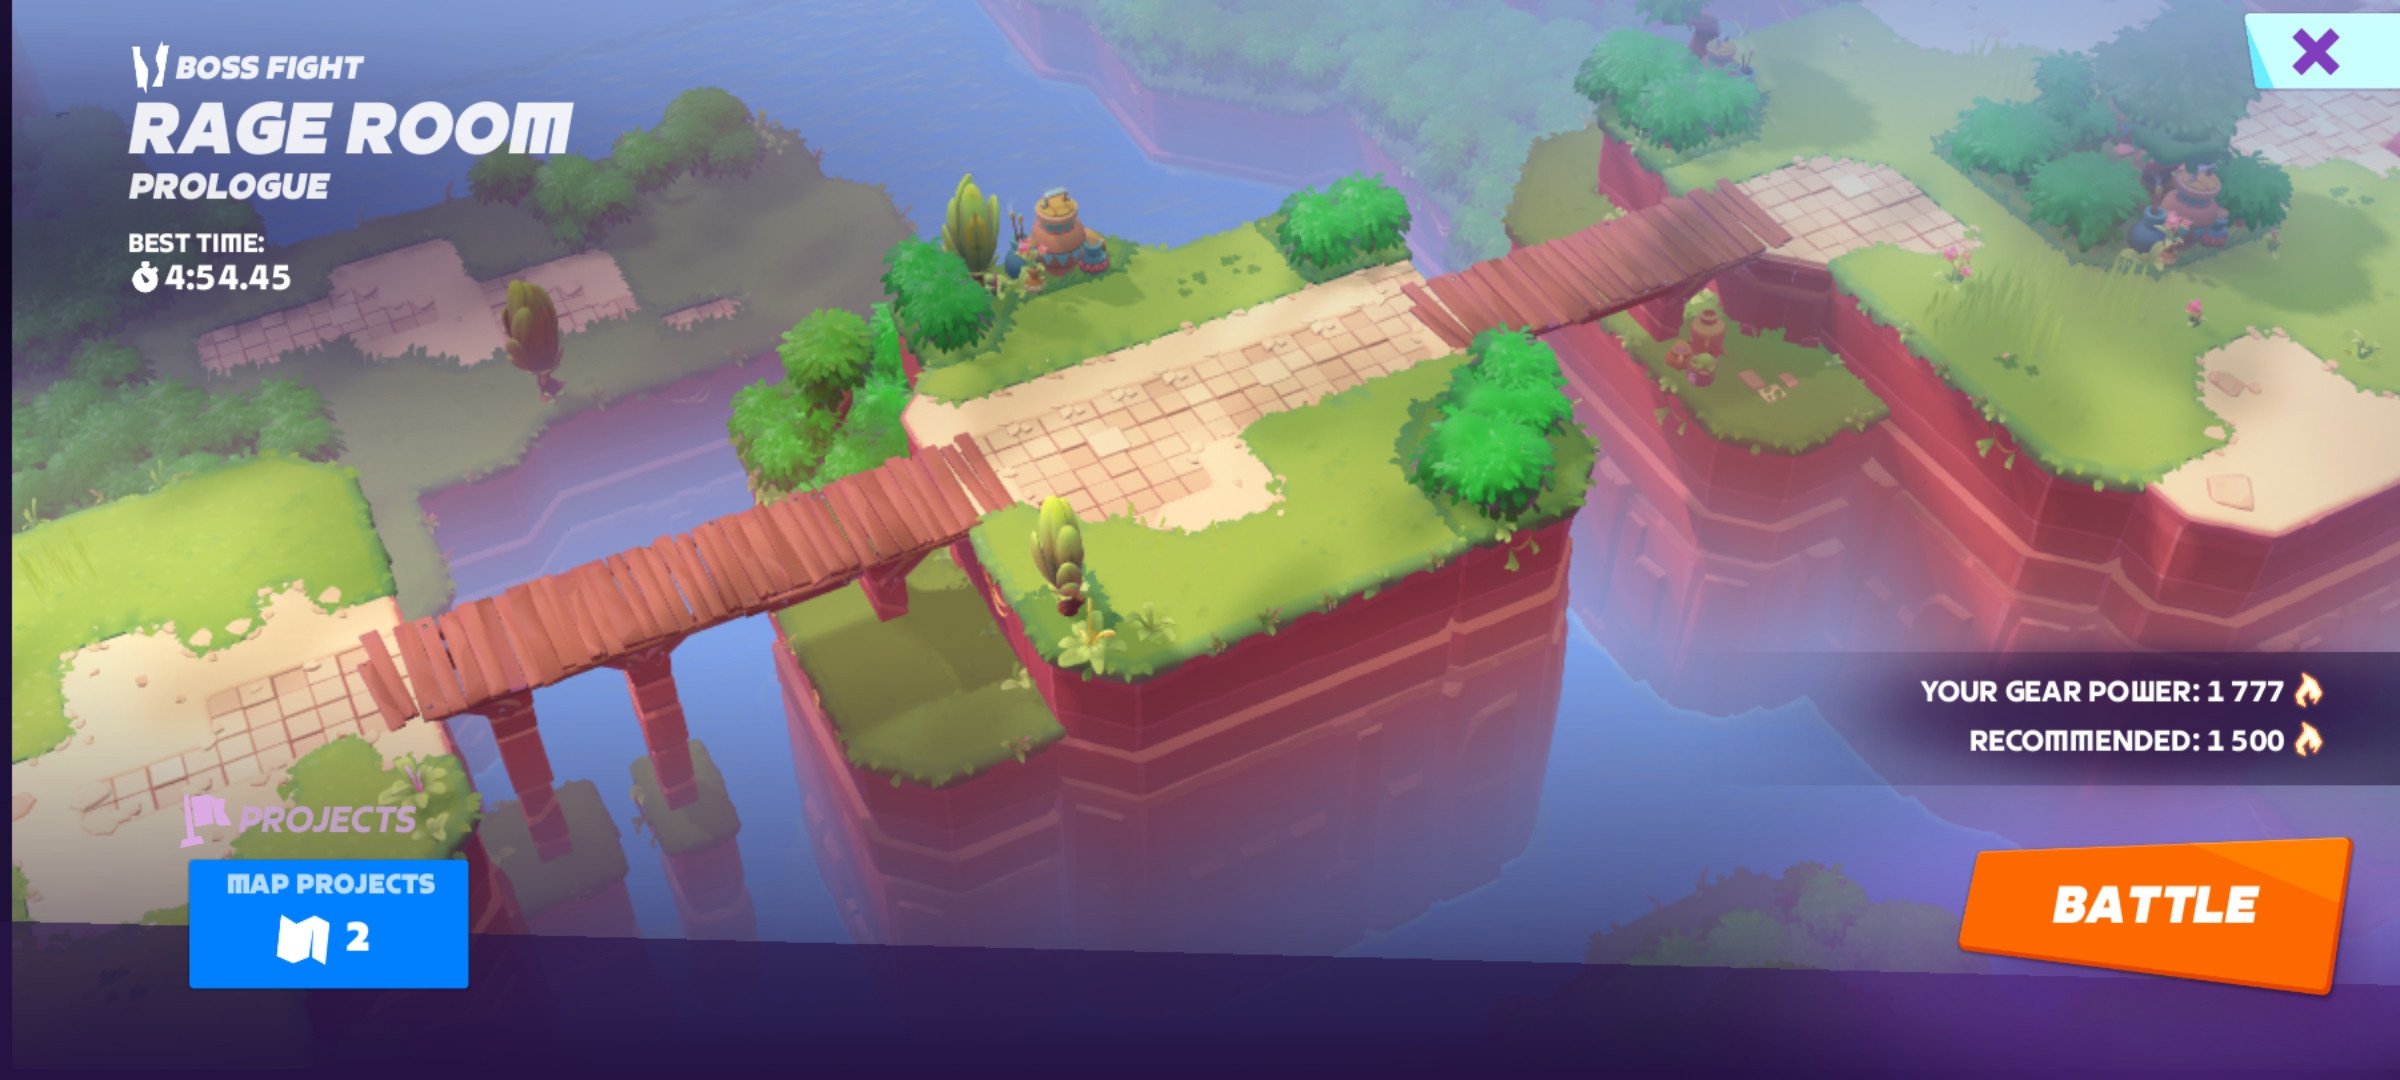
Rage Room is packed with enemies and requires fast AoE damage to survive. Equip a strong AoE weapon like Monster Slugger or CPU Bomb. These will help clear mobs quickly and keep the pressure low.
Use gadgets that hit multiple enemies fast. Pepper Spray, Vitamin Shot, and Boom Box work great together. Vitamin Shot boosts speed and heals, which keeps you alive longer.
Your primary goal is to take down Berseker. Here’s what you need to know about this boss:
- Avoid his AoE spin by staying as far as possible
- Dodge his frontal punch
- Take care of adds first
- Dodge his axe toss to stay at a higher HP level
For passives, go with Vampire Teeth for healing every hit. Add Unstable Lightning to deal constant AoE damage.
Move through the rift quickly, but don’t rush blindly. Focus on clearing waves without getting swarmed. Stay mobile and keep your gadgets ready between spawns.
Boom Box helps control enemies with constant damage around you. Use it when mobs crowd too close. With the right gear and good movement, Rage Room becomes much easier to handle. Keep calm and clear the room step by step.
Double Hop Rift Walkthrough
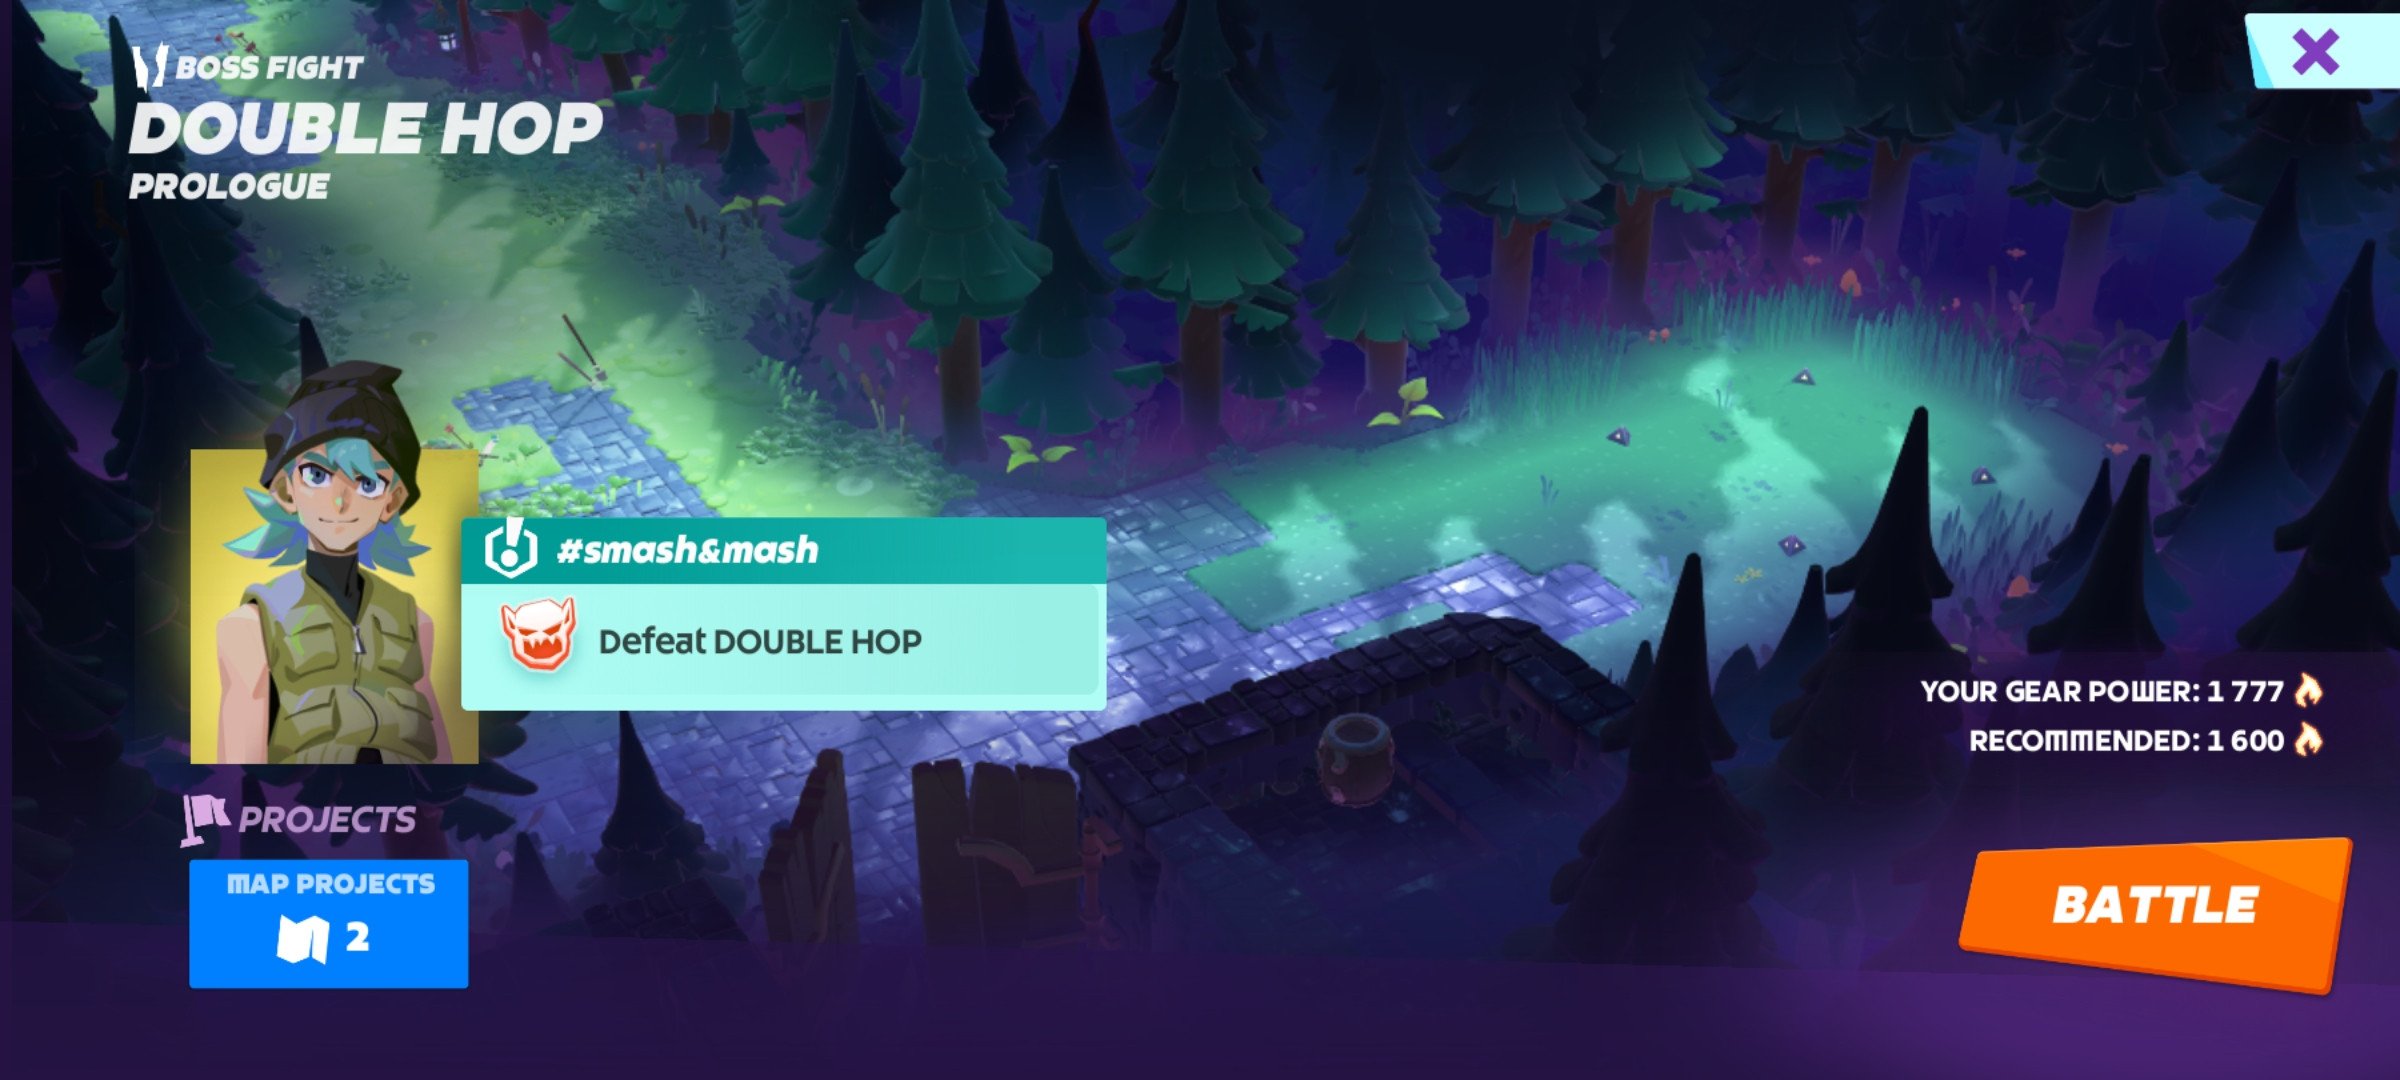
Double Hop is a spam-style rift filled with enemies and two bosses. You’ll need both AoE and single-target damage to handle everything. Equip a strong weapon like CPU Bomb, Slugger, or Speedshot.
Use gadgets that balance survival and damage. Go with Pepper Spray, Monster Taser, and Vitamin Shot. This combo helps clear mobs while staying alive.
You’ll defeat Axe-Hopper inside Double Hop easier with these tips:
- Your pets and tanks should maintain the boss’s aggro
- Don’t start fighting two bosses
- Deal with adds first
For passives, always equip Vampire Teeth first, and you can also add Auto Zapper for extra damage. These work great for hitting big groups and boss fights, too.
Clear one boss at a time to avoid getting overwhelmed. Two bosses jumping at once can wipe your team fast. Focus all firepower on one target before moving on.
Watch for axe leaps and use your dash to dodge. Stay behind the bosses when possible. Let pets or tanks take aggro while you deal damage from the side.
Twilight Takedown Rift Walkthrough
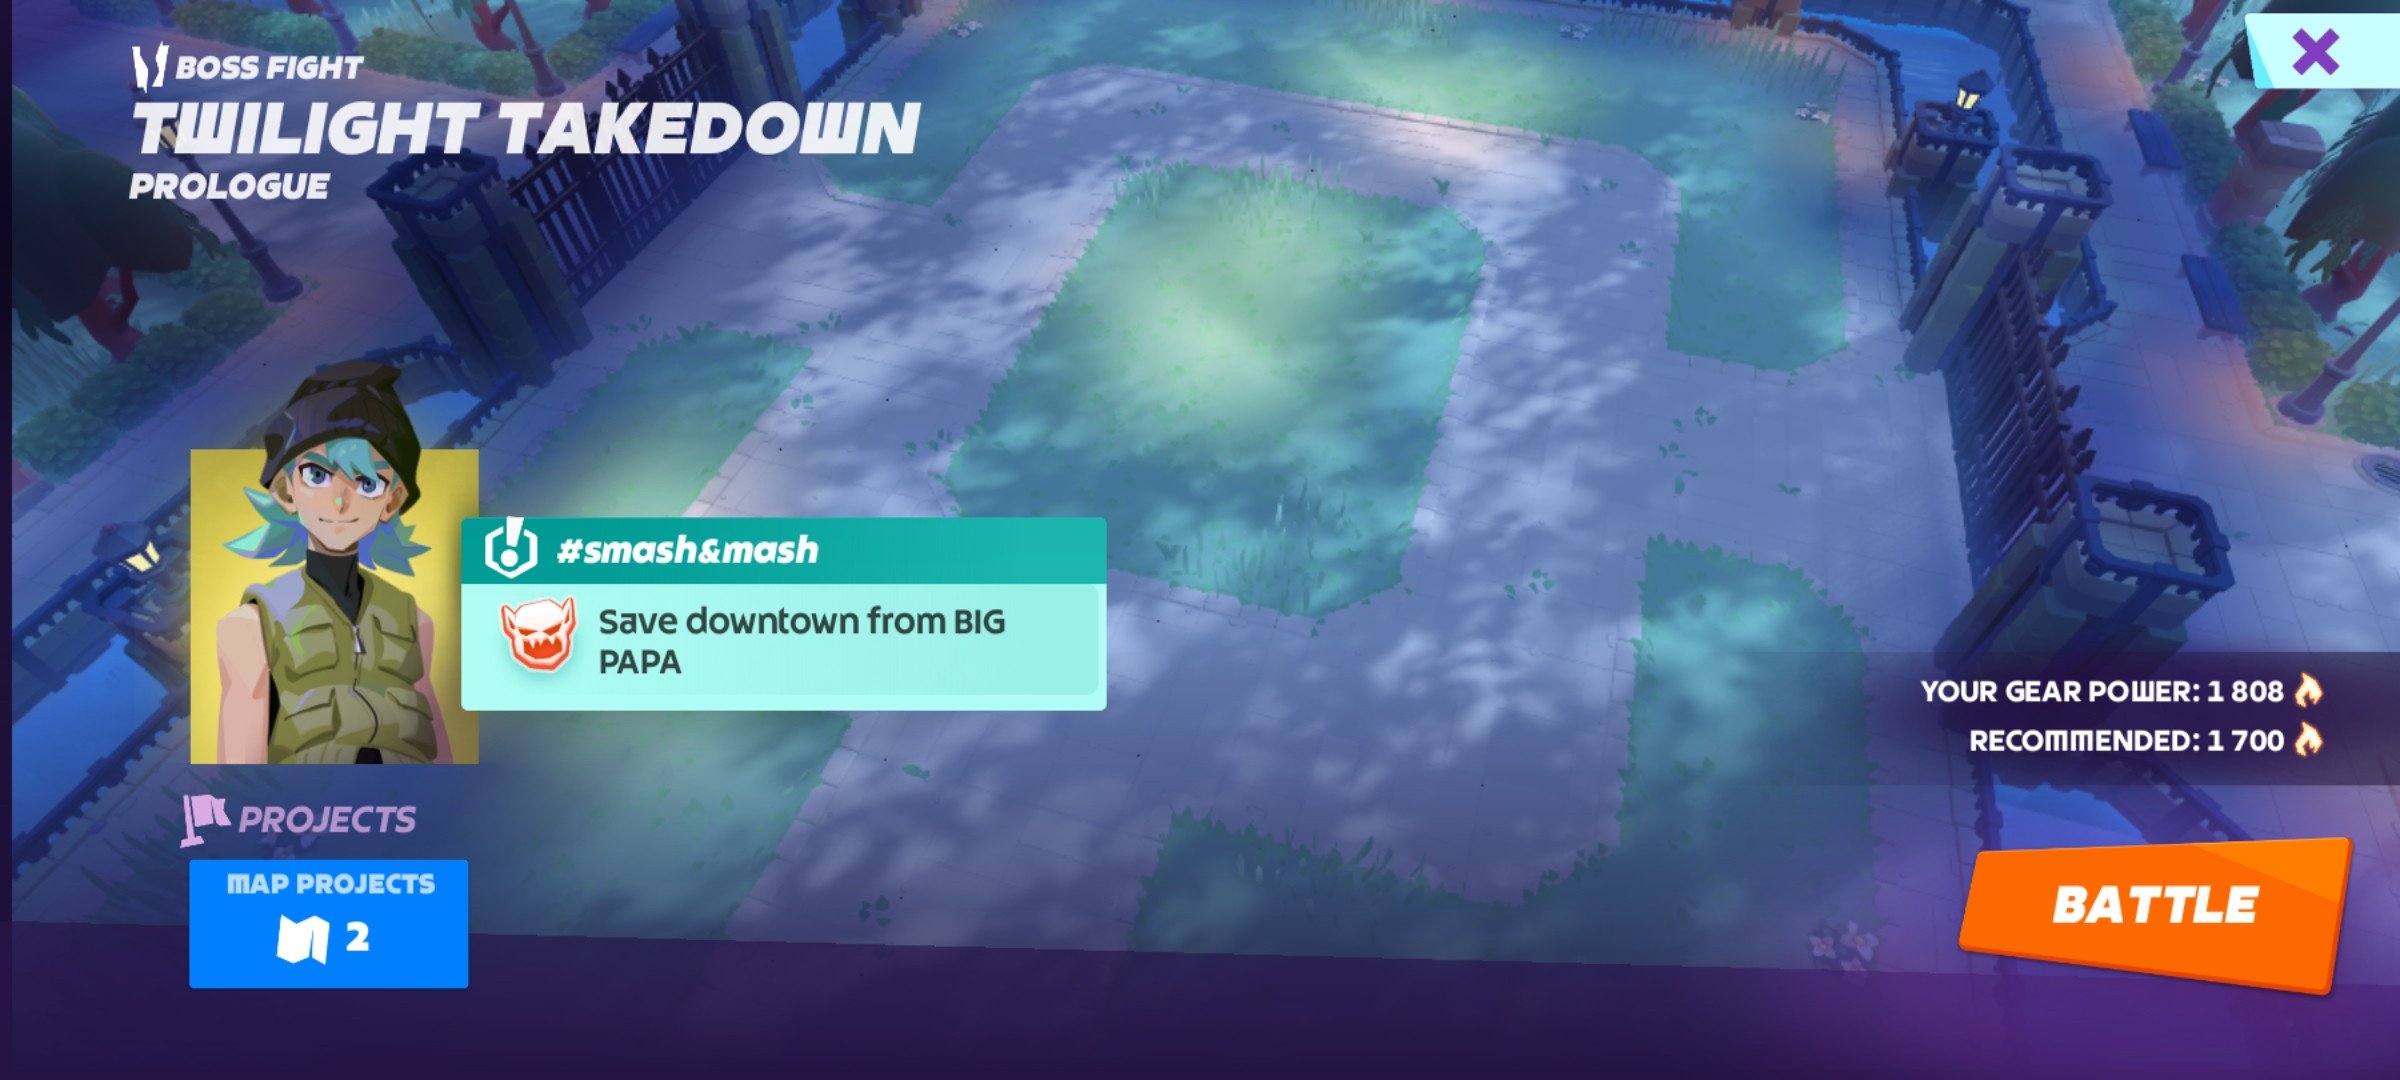
Twilight Takedown is a pure boss fight. There are no trash mobs here. Bring only single-target weapons and gadgets that hit hard. Use Speedshot or Monster Slugger for best results. Both offer strong boss damage. If they’re high level, they’ll carry the whole fight.
For gadgets, equip Vitamin Shot, Monster Taser, and Multi Zapper. Multi Zapper helps deal with any random spawns. Taser boosts your burst damage when the boss is open.
Here are a few tips to take down Big Papa inside Twilight Takedown easily:
- Jump through the boss when he does AoE breath
- Dodge his charge
- Get rid of eggs whenever they appear
- Keep up the full HP to prevent dying from AoE slam
Go with Vampire Teeth for passive healing. Then pick Auto Zapper and Unstable Lightning. These passives boost your DPS during longer boss fights.
Keep your distance and watch the boss patterns. Stay mobile to avoid big hits. Use your dash to dodge when the boss jumps or spins. If you’re in a team, make sure someone tanks. Focus fire and keep healing up. Timing your gadgets right will help you melt the boss fast.
MoCo Rift Tips
As we slowly approach the end of our guide, let’s get over the most important tips and tricks. They’ll help you perform well in most rifts, no matter what type of it you’ve encountered. Check out our top 5 MoCo rift tips to keep in mind:
| Match Your Build to the Rift Type | Spam rifts need splash damage. Boss rifts need strong single-target weapons and gadgets. |
| Always Equip Vampire Teeth | This passive heals you during fights. It's great for every rift and keeps you alive longer. |
| Use Your Gadgets Wisely | Save damage gadgets for key moments. Use healing gadgets like Vitamin Shot when low. |
| Watch Boss Patterns and Avoid AoEs | Learn enemy attacks. Stay away from pets during AoEs to avoid taking extra damage. |
| Upgrade Your Gear Regularly | Use Chaos Cores from hunts and jobs. Higher-level gear means faster clears and better survivability. |
Conclusion
This wraps up our Mo.Co rifts guide, hunters. They can be tough, but the right build makes a huge difference. Each rift has its own challenge, so knowing what to expect helps a lot. Use splash damage for spam rifts and single-target weapons for bosses. Healing passives and smart gadget choices will keep you alive longer.
Stick to the recommended setups if you're unsure, and always adapt based on your gear level. With the right strategy, you’ll beat every Rift and grab that sweet loot with ease. Good luck, and happy monster hunting!
F.A.Q.
What are rifts in MoCo?
Rifts in MoCo are timed dungeon-like challenges where you fight waves of enemies or bosses.
How difficult are rifts in MoCo?
Some are easy, others are sweaty — it all depends on the rift and your build.
What do you get for completing rifts in MoCo?
You earn XP, Chaos Cores, loot, and sometimes gear upgrades or progress toward projects.
What are the best gadgets to use for rifts in MoCo?
The best options include:
- Vitamin Shot
- Splash Heal
- Monster Taser
- Multi Zapper
What are the best weapons to use for rifts in MoCo?
Usually, you choose one of these weapons, depending on the rift type:
- CPU Bomb
- Speedshot
- Monster Slugger
How long does it take to complete a rift in MoCo?
Most rifts take 2–5 minutes if your build is solid and you move fast.