Welcome to the CoD Black Ops 6 Citadelle des Morts guide, where you’ll learn how to complete the main quest on this map. We’ll break down the entire process into steps so you can memorize it more easily. Citadelle des Morts is a pretty challenging map. It’s definitely way more difficult than Liberty Falls and even Terminus Island. Speaking of those maps, we also have guides for them.
If you want to unlock all of the rewards from Citadelle des Morts and its easter eggs, you can buy BO6 Zombies Citadelle des Morts at Skycoach. With this service, you’re getting a guaranteed completion of the main quest along with all of its rewards. The completion of additional side quests and easter eggs is also possible.
Read our other Black Ops 6 guides:
- Terminus Main Quest Guide
- Liberty Falls Main Quest Guide
- Zombies Best Weapons Tier List
- How to Level Up Fast
- Best Settings
- Zombies Guide
- Best Weapons Tier List
- How to Unlock All Mastery Camos
Note: At Skycoach, you can Buy Black Ops 6 Boost at the best prices with fast delivery. Use our special PROMO CODE (in green) hidden in this article for a 20% DISCOUNT.
Step 1: Unlocking Pack-a-Punch Machine
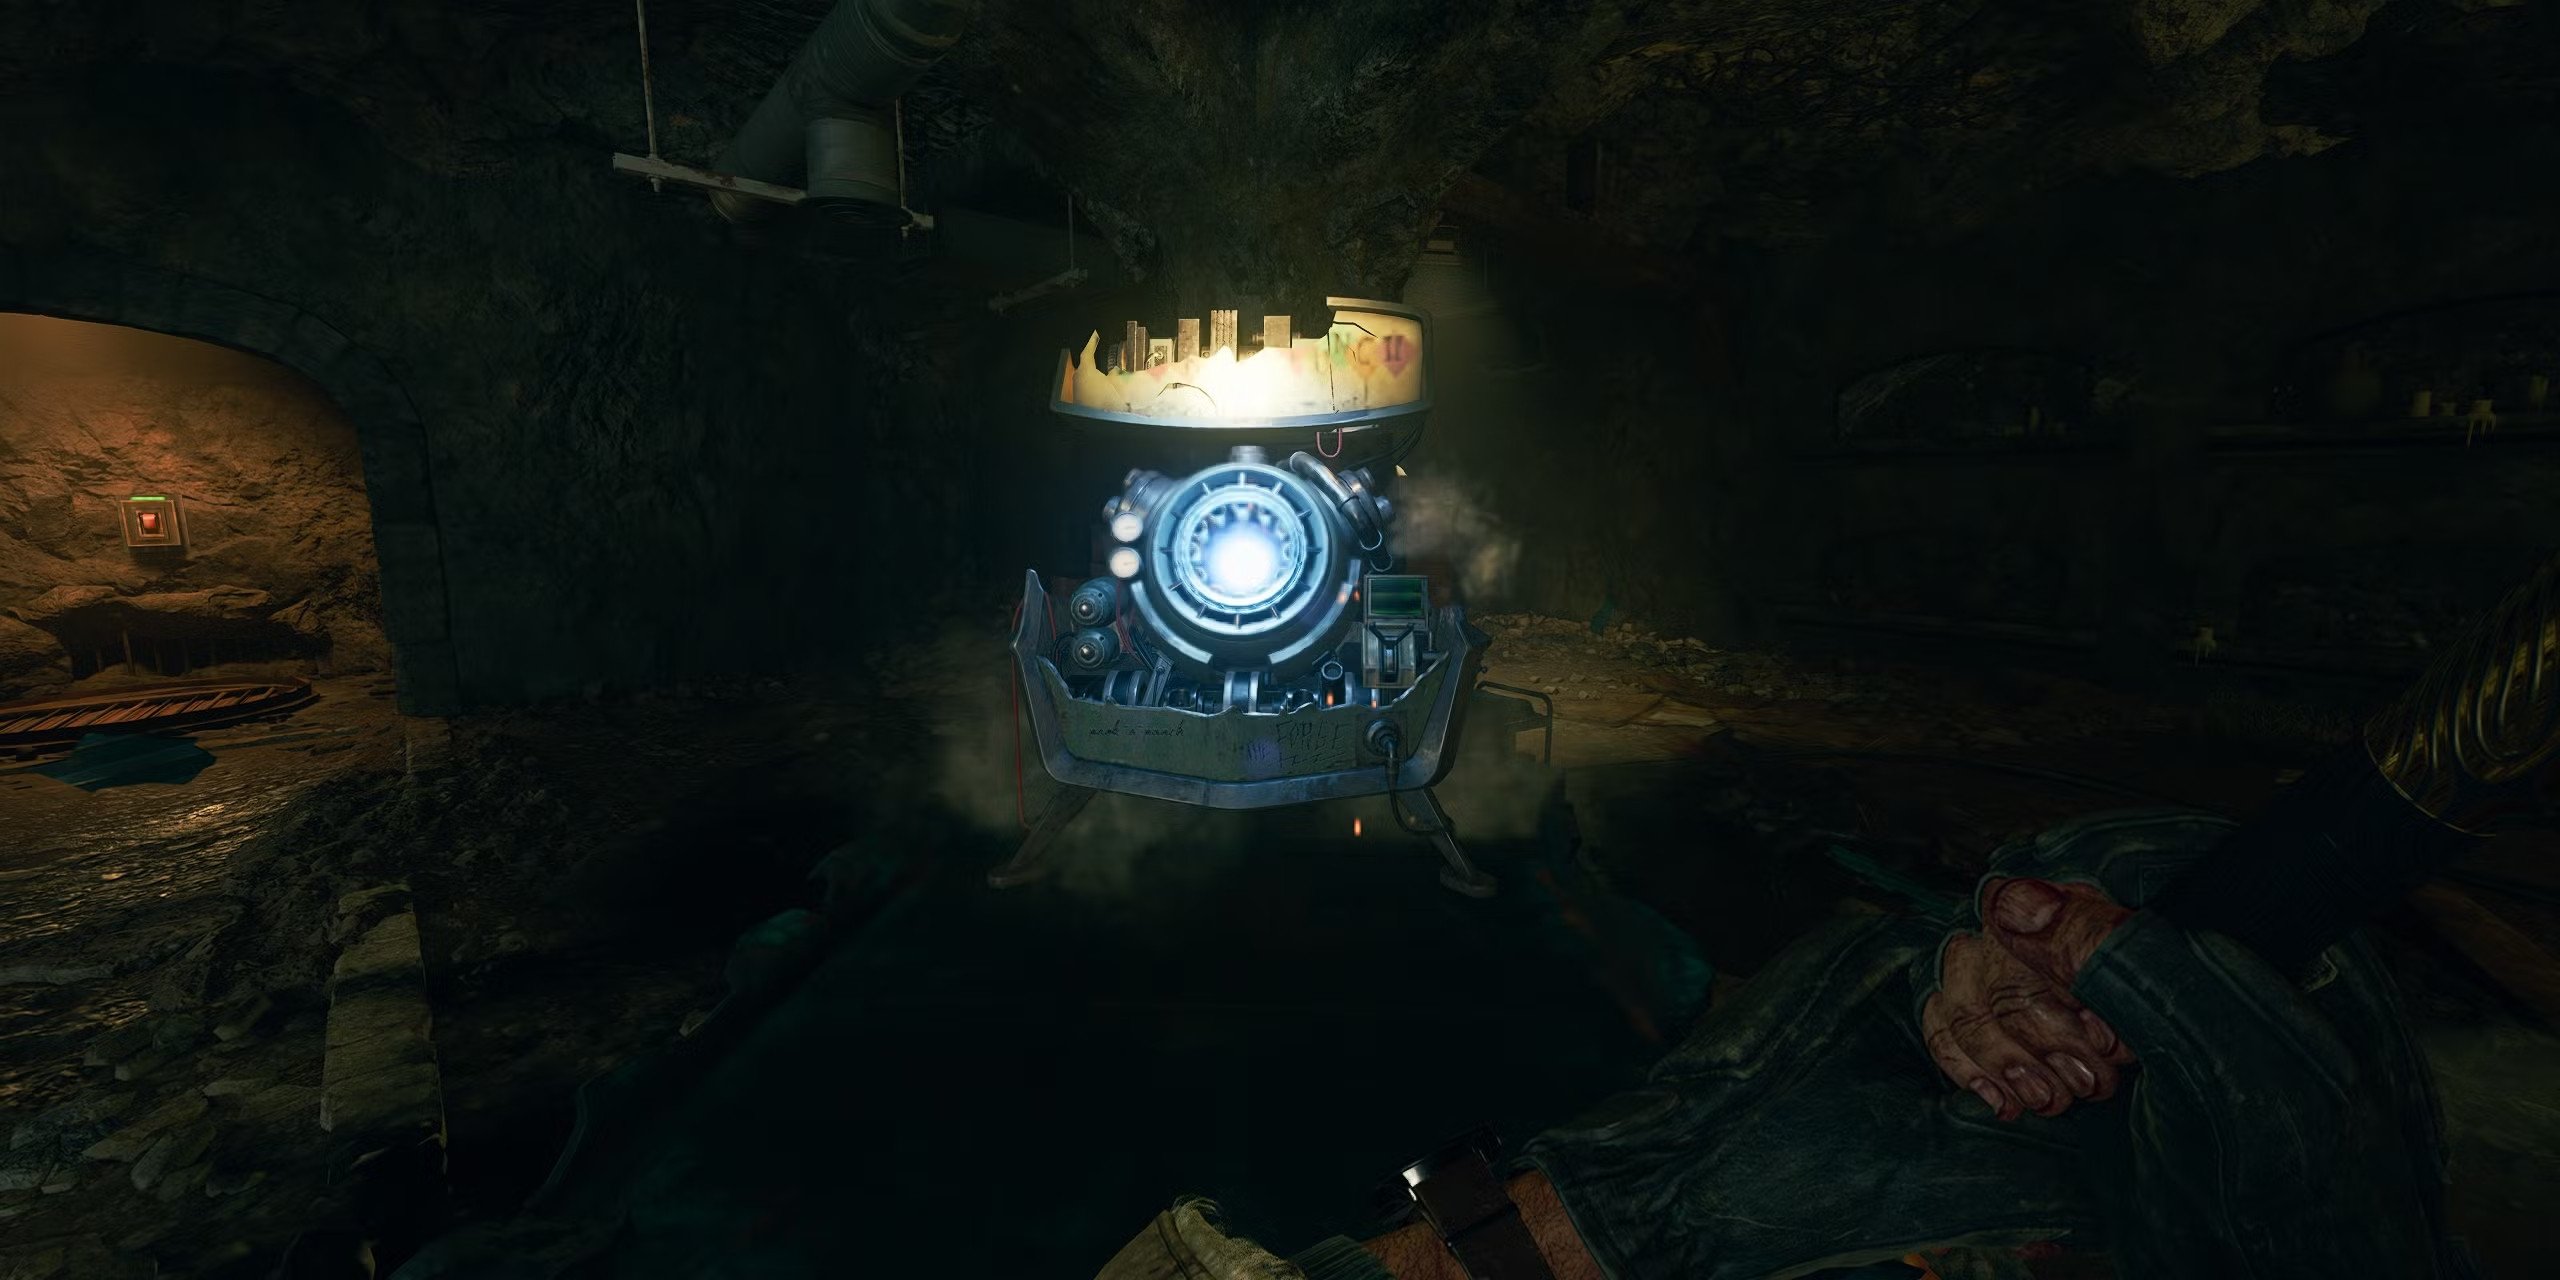
The first step of the Easter egg or the BO6 Zombies Citadelle des Morts main quest is to open up Pack-a-Punch. This step is very easy—you just follow the markers on your screen into the castle all the way to the very bottom. Shoot the locks off, and then shoot the mini-boss that spawns out of here. He will drop a crystal. Put that exactly where that mini-boss spawned, and you will get Pack-a-Punch. From there, just run over to where the Quick Revive perk is sold, and right behind that, you will see a barred cell door. Hold “F” on that, and you will see Craft inside. Once you have talked to Craft, you are in the Easter egg and essentially ready to start collecting four ritual items and four elemental sword upgrades.
Step 2: Collect Ritual Items and Elemental Sword Upgrades
Both ritual items and sword upgrades are required to progress to the next stage of the Citadelle des Morts Easter egg. Collecting ritual items can begin immediately, but sword upgrades can only be started after Round 10, as stamps become available at that point.
Unlocking the Swords
Once you get to Round 10, a special type of zombie will spawn with a bucket on his head. All you need to do after Round 10 is to kill this zombie, and he will drop a stamp. These stamps are used to actually unlock the swords so you can pick them up and put them down out of the knights' hands in the main room. You can only hold one at a time. So what I recommend doing is whenever you get one of these stamps, go back to the knights' room, give it to a new knight, and interact with it so you basically have all of these swords ready for you whenever you're ready to move on because the next step is going to be upgrading all the swords. BLOG20
Sword Upgrades
Once all swords are unlocked, the upgrades can be completed. It’s time to give each of these swords its own little Black Ops 6 Zombies guide. As you complete these challenges, activating each sword’s power, make a mental note of what element they’re using.
Lion Sword (Light Sword):
Melee glowing parasites around the map. Each parasite unlocks a symbol on a door near the Speed Cola perk. After unlocking four symbols, melee the door to open it.
Inside, place the sword on the pedestal and observe the symbols displayed. Match the pedestal's symbols to floating symbols by shooting them in the correct order. Completing this puzzle upgrades the Lion Sword.
Stag Sword (Electric Sword):
Collect three lightning rod parts:
- Shock an electric box using Dead Wire to knock down the first part from an antenna.
- Locate the second part near Deadshot on the ground.
- Kill armored zombies to obtain the third part.
Assemble the lightning rods at a cauldron and survive within the electric cloud. After three lightning strikes, the sword will be electrified and fully upgraded.
Raven Sword (Void Sword):
Match an artifact found in the puzzle room to a chart of symbols. Place the artifact in its proper location and complete a symbol-matching puzzle.
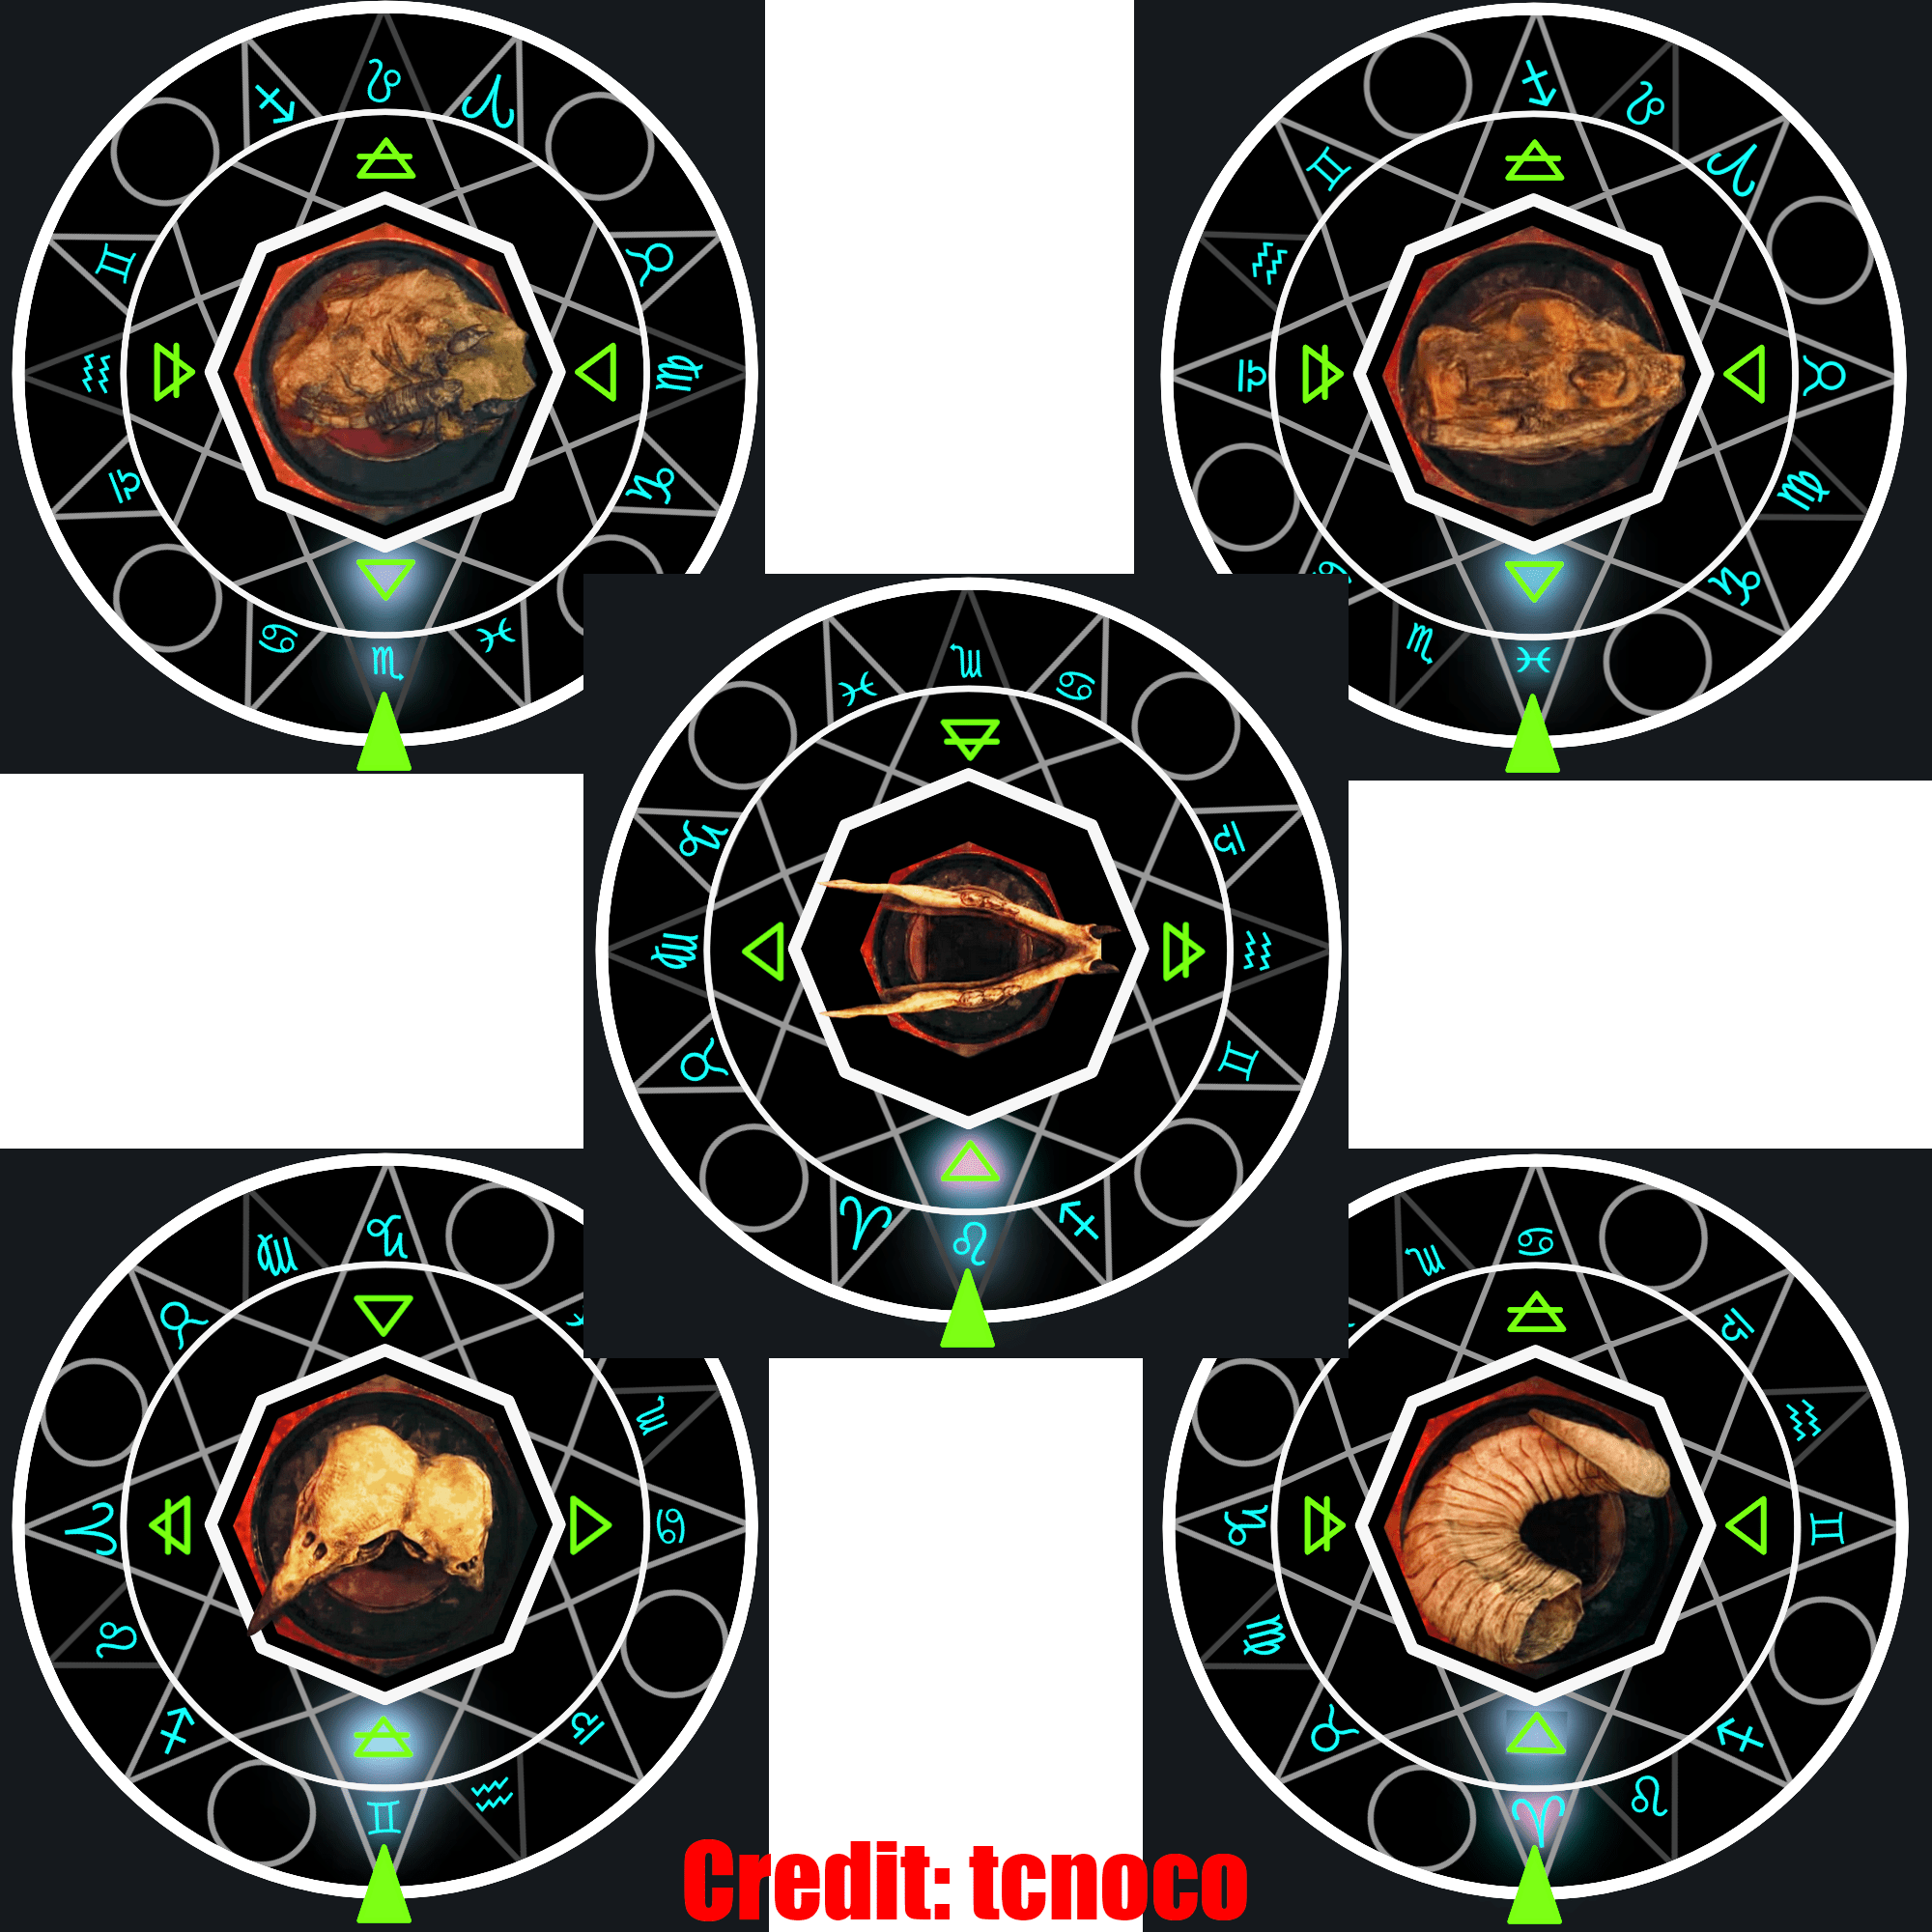
Glowing orbs will appear and must be led into specific zones to charge the sword fully.
Fire Sword:
Interact with the cauldron near the dragon statue to ignite. Survive by meleeing zombies to regain health or running to the dragon. Complete this process three times to upgrade the sword.
Once you get all Citadelle des Morts sword upgrades, you can proceed to obtain four more items on the list.
Step 3: Obtain Ritual Items
The next thing you’re going to do is get all four of the Citadelle des Morts ritual items and the associated soul boxes at the end of each ritual item. Again, this can be done in any order. Each ritual item corresponds to a soul box location:
Electrified Horseshoe:
One of the ritual items you need to get is the Electrified Pegasus Horseshoe, which can be found by going down to the stable. Shoot the horseshoe off the wall and grab it from the floor. Once you have this ritual item, use the cannon to launch yourself. While in mid-air, you'll get electrified. After being shocked, you'll see an electric storm cloud somewhere in the arena—it can spawn on different sides. Follow the cloud to the bottom, where you’ll find the electrified Pegasus Horseshoe. Zombies will spawn around it, so be prepared to defend yourself. Once you grab the horseshoe, take it to the spawn area. The symbol for the soul box should appear on the ground. Place the horseshoe there, and this will activate a gigantic soul box. Fill it by killing zombies near it. When it’s complete, the box will rise from the ground, and this part of the ritual will be finished.
Ank:
To obtain this, you need to burn three piles of wood located around the map. You can do this using Molotovs, thermal grenades, or the Fire Sword’s special attack. After igniting the piles, you’ll see souls flying out of each one.
- Pile 1: Easy to hit.
- Pile 2: Tricky throw if using Molotovs; aim carefully.
- Pile 3: Located behind a wall you can buy access to, making it the most hidden of the three.
Once all three piles are lit, the souls will fly across the map, spawning a dual-headed mini-boss. Kill it, and it will drop the Ank on the ground. Collect it and bring it to the courtyard. Place it on the soul box there, and once again, kill zombies nearby to fill the box. When it’s finished, it will rise from the ground, completing this ritual.
Paladin’s Bust:
In the knights’ chamber, you’ll notice a beam of light above. Your goal is to redirect this light to different points in the room until it connects to a specific bust. Try various angles until you find the correct path. Once the light reaches the bust, it will spawn the Paladin's Bust, which you can pick up. The soul box for this item is in the starting room. Place the bust on the ground, fill the soul box with zombies, and complete the ritual when the bust rises out of the floor.
Raven’s Talon:
To obtain Raven’s Claw, take the cave slide and look for a raven. As you slide, shoot at the raven to scare it off. Watch where it flies and keep shooting until it drops the ritual item. Pick it up and take it to the undercroft. Place the Raven Claw on the designated spot, activate the soul box, and fill it by killing zombies nearby. Once completed, the box will rise from the ground, and this ritual step is complete.
Step 4: Wall Puzzle and Book Pages
The next step of the BO6 Citadelle des Morts walkthrough has to do with the wall puzzle. At any point, you can approach the wall and hit it with Melee Macchiato. Note that this cannot be done with a sword—you must use a standard melee attack. Doing so will reveal symbols on the wall.
After revealing the wall, head to the bar, where you’ll find six jugs, each with a Roman numeral. Interact with each one to reveal a symbol and note them down in numerical order (1–6). The symbols change every game, so make sure you write them down.
Return to the wall and shoot the symbols in the correct order. If done correctly, a nearby area will open, revealing a book. However, the book is missing pages. To find the pages, go to the nearby couch room. There are four pages scattered in and around this area. Collect them and return to the book. Insert the pages into the book, which will then reveal four symbols corresponding to four traps around the map.
Each symbol matches a specific trap. You need to visit each trap and kill zombies near it to charge it. Be careful—the symbols are similar, so double-check the book to ensure you’re using the correct traps. After completing all four, the book will be updated with a new set of instructions.
Step 5: Knight Challenges
Once this is done, the Knights’ Challenges begin. The knights will give you the order of incantations for the swords. Retrieve each sword in the specified order and take it to the ritual box it corresponds to (Light – Lion, Fire – Anhk, Electric – Horseshoe, Void – Raven’s Talon). For each sword:
- Melee the box with the correct sword.
- Use the incantation item in your tactical slot.
- Inspect the sword in front of the corresponding knight statue. If done correctly, the knight will salute you.
Repeat this process for all four swords, ensuring that each sword is matched with its corresponding ritual box and knight statue. Pay attention to the knight’s salute after you complete the inspection, as it confirms that the ritual for that sword is successfully completed. Once all four swords have been properly placed and the rituals performed, the Mystic Orb will descend from the sky in a glowing display, signaling that you have completed this crucial step in the main quest. This event also unlocks the next phase of the Easter egg, where you will use the Mystic Orb to initiate the elemental challenges needed to progress further in the quest.
Step 6: Mystic Orb Challenges
Once you have the Mystic Orb, you’ll need to complete four elemental challenges: the home stretch of the Black Ops 6 Easter egg completion. These are tied to the sword upgrades:
- Light Challenge: Use the Lion Sword and run around the designated area, killing zombies and absorbing light orbs in the Dining Hall.
- Fire Challenge: Use the Fire Sword to kill zombies in the specified area until enough souls are collected in the Courtyard. BLOG20
- Electric Challenge: Use the Electric Sword’s special ability to kill zombies and charge the orb in the Town Square.
- Void Challenge: Use the Void Sword in the designated area, similar to the other challenges in the Undercroft.
After completing all four elemental challenges, take the Mystic Orb and place it on the marked section of the wall. As soon as you do this, a burst of energy will emanate from the orb, clearing all nearby zombies and giving you a moment to breathe. The wall will then open, revealing a hidden chamber that serves as a critical part of the main quest.
Step inside the newly unlocked room, where you'll find the Guardian Key—a vital item needed to access the final boss fight. This room may also contain some lore elements, offering more insight into the story of Citadelle des Morts. Take your time to gather supplies, as this is your last chance to fully prepare before the final showdown. Once you’ve collected the Guardian Key and ensured your loadout is optimized (upgraded weapons, perks, and any necessary equipment), you’ll be ready to face the ultimate challenge: the boss fight.
Final Step: The Guardian Boss Fight
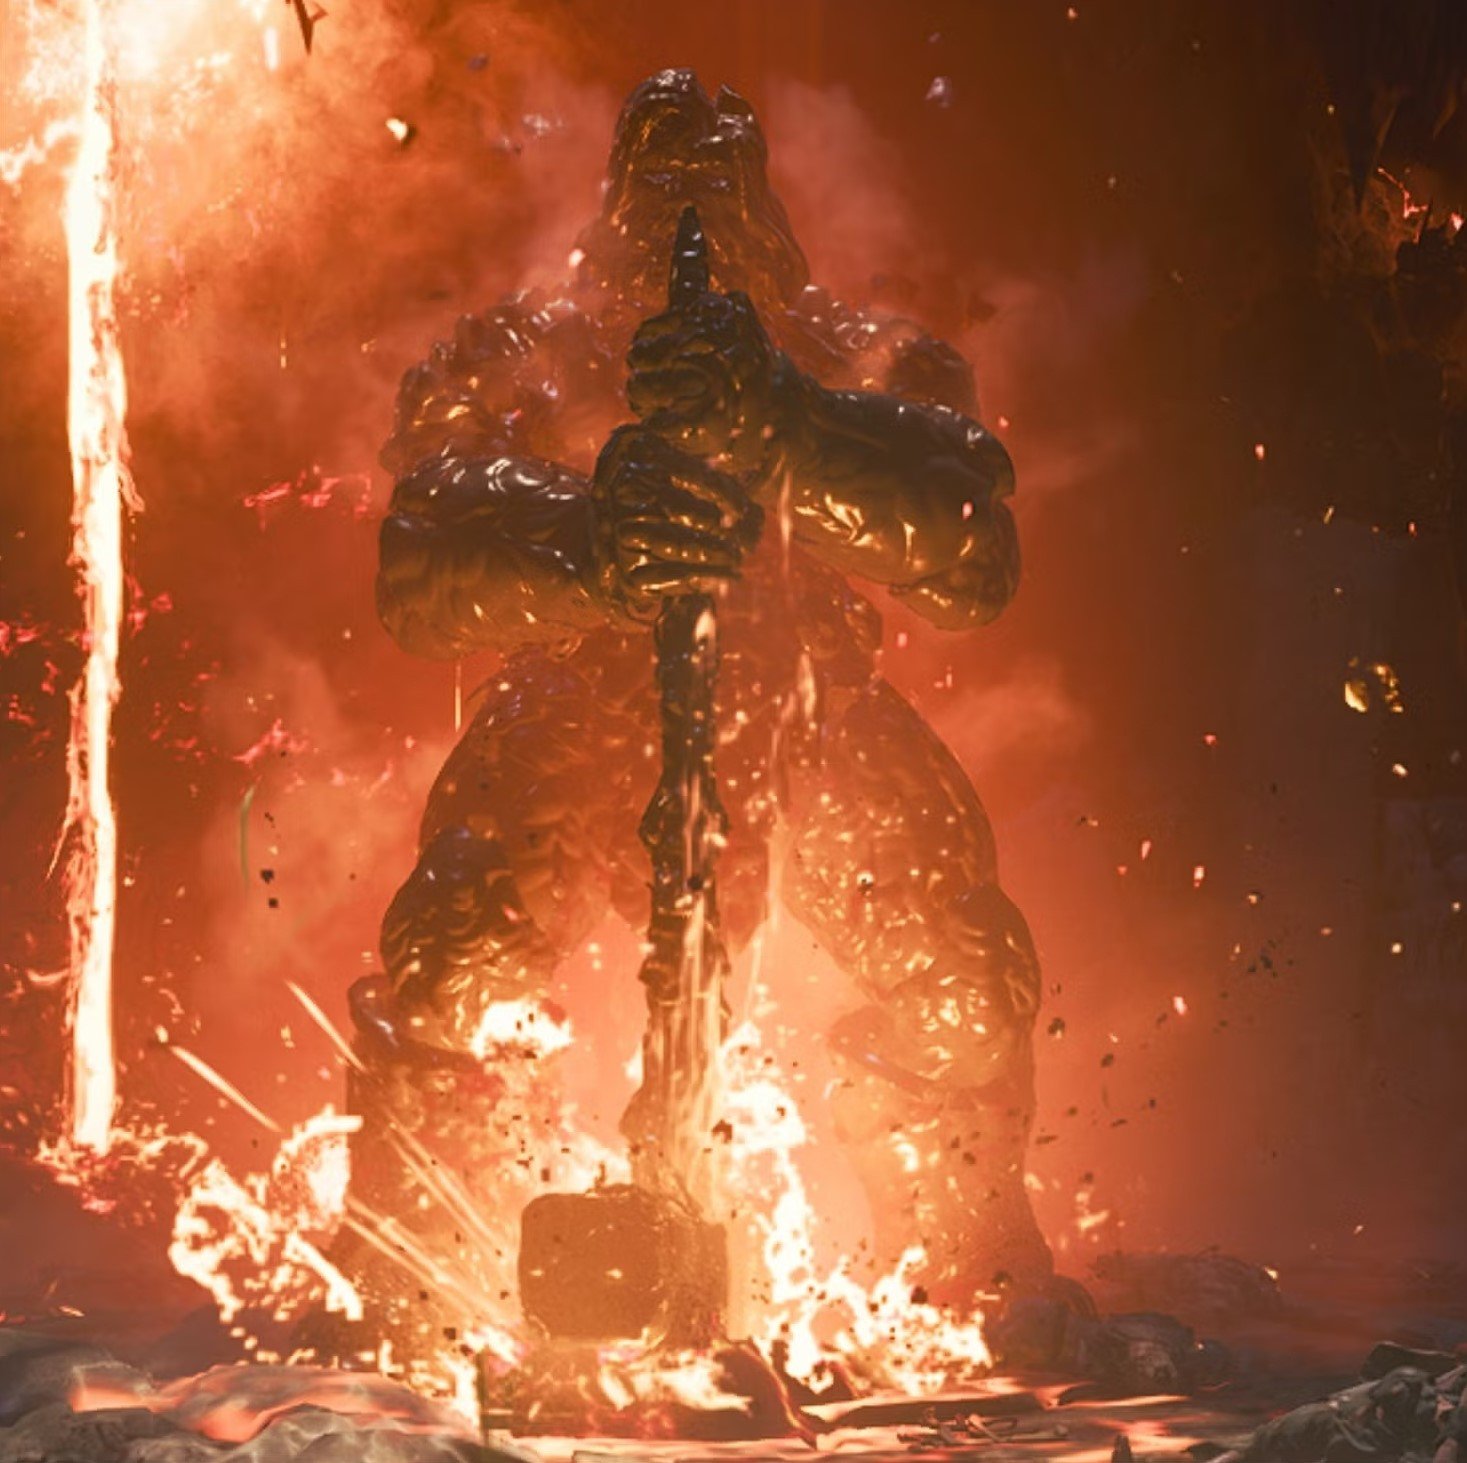
Gear up with perks, fully upgraded weapons, and armor. Bring decoys, monkey bombs, or any items that can help you survive. Interact with the spawn statue to teleport to the boss arena.
Boss Fight Details
The boss fight has three phases, each tougher than the last. In the first phase, you’ll need to break the armor on his shoulders and legs to expose his weak spots. This will take a lot of bullets, so make sure you’re using high-damage weapons. Once the weak spots are exposed, focus your fire there to deal some real damage.
- Break the armor on his shoulders and legs to expose weak spots. This will take many bullets but is necessary to deal significant damage.
- After each phase, he retreats, spawning zombies and mini-bosses. Clear them to continue.
- The arena shrinks and becomes more dangerous with lava as the fight progresses. Stay mobile to avoid his attacks.
Defeat the boss by focusing on the weak points and avoiding attacks. After its defeat, collect the artifact it drops to complete the Easter egg.
Conclusion
As a map, Citadelle des Morts is beautiful, but it’s also definitely a big step up in terms of difficulty. As you can see from this guide, there are lots of steps to its main quest. It will have you run around, collecting weird objects that aren’t marked on the minimap. It will have you look for specific spots on the map and interact with them using specific weapon upgrades or perks. It’s safe to say that Citadelle des Morts guide does make use of almost all features of CoD Zombies this year. It also begs the question - what’s next? How will devs outdo the kind of challenge and complexity they introduced on this map?
Anyway, we hope that this BO6 Zombies Citadelle des Morts full walkthrough has helped you complete the main quest and get the rewards. See you in the next one!
F.A.Q.
How to start CoD BO6 Citadelle des Morts quest?
Unlock Pack-a-Punch by following the markers, defeat the mini-boss, place the crystal, and talk to Craft near Quick Revive to begin the quest.
How to upgrade swords in CoD BO6 Citadelle des Morts?
Complete unique challenges for each sword:
- Light Sword: Melee parasites and solve door symbols.
- Electric Sword: Assemble lightning rods and survive in the cloud.
- Void Sword: Match symbols and guide orbs.
- Fire Sword: Survive three fire runs.
Where are Citadelle des Morts ritual items in CoD BO6?
There are four items hidden around the map:
- Horseshoe: Stable after cannon launch.
- Ank: Burn wood piles.
- Paladin’s Bust: Knights’ chamber.
- Raven Talon: Shoot Raven during the cave slide.
How to do the wall puzzle in the CoD BO6 Zombies Citadel map?
Melee the wall to reveal symbols, find matching jugs in the bar, and shoot the symbols in order to unlock the next step.
How to beat the boss in CoD BO6 Citadell map?
Break the boss’s armor, expose weak points, and survive waves of zombies while avoiding lava as the arena shrinks. Use upgraded weapons and perks for maximum damage.


