Finding the right schematics is super important if you intend to have a plentiful MWZ raid where you complete contracts, defeat some bosses, and advance through all 3 tiers of infection on the map. Without them, you’re as good as dead and might as well stick to the Tier 1 zone. In this MWZ schematics tier list, we’ll list the best schematics in the game, describing what they do and how to get them.
For those of you who haven’t tried the zombies mode and are unaware of what schematics even are, these are upgrades that give you all sorts of advantages, from changing the way your weapons work to giving your character extra abilities. There are five different rarities of schematics that represent their overall power and effectiveness. The rarity also usually gives you an idea of how hard it is to obtain them. For example, it is way easier to find an Uncommon schematic than Legendary or Flawless. But regardless of all of that, today, we’re listing the MWZ meta schematics no matter their rarity.
By the way, if you want a quick way to get any schematic in the game, you can Buy MWZ Schematics at Skycoach. Click on this link and pick any schematic in the game, from Wonder Weapons and Perk-A-Colas to Ammo Mods. Any schematic you want can be yours; all you have to do is place that order, and the Skycoach PRO CoD players will get it for you.
IMPORTANT NOTE: Apart from learning about the best schematics, you can also Buy CoD Boost from Skycoach. We offer a wide range of products at the lowest market price and with the fastest delivery. You can make your first purchase even CHEAPER if you find a special PROMO CODE (highlighted in green) hidden in this article and get a 20% DISCOUNT.
How Our MWZ Schematics Tier List Works
Before we proceed with the CoD Zombies tier list, we’d like to take some time and explain how we define the tiers. As you well know, tier lists are subjective. Movie, games, art rankings – are all subjective, no matter what criteria are used. Therefore, we want to say that don’t take this tier list as the absolute truth. Now, with that out of the way, here’s how we define our tiers:
| S-Tier | Top-of-the-line schematics that are literally game-changing. They either make sure that you survive the raid, give you insane damage in one way or another, or offer you some other crazy advantages. Usually, these schematics are really hard to come by. |
| A-Tier | These schematics give you pretty huge advantages that you can take with you through all zones on the maps and use in any contract. |
| B-Tier | Reliable power-ups that you need to get on your way to tier 3 zone. Without them, you’re as good as dead. While not as impactful as S-Tier or A-Tier schematics, they are still pretty viable. |
| C-Tier | Situational upgrades that may or may not work for you in different scenarios. Not exactly bad at all, but just not for everyone. |
| D-Tier | Not really great schematics that you get just to swap them out for something better. |
Judging MWZ Schematics by their overall usefulness seems like a fair deal. We won’t be listing all of the schematics. Only those that are more commonly used or talked about will make it in our tier list. And now, without any further ado, let’s reveal our list.
Best MWZ Schematics in The Game
Despite the fact that schematics come in various rarities, our list is based on their usefulness rather than how hard it is to find them. In some sense, rarities are invalid when it comes to really good upgrades. So, don’t be surprised if you see any Uncommon upgrades in higher tiers. Now, let’s see the list of the best MWZ Schematics based on how good each of them is.
| Tier | Schematics |
| S-Tier | Legendary Aether Tool, Mags of Holding, Golden Armor Plate, Death Perception Can |
| A-Tier | Ray Gun, Blood Burner key, Jugger-Nog Can, Tombstone Soda Can |
| B-Tier | Golden Mask Filter, Aether Blade, Speed Cola Can, Stamin-Up Can, Scorcher |
| C-Tier | Dead Wire Detonators, Dog Bone, Deadshot Daiquiri Can, V-R11 |
| D-Tier | Sergeant's Beret, Elemental Pop Can, PHD Flopper Can |
If you see a schematic that doesn’t belong to its tier, don’t rush to give this tier list a bad review score (if you didn’t know, you can rate each article you read in our blog). Just because we rated your favorite schematic not how you wouldh have imagined, doesn’t mean that it’s bad or better than it actually is. With that, let’s find out what is the best schematic in MWZ and why? BLOG20
S-Tier
Starting off with the S-tier, here we have the absolute best and strongest schematic in MWZ, as of the latest update.
Legendary Aether Tool
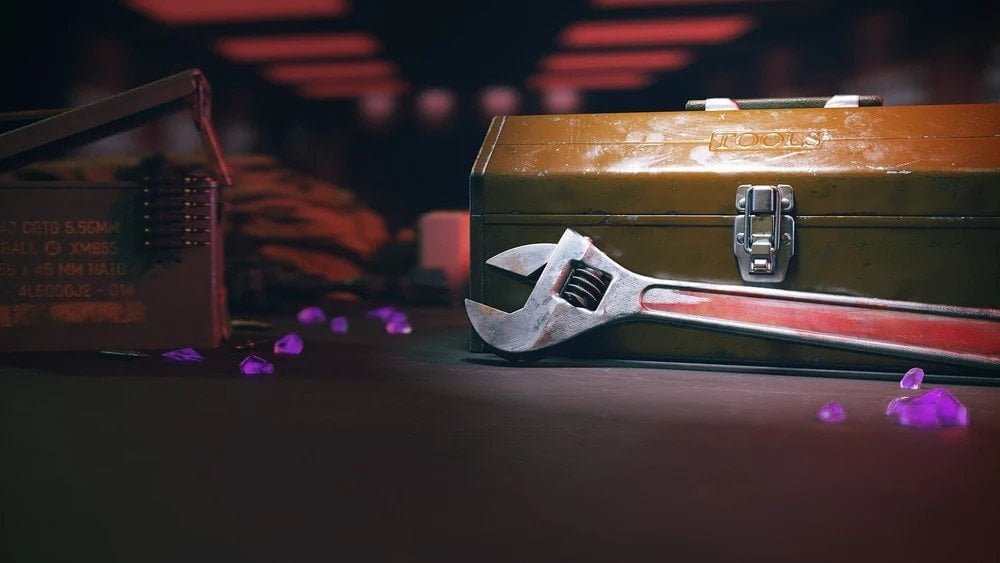
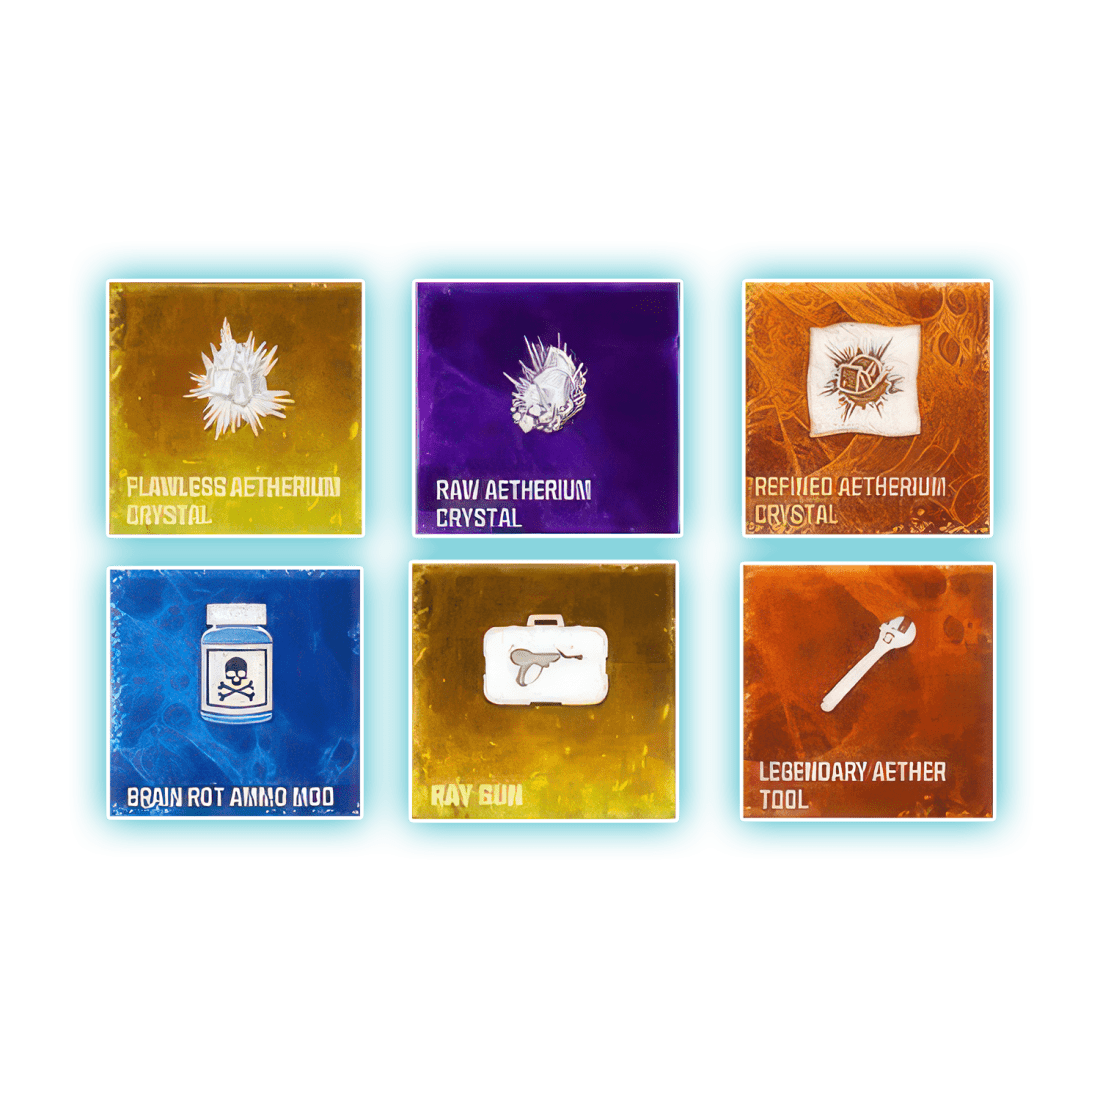
This thing upgrades your weapon to the highest level or rarity if you will. It is easily one of the best schematics to use in MWZ. This upgrade increases the weapon stats to the maximum possible values, which means that everything from damage to magazine capacity will be increased. More importantly, this means that now you can take this legendary gun into higher-tier zones.
- How to get: obtained by defeating the Greylorm boss within the Tier 3 zone, the Aether Storm.
Mags of Holding
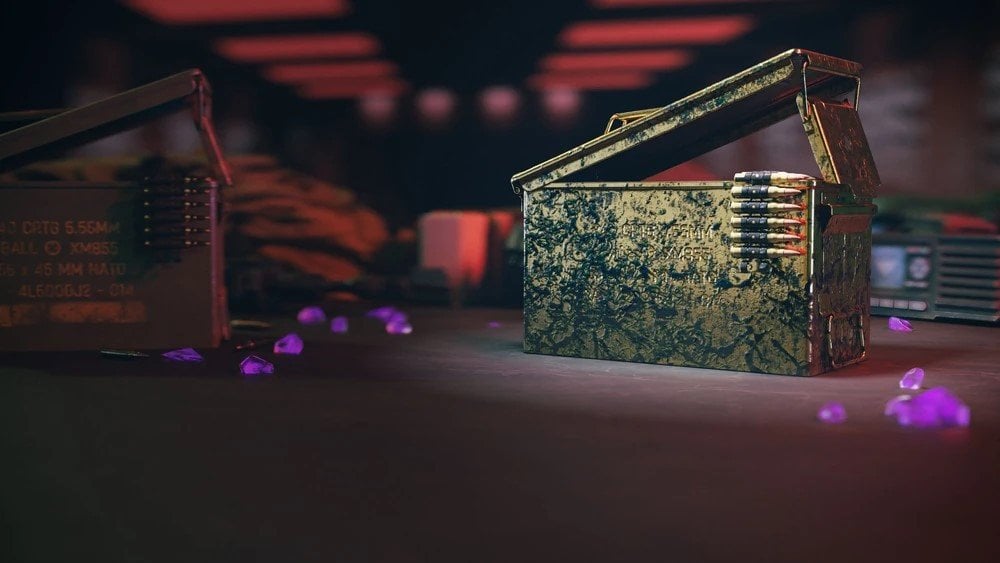
This schematic removes the need to reload your weapon completely, making it deal way more damage over time. Also, reloading in zombies can kill you if you timed it wrong. Not needing to reload is just another way of saying MWZ schematics meta.
- How to get: complete Dark Aether Rift contracts
Golden Armor Plate
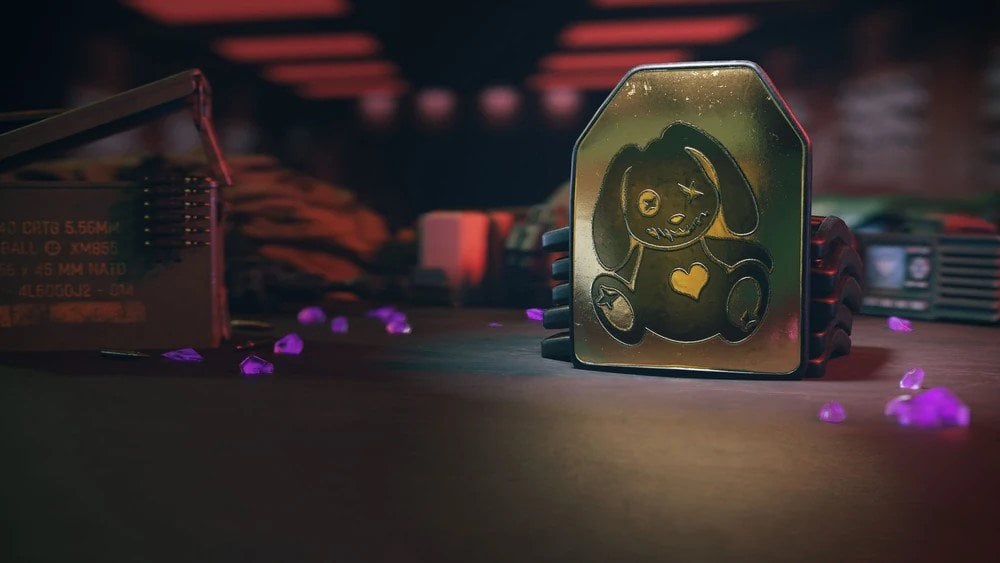
Golden Armor Plates refill automatically, they’re also much sturdier than regular plates. The fact that they refill over time is what makes this schematic S-tier.
- How to get: Rift Rewards from the Red Zone.
Death Perception Can

This is an absolutely overpowered schematic that lets you see enemies, loot chests, and other drops through walls. There’s no need to explain why this is S-Tier.
- How to get: complete Act 3 Tier 1 mission Two Factor Authentication.
A-Tier
Wondering what schematics are good in MWZ? This tier is for some awesome and sometimes even overpowered upgrades and schematics.
Ray Gun
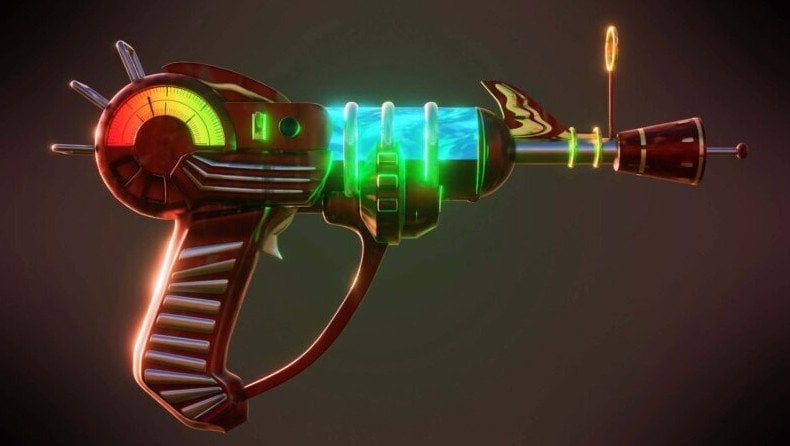
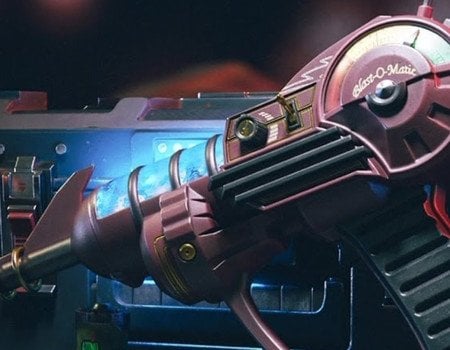
Ray Gun is a powerful and reliable sidearm that can one-shot regular zombies. If you aim at the ground it does a bit of AoE damage, too. It used to be considered one of the strongest schematic in MWZ for a long time, but eventually, it got overshadowed by newer Wonder Weapons. BLOG20
- How to get: complete contracts in Orange and Red Zones
Blood Burner key
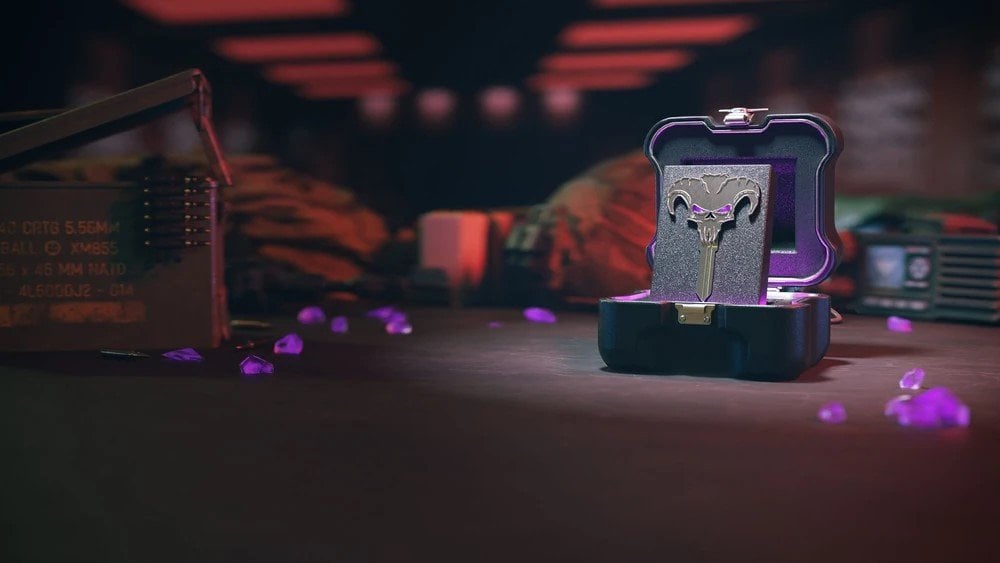
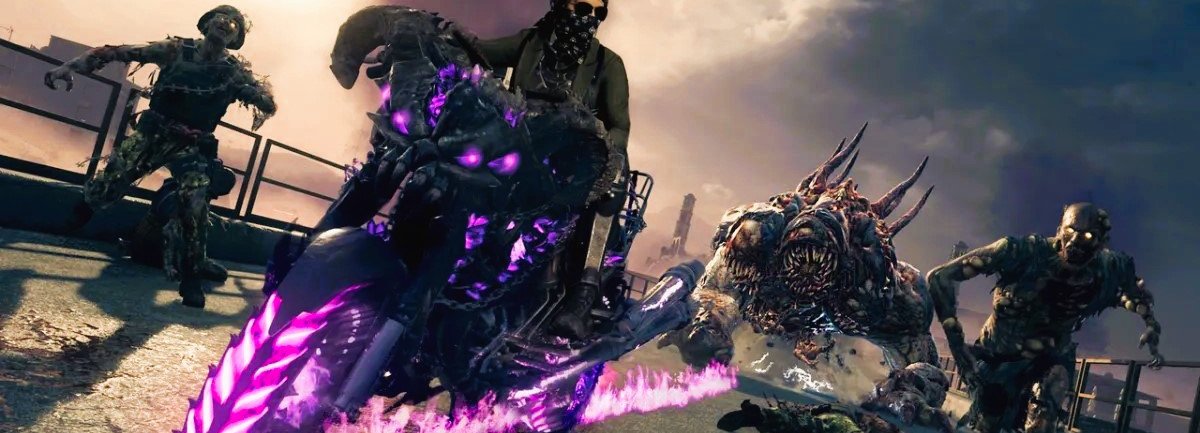
Using this key spawns a bad-ass bike called the Blood Burner, it can ride on water, and you can also drive through hordes of zombies and kill them.
- How to get: complete Act IV Tier 2 mission “Countermeasures.”
Jugger-Nog Can
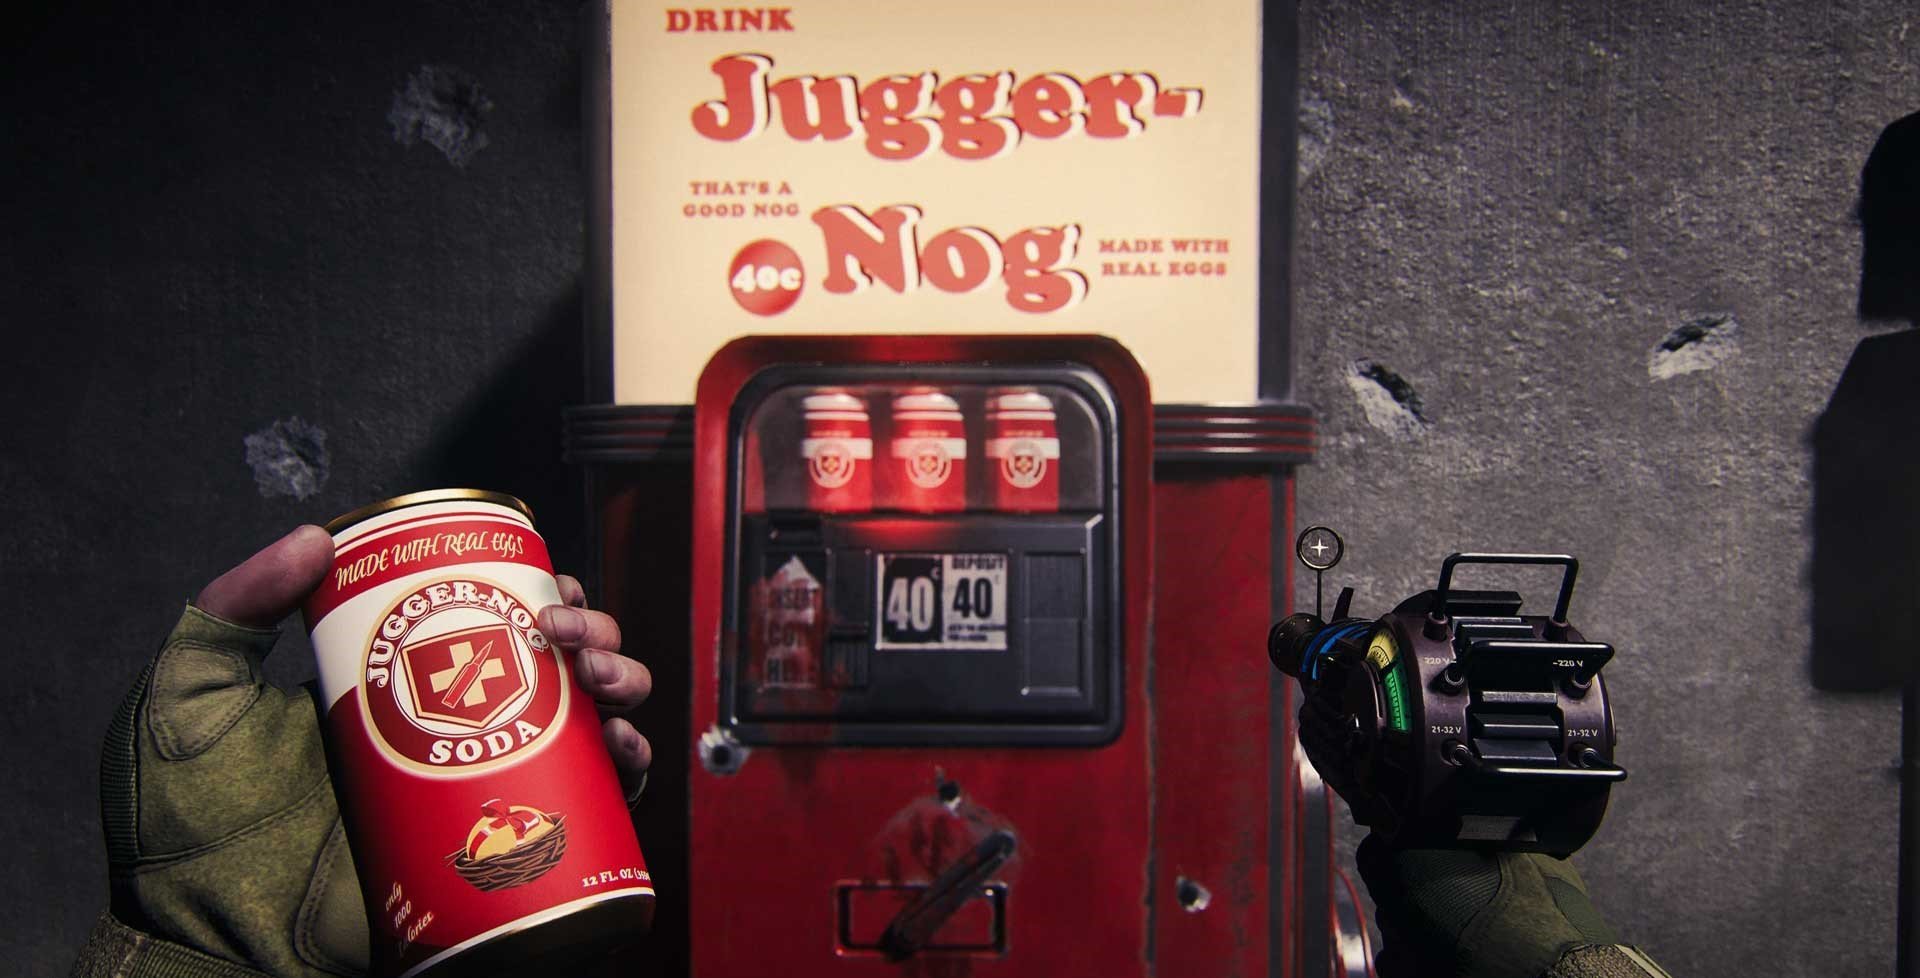
Increases maximum health by 100 HP, which will help you stay alive longer when you’re out of shield plates. Out of all MWZ schematics ranked here, this one might be the most underrated.
- How to get: complete Tier 2 contracts.
Tombstone Soda Can
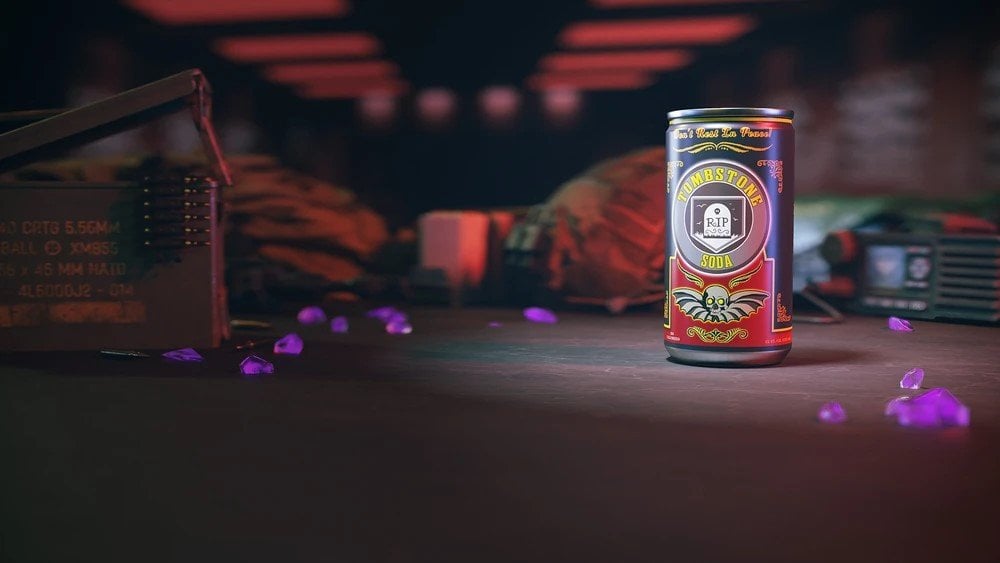
When you die, you’ll have the option to become a shadow, keeping your weapons and perks. You can get to your body and revive yourself to give yourself another chance to extract!
- How to get: buy from Perk-a-Cola Machines for 2000 Essence.
B-Tier
Just to remind you: B-tier is still full of really good schematics in MWZ. You should definitely keep them in your backpacks and extract them.
Golden Mask Filter

Recharge your Gas Mask automatically when you’re not using it, also increase its durability. We’ve put this in B-tier, because its usefulness is pretty situational.
- How to get: complete the third Elder Dark Aether by placing the Elder Sigil in Dark Aether Rift in the E4 section of the map.
Aether Blade
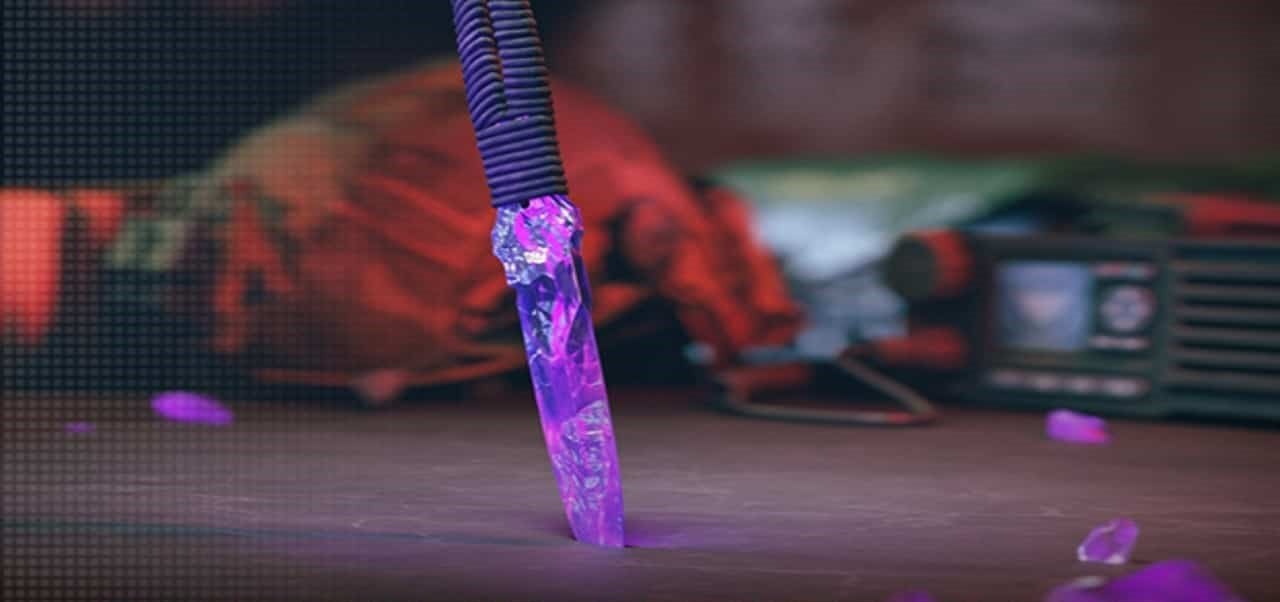
Replaces your lethal with this Aether-powered throwing knife that one-shots hell hounds and regular zombies
- How to get: complete contracts in the Red zone (Tier 3).
Speed Cola Can

Greatly increases the weapon reload speed, which might not be as cool as no reloading at all, but still pretty good.
- How to get: complete contracts in Tier 1 zone.
Stamin-Up Can

Increase the run and sprint speed of your operator. Being able to move fast is a huge plus because it means that you’ll have better chances dodging and escaping enemies.
- How to get: complete the Escort contract
Scorcher
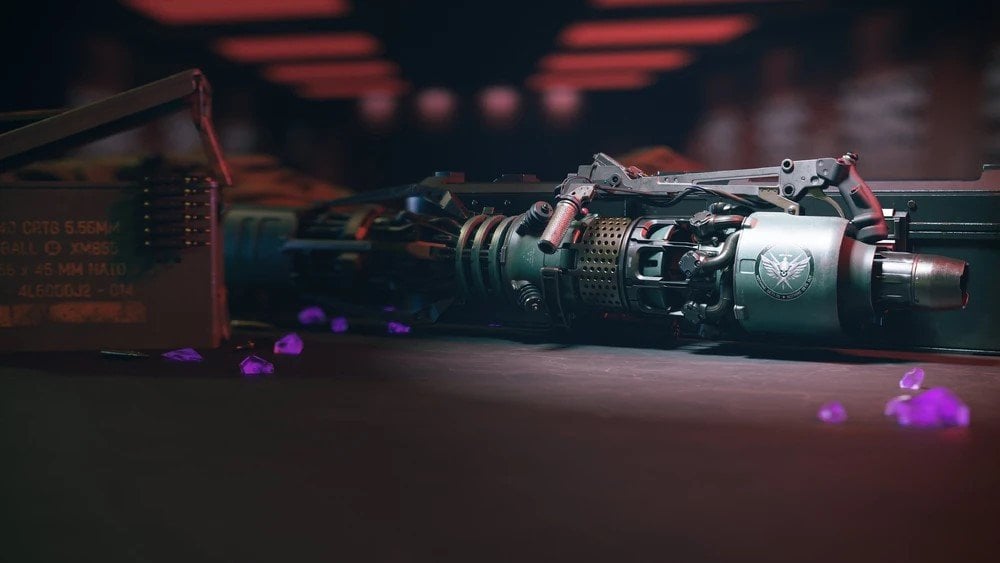
Scorcher is the third Wonder Weapon introduced into the game. It is sort of a railgun that has unlimited ammo. This is not the best weapon in the game, but it has its uses, plus you can use it to jump higher.
- How to get: Defeat Greylorm for a Chance to Get the Schematic
C-Tier
C-tier is still part of the current MWZ meta schematics, they’re just not as widely used. Considering that most of the time you start a game, you have a specific plan of action in mind, these upgrades might be exactly what you need.
Dead Wire Detonators
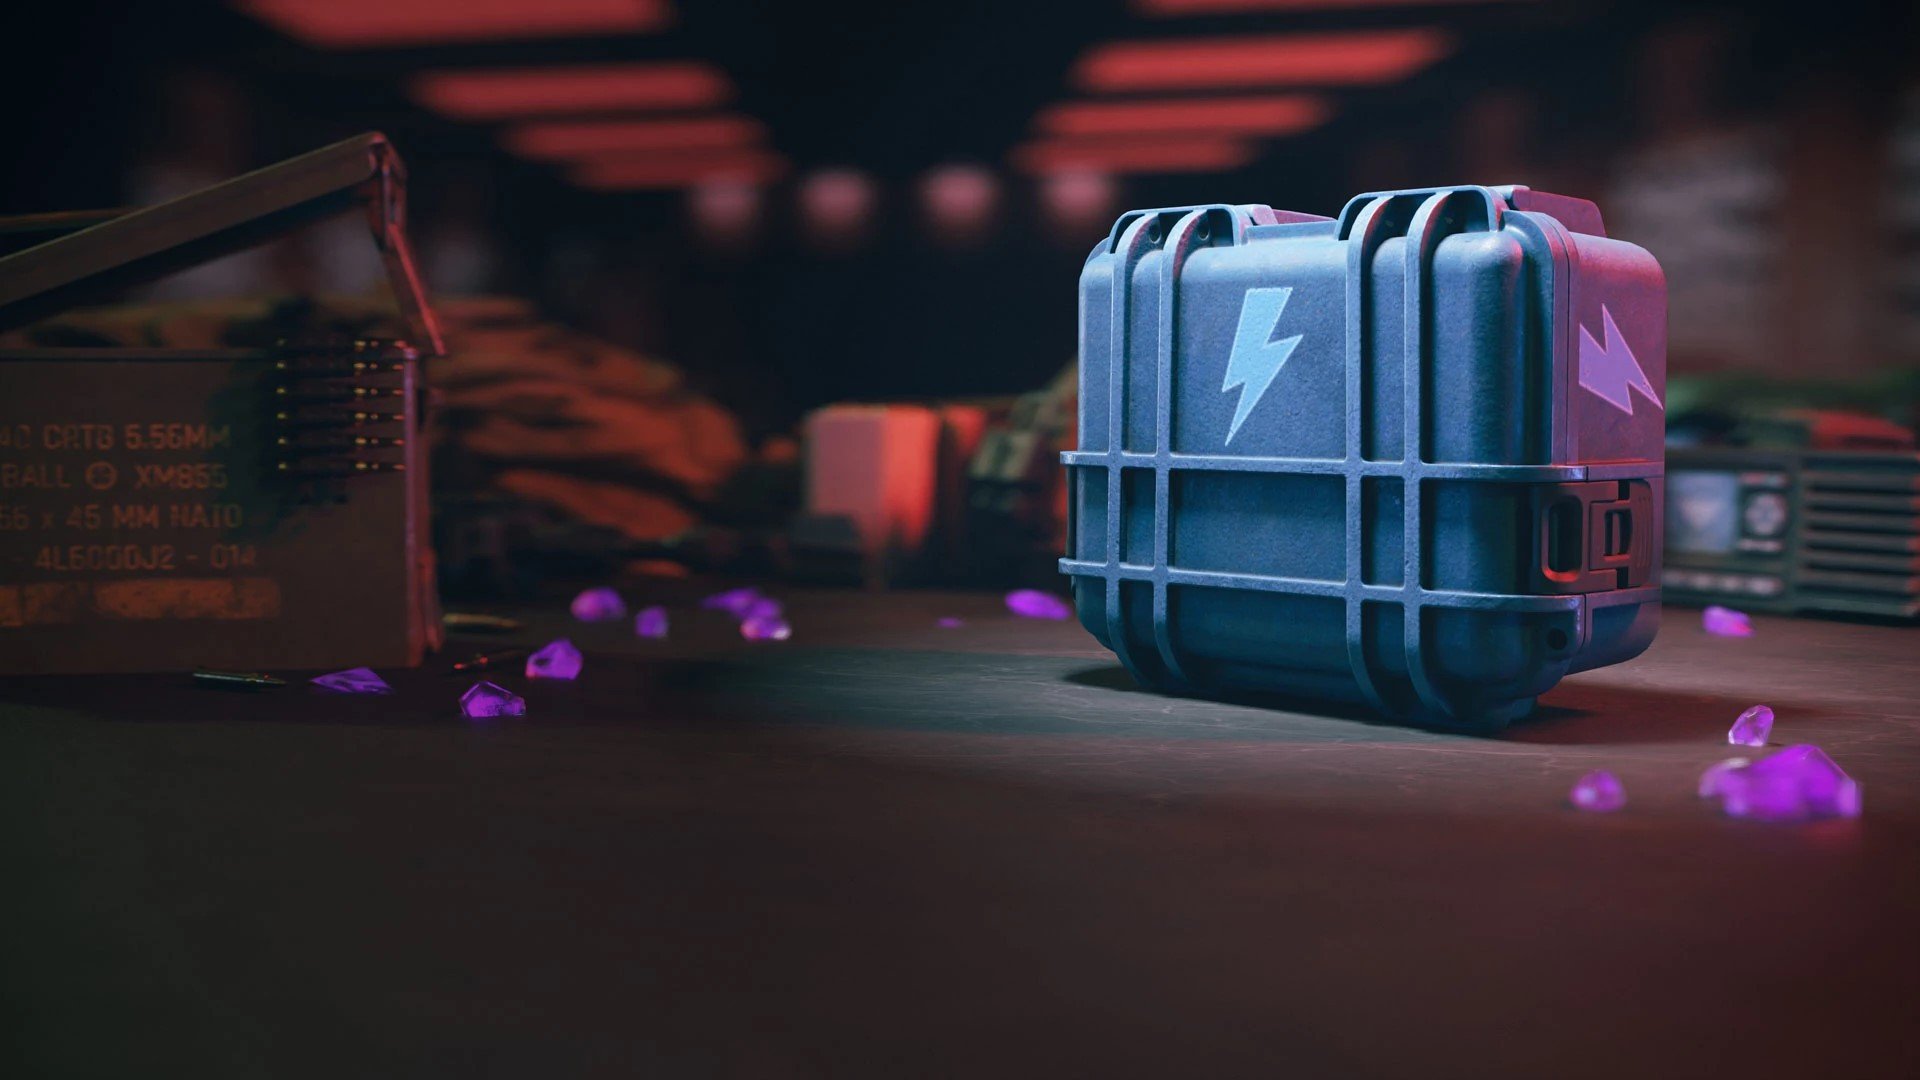
Makes your lethal equipment (grenades and throwables) a chance to cast chain lighting. This is a pretty awesome upgrade for your grenades but the fact that the effect doesn’t trigger all the time, makes it kind of meh.
- How to get: complete the third Elder Dark Aether
Dog Bone

Summon a Hell Hound lvl. 3 who will fight on your side till it dies. It can also revive your teammates and heal itself when out of combat.
- How to get: complete contracts in the Red Zone (for a higher drop chance).
Deadshot Daiquiri Can
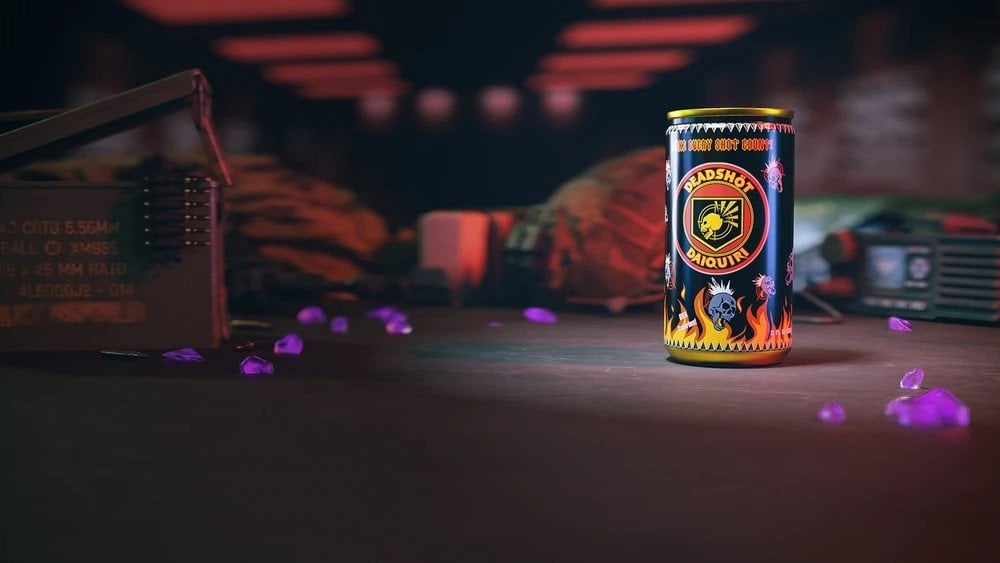
Automatically align your crosshair with the enemy’s critical points when in ADS. It could be useful when dealing with high-level monsters.
- How to get: complete contracts in the Red Zone (for a higher drop chance).
V-R11
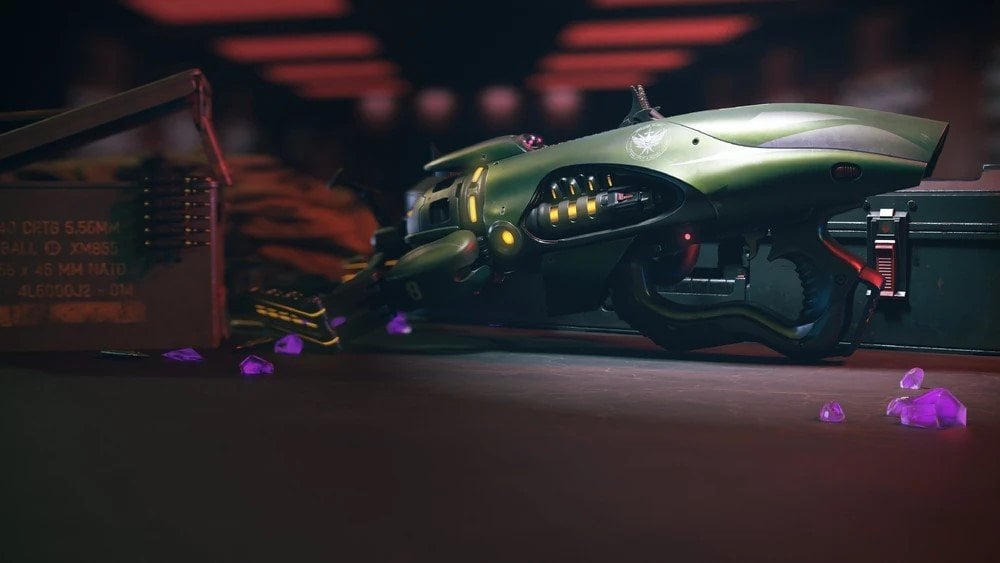
The fourth Wonder Weapon can turn regular zombies into allied mercenaries with weapons. Because the AI is dumb, they’re only good as a distraction. Besides the limited ammo reserve on this gun doesn’t let you create your own army of NPCs.
- How to get: kill Gorm'gant at the end of Act 4 mission.
D-Tier
Sergeant's Beret

This beret makes you friendly with the mercenary NPCs, which can make your life in the MWZ a bit easier. This lets you enter Strongholds and other mercenary-controlled camps without any resistance. Plus, you’ll spawn an allied mercenary which will act as your bodyguard.
- How to get: complete the third Elder Dark Aether
Elemental Pop Can

This is a wild-card upgrade that gives each bullet you fire a chance to trigger a random ammo mod effect. It could be fun but not really amazing.
- How to get: complete contracts in the Red Zone (for a higher drop chance).
PHD Flopper Can

When you dive and slide, create an explosion. The higher you dive the bigger the explosion. It’s just a gimmick but it can be fun.
- How to get: How to get: complete contracts in the Red Zone (for a higher drop chance).
Conclusion
Modern Warfare Zombies has lots of cool schematics, items, and upgrades that you can use. From weapons that turn zombies into friendly soldiers to Ghost Rider choppers that can run on water with the same speed as on the ground. The more seasons come out, the crazier these schematics become. The best thing about it is that you don't need all of this deranged arsenal to fight off hundreds of zombies.
With this tier list we ranked the most popular schematics. While they can’t all be compared directly to each other since they’re just so different in what they do, all of them let you fight the zombies on your terms. We hope that this tier list has been helpful. We’ll make sure to add new schematics when they come out.
F.A.Q.
Which MWZ schematic is best?
The absolute best schematic is arguably the Legendary Aether Tool because it can turn your favorite weapon into a tool of destruction.
What is the best MWZ schematic?
Mags of Holding is believed to be the best MWZ schematic by lots of players, for it removes the need to reload the weapon completely.
Is Rail Gun a good schematic in MWZ?
Rail Gun is an iconic Wonder Weapon in the history of CoD Zombies, but today, it is overshadowed by newer Wonder Weapons.
Is Mags of Holding Good in CoD MWZ?
Mags of Holding removes the need to reload the weapon, which makes it extremely good no matter what type of activity you’re doing.
What schematic should I keep in CoD MWZ?
It all depends on your goals for the next session in Zombies mode, but we would suggest holding onto and extracting with the Golden Armor Plate schematic. There’s nothing like the upgraded armor at the start of a game session.
What is the most used schematic in CoD MWZ?
The most used schematic in CoD MWZ must be the Aether Tool, which upgrades a weapon to its rarity.

