Raiding has always been a painfully difficult PvE activity in Destiny 2 and Root of Nightmares has not become an exception. Some players can spend many hours trying to complete any raid. At the same time, hunting for a particular godroll may take weeks or even months.
The Root of Nightmares raid's release was on March 10.
The raid takes place in the Terraformed Pyramid of the Witness. As for the Root of Nightmares final boss this time, it is Nezarec.
Just like in other raids, you need a team consisting of 6 players to complete this activity. As you keep reading this article, you will also find out what equipment parts suit this raid best. Trying to complete it without powerful gear and a reliable team is practically impossible during the first few weeks.
However, thanks to our Root of Nightmares raid guide, you will learn everything you need concerning new loot and about the ways to get it ASAP.
IMPORTANT NOTE: At Skycoach, you can also Buy Destiny 2 Boost at the lowest prices and with the fastest delivery. You can make your first purchase even CHEAPER if you find our special PROMO CODE (highlighted in green) hidden in this article and get a 20% DISCOUNT.
Check out our Destiny 2 Boosting Services to make your gaming experience easier:
Master Root of Nightmares and Its Differences from Legend Difficulty
Unlike in previous seasons, you literally have to farm Master Root of Nightmares to get the best gear available in the game. The reason for this is that Adept weapons can now have enhanced perks. The latter was only available for craftable weapons before this DLC.
This makes master raid weapons much better if compared not only to their usual versions but to Adept guns as well. Keep in mind that you cannot craft weapons from Trials of Osiris or Grandmaster Nightfall, which means enhanced perks remain unavailable for them. The only thing left here is Adept mods. However, renewed master Root of Nightmares weapons will have Adept mods and enhanced perks combined together.
Unfortunately, not every guardian can get the best guns for the following reasons:
- A higher threshold. Unlike Legend difficulty, the Master Root of Nightmares light level requirements are 1820. Also, your powercup for Master difficulty is the same. It means that a higher power level will not give you any benefits;
- Things have become more randomized. You can only get one gun per week playing every character. As you already understand, getting its other copies requires you to spend x25 Spoils of Conquest for the refarming process. Remember, you cannot receive guns from secret chests when playing on Master difficulty;
- A true challenge awaits. You will deal less damage and take more instead. On top of that, additional mods will make your walkthrough even harder. You will need to think in advance about what tactics and guns you should use to get rid of certain energy shields.
It is worth noting that every week you will have a different damage modifier that increases damage from a specific weapon type. If you build your setup based on this mod, you will be able to complete the raid more easily.
If you have no time or a reliable team for this endless grind, our professional players can help you obtain Root of Nightmares best weapons in the shortest time possible. See what Root of Nightmares Raid Offers we have prepared for you and choose yourself. We guarantee the result and provide the best market price for our services.
Are Adept Root of Nightmares Weapons Good and How to Get Them
You need to try hard to get one of the best Destiny 2 weapons, as they come as Master Root of Nightmares rewards. BLOG20
All Adept Root of Nightmares weapons are available in rotation now. Each week, you can guaranteedly receive 1 adept weapon on each of your characters for completing the Root of Nightmares weekly challenge on Master difficulty.
If compared to the Master Vault of Glass, they are not tied to the challenge of any encounter. This means that the same challenge in the Master Root of Nightmares can reward you with two different weapons in different months.
Once you have this gun in your collection, you can obtain its duplicates for defeating Nezarec on Mastery difficulty and spending x25 Spoils of Conquests.
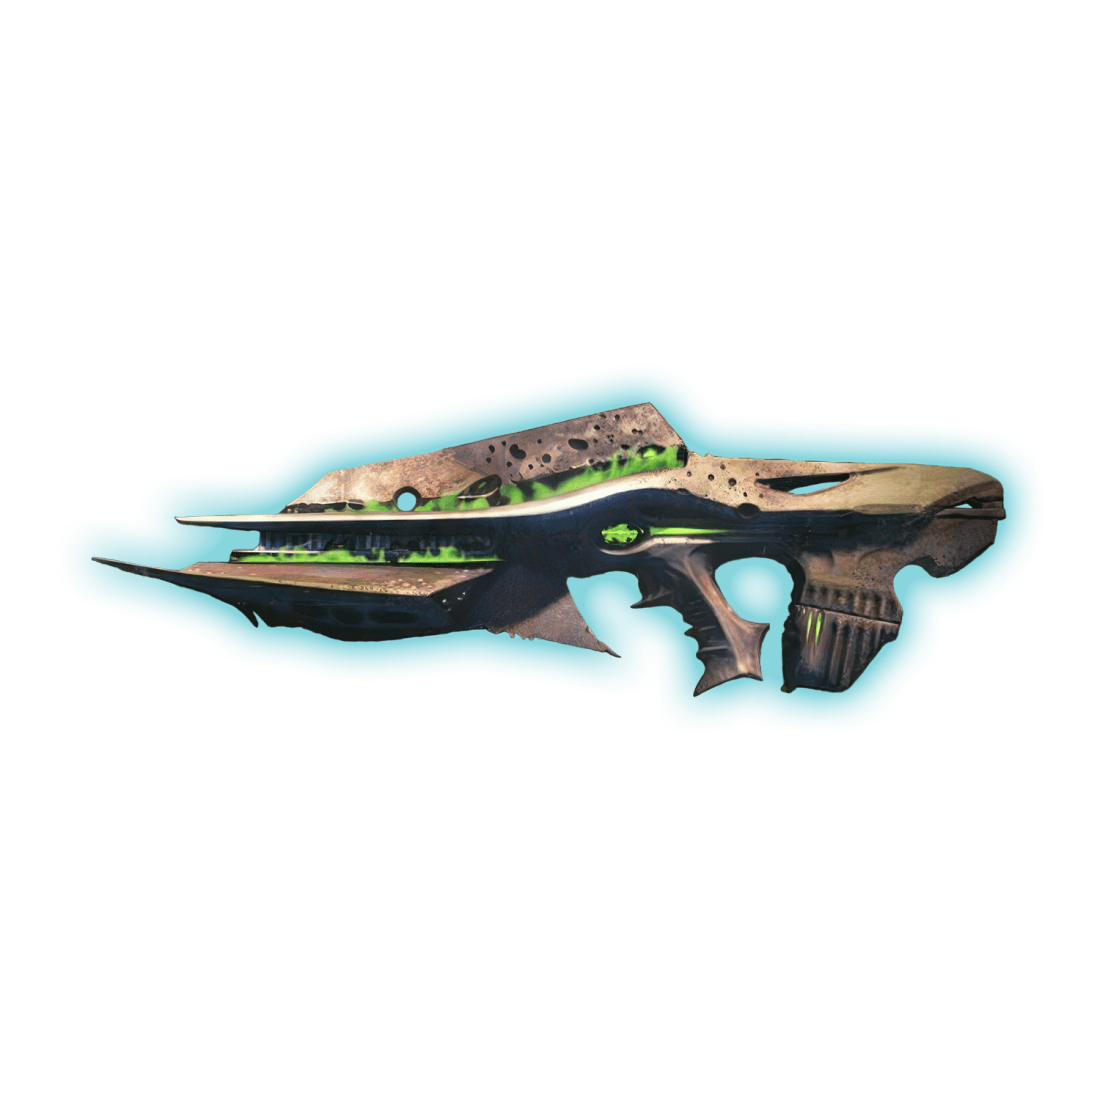
The main feature of the firearms, as well as the reason why you will be farming them, is the presence of enhanced perks, as well as the ability to use Adept mods at the same time. This unique feature makes Acasia's Dejection, Rufus's Fury, and Nessa's Oblation, which are already quite powerful, even more dangerous.
The only problem you will definitely encounter is the inability to craft Adept weapons. To get the ultimate godroll, you need an incredible amount of Spoils of Conquest to refarm the weapons you need.
Nevertheless, we can definitely say that this challenge is worth it, as it will reward you with Best In Slot Gear for your patience.
Just like in King’s Fall and Vow of the Disciple, you have to complete Root of Nightmares to get triumphs. The latter is necessary to receive a seal and special titles.
Master Root of Nightmares Changes give an opportunity to professional teams to stand out not only thanks to exotic cosmetic items. Now, they have emblems and titles, as well as higher-stat weapons and enhanced perks.
Nonetheless, people who do not wish to try hard playing Master difficulty can still get craftable weapons that drop after completing Root of Nightmares on Legend difficulty.
Root of Nightmares Challenges and The Current Rotation.
To begin with, it is worth noting that there is no difference between Legend and Master Root of Nightmares challenges. Since the tasks in both difficulties are absolutely the same, the Master Root of Nightmares guide can only help you master challenges.
For completing the challenge on Legend difficulty you only get extra pinnacle loot. Doing the same thing on Master difficulty, you receive an Adept weapon.
Currently, you can find 4 challenges present in the game:
- Illuminated Torment;
- Crossfire;
- Cosmic Equilibrium;
- All Hands.
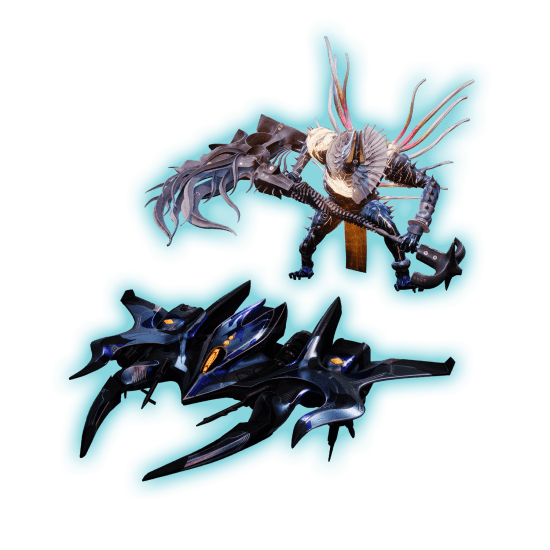
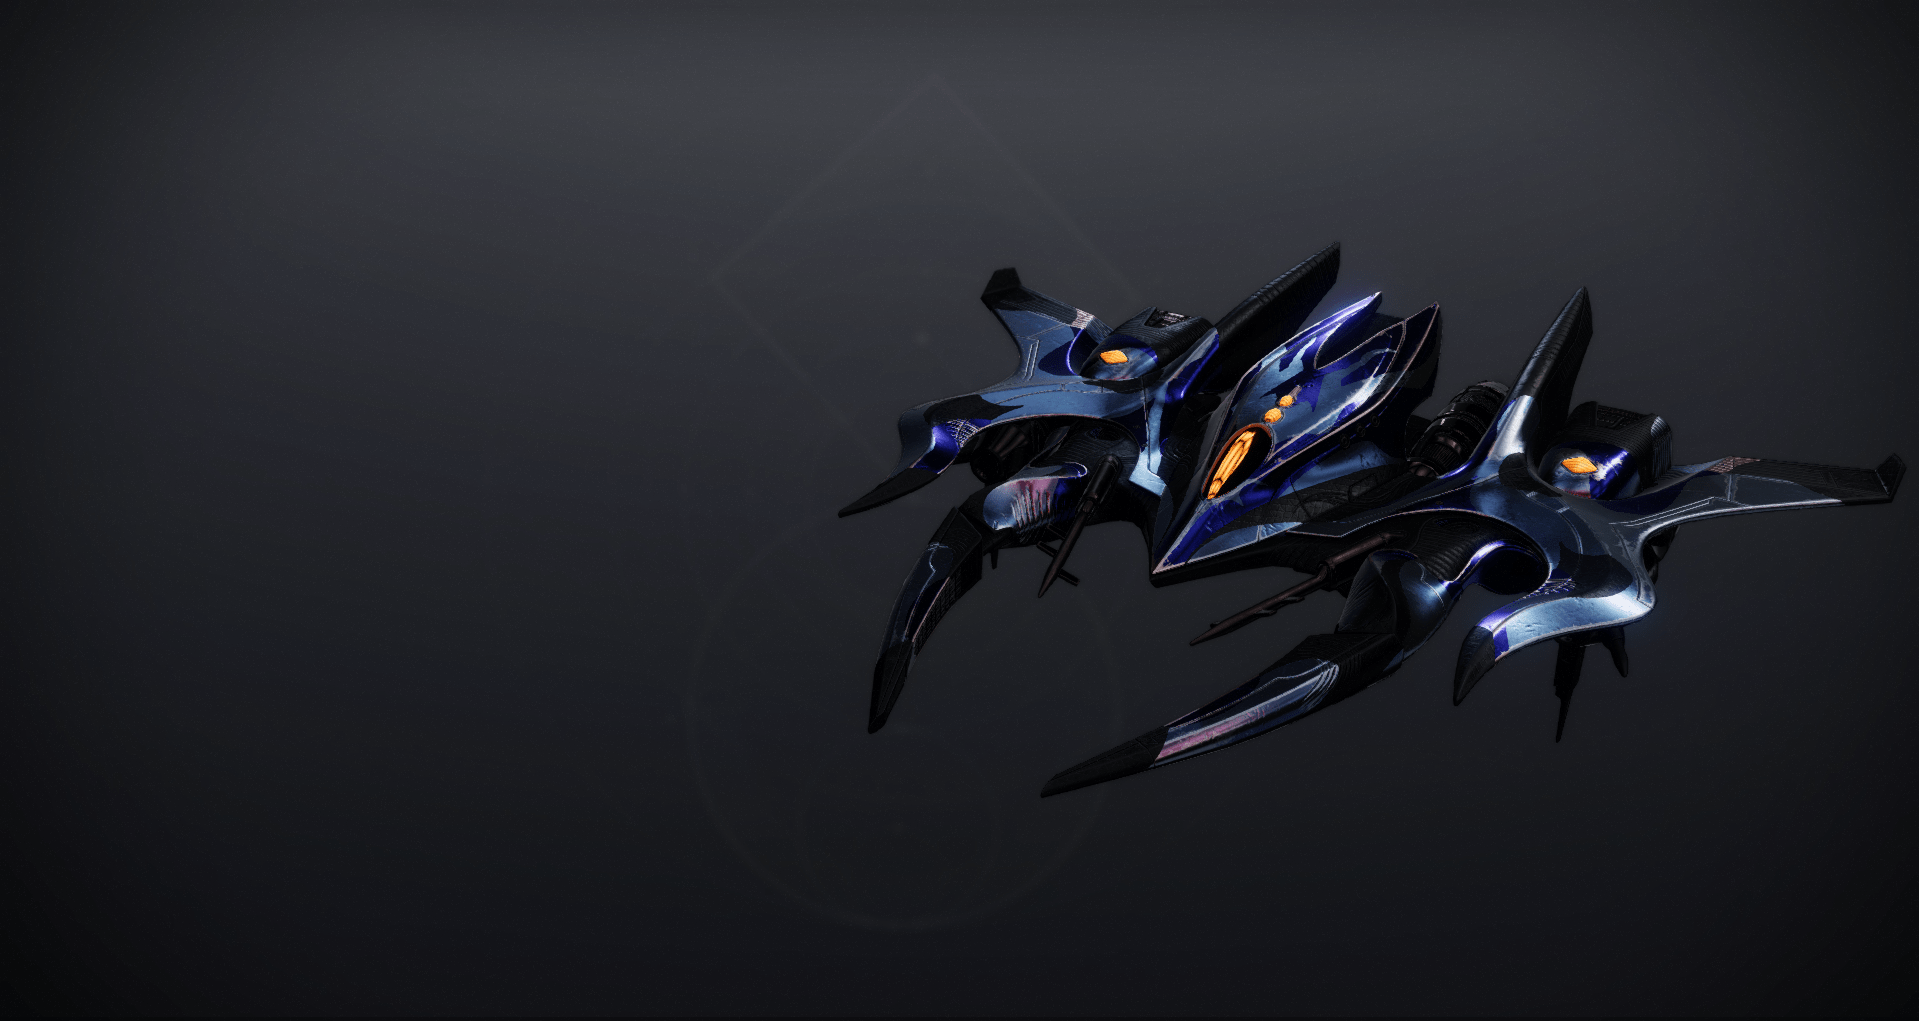
For defeating Nezarec on Master difficulty, you will receive the Exotic Ship Gift of Cruelty.
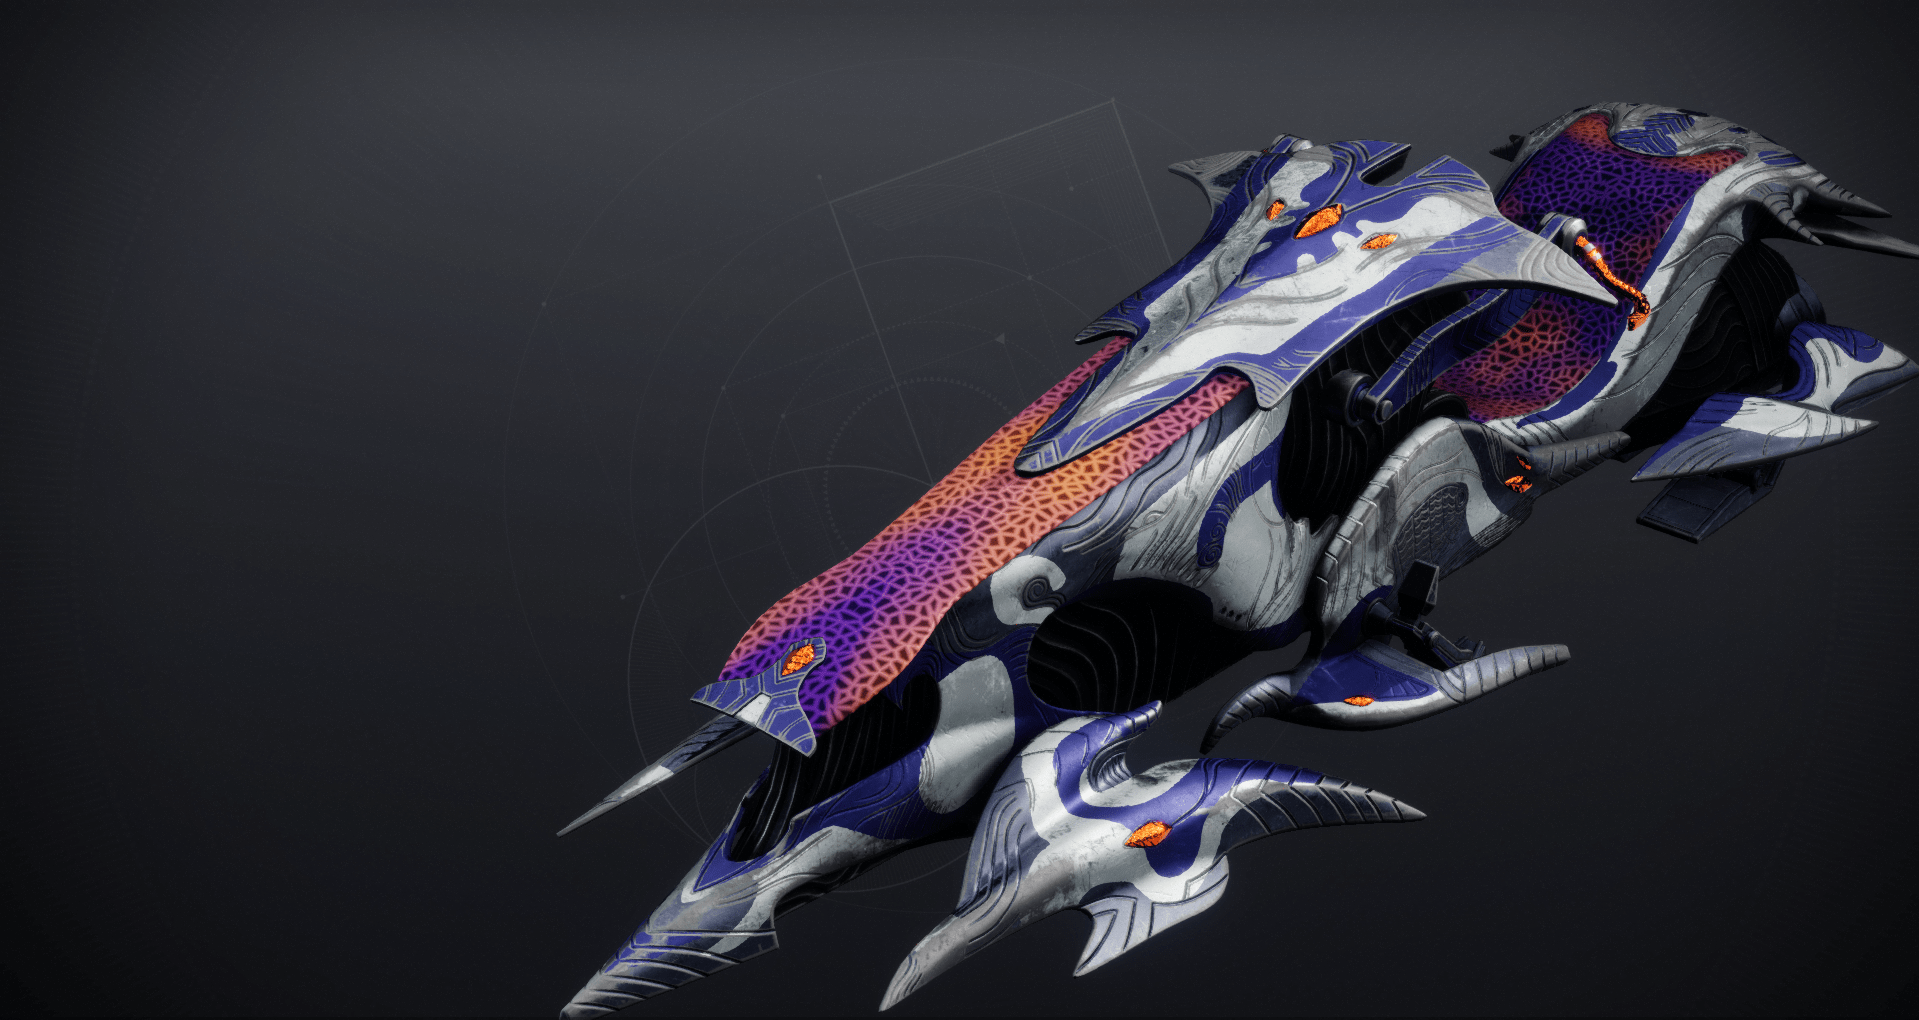
For completing all Root of Nightmares Master challenges, you will receive the exotic sparrow called Dream Demon. Before testing yourself in the challenge, we advise you not to forget about the Master Root of Nightmares power level requirement, which is set to 1820.
Root of Nightmares Challenge this week (16th May - 23rd May) is All Hands (4th Encounter).
Illuminated Torment Challenge Guide
This is probably the easiest Master challenge Root of Nightmares you can complete. All you need to do is kill torments with the Field of Light buff. It is important to make the final hit while this buff is active. Players who do not have this debuff can still damage torments.
For this encounter, we recommend that two or three people have this buff simultaneously. This is necessary to quickly kill torments and avoid the risk of losing the Field of Light buff if the only person having it dies.
Do not use Witherhoard during this encounter, as this person can randomly kill a torment without having the buff activated. This will fail the challenge and you will have to start from the beginning. If you cannot complete the challenge on your own no matter how hard you try, you will definitely find out Illuminated Torment Challenge Boost service useful. Our professional players will do the whole job for you and get all the rewards you are looking for.
Crossfire Challenge Guide
Even though this challenge has quite a simple mechanic, it may take you more than several hours to complete it.
The idea is straightforward - while being on the right or left side of the arena, you cannot shoot the diamond figure that activates the trampoline or lift that throws you to the other side. Someone on the opposite side must do it for you.
So, if you are on the left side of the arena, you should only shoot the diamond figure that activates the lift for the right side.
The main problem is the incorrect operation of the lifts (or trampolines) themselves. The stage you are to pass on the 3rd floor is also bugged. It may lead you to fail the challenge for no reason.
The only thing we can offer you for Crossfire Challenge completion is to remove ricochet rounds from each of your weapons to minimize the risk of failing the stage. If you wish to save your precious time and receive all the rewards, you can order our Crossfire Challenge Boost service and let our pros do the job for you. We offer fair prices and guarantee the fastest completion time.
Cosmic Equilibrium Challenge Guide
This challenge may seem to be the most difficult one in the raid for most players because of the seemingly complicated encounter at first glance. However, it is quite easy to complete if you are familiar with this stage of the raid.
What you need to do is to collect all the dark planets on the left (light) side and all the light planets on the right (dark) side. Instead of moving one extra planet from each platform with each move, you will need to move two planets from each platform to the opposite side. As for the rest, the encounter has no other changes whatsoever.
To get all the rewards you are looking for and save your time for other pursuits, you can always rely on our Cosmic Equilibrium Challenge Boost service. By ordering it, you can be sure our professional players will finish the challenge in the shortest time possible. We guarantee the best market price and the fastest result.
All Hands Challenge Guide
The idea of the challenge is quite simple - each player from your team must activate 1 dark and 1 light node. An additional condition of the challenge is that the final light and dark nodes must be activated within an interval of no more than 5 seconds.
The main problem lies in proper communication within the team. To avoid misunderstandings and unnecessary wipes, we recommend that you stay in 2 groups of three - one on the right side with dark nodes, and the other on the left side with light nodes.
As soon as the right group of players activates 3 dark nodes and the left group activates 3 light nodes, switch sides and continue activating the remaining nodes.
Before starting the encounter, it is crucial to distribute the order of node activations for each side among each player.
For example, if a player activates the first dark node, then they will activate the 4th light node. If any player activates the second light node, they will activate the 5th dark node, and so on.
If, for some reason, you cannot complete the challenge on your own yet wish to obtain all the unique rewards it offers, we have you covered. Check out our All Hands Challenge Boost service where our professional players can finish this challenge effortlessly. We offer fair prices and guarantee the result.
Root of Nightmares Raid Requirements
To begin with, you need any edition of Destiny 2: Lightfall DLC to get access to the raid. Without it, you will not be able to launch it no matter what you do. As for Root of Nightmares light level requirements, your character should not be lower than 1780 for Legend difficulty and 1820 for Root of Nightmares Master difficulty You can reach this level after you complete the Lightfall Campaign on Legend Difficulty.
Even though you can try to pass this raid with any power level, you will be wiped a second after it begins. The reason for this is that enemies will be more powerful than you are. Therefore, we highly recommend that you spend time and thoroughly prepare for the upcoming in-game activity.
Root of Nightmares Walkthrough
1st Encounter - Cataclysmic
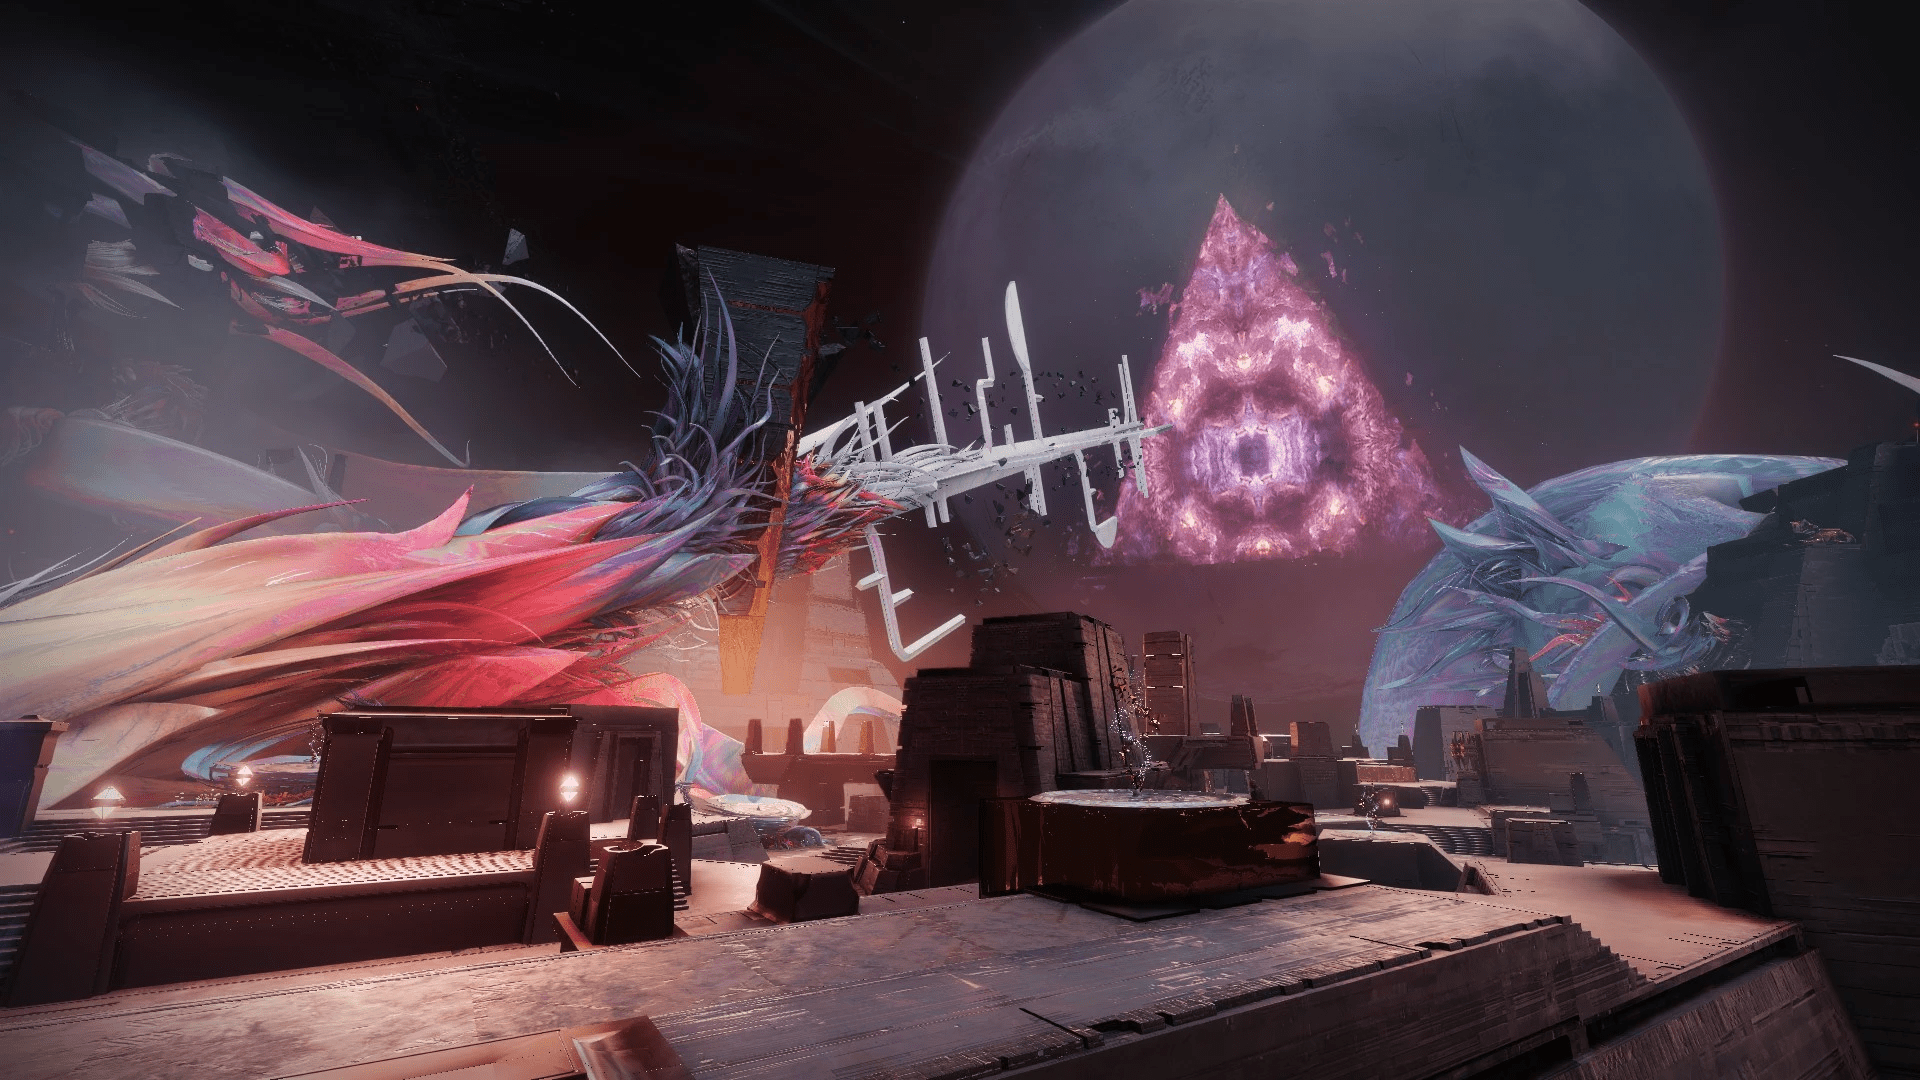
To begin the encounter you can shoot a white orb at the beginning of the raid and get a buff called Field of Light. Afterwards, you will see a rather tiny beam of light pointing towards the closest Darkness spiral. All you have to do at this point - is hit the Darkness spiral, to which the beam is pointing, with a shot, while the Field of Light effect is active.
Following that, the Field of Light effect will wear off, but the spiral will change into an orb of light.
The idea of the encounter is to make sure that all the Darkness Spirals eventually turn into Orbs of Light.
The tough part is reapplying the Field of Light effect.
Before we continue, a remark is due. The firing squad must split into two parts before you begin the encounter.
- The first five Guardians in the raid will be clearing the area of enemies and psyons, while also taking care of Cavium of Nezarec;
- The last Guardian will be responsible for collecting and transporting the Field of Light status effect between the Darkness spirals. We will call him a Runner from now on.
To reapply the Field of Light effect, you have to kill 2 psyons, which will be protected by a shield and spawn in random locations of the encounter area (No need to chase them around, since they are pretty much stationary), while also taking down a Cavium of Nezarec, who spawns after defeating said psyons.
After a Cavium of Nezarec is defeated, a runner is required to return to the last transformed orb of light and get the Field of Light effect by shooting the large sphere (Keep in mind, the sphere that is eligible for this can be distinguished by an aura of light around it)
We spoke about the runner and his tasks, but what about the rest of the firing squad?
Their major responsibility in this encounter is to keep the instant wipe timer, called Sweeping Terror, at bay. If the timer reaches 0, the firing squad will be immediately wiped and the encounter will result in a failure.
You can reset the timer by defeating Cavium of Nezarec. We would advise focusing on it the moment it spawns with your hardest-hitting guns and heaviest ammo.
Since this encounter does not have a boss to fight, you are free to focus on the mechanics we discussed above, to finish this part of the raid safe and sound.
Since this section of the walkthrough is focused purely on spawn management and coordination, you will face off against a lot of Barrier Champions and regular red bar enemies. To clear them out quickly and with minimum effort, we would advise using the following weapons we have described below:
| Weapon's Name | Best Perks |
|---|---|
| Osteo Striga | Use only if you have the Catalyst |
| Commemoration | Reconstruction + Killing Tally (with Volatile Rounds fragment) |
| Unforgiven | Demolitionist + Adrenaline Junkie (with Volatile Rounds fragment) |
| Calus Mini-Tool | Unrelenting + Incandescent |
| Witherhoard | Use only if you have the Catalyst |
2nd Encounter - Scission
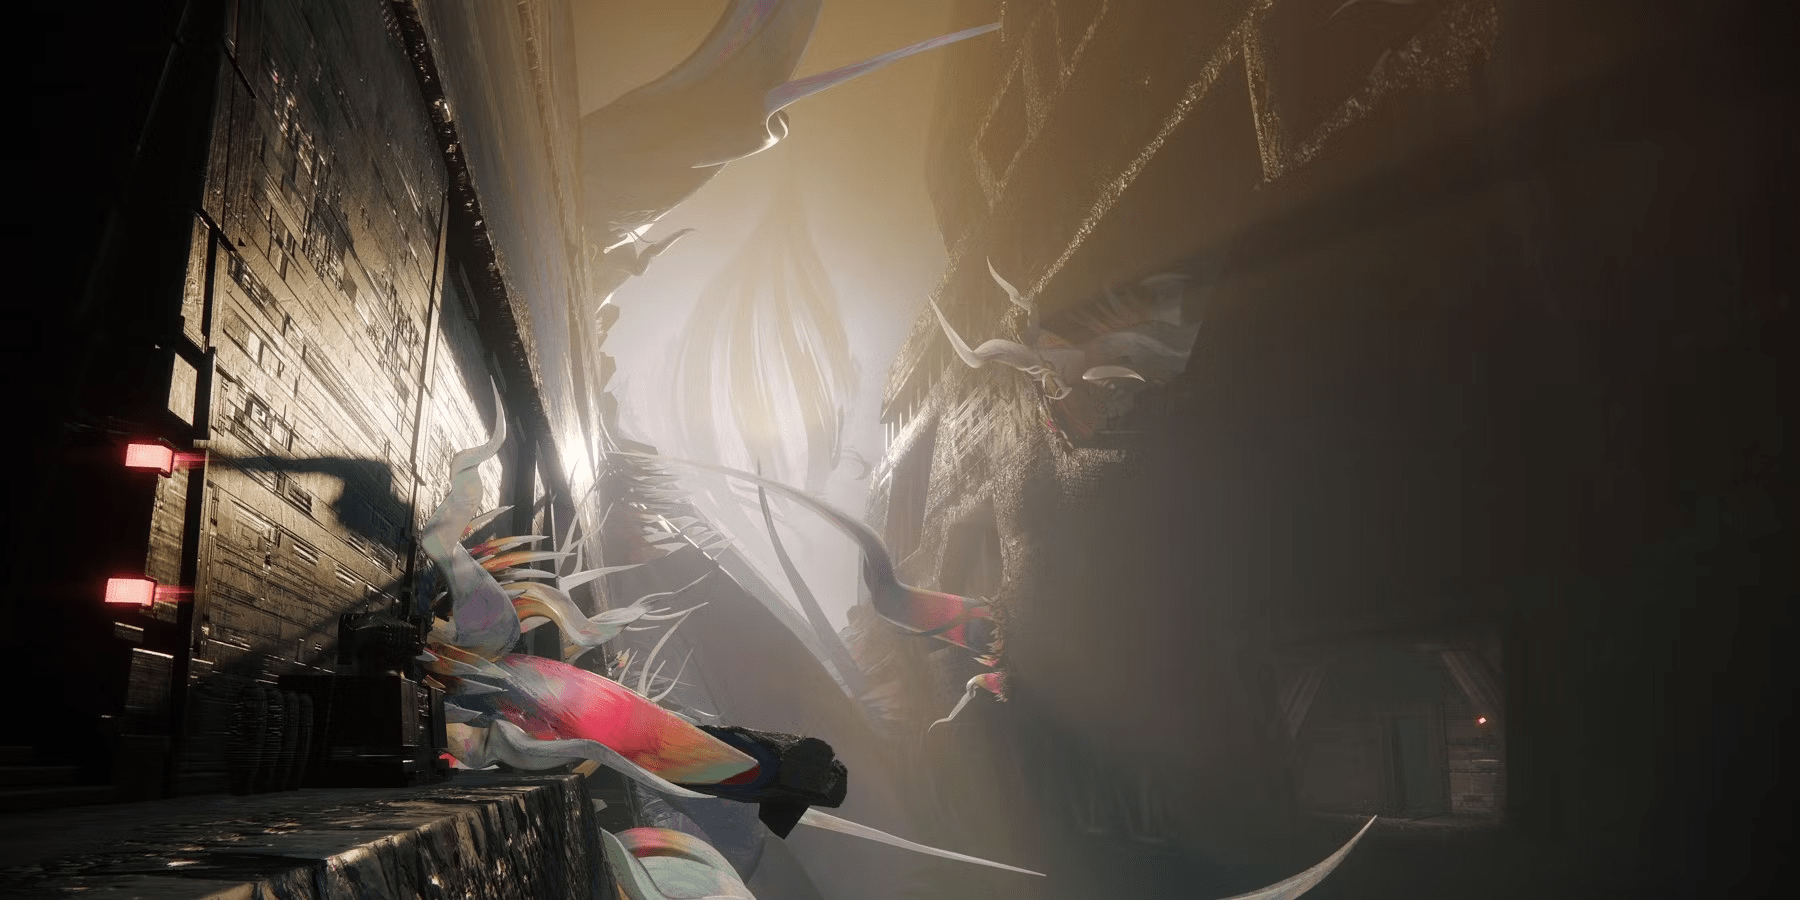
To start with, we advise your firing squad to be split into 2 parts of 3 Guardians each, with 1 person assigned in each team to be a Runner, who will carry the buff between left and right platforms.
Now, to the encounter mechanics. They differ little from the first part of the raid, the biggest difference is the Flux of Darkness status effect and Light Spirals with darkness orbs inside of them.
The effect we`ve mentioned above works in the same way as Field of Light, but turns light into darkness, and not the other way around.
The core issue that you will face right off the bat, is that the right side of the raid arena has the Dark Orb, while the left side houses the Light Orb, while the effects required to activate these orbs are on the opposite sides. This makes it incredibly important for your runners to switch orbs in their places as soon as an encounter begins.
While facing this challenge, you will be assaulted by enemies protected by Light barriers, which can be dispersed by having an according status effect Field of Light.
This encounter's task is hardly different from the first one - you still need to guide the light beam and the dark beam to their final destination. This mechanic is repeated on three floors. After completing the last one, you will engage in a battle and receive your rewards.
We highly recommend using the same weapons as on the first encounter. You will not visit any boss here, so you can use your heavy weapons and supers freely to clear ads as fast as possible.
| Weapon's Name | Best Perks |
|---|---|
| Xenophage | Curated Perks |
| Regnant | Auto-Loading Holster + Explosive Light |
| Wilderflight | Auto-Loading Holster + Vorpal Weapon |
| Forbearance | Ambitious Assassin + Chain Reaction |
| Thunderlord | Curated Perks |
3rd Encounter - Zo’Aurc, Explicator of Planets
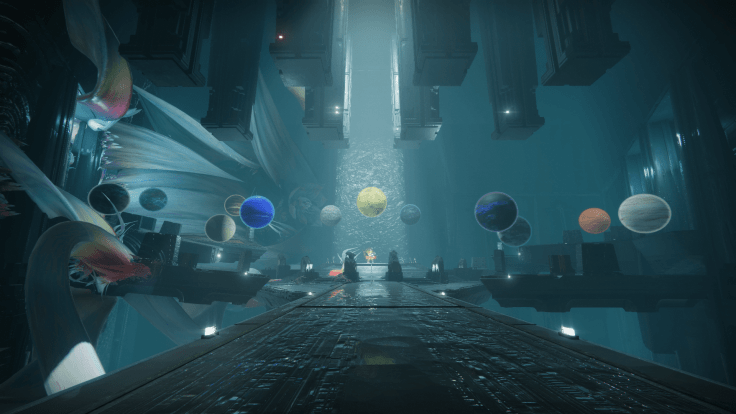
Perhaps the most difficult part of the raid to comprehend. Before you begin, we advise splitting the firing squad into 3 teams of 2 Guardians each
The first team simply clears out the center of the arena of enemies.
The second team is responsible for keeping the right side of the arena at bay and engages in raid mechanics
Lastly, the third team takes care of the left side while also taking part in setting up the raid mechanics.
The core mechanic that you will have to interact with is Planetary Insight and Planetary Shift buffs. The planets on each side are separated into Dark and Light variants (The left side always has 4 Light and 2 Dark planets, while the right is the exact opposite, with 2 Light and 4 Dark). Your main task is to align all the light planets on the left side and all the dark ones on the right. Completing that will cause the 3 planets in the center to line up and allow you to start the DPS phase.
The issue lies with distinguishing the orbs' affinity. A Guardian can only see which planet belongs to which type, after killing a Terrestrial Lieutenant and acquiring a Planetary Insight buff from him. (Keep in mind, that you will only see the affinity of the planet on your side, and not the other)
Now that it's done, we`ll move on to how you actually move the planets.
After you receive the Planetary Insight buff, each of the 4 people should voice the position of the extra planet on their triangle. For you to better understand each other, we recommend using the following designations:
- Light Side - Bottom Left, Light Top; Light Top Middle, etc.
- Dark Side - Bottom Left, Dark Top Left; Dark Top Middle, etc.
Dark refers to the 2 right triangle-shaped platforms (bottom and top) and Light refers to the 2 left triangle-shaped platforms (bottom and top). So, the designations “middle”, “left”, and “right” refer to the corners of each triangle where the planets are located.
Alternatively, you can assign each planet a number from 1 to 6. In that case, the callout would sound like 'Dark 1' or 'Light 6'. The only issue is agreeing on the designations.
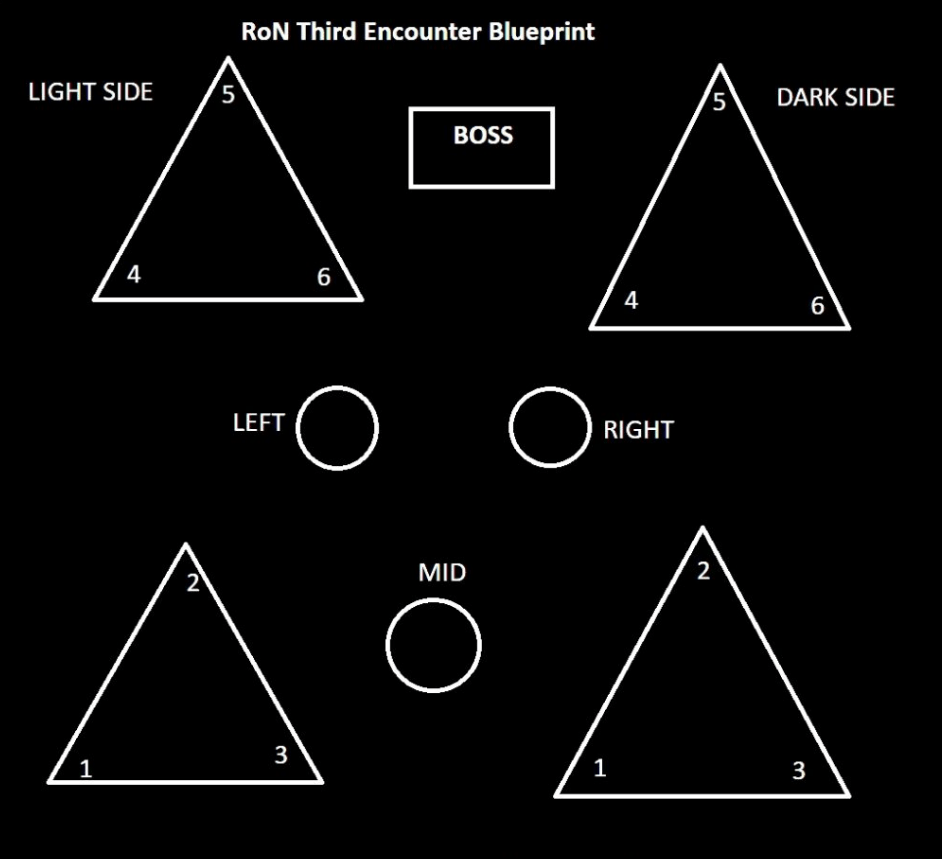
Note: If you are responsible for callouts on the bottom left triangle, you should only cooperate with the person responsible for callouts on the bottom right triangle. If you are responsible for callouts on the top right triangle, you should cooperate with the person responsible for callouts on the top left triangle.
After receiving the Planetary Insight buff, each of the 4 Guardians on the triangles is supposed to call out which planets are odd on their side.
Afterwards, cooperate with your partner, who is opposite your triangle, and exchange the odd planets between your triangles
For Example: You are staying on the top light platform. If the Top Dark Guardian voiced the extra position as "Dark Side - Top Left" (similar to the Dark 4 callout ), then you apply the buff to the dark top left (Dark 4). The same goes for other platforms.
After successfully attaching the orb to your Guardian, run to the opposite triangle and use Planetary Attunement to swap your orb with your partners`. If done correctly, the orb should swap places. A side note: killing Centurions in this phase speeds up the spawn time of Terrestrial Lieutenants, which greatly decreases the time necessary to close out the encounter.
After all the planets are in the correct position, gather your firing squad in the center of the arena and prepare for the last phase of the encounter, during which the boss will randomly apply a shield to himself, light or dark. To deal damage to him, you must stand on the correct plate (Light or dark respectively) doing this will negate the boss` shield and allow you to DPS him down.
The last suggestion would be to use any or all of these guns during the encounter:
4th Encounter Nezarec, The Final God of Pain
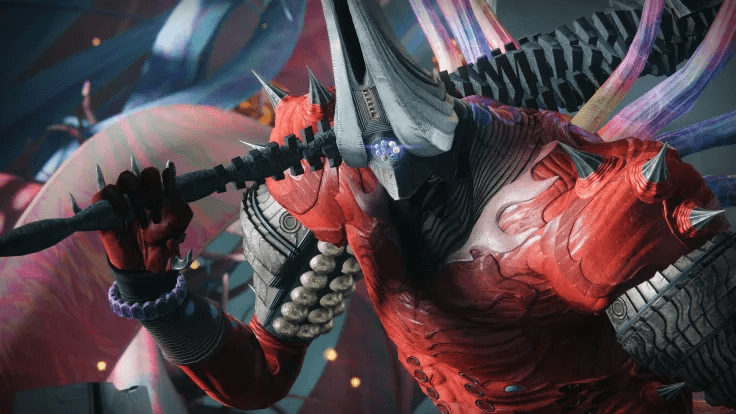
The task of the last encounter is quite simple, all you have to do is to lead the beam of light and dark to its final point while avoiding Nezarecs` onslaught. The way this is done is extremely similar to what we have described in the first encounter, so having 2 Guardians assigned a Runner role is crucial to succeeding.
The rest of the team is supposed to keep Nezarec at bay, by attacking his weak spots (Shoulderpads and Chest). Periodically, Nezarec will apply a debuff called Nezarecs` Hatred to a random Guardian, which can be dispelled by dealing critical damage to the boss` chest.
As soon as his shoulder pads are down, the boss will jump down to the arena and move freely around it.
This is the most crucial part of the encounter for the Guardians who are not assigned the Runner role. Nezarecs` chest will periodically light up, which should signal the firing squad to destroy it as soon as possible, otherwise, you will be wiped.
By the time all the beams are connected, your squad should group up around the central platform and watch as Nezarec gets hit by a ray of light, which signals the start of the DPS phase.
To debuff the boss, we recommend using Divinity, especially if your squad is using primarily sniper rifles.
For main damage dealing, we recommend using rocket launchers with auto-loading and explosive light / vorpal weapons perks attached.
| Weapon's Name | Best Perks |
|---|---|
| The Hothead | Demolitionist / Auto-Loading Holster + Explosive Light |
| Timelost Hezen Vengeance | Auto-Loading Holster + Vorpal Weapon / Lasting Impression |
| Izanagi’s Burden | Curated Perks |
| Succession | Reconstruction + Vorpal Weapon |
| Wilderflight | Auto-Loading Holster + Vorpal Weapon |
Secret Chests Locations
You can find the very first Secret Chest on your way to the second encounter. The main landmark for you will be the Psions shooting at you from the huge wall. You need to climb up to them and proceed further, where you will encounter the Cavium of Nezarec. After killing him, you can collect loot from the first secret chest.
The second Secret Chest is also relatively easy to find. Before the third encounter, you will need to complete a puzzle in the huge stair location. The main problem and at the same time a landmark for you is the wipe wave coming from the right corner of the map. Go to its source until you reach the border of this location. When you approach the border, look down and shoot at the Darkness Crystal. After this, a room will open behind you to the right, and there you will find the next chest.
Root of Nightmares Raid Rewards
Luckily, the process of getting raid rewards has remained unchanged. You still can get one random raid item from every encounter. On top of that, you will receive a few Spoils of Conquest as well.
Adding a few words on things like Root of Nightmares secret chest, Weekly Puzzle Chest, and Weekly Challenges, they remain in the game.
You still can get mods, additional Root of Nightmares weapons, and armor from every secret chest. However, it only applies to those items, which you received from any encounter before.
If you have no time to farm the raid for months and simply wish to get the desired reward ASAP, we have you covered. By ordering our Root of Nightmares Raid Boost services, you can be sure our professional players will do this routine job for you. This will take us minimum time and the result is guaranteed.
You can receive extra rewards for completing the Root of Nightmares weekly challenge. The latter is not permanent and can be found in different encounters every week.
Opening Weekly Puzzle Chest during the Root of Nightmares walkthrough grants you a chance of obtaining x1 Random Deepsight Weapon. Nonetheless, you can only do it on one character of your choice. Before trying to complete the raid, make sure you have x240 Spoils of Conquest on your account. You will need it to recraft the loot you received earlier just for x20 Spoils of Conquest only.
The Root of Nightmares loot table below shows all the loot that you can obtain from each encounter. It is worth noting that the raid is currently not farmable, meaning that you can only obtain loot from each encounter once per week - one for each of your three characters.
| 1st Encounter - Cataclysmic | 2nd Encounter - Scission | 3rd Encounter - Zo’Aurc, Explicator of Planets | 4th Encounter - Nezarec, The Final God of Pain |
|---|---|---|---|
| Briar’s Contempt (Linear Fusion Rifle) | Nessa’s Oblation (Shotgun) | Rufus’s Fury (Auto Rifle) | Conditional Finality (Random Drop) |
| Koraxis’s Distress (Grenade Launcher) | Mykel’s Reverence (Sidearm) | Acasia’s Dejection (Trace Rifle) | Rufus’s Fury (Auto Rifle) |
| Nessa’s Oblation (Shotgun) | Acasia’s Rejection (Trace Rifle) | Mykel’s Reverence (Sidearm) | Briar’s Contempt (Linear Fusion Rifle) |
| Helmet (Armor) | Koraxis’s Distress (Grenade Launcher) | Koraxis’s Distress (Grenade Launcher) | Nessa’s Oblation (Shotgun) |
| Arms (Armor) | Arms (Armor) | Class Item (Armor) | Acasia’s Dejection (Trace Rifle) |
| Chest (Armor) | Chest (Armor) | Legs (Armor) | Koraxis’s Distress (Grenade Launcher) |
| Legs (Armor) | Chest (Armor) | Mykel’s Reverence (Sidearm) | |
| Helmet (Armor) | |||
| Class Item (Armor) | |||
| Legs (Armor) |
Rufus’s Fury
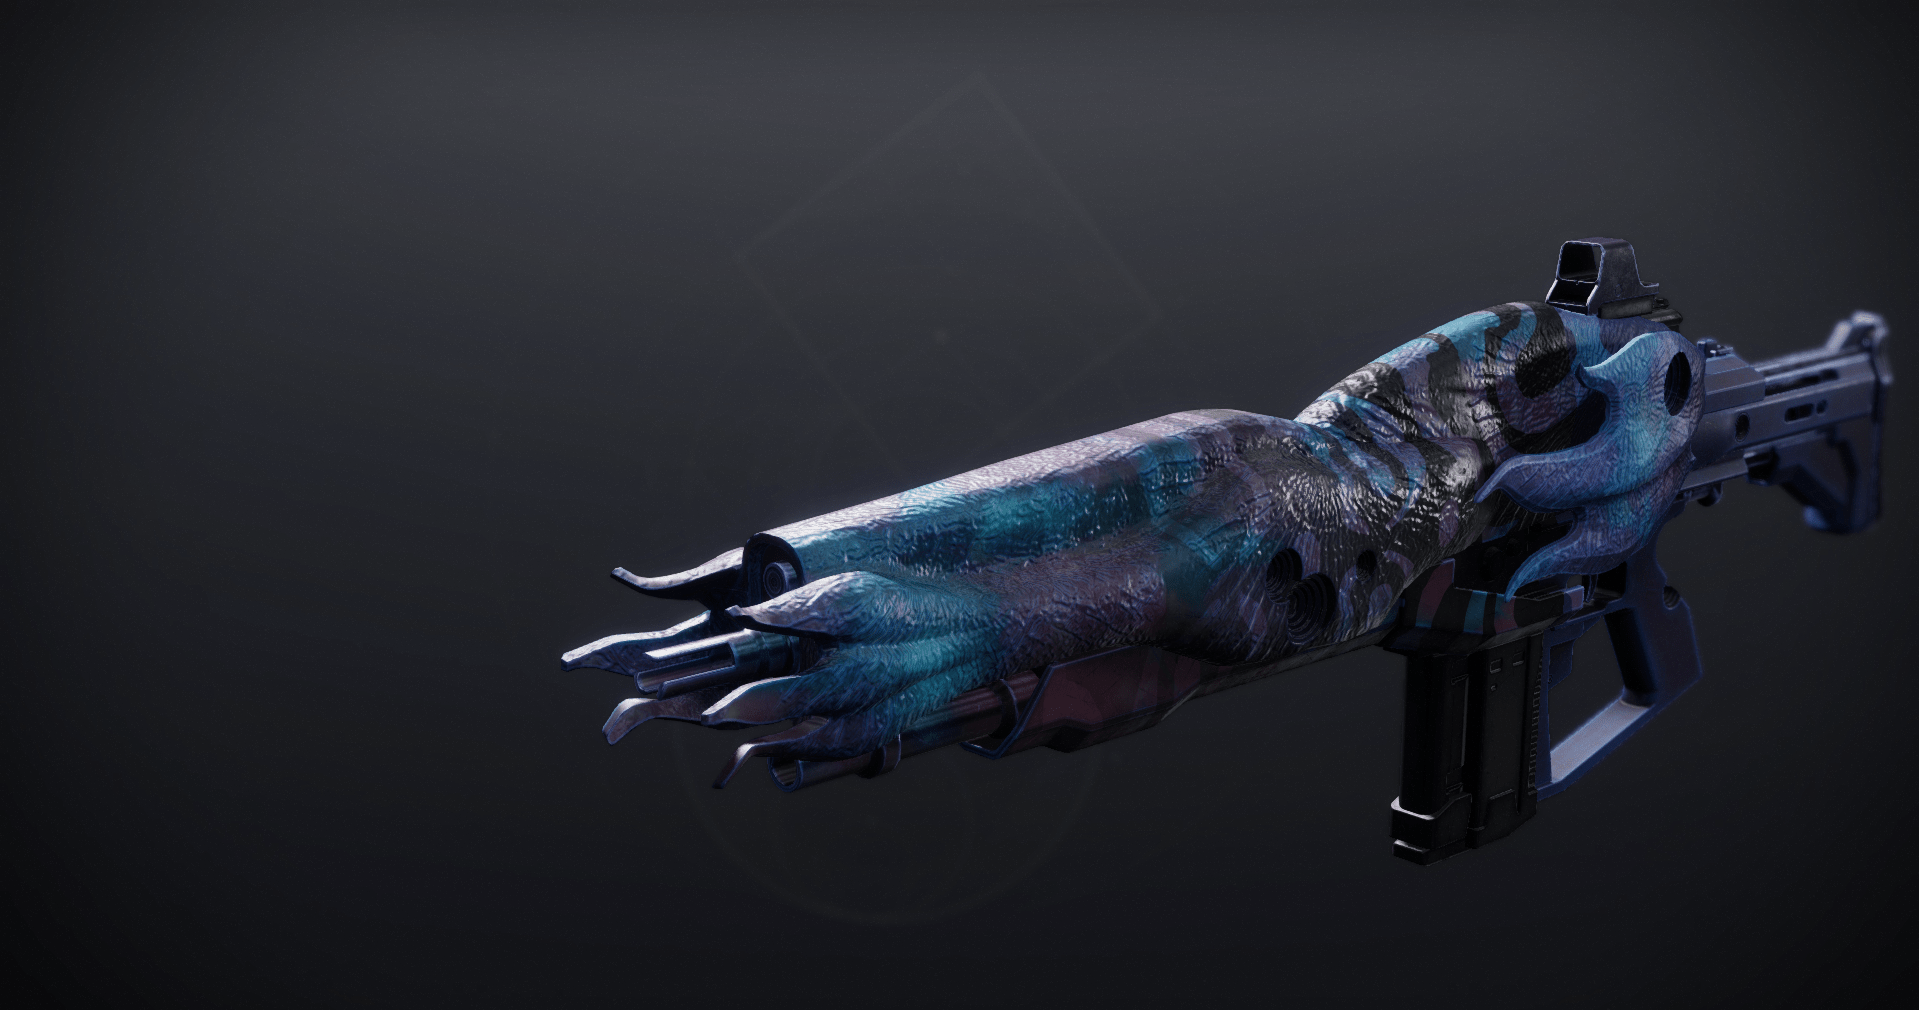
Type: Auto Rifle with Rapid Frame (720 RPM)
Damage: Strand
Best 3rd Column Perks: Reconstruction, Demolitionist, Rewind Rounds.
Best 4th Column Perks: Target Lock, Adrenaline Junkie, Hatchling, Paracausal Affinity.
Rufus’s Fury God Roll - Demolitionist + Paracausal Affinity / Hatchling.
Mykel’s Reverence
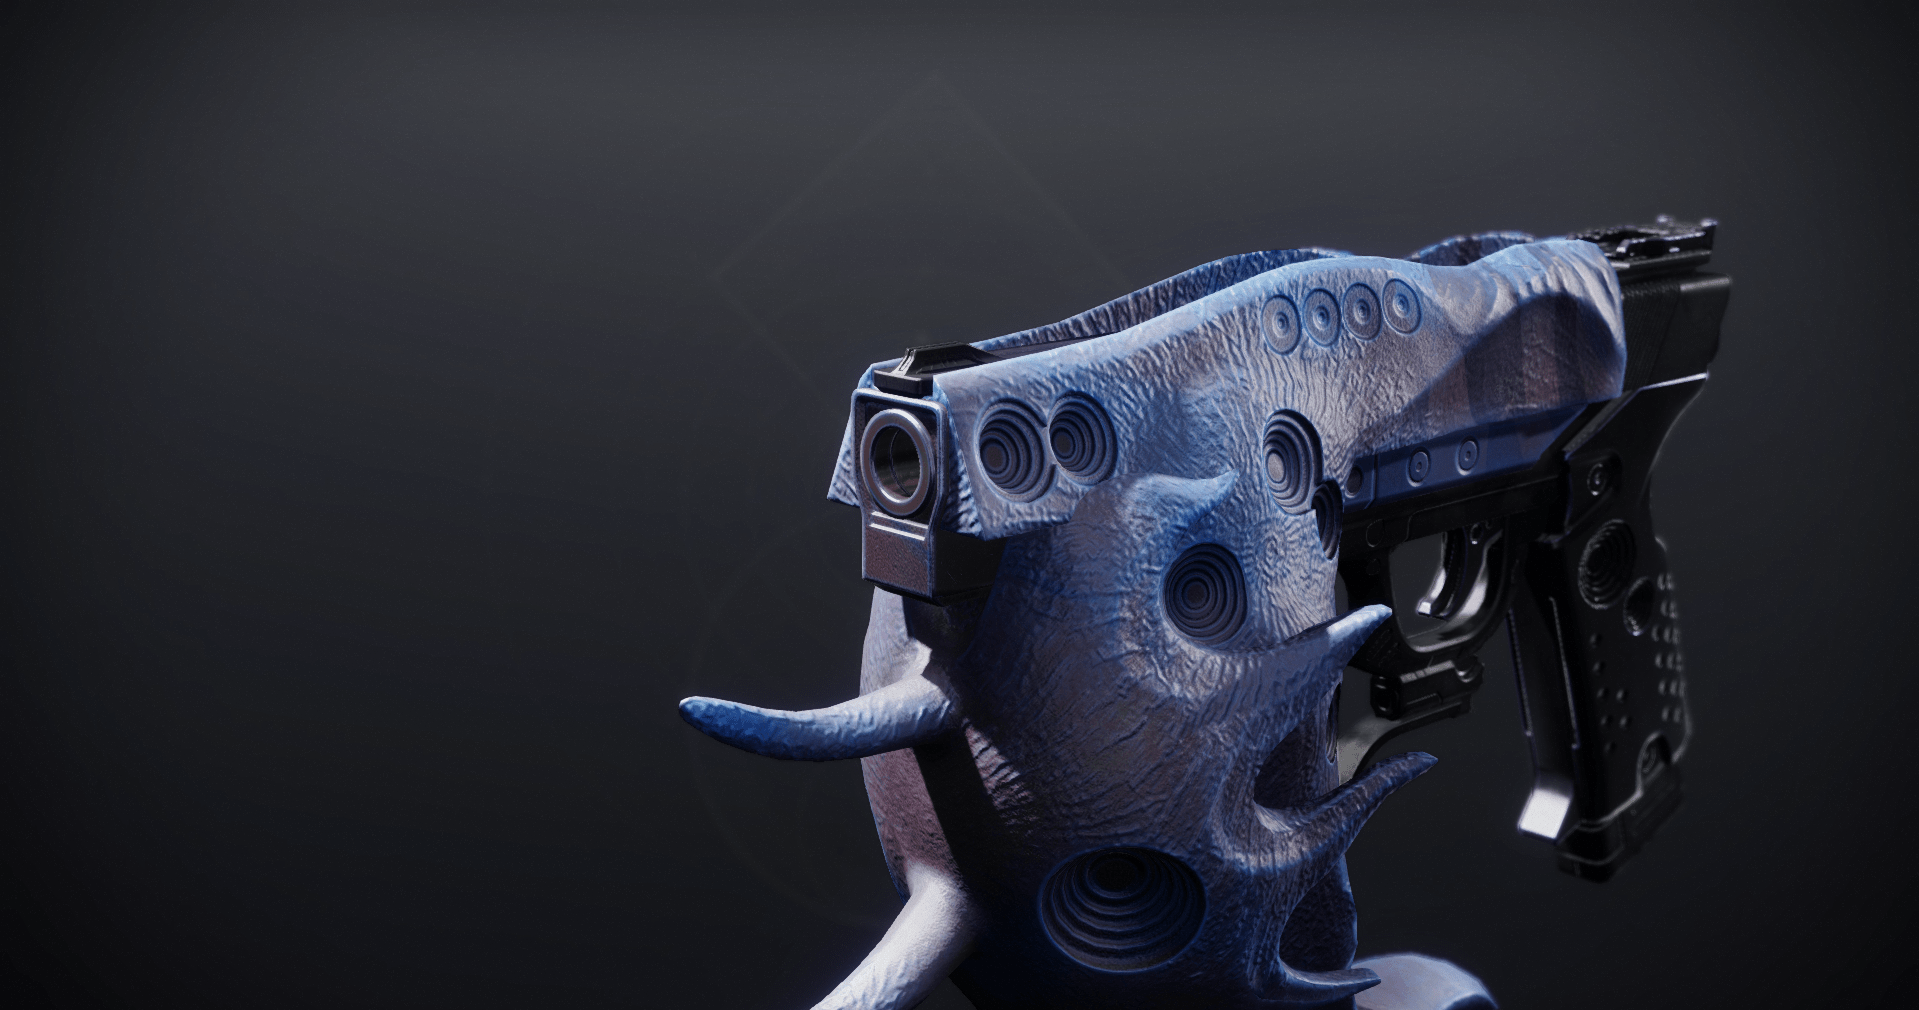
Type: Sidearm with Rapid-Fire Frame (450 RPM)
Damage: Strand
Best 3rd Column Perks: Unrelenting, Pugilist, Rewind Rounds.
Best 4th Column Perks: Hatchling, Swashbuckler, Paracausal Affinity.
Mykel’s Reverence God Roll - Rewind Rounds + Paracausal Affinity / Hatchling.
Koraxis’s Distress
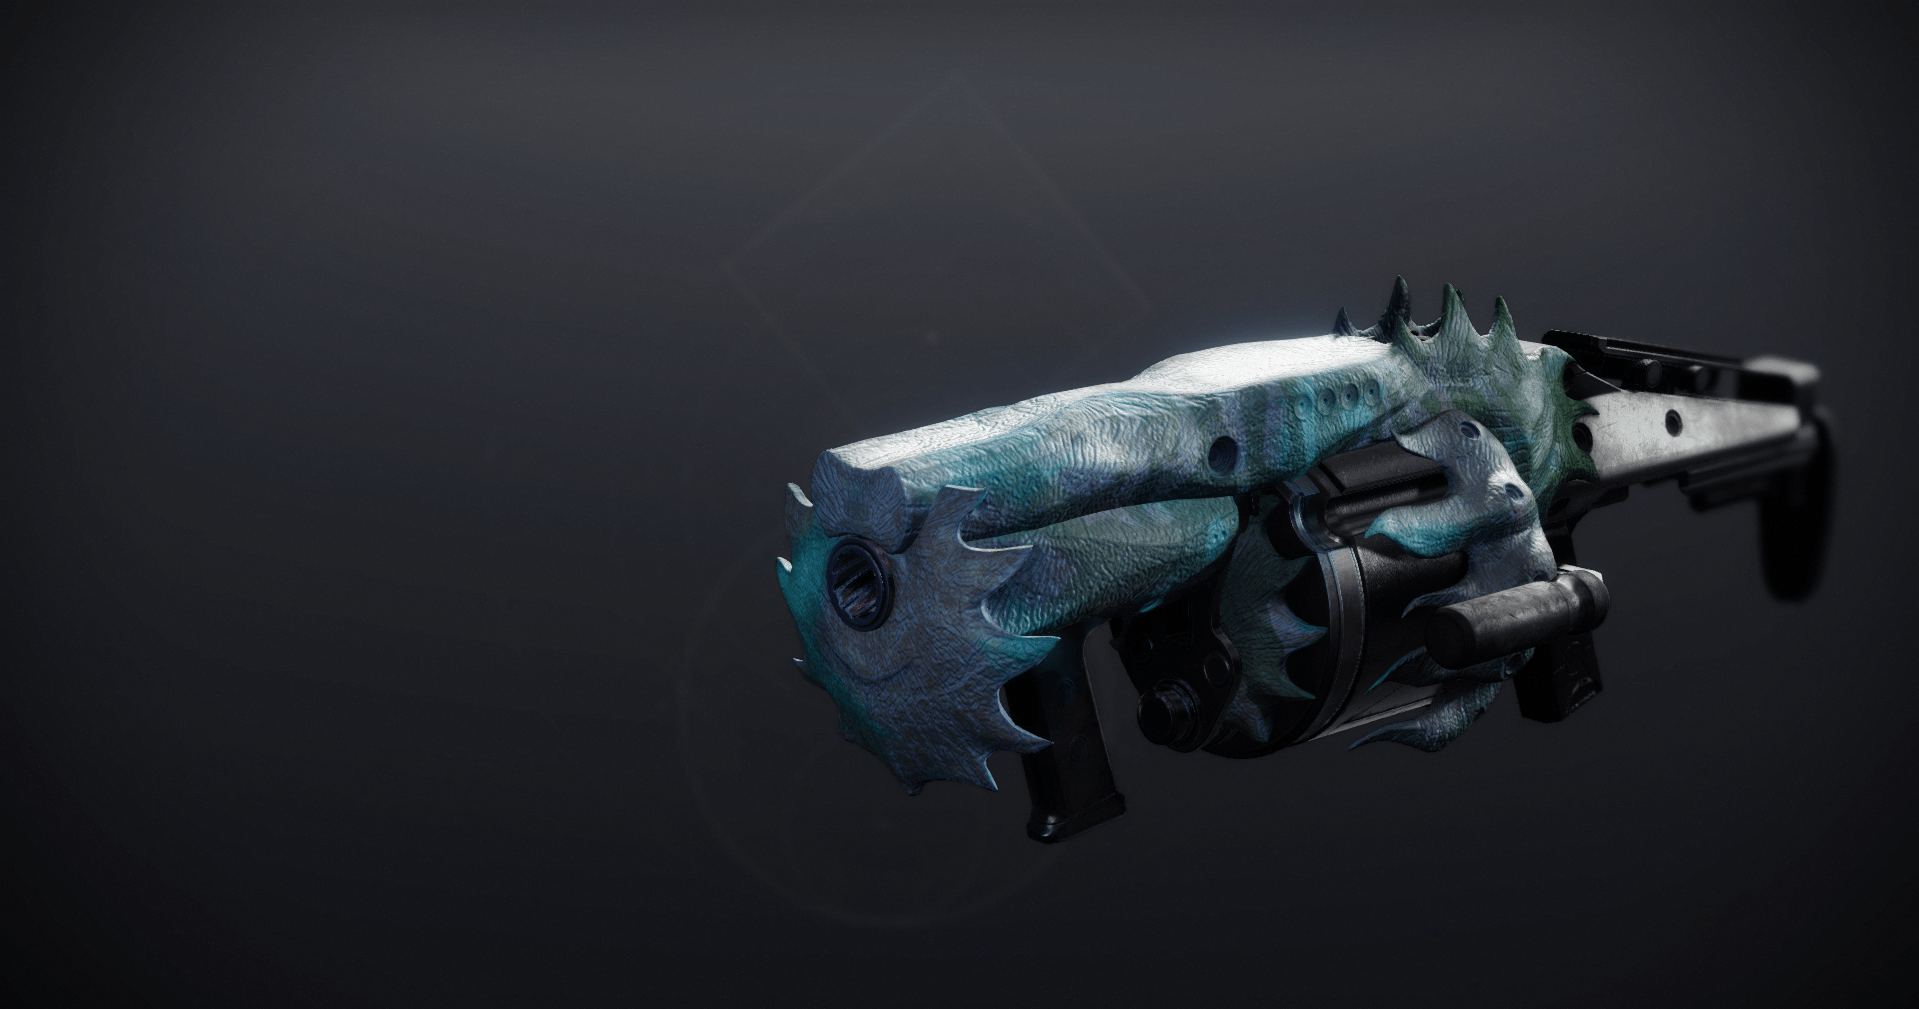
Type: Grenade Launcher with Rapid Frame (150 RPM)
Damage: Strand
Best 3rd Column Perks: Demolitionist, Reconstruction, Chain Reaction.
Best 4th Column Perks: Full Court, Frenzy.
Koraxis’s Distress God Roll - Reconstruction / Demolitionist + Full Court.
Briar’s Contempt
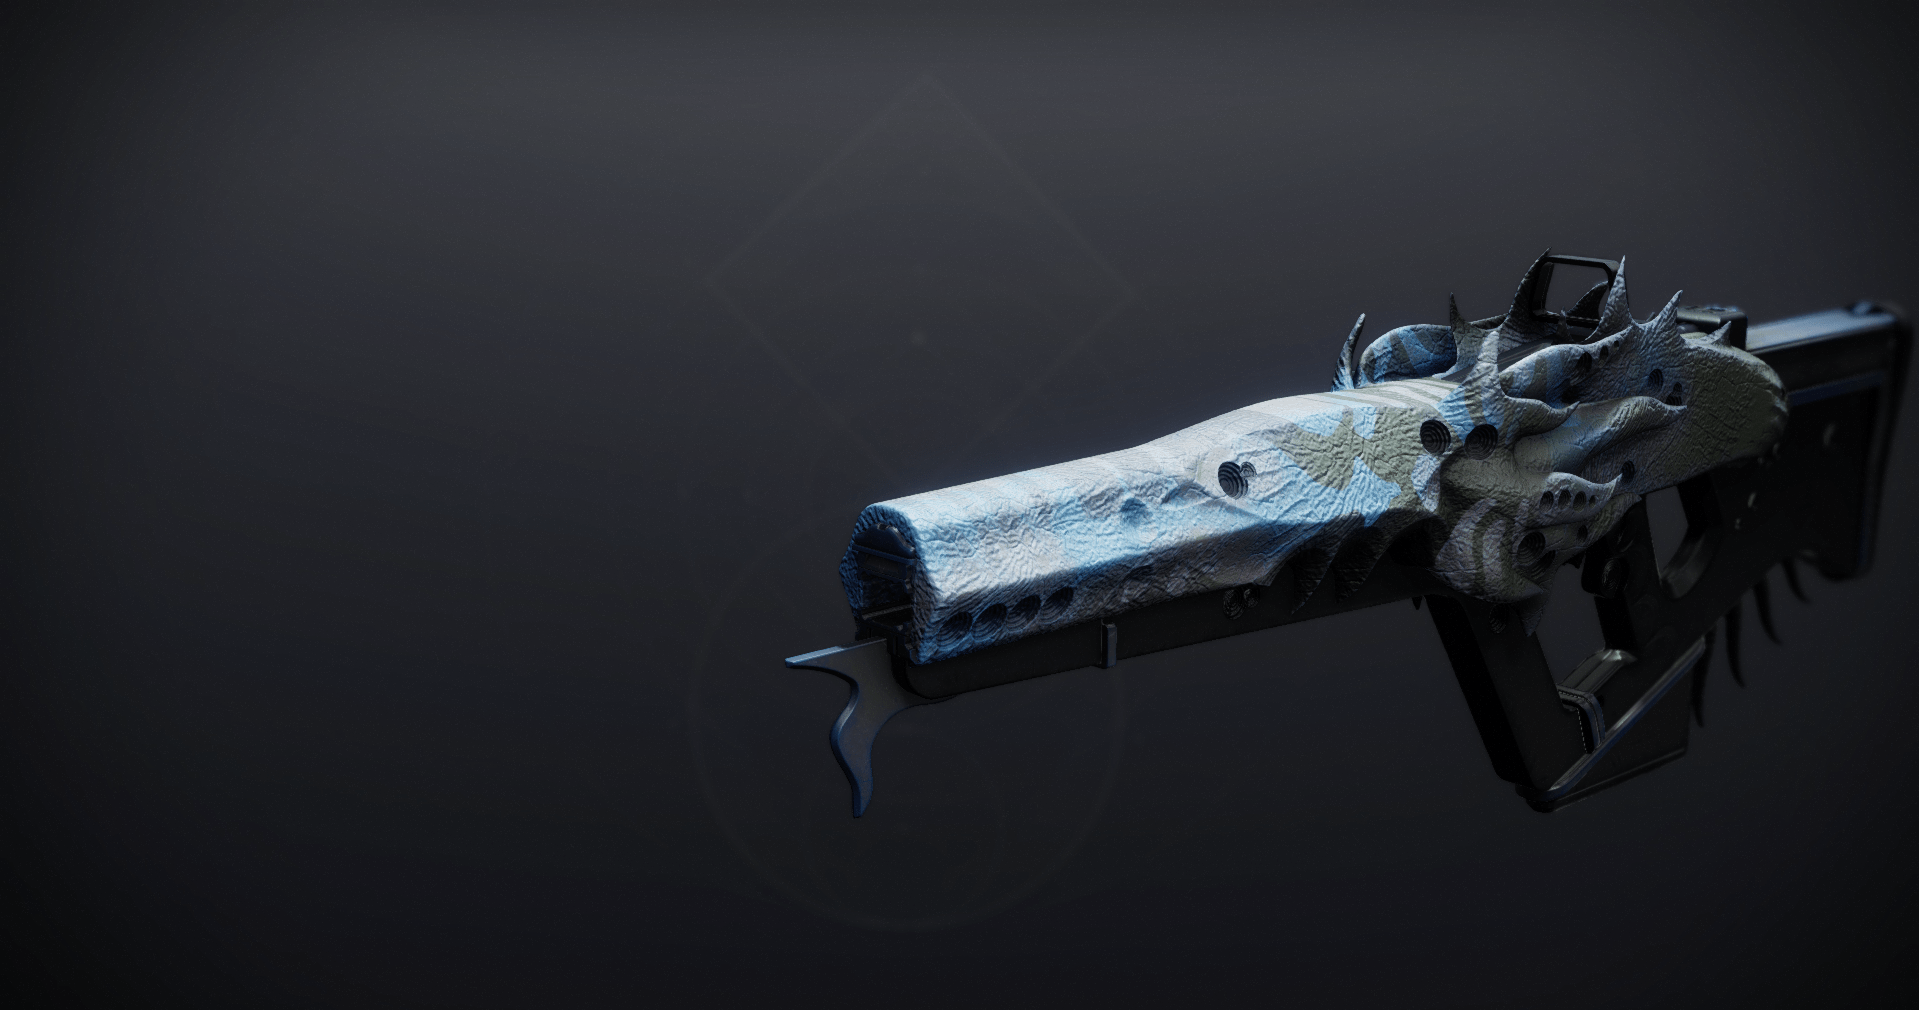
Type: Linear Fusion Rifle with Aggressive Frame (Fires a three-round burst)
Damage: Solar
Best 3rd Column Perks: Rewind Rounds, Demolitionist, Reconstruction.
Best 4th Column Perks: Focused Fury, High-Impact Reserves, Frenzy.
Briar’s Contempt God Roll - Rewind Rounds + Focused Fury / High-Impact Reserves.
Nessa’s Oblation
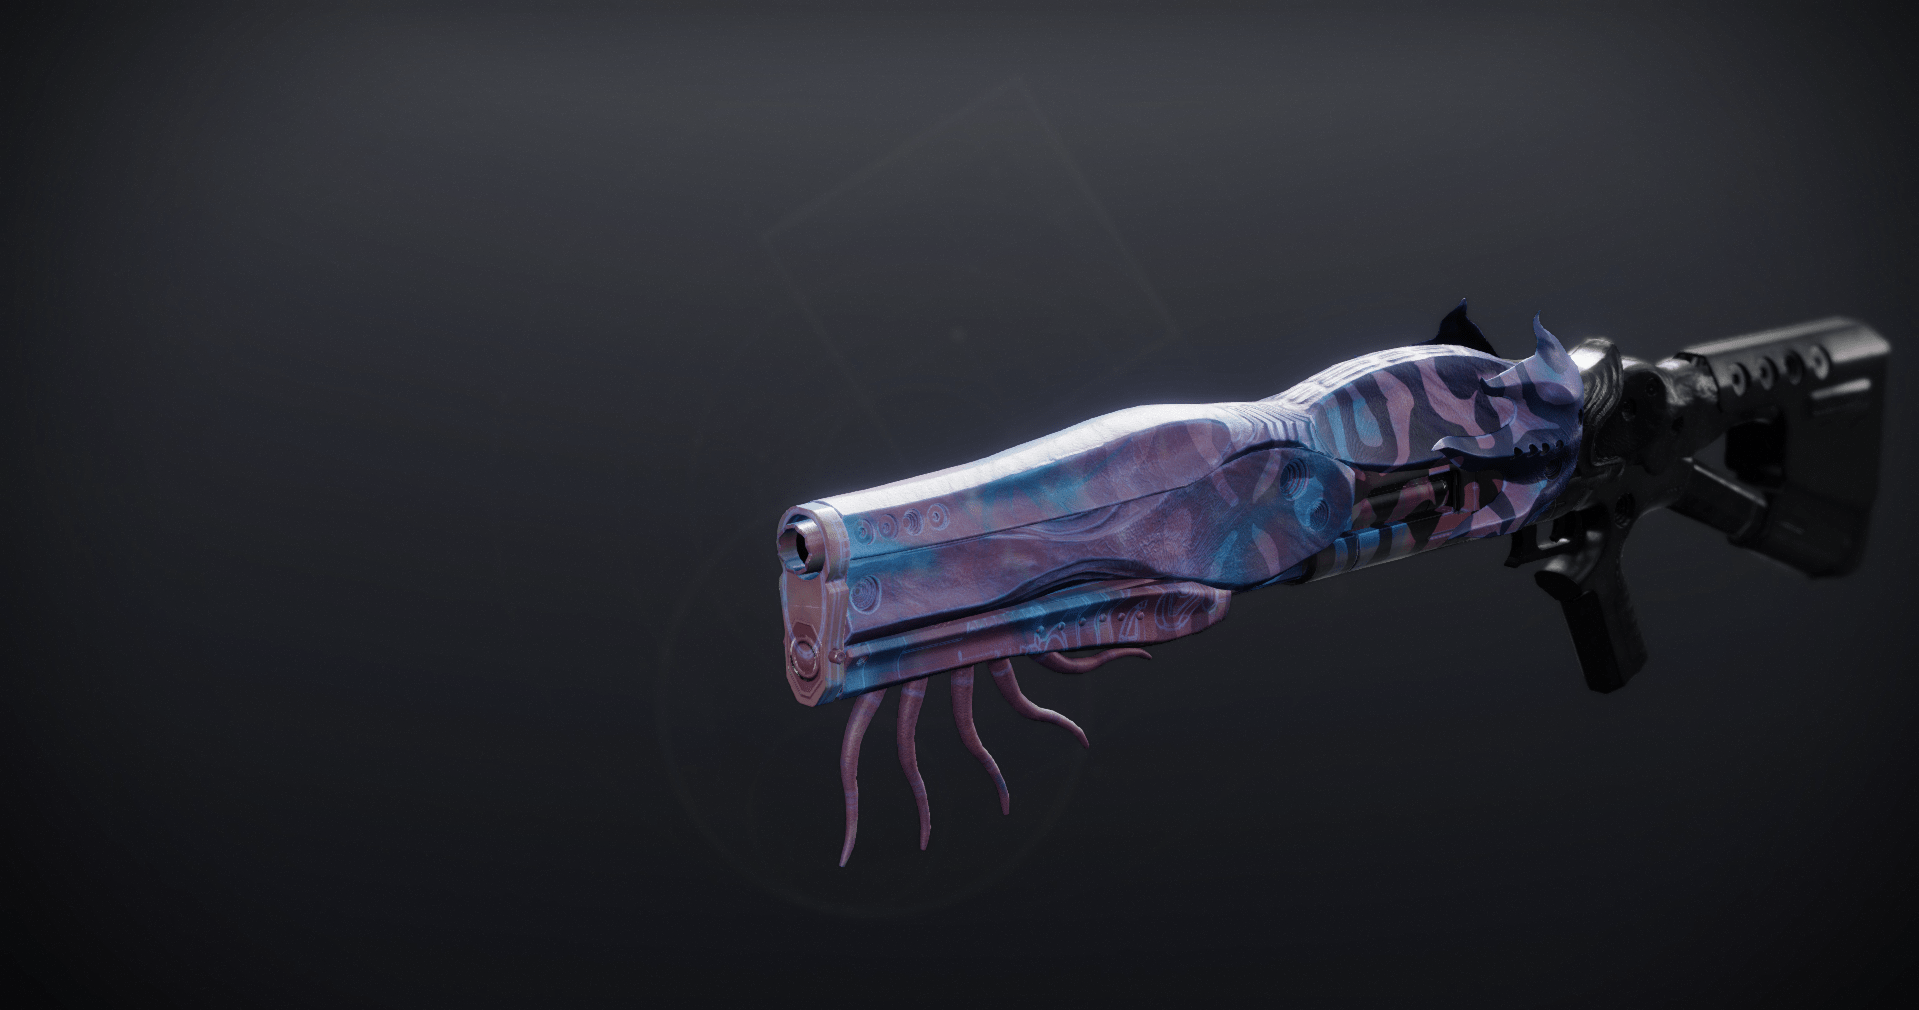
Type: Shotgun with Slug Frame (65 RPM, fires a single-slug round)
Damage: Void
Best 3rd Column Perks: Reconstruction, Demolitionist, Fourth Time’s the Charm.
Best 4th Column Perks: Vorpal Weapon, Paracausal Affinity, Destabilizing Rounds.
Nessa’s Oblation God Roll - Reconstruction + Vorpal Weapon / Destabilizing Rounds.
Acasia’s Dejection
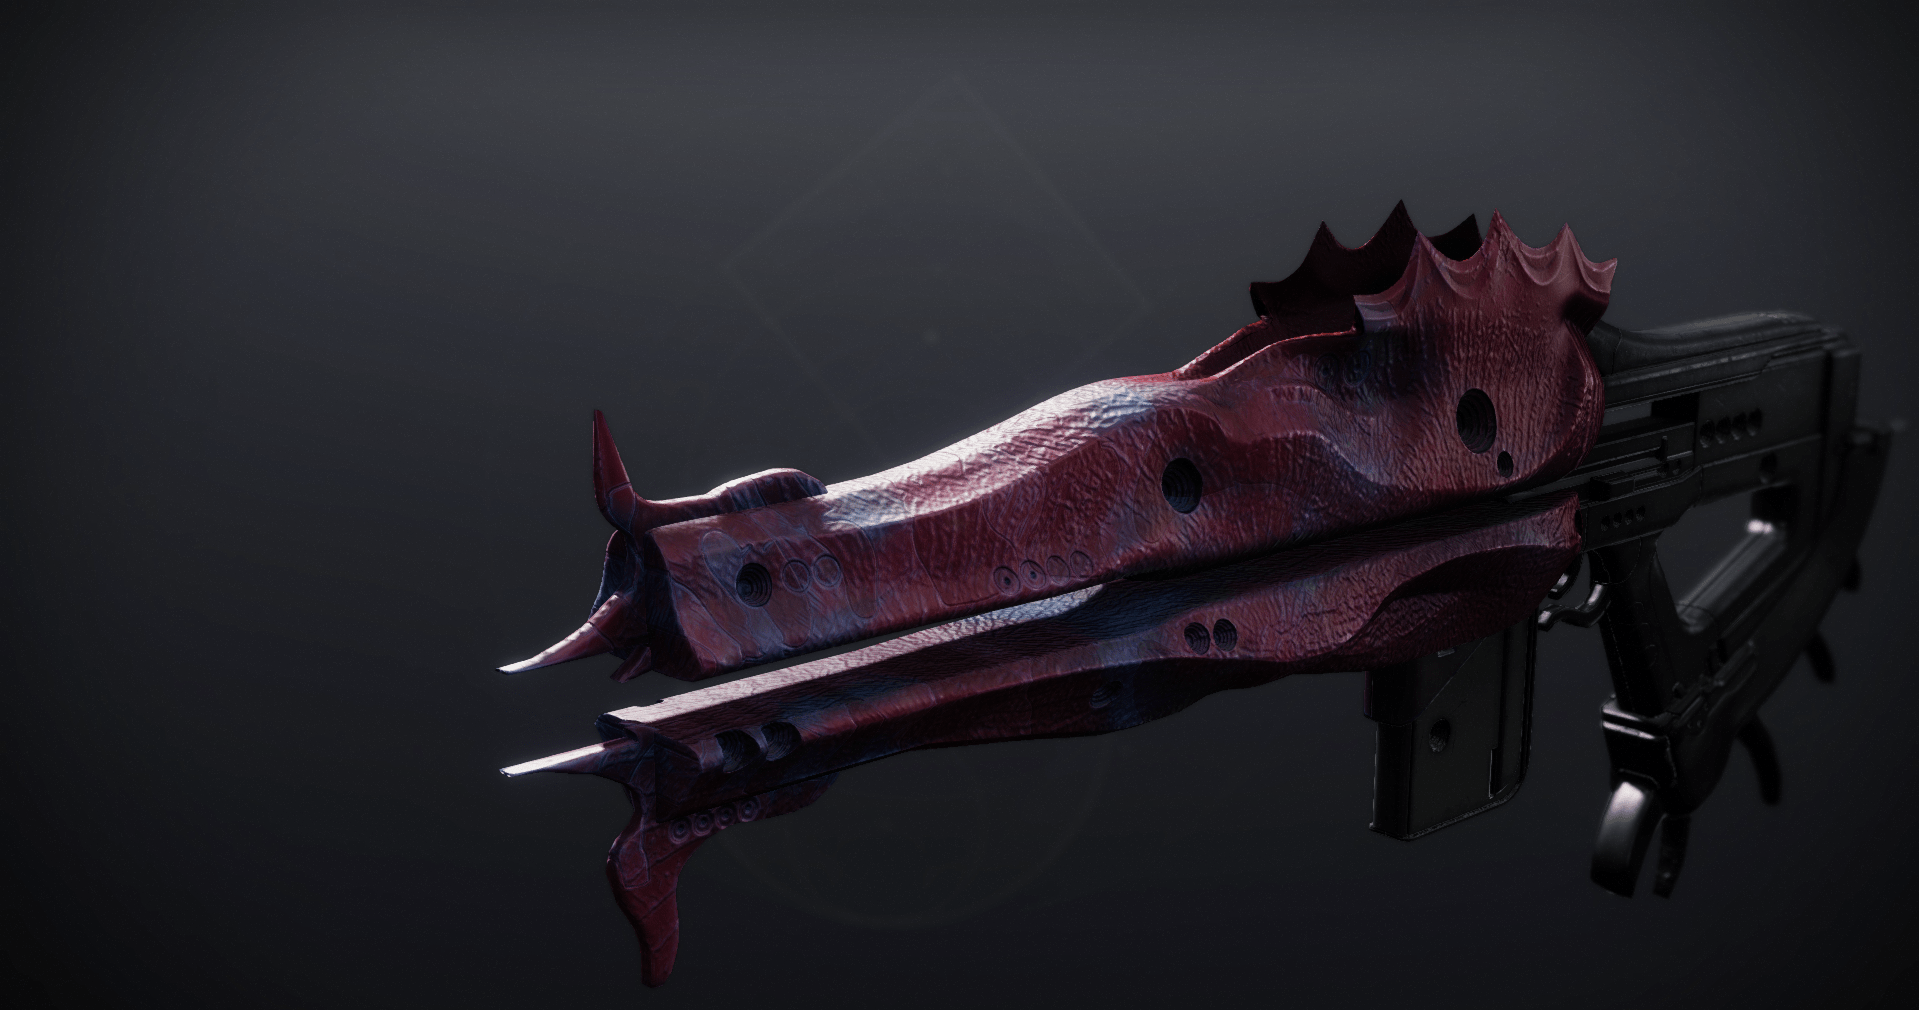
Type: Trace Rifle
Damage: Solar
Best 3rd Column Perks: Reconstruction, Rewind Rounds, Perpetual Motion.
Best 4th Column Perks: Target Lock, Paracausal Affinity, Incandescent.
Acasia’s Dejection God Roll - Rewind Rounds + Target Lock / Incandescent.
Conditional Finality - New Raid Exotic
Root of Nightmares has become the first raid that gives players the opportunity to increase their chances of obtaining new exotics.
To do this, you need to complete special challenges that you will find in the Root of Nightmares Seal. Triumphs that increase the drop chance of Conditional Finality will be marked by an exotic engram.
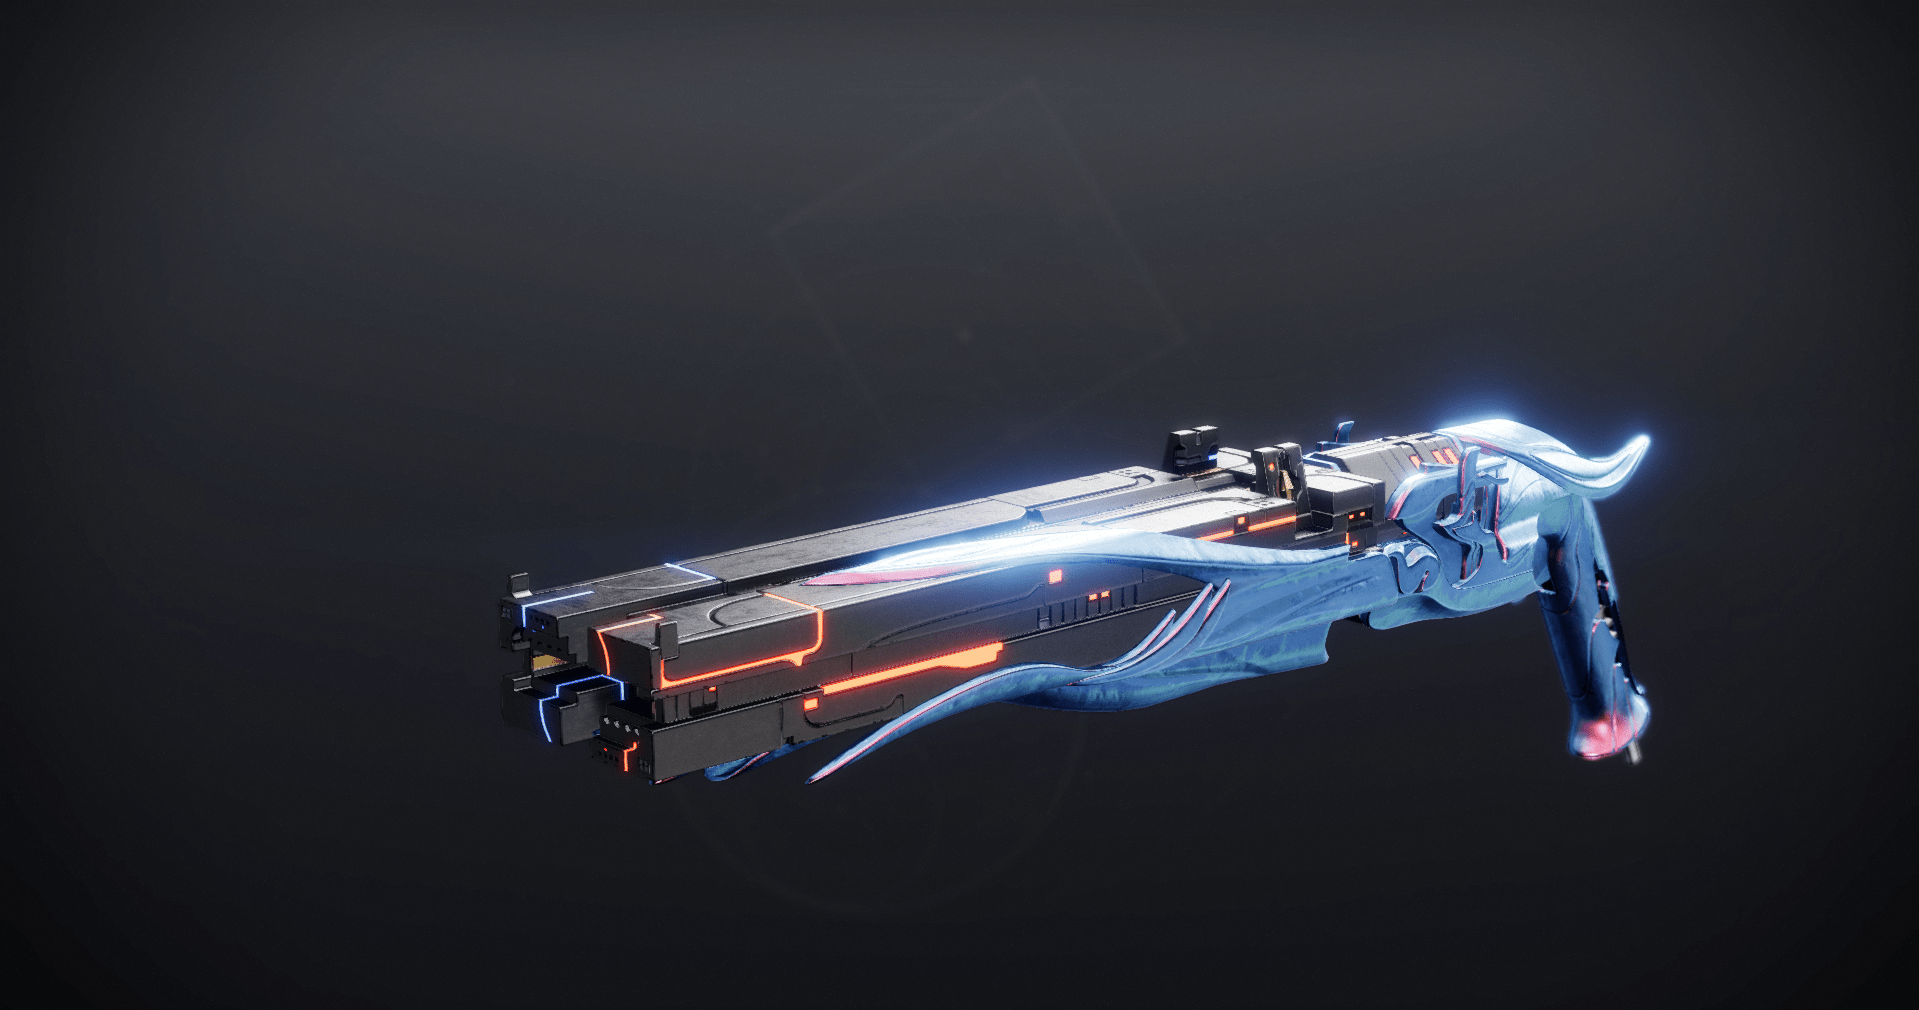
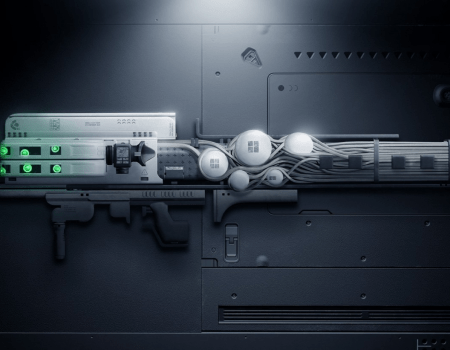
The main feature of this weapon is that it has only 2 rounds in the magazine, the first of which deals Stasis damage, freezing the target, while the second deals Fire damage and ignites the target.
The damage from the new shotgun is comparable to the damage from Izanagi's Burden with Catalyst, but unlike it, Conditional Finality does not use as many ammo reserves, while having a limited firing range.
Looking at the Root of Nightmares exotic weapon, it seems to be the best shotgun for DPS and add clearing in Destiny 2. It can be received if you defeat the last Root of Nightmares raid boss named Nezarec.
Speaking of the raid exotic, if you do not have enough time to farm it but wish to get Conditional Finality guaranteed, then our professional players might help you defeat the final boss of the RoN raid and obtain a new shotgun.
Root of Nightmares Armor Set
The new armor turned out to be exceptionally unique and unusual. It is one of the few armor sets with changing colors in Destiny 2. Most of the armor elements change their colors by applying shaders. You can use this feature to give your armor the look you want.

Best Gear for Root of Nightmares Raid
Before trying your luck in the raid, we highly recommend that you check your vault and characters. The following equipment and perks work better than anything else in this activity:
| Weapon Name | Source | Godroll |
| Succession | Deep Stone Crypt | Reconstruction + Vorpal Weapon |
| Commemoration | Deep Stone Crypt | Reconstruction + Killing Tally |
| The Hothead | Vanguard Engrams | Demolitionist / Auto-Loading Holster + Explosive Light |
| Wendigo GL3 | Nightfall | Auto-Loading Holster + Explosive Light |
| Stormchaser | Duality Dungeon | Auto-Loading Holster + Firing Line |
| Witherhoard | Tower Kiosk | Exotic Weapon has curated perks |
| Izanagi’s Burden | Tower Kiosk | Exotic Weapon has curated perks |
These guns allow you to complete any encounter no matter how long you need to keep damaging the boss. We also advise that you have your Resilience stat maxed out to 100 points. In this case, you will have 30% resistance to any damage type.
Conclusion
Radical changes in the reward system for completing Master RoN have made this difficulty level especially important and hard. It is no longer enough to pass this raid once just to get a seal. Instead, the best teams can complete it over and over again to receive the best in-game rewards.
We hope you have had fun reading our Legend and Master Root of Nightmares guide and learned a lot from it. Make sure to stay with us, as we will keep it updated if any changes occur.
F.A.Q.
What is the power level requirement for Root of Nightmares?
The recommended power level for completing the whole raid is 1780 or higher.
What is the release date of Root of Nightmares?
The Root of Nightmares raid's release was on March 10.
Who is the last boss of Root of Nightmares?
The final boss of the Root of Nightmares raid is Nezarec.
Is Master Root of Nightmares worth the effort?
With the updated reward system for completing Master Root of Nightmares, this raid has become the best source of powerful gear. Therefore, trying to pass it is definitely worth the effort.
Is it possible to complete Root of Nightmares solo?
Unfortunately, you will need a reliable team to complete this raid. You cannot do it on your own.
How to get the Root of Nightmares raid exotic?
You can receive the exotic weapon randomly after defeating Nezarec on any difficulty level. In total, you have 3 attempts per week – one for each character.
Is Master Root of Nightmares hard?
The main difficulty for most players is not so much the raid itself, but rather its challenges. However, this does not exclude the fact that this raid is very demanding on your equipment.
Is Master Root of Nightmares worth it?
Perhaps this is the only Master raid that is worth refarming to get Adept RoN God Rolls. The main reason for this is the ability to get Enhanced Perks for your adept weapons from this raid.
What is the recommended power level for Master Root of Nightmares?
The maximum power level for this raid is 1820. Any further increase in your power level will not give you any advantage.
What is the weekly challenge for Root of Nightmares?
From May 16th to May 23rd, the All Hands Challenge (4th Encounter) is available, which drops the Adept Acasia's Desection Solar Trace Rifle.
How do you complete the Root of Nightmares challenge?
Depending on the challenge in rotation, the tactics will change accordingly. In our article, you can find a guide for each challenge in this raid.
What is the easiest encounter in Root of Nightmares?
The easiest encounter for farming Spoils of Conquest is Cataclysmic (1st encounter). You only need 4 people to complete it.


