Welcome to the easiest Shattered Veil Easter Egg guide for Black Ops 6 Zombies you’ll find out there. This walkthrough covers every single step so you can unlock the full reward – Carver’s new skin and a sick calling card. You don’t need to be an expert to finish it. We’ll guide you through each part clearly, with no fluff.
The developers might change some steps later, so check the article for updates if something feels off. Now grab your loadout, prep your perks, and let’s complete Shattered Veil main quest Easter Egg by slaying Z-Rex at the end.
In case you’re stuck and want to skip the grind, Skycoach is here for you. We can help you Finish Shattered Veil in a jiffy and get the well-deserved rewards. Our PROs will take care of the main quest and all other side quests if you want as well. We guarantee the best price and the fastest completion time.
Read our other Black Ops 6 guides:
- Citadelle des Morts Guide
- The Tomb Guide
- Terminus Main Quest Guide
- Liberty Falls Main Quest Guide
- Zombies Best Weapons Tier List
- How to Level Up Fast
Note: At Skycoach, you can Buy Black Ops 6 Boost at the best prices with fast delivery. Use our special PROMO CODE (in green) hidden in this article for a 20% DISCOUNT.
Recommended Shattered Veil Loadout
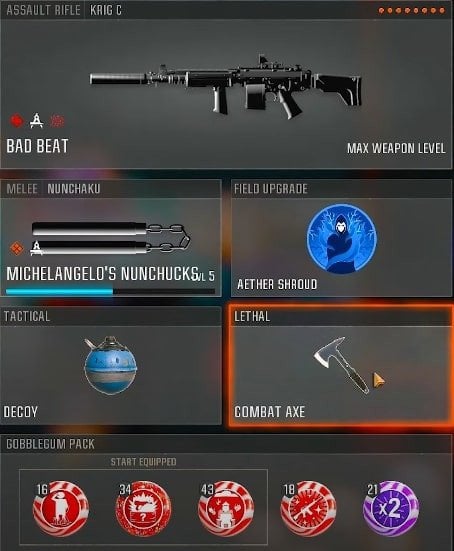
To start the Shattered Veil walkthrough right, you’ll need the proper loadout. Equip Aether Shroud as your Field Upgrade. Bring a Combat Axe and any Gobblegums you like. Pick a solid AR too – Krig C is a great choice, but any decent rifle will work fine.
Once you spawn in, you’ll already have one Combat Axe. Turn around and grab the second one off the log behind you. You’ll need both later.
As you play, keep an eye out for small gray boxes scattered around the map. Shoot every one you see. They drop Salvage, but more importantly, one of them will contain a special quest item you need. It could be the first box or the tenth – just don’t miss any. This step is essential to unlock a future upgrade, so always be looting and blasting boxes as you move through the map.
Opening Pack-a-Punch Machine
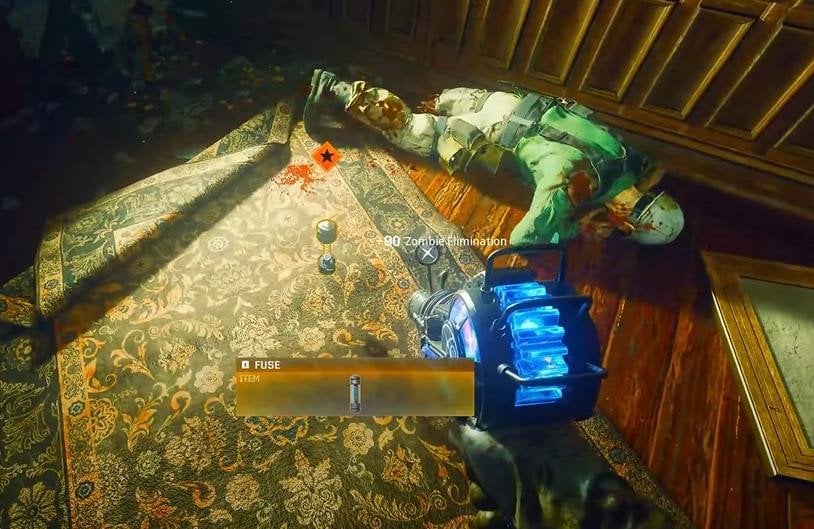
Opening Pack-a-Punch is the easiest part of the entire Shattered Veil main quest in Black Ops 6 Zombies. The game gives you on-screen quest markers, so you won’t get lost. Just follow those markers one by one.
You’ll need to collect two specific parts. The game will show you exactly where to go and what to pick up. After you have both, head to the elevator and repair it.
Once fixed, take the elevator all the way down. You’ll arrive in a large room where Samantha is located. Keep following the quest arrow, and it’ll lead you directly to the Pack-a-Punch machine. Now that it’s unlocked, you’re ready to start the first real Easter Egg step.
How to Get Ray Gun Mark 2
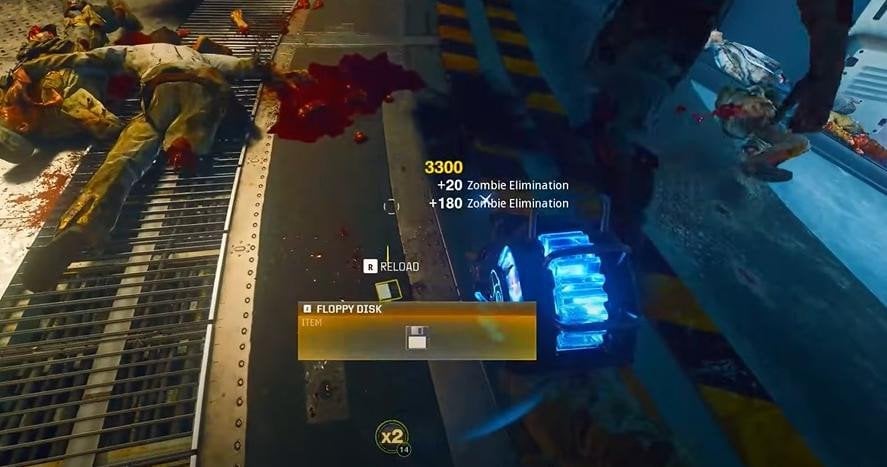
To start the Easter Egg, you’ll need the Ray Gun Mark 2. You can try your luck with a Wonder Bar Gobblegum and hope for a 1-in-3 drop from the box. But crafting it is a guaranteed method – and it’s easy. Here’s how to get Ray Gun Mark 2:
- Reach Round 10 and go to the lower Samantha area.
- Look for a purple-eyed zombie named Lab Technician.
- Kill him and he’ll drop a Floppy Disk.
- Pick it up and take it to the computer in the East Foyer (jump down from the dinosaur room).
- Insert the Floppy Disk. A few vermin will spawn – clear them out.
- Wait for the Project Janus report to print out.
- The report gives you a 4-letter word in caps (e.g. YETI).
Next, use the letter-to-number chart from the nursery chalkboard. Convert each letter of your word to a number using the chart. For example, YETI = 3576. This was Shattered Veil code in our case, but it’s not that simple.
Note: The word and the corresponding number will change from one game session to another. You’re not likely to see the same two in a row. Always check how many letters each group has to understand the numbers encrypted in this code.
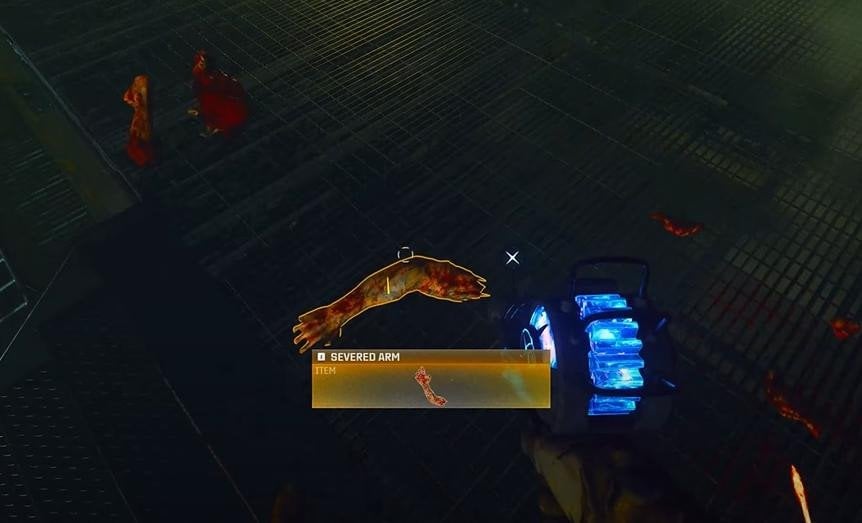
- Go to the containment terminal near Pack-a-Punch and enter your 4-digit code.
- A Doppelghast will spawn. Kill it and it’ll drop a Severed Arm.
- Take that arm to the Armory near the portal underground.
- Place it on the fingerprint scanner on the wall.
The scanner unlocks, revealing your crafted Ray Gun Mark 2 – ready for upgrades. BLOG20
First Empty Canister
To kick off the Ray Gun Mark 2 upgrade process, you first need to collect three empty canisters. The following part of our BO6 Shattered Veil guide covers exactly this aspect. The first canister comes from shooting Dark Aether crystals located across the map. Only one of the four will drop the canister, and it's random every time. Here's where to find each crystal:
- Crystal 1: Downstairs near the Pack-a-Punch machine.
- Crystal 2: Outside by PhD Flopper, shoot and check.
- Crystal 3: To the top right of the dinosaur in the East Foyer, next to Stamin-Up.
- Crystal 4: Near Quick Revive, shoot the last one if you haven’t gotten the drop yet.
Shoot each of them until one finally drops an empty canister. You only need one from this step. Once you’ve picked it up, you’re ready to move on to find the second empty canister.
Second Empty Canister
The second empty canister requires a Gersh Grenade, but don’t worry – you don’t have to craft one. There’s a guaranteed Gersh Grenade drop in every game. Just follow these steps:
- Head to the service tunnel near the armor spawn area.
- Look for a figure holding a Gersh Grenade and pick it up from his hand.
- After grabbing it, make your way to the surface, near the Double Tap machine.
- Look outside the window, and you’ll spot a canister sitting on the shelf.
- Stand close and toss your Gersh Grenade outside the window.
- The grenade will slowly pull the canister out.
- Once it explodes, the canister will drop to the floor. Go ahead and pick it up.
With the second canister secured, you're now ready to hunt down the third and final one.
Third Empty Canister
The third empty canister is located inside a human incubation chamber in Samantha’s room. You’ll see it clearly, but it’s sealed. To get it out, follow these steps:
- Next to the chamber, you’ll see a glowing letter – in our case, it was “A”.
- You’ll need at least two throwing Tomahawks to activate the gas flow.
- Head outside and locate gas valves. Throw the Tomahawks at them to redirect gas.
- You must hit the valves so that the gas flows toward your letter.
- If the gas flows all the way to the correct letter, you’ve done it right.
- Missed throws mean you’ll need to craft more Tomahawks, so aim carefully.
Once the gas reaches the chamber, you’ll need to ignite it:
- Craft a Molotov nearby, or save salvage by heading back to the dinosaur room.
- Behind the dinosaur, by the bar, there’s a free Molotov to grab.
- Return to the chamber and throw the Molotov to ignite the gas.
The gas will explode, breaking the chamber and releasing the final empty canister. Now you're all set for the Ray Gun upgrades.
Blue Explosive Ray Gun Upgrade
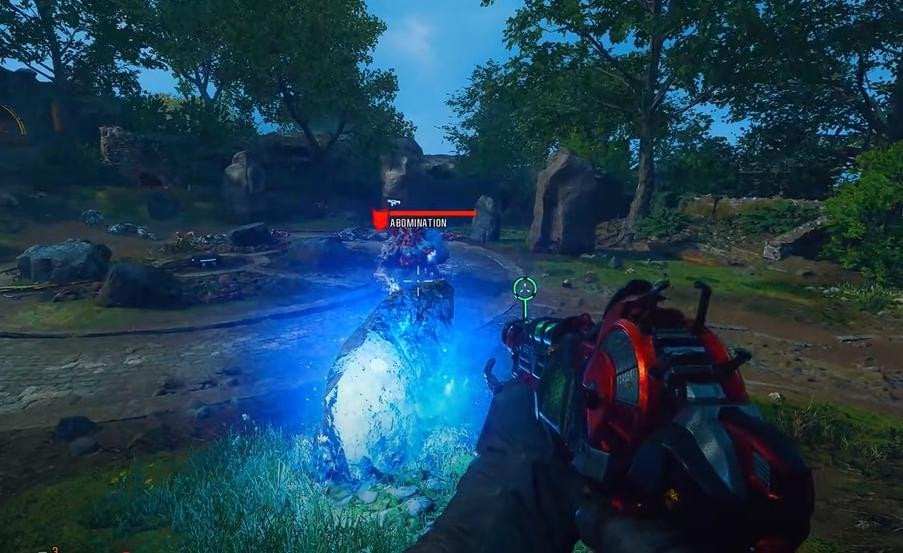
Once you’ve collected all three canisters, it’s time for your first Ray Gun upgrade. Head over to the area by Speed Cola and look for a receptacle where you can place one of the canisters. Doing this will spawn an Abomination, which kicks off the next challenge. This is by far one of the most random parts of Black Ops 6 Zombies Shattered Veil map.
Your goal is to get the Abomination to interact with three small rocks in the area:
- First, bait the Abomination into shocking the rock with its electric attack.
- Once it’s glowing blue, lure it to charge into the rock to break it free.
- Repeat this process with two more rocks that look the same.
There’s no guaranteed way to make the Abomination use the correct attack, so it’s a bit tricky. Try doing this at the end of a round when fewer zombies are around, so you can focus on positioning.
After all three rocks are destroyed, a second phase begins. The Abomination will despawn, and a bunch of vermin enemies will appear. They’ll try to sacrifice themselves into a glowing pool in the middle of the area.
You need to:
- Ignore zombies (they don’t care about the ritual).
- Kill the vermin quickly before they reach the pool.
- Complete this within the time limit or retry next round.
Once done, head up the stairs and grab the glowing vial near the ritual site. Take it to the underground area by the portal where there’s a special workbench. This is the only place you can craft the explosive ray gun.
Place the vial, craft the upgrade, and congrats – you now have the automatic Blue Ray Gun in your hands. One down, two more to go.
Yellow Toxic Ray Gun Upgrade
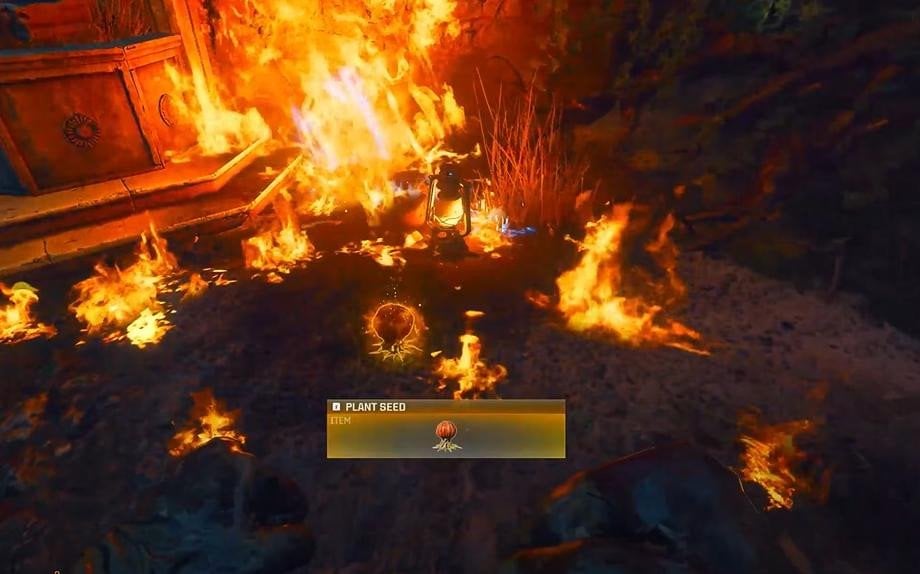
To unlock the Yellow Toxic Ray Gun upgrade in Shattered Veil, you’ll first need to collect four toxic plant seeds. These seeds drop from special plants that grow bigger each round. At full size, they can drop a seed if you kill them the right way.
Here’s how to do it:
- Only attack full-grown plants.
- Use a Ray Gun, Grenade, or Molotov – they must scream when they die.
- If they don’t scream, you did it wrong and must wait for them to grow again.
Seed plant locations include:
- Outside the Mansion
- Near Quick Revive
- Around the spawn area
- Near Double Tap, including down the nearby stairs
- Around the area of the previous ray gun upgrade
Not every plant spawns every game, so check all these areas. Don’t shoot them with regular bullets – use explosives or fire. A good trick: grab a free Molotov from the dinosaur room, near the bar.
Once you’ve collected all four seeds, head to the Conservatory. There’s a canister receptacle here – place one of your canisters into it to begin the upgrade sequence. You’ll now plant each of your four seeds in glowing pod spots nearby. These are:
- Just right of the canister station
- Across the way, still in the Conservatory
- On the opposite wall of where you placed the canister
- Down the stairs, outside of Quick Revive
Each pod has a progress bar. When you plant a seed, defend it from purple-eyed zombies until the bar is full. You can try multiple at once, but it’s safer to handle one at a time.
Once all four are complete, return to the canister site and collect the toxic canister. Then go to spawn, where there’s a crafting bench right at the beginning of the map. Use the toxic canister there to craft the Yellow Toxic Ray Gun.
Purple Shotgun Ray Gun Upgrade
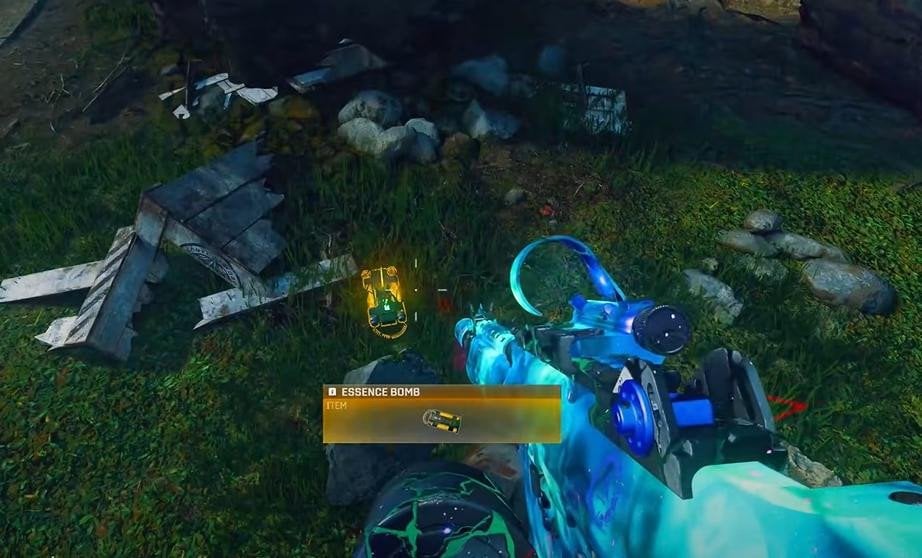
To get the Purple Shotgun Ray Gun upgrade in Shattered Veil, you'll need the Essence Bomb and two Reflectors. This part of the quest starts once you've shot enough gray salvage boxes around the map. One of them will eventually drop the Essence Bomb – if you don’t find it right away, just keep checking.
Once you have the bomb, head to two specific lion fountains:
- The first is outside PhD. Interact to get the first reflector.
- The second is near Quick Revive. Interact again to get the second reflector.
With bomb and reflectors in hand, go to the underground area. Look for a level three wall near the ritual site. Place the bomb on the rubble – it’ll explode, revealing a creepy hidden room with petrified statues.
Go to the back wall, place a canister, and a beam of light will shoot across the room. Now comes the reflector puzzle.
Here's how it works:
- Use reflectors to redirect the beam toward the three Doppelganger statues.
- When the beam hits a statue, melee the crystal to trigger it.
- This spawns a Doppelghast you need to take down.
- Repeat this two more times, adjusting mirrors each time.
- Always go back to the first mirror to redirect the beam when needed.
After defeating all three Doppelghasts, you’ll be able to collect the purple canister.
Now, head to the Director’s Quarters (top-left corner of the map). Inside, you’ll find a crafting workbench in the corner. Use it to build the Purple Shotgun Ray Gun and you’re done with all three Ray Gun upgrades! BLOG20
Purple Ray Gun Ritual
To start the Purple Ray Gun Ritual in Shattered Veil, make sure you're holding the Purple Shotgun Ray Gun. Head past Double Tap into the room with the zipline. Look for the painting of a man on the wall and interact with the machine next to it.
This will start a soul collection challenge – but it only works if you're using the Purple Ray Gun. If you kill with any other weapon, it won’t count, and you’ll have to wait for the next round to try again.
Once you get enough kills, the room will unlock. Inside, search all the tables and the large dining table for a bright red ritual elixir bottle. It can spawn in different spots, but it’s easy to spot once you're looking.
Take the elixir into the box room nearby and pour it into the glass on the counter. This spawns an Elder Disciple. Kill him (any weapon works) and make sure a symbol appears above the cup. That means the chalice is done.
Now go to the spawn bridge area and find the second chalice. Repeat the steps: pour in the elixir, kill the Elder Disciple, confirm the symbol appears.
Finally, head to the dinosaur room, top floor, and find the third chalice on a bench opposite the dino. Do the same thing here – fill, fight, confirm the symbol.
Once all three chalices are done, go back near Double Tap and check the elevator shaft wall. You’ll see three numbers there – these are your ritual safe code. Write them down.
Go to the safe near Death Perception in the west hallway. Get close to interact with it and enter the numbers. Inside, you’ll get your first ritual item.
Now prepare for a mini-boss fight. A boss will spawn with a shield that makes him immune. Only the Purple Ray Gun can break that shield. Once it's broken, your entire team can help deal damage.
Take him down, collect the Sentinel Artifact, and you're all done with the Purple Ray Gun Ritual. On to the next one!
Blue Ray Gun Ritual
To begin the Blue Ray Gun Ritual in Shattered Veil, you’ll need the Blue Automatic Ray Gun. Head to the underground workbench near the portal, swap your current ray gun for the blue one, and you're set.
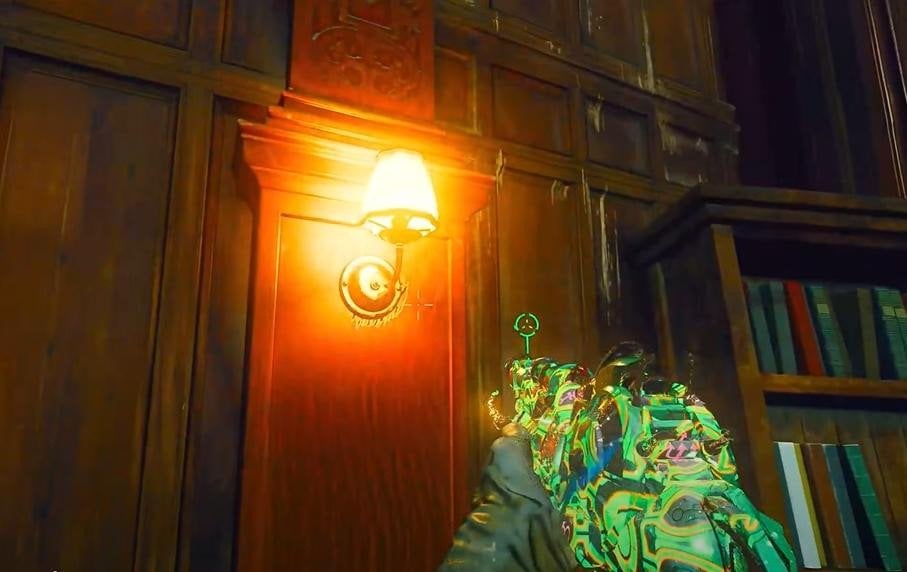
Now, go back to the Double Tap area. Inside the first room by the deer heads, you’ll find a small Lantern in a box. Grab it and return to the main Z-Rex room. Place the lantern next to the matching one on the wall.
This starts a simple Simon Says mini-game. Watch the light flashes and repeat the sequence. Once you complete it, you’ll unlock the lower area where the next painting is found.
Interact with the machine next to that painting. Kill zombies using only the Blue Ray Gun to fill the soul collector and open the room.
With the room open, head to the Elemental Pop area. In the bottom-left corner near two computer monitors and a hatchet, start breaking glass. You're looking for a bell pickup, which can spawn in one of three places:
- On the left side of the two-monitor table
- On the right side near the wall
- To the left of the TV display case
Break the glass, crouch down, and spam the interact button. It might be finicky, so be patient. If none show up, check again or look out for updates.
Once you have the bell, take it to the top floor of the dinosaur room. Place it on the back bell station marked “Ring Bell for Service.”
Before ringing it, equip a gun with the Turned ammo mod. Use it to turn a zombie right next to the bell. When the zombie is turned, ring the bell a few times.
The zombie will hop over the bar and start drinking. He’ll explode shortly after, leaving behind a flask – this is your second ritual item.
Take that flask to the underground area by the Z-Rex, place it on the ritual pedestal, and get ready for the mini-boss fight. Like before, make sure you’re using the Blue Ray Gun, or the fight won’t start.
Break the boss’s shield with the Blue Ray Gun, then finish him off with any weapon. Once he’s down, you can grab the Sentinel Artifact – and you’re now one step away from the boss fight.
Yellow Ray Gun Ritual
To complete the Yellow Ray Gun Ritual in Shattered Veil, start by heading back to spawn and picking up the Yellow Ray Gun you crafted earlier. With that in hand, go to the library area of the map. Just like before, interact with the painting on the wall to begin the ritual.
Start getting kills using the Yellow Ray Gun near the painting. Once enough kills are collected, the wall will break open and reveal a new room. Inside, you’ll need to collect three invisible items using Aether Shroud.
These three items are:
- Audio Log
- Ledger
- Nuclear ID Card
They can only be seen while in Aether Shroud, or for a few seconds after it ends. So, either use Gobblegum to recharge Aether Shroud quickly or wait between activations.
Here are the spawn points:
Audio Log:
- On a desk upstairs near the bar in the dinosaur room
- Just outside a nearby window where the ghost figure used to be
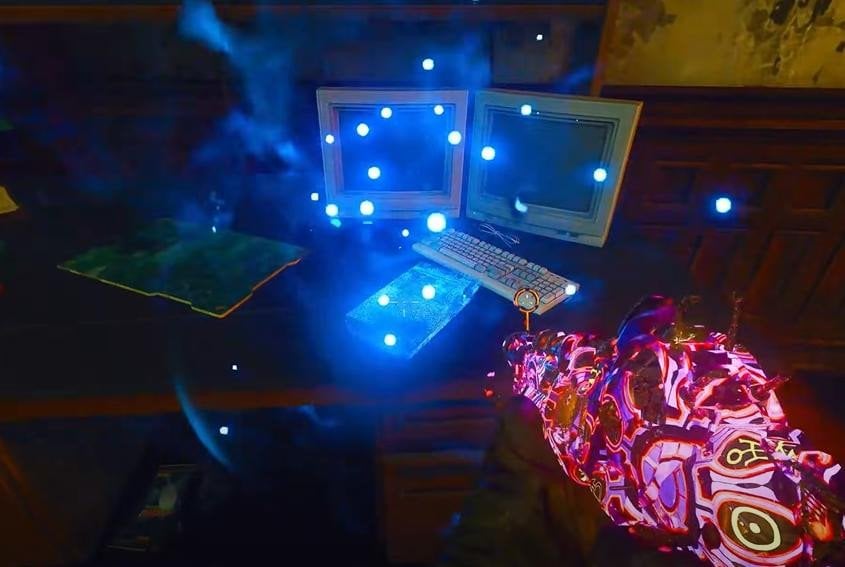
Ledger:
- On a desk in the East Foyer, next to the previous location
- Inside the Elemental Pop study room, on the desk
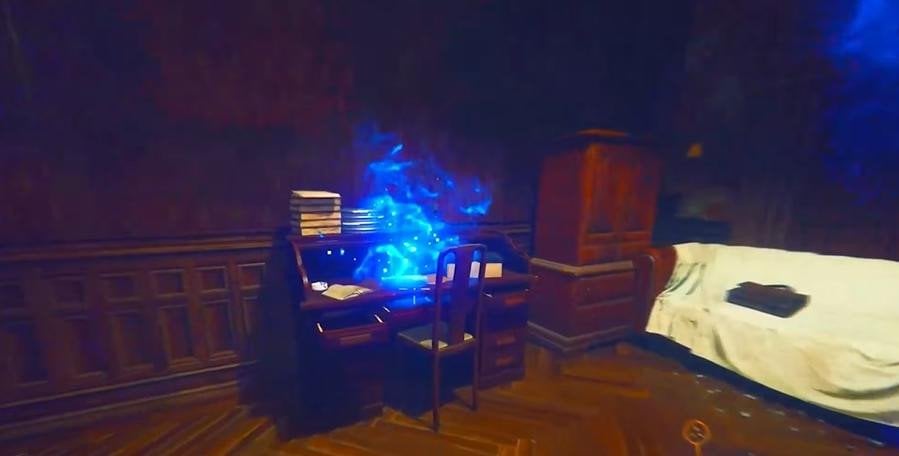
Nuclear ID Card:
- In the fireplace at the bottom floor of the dinosaur room (near Stamina-Up)
- In a fireplace next to the elevator by Double Tap
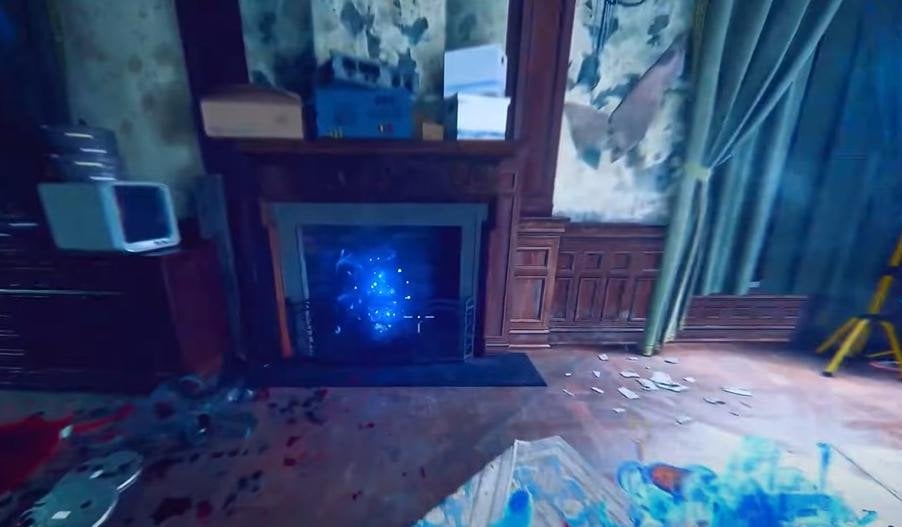
Try to grab all three in a single Aether Shroud use if you can.
When you have all three items, head back to the library and interact with the three glowing books on the wall. This starts a simple puzzle. Tap the books in different orders until you find the correct three-book combo. If one deactivates another, try a different sequence. It’s a quick process.
Once solved, the secret wall opens, and you’ll get the final ritual item. Prepare for a mini boss fight against the Amalgam.
Only the Yellow Toxic Ray Gun can break his shield. Once the shield is down, your whole team can join in and deal damage. Just like the other fights, play it safe – bring some extra Aether Shrouds, maybe a Gers device, and keep moving. This room can get tight, and the boss hits hard.
Once you beat him, you’re done with all three rituals, and it’s time to get ready for the final boss fight.
Preparing for the Boss Fight
To prepare for the boss fight in Shattered Veil map, head down to the Samantha Room and place the Cintilla Artifact on the console. This will trigger Samantha's dialogue and start the pre-fight cutscene. But before you begin, you’ll want to make sure your team is fully prepped.
Everyone should bring the Blue Automatic Ray Gun. It’s the best choice here thanks to its high fire rate and ability to hit the boss from long range. The shotgun version struggles with distance, so it’s not ideal for this fight.
Make sure your Ray Gun is Triple Pack-a-Punched. If it’s not, you're going in underpowered. This boss won’t go easy on you.
Your secondary weapon should also be Triple Pack-a-Punched and at gold rarity. While not as crucial, it gives you a backup in case you run out of Ray Gun ammo. There are no Max Ammo drops in this fight – you’ll need to kill zombies to get ammo drops during the encounter.
So, bring something solid to clear the horde when your Ray Gun is dry.
Also, make sure to equip three plates for extra protection. Stock up on useful tools like the Mutant Injector or Chopper Gunner, and spend your Salvage on support items. Get self-revives, armor, and anything that’ll help you survive the chaos.
Once you're confident with your loadout and your team is ready – start the fight. The next part is intense.
How to Beat Z-Rex Boss
The Shattered Veil main quest completion culminates in an epic boss fight. You’ll need to beat Z-Rex to finish this map fully. Once you’ve started the fight, you’ll be dropped into a tight arena with the Z-Rex. The key to survival is simple: don’t stop moving.
The boss arena is full of zombies and toxic puddles, both of which will slow you down. That’s dangerous, especially as the phases ramp up. In Phase 1, the Z-Rex and zombies move slowly. But by Phase 4, everything is fast – you’ll get chomped in seconds if you’re caught.
Stay mobile, avoid puddles, and always watch for the Z-Rex’s tail slam, which can take you down instantly in later phases.
To damage the boss, aim for his glowing eyes – they’re his weak points. Occasionally, toxic zombie nodes will appear on his sides. These are rare but do heavy damage when destroyed. Pop them fast when they appear.
There’s no wipe mechanic here. So, focus on survival over speed. If needed, just run and live until the next chance to hit him.
Tips for a smoother Z-Rex fight in Shattered Veil:
- Keep walls between you and the Z-Rex – it slows his pathing.
- Use the Blue Auto Ray Gun for constant damage and range.
- Bring armor, healing items, and crowd control gadgets like Chopper Gunner or Mutant Injector.
- There are no Max Ammo drops, so you must kill zombies to refill ammo.
This fight is tough, but fair. Mistakes are usually due to poor movement or getting cornered. Stay calm, stay moving, and you’ll make it through.
And if you're struggling, grab some friends – more players = more distractions for the Z-Rex, making it easier to stay alive. BLOG20
Conclusion
This brings us to the end of our Shattered Veil Easter Egg guide for Black Ops 6 Zombies. You’re now fully prepared to finish the newest Season 3 map. We’ve covered all the details, explaining each step. From getting your free Ray Gun Mark 2 to slaying Z-Rex, the final boss. Good luck in your walkthrough, and we will see you in the game.
F.A.Q.
How to complete the Shattered Veil main quest?
Follow the Easter Egg steps, complete all Ray Gun upgrades and rituals, then defeat the Z-Rex boss.
What is the best gun for the Shattered Veil Easter egg?
The Blue Auto Ray Gun is best – it’s fast, reliable, and works great at range.
What is the reward of the Shattered Veil quest?
You get a unique Carver skin and a special calling card.
How to beat the boss in Shattered Veil map?
Avoid Z-Rex, focus on weak points, stay mobile, and kill zombies for ammo drops.
How to get free perk in Shattered Veil?
Look out for hidden side quests and secrets while exploring – they can grant a free perk reward.
How to get the Ray Gun Mark 2 Shattered Veil?
Either pull it from the box or craft it by following the Floppy Disk Easter Egg steps.
Is Shattered Veil a good map?
Absolutely. It's fast-paced, creative, packed with secrets, and has one of the coolest boss fights.


