With the official launch of Season of the Wish in Destiny 2, we finally get a chance to experience Warlord’s Ruin dungeon. The latter is the main activity we are going to see in Season 23, offering exclusive PvE experience, plenty of unique and powerful loot, and more.
In our comprehensive Destiny 2 Warlord’s Ruin guide, we will go over all encounters’ mechanics, as well as share information on loot table rewards, and provide you with exact secret chest location. On top of that, we will add a few words concerning the brand-new dungeon Exotic called Buried Bloodline Sidearm and Armor Set called Dark Age.
Before we delve into the topic, take a look at our most sought-after offer where we offer you to Buy Warlord’s Ruin Boost at the most affordable price you can find on the market. By choosing us, you will get the latest dungeon completed in a blink of an eye guaranteed. Our PROs will take care of this job for you so that you get the best loot faster than other players.
IMPORTANT NOTE: Apart from learning about Warlord's Ruin dungeon, you can also Buy Destiny 2 Boost from Skycoach. We offer a wide range of products at the lowest market price and with the fastest delivery. You can make your first purchase even CHEAPER if you find a special PROMO CODE (highlighted in green) hidden in this article and get a 20% DISCOUNT.
Check out our most popular Destiny 2 Boosting services offered at the best market price:
How to Start Warlord’s Ruin Dungeon in Destiny 2
Speaking of how to start Warlord’s Ruin, we highly recommend that you try yourself at completing it only if you have at least 1790 power level for Legend difficulty and 1820 power level for Master difficulty. At the same time, to ensure you defeat the last boss of this dungeon, you should be at least 1810 power level for Legend difficulty.
Answering the question of how to unlock Warlord’s Ruin dungeon, access is not covered by the Season of the Wish pass, even though it was introduced during Season 23. To get into this dungeon, you will need to get one of the following things:
- Lightfall + Annual Pass bundle;
- Lightfall Dungeon Key.
This key grants access to both the Ghost of the Deep from Season of the Deep and the new Destiny 2 dungeon, Warlord’s Ruin, for Season of the Wish. Once you get your hands on this key, you are to begin the Shadow of the Mountain Quest from Ikora in the Tower.
Rathil, the First Broken Knight of Fikrul – 1st Encounter
Moving on with our guide, we would like to cover Destiny 2 Warlord’s Ruin first encounter, which revolves around beating Rathil. BLOG20
- Here is a step-by-step guide on how to defeat Rathil in Warlord's Ruin:
The encounter initiates as foes emerge and the boss launches attacks at the players. Eliminate the adds and seek cover to evade the boss's assaults.

Following a specific duration, players find themselves teleported into suspended cages encircled by Taken Eyes within the arena. Simultaneously, a countdown named Imminent Wish begins, typically lasting around 30 seconds before the start of the damage phase. Initially, focus on eliminating the nearby Taken eyes around the cage to prompt the opening of the cage door.
Inside the arena, structures resembling Scorn Stasis turrets enclosed within white circles will materialize. Players must step into these circles to "capture" the turrets, extending the duration of the subsequent damage phase based on the number of orbs captured. In certain situations, it is feasible to capture two points simultaneously depending on the circle's placement. Successful capturing is indicated by the disappearance of the blighted Taken Orbs within the designated time of 30 seconds from the start of the Imminent Wish timer.
When the message "Rathil's hex backfires!" appears on the left side, players should prepare to damage Rathil, as a new timer, Naeem's Wish Empowerment, signals the onset of the DPS phase. The damage phase concludes upon seeing the message "Rathil breaks free of the hex!"
The cycle repeats until Rathil is slain and players find themselves teleported into prison cells. Rathil offers various strategies for damage, allowing fireteams flexibility in their approach. While rocket launchers prove effective, be cautious of arena-roaming ads potentially obstructing sightlines. Employing a Well of Radiance grants standard survivability in this encounter, offering a balanced choice amidst the three encounters.
Locus of Wailing Grief – 2nd Encounter
Moving on with our Warlord's Ruin walkthrough, players reach the second encounter confronting a massive Taken ogre amid a swarm of Taken and Scorn adversaries. The Season of the Wish artifact mods, notably From Whence You Came, prove invaluable in this scenario, where the dungeon's challenge intensifies due to significant enemy density.
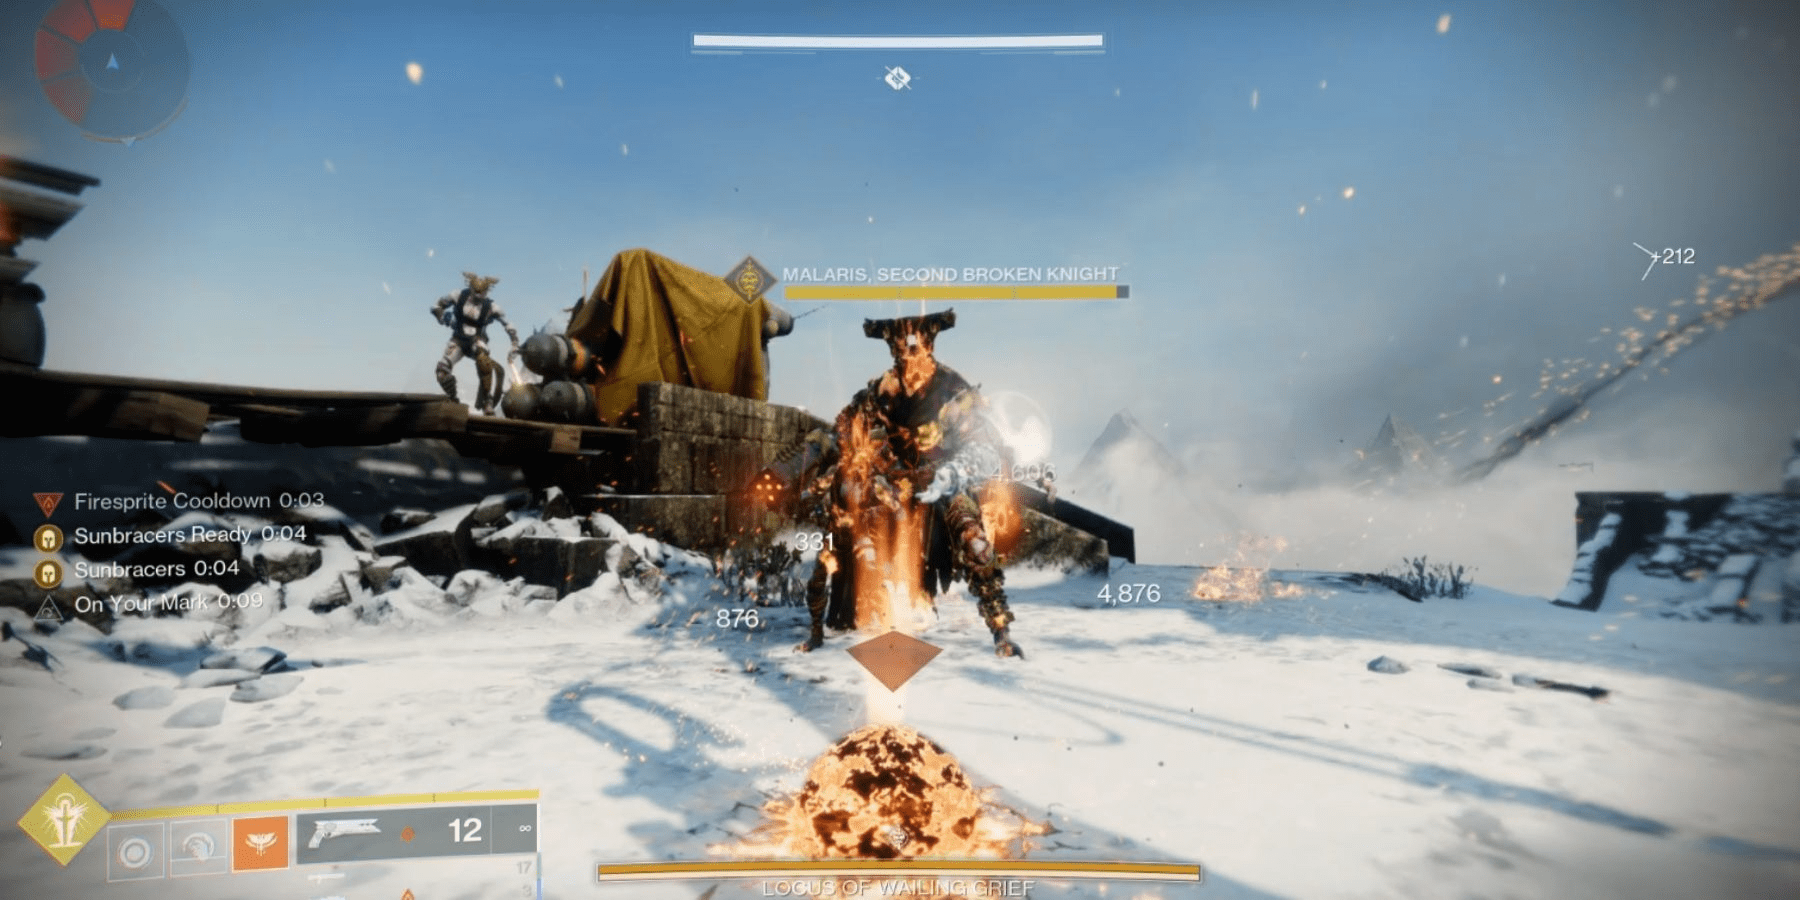
- Here is a step-by-step guide on how to defeat Locus of Wailing Grief in Warlord's Ruin:
Near the rally flag, nestled against the stone balcony railing, lie several burning torches. These torches serve as a refuge from the chilling elements once approached, offering warmth and respite during the encounter.
Situated ahead of the rally flag and near the boss spawn area, large unlit braziers stand prominently. The primary objective of the encounter revolves around dunking flame orbs, also known as Burning Desire, into these braziers. The initiation of boss DPS hinges on the complete illumination of all flames within these braziers.
To initiate the encounter, aim and fire at the hovering black Taken Orb positioned at the center. This action triggers the appearance of the colossal ogre boss along with assorted Taken adversaries, including formidable Taken yellow bar foes situated on either side of the arena. Prioritize clearing these enemies out to gain control of the battlefield.
After eliminating the Taken Eyes, Scorn adversaries will materialize on the sides of the arena adjacent to the illuminated torches. Keep an eye out for the prominent yellow-bar chieftains among them for a key focus.
Defeating these minibosses triggers the appearance of the familiar capture points, similar to those encountered in the first phase. Additionally, it initiates a chilling cold that poses a lethal threat to players. To ward off this cold effect, move towards the illuminated torches positioned along the stone railing. As soon as the yellow bar enemies are vanquished, the Imminent Wish timer resurfaces, emphasizing the importance of swiftly capturing as many points as possible within that allotted time frame.
When the Imminent Wish timer elapses, players receive a corresponding number of fire charges from the rally banner, matching the captured points. Collect these charges and deposit them into the four braziers positioned around the boss arena. These fires signify the four distinct DPS phases available to players, necessitating a repetition of the process until all fires are fully ignited.
As the last brazier ignites, a message will display on the left side: "Your wish is granted, O vengeance mine," signaling the commencement of DPS against the Locus of Wailing Grief. Yet, the chilling cold resurfaces, prompting players to position themselves near the large fires they have ignited to inflict damage. Each burning fire bestows approximately 14 seconds of damage potential (Naeem's Wish Empowerment). Players must rotate among these fires, moving to the next one once the current fire extinguishes, until all fires have been depleted.
Following this sequence, the cycle recommences until the Locus of Wailing Grief is eventually vanquished. This ponderous boss possesses a sizable critical hit point atop its head, making precision weapons like Sniper Rifles, which have been significantly buffed in Season of the Wish or Linear Fusion Rifles a prudent choice, considering the boss's potent stomping ability that can displace players from the fire shelter. Employing Well of Radiance remains crucial for overall survivability, even as players continually shift around every 14 seconds. Additionally, Hunters can benefit significantly from Celestial Nighthawk due to its precision damage, an excellent Super choice for this specific situation.
Hefnd’s Vengeance, Blighted Chimaera – 3rd Encounter
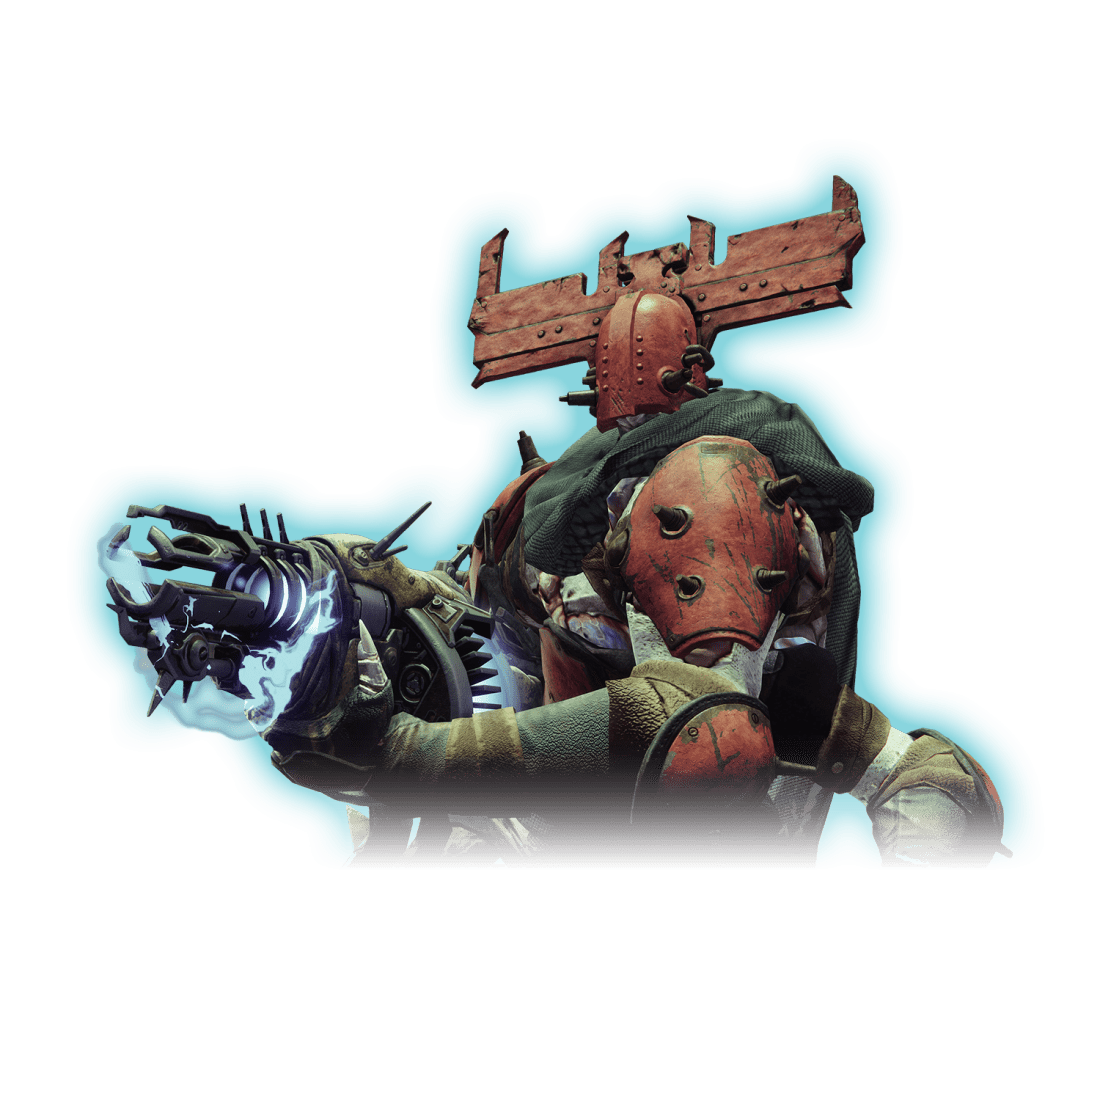
As we continue our D2 Warlord's Ruin guide, we have finally come to the final point of this dungeon. The third encounter peaks with Hefnd's Vengeance, a creature teased across earlier sections of the dungeon. In the ultimate battle of Warlord's Ruin, the final boss fight melds elements from previous encounters, integrating the capture point dynamics and Imminent Wish mechanics. Yet, it introduces an additional layer of turmoil with the Hex of Vengeful Corruption, accompanied by staggered DPS phases that compel players to ascend the floating islands within the arena.

- Here is a step-by-step guide on how to defeat Hefnd’s Vengeance in Warlord's Ruin:
Initiate the encounter by targeting the central Taken Blight Orb with gunfire. However, before doing so, observe the presence of floating platforms and ascending islands encircling the area. These platforms denote distinct zones for the boss encounter, indicating the need for constant mobility between phases. Prepare to navigate between these zones as the encounter progresses.
Upon Hefnd's emergence, a swarm of Taken adversaries materializes alongside numerous Taken eyes and blight orbs. Clearing out these threats is imperative. Additionally, expect the arrival of Scorn forces, including the familiar yellow-bar chieftains encountered in the preceding encounter.
Defeating one of these foes triggers the appearance of an additional capture point and initiates the countdown of the Imminent Wish timer. As with the previous encounter featuring the Locus of Wailing Grief, players must, within this timer, eliminate all Scorn minibosses and secure as many capture points as possible to maximize the potential of their ensuing DPS phase.
However, there is a twist. Upon the demise of one chieftain, all players will receive a timed debuff known as the Hex of Vengeful Corruption. A message will also display on the left side of the screen: "Your fists bear corruption. Strike your foes or be consumed." Concurrently, Scorn adversaries carrying torches, labeled Corrupted Hex-Drinkers, will appear in the arena. Players must engage these enemies in melee combat to transfer the debuff. However, caution is crucial: if these enemies strike the player again, the debuff returns. Allowing the debuff timer to expire results in the player's demise.
When the Imminent Wish timer concludes, players acquire Naeem's Wish Empowerment buff, rendering Hefnd vulnerable to damage. A meager damage window presents itself if only one point is captured, underscoring the critical necessity to secure as many points as feasible while carefully managing the Corruption debuff. Upon the cessation of the DPS phase, the subsequent phase unfolds on the next island, prompting players to leap across and replicate the same sequence. In certain instances, if insufficient damage is dealt to Hefnd, players might need to replay another round in that particular section of the arena.
Towards the apex of the arena, players gain unrestricted access to damage the boss within each third of the zone. This phase commences with the message "Hefnd's blight bleeds into the Keep!" As damage accumulates for a few moments, that segment of the arena becomes engulfed in blight, necessitating player movement. Employing protective measures like Well of Radiance or other healing abilities proves indispensable here, as Hefnd continually spawns Taken eyes that steadily erode player health. Eliminating these eyes is not mandatory, but managing their sustained presence can pose a challenge. Precision weapons, such as Sniper Rifles and Linear Fusion Rifles, prove especially effective in this phase.
Upon dwindling Hefnd's health to its final bar, players are transported to a final stand arena to conclude the boss's health. This serves as the arena where players can ultimately defeat Hefnd, and where the final chest materializes for looting.
Destiny 2 Warlord’s Ruin Secret Chests Locations
The first of the two Warlord’s Ruin secret chests can be found between the first and second encounters of the dungeon. It is nestled within the hall following the crossing of the wooden bridge
As for other secret chests Warlord’s Ruin, you can get another one between the second and third encounters of the dungeon. It resides within a room housing numerous trap chests. Distinguish it by the absence of an ether effect surrounding it amidst the others.
Destiny 2 Warlord’s Ruin Loot Table
Similarly to other seasonal raids, Warlord’s Ruin loot table includes exclusive items listed in the table below:
| First Encounter | Second Encounter | Third Encounter |
| Vengeful Whisper - Kinetic Combat Bow | Vengeful Whisper - Kinetic Combat Bow | Buried Bloodline - Void Sidearm |
| Dragoncult Sickle - Strand Sword | Naeem's Lance - Strand Sniper Rifle | Naeem's Lance - Strand Sniper Rifle |
| Indebted Kindness - Arc Sidearm | Indebted Kindness - Arc Sidearm | Indebted Kindness - Arc Sidearm |
| Dark Age Mask - Helmet | Dark Age Harness - Chest | Dragoncult Sickle - Strand Sword |
| Dark Age Fists - Arms | Dark Age Fists - Arms | Dark Age Harness - Chest |
| Dark Age Strides - Legs | Dark Age Bond - Class Item | Dark Age Fists - Arms |
| — | — | Dark Age Strides - Legs |
| — | — | Dark Age Bond - Class Item |
Below, you can see the names of the four Legendary weapon you find among Warlord’s Ruin loot, such as:
- Dragoncult Sickle - Strand Sword;
- Indebted Kindness - Arc Sidearm;
- Vengeful Whisper - Kinetic Combat Bow;
- Naeem’s Lance - Strand Sniper Rifle.
Additionally, there are exotic cosmetic items up for grabs, ranging from Exotic Ships and Sparrows to exclusive emblems. Consider running Warlord’s Ruin multiple times to amass all the gear, and for those seeking greater challenges, attempting it on Master difficulty might be worthwhile. Conquering the Master difficulty can yield the coveted Artifice version of the Dark Age Armor set as a rewarding bonus.
How to Complete In the Shadow of the Mountain Quest
At the very beginning of our guide, we mentioned that you need to pick up the In the Shadow of the Mountain quest. However, it does not end when you are done with the dungeon itself. In this part of our article, we will provide you with a quick step-by-step guide on how to complete In the Shadow of the Mountaint quest:
- Complete the Warlord's Ruin dungeon successfully;
- You must retrieve the bone found either within or adjacent to the chest dropped by the final boss;
- Acquire 5 Dark Ether Tinctures by scouring for the luminous Screeb, from which the Tinctures are dropped;
- Next, get 4 Bones, 30 Dark Ether, 3 Wishing Glass;
- At this point, you are to find 3 Bones, 30 Dark Ether;
- Following that, get 3 Bones, 20 Dark Ether, 1 Wishing Glass;
- After that, you are to get your hands on 20 Dark Ether, 1 Wishing Glass;
- Finally, you need to reclaim Hefnd's Bones.
We bet you are wondering where you can find all these items we have listed above. As for the Bones, they can be found in the same "fixed" places scattered all over the dungeon. Dark Ether can be collected after completing Warlord's Ruin encounters and looting Glowing Screebs that spawn before each encounter. Speaking of the Wishing Glass, it also drops from the encounters.
Buried Bloodline – Warlord’s Ruin Exotic
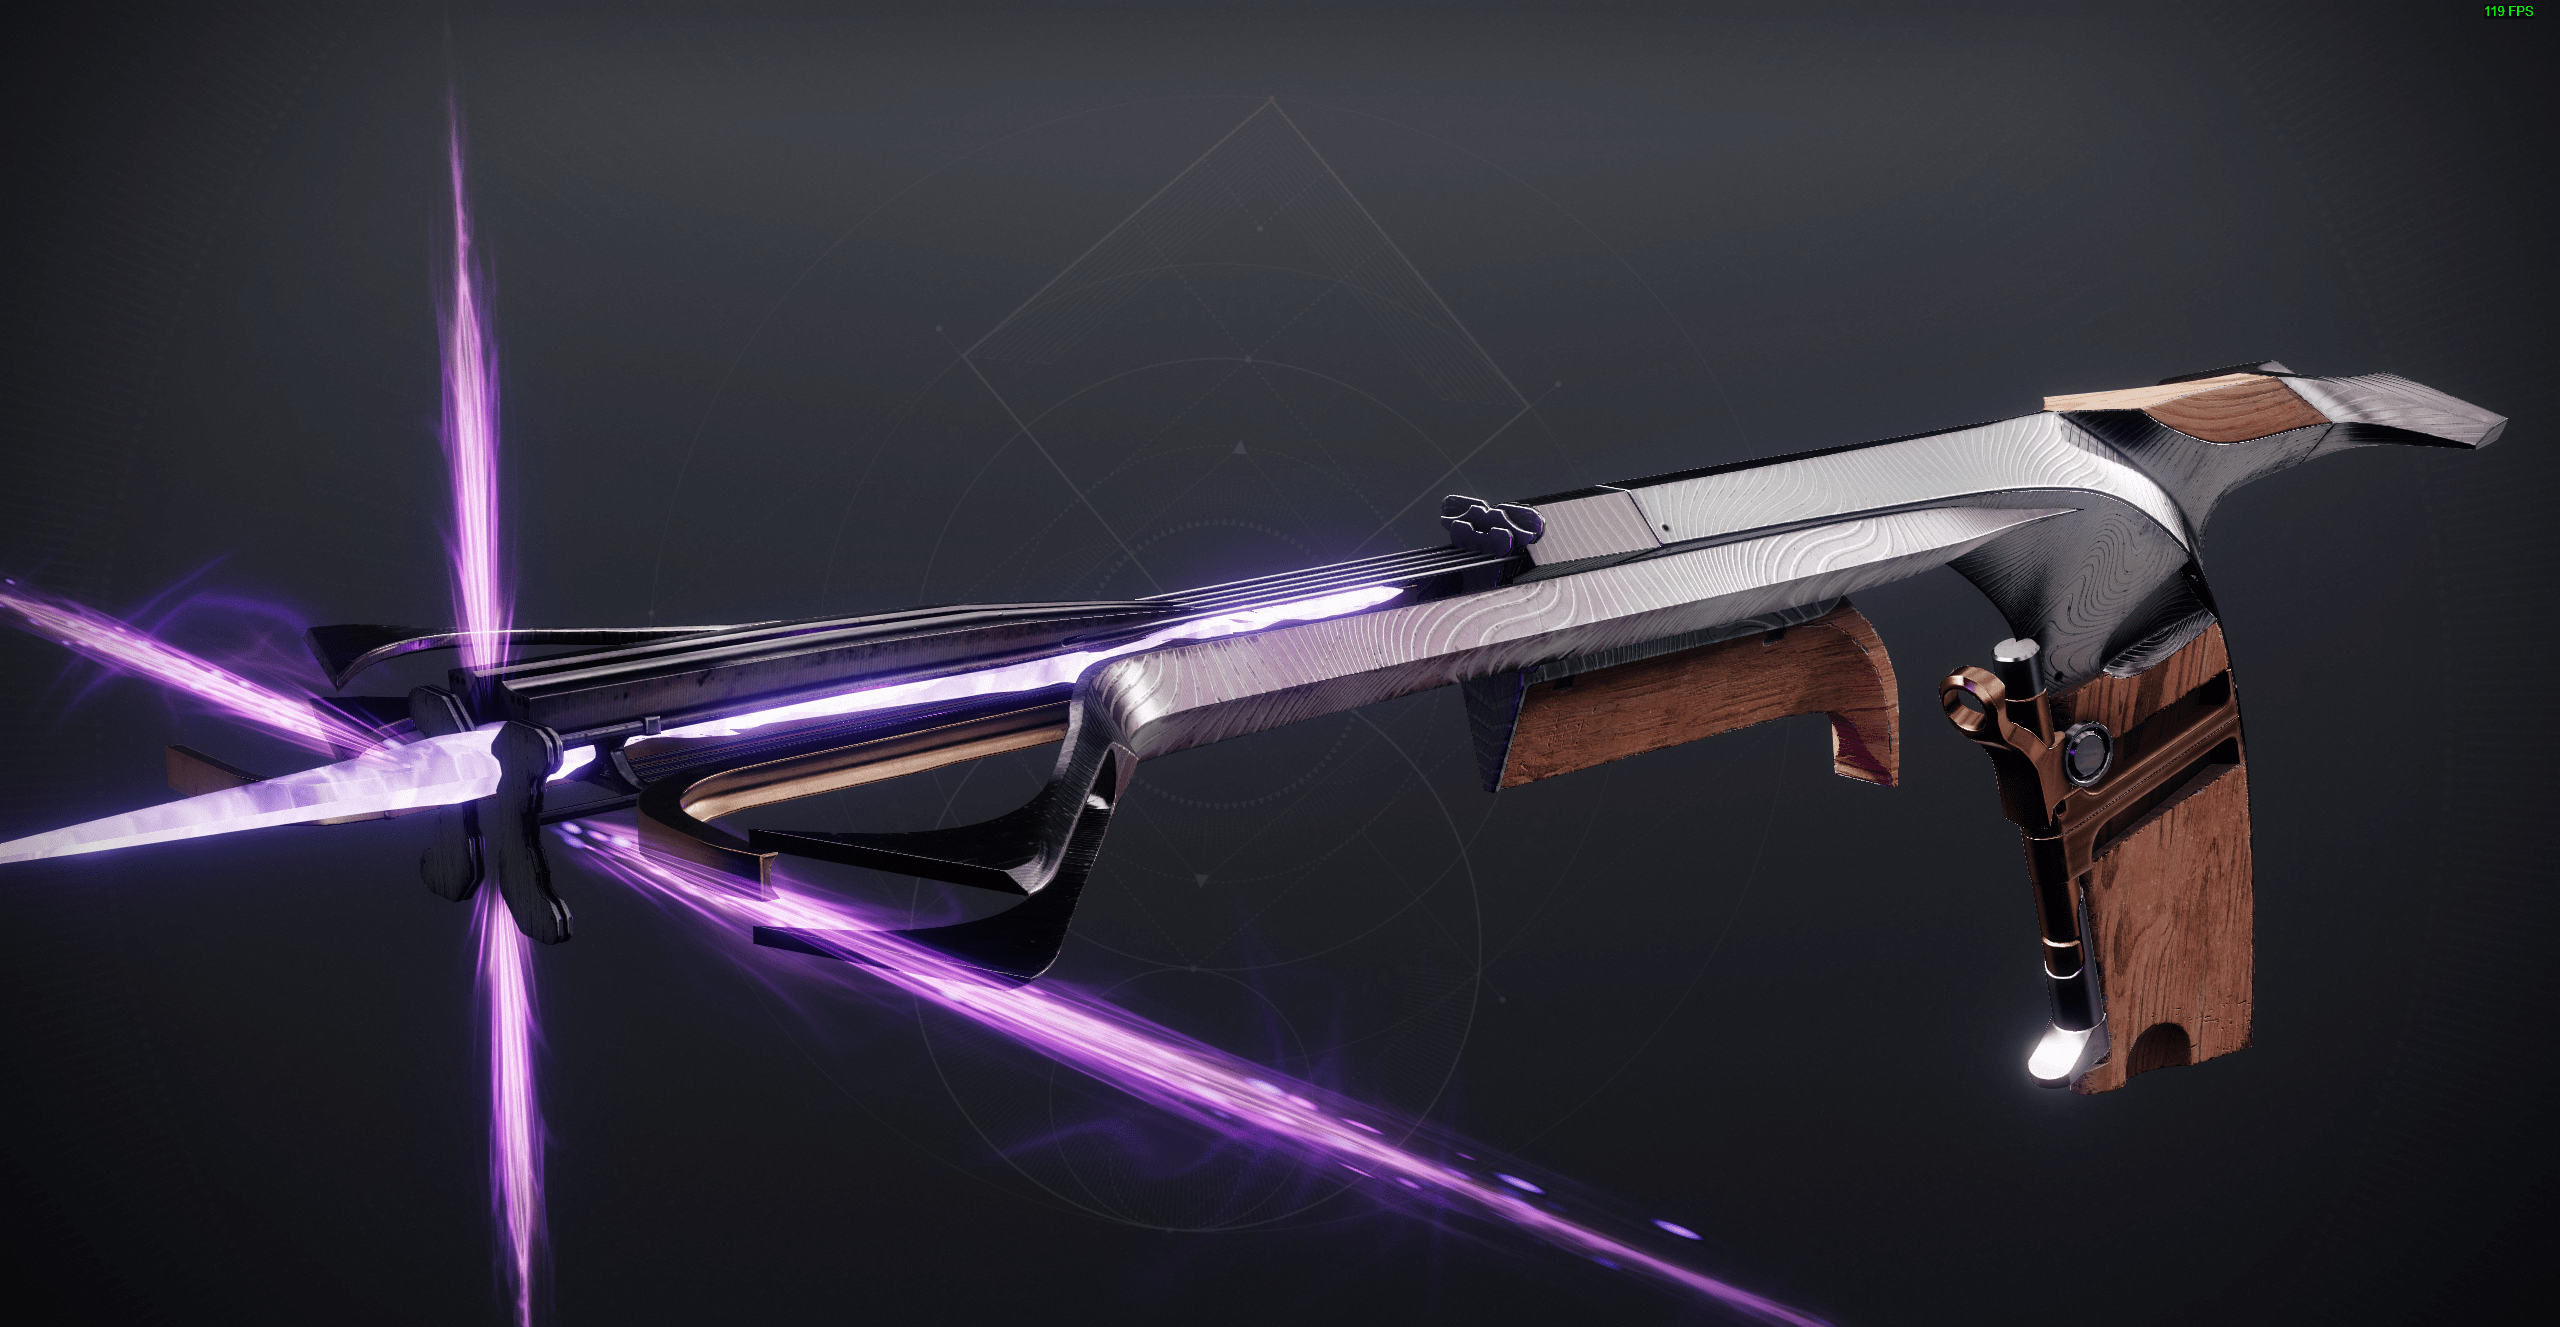
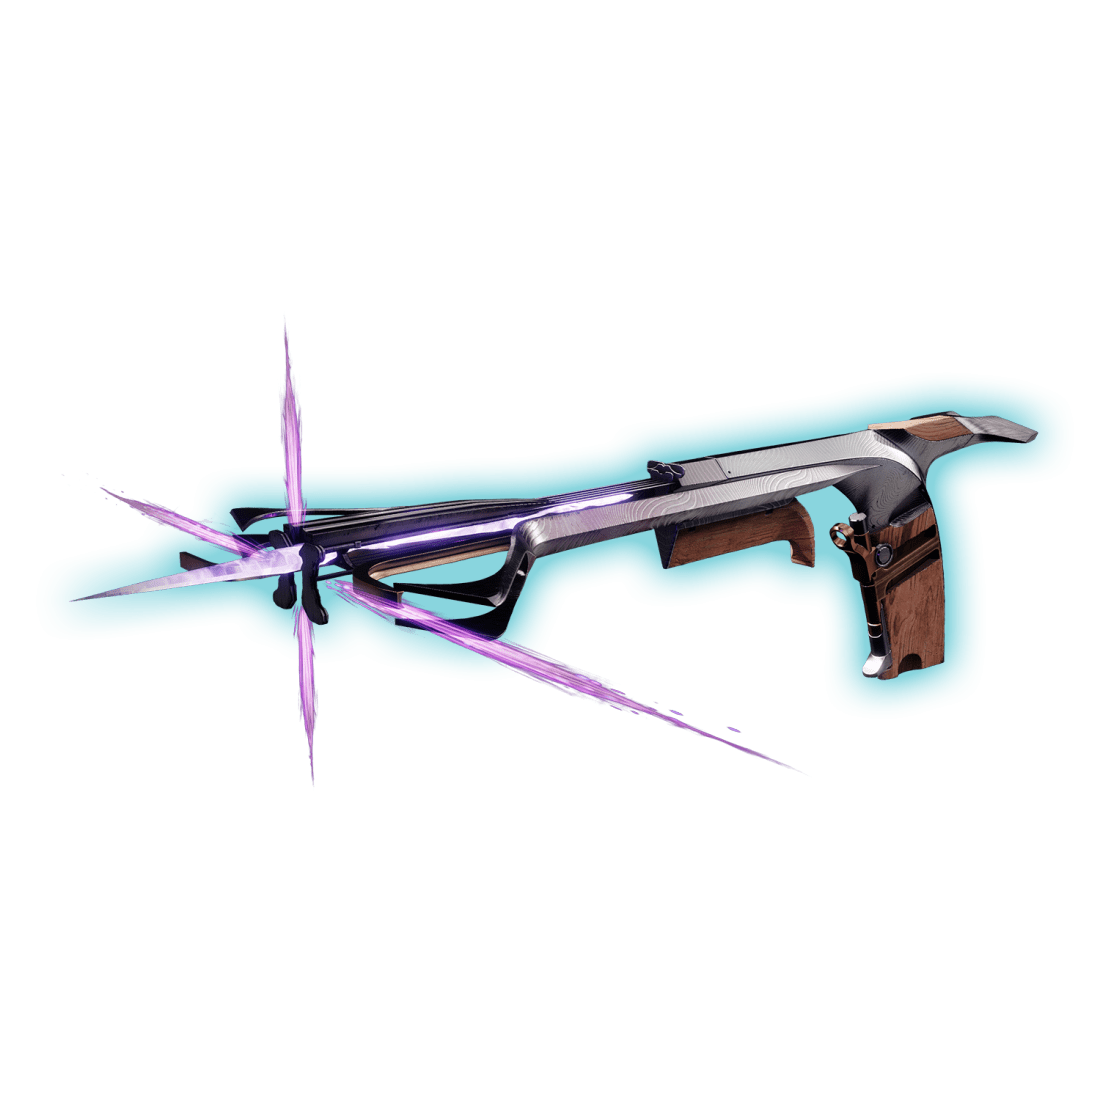
The Buried Bloodline in Destiny 2 is an Exotic Void sidearm obtained from the recently introduced Warlord’s Ruin dungeon in Season of the Wish. It operates akin to a potent hand-crossbow, offering unique functionality and power.
Warlord’s Ruin Exotic features the following perks and traits:
- Intrinsic – Hungering Quarrel
Fires two tracking bolts that leech health from the target
- Trait – Violent Reanimation
Rapid final blows with this weapon grant Devour to the wielder
The Buried Bloodline, along with its Catalyst, appears poised to become a valuable asset across both PvE and PvP scenarios. In PvE, this Exotic sidearm emerges as a potent tool for clearing out adversaries, offering a significant edge in survival through its leeching rounds and the Devour effect. While Warlocks have already capitalized on powerful Devour builds, Titans and Hunters stand to gain substantial advantages from this formidable effect. Moving to PvP, its popularity is anticipated to soar in Competitive and Trials of Osiris, leveraging the Catalyst's enhancements to dispatch foes more efficiently.
Continuing our Destiny 2 Season 23 dungeon guide, it is crucial to note that sidearms generally have not enjoyed widespread popularity, often having mixed receptions in the meta with new additions. Despite Buried Bloodline boasting robust perks, particularly for Void-centric setups, its ultimate adoption will hinge on its overall handling and user-friendliness. Considering the abundant choices in Exotic weapons, particularly Exotic sidearms, the weapon's ease of use will be a significant factor in whether players opt to wield it or not.
How to Get Buried Bloodline Exotic
Just like the previous dungeon exotics, Buried Bloodline drops randomly from the last boss - Blighted Chimaera. Though there is no official info regarding the exotics drop chance, it seems to be pretty low. These powerful weapons are usually designed to be something for you to chase instead of plainly being granted. Players are unlikely to get it on the first attempt, though we should never say never.
But to the good news: as always, you are able to increase the drop rate for the Buried Bloodline by completing the Triumphs associated with the Warlord’s Ruin dungeon. This mechanic is implemented to help you get Buried Bloodline faster. These Triumphs include:
- She Stood Alone, O Vengeance Mine;
- Withstand the Siege, O Vengeance Mine;
- Heed the Whispers, O Vengeance Mine.
How to Get Buried Bloodline Exotic Catalyst
The following part of our article acts as a complete answer to the question of how to get Buried Bloodline Exotic Catalyst, which makes this Sidearm an absolute beast. Before we delve into detailed instructions, we would like to say that the easiest and fastest way to get it is to Buy Buried Bloodline Catalyst Boost at Skycoach. This will let you forget about grinding and rest assured knowing our PROs will take care of this job for you. Once your order is done, you can enjoy the brand-new exotic to the fullest. We guarantee the cheapest prices for the service provided and the quickest completion time of your order!
If you still wish to do this on your own, here is a quick guide on how to get Buried Bloodline Catalyst in Destiny 2:
- Get the Buried Bloodline exotic itself;
- Complete the In the Shadow of the Mountain quest we talked about earlier in the article;
- Finish the three separate puzzles.
Below, we have prepared detailed instructions on how to complete each Buried Bloodline Catalyst puzzles.
- Puzzle One: Lanterns in the jail
After conquering the dungeon's initial boss, you will encounter a series of prison cells before reaching a gate. Beyond this gate lies a Taken Blight which, when hit with the Buried Bloodline, grants the fireteam a 30-second buff named "Imminent Wish" Following this, three out of the four torches situated behind the gate will ignite.
Remember which torches are lit, then refer to the rough map provided earlier to locate the corresponding jail cell in the corridor behind you. While the buff is active, stand close to the Darkness Totem until it becomes illuminated. If executed correctly, once the buff timer lapses, a chime will sound, accompanied by a message stating, "An unspoken wish is silenced. Buried Bloodline clicks audibly."
Should you falter, patiently wait for the Blight to reappear and repeat the process until successful. Familiarize yourself with this procedure as it will need to be repeated twice more in different locations within the raid.
- Puzzle Two: Outside the battlement just before the great bridge
Upon completing the subsequent jumping sequence, you will encounter a colossal bridge leading to the dungeon's second boss. However, hold off on advancing towards the Ogre for now. Once you've cleared the bridge, pivot back toward the ruined castle behind you, where another Taken Blight should be visible positioned to the left of the walkway.
Shoot the Blight, and similarly, a set of torches will ignite on the right side of the battlement. You will also notice the Darkness Totems, both affixed to and exposed on floating pillars. Align yourself next to the Totem directly opposite the illuminated torch. After completing all three steps, you'll receive the same silenced message encountered in the initial puzzle.
- Puzzle Three: The wide cavern
Proceed to defeat the Ogre and advance until you arrive at an open-air area featuring floating rocks and a massive Blight positioned in the center. Direct your attention to the lower-left area where, tucked within a small room, you will spot another diminutive Taken Blight. Utilize the Exotic weapon to shoot this Blight, initiating the third puzzle.
Once more, torches will illuminate across the chasm near an archway - these torches correspond to specific Darkness Totems situated on the floating rocks and pillars. Sequentially align and activate the correct Totems from left to right within the allocated 30-second window to successfully solve the final puzzle.
Accessing the Totems on the left might pose a slightly greater challenge as they will be positioned atop the highest part of the rock column. However, ample time is provided, and should an error occur, the puzzle can be attempted again without penalty.
- Final Step: Beating the boss
Having completed all three puzzles, navigate through the remaining sections of the jump puzzle, advancing toward the final boss encounter. Along the way, you will encounter a "Toland spirit" - a floating white orb of energy - that can be interacted with. This is the Cairn Chamber Gateway, serving as the passage to Primeval Thressia, the hidden boss within Warlord’s Ruin.
Activate the portal and proceed into the final room, where six torches and corresponding Darkness Totems await. Upon the boss's emergence, it initially remains invulnerable, yet three torches will ignite. Once again, align yourself on the appropriate Totems corresponding to the lit torches to breach the boss's shield.
Once the shield dissipates, unleash your firepower without restraint. Thressia boasts substantial health, so expect to repeat the mechanic several times as her shield will regenerate periodically. Chip away at her health steadily, and once she's defeated, the Catalyst (along with the bonus chest in the room) will be yours for the taking.
What Does Buried Bloodline Catalyst Do in Destiny 2?
When wondering what does Buried Bloodline Catalyst do, it further augments the Sidearm’s capabilities in conjunction with Devour. Once Devour activates, every time the weapon inflicts damage, the affected target becomes weakened, amplifying incoming damage from all sources by an additional 15 percent.
While the weaken effect aligns seamlessly with Void subclasses, leveraging Buried Bloodline’s Catalyst does not mandate running a Void setup. This allows for experimentation with different subclasses and weapon configurations that might better suit individual playstyles while boosting overall damage potential for both yourself and your fireteam. The tracking bolts streamline hitting smaller foes effortlessly, yet it is wise to reserve the Devour weaken combo for substantial adversaries like Champions or bosses for maximum impact.
Destiny 2 Warlord’s Ruin Armor Set

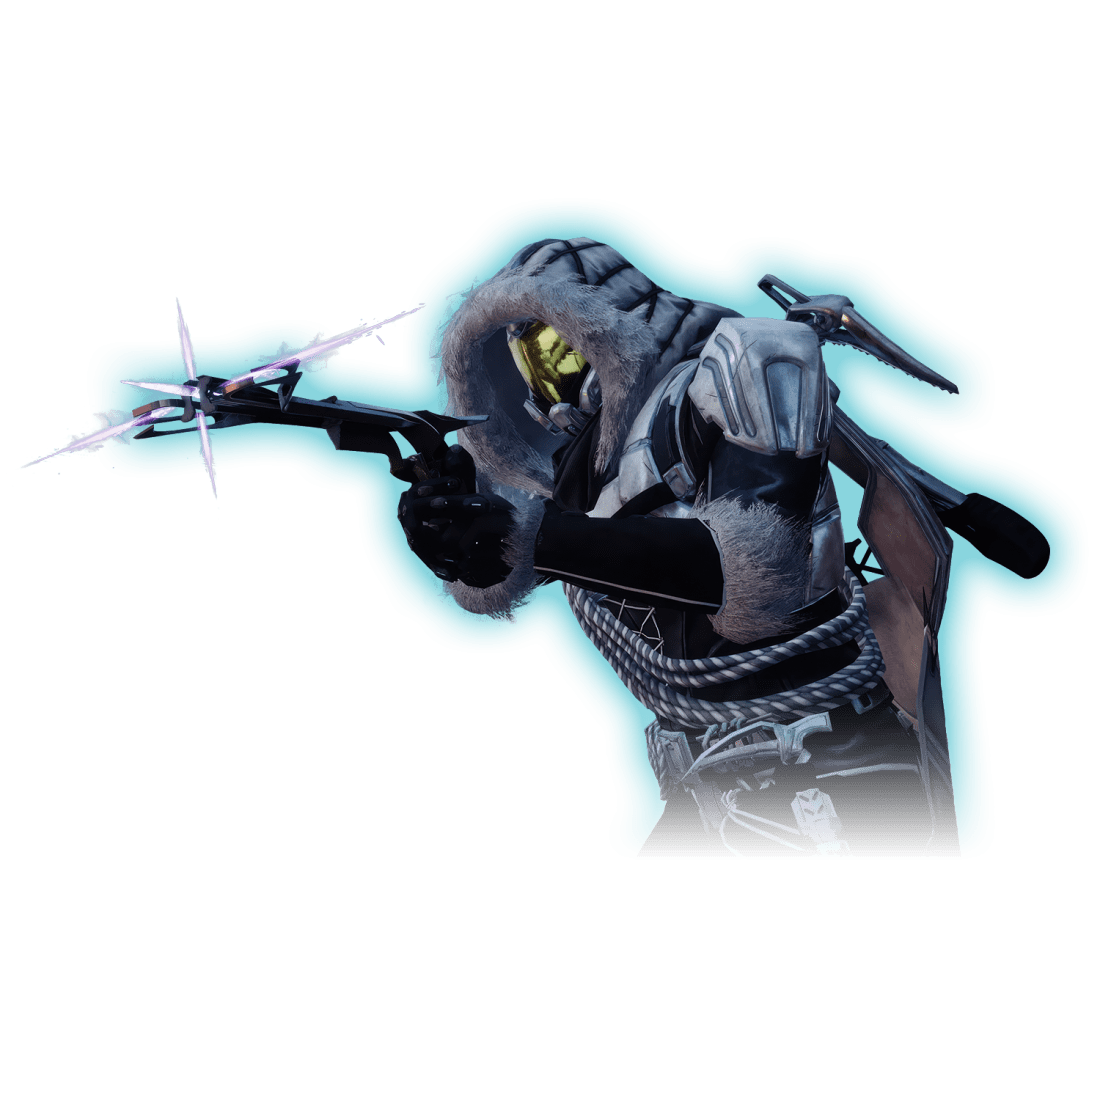
Continuing our Destiny 2 Warlord’s Ruin walkthrough, we have Warlord’s Ruin armor set named Dark Age, obtainable by conquering various encounters within the new dungeon. Each class boasts a rugged, wintry theme in this armor, reflecting the setting of the dungeon nestled within a frosty fortress amid Earth's icy mountains. The thematic resonance between the armor's design and the dungeon's chilling backdrop makes it a fitting and rewarding outcome for players who triumph over the array of bosses and challenges within.
To ensure you get this set guaranteed, we offer you to Buy Warlord's Ruin Armor Boost and let our PROs take care of this job for you. No matter what class you are playing for, we have you covered! On top of that, the service provided comes at a cheap price and we guarantee the fastest completion time of your order!
Conclusion
As we conclude our Warlord’s Ruin guide, we hope you revel in the spoils of victory. From uncovering secret chests to deciphering the loot table, you have navigated the challenges and triumphed over the formidable encounters within.
The tantalizing rewards, hidden treasures, and valuable loot obtained along this perilous path stand testament to your skill and perseverance. May these riches serve as a testament to your mastery and inspire future adventurers as they embark on their own quests within this legendary dungeon.
F.A.Q.
How do you complete Warlord’s Ruin?
Completing the Warlord's Ruin dungeon hinges on comprehending the intricacies of hive signs and leveraging diverse buffs effectively. Equally crucial is the strategic use of meta gear to maximize advantages during critical boss damage phases. Remembering this balance between mechanics and gear optimization is key to successfully navigating and conquering this challenging dungeon.
What is the best weapon for solo Warlord’s Ruin?
We highly recommend that you use Sunshot to solo Warlord’s Ruin with minimum effort.
What guns should I use in Warlord’s Ruin?
- Riptide - Stasis Fusion Rifle;
- Sunshot - Solar Exotic Hand Cannon;
- Apex Predator - Arc Rocket Launcher.
Do I need the dungeon key for Warlord’s Ruin?
Like for most dungeons, you will need a Dungeon Key or Lightfall Annual Pass to access the dungeon. Warlord’s Ruin is no exception.
How do I get the Warlord’s Ruin dungeon key?
To access Warlord’s Ruin dungeon, buy The Lightfall Dungeon Key, which is available from the Eververse Store for 2000 Silver.
Is the Warlord’s Ruin a free dungeon?
To unlock Warlord’s Ruin, you need either The Lightfall + Annual Pass or the Lightfall Dungeon Key.
How do you get the dungeon key in D2?
As a rule, you buy the Dungeon key in the Eververse store from Hawthorne in the Tower or from the specific dungeon node on the Destinations map for 2000 Silver.
Where to find secret chests in Warlord’s Ruin?
The first Warlord’s Ruin secret chest is waiting for you between the first and second encounters in the hall after crossing the wooden bridge. As for the second chest, you will find it between the second and third encounters; it's located in a room with many trap chests - just look for the one without ether effect around it.


