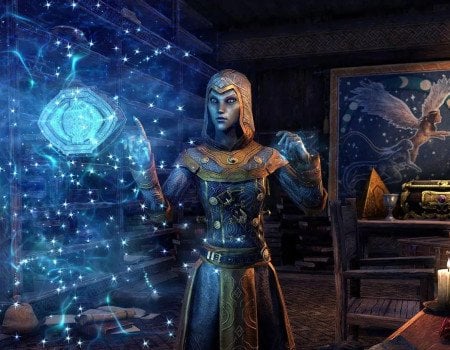
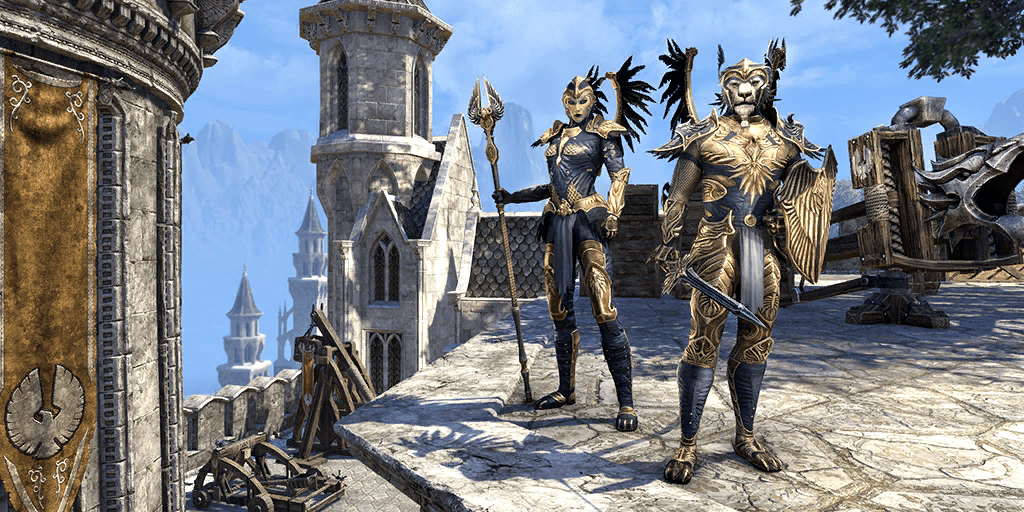
Have you ever heard about the grand city of Cloudrest? The home for the Welkynar Gryphon Knights and the Aerie? Well, Tamriel Adventurers, this city needs your help, and in this ESO Cloudrest trial guide, we’re going to tell you exactly how to do it.
The Aerie of the Altmer, the city of Cloudrest, clings to the highest slopes of the peak of Eton Nir, the tallest mountain on Summerset Isle. Somehow, its thin air is as heady and bracing as chilled nirnroot wine.
This is a trial (aka a raid) in Elder Scrolls Online designed for a group of 12 brave adventurers. This group will have to go through numerous encounters and defeat both the monsters that inhabit the fallen city as well as a total of 4 bosses. In this guide, we’ll provide detailed information about the trial. We’ll explain where do you need to go to find the entrance to this quarantined city.
IMPORTANT NOTE: Apart from learning about the Cloudrest Trial, you can also Buy ESO Boost from Skycoach. We offer a wide range of products at the lowest market price and with the fastest delivery. You can make your first purchase even CHEAPER if you find a special PROMO CODE (highlighted in green) hidden in this article and get a 20% DISCOUNT.
Browse our hottest ESO Boosting services


Where is Cloudrest Trial
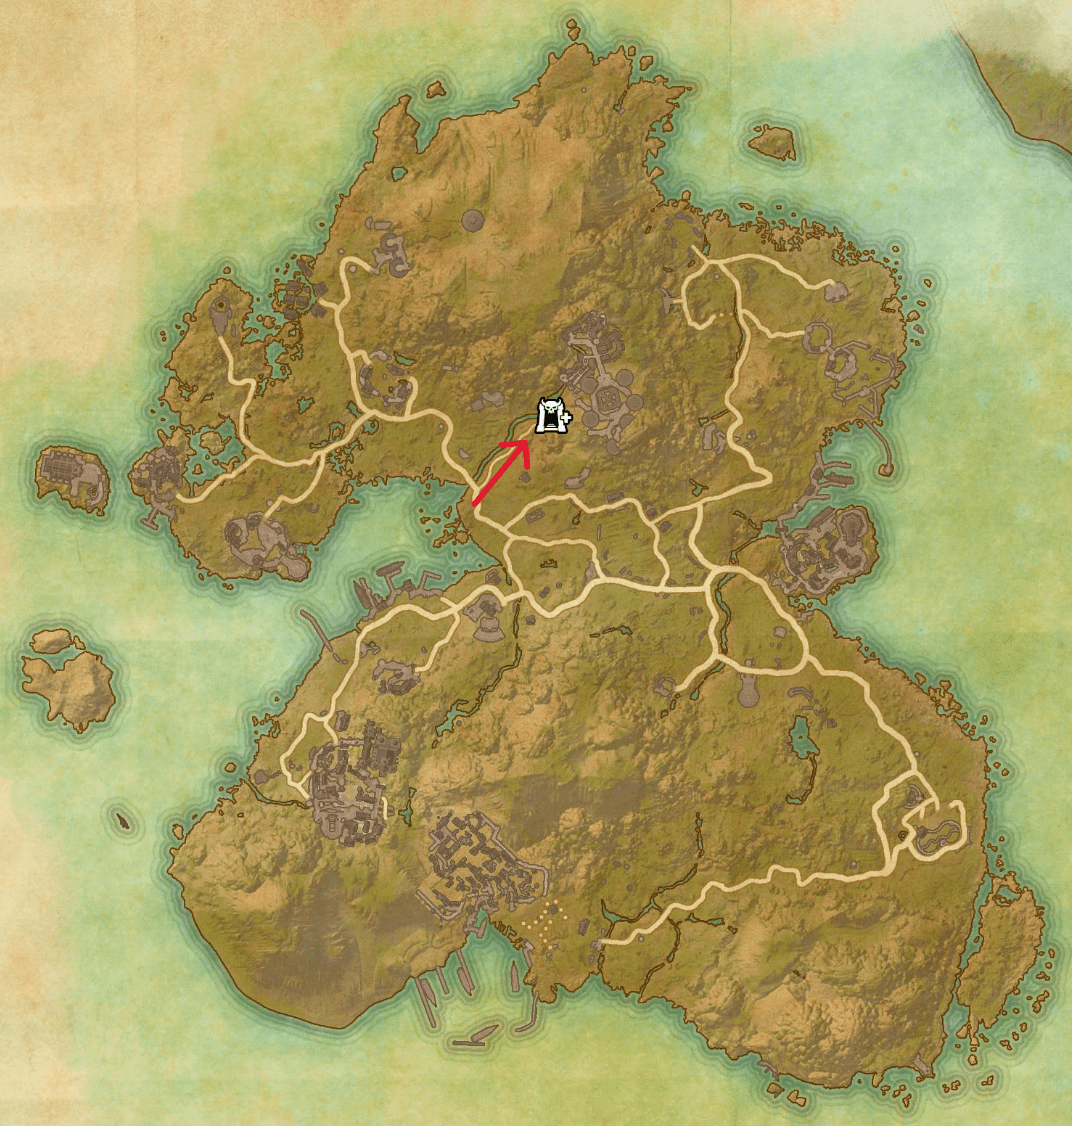
Getting to the ESO Cloudrest trial location is not that difficult. The keep is very clearly visible on the map of Summerset. It’s on the top half of the map, and there’s one road leading to its entrance just northeast of Ebon Stadmont forest and north of the Russafled Heights Wayshrine. The trial can also be easily accessed from the map itself.
Once you start the trial, you’ll find yourself inside the Cloudrest zone, which consists of several locations:
- Entrance on top
- Siroria, Relequen & Galenwe towers
- Z’Maja arena
There’s only one level with all four bosses located pretty close to each other.
Cloudrest Trial Boss List
Depending on the chosen difficulty, the amount of encounters will change increasing from 2 bosses to 4. The final boss is present on all difficulties, the other 3 are sort of optional in this sense.
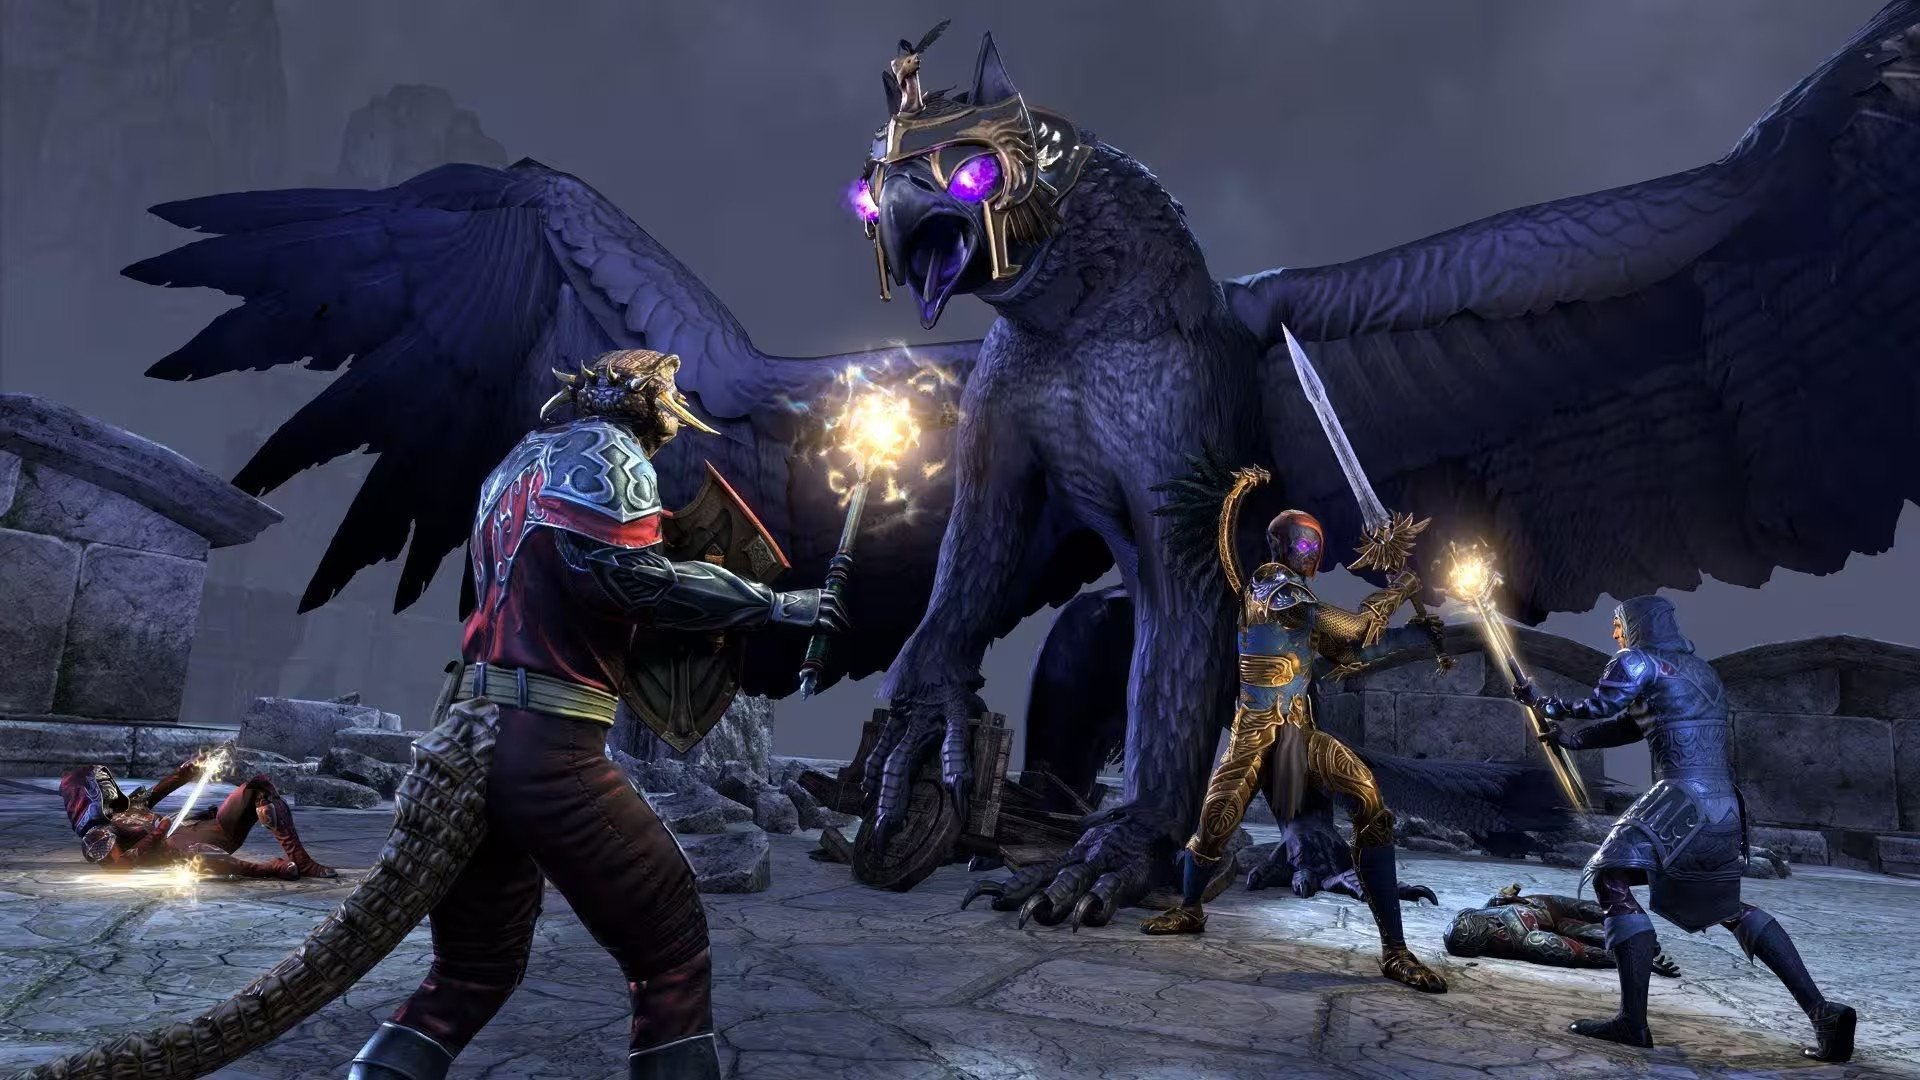
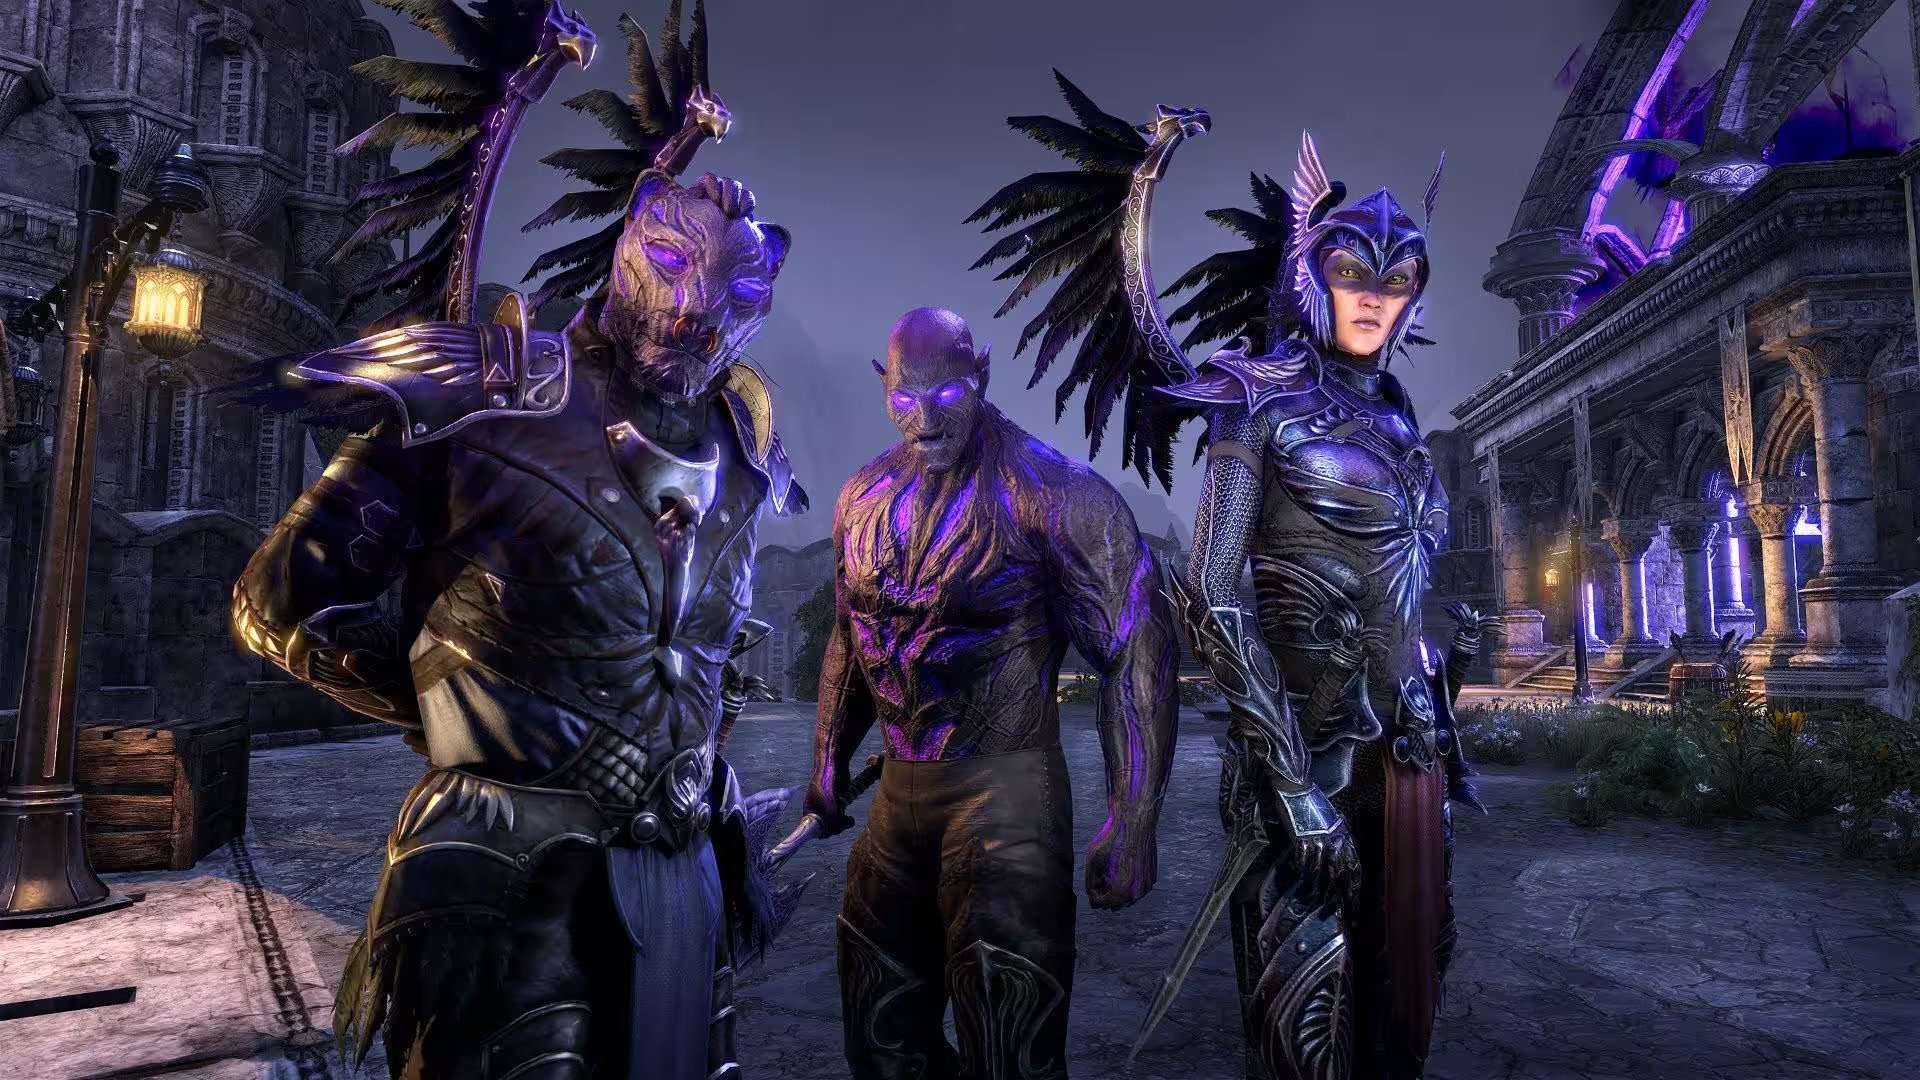
All of the bosses are the corrupted versions of Welkynar Gryphon Knights who fight alongside their own Gryphons. These “Shades,” as they are called, each deal a specific type of damage:
| Boss | Damage Type |
| Shade of Galenwe | Ice Damage |
| Shade of Relequen | Shock Damage |
| Shade of Siroria | Fire Damage |
| Z’Maja | Magic Damage |
Since each optional boss shares some characteristics, the same is true for one mechanic. Both the knight and their battle pet must be kept at a distance from each other because when they’re close, both start to deal much more damage. Another mechanic that’s valid for all 3 bosses is the fact that you must kill the human and their beast at the same time. Failing to do so will spawn tentacles that deal damage and stun the entire group.
All bosses can be fought at the same time as the final boss Z’Maja which makes the encounter extremely challenging but it’s going to give players who succeed better rewards.

Cloudrest Trial Gear Sets
First of all, let’s start with the fact that if you attempt to fight all bosses at the same time, which is totally possible but difficult to do, you’re going to get at least one Welkynar Style Motif Fragment. If you combine ten of these fragments, you can make a random Welkynar Style motif chapter. This will allow you to craft ESO Cloudrest trial gear in the Welkynar Style. BLOG20
The loot table itself consists of various amounts of non-perfect and perfect drops depending on the chosen difficulty and the number of bosses you decide to fight at the same time.
| Difficulty (+ no. of bosses) | Amount of Fragments | Gear drops |
| Normal +0 | 0 | a weapon for each player |
| Normal+1 | 0 | a weapon and a body armor piece |
| Normal +2 | 0 | a weapon, a body armor piece, and blue jewelry |
| Normal +3 | 1 | a weapon, a body armor piece, and purple jewelry |
| Veteran +0 | 2 | a perfected weapon |
| Veteran +1 | 4 | a perfected weapon and body armor piece |
| Veteran +2 | 6 | a perfected weapon, body armor piece, and purple perfected jewelry |
| Veteran +3 | 10 | a perfected weapon, body armor piece, and golden perfected jewelry |
The difference between perfect and non-perfect ESO Cloudrest trial drops is in the stats. The perfected weapons and armor pieces come with better stats, so if you’re into min/maxing your build, you’re going to want to take on a harder challenge in this trial.
Cloudrest Trial Bosses Guide
In this section, we’ll go over each of the ESO Cloudrest trial bosses and explain how to defeat them. What makes this trial so special is the fact that any amount of bosses can be fought at the same time as the final and last boss. In fact, the more bosses you fight, the more rewards you’ll get. Therefore, while we will go over each boss’s abilities and tactics, we’ll also give you some tips for defeating the encounter based on the number of bosses you can tackle. That way, you’ll have a plan no matter what your group decides to do.
One more thing that’s worth mentioning before we get into this section is the trial’s main mechanic of portals.
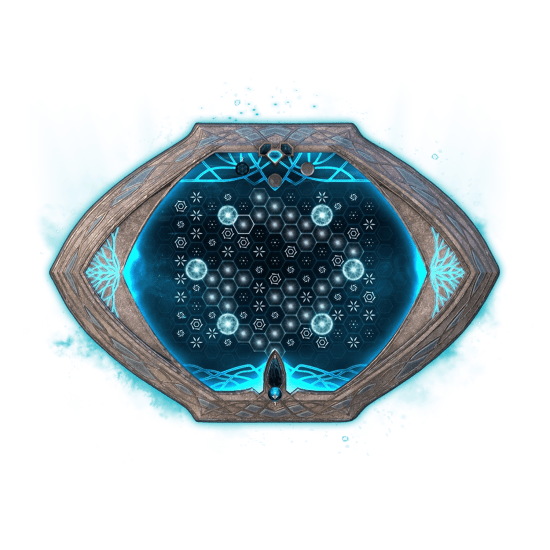
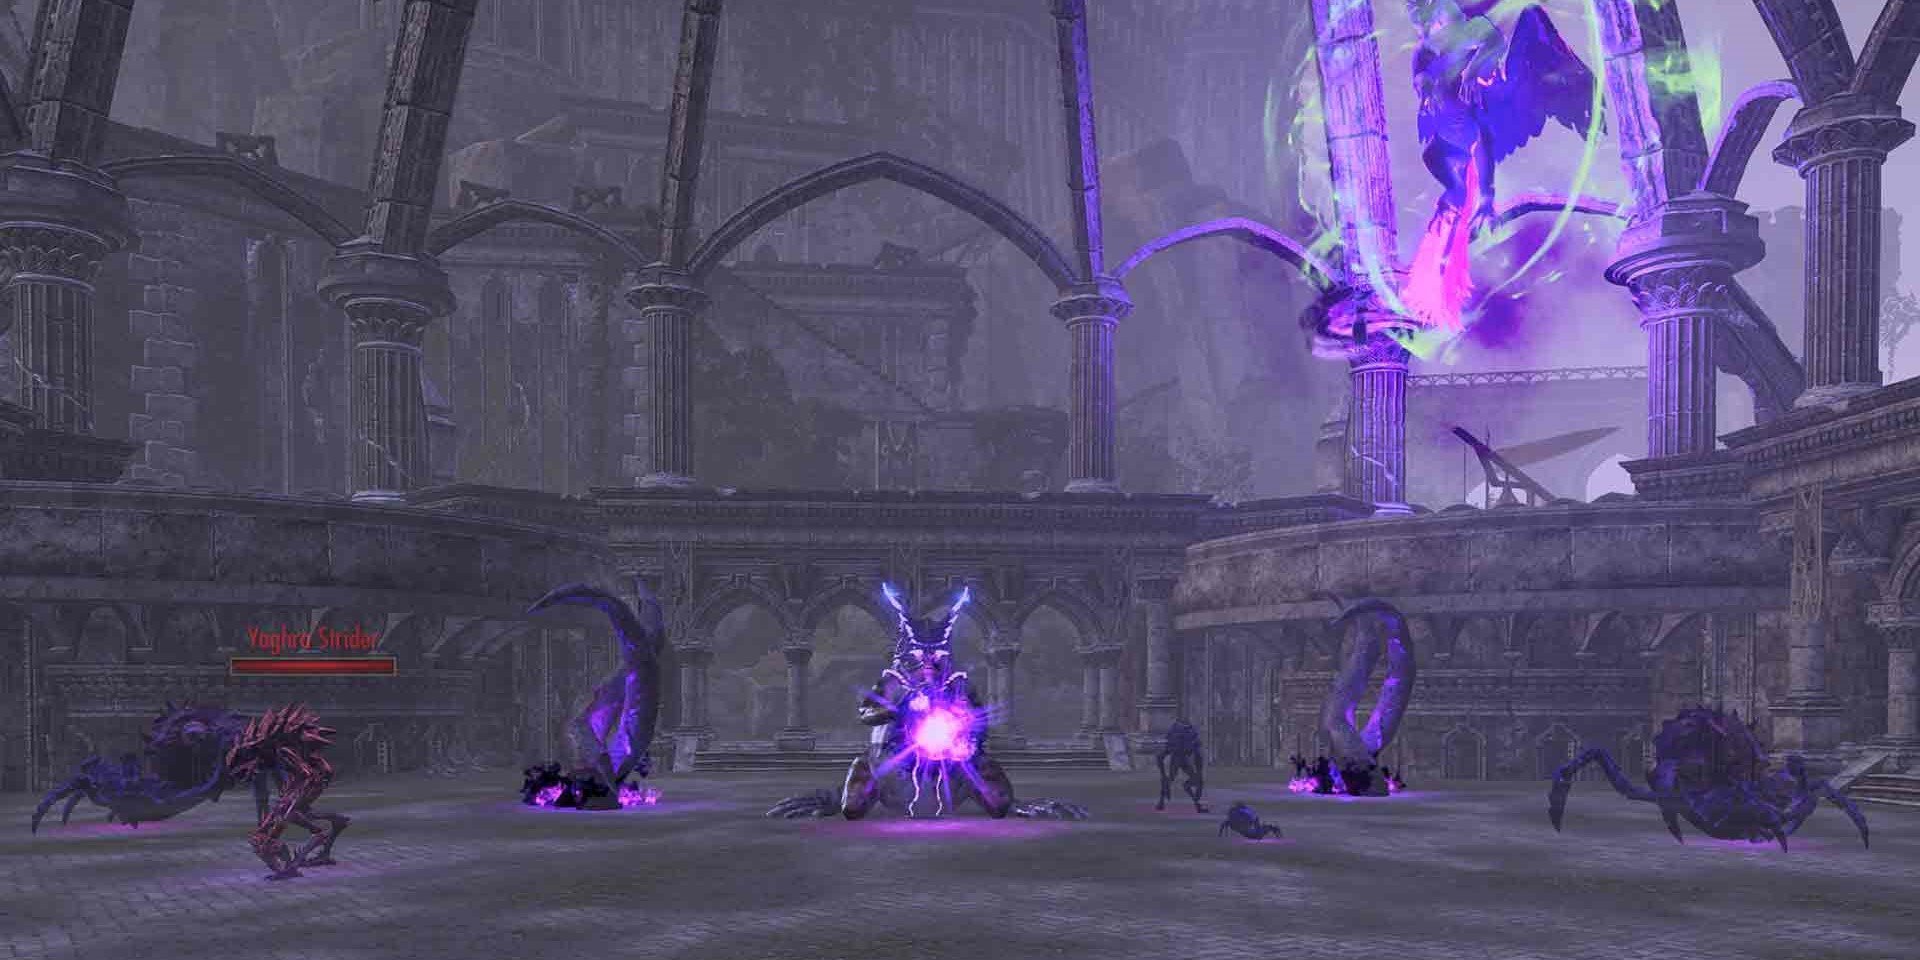
The Cloudrest Portal Mechanic
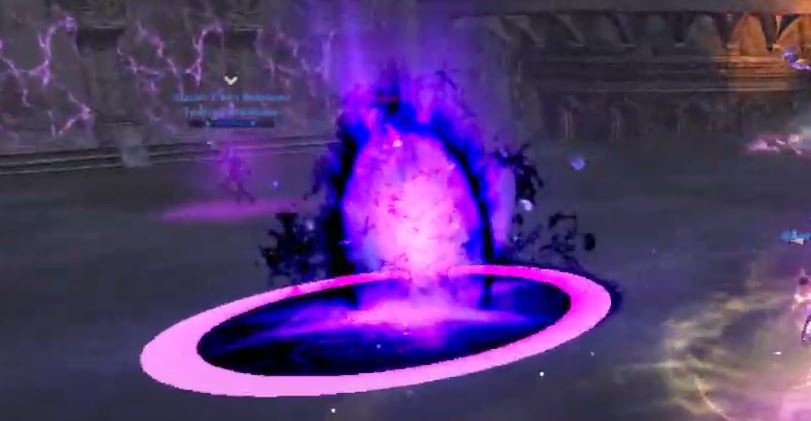
There’s a mechanic where a portal spawns on the floor during a fight that players can enter to teleport to the Shadow Realm.
Inside, damage dealers must destroy three crystals to reveal Malevolent Core orbs. On veteran difficulty, these orbs deal oblivion damage until a player picks them up, causing stacking Oblivion Damage over time. The orb kills the holder if held too long. Olorime sends a Spear of Light to the upstairs arena when a Core is revealed. Players upstairs must send the spear down to the Shadow Realm, where the orb holder must run it to the spear's location. After three Cores are taken to Spears of Light, the group returns above. Failure results in Yaghra Monstrosities spawning and attacking. On veteran, players entering the portal gain a Dark Contamination debuff, which kills them if they re-enter the portal within two minutes, necessitating multiple teams for the mechanic.
To deal with this mechanic, it is recommended to split the group into two damage-dealing groups. One will go into the Shadow Realm, and the other will stay on the surface. The two teams must communicate with each other. Otherwise, the Monstrosities will wipe the entire group, leaving you no chance to get those sweet ESO Cloudrest trial rewards.

Shades of Galenwe & Falarielle

We’ll start our ESO Cloudrest trial walkthrough with the Welkynar Knight Galenwe and his trusty gryphon Falarielle has its own special mechanic called Hoarfrost that deals Ice damage.
- Galenwe HP – 6,810,395 (normal) / 15,524,132 (veteran)
- Falarielle HP – 8,520,644 (normal) / 37,516,648 (veteran)
Both the knight and the gryphon also have their own set of attacks. The fight will start once you defeat the Yaghra ads surrounding him.
Shades of Galenwe & Falarielle Abilities
First, let’s go over the Galenwe’s abilities:
| Ability | Description |
| Ice Spike | Galenwe targets the furthest player, jumping to them and releasing a damaging ice circle. Blocking players are staggered, and non-blocking players are knocked back. Players can evade the attack by moving out of the AOE indicator. |
| Savage Winds | Galenwe channels an attack by placing his sword in the ground, causing ice spikes to appear under random players, dealing significant damage until interrupted. |
| Ice Cage | Galenwe drops an ice ring around himself, inflicting a large initial hit and stacking damage if stood in. Players can dodge roll through the ring to enter or exit but will still take some damage. |
| Frost Aura | Galenwe summons an ice aura around himself, causing light AOE damage to nearby players. |
| Aspect of Winter | At 60% health on veteran difficulty, Galenwe performs an uninterruptible channel, targeting three random players with growing AOE circles. At the end of the cast, meteors strike the players and anyone within the AOE, requiring blocking to avoid knockdown and stun. Avoid overlapping meteors to prevent fatal damage. Players with taunt or in Z'Maja's Shadow Realm are excluded. |
| Ravaging Blow | Galenwe's heavy attack, dealing major physical damage. This attack must be blocked. |
And now, the Falarielle’s abilities:
| Mechanic | Description |
| Hoarfrost | The Shade of Falarielle rears back and releases swirling hoarfrost, causing damage over time and a snare effect. The effect, shown as a white circle at the player's feet, deals constant ice damage. After seven seconds, it can be discarded using the synergy button. Another player must pick it up, repeating the process. After the third discard, it disappears temporarily. Leaving Hoarfrost unattended causes it to shoot increasingly strong ice projectiles. |
| Hoarfrost Shard | Frost damage affects players not holding the Hoarfrost while it is active. |
| Talon Slice | Falarielle's Shade swipes her target with claws while grounded. |
| Hemorrhage | On veteran difficulty, Falarielle's Shade applies a stacking bleed DoT with her light attacks. This ability is shared with other Gryphon Shades. |
| Take Flight | When preparing to enter the "Flight Phase," a large AOE spreads beneath Falarielle's Shade, knocking back players within it. The tell for this ability is her crouching and flapping her wings before swooping upwards. |
| Birds Eye View | Falarielle's Shade creates a "Dark Drain" effect by dipping down and swooping back up while airborne, whipping up small tornadoes that CC players hit. |
Remember to try and keep these two apart. Otherwise, when they’re close to each other, they start dealing increased damage.

Shades of Galenwe & Falarielle Tactics & Strategy
In order to defeat this boss, you’re going to have to deal with the Hoarfrost mechanic.
When the Gryphon gets on its hind legs and blinks white, Hoarfrost spawns on a random player, who glows white. This mechanic slows the player, applies a DoT, and deals AOE damage to nearby players. After 6 seconds, a synergy appears, allowing the player to drop Hoarfrost, which should be done immediately to avoid death. The dropped Hoarfrost deals AOE damage in a 5-meter radius and must be picked up by another player promptly, as it will shoot increasing damage at the group if left unattended.
This process repeats three times, with each Hoarfrost needing to be picked up and dropped by different players before it disappears temporarily. It's crucial not to enter the portal while carrying Hoarfrost, as it disrupts mechanics in the shadow realm. If scheduled to enter the portal, wait until the Hoarfrost can be dropped before proceeding. So, in summary:
- Keep the Gryphon and the main boss separated at all times.
- Focus on hitting the Gryphon unless it's airborne, then switch to the main boss.
- Be mindful of the boss's teleportation when repositioning.
- During the fight, three players are targeted by meteors. They must spread out, block until the meteors land, and then rejoin the group. Avoid stacking to prevent killing each other.
- The Gryphon's high-damage attack applies a bleed DoT to the tank. This can be mitigated by out-healing or dodge-rolling the attack, though excessive movement may disrupt DPS.
- The Gryphon occasionally performs a frontal AOE cone attack. This should always face the tank and be blocked. DPS players should avoid standing in front of the Gryphon.
And then there are also the portals to worry about.
Browse our hottest ESO Boosting services

Shades of Relequen & Belanaril
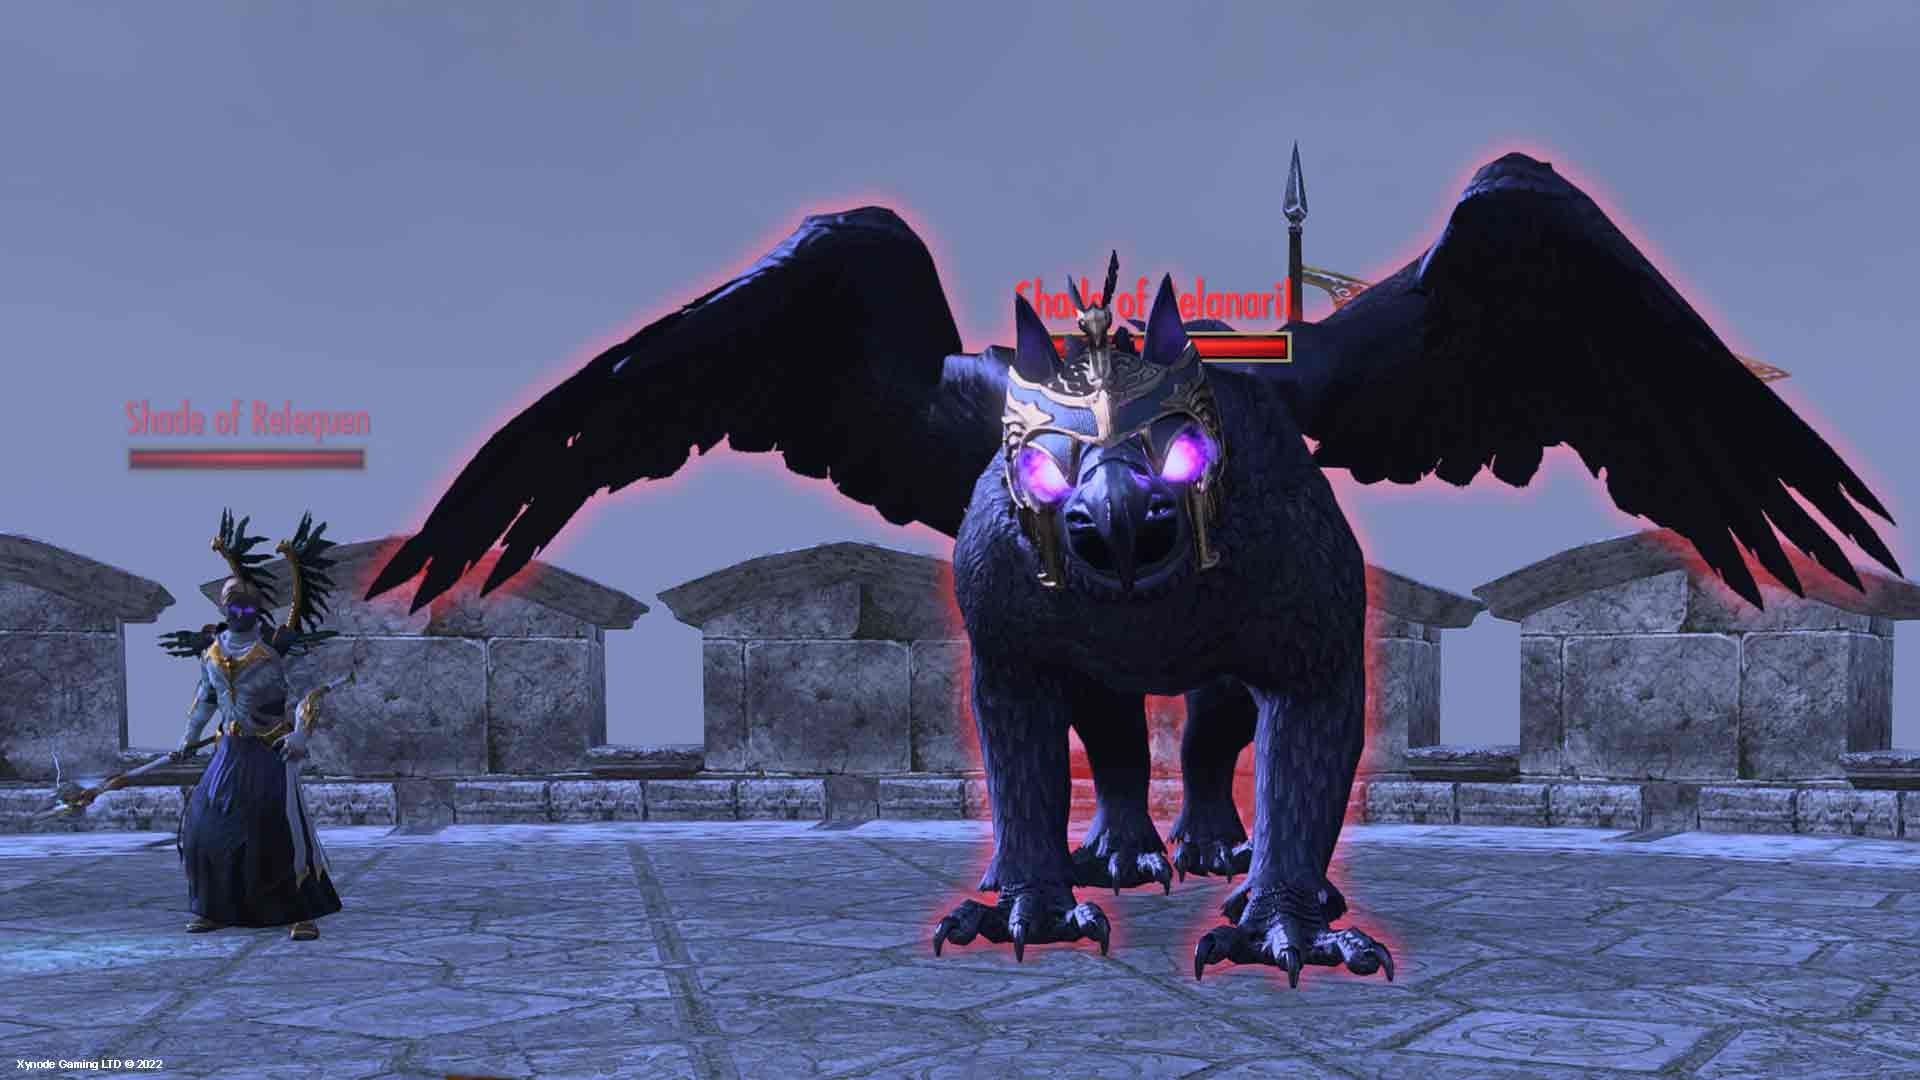
next Welkynar Knight deals shock damage.
- Relequen HP – 6,810,395 (normal) / 15,524,132 (veteran)
- Belanaril HP – 8,520,644 (normal) / 37,516,648 (veteran)
When fighting Belanaril, you’re going to be dealing with another mechanic called Volatic Overload. It works a bit differently than the Hoarfrost, and you will have to adapt your strategy accordingly. As for the overall experience, the encounter is pretty much the same as with the other 2 knights. BLOG20
Shades of Relequen & Belanaril Abilities
Let’s start with the Knight’s abilities first:
| Ability | Description |
| Thundering Presence | Flux Burst and Static Diffusion |
| Shocking Smash | Relequen spins his staff and slams it, causing small lightning AOEs to fan out from the impact point. Players hit take moderate damage and are stunned. |
| Direct Current | Relequen channels lightning bolts that form a line to random players. After a short duration, the bolts stun and deal severe AOE damage. Overlapping AOEs can one-shot players. |
| Shockwave | A long conal attack from Relequen that knocks back unblocking players. Blocking players are staggered. |
| Mage's Wrath | Targets low-health players with the Sorcerer execute Mage's Wrath. There is a five-second grace period to heal the target, or it will deal full execute damage even if the player is healed above the normal execute threshold. |
Now, skim through the Belanaril’s skills:
| Ability | Description |
| Voltaic Overload | Belanaril's Shade rears back and unleashes Voltaic Overload, inflicting a player with a damage-over-time effect shown as a blue circle. Players must switch weapons to mitigate the constant lightning damage for at least ten seconds. |
| Gryphon Claws | Belanaril's Shade swipes her target with claws while grounded. |
| Gryphon Bleed | On veteran difficulty, Belanaril's Shade applies a stacking bleed DoT with light attacks. |
| Take Flight | Before entering the "Flight Phase," Belanaril's Shade spreads a massive AOE on the ground, knocking back nearby players. |
| Gusts of Wind | When airborne, Belanaril's Shade creates small "tornadoes" that CC players they hit. |
Don’t forget, The Shade of Relequen and his gryphon deal increased damage when close together, so it's best to keep them apart.
Shades of Relequen & Belanaril Tactics & Strategy
Just like before, you’re going to be doing more or less the same thing with each of these pairs of bosses. Once again, a consistent attack pattern is key. Focus your damage on the Gryphon whenever possible. However, when the Gryphon takes flight, swiftly transition your assault to Relequen. Adhering to this strategy optimizes your damage output.
Handling Special Attacks:
- Cone Attack: When Relequen unleashes a cone AOE, swift action is required. Players can opt to either block the attack or execute a timely dodge roll to evade it. Failure to evade may result in knockback and moderate damage.
- Heavy Attack/Staff Flip: Beware of Relequen's heavy attack, signaled by a staff flip. While the tank should block this maneuver, other players must be vigilant. Sparks emanating from the impact point can stun unwary combatants, necessitating quick reflexes to avoid them.
- Lightning Channel: Relequen's lightning channel poses a threat to the entire group. Lightning AOEs spread to all players, inflicting damage unless interrupted promptly. Coordination and quick reactions are paramount to neutralize this threat.
- Voltaic Overload: A unique mechanic introduced in this encounter, the overcharged lightning debuff demands immediate action. Affected players must swiftly switch to their alternate weapon bar to mitigate damage. Timely swapping ensures the safety of the entire group.
Dealing with Secondary Threats:
- Gryphon Bleed: Tanks should be prepared for the Gryphon's potent attacks, which apply a bleeding effect. While adept healers can mitigate the damage, a well-timed dodge roll can completely evade this threat. However, excessive movement risks disrupting the group's rhythm.
- Burst AOE Stuns: During airborne phases, the Gryphon launches multiple AOEs across the battlefield. Players must navigate these hazards with care, seeking gaps between the spreading AOEs to avoid damage and potential stuns.
- Cone/AOE Attack: The Gryphon intermittently unleashes a devastating AOE slam and frontal cone attack. Tanks should position themselves to absorb the frontal assault, while DPS players must avoid lingering in the danger zone.
Shades of Siroria & Silaeda
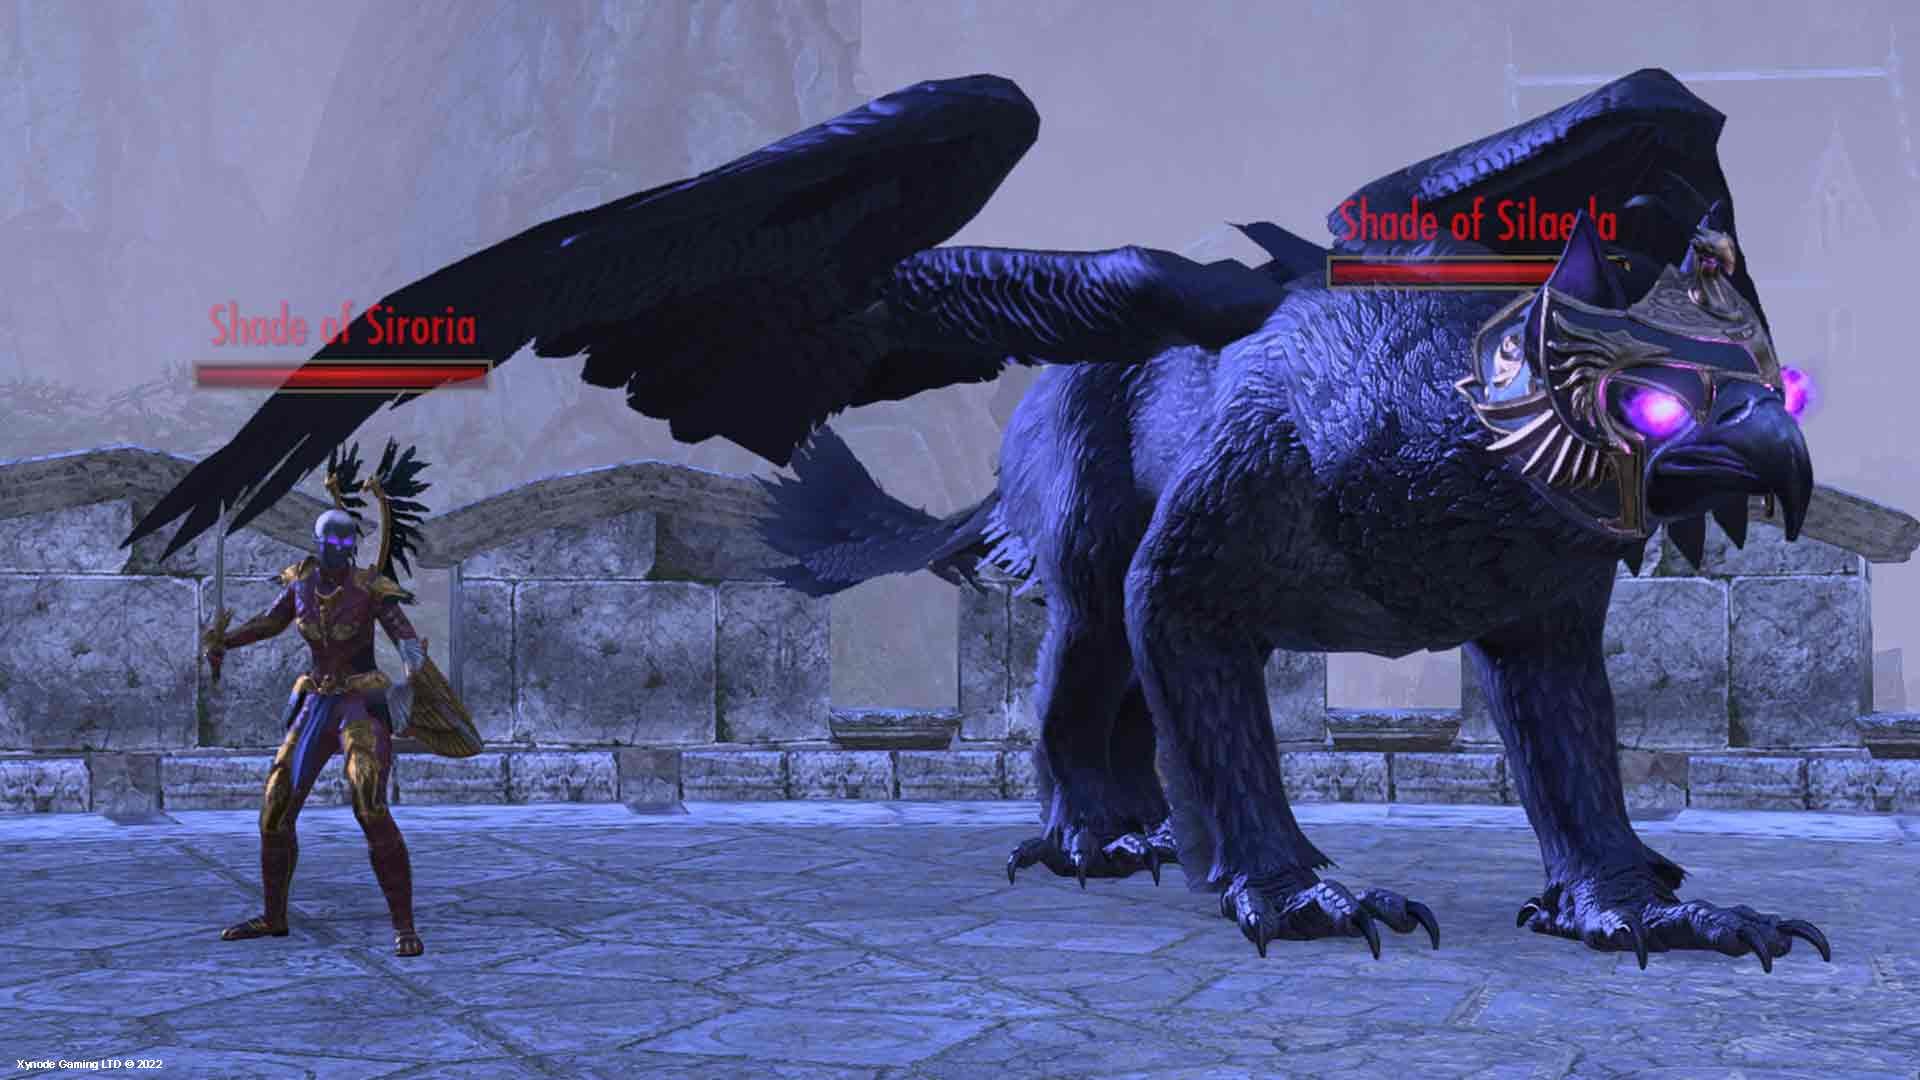
This lovely couple deals fire damage. The behavior of both of them is not much different from the rest. The gryphon would stand up on his legs and blink. That’s when you know you’re in trouble.
- Siroriaand HP – 6,810,395 (normal) / 15,524,132 (veteran)
- Silaeda HP – 8,520,644 (normal) / 37,516,648 (veteran)
Now, you might have noticed that all bosses have the same exact amount of HP. It is not a mistake, they really do have the same health pool numbers.
Shades of Siroria & Silaeda Abilities
Please memorize Siroria’s abilities to be prepared to face this boss:
| Ability | Description |
| Fiery Breath | Siroria unleashes a fiery breath in a conal area, resembling the Dragon Knight's Engulfing Flames ability. Struck players suffer increased damage from flame attacks. |
| Quick Strike | Engages in a swift melee strike, dealing substantial physical damage to the target. |
| Engulf | Strikes with a fiery whip in close combat, inflicting flame damage to the target. |
| Low Slash | Executes a low melee slash, causing significant physical damage to the affected player. |
| Dark Talons | Siroria ensnares nearby players with dark talons, rooting them and applying a damaging over time effect. This debuff can be cleansed by certain player abilities. |
| Dragonknight Standard | Conjures a powerful standard, manifesting as a large AoE that inflicts severe damage to anyone within its radius. While active, Siroria's other abilities gain considerable strength, potentially posing lethal threats even to tanked players. |
| Scalding Sunder | Unleashes a devastating heavy attack, capable of instantly killing non-blocking tanks. Players must dodge-roll to evade if targeted. |
| Fulminate/Burgeoning Blaze | At 60% health on veteran difficulty, Siroria leaps into the air and lands at the location of the farthest player. Upon landing, she emits a shockwave and releases four fiery tornadoes that traverse the area, dealing substantial damage to any player they strike. |
As for Silaeda, this Gryphon, obviously, has his own mechanic related to fire element:
| Ability | Description |
| Roaring Flare | Silaeda's Shade performs Roaring Flare, afflicting a player with a dangerous status effect depicted by an orange circle at their feet. After a brief duration, the flare explodes, dealing fatal damage unless the affected player moves close to at least two other players to share the damage. |
| Gryphon Claws | Silaeda's Shade executes a slashing attack with her claws while grounded, targeting a player in melee range. |
| Gryphon Bleed | Silaeda's Shade inflicts bleeding damage over time effect with her light claw attacks. On Veteran difficulty, this bleed effect intensifies with each successive attack, presenting a significant challenge to the affected player's survivability. |
| Take Flight | Before transitioning into the "Flight Phase," Silaeda's Shade initiates a ground-based AoE, spreading across the floor beneath her. This ability knocks back nearby players as she prepares to ascend into the air. |
| Gusts of Wind | When airborne, Silaeda's Shade generates small tornadoes, known as Gusts of Wind, as she maneuvers through the battlefield. These gusts possess crowd-control properties, hindering the movement of any players, they come into contact with. |
As always, try to keep the two of them apart. Your party will have to deal with enough mechanics as it is.
Shades of Siroria & Silaeda Tactics & Strategy
The strategy for defeating Siroria & Silaeda is the same as with the other 2 similar encounters. The only thing worth mentioning is the fire circles from the Roaring Flare. Also, watch out for when Siroria leaps into the air and lands near the farthest player, dealing massive damage.
Z'Maja
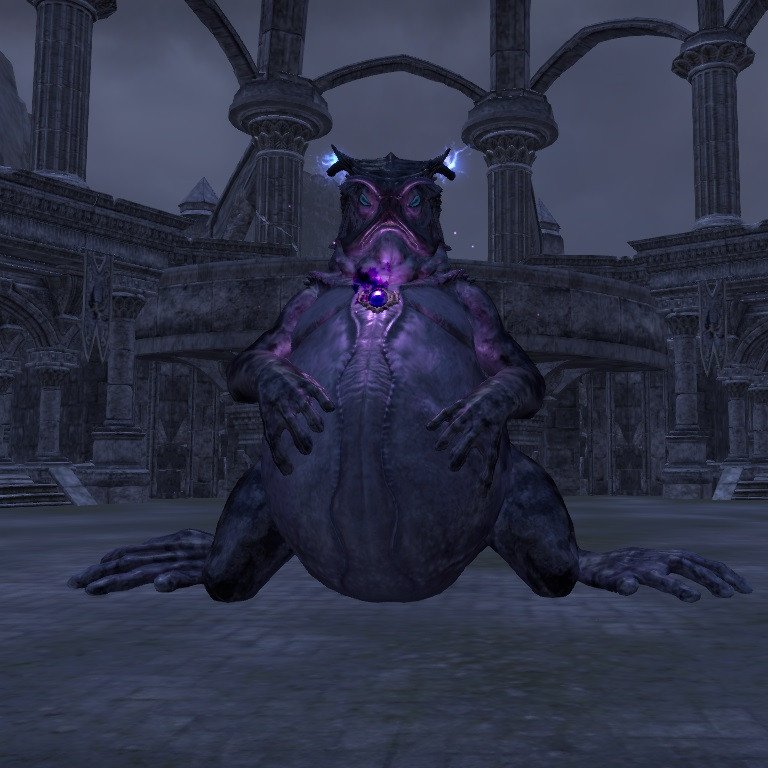
The final fight takes place in a large circular arena. Z'Maja, a powerful Sorceress, is accompanied by various adds (additional enemies) and shadowy apparitions. The environment plays a significant role, with various AoE effects and portals adding to the complexity.
- Z'Maja HP – 22,721,708 (normal) / 64,683,864 (veteran)
The encounter consists of multiple phases, with mechanics intensifying as Z'Maja's health decreases.
Z'Maja Abilities
Z’Maja has a plethora of abilities that the boss starts using as the fight goes on.
| Ability | Description |
| Dark Canal | Z'Maja creates a teleportation pool at her location, forming a second pool to emerge from at a different spot. |
| Mind Blast | Z'Maja fires a telekinetic projectile targeting one player. If hit four times within 15 seconds, the player suffers a DoT called Leeching Shadow on the fourth hit. This ability also creates a cone-shaped AoE in front of her, dealing slightly less damage than the direct hit. |
| Leeching Shadow | A DoT that lasts for 8 seconds, decreasing in damage with each tick. |
| Dark Orb | Spawns three small orbs that stun players upon contact. If not destroyed in time, they target a player, stunning them and releasing Sinister Beads. Destroying an orb inflicts a DoT on players, increasing in number with more mini-bosses present. |
| Sinister Beads | Explode into dark beads if Dark Orbs collide with each other or a player, stunning and applying a DoT to those hit. |
| Crushing Darkness | Targets the taunting tank and the furthest player, creating voids beneath their feet. |
| Dark Detonation | If the shadow portal remains open, Z'Maja levitates all players and instantly kills the group. |
| Nocturnal's Favor | Z'Maja unleashes a high-damage shadow blast at her target, which cannot be dodged or reflected. Non-blocking players will be killed; the tank should be the only one affected. |
| Shadow Splash | Z'Maja channels a spell, pulling random players into a vortex and dropping them, causing fall damage. This ability must be interrupted, especially on Veteran difficulty where the fall height is increased. |
| Grievous Retaliation | In Veteran Cloudrest, attempting to resurrect a player before defeating their Shade causes the resurrecting player to take increasing damage. |
| Dark Contamination | On Veteran, entering the Shadow World twice within two minutes results in immediate death due to the body's catastrophic breakdown from repeated exposure. |
| Execute Phase | At 10% health, Z'Maja cracks her amulet, summoning her shade. Every 22 seconds, six players receive a Baneful Mark, reducing healing and damage until their health returns to 100%. |
When Z'Maja reaches low health, she enters an execution phase where her abilities become more frequent and deadly.
Z'Maja Tactics & Strategy
One of the biggest tips for this fight is to have Z’Maja face the opposite direction from the rest of the group. This is done by a tank who faces her, making sure her back is turned to other players. BLOG20
She constantly teleports around, and the tank’s only job is to keep her “taunted”. Additionally, groups of orbs spawn throughout the fight. Prioritize destroying these orbs as they pose a significant threat. Neglecting them can lead to stuns and additional complications. Other things to consider include:
- Death Shadows: When a player dies, their shadow appears. Focus on eliminating these shadows before attempting to resurrect fallen comrades to prevent lethal consequences.
- Darkness Kiting: The two furthest players from Z'Maja receive dark beams, spawning ground-based AoE. These players must kite the AoE to avoid group damage.
- Portal Awareness: Watch for cone-shaped AoE attacks from the portal after Z'Maja's health drops below 60%. Avoid these to prevent being pulled downstairs and acquiring debuffs.
- Execute Phase Strategy: When Z'Maja's health reaches 10%, her shade appears. Split into two groups on either side of her tail. The main tank keeps her facing away from the group while the off-tank and a healer handle darkness kiting.
All of this said, here are some tips for defeating her.
- Prioritize mechanics over damage output. The fight has no strict DPS check.
- Communicate clearly, especially for killing shadows and managing marked bane.
- Play it safe and focus on the clean execution of mechanics to ensure survival and success.
Tactics and Strategy for Defeating Z'Maja with Additional Bosses
When fighting Z'Maja with one mini-boss, you need a well-coordinated team setup. At the start of the fight, the main tank should ensure Z'Maja is always facing away from the group to avoid devastating frontal attacks.
Group Setup:
- 2 Healers
- 3 Tanks (1 Main Tank, 2 Off-Tanks)
- 7 Damage Dealers (preferably with self-healing abilities)
The boss will teleport frequently, so the tank must be quick to reposition and maintain aggro.
Key Mechanics:
- Teleport: Z'Maja teleports around the room constantly. The tank needs to be vigilant and reposition her quickly while keeping her facing away from the group.
- Orb Blast: The boss will target the tank with a heavy ranged attack. The tank should block or use defensive abilities to mitigate the damage.
- Mind Blast: During the teleportation phases, Z'Maja will target the tank with multiple mind blasts. It’s crucial to keep her facing away from the group to prevent others from being hit.
When Z'Maja reaches 50% health, the first mini-boss will spawn. One off-tank will handle the mini-boss while the other off-tank prepares for the portal phase. The main tank must continue managing Z'Maja, ensuring she remains focused on them and not the rest of the group.
Prioritization:
- Orbs: These must be destroyed immediately to avoid group stuns and additional damage.
- Tentacles: These spawn at 40% health and root players, making them a high priority to kill quickly.
- Spider Monstrosity: Managed by the off-tank during the portal phase and must be controlled and killed after dealing with orbs and tentacles.
- Mini-Boss: Less dangerous but should be handled efficiently to avoid overwhelming the group.
- Z'Maja: The main focus once other threats are under control.
Z'Maja +2 Mini-Bosses
Fighting Z'Maja with two mini-bosses requires even more coordination.
Group Setup:
- Same as the +1 setup.
The first mini-boss spawns at 65% health, and the second at 35% health. The tank must still keep Z'Maja facing away from the group, and the off-tanks must manage the mini-bosses effectively.
Key Mechanics:
- First Mini-Boss: Spawns at 65% health. An off-tank should immediately pick up the aggro and manage it away from the group.
- Second Mini-Boss: Spawns at 35% health. The second off-tank should be ready to handle this mini-boss as well.
At 40% health, tentacles begin spawning, adding another layer of difficulty. It’s crucial to handle these mechanics swiftly and efficiently.
Prioritization:
- Orbs
- Tentacles
- Spider Monstrosity
- Mini-Bosses
- Z'Maja
Z'Maja +3 Mini Bosses (Hardmode)
In Hardmode, Z'Maja becomes significantly more challenging, with three mini-bosses spawning at different health thresholds: 75%, 50%, and 25%.
Group Setup:
- Same as the +1 setup.
Each mini-boss must be dealt with before the next one spawns to prevent being overwhelmed.
Key Mechanics:
- First Mini-Boss (Fire Boss): Spawns at 75% health. Off-tank one should pick this up and manage it.
- Second Mini-Boss (Shock Boss): Spawns at 50% health. Off-tank two should be ready to handle this one.
- Third Mini-Boss (Ice Boss): Spawns at 25% health. Ensure the off-tanks are ready to switch as needed.
During these phases, the main tank must continue managing Z'Maja, ensuring she remains focused on them and not the rest of the group. Additionally, tentacles spawn at 40% health and must be dealt with immediately.
Prioritization:
- Orbs: Must be destroyed immediately to avoid stuns and potential group wipes.
- Tentacles: Root players must be killed quickly.
- Spider Monstrosity: Managed by an off-tank during the portal phase and should be killed after orbs and tentacles.
- Mini-Bosses: Must be killed before the next one spawns.
- Z'Maja: The final focus once other threats are under control.
Always prioritize killing orbs as soon as they spawn. Failure to do so can result in multiple deaths due to stuns and additional damage.
Tentacles are the second priority as they root and silence players, making them dangerous if left unchecked. An off-tank should manage Spider Monstrosity during the portal phase and keep it controlled until it's safe to kill.
Handle the mini-bosses with coordination and ensure they are killed before the next one spawns to avoid being overwhelmed.
Conclusion
Cloudrest Trial is truly an interesting raid in the way that it lets you choose how many bosses you want to fight at the same time. There are other enemies present in this instance, which are placed directly in front of each boss arena, but they’re not worth talking about.
Even though the three mini-bosses have more or less the same pattern, each of them has one special ability. Besides that, you have to work with your group to handle the portal and the Shadow Realm mechanic. Last but not least, the final encounter with Z’Maja is filled with mechanics that are difficult to deal with.
F.A.Q.
Can You Solo Cloudrest?
No, you cannot solo Cloudrest. Cloudrest is a 12-player trial designed for coordinated group play. The mechanics, health pools of bosses, and the need for different roles (tanks, healers, and damage dealers) make it impossible to complete the trial alone.
Who Is the Last Boss in Cloudrest?
The last boss in Cloudrest is Z'Maja. Depending on the trial's difficulty, Z'Maja may also be accompanied by additional mini-bosses, making the encounter even more challenging.
Where is Cloudrest Trial in ESO?
Cloudrest is located on Summerset Isle. The trial can be accessed directly from the in-game map.
What DLC is Cloudrest Trial?
Cloudrest Trial requires the Summerset DLC, which includes the Summerset Isle zone and other content.