 Crispy Jackie
Welcome to our complete The Drowning Labyrinth quest guide, Guardians. This activity is one of the most intriguing and mysterious ones introduced in the Episode Heresy. Packed with hidden secrets, cryptic symbols, and a multi-step puzzle, this quest isn’t just about shooting your way through – it’s about uncovering the deeper lore of the game.
The developers have made things trickier this time with time-gated progression and hidden mechanics that leave players guessing. Are you eager to start and complete the quest? This guide has everything you need to know, including tips on how to navigate inside and get exclusive rewards.
In case you need help with The Drowning Labyrinth Completion, Skycoach has you covered. Trust this job to our players and reap your well-deserved rewards.
Check out our other Destiny 2 guides:
- How to Get Chatterwhite Shader
- Sundered Doctrine Dungeon Guide
- Kell's Fall Exotic Mission Guide
- How to Get Ice Breaker
- Vesper's Host Dungeon Guide
Note: At Skycoach, you can Buy Destiny 2 Boost at the best prices with a fast delivery. Use our special PROMO CODE (in green) hidden in this article for a 20% DISCOUNT.
Browse our hottest Destiny 2 Boosting services


The Drowning Labyrinth Overview
Let’s begin our guide with a short The Drowning Labyrinth overview first. This quest is a hidden challenge and is a part of the Sundered Doctrine dungeon in Destiny 2. Unlike traditional quests, this one unfolds in stages, requiring players to solve puzzles, locate hidden symbols, and interact with secret objects scattered throughout the dungeon. The devs have also introduced a time-gated mechanic, meaning not all steps can be completed immediately.
Here’s what you need to know about the quest:
- The Drowning Labyrinth Location – Found within the Tower.
- Objective – Solve hidden puzzles and progress through multiple steps.
- Time-Gated Progression – Not all steps are available at once.
- Rewards – Includes unique lore entries and possibly powerful gear.
It’s mainly aimed at testing your logic rather than shooting skills. Be prepared for the most difficult puzzles to claim the rarest rewards at the end.
How to Start The Drowning Labyrinth Quest
To begin The Drowning Labyrinth quest in Destiny 2, you’ll need to enter and finish the Sundered Doctrine dungeon first. Unlike standard quests, this one doesn’t show up automatically in your inventory. Instead, you have to manually trigger it by finding a hidden location inside the dungeon.
Here’s how to do The Drowning Labyrinth in Destiny 2 from the very start:
- Pick Up the Quest from Ikora – Head to the Tower and speak to Ikora Rey. She will have the quest available for players who meet the dungeon access requirements. If you don’t see it, make sure you’ve completed the necessary prerequisites.
- Enter the Hidden Base Camp – Once inside the Sundered Doctrine dungeon, progress through the early section until you reach a concealed area. You’ll notice a table with scattered papers – interact with these to begin the first step of the quest.
- Solve the First Puzzle – The quest requires you to enter a special code using the symbols on a nearby wall. The correct input is: Savathûn → Enters → Pyramid.
- Explore the Dungeon for Hidden Symbols – After solving the puzzle, the game tasks you with finding three secret worms, each accompanied by a specific symbol. These collectibles are scattered in different sections of the dungeon, requiring exploration and careful navigation.
Once you’ve completed these initial steps, the Drowning Labyrinth quest will progress, unlocking further mysteries and challenges. BLOG20
The Drowning Labyrinth Quest Walkthrough
The following part of the guide contains a full The Drowning Labyrinth quest walkthrough. It will be gradually updated once we learn further details to share them with you. Below is a step-by-step breakdown to help you complete it.
Find the Three Hidden Worms
After entering the correct code (Savathûn → Enters → Pyramid), the next task is to locate three secret worms scattered throughout the dungeon. Each worm is tied to a specific symbol that you’ll need for the final puzzle.
First Worm (Witness Symbol):
- Found right after leaving the Hidden Base Camp.
- Look underneath a bridge for a secret platform where the worm is resting.
Second Worm (Give Symbol):
- After the first dungeon encounter, you’ll enter a massive cavern filled with Dread enemies.
- Instead of heading towards the usual exit, go to the back right corner of the room.
- Shoot open a locked door to find the second worm inside.
Third Worm (Darkness Symbol):
- Located right before the final boss encounter.
- In the mini-encounter, where you need to align the Worm and Enter symbols, check the left side of the room near a door.
- Interact with it to open the door and claim the final worm.
Return to the Hidden Base Camp
Once all three worms are collected, return to the Hidden Base Camp, where the quest originally started.
Input the newly acquired symbols into the puzzle wall:
- Witness → Gives → Darkness
- A short lore-related dialogue will trigger, indicating that the pyramid structures are shifting.
Find the Hidden Shrine
With the new code entered, a previously inaccessible area in the dungeon will now be open.
- Restart the dungeon and head to the first traversal section.
- Look for a hidden waterfall that you typically slide through – it now contains a secret chamber.
- Inside, a Dread ambush will trigger, and Knowledge Fragments will drop upon killing enemies.
Complete the Dungeon Again
The next quest step is straightforward: finish the Sundered Doctrine dungeon once more.
- You can use a checkpoint if you don’t want to replay the entire thing.
- Upon defeating the final boss, the quest will reach a temporary roadblock, indicating that further progress is time-gated.
At this point, the next phase of The Drowning Labyrinth remains locked behind the devs’ progression schedule. While waiting for the next update, players can continue farming dungeon runs for loot and theorizing about the deeper lore connections within the quest.
Find Three More Worms
In this stage, you’ll need to collect another Hidden Report and locate three more Hive Worms. Each worm corresponds to a unique symbol necessary for solving the next puzzle, so keep your eyes peeled.
Head back to the Hidden Base Camp at the start of the dungeon, where you’ve picked up previous reports. Upon entering, look to your left, where a Warlock and Hunter are standing near some crates. The third Hidden Report is resting on one of these crates. Pick it up to progress to the next objective.
Fourth Worm (Hive Symbol):
- Found before the first encounter, shortly after crossing the bridge.
- Clear the room filled with enemies, including two Subjugators.
- Proceed to the next area with a combat cube-like structure.
- Drop down through the red-lit opening until you see an “Activate” prompt.
- Activate the prompt to open a hidden door behind you. Inside, you’ll find the fourth Hive Worm.
Fifth Worm (Grief Symbol):
- Situated before the rolling ball section following the first encounter.
- In the area with a large pit and two straight ledges, move toward the end of the section near the exit.
- Hug the wall carefully until you locate a hidden pressure plate.
- Activate it to reveal a secret entrance.
Sixth Worm (Snake Symbol):
- Found after the second encounter in the room with the massive Hive worm corpses.
- Instead of staying on the ground floor, ascend the stairs along the sides of the room.
- Look for a locked door along the upper path.
- Shoot the door to gain entry.
With all three Hive Worms collected, return to the Pyramid device at the Hidden Base Camp. Input the symbols in the following sequence: Hive → Grief → Snake.
Once the code is entered, you’ll receive a message indicating that the Pyramid ship is shifting again, unlocking new paths and puzzles within the dungeon.
Browse our hottest Destiny 2 Boosting services


Uncovering the Hidden Hive Room
To progress, head back to the location where you found the sixth Hive Worm (the room with the giant Hive worm corpses). Thanks to the Pyramid’s shift, this area has transformed:
- Enter the previously locked room where the sixth worm was located.
- Inside, you’ll now face multiple Hive Shriekers defending the chamber.
- Defeat the Shriekers and accompanying Hive Knights.
- Upon defeating the Hive Knights, they will drop explosive Hive Worms – these are crucial for the next step.
With explosive Hive Worms in hand:
- Locate a small cave beneath the upper ledge of the room.
- Carry the worms into this cave while avoiding enemy fire.
- Deposit the worms into the designated slot inside.
Doing so will trigger a massive explosion, blowing open a hidden passage behind the cave wall.
Complete the Dungeon Again
Yes, you need to finish the dungeon one more time. Get to the checkpoint and slay down Kerrev, The Erased straight away.
Find Three More Worms
This section tasks you with finding the last Hidden report and collecting three more Hive worms – each tied to a unique symbol, just like before. After that, you’ll unlock the way to the Control Chamber for the final puzzle.
- Head back to the Hidden Base Camp at the start of the dungeon.
- Once inside, turn to your left to spot two NPCs – a Warlock and a Hunter – standing near some crates.
- The third hidden report rests on one of these crates. Interact with it to progress.
Seventh Worm (Guardian Symbol):
- Found before the first encounter, during the second traversal section.
- Look for a Subjugator in the middle of the area – turn right from this point.
- You’ll spot an invisible platform floating in the air that reveals itself as you approach.
- Carefully jump onto the platform, then onto a narrow ledge ahead.
- Look for a door with an "Activate" prompt – interact with it to open the entrance.
- Inside, you’ll find the seventh Hive worm and the Guardian symbol on the wall.
Eighth Worm (Remember Symbol):
- Progress to the area after the first encounter – specifically, the green-tinted room with the rolling spiky ball hazard.
- Climb up to the top left side of the area using the small ledges.
- Near the top, an "Activate" prompt will appear – interact to open a hidden door.
- Inside, you’ll discover the eighth Hive worm along with the Remember symbol.
Ninth Worm (Fleet Symbol):
The final worm is hidden right before the final boss fight.
- In the room where you align the Worm and Enter lenses (where the second secret chest is), don’t go through the usual door.
- Instead, head to the far right end of the room.
- Look for another "Activate" prompt – this will open a concealed entrance.
- Inside, claim the ninth Hive worm and note the Fleet symbol displayed nearby.
With all three worms secured, return to the Pyramid device at the Hidden Base Camp. Input the final code using the collected symbols: Guardian → Remember → Fleet.
Enter the Final Code
Head back to the Pyramid device where you’ve previously entered codes. Input the following sequence using the symbols found with the worms: Guardian → Remember → Fleet.
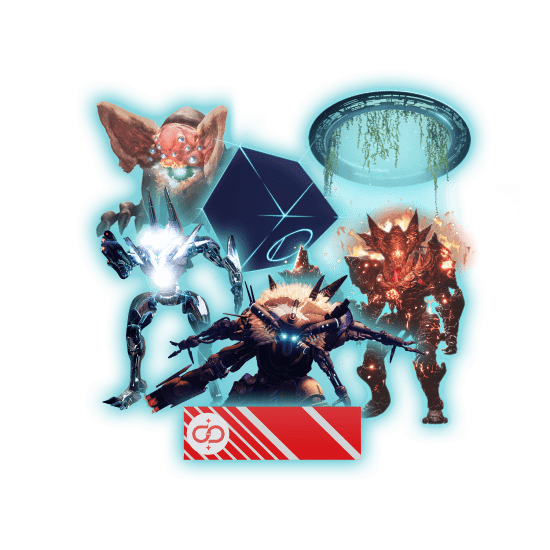
Make your way to the large cavern area you reach after the maze and the first encounter. You’ll now notice that a previously sealed section of the room is accessible. Inside, you’ll find a mix of Hive Shriekers, Hive Knights, and various Resonance lenses that are crucial for the puzzle.
This puzzle involves aligning the lenses so that they illuminate the Worm symbol on the central door. It’s similar to resonance puzzles in previous encounters, but with a few twists:
- Defeat the Hive Knights in the room – they will drop lenses upon defeat.
- Pick up the lens and stand on marked platforms to activate the alignment sequence.
- Position the lenses so that the resonance beams connect, lighting up the Worm symbol in the middle.
- If the resonance lines are flickering, adjust your position slightly until the beam remains stable.
Once the Worm symbol is fully illuminated, the door behind it will open. Head inside and interact with the object within to complete the puzzle phase. This interaction also progresses the quest and sets you up for the final dungeon run.
Complete the Dungeon
This step requires you to complete the Sundered Doctrine dungeon, but there are a few key details to keep in mind:
- Continue through the dungeon after solving the puzzle without exiting the instance.
- Make your way through the traversal sections, taking out Dread enemies along the way.
- Face off against Kerrev, The Erased, in the final boss encounter. Use your best loadouts and coordinate with your fireteam for an easier fight.
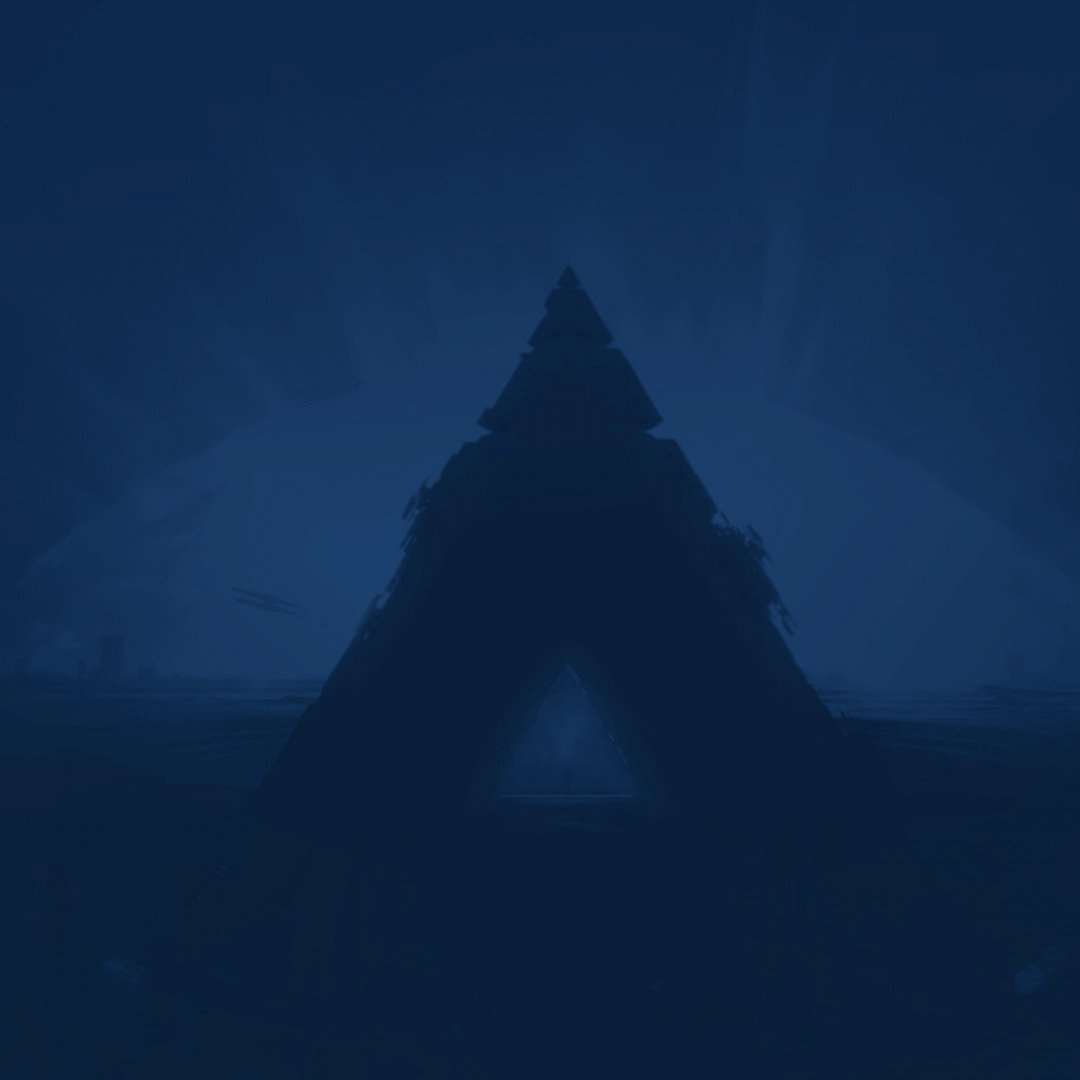
Once Kerrev is defeated, don’t rush to exit or leave after opening the regular final chest. Stay in the arena – Savathûn will start speaking, and you’ll notice nine symbols appear and vanish in sequence. As the symbols disappear, a massive hidden door behind the final chest will open, revealing a secret chamber.
Enter the newly revealed chamber to discover a giant Pyramid artifact. As you step inside, you’ll hear dialogue from Savathûn and Oryx, adding to the lore behind the quest. At the end of the room, you’ll find a special loot chest – open it to complete the step and claim your reward.
The Drowning Labyrinth Rewards
This part of the guide explains what The Drowning Labyrinth rewards you can unlock once you finish the entire questline:
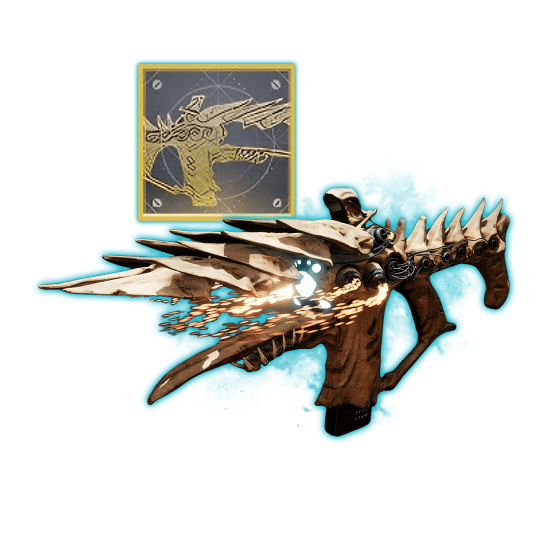
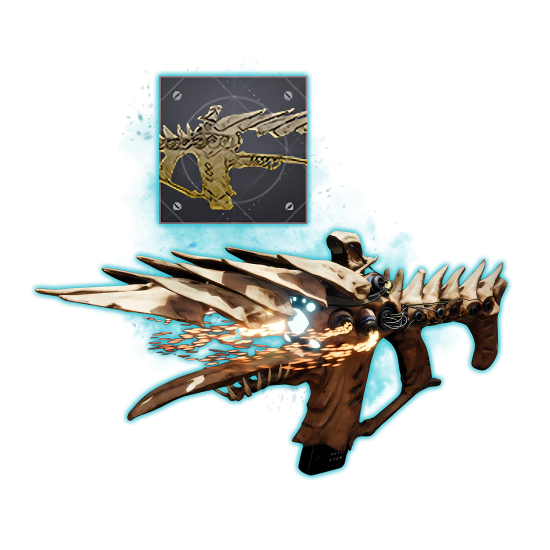
- Finality’s Auger Catalyst
- Completion of the Hidden Treasures dungeon triumph
- High-level gear and random item drops
Of course, the main reward you’re after here is Finality’s Auger Catalyst. This will make your new Exotic shine brighter than ever.
Conclusion
This sums up our guide for The Drowning Labyrinth in Destiny 2. This quest is a deep dive into the secrets of the Sundered Doctrine dungeon, filled with hidden puzzles, lore revelations, and high-stakes combat. Finding the three worms, solving the symbol puzzle, and uncovering the hidden shrine are just the beginning. Good luck, and we will see you in the game!
F.A.Q.
What is The Drowning Labyrinth quest about?
The Drowning Labyrinth quest is a secret-driven mission you get to complete after the Sundered Doctrine dungeon, where players uncover hidden lore, solve symbol-based puzzles, and collect lost artifacts.
How to do The Drowning Labyrinth quest in Destiny 2?
To complete The Drowning Labyrinth quest, players must locate the hidden base camp, collect three secret worms, solve a symbol puzzle, and activate a hidden shrine before finishing the dungeon again.
How do you start The Drowning Labyrinth quest in Destiny 2?
The quest starts by picking it up from Ikora Rey in the Tower and then locating the hidden base camp within the Sundered Doctrine dungeon.
What is the reward for completing The Drowning Labyrinth quest?
While the exact rewards are not fully confirmed, completing the quest potentially grants Finality's Auger Catalyst and other exclusive loot.
Is The Drowning Labyrinth quest time-gated?
Yes, The Drowning Labyrinth quest is time-gated, meaning players must wait for future resets to progress beyond the currently available steps.


