 Crispy Jackie
Fellow heroes, welcome to another guide devoted to the Mage Tower challenge. This article includes everything you need to know about the Brewmaster Monk Mage Tower The War Within gameplay. After reading it, you will learn the most essential tips and tricks that will help you complete this challenge effortlessly. On top of that, we will share what gear and talent build suits the specialization better when it comes to this particular encounter.
Brewmaster Monk Mage Tower Challenge Info
To see what challenge is designed for this spec, you need to find and talk to War Councilor Victoria. She is waiting for you at Deliverance Point, which is close to Dalaran. In fact, you can use Dalaran Hearthstone to shorten your traveling time dramatically. After you are teleported to the city, get on your flying mount and you will be there in a few minutes. As a rule, getting to the required destination should not take you more than 5 minutes in total.
The challenge all tanks should pass is called The Highlord’s Return. The latter can be roughly split into 2 stages. Each of them has its main boss with several unique mechanics and abilities. As you keep reading the article to the end, we will describe each strategy you can apply to defeat a particular boss.
Since this encounter is designed specifically for tanks, your goal is not only to slay the enemies. You also need to protect two allies throughout the fight. They will also help you by either healing you (Velen) or dealing extra damage (Kor’vas Bloodthorn) to the foes. The first NPC plays a huge role since he spawns Holy Ward every 30 seconds. If you pick it up, you will be healed and cleansed from all active debuffs. Most importantly, it also disorients all surrounding enemies for 5 seconds.
The second ally is not really worth the attention, as it only deals an insignificant amount of damage. However, both of them should be kept alive until the battle is over. Otherwise, you will have to start the encounter from the beginning.
IMPORTANT NOTE: At Skycoach, you can also Buy WoW Boost at the lowest prices and with the fastest delivery. You can make your first purchase even CHEAPER if you find our special PROMO CODE (highlighted in green) hidden in this article and get a 20% DISCOUNT.

By using a ready-made Brewmaster Monk Mage Tower strategy we have prepared for you, the chances of achieving victory radically increase. In all other cases, you can spend days if not weeks trying to complete this challenge. Your success mainly depends on how well you play around the bosses’ mechanics and whether you can counter their deadliest spells on time.
If you have no spare time to practice and just want to receive the desired rewards right away, we have the solution for you. Check out our Timewalking & Mage Tower Boost services where our professional players will happily complete any encounter for you.
Browse our hottest WoW Boosting services


Best Gear for Brewmaster Monk Mage Tower
When it comes to the challenge’s rules, it is not that plain and simple. Unlike most other PvE activities, this one aims at making all players equal. This is done by implementing certain restrictions we are going to discuss below. Before we begin, it is worth mentioning that these rules were added back in the Legion expansion. They have remained unchanged ever since and The War Within has not become an exception.
The game’s developers know how much players rely on their equipment. Therefore, your gear ilvl will be temporarily lowered to 120 when fighting in the arena. As for your character’s level, it will also be downscaled to 45. This makes the Brewmaster Monk Timewalking Mage Tower a real pain for certain players. After the 10th wipe, you will realize that the only thing that matters is your personal skills.

To ensure you squeeze the maximum value out of your equipment, you should follow the right stat priority. When playing this spec, you usually focus on Versatility and Critical Strike. At the same time, Agility remains your number one choice in any activity, as it is your primary stat.
If you have no idea what Brewmaster Monk Mage Tower gear to choose, we are here to help you. Check out the table below to see what gear parts suit this specialization best. To get them, you need to slay Raid and Mythic+ bosses. Keep in mind that none of the mentioned items are mandatory for this encounter. The presented list is one of many alternatives you can go for. You just need to follow the correct stat order and victory is yours. BLOG20
| Equipment Slot | Item Name | Source |
| Head | Mystic Heron's Hatsuburi | Tindral Sageswift |
| Neck | Ouroboreal Necklet | Volcoross |
| Shoulders | Strigine Epaulets | Urctos |
| Cloak | Inflammable Drapeleaf | Gnarlroot |
| Chest | Mystic Heron's Burdens | Nymue |
| Wrist | Venerated Raptorhide Bindings | Atal'Dazar |
| Gloves | Mystic Heron's Glovebills | Igira the Cruel |
| Belt | Life-Bound Belt | Leatherworking |
| Legs | Mystic Heron's Waders | Larodar, Keeper of the Flame |
| Boots | Slimy Expulsion Boots | Leatherworking |
| Ring | Signet of the Last Elder | Igira the Cruel |
| Ring | Lord Waycrest's Signet | Waycrest Manor |
| Trinket | Fyrakk's Tainted Rageheart | Fyrakk |
| Trinket | Bandolier of Twisted Blades | Igira the Cruel |
| Weapon (2h) | Rashon, the Immortal Blaze | Fyrakk |
| Weapon (1h) | Thorncaller Claw | Urctos |
| Weapon (1h) | Soulcharmer's Bludgeon | Waycrest Manor |
If you are a fan of Mythic+ content, you can try to farm its set parts instead. Nonetheless, it is not an obligatory thing to do as well. You can choose practically any equipment you like. Though we can help you clear out any dungeon if you order our Mythic Carry services. Our pro players will do this ASAP and you will receive the loot you are hunting for.
Moving further, we have prepared a list containing the most useful Brewmaster Monk Mage Tower trinkets you can use for this challenge. They grant you additional stats and have unique on-use abilities that can help you win this battle.
| Item Name | Source |
| Fyrakk's Tainted Rageheart | Fyrakk |
| Bandolier of Twisted Blades | Igira the Cruel |
| Augury of the Primal Flame | Fyrakk |
| Cataclysmic Signet Brand | Smolderon |
| Coiled Serpent Idol | Volcoross |
If you wish to get these and other top-rank rewards, you just cannot neglect Raiding content. At the same time, it takes a lot of time to slay any boss, and the team is not always what you expect. To ensure you get the desired loot, you can order our WoW Raid Boost services. Our professional players will do the whole job for you.
Brewmaster Monk Mage Tower Best Enchants & Gems
In this paragraph of our Brewmaster Monk Mage Tower guide, we are going to focus on various enchantments and gems you can use for this encounter. They act as a great source of additional main and secondary stats. So, if you have some spare gold, do not neglect these equipment parts.
| Equipment Slot | Best Alternative | Provided Bonus |
| Weapon (Main Hand) | Frozen Devotion | If procs, you can deal extra Frost damage to enemies in front of you. |
| Weapon (Off Hand) | Sophic Devotion | Also works randomly but grants you a large amount of Agility if procs. |
| Cloak | Homebound Speed | Grants you additional Speed to move around the arena faster. |
| Chest | Accelerated Agility | Provides you with extra Agility and Speed stats, which are essential for you in this fight. |
| Bracers | Devotion of Speed | Another source of Speed, which is always nice. |
| Legs | Fierce Armor Kit | Gives you extra Stamina and Agility allowing you to live longer and hit harder. |
| Boots | Plainsrunner's Breeze | Greatly increases your Speed stat to move quicker. |
| Ring | Devotion of Versatility | Slightly boosts your Versatility, the stat you need more than any other. |
Returning to the Brewmaster Monk Mage Tower recommended gems, they look as follows:
- Resplendent Illimited Diamond is your number one choice, as it grants you additional Agility and Versatility stats;
- Radiant Malygite is the common alternative for the rest of the slots since it boosts your Versatility and Crit stats.
Crafting all these and other items on your own is impossible. Instead, you can purchase them at the Auction House. However, you will need quite a lot of gold for this. If you are tired of endless farming and grinding, you can simply Buy WoW Gold with our company’s help. We offer the fastest delivery time to any server and offer the best market price.

Brewmaster Monk Mage Tower Best Consumables
Nothing boosts your main and secondary stats like consumables. They are easy to use, and the effect usually lasts long enough to deal devastating damage to the target. In this paragraph, we would like to share a few really powerful consumables you want to have before beginning this battle:
- Greater Flask of the Currents provides you with a ton of Agility, which is good for your damage output;
- Boralus Blood Sausage can be used to get additional secondary stats;
- Astral Healing Potion is your lifesaver since it restores a ton of HP in one click;
- Potion of Unbridled Fury influences your damaging potential. Besides, it syncs perfectly with your rings, as it deals Fire damage.
Browse our hottest WoW Boosting services


Brewmaster Monk Mage Tower Best Talent Build
When preparing for the encounter, you cannot underestimate the value of the correctly chosen talent build. Luckily, this system has been completely changed with the Dragonflight expansion. You can experiment with a talent setup on your own or go for a ready-made solution we have prepared for you.
Down below, you can find the optimal Brewmaster Monk Mage Tower 11.2.7 talent build. Do not hesitate to change it according to your playing style but the suggested alternative should work just fine.
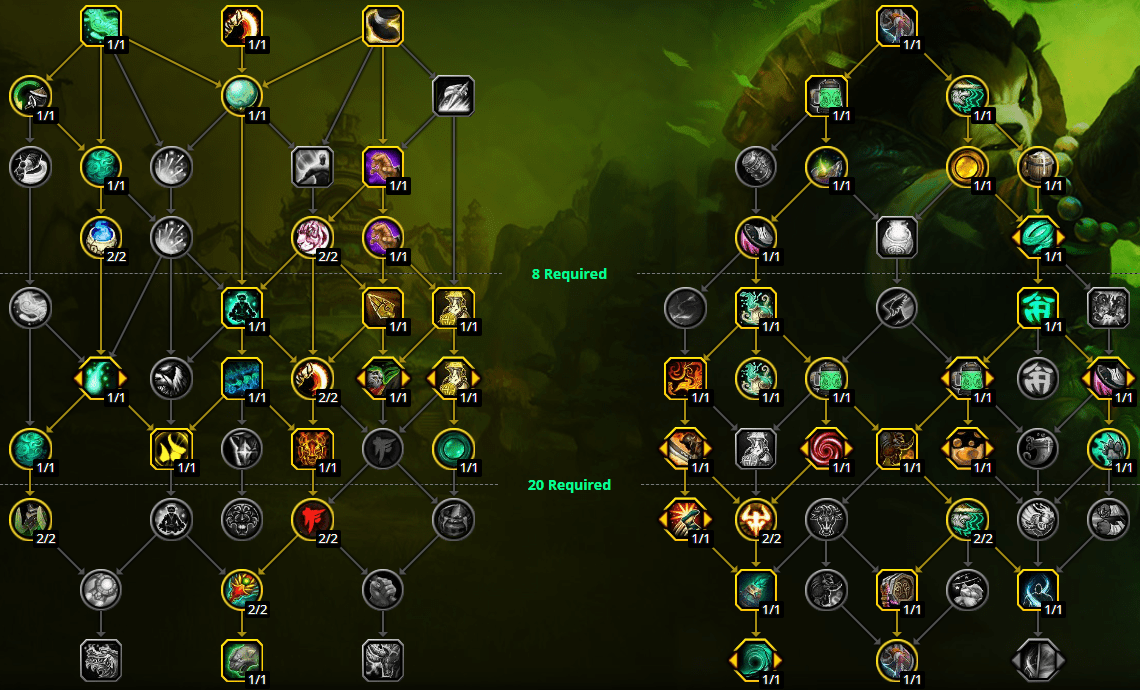
To try out this build in the game, copy the following code:
- BwQAAAAAAAAAAAAAAAAAAAAAAAAAAAAAQAAAAgUoUSSCkk0aRAAAASLUSiEJkQSSSSJJARi0SrEC
Unfortunately, you will not get access to all the required talents until you reach level 70. This process can take quite a lot of time, especially if you do not spend too much time in the game. To speed things up, you can order our WoW Powerleveling services and let our professional players do this routine job for you.
Inquisitor Variss Fight Strategy
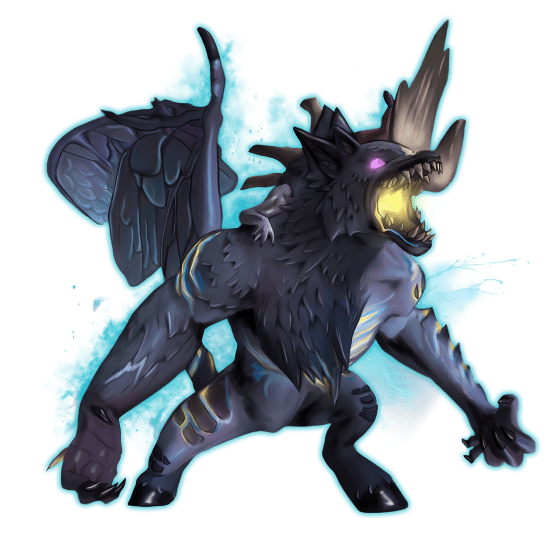
In this and the next paragraphs of the guide, we are going to share the most essential Brewmaster Monk Mage Tower tips you can use to outbattle both bosses. Stage 1 begins when Inquisitor Variss starts attacking you. His most dangerous abilities are Aura of Decay and Life Drain. You should never have more than 5 stacks of his first talent or you will be one-shotted for sure. At the same time, always keep any interrupting ability to stop his second ability. Otherwise, he will restore HP to full.

Apart from the boss, Stage 1 is full of annoying adds that spawn from time to time. They are Tormenting Eye, Smoldering Infernal, and Nether Horror. Slaying them is usually not a big issue, as they have a relatively small HP pool. However, be aware of the eye’s Inquisitive Stare talent.
If you see him casting it, you need to look directly at the mob. Failing to do this will knock you away and you can easily fall off of the platform. On top of that, this mob does not take Physical damage, which makes him a bit more difficult to kill.
Speaking of the infernal, you should only be aware of his Smash, as it also pushes you away from the platform. This mob is not your priority target, as he basically kills himself due to the Fel Resonation debuff.
Unlike the previous enemy, Nether Horror is your number one target right after it spawns. The reason for this is that it is going to focus Velen only. You cannot let your allies die or take too much damage. Therefore, get rid of this mob ASAP or your healer will suffer.
Answering the question of how to do the Mage Tower as Brewmaster Monk, your task is to stay in the arena while fighting the boss and his annoying adds. At the same time, you always need to look at the active debuffs you are experiencing. Otherwise, it may lead to a sudden wipe and you will have to start the encounter from the beginning.
Highlord Kruul Fight Strategy
Stage 2 starts right after you are done with the first boss. You will see Highlord Kruul flying down to the platform. Be aware of his Annihilate, Netherstomp, and Twisted Reflection. His first talent is a debuff, which increases the boss’ outgoing damage. As a rule, you want to pick up Holy Ward to cleanse all the stacks of it. As for the second spell, it is quite easy to avoid. Although, you are likely to fall off of the platform if you get hit by it.
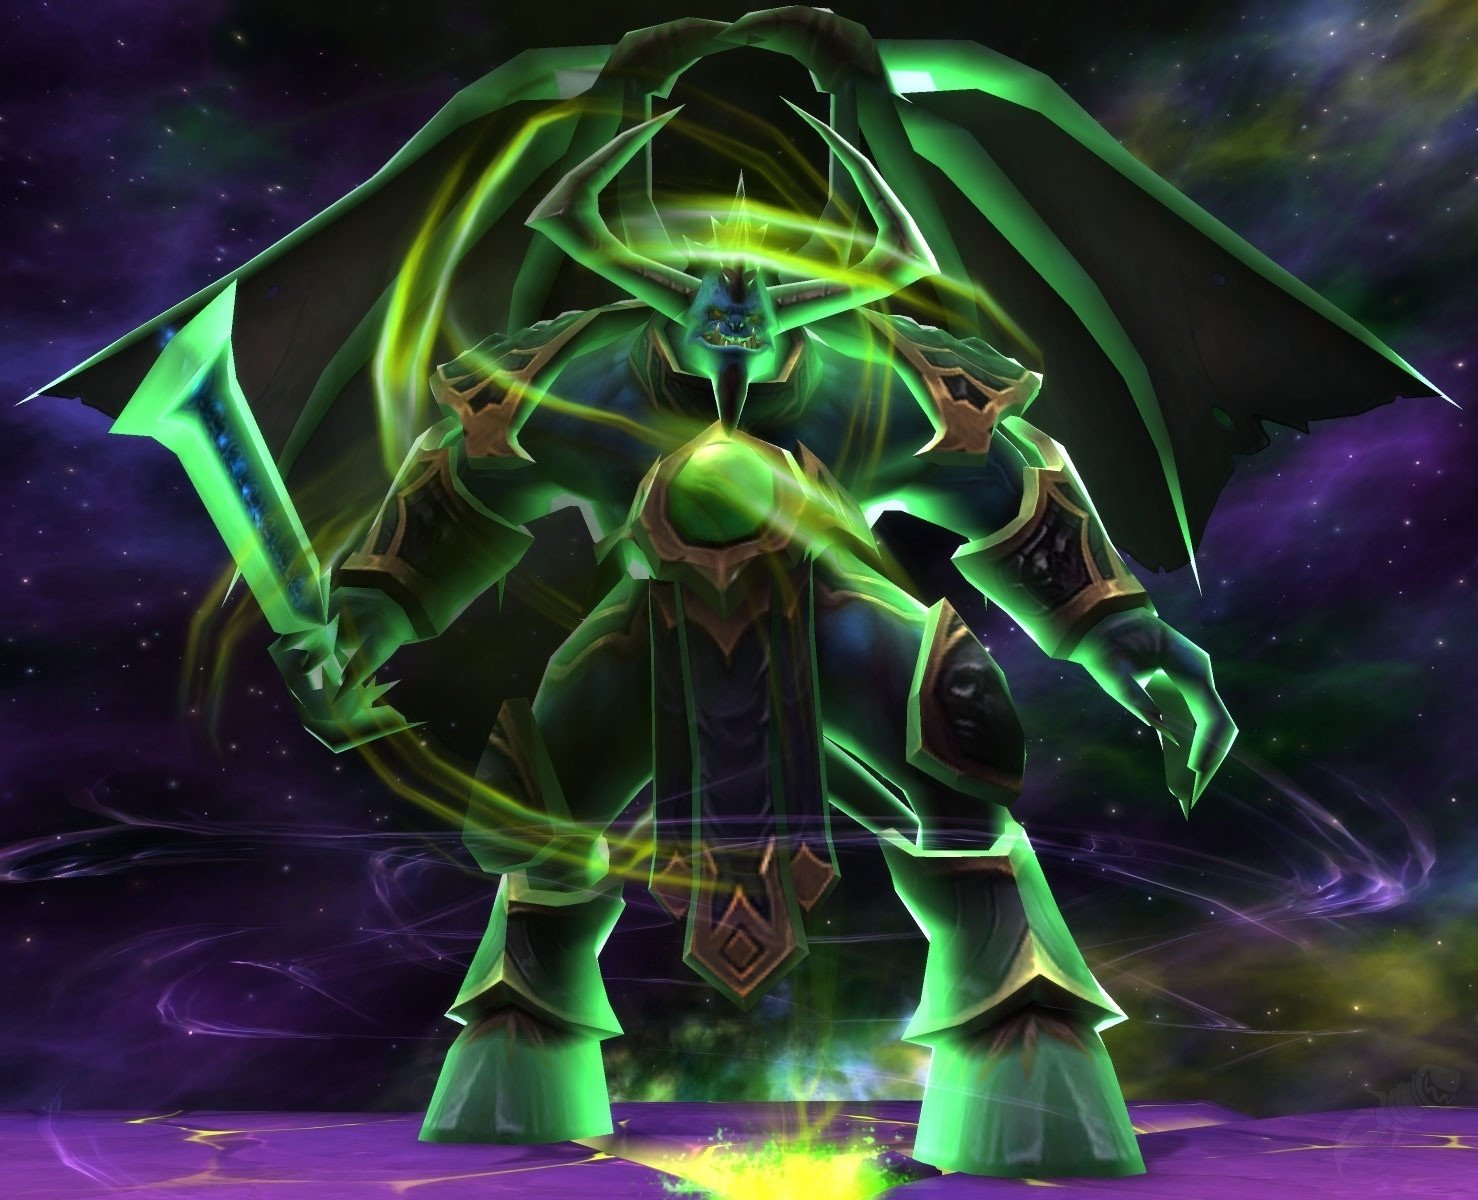
Finally, his last talent is arguably the deadliest one. You always want to keep a CC ability to interrupt its channeling. If you fail to do this, the boss will restore his HP to full in a moment. If it happens, he will simply outsustain you and this will lead to a 100% wipe.
Speaking of a Brewmaster Monk Mage Tower nerf, it is unlikely to happen. This specialization is not one of those that can be called overpowered. In fact, it is by far not the most popular pick for a tank role. So, if you enjoy playing this spec, it is high time to give it a try in this challenge.

Brewmaster Monk Mage Tower Rewards
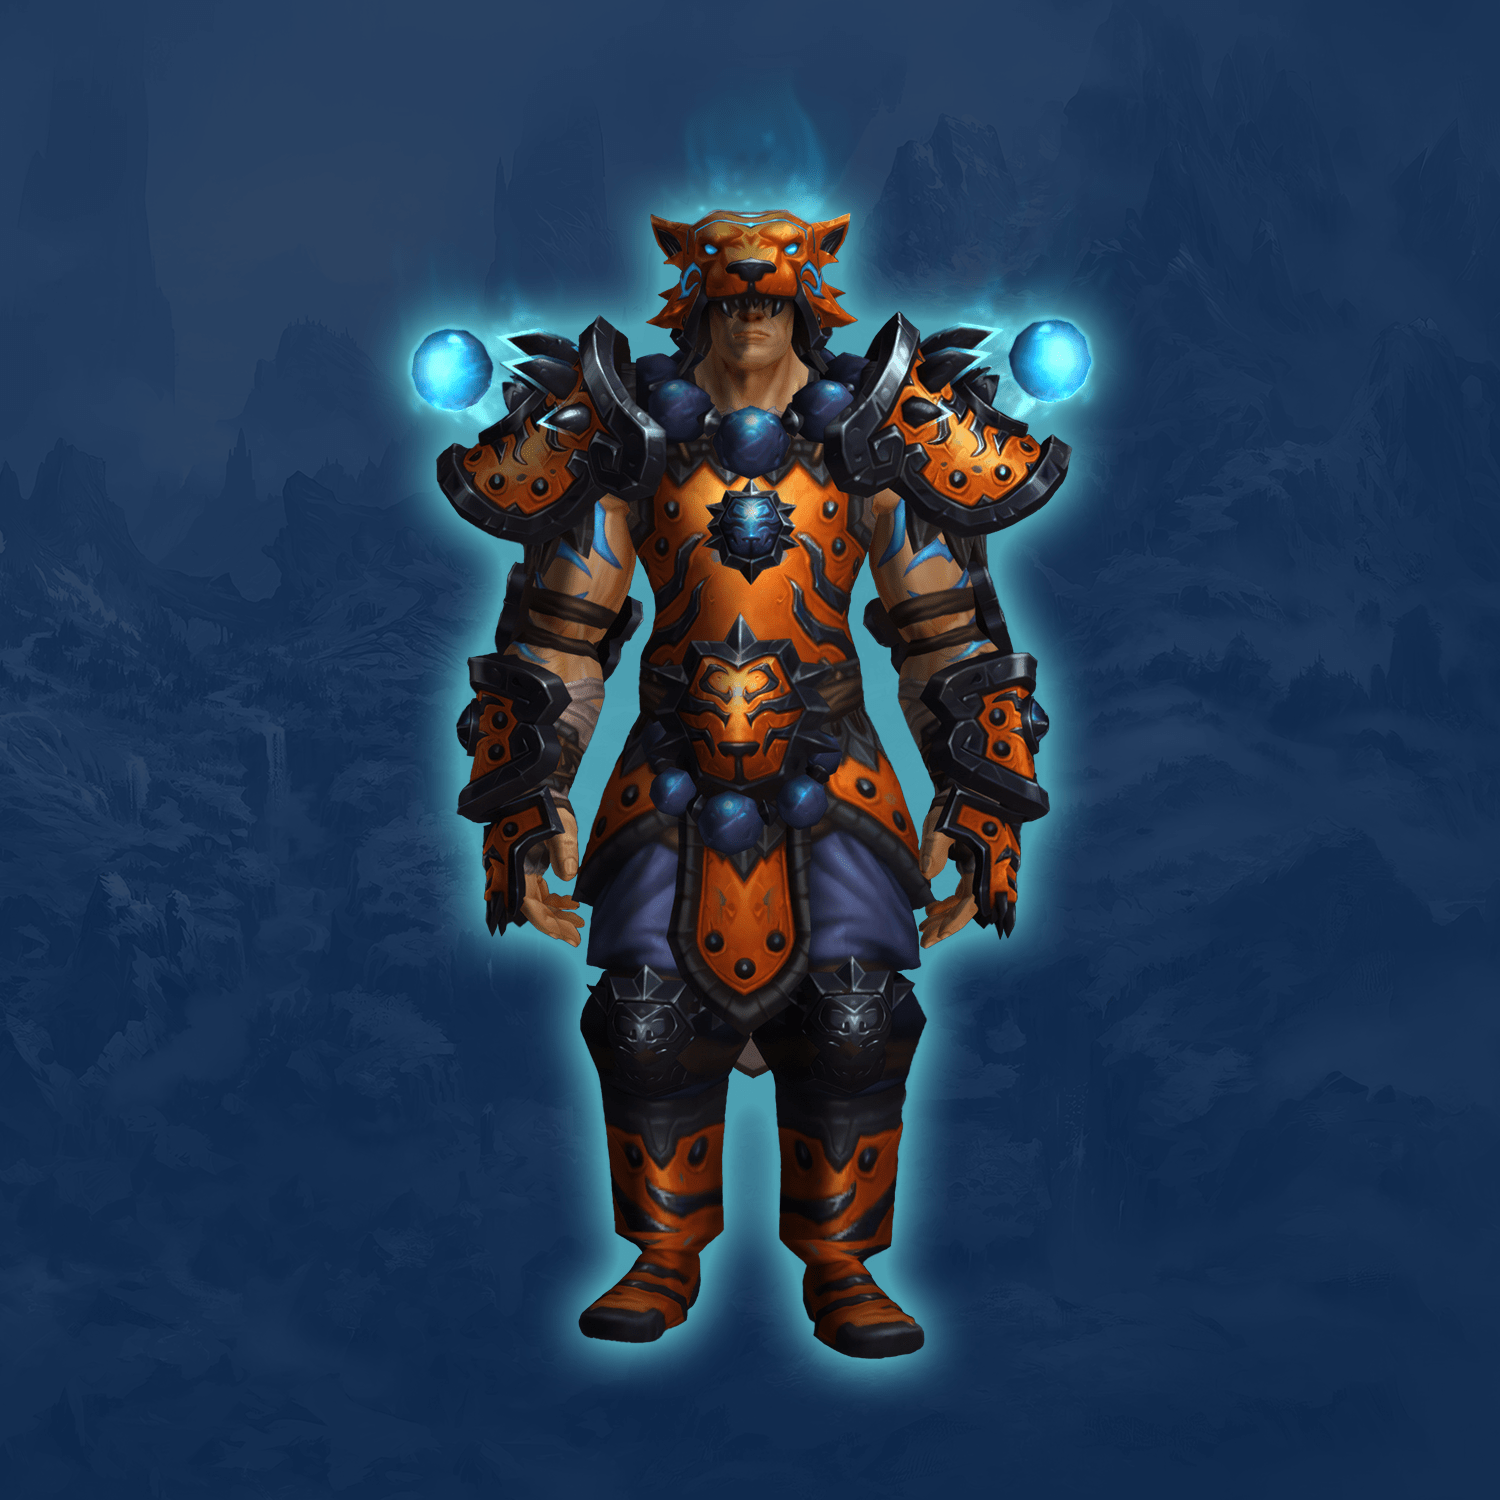
After you are done with both bosses, the encounter is considered to be over. You will be teleported back to your original location where you will receive a unique Brewmaster Monk Mage Tower appearance. We have provided a screenshot of it down below.
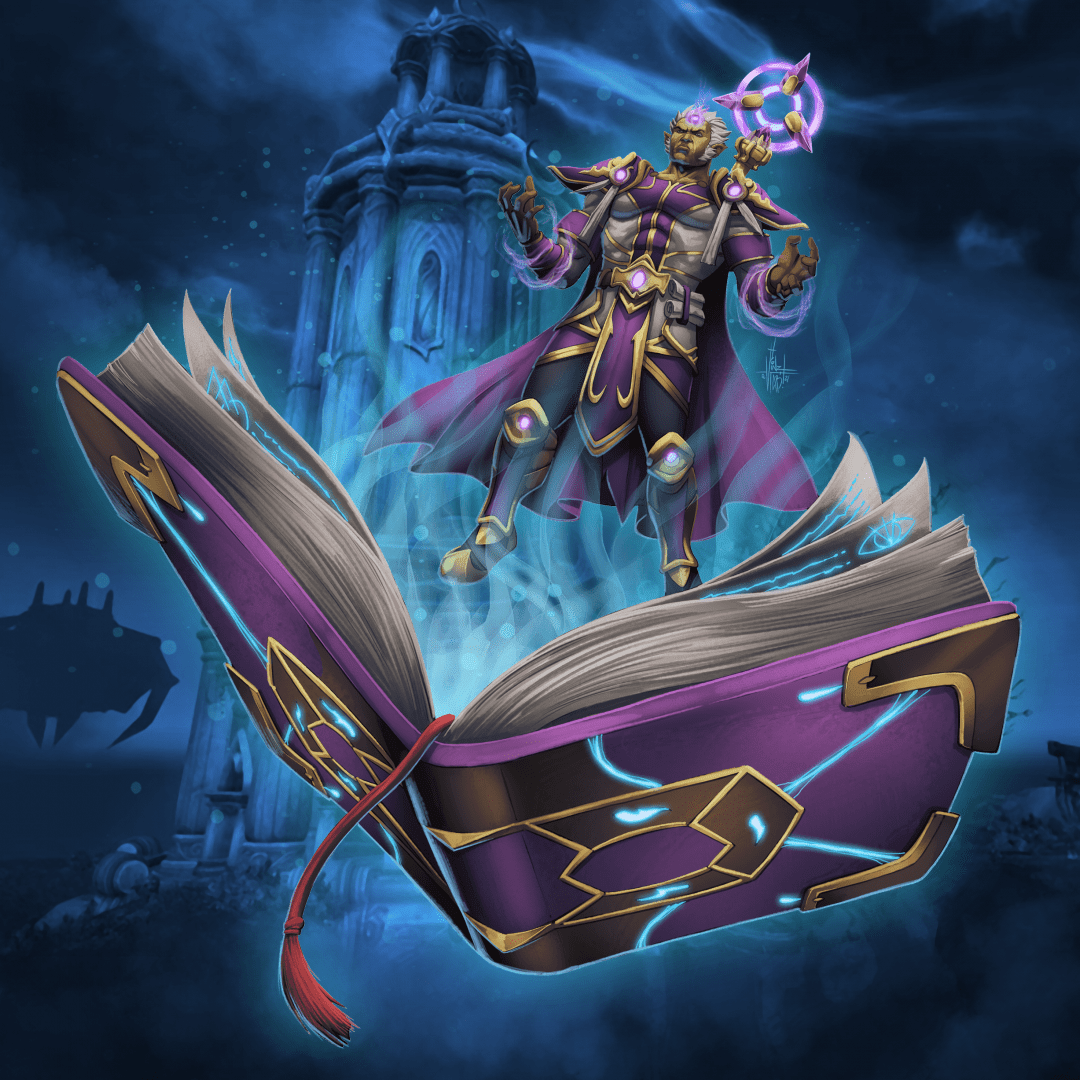
By completing all 7 encounters currently available in the game, you can receive Soaring Spelltome. This is a unique ground mount, which is only lootable from this activity. It represents a book your character stands on to fly over the ground.
To get all the desired rewards in a fast and easy way, you can order our World of Warcraft Boosting services. In this case, our professional players will complete any encounter for you in the shortest time possible.
Conclusion
Fellow heroes, this marks the end of our guide. We hope you have learned a lot about this exciting in-game activity and the reviewed specialization as a whole. Make sure to stay with us, as we will keep updating this article if any changes or updates occur.
F.A.Q.
What reward do Brewmaster Monks get from Timewalking Mage Tower?
As we mentioned earlier, most players are hunting for a class-specific transmog set.
What are the best Brewmaster Monk talents for Mage Tower?
You cannot single out particular talents, as they all work in combination with each other. We have shared the strongest talent build you can use for this encounter in a separate paragraph.
How do you increase damage as Brewmaster Monk in Mage Tower?
Make sure you use all your damaging abilities on cooldown. At the same time, this challenge is more about defending your allies rather than dealing damage.
Is Brewmaster Monk good for Mage Tower?
It is definitely a good tank to try out for this specialization. If you enjoy this spec’s playing style, go ahead and give it a shot.


